This recipe for Chipotle corn salsa unlocks the secrets of Chipotle Corn Salsa and ensures you can have it whenever you want. This post will guide you through the steps to create this tantalizing side dish that can transform any meal into a festive occasion. Whether you’re a seasoned chef or a kitchen novice, our easy-to-follow instructions will help you whip up this crowd-pleaser in no time.
What is Chipotle?
Chipotle Mexican Grill is a renowned restaurant chain that has captivated food lovers across the United States and beyond with its commitment to fresh, high-quality ingredients and customizable Mexican-inspired cuisine. Founded in 1993, Chipotle emphasizes sustainable farming practices, often sourcing organic and locally-grown ingredients to create its flavorful dishes. The restaurant is best known for its burritos, tacos, and bowls, which can be personalized with a variety of meats, rice, beans, and toppings.
What Makes Chipotle’s Corn Salsa Recipe Special?
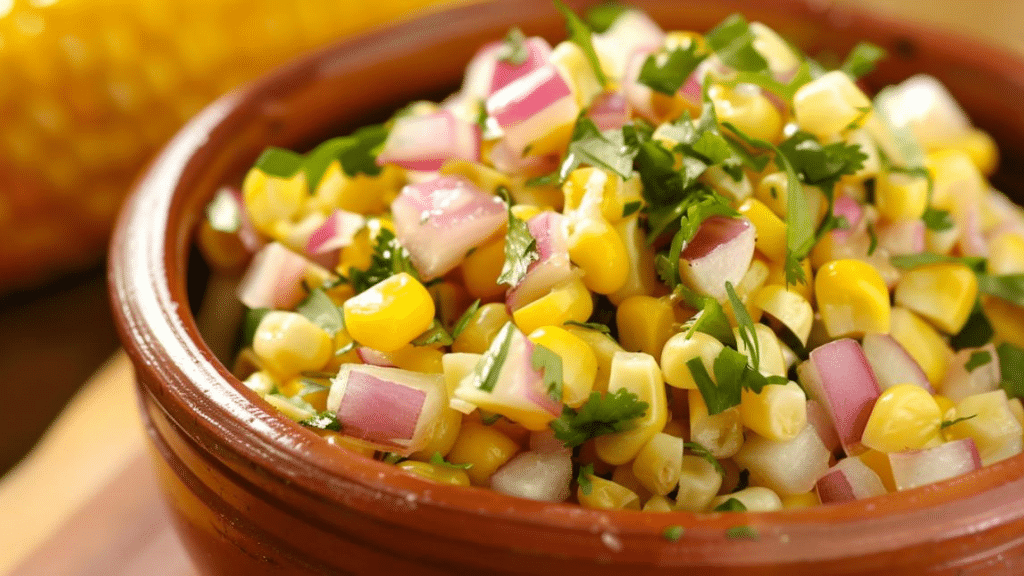
Chipotle’s corn salsa stands out among the array of fresh, vibrant toppings they offer. What makes it special is its perfect blend of sweet and spicy flavours. Made with sweet yellow corn, this salsa is jazzed up with red onion, jalapeño, and cilantro, adding layers of flavour that are both refreshing and slightly tangy. The addition of lime juice gives it a zesty finish, creating a delightful balance that enhances any meal. It’s this unique combination of simple ingredients and robust flavours that makes Chipotle’s corn salsa a memorable and popular choice for enhancing the flavour of any dish.
How to make this Recipe For Chipotle Corn Salsa
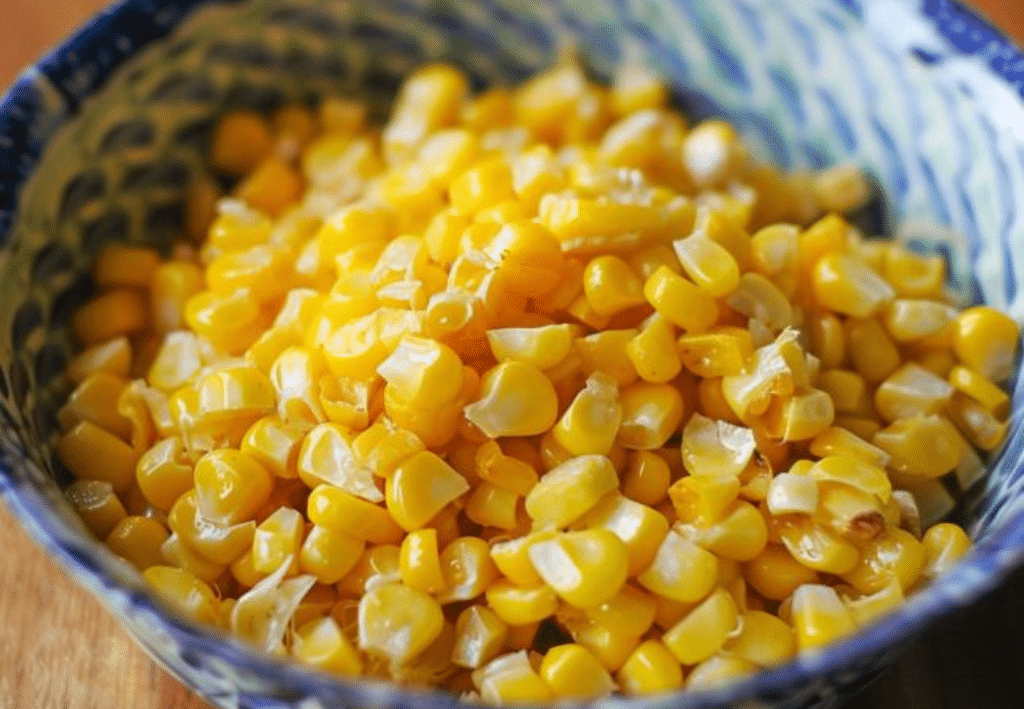
What is in Chipotle corn salsa? Well, one of the first Chipotle corn salsa ingredients is, of course, corn. Choosing the right type of corn is crucial to capturing the essence of Chipotle’s corn salsa. Canned corn niblets are not only convenient but also consistently sweet and crunchy. Their uniform size and year-round availability ensure that your salsa is perfect every time you make it, avoiding the variability that can come with fresh corn, which may not always be in season and frozen corn, which often has a chewy texture. Open the can, drain off the liquid, and you are ready to
The second Chipotle corn salsa ingredients
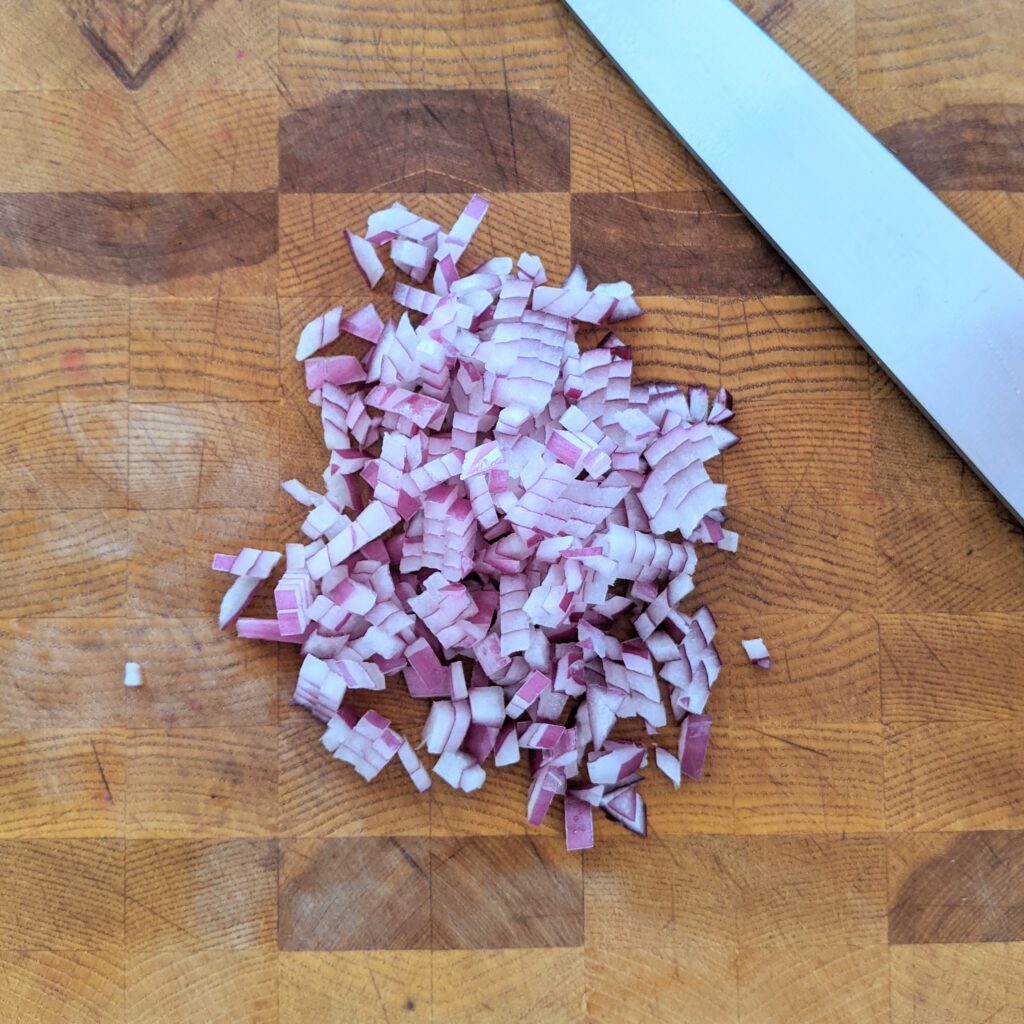
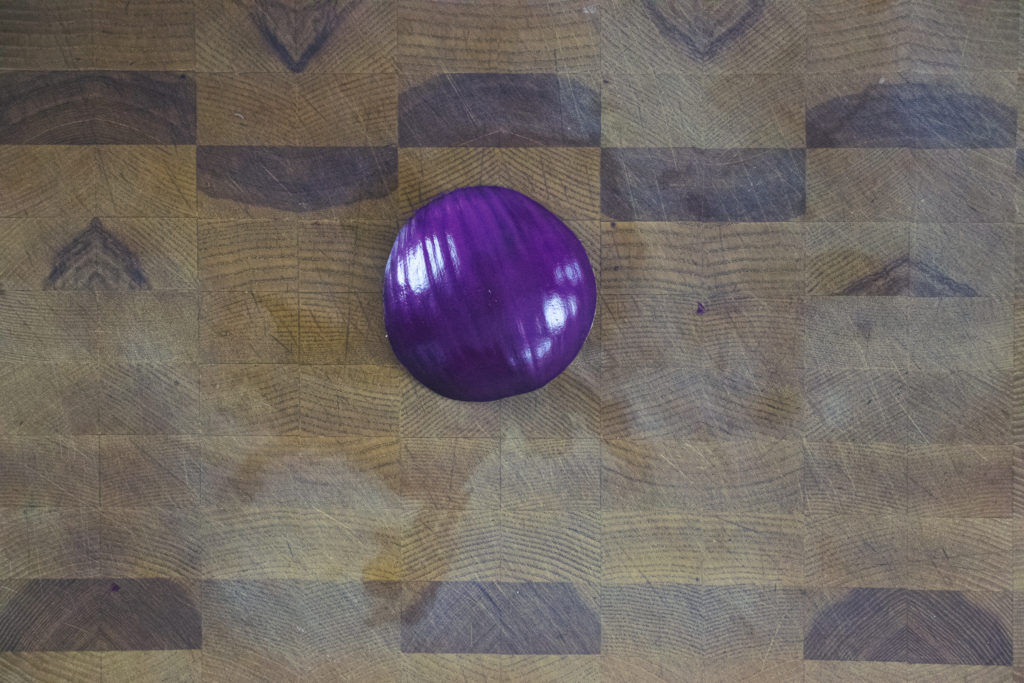
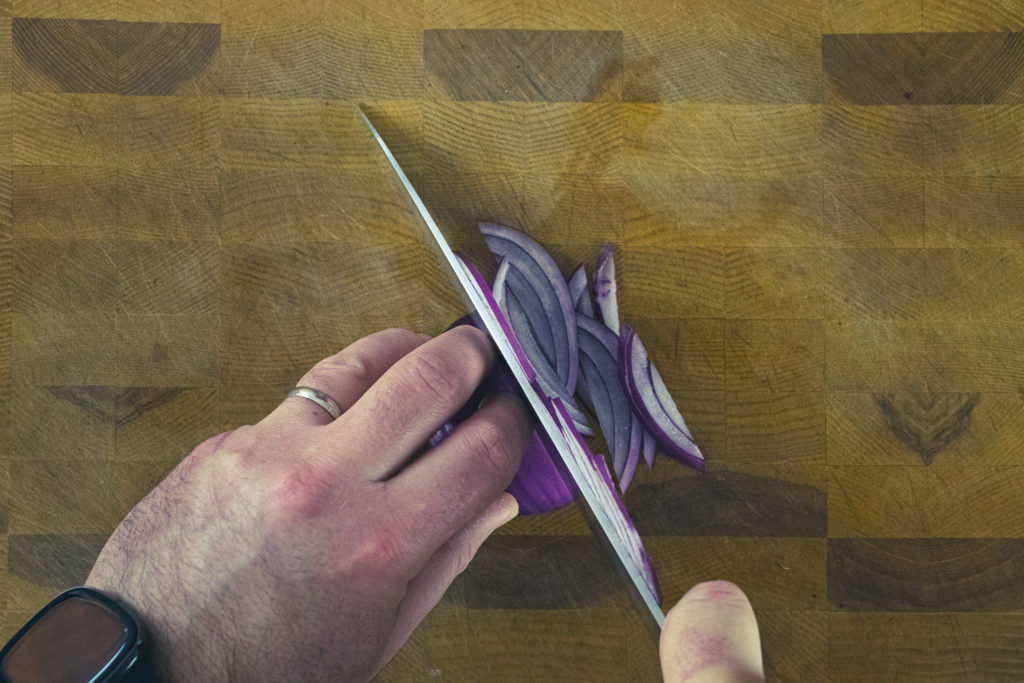
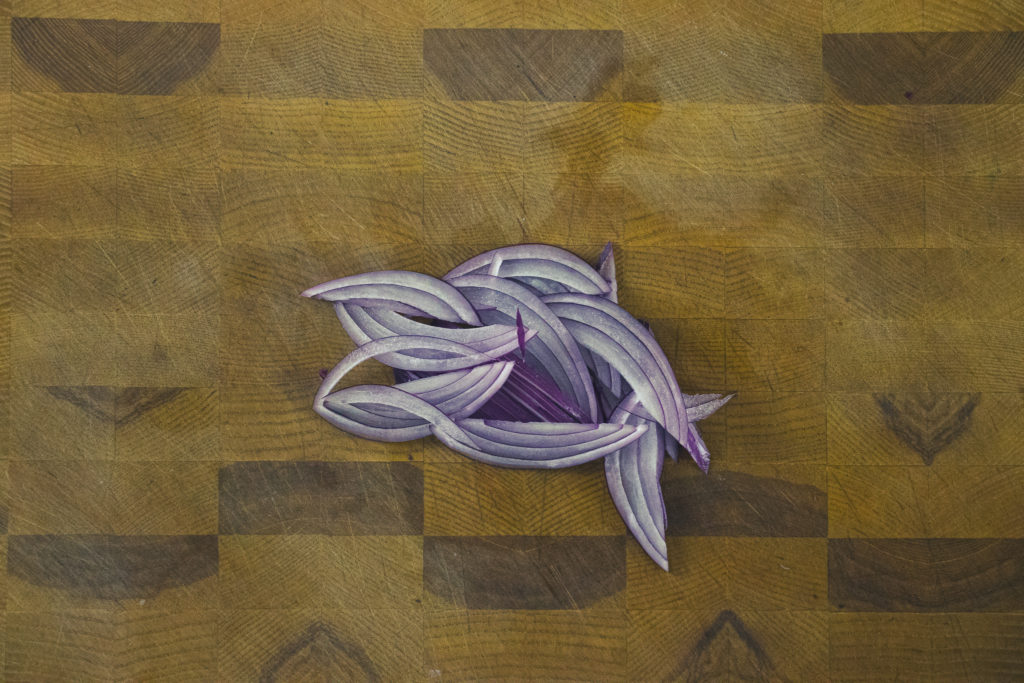
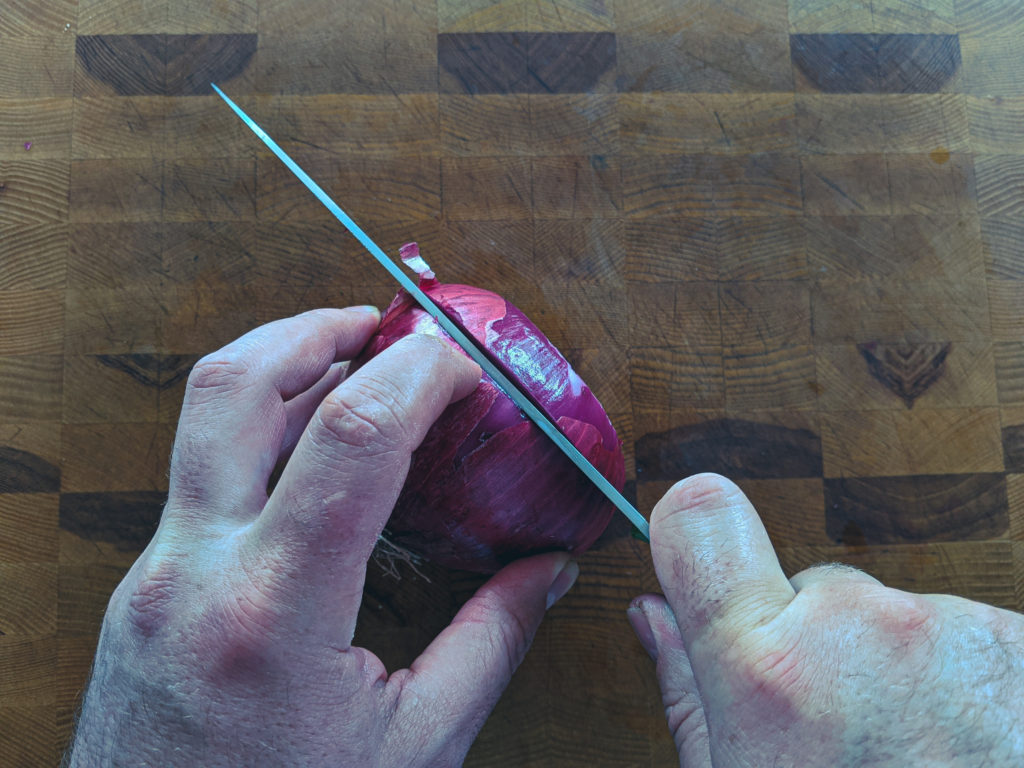
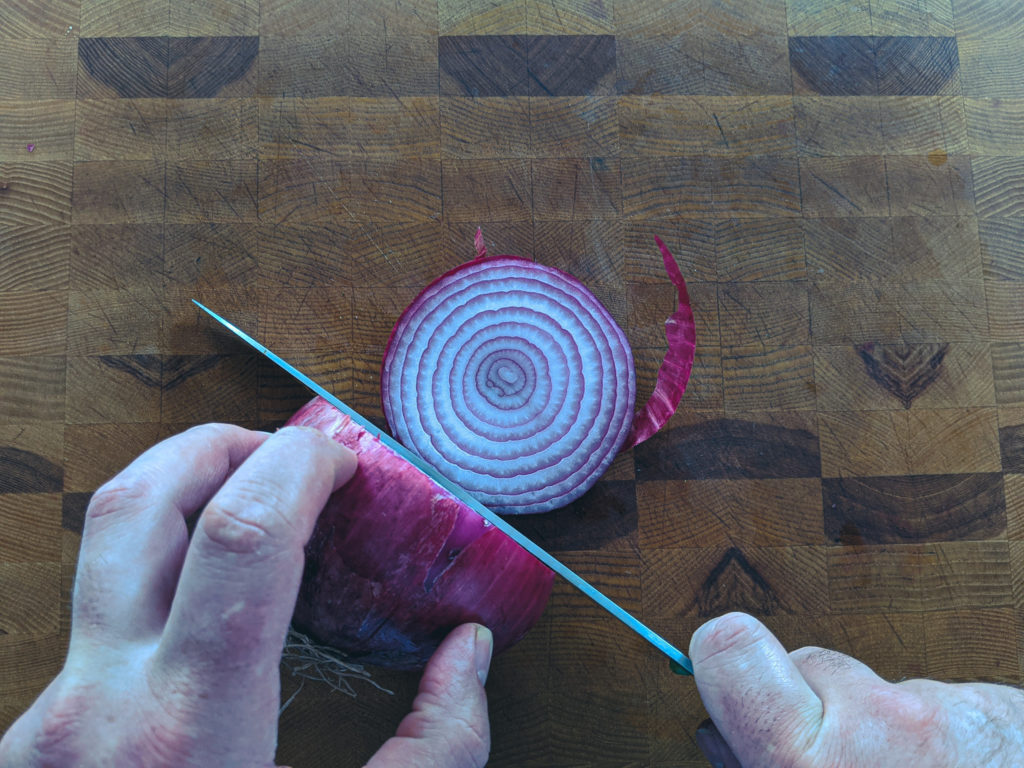
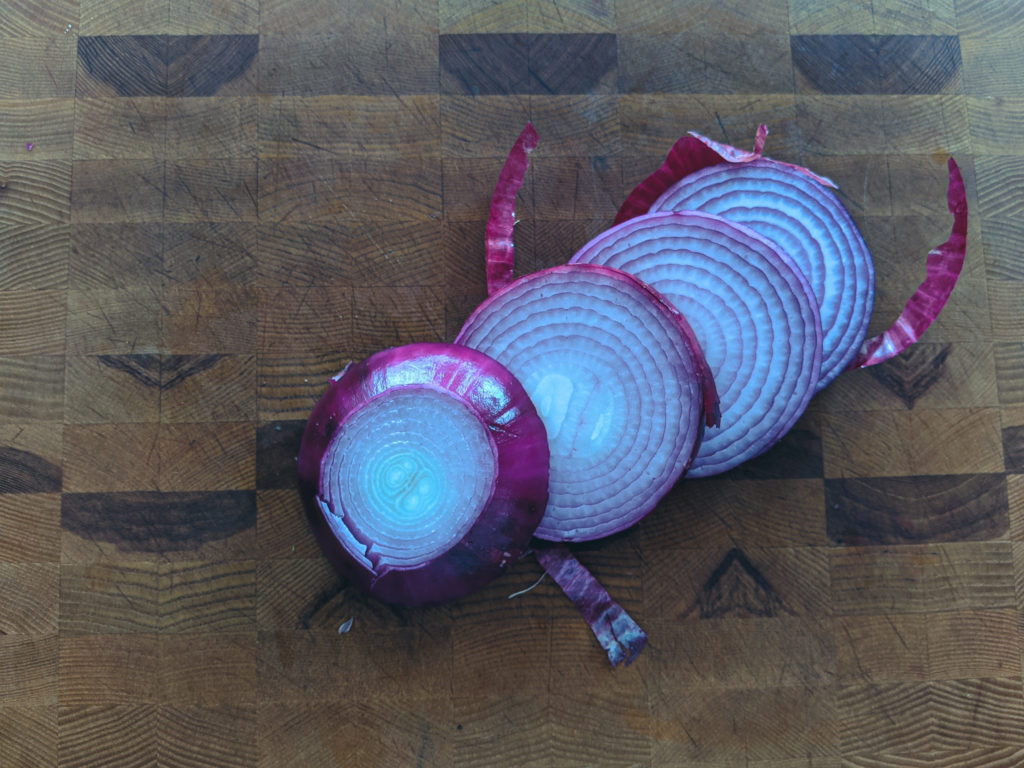
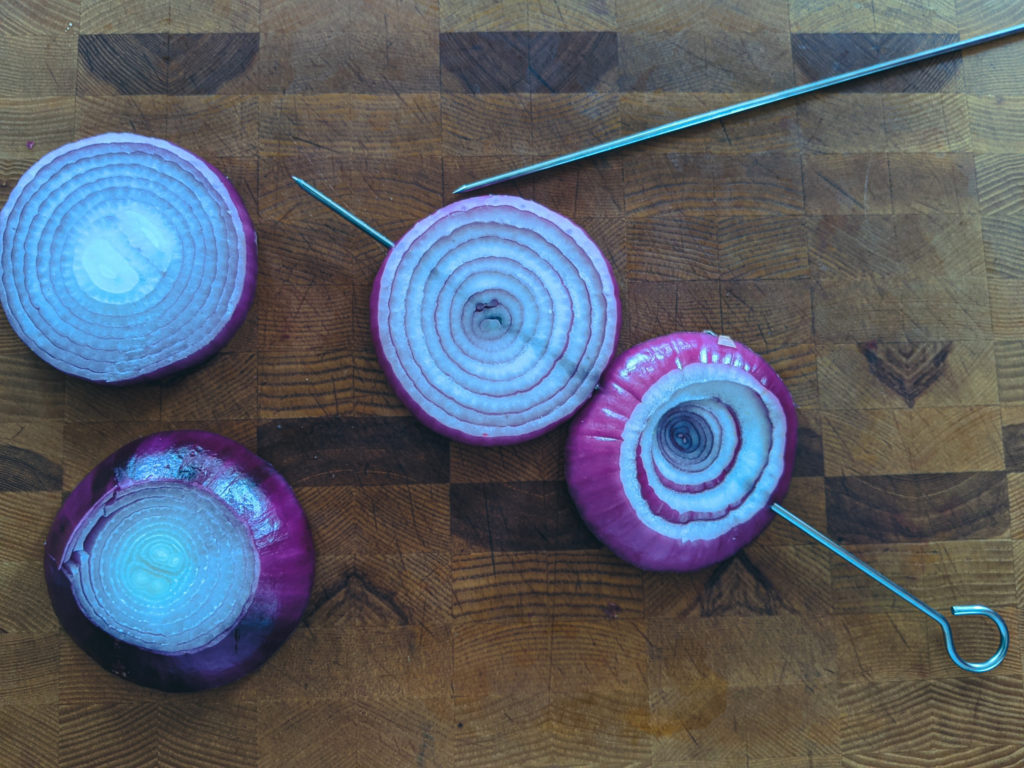
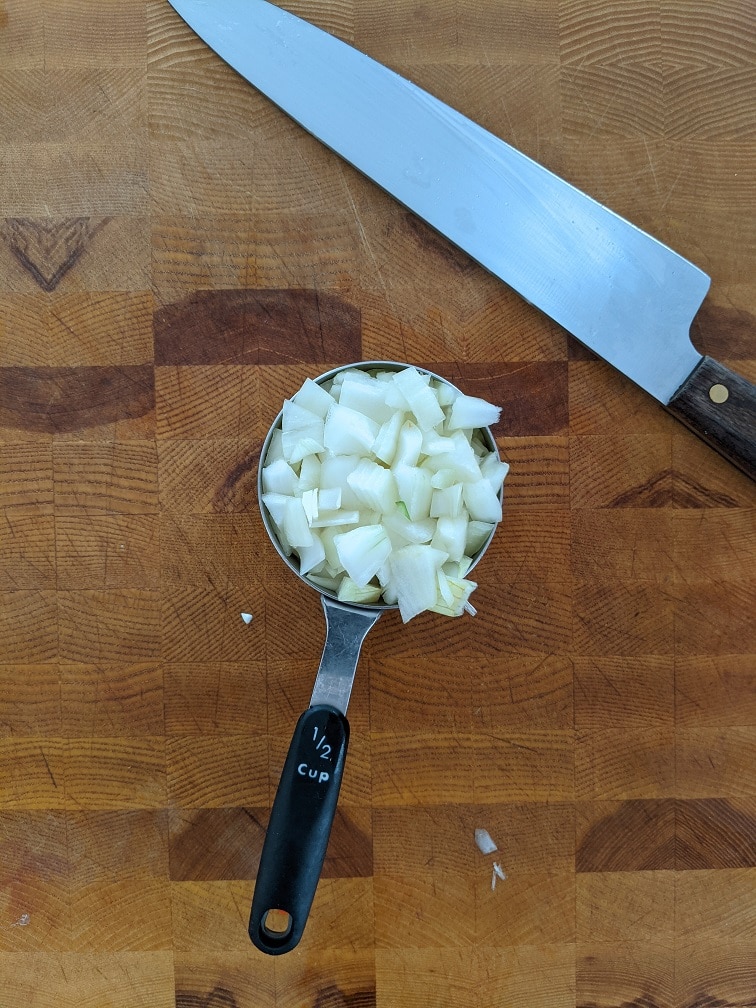
The second ingredient in Chipotle corn salsa is red onion. The onion should be minced as fine as you can manage. To mince a red onion, begin by slicing off the top of the onion and peeling away the outer layers. Cut the onion in half from top to bottom, and lay each half flat on your cutting board. Make a series of vertical slices, then horizontal cuts, being careful not to slice all the way through the back of the onion. Finally, chop down across the cuts to produce fine, even mince. This method minimizes tears and ensures your onion pieces distribute flavour more evenly throughout the salsa.
Is Chipotle corn salsa spicy?
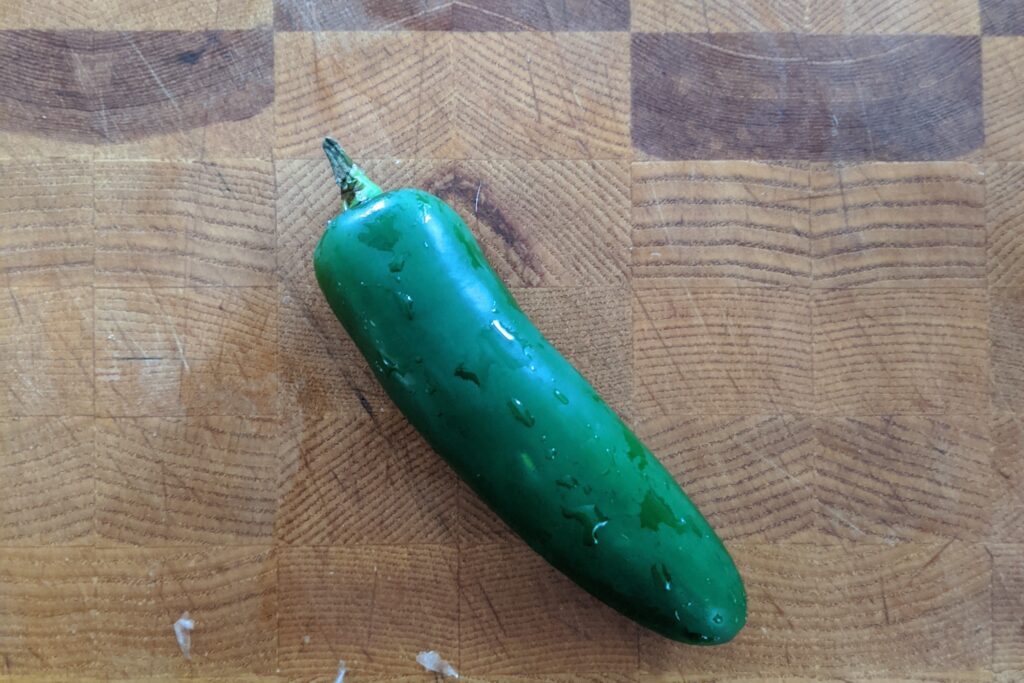
Although the third ingredient in Chipotle corn salsa recipe is jalapeño, the salsa isn’t spicy. The heat of the jalapeño is balanced by the sweetness of the corn, the sharpness of the onion, and the acidity of the lime juice. It helps that the seeds are removed from the jalapeño before dicing. Removing the seeds ensures that your copy cat Chipotle corn salsa isn’t spicy.
Handling jalapeños requires a bit of care to moderate their heat. Start by slicing the pepper in half lengthwise. Using a spoon, gently scrape out the seeds and the white membranes—the source of the pepper’s heat. Once deseeded, lay the jalapeño flat on the board and slice it into thin strips before turning your knife to mince these strips finely. This technique helps control the spiciness of your copycat Chipotle salsa, allowing the other flavours to shine through.
The third Chipotle corn salsa ingredient is Cilantro.
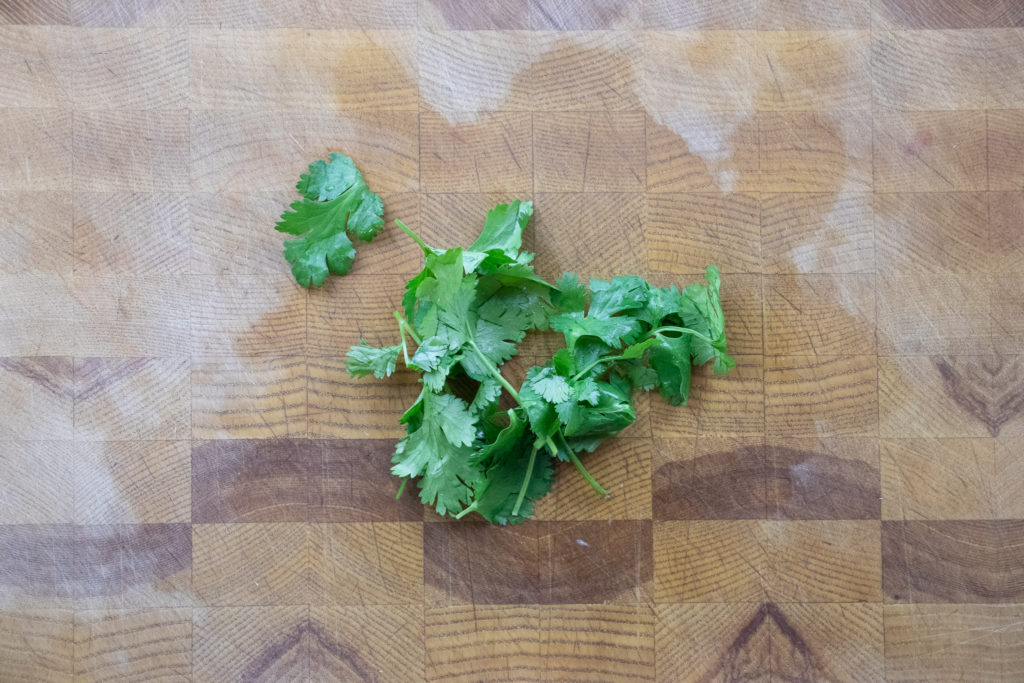
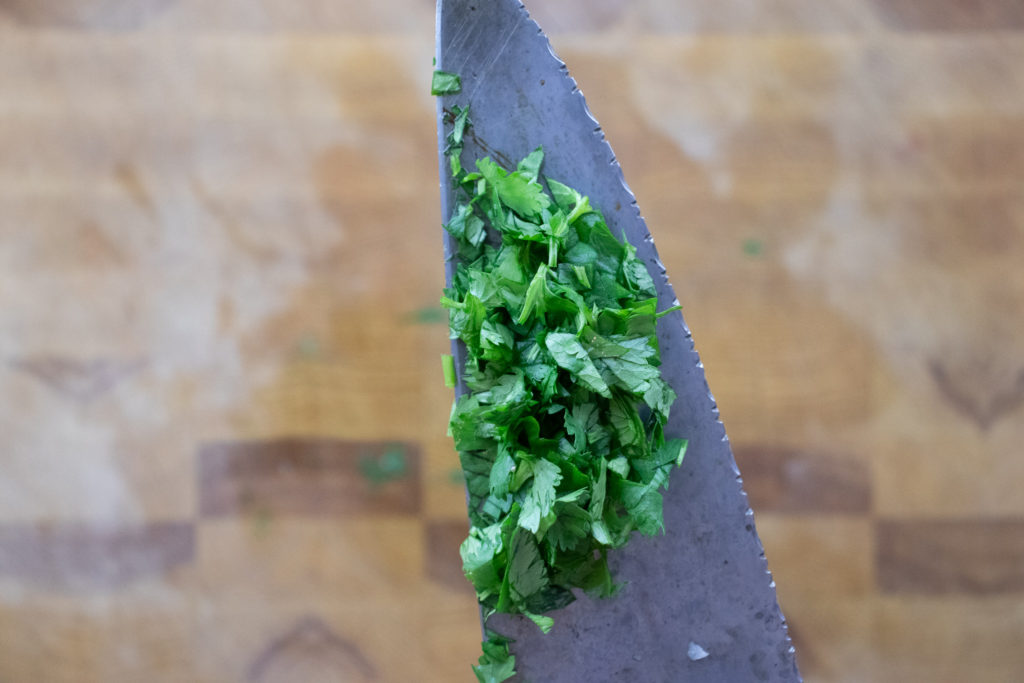
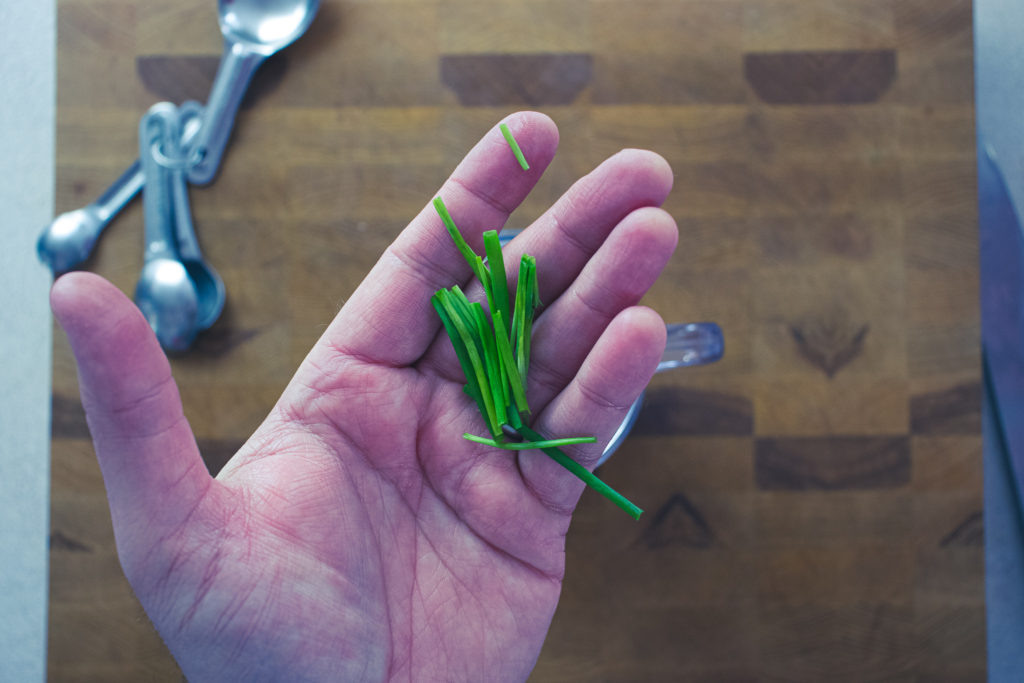
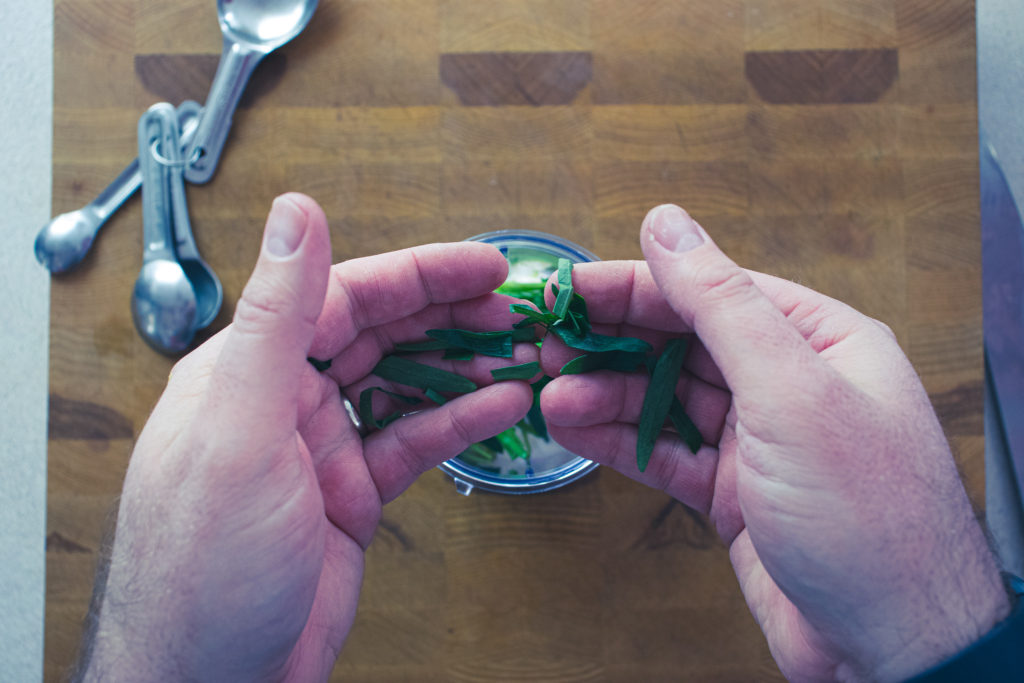
Fresh cilantro is the key to bringing all the different flavours of Chipotle corn salsa together. To chop cilantro, gather a bunch of cilantro and give it a good rinse under cold water, shaking off any excess moisture. Bunch the leaves together and, using a sharp knife, make clean, swift cuts through the leaves. Turn the bunch and continue chopping until the herb is finely diced. This method prevents bruising and keeps the cilantro vibrant and flavorful.
Is there lime juice in Chipotle corn salas?
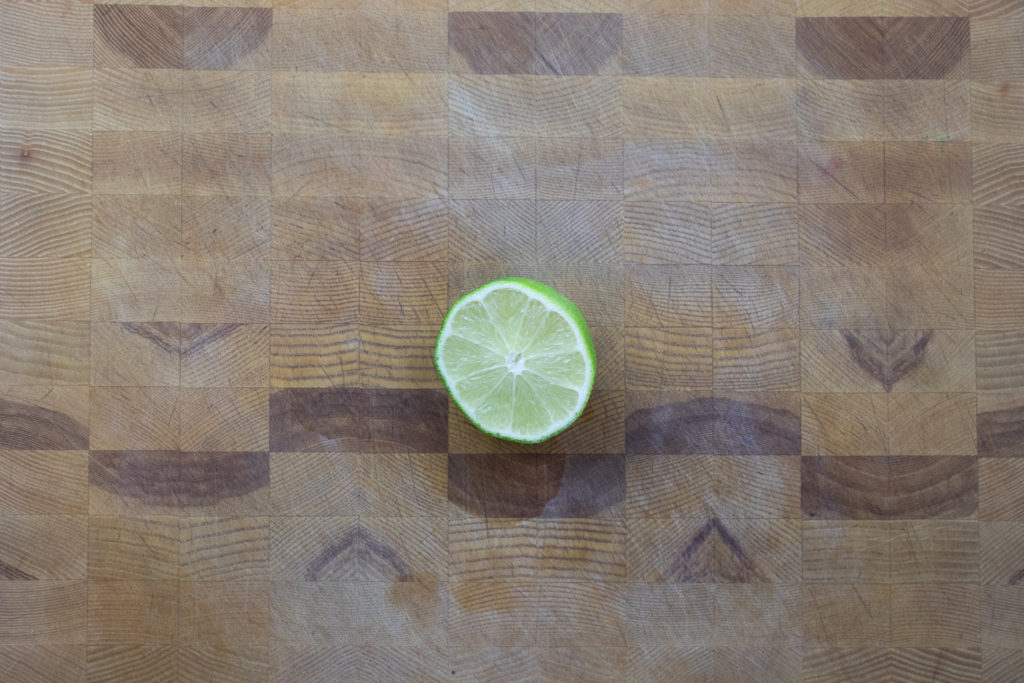
Yes, there is lime juice in the corn salsa from Chipotle. Getting the maximum amount of juice from limes can be achieved by rolling the lime under your palm before cutting it open—this breaks down some of the fibres. Then, cut the lime in half and use either a hand juicer or ream it with a fork to extract the juice. If you’re in a pinch, or fresh limes aren’t available, substituting bottled lime juice is perfectly acceptable. Use one tablespoon of bottled lime juice to replace the juice of one medium lime.
What does seasoning to taste mean?
Seasoning to taste means that you taste your food, add a little seasoning (salt, pepper, acid, sugar, heat), then taste again. You continue this process until the flavour of your food is what you’d like.
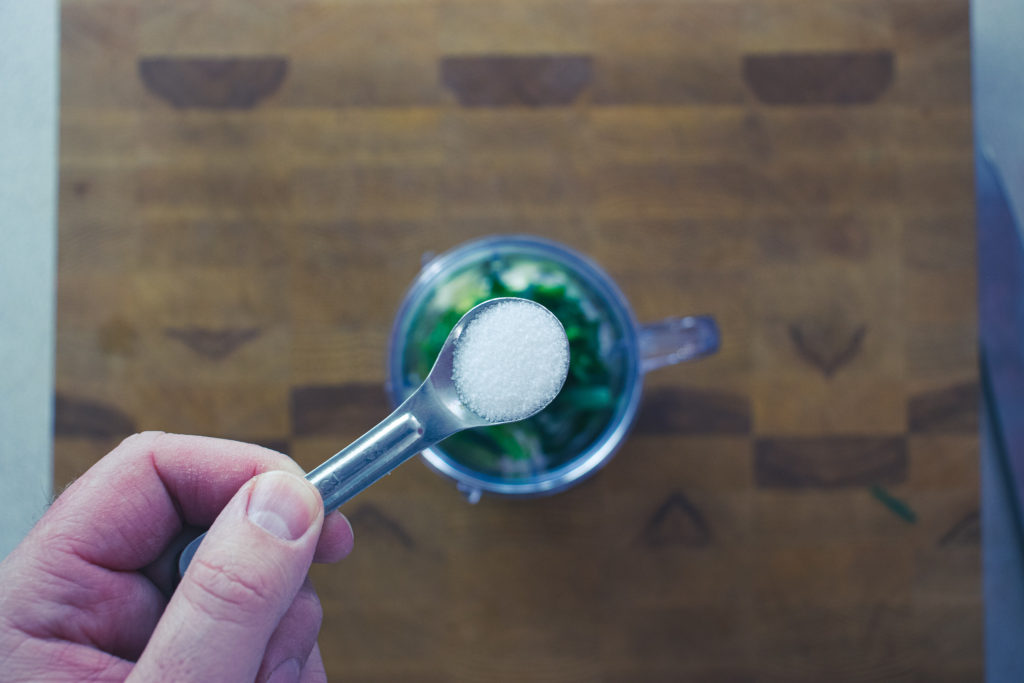
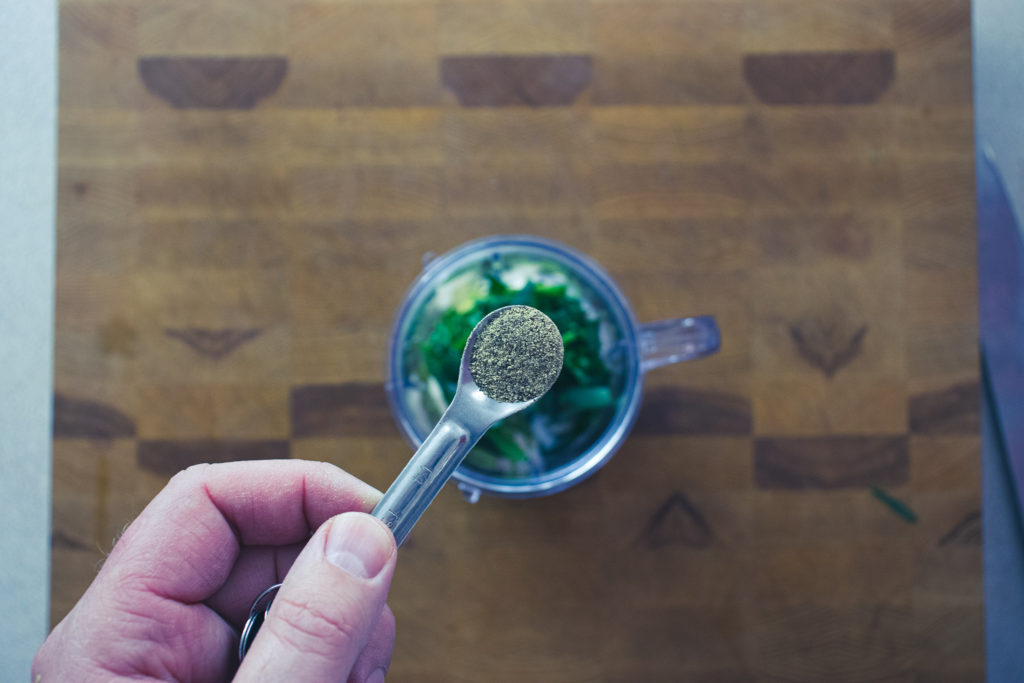
The key to perfecting your Chipotle Corn Salsa lies in seasoning it to your taste. Start with a pinch of salt and pepper, then adjust according to your preference. Taste as you go, and remember that the flavours will meld and intensify over time, especially after the salsa has had a chance to chill in the fridge.
How to make Chipotle Corn Salsa
The process of making a copycat Chipotle corn salsa recipe couldn’t be simpler. Put the corn, onion, jalapeño, cilantro, and lime juice in a bowl—season lightly with salt and pepper. Mix well. Taste and add a little more salt and pepper as needed. Cover the bowl and put it in the fridge for 30 minutes to marinate, then serve.
Recipe for chipotle corn salsa
This recipe for corn salsa from Chipotle is exactly what your looking for if you want that same delicious vibrantly flavoured corn salsa you get at Chipotle.
1can 12 fl oz or 341 ml corn niblets, drained and rinsed
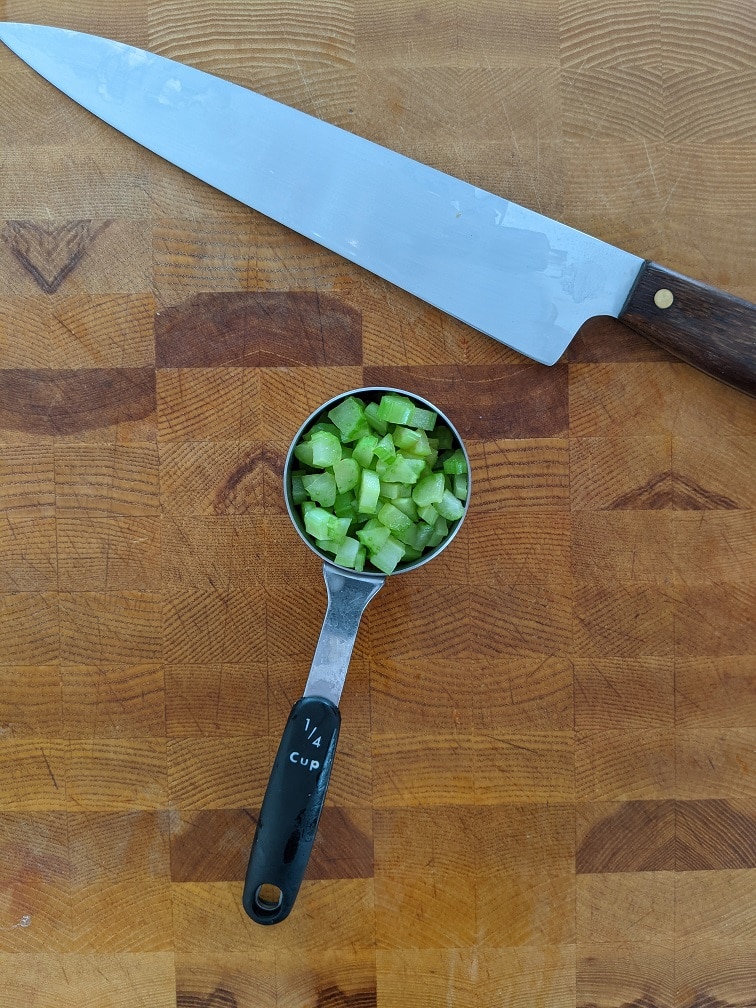
1/2cupred onion, finely chopped
1jalapeño, seeds removed and finely chopped(adjust based on heat preference)
2/3cupfresh cilantro, chopped
Juice of 2 limes
1/2teaspoonsalt, or to taste
1/4teaspoonpepper, or to taste
Instructions
Drain and rinse the canned corn to remove any excess liquid and starch. This step helps to freshen up the flavour of the canned corn, making it more similar to fresh corn in taste.
Combine the drained corn, finely chopped red onion, chopped jalapeño, and cilantro in a medium mixing bowl. Mix these ingredients well to ensure they are evenly distributed.
Next, squeeze the juice of two limes over the corn mixture. This step is crucial as the lime juice adds a bright, citrusy flavour that’s key to replicating the Chipotle-style salsa. Don’t forget to add salt and pepper, then stir everything together until well combined.
After preparing the salsa, it’s important to let it marinate in the refrigerator for at least 30 minutes to an hour before serving. This resting time is crucial as it allows the flavours to meld together, intensifying the overall taste and making the salsa more delicious.
Serve your salsa chilled as a side, or use it as a topping for tacos, nachos, burritos, or bowls. It’s also excellent as a standalone dip with tortilla chips.
You’re now all set to create Chipotle Corn Salsa whenever you want. Not only is this salsa delicious and simple, but it’s also a testament to the joy of making vibrant, fresh food at home. Enjoy your culinary creation with chips, over tacos, or as a vibrant side that brings a touch of Chipotle’s signature flair to your table. Happy cooking!
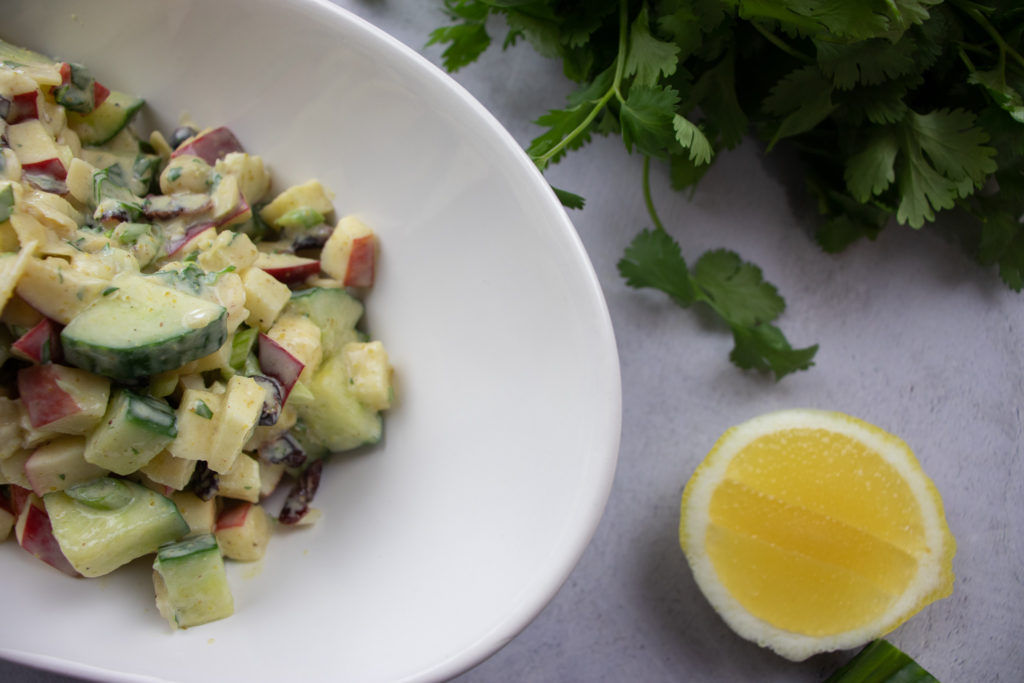
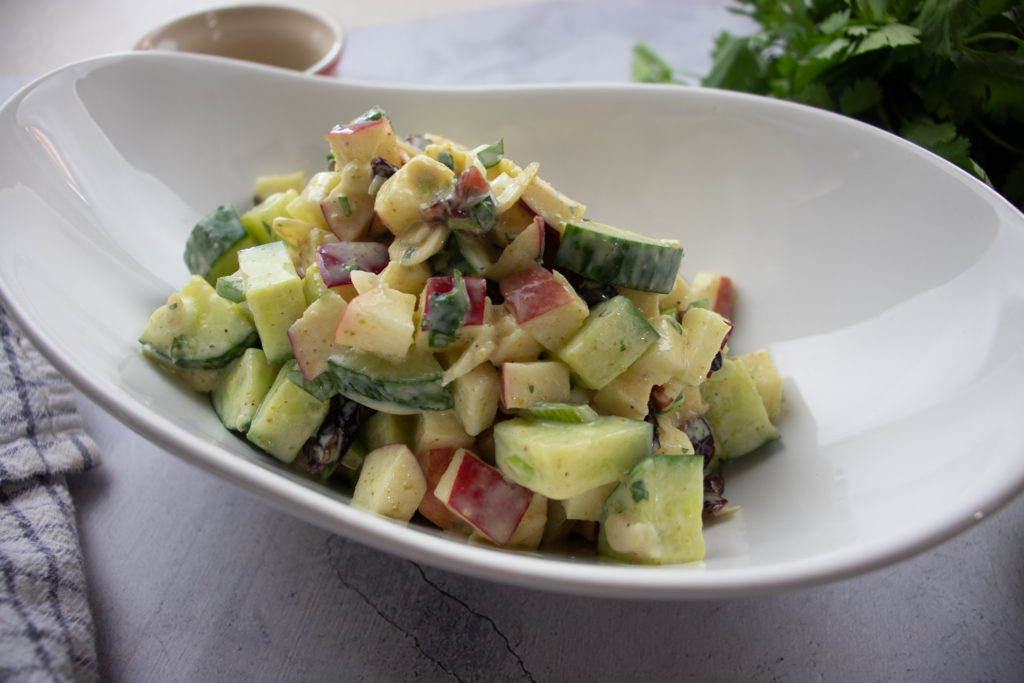
If you are looking for a delicious and refreshing summer salad that you’ll want to share with your friends, this Curried Cucumber and Apple Salad is just the thing. Its bright flavours and pops of sweetness make it the perfect accompaniment to grilled or roasted meat, chicken or fish. You can serve it as a side or bulk it up with some protein for a meal. Either way, this is a recipe worth trying.
Curry Sauce
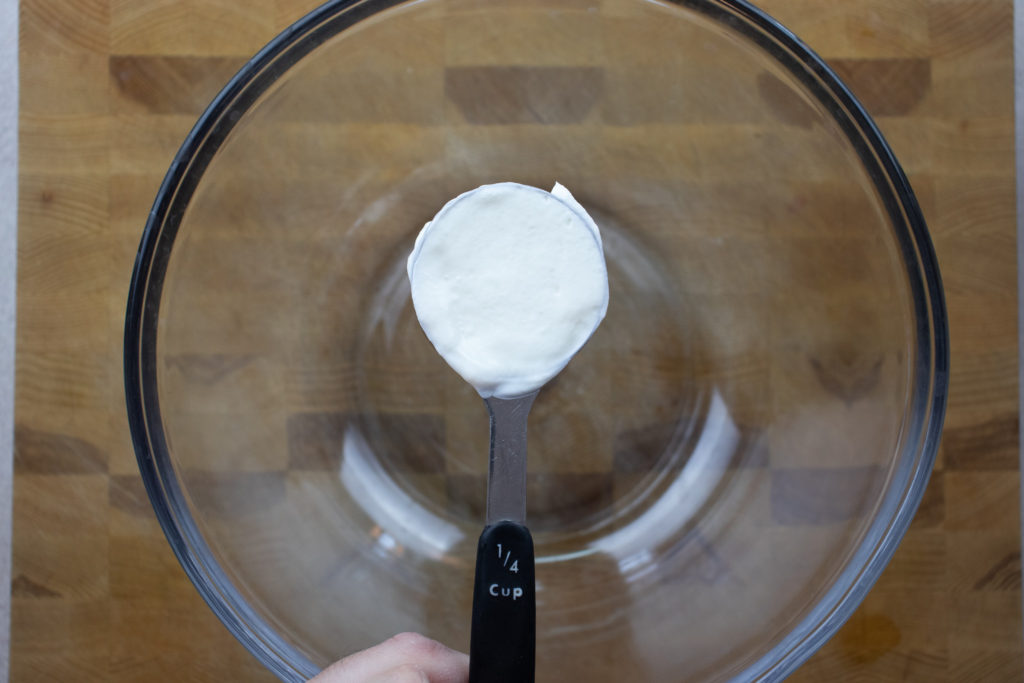
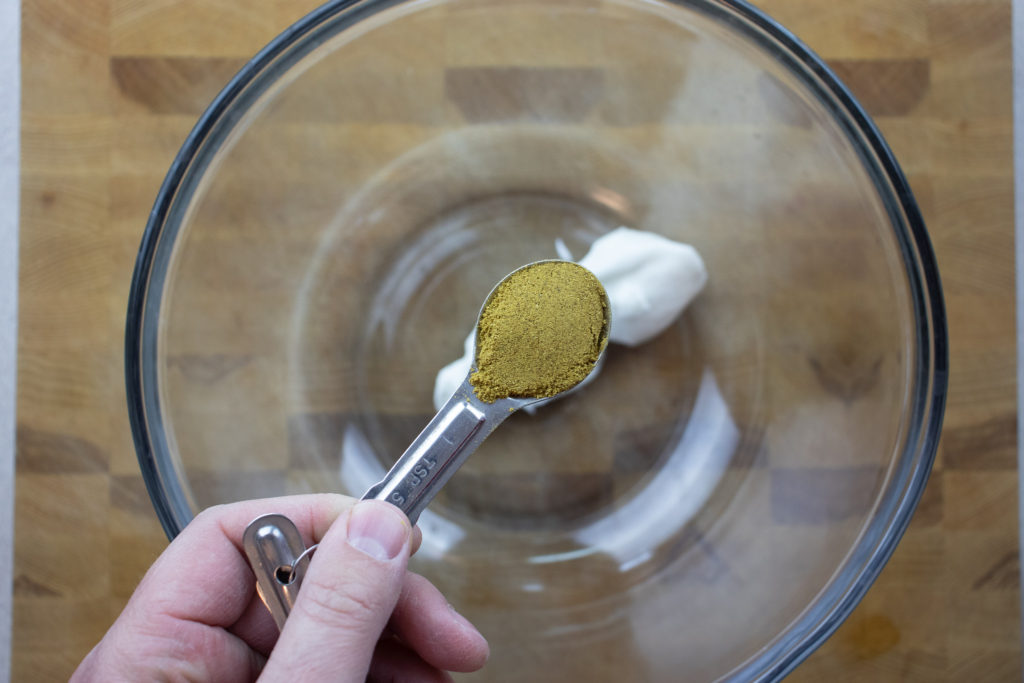
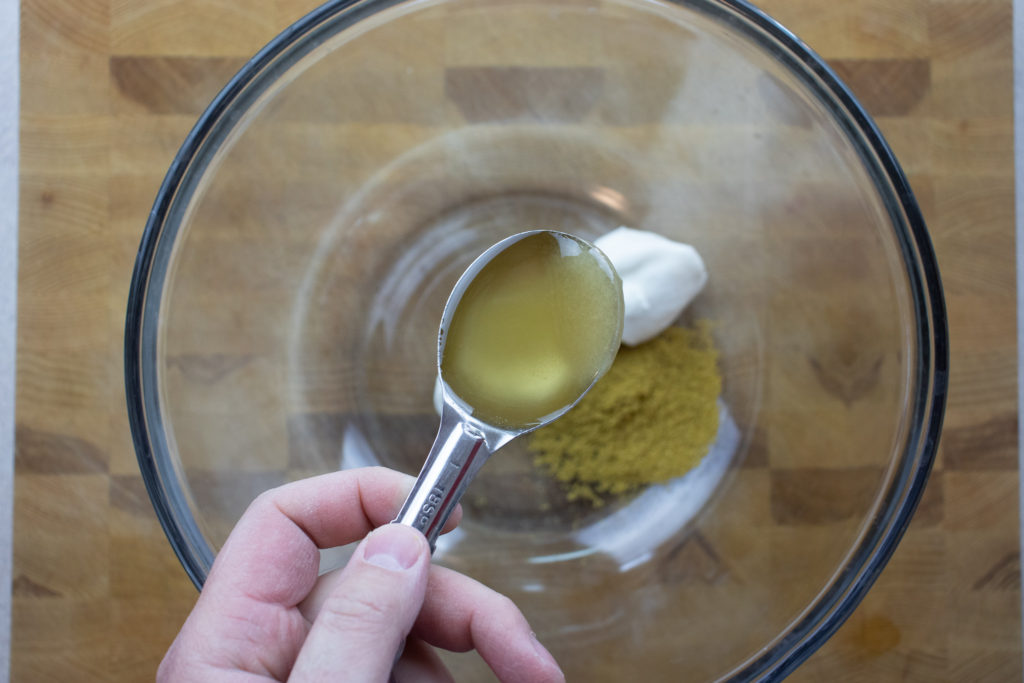
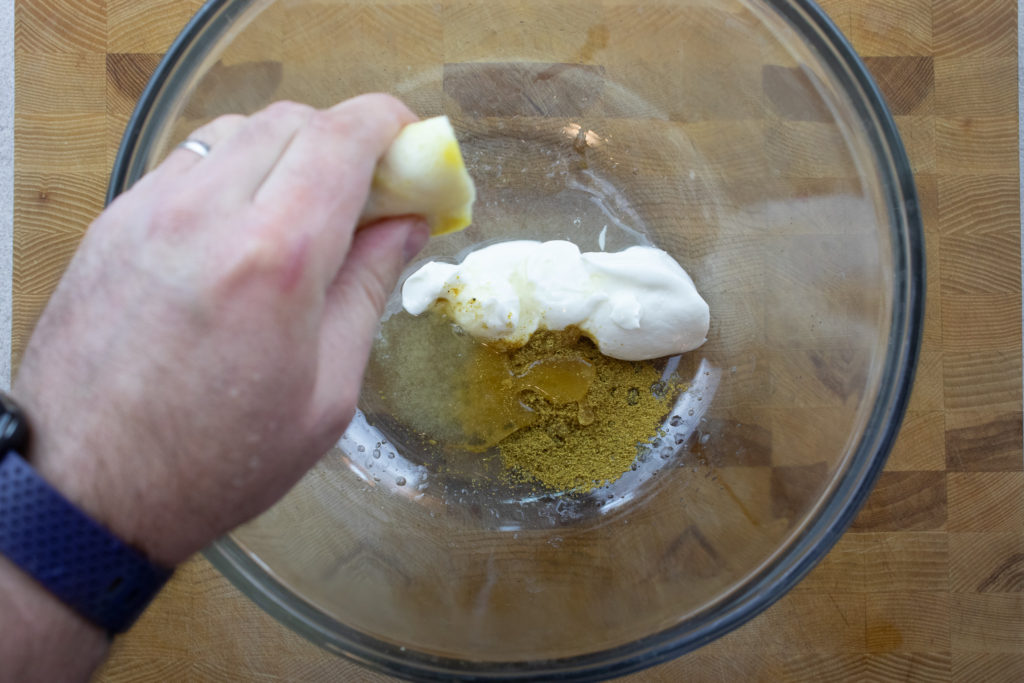
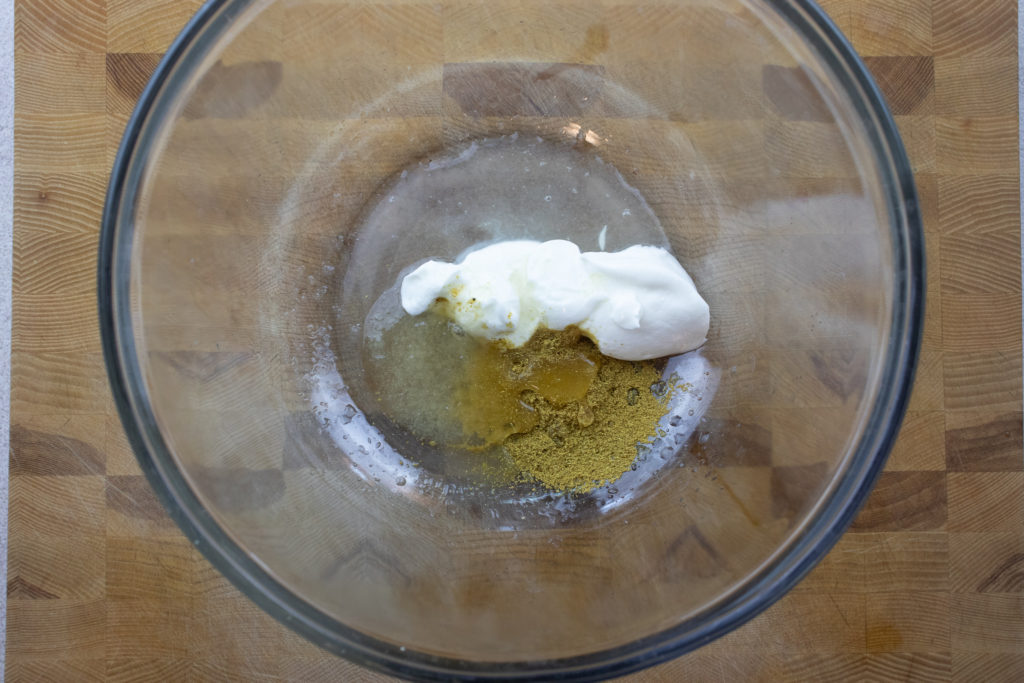
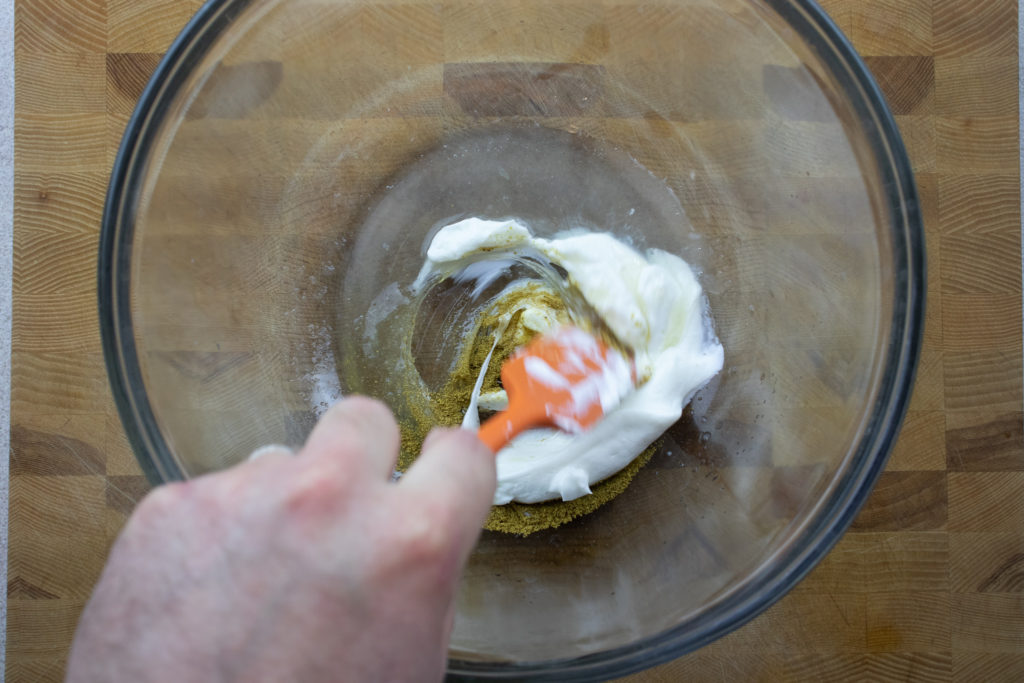
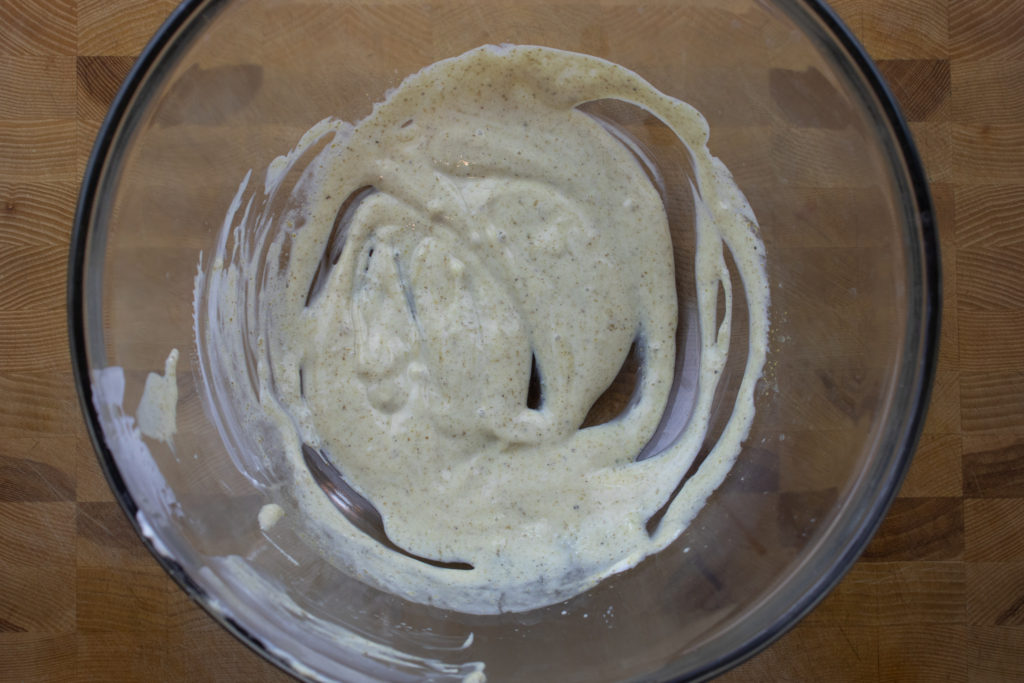
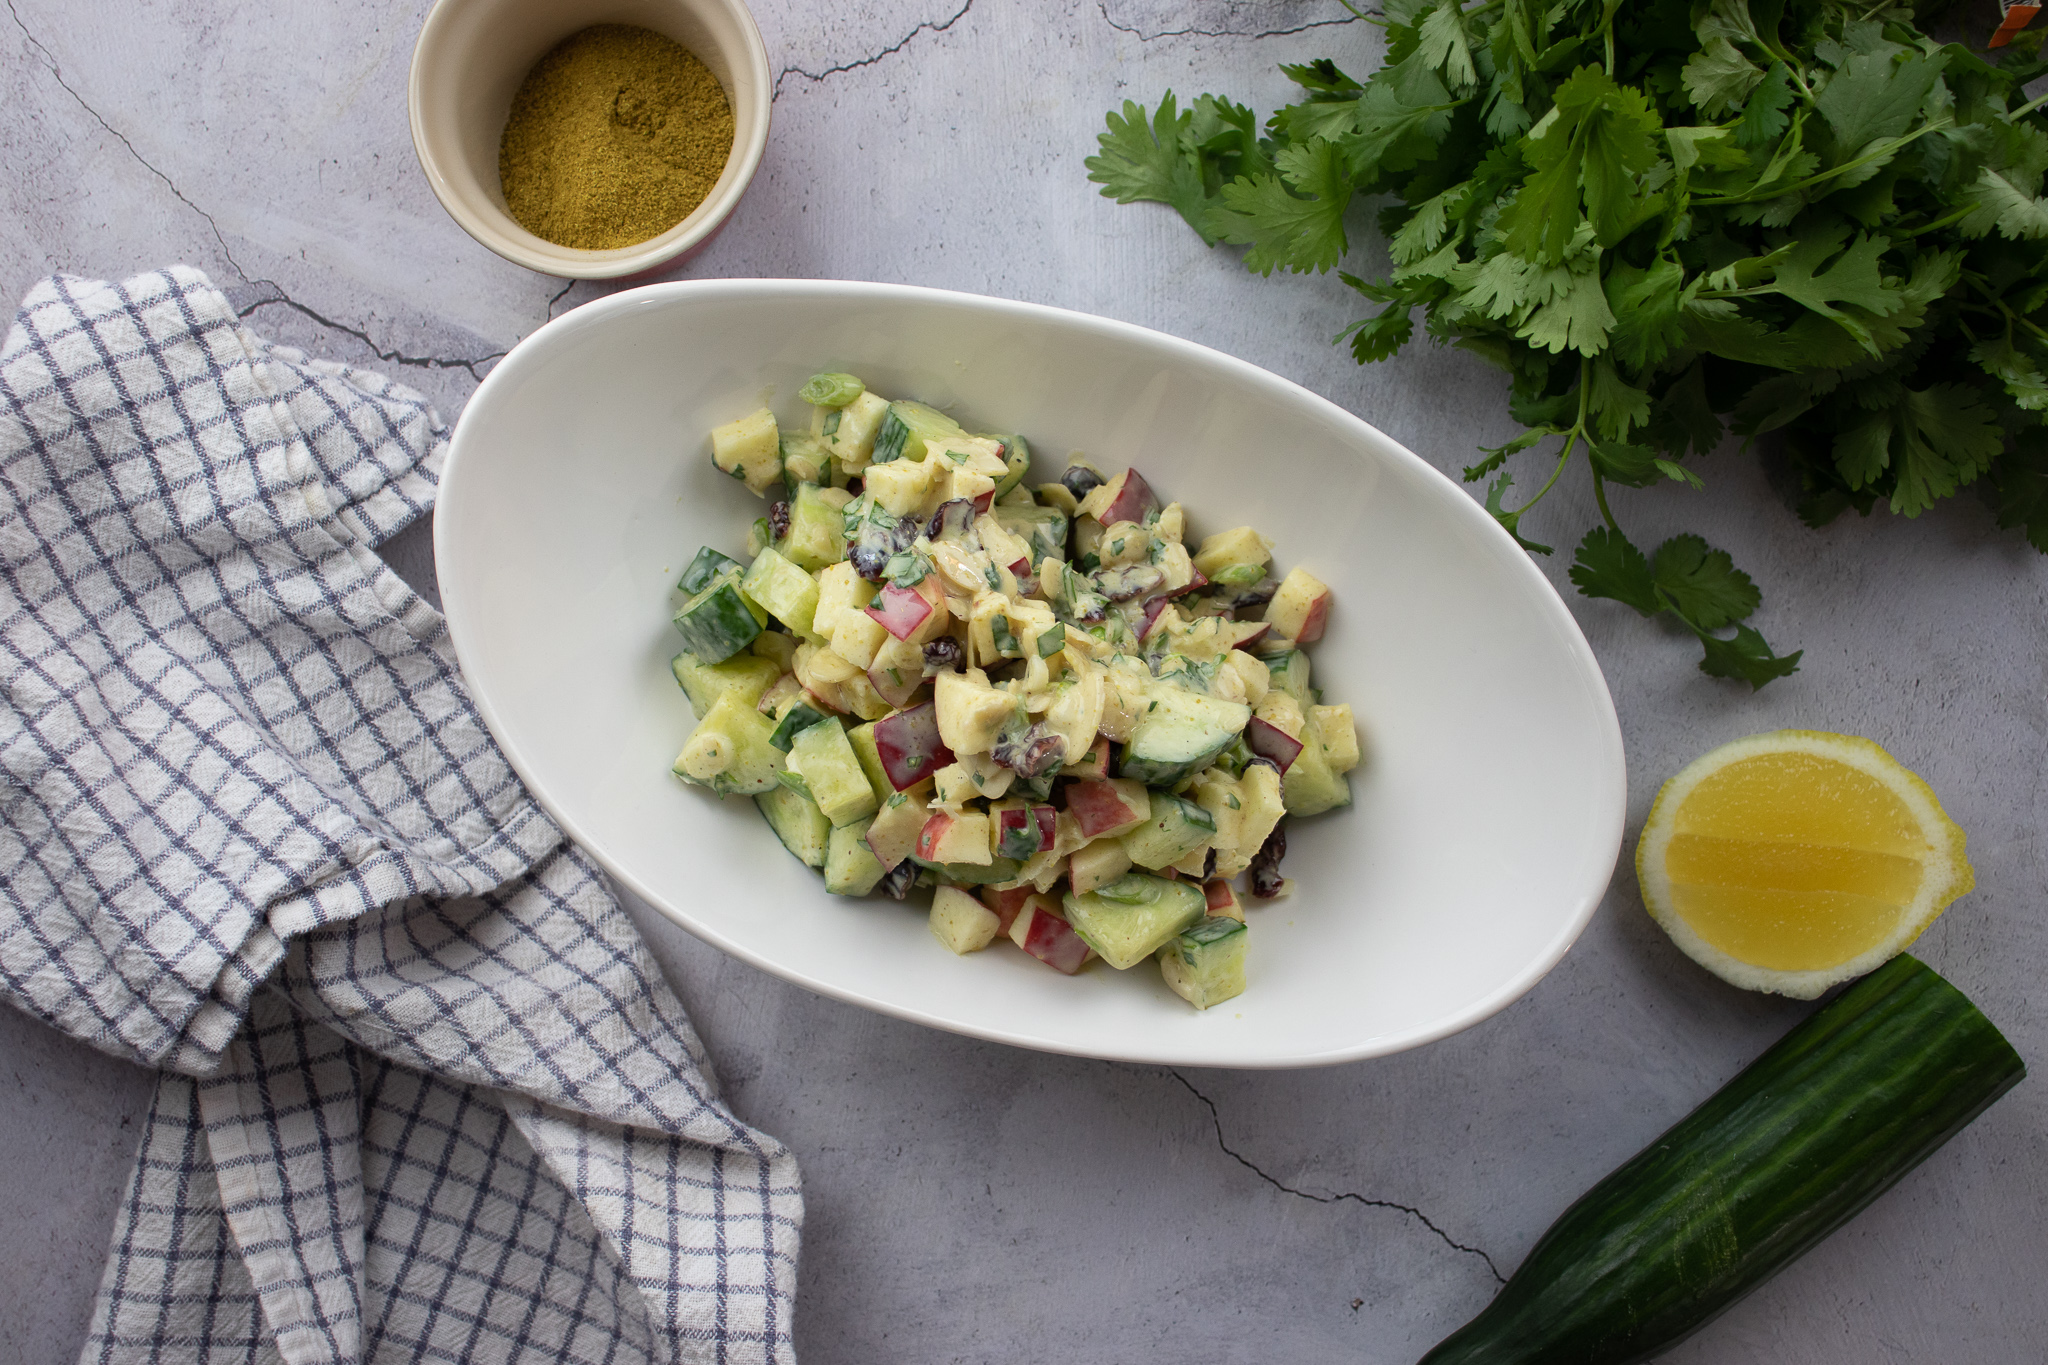
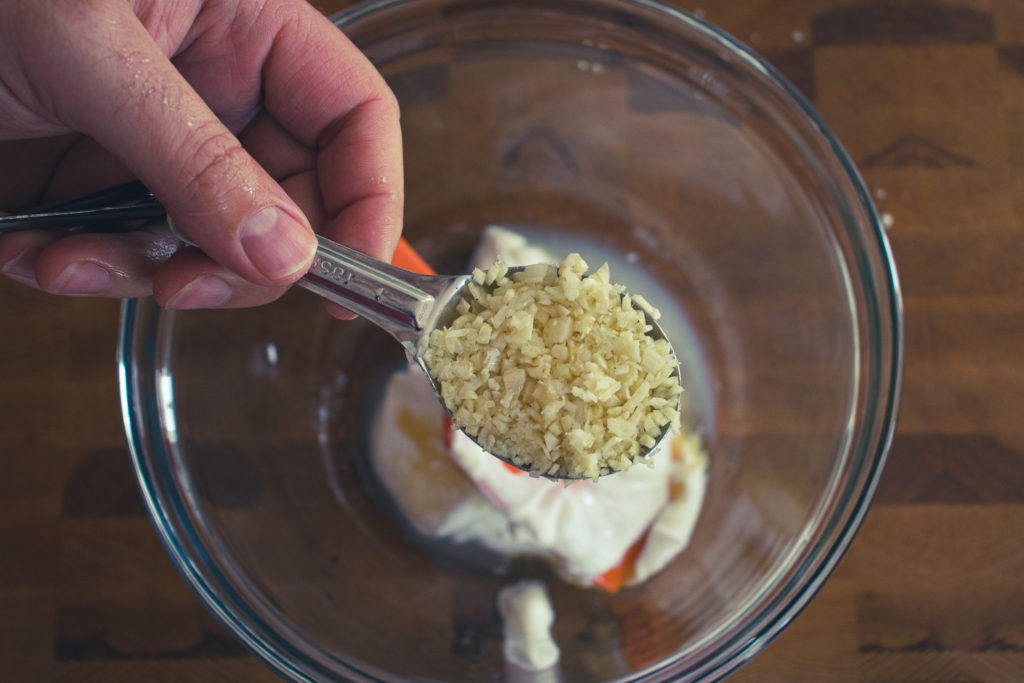
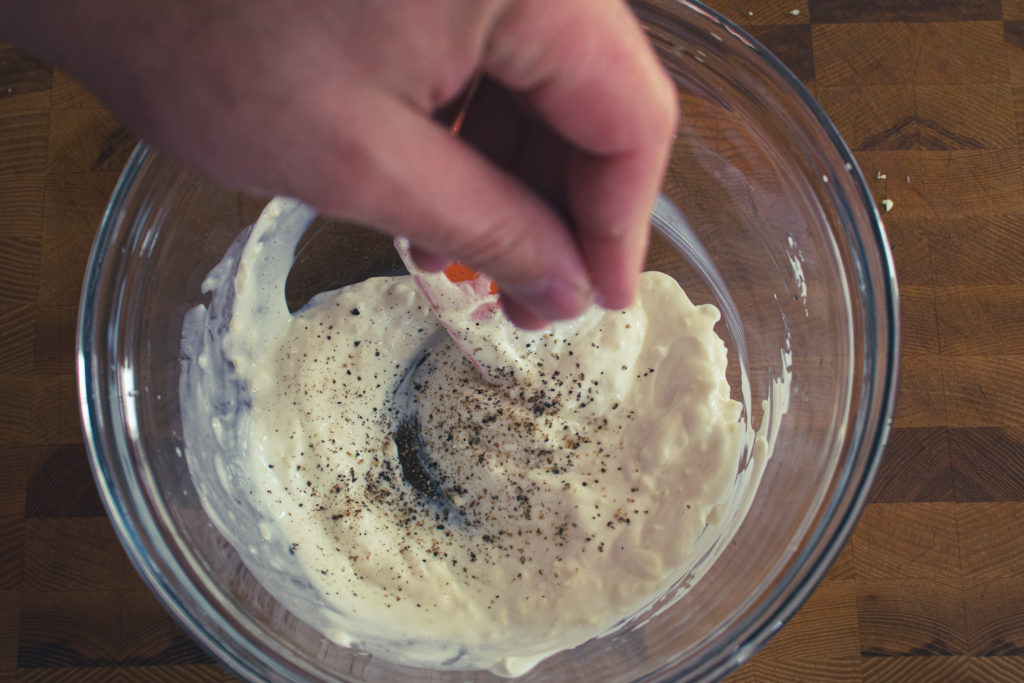
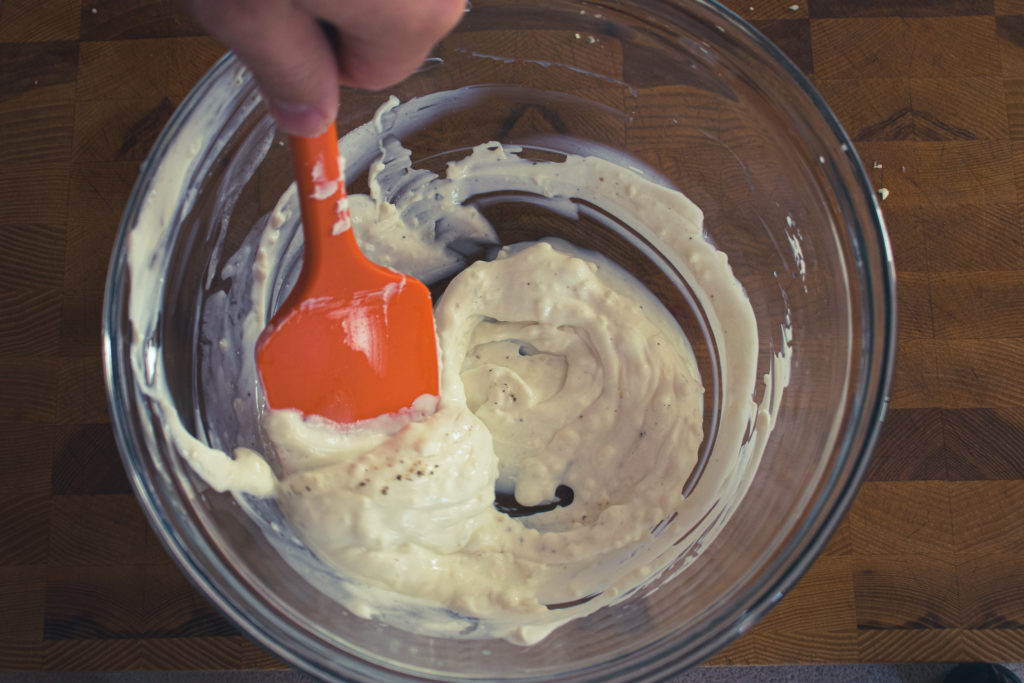
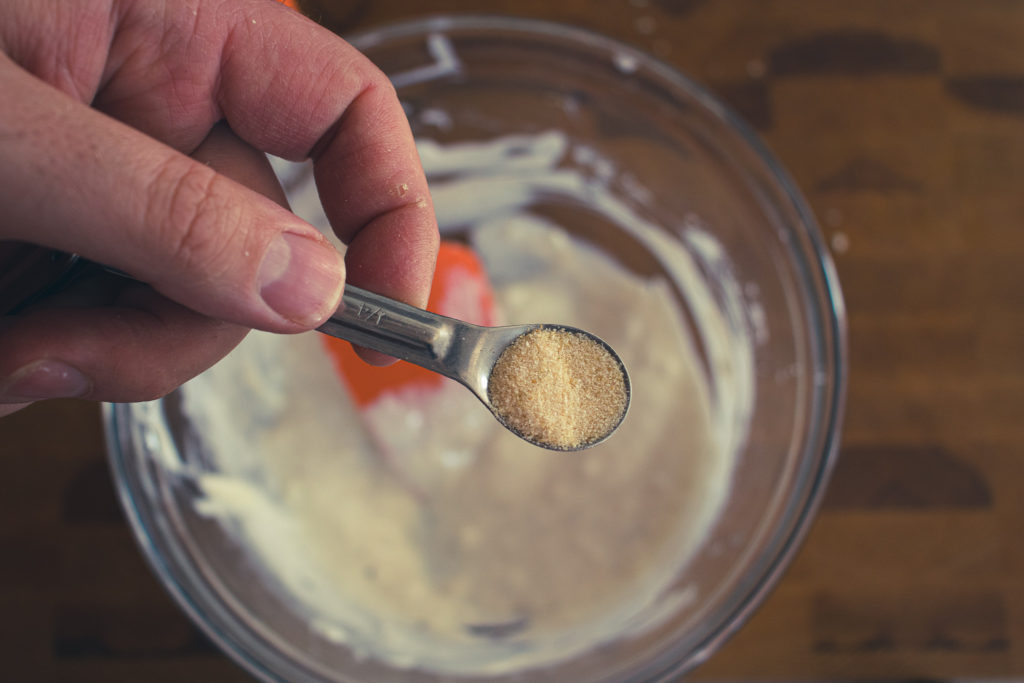
The curry sauce for this Curried Cucumber and Apple Salad combines yogurt, garam masala, honey, lemon juice, and a pinch of salt. You can switch the yogurt for mayonnaise and the garam masala for madras or yellow curry powder if you’d like. The mayonnaise-based version of this sauce makes an excellent dip for sweet potato fries. Combine the yogurt, garam masala, honey, and lemon juice in a medium mixing bowl to make the curry sauce. Once mixed, taste the sauce and season it as needed with salt. You can use the sauce right away or cover it and put it in the fridge for an hour to let the flavours blend a little more.
Curried Cucumber and Apple Salad
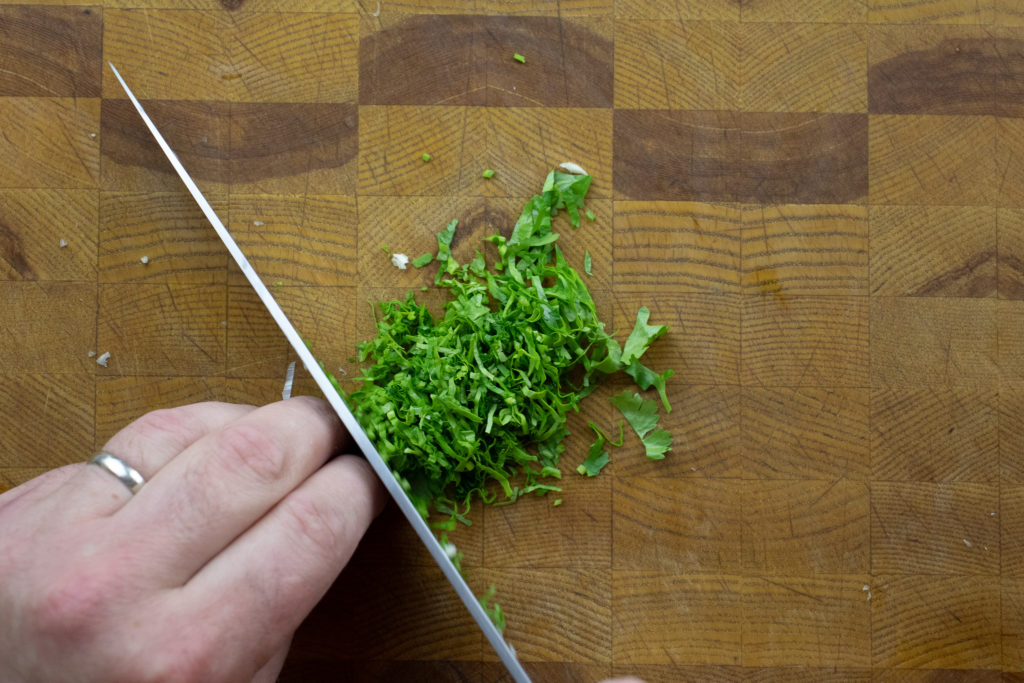
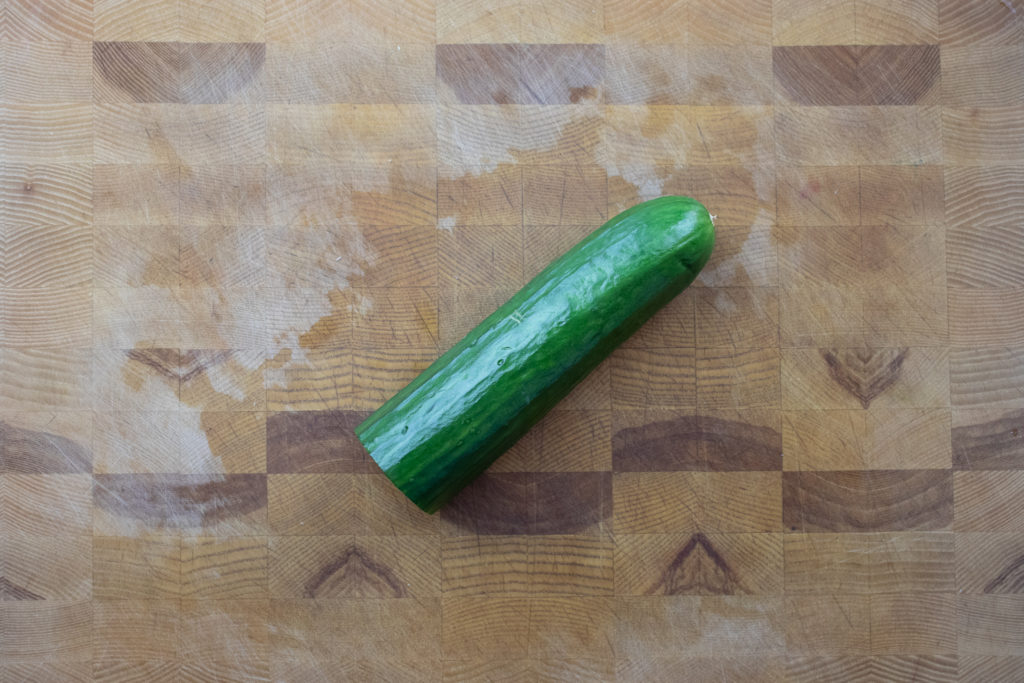
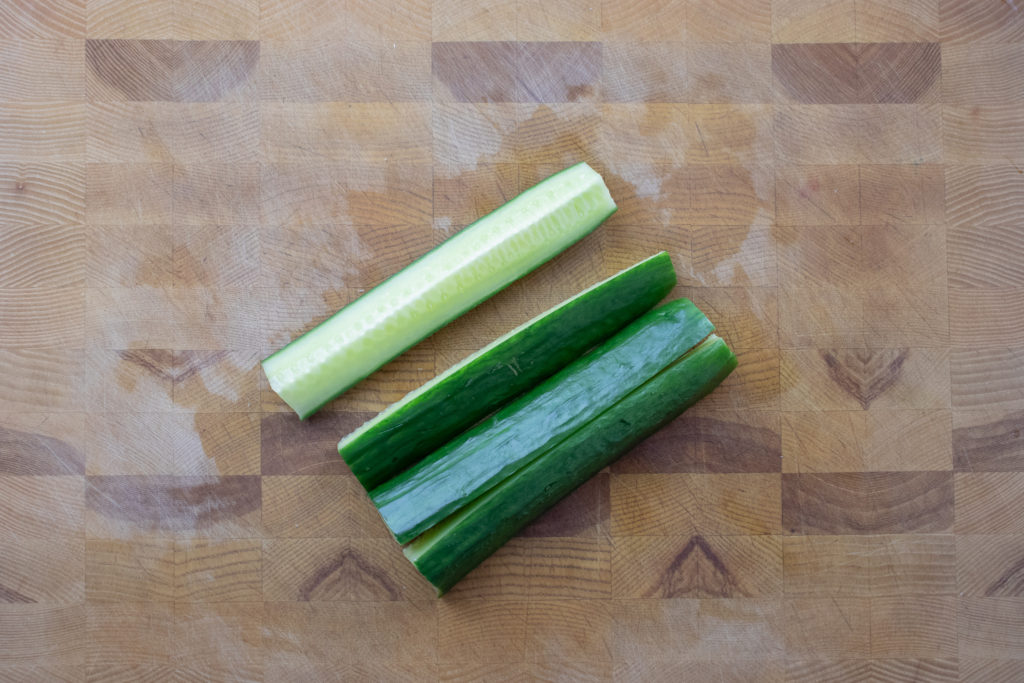
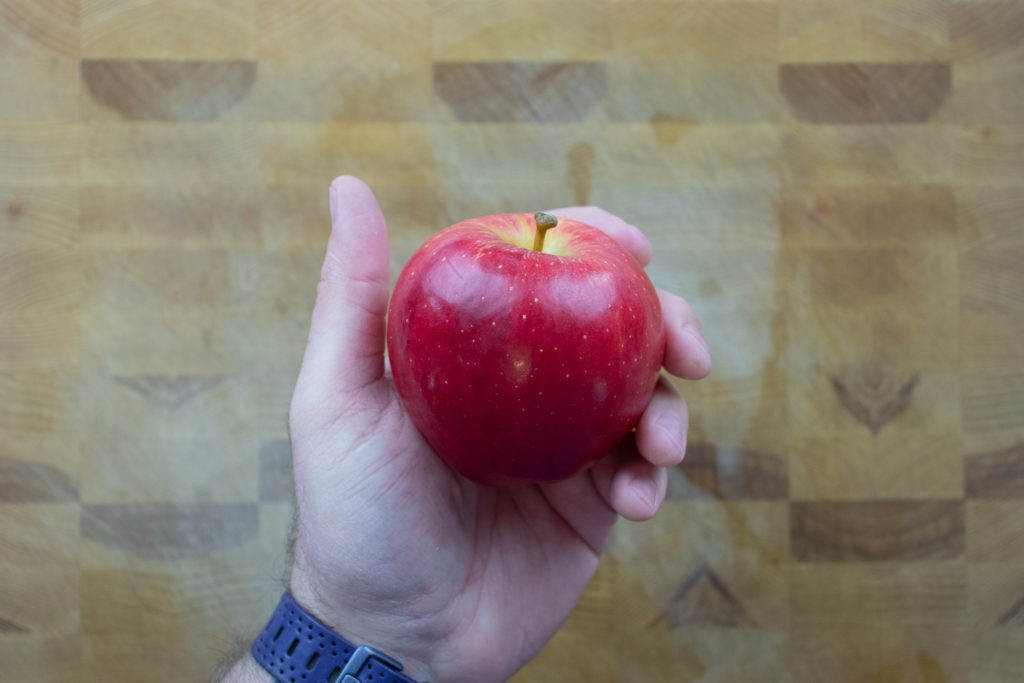
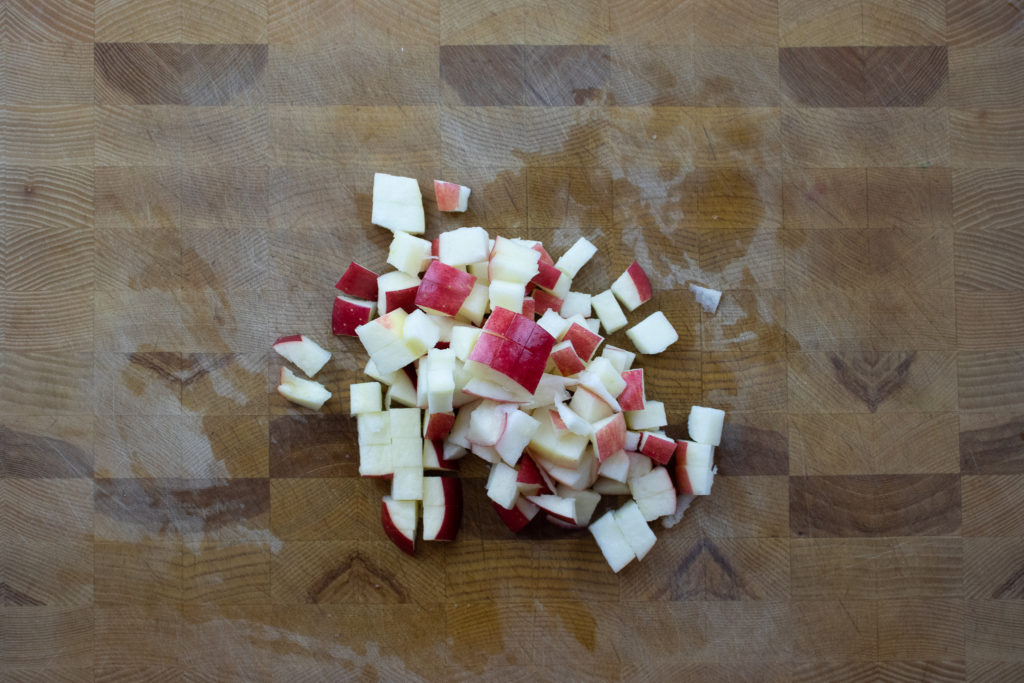
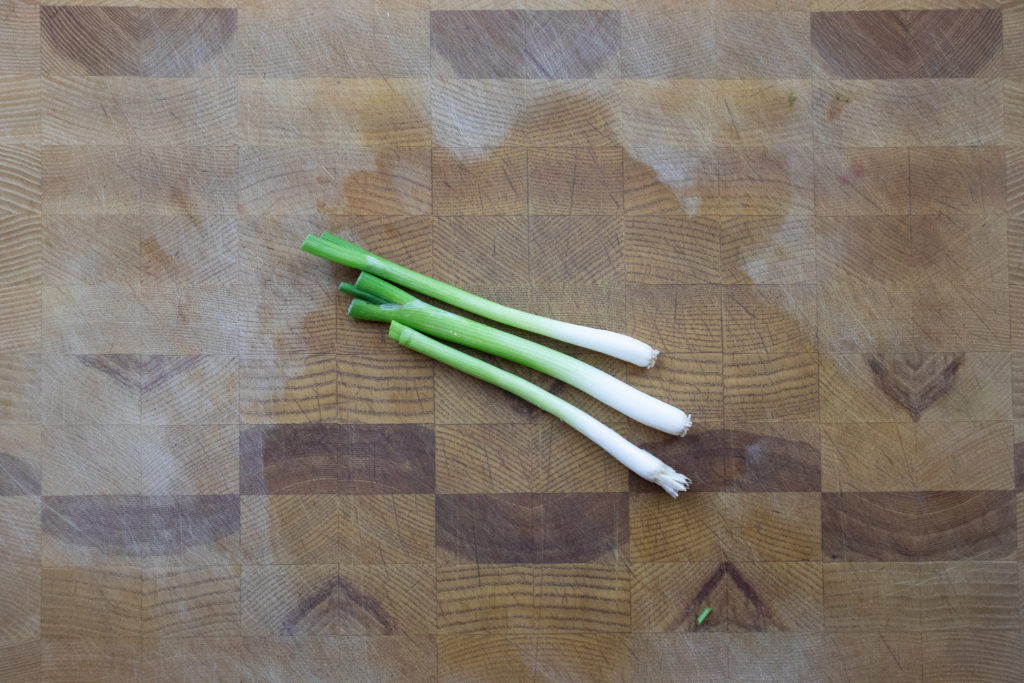
The salad ingredients are cucumber, apple, dried cranberries or raisins, cilantro, green onion, and slivered almonds. I made this salad with shaved cucumber, but I found that the cucumber became very soggy, and the salad was watery. So, I suggest dicing the cucumber. This salad is best when served right away, but you can make it ahead of time if you leave the cucumber out until the last minute. If you must make this Curried Cucumber and Apple Salad ahead of time with the cucumbers, remove the seeds from the cucumbers. The seeds contain a significant amount of the cucumber’s water content, so removing them will help prevent a watery salad. However, it removing the seeds will eliminate this problem entirely.
Making The Salad
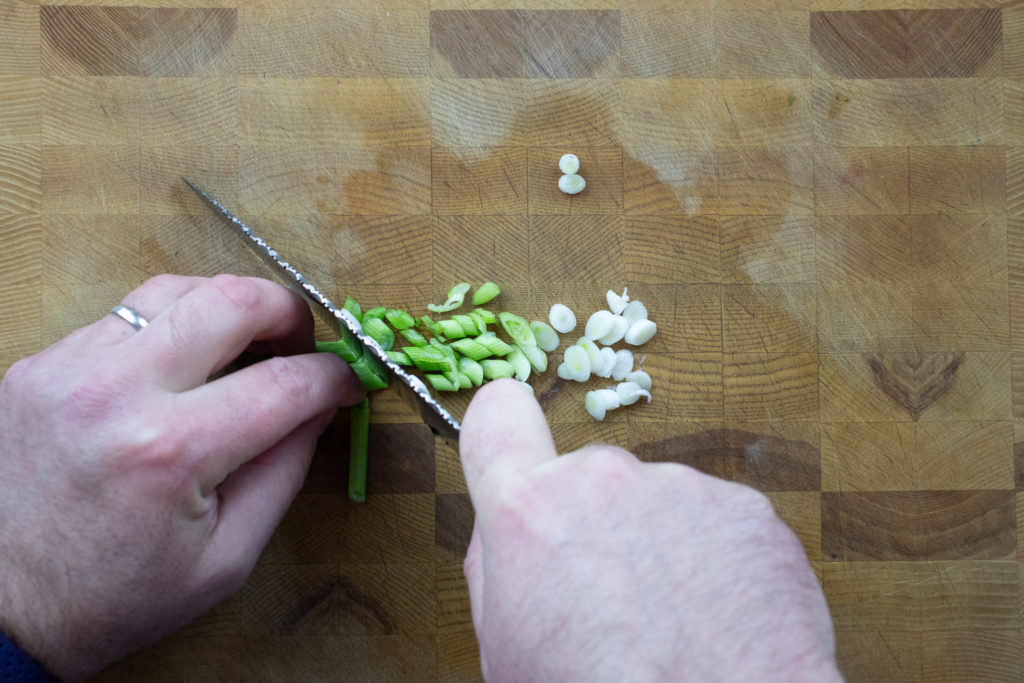
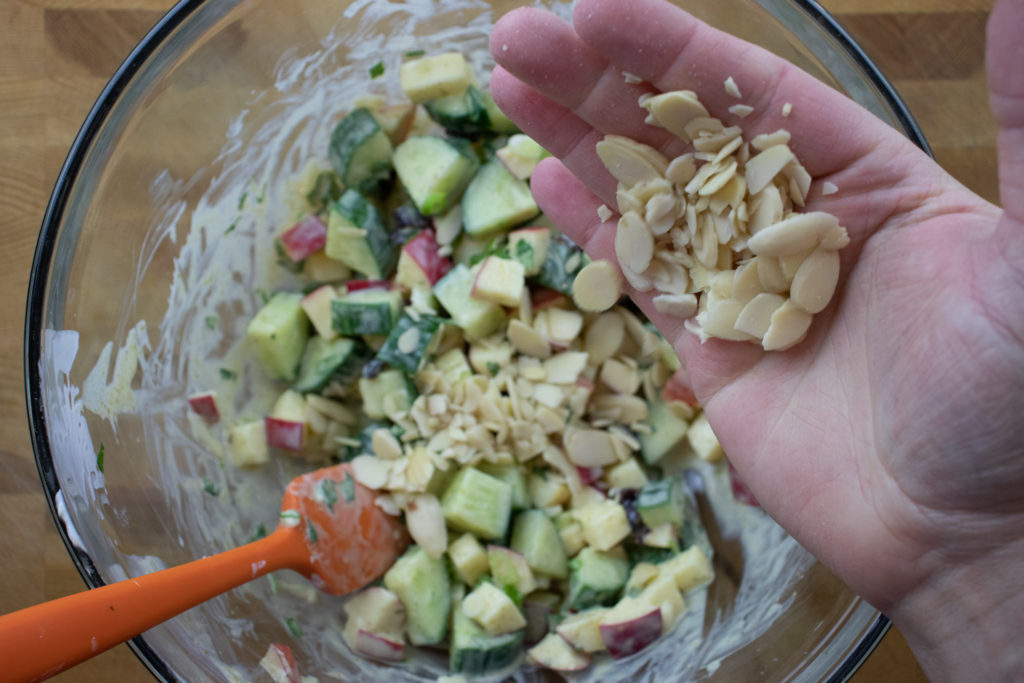
To make the salad, dice half a cucumber and one apple and add them to the curry sauce. Next, add the dried cranberries, then slice the cilantro and green onions and put those in the bowl too. Finally, add the almonds and mix. Serve immediately.
Wrap-Up
This Curried Cucumber and Apple Salad makes a great sidedish with kabobs or grilled meat. You can make it a meal by adding cooked chicken breast or even tuna. Other ingredients that would go well in this salad include bell pepper, pecans, chickpeas, red onion, mint, and tomato. So take this recipe, and make it your own.
Thank you so much for coming to my blog and reading this post. I hope you’ve enjoyed it and taken something useful from it. This blog aims to share the knowledge and skills that I’ve learned over my 20-plus year cooking career to help make cooking more enjoyable and more accessible for those who don’t find it easy and enjoyable. If you’d like to be a part of that mission, there are a few ways that you can help. The easiest way to help is to share this post on Facebook or Pinterest or even just leave a comment below and give the recipe a good rating. If you’d like to help financially, join my Patreon by clicking here. Patrons get access to exclusive content, including live streams, monthly cooking videos and more. And, if you want to always know what’s going on with Chef’s Notes, you can subscribe to my monthly newsletter below, so you never miss a post. You get all the behind-the-scenes information and lots more.
Curried Cucumber and Apple Salad
Curry Dressing, Diced Cucumber and Apple, Dried Cranberries, and Almonds make this salad something special. Enjoy it as a side dish or add cooked chicken to make it a meal.
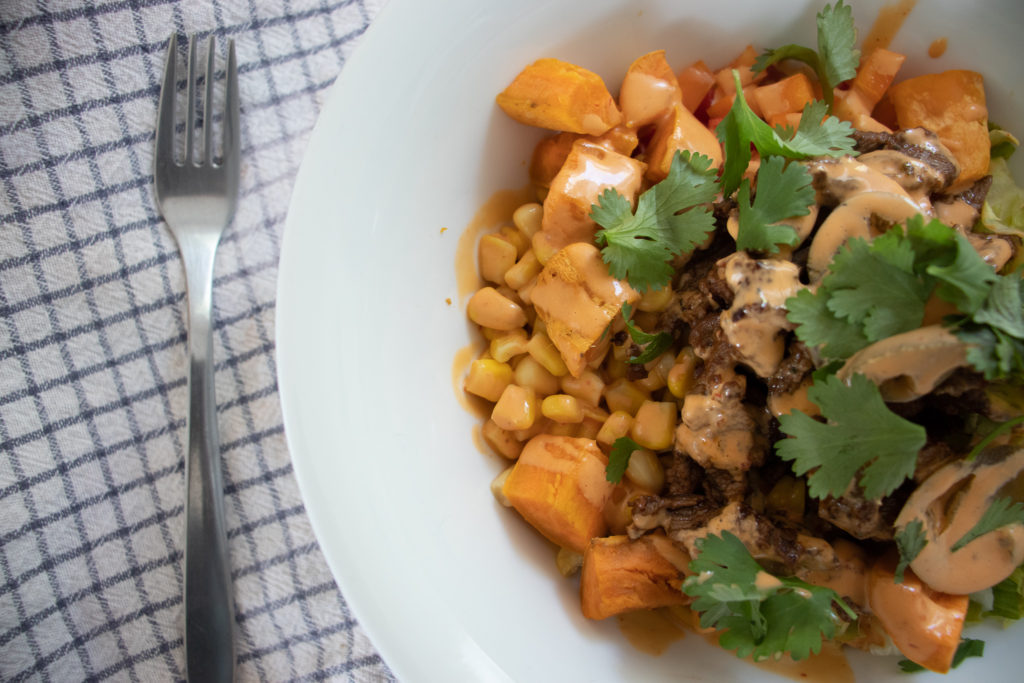
Looking for a spicy, flavour-packed bowl recipe? Look no further! Our spicy beef bowl recipe with tangy chipotle lime sauce will become your new favourite. It’s loaded with marinated beef, lots of veggies, and a little bit of rice for a crave-worthy meal perfect for sharing. Don’t want to use beef? No problem – this recipe is versatile enough to work with your preferred protein. Keep reading for all the delicious details, and get ready to cook up a storm!
Spicy Beef Bowl: What’s Inside?
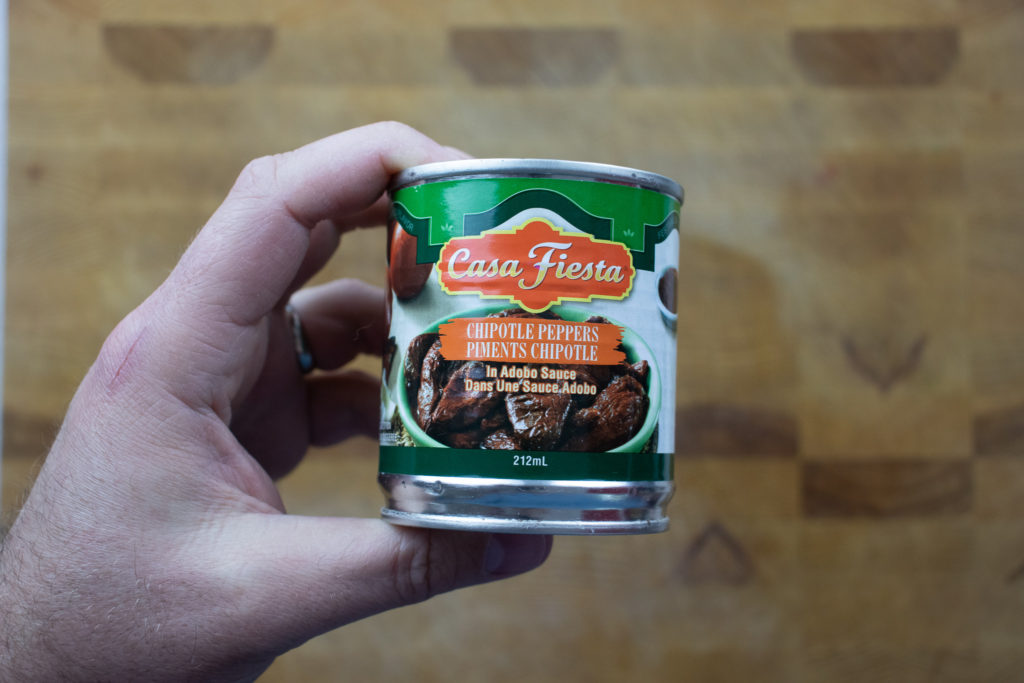
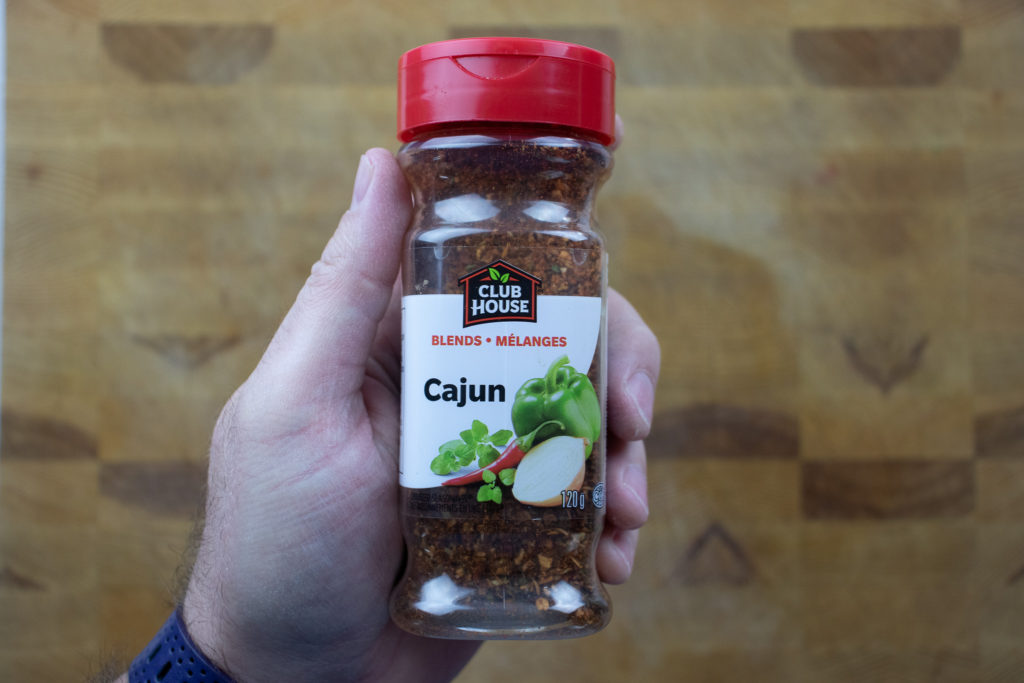
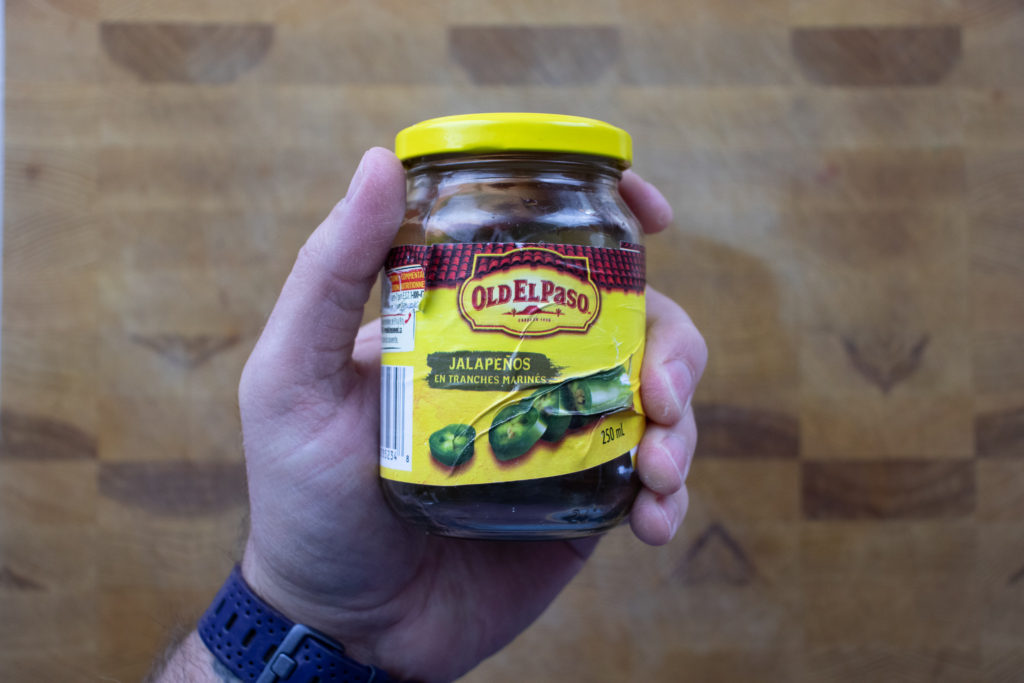
This spicy bowl recipe is loaded with bold, flavourful ingredients that are sure to satisfy your cravings. I’ve included chipotles in adobo, cajun seasoning, and pickled jalapenos in the marinade for the beef and the chipotle lime sauce. These spicy ingredients add a ton of flavour to the dish. If you’re looking for an extra kick, add half a habanero pepper to the marinade and sauce. From the marinated beef to the standalone jalapenos, every ingredient in this bowl is carefully chosen to deliver maximum flavour and spice. Keep reading to learn more about this recipe and how to make it at home.
Marinating The Beef
Making the spicy beef marinade
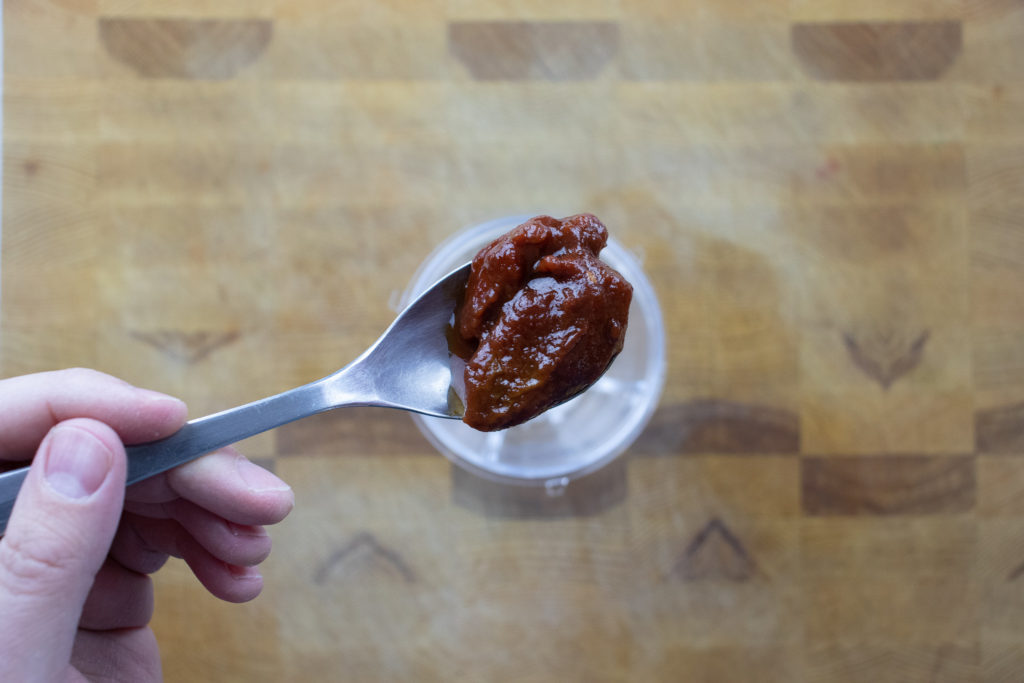
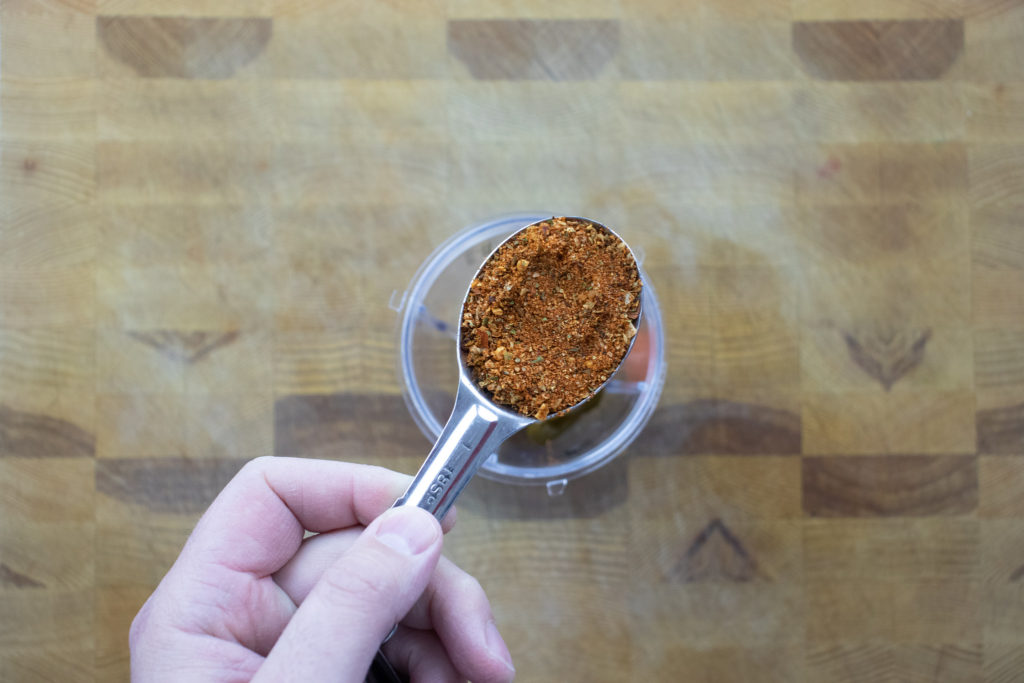
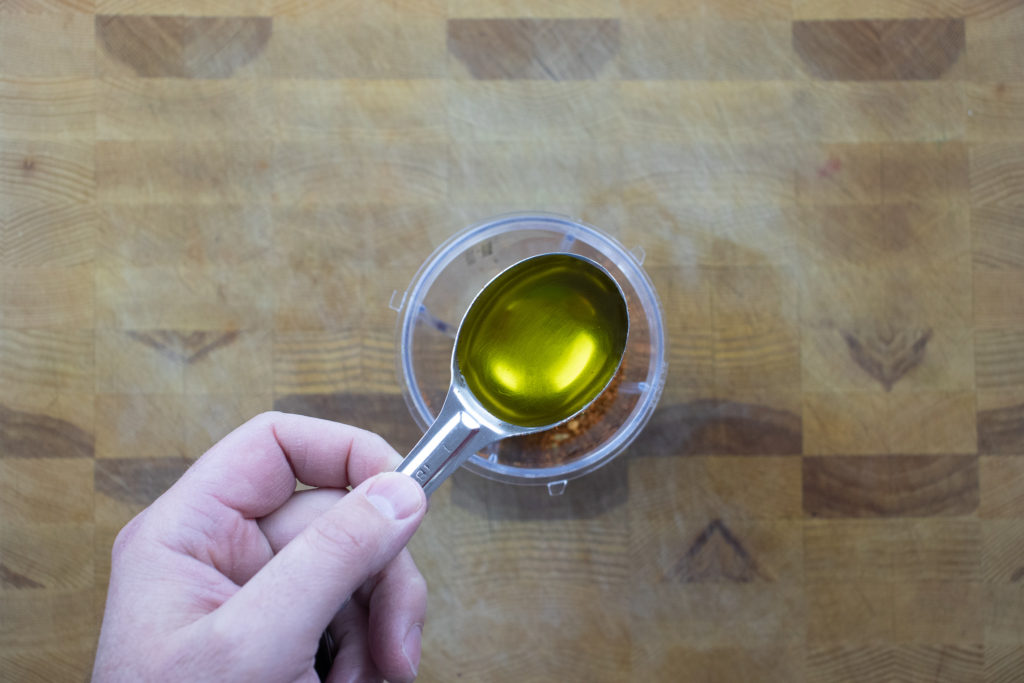
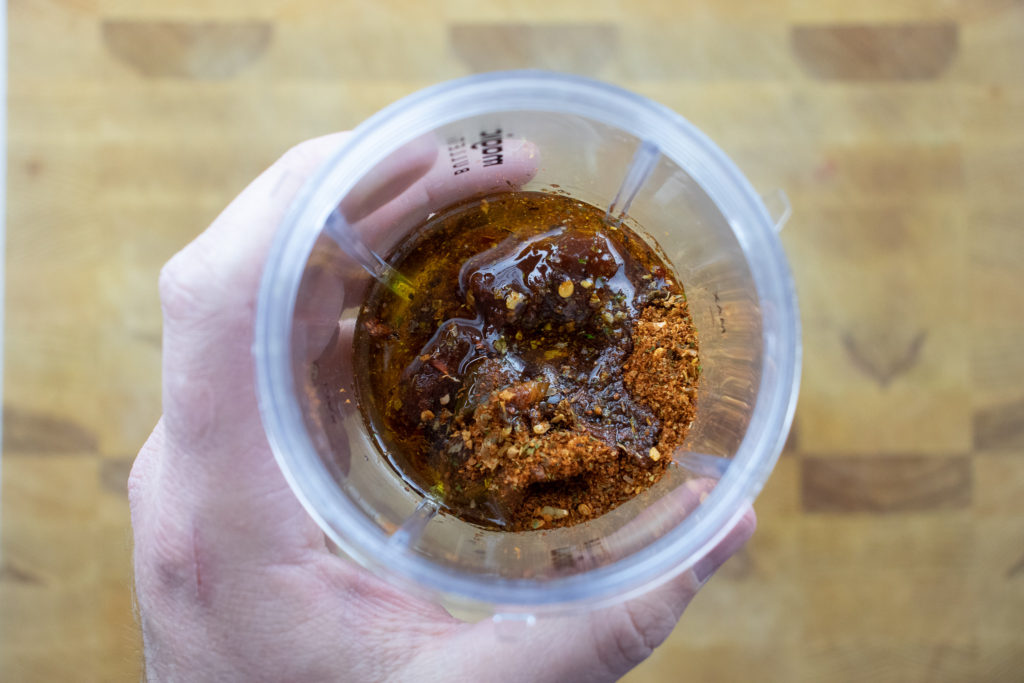
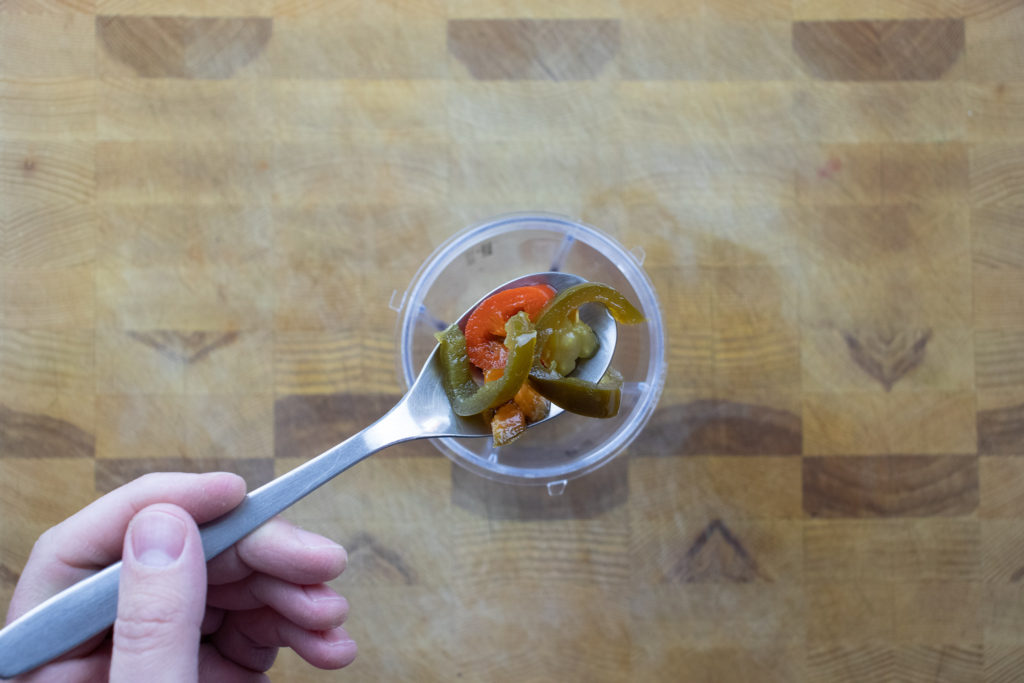
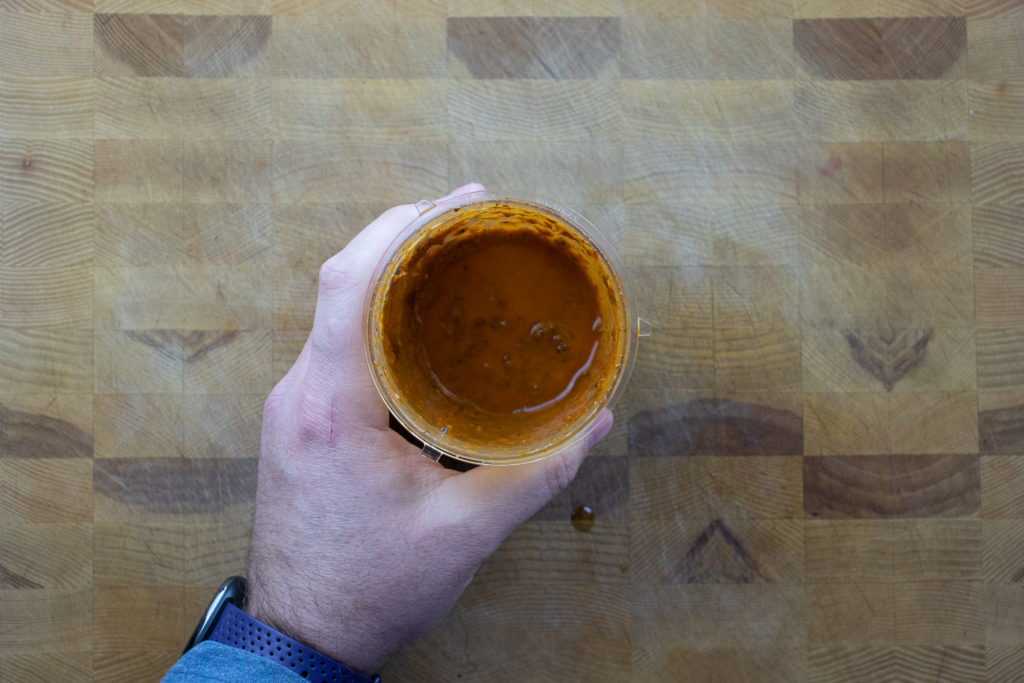
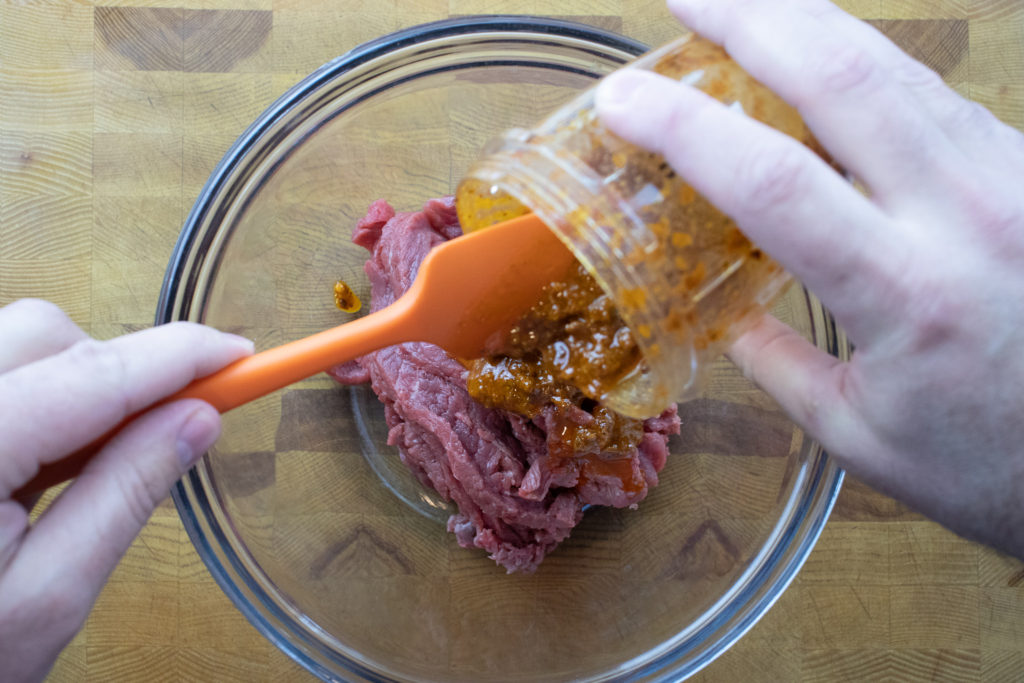
This spicy beef marinade is packed with bold, flavourful ingredients to boost your meat’s taste. One of the key players in this marinade is chipotles in adobo sauce – have you heard of it? It’s a Mexican condiment made from smoked and dried jalapeno peppers that have been rehydrated and canned in a sauce made of tomato, vinegar, and spices. In addition to the chipotles, you’ll also need cajun seasoning, pickled jalapenos, olive oil, and salt. Just toss all these ingredients into a blender or food processor and blend until smooth. If you don’t have either of these appliances, it’s no problem – finely chop the chipotles and jalapenos by hand and mix them with the other ingredients. This marinade works well with various proteins, including beef, chicken, pork, salmon, or tofu. Use your favourite, or mix it up and try something new! Keep reading to learn more about using this marinade in the spicy beef bowl recipe.
Preparing the beef
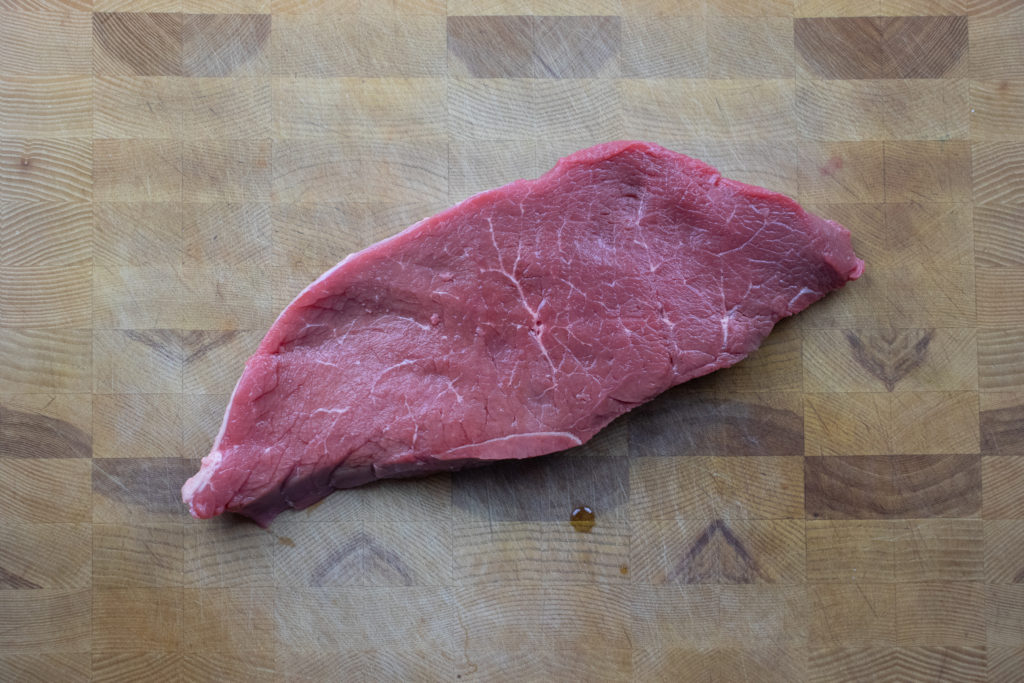
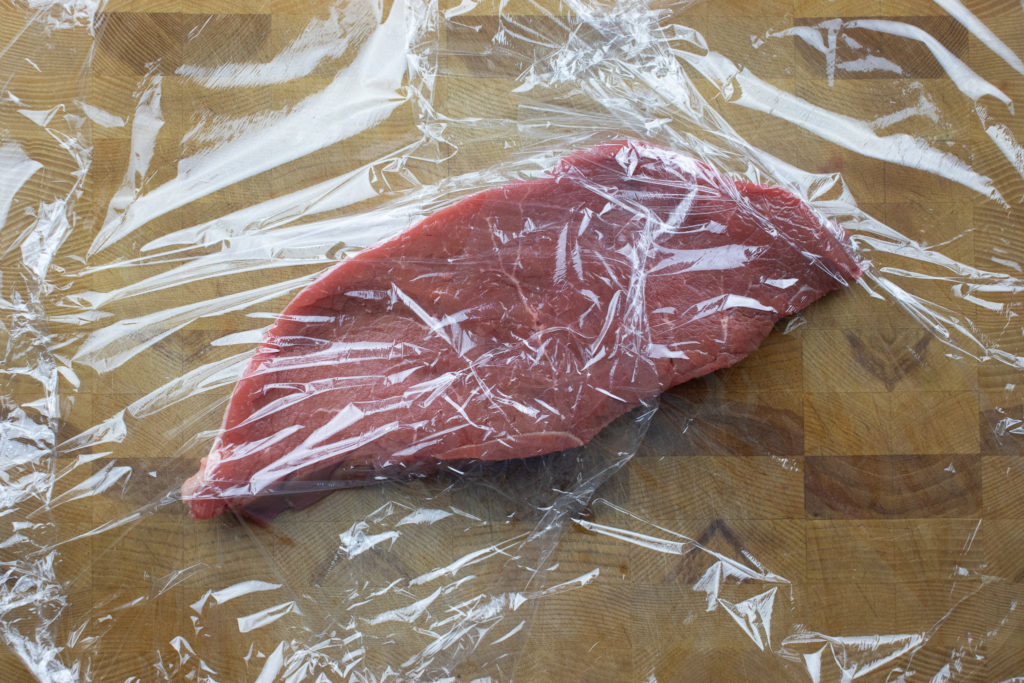
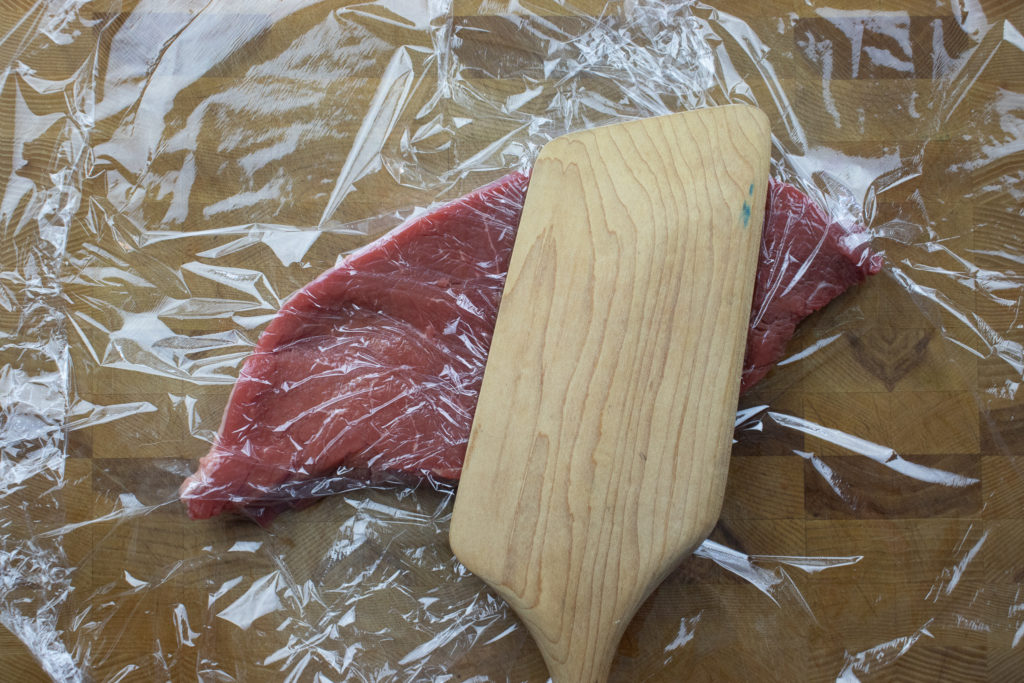
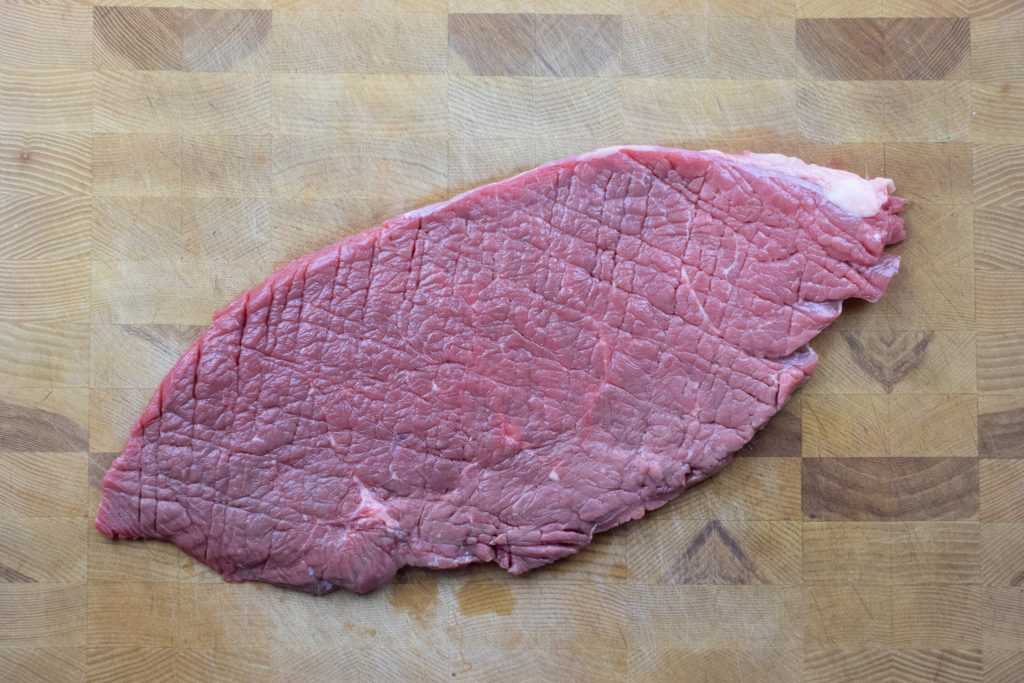
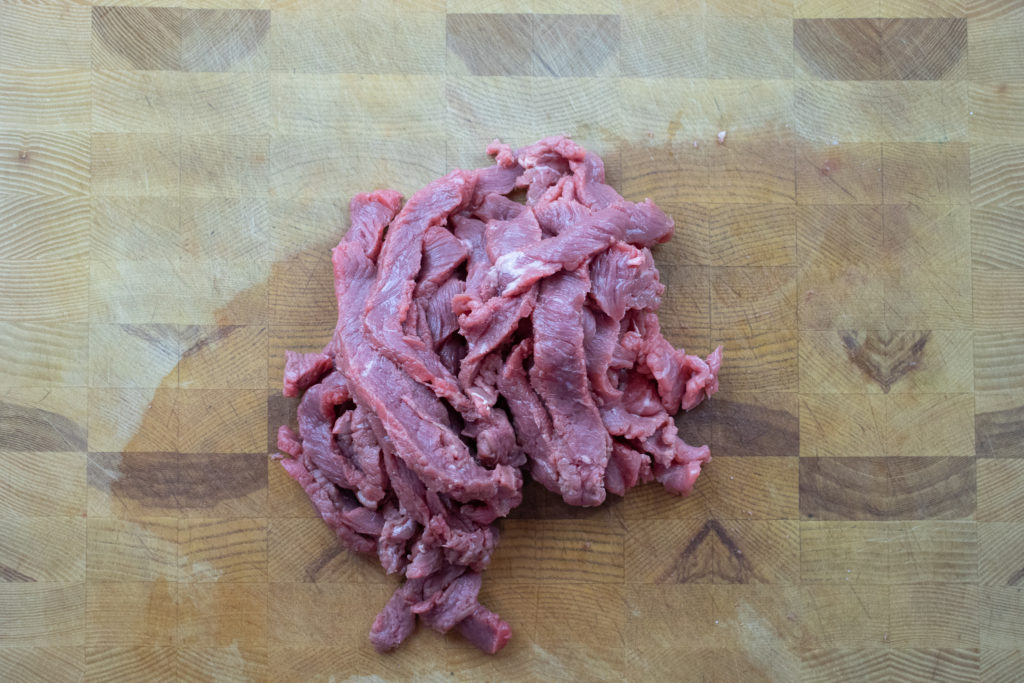
For this spicy beef bowl recipe, I recommend top sirloin, but sirloin tip, inside round, or top round would also work well. Sirloin is a lean cut of meat that comes from between the loin and the round or rump of the cow. It is often used for grilling but can be tough if not prepared correctly. To make it more tender, it is best to pound the meat thinly and then slice it across the grain into thin strips. This helps shorten the muscle fibres and makes the meat more enjoyable and easier to eat.
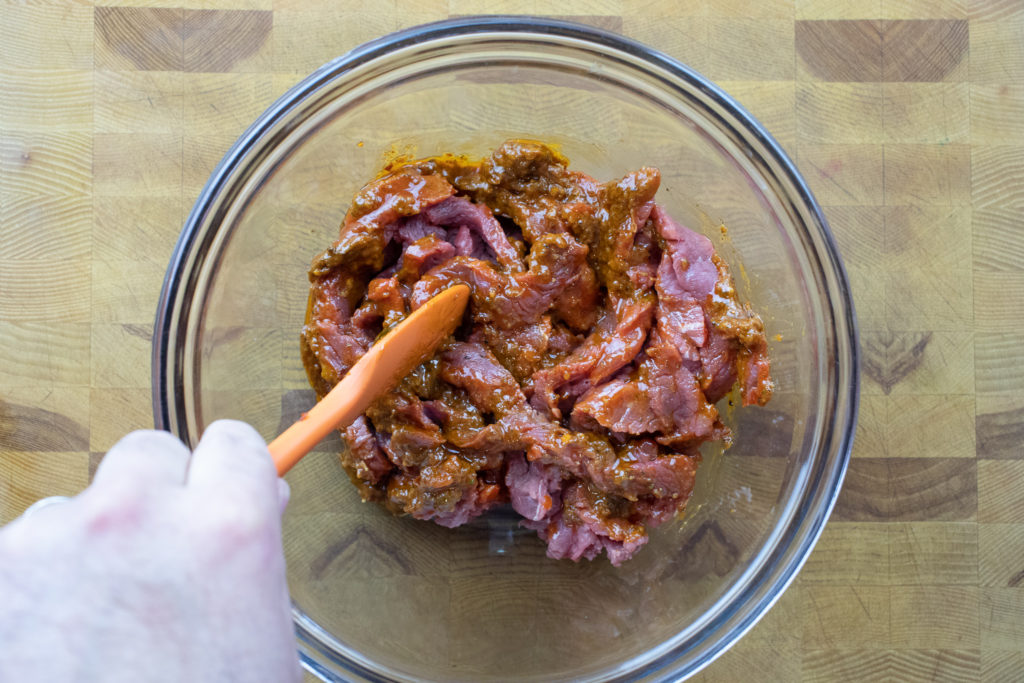
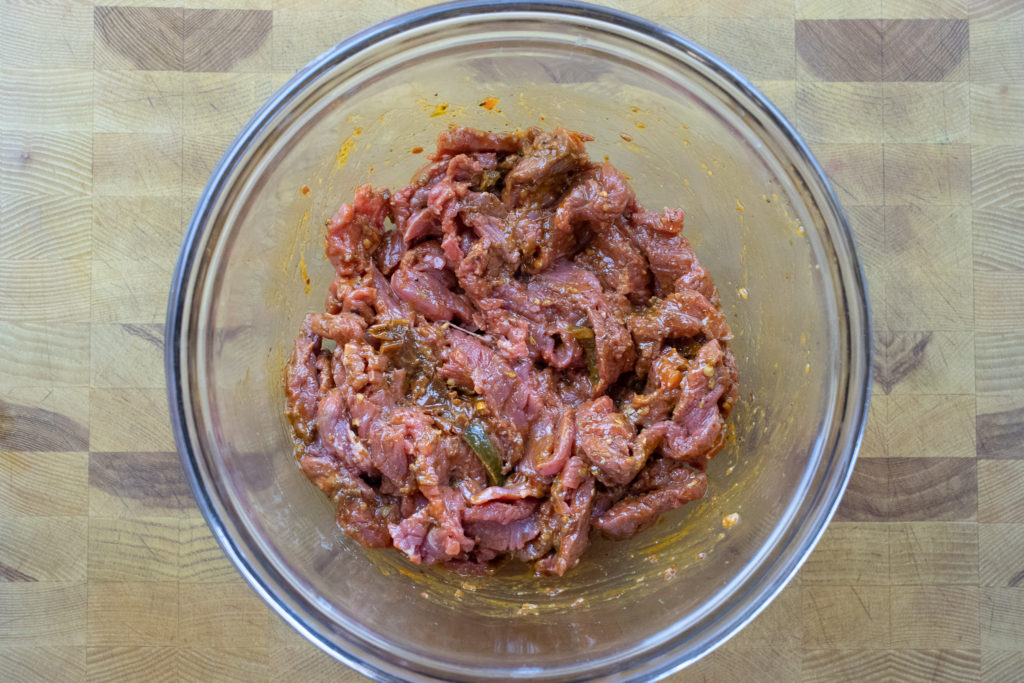
Marinating the spicy beef
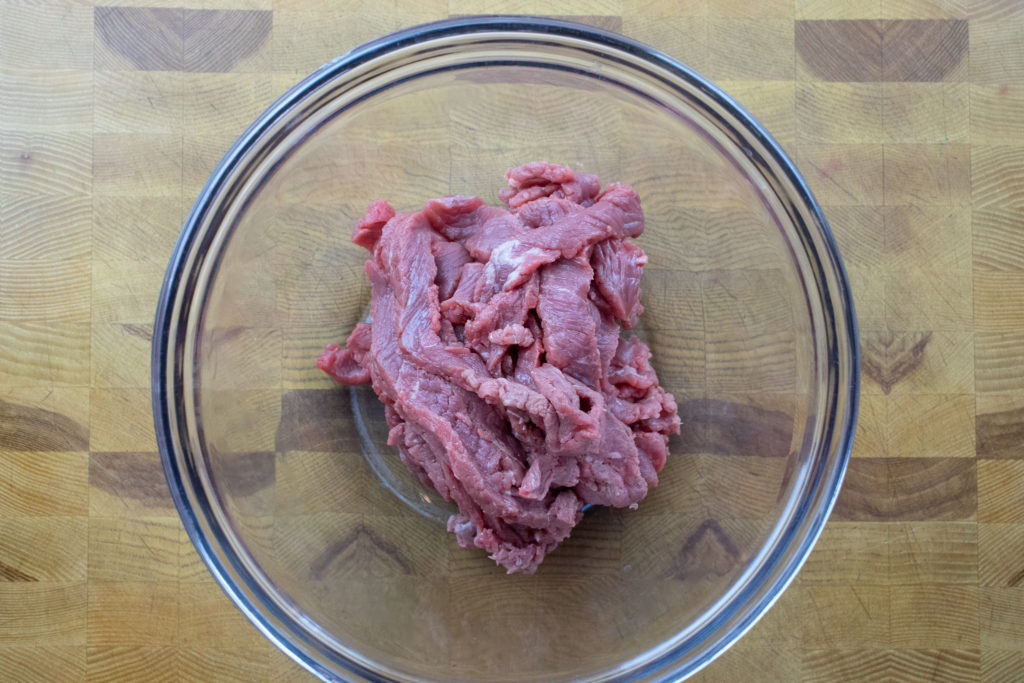
Put the sliced top sirloin in a medium mixing bowl or zip-lock bag. Add the marinade to the beef and mix well to ensure all the beef is coated. Cover the beef and put it in the refrigerator for a minimum of two hours and a maximum of twenty-four hours. Any less than two hours and the meat isn’t going to pick up much of the marinade’s flavour. Any longer than a day, the meat will start to cure, making it tough.
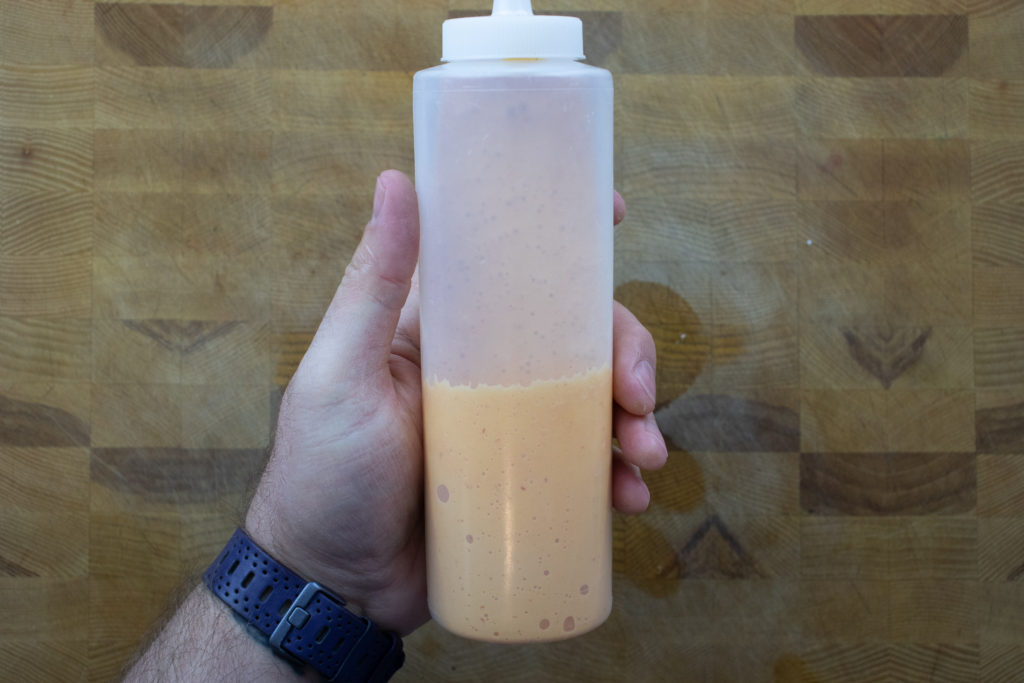
Tangy Chipotle Lime Dressing
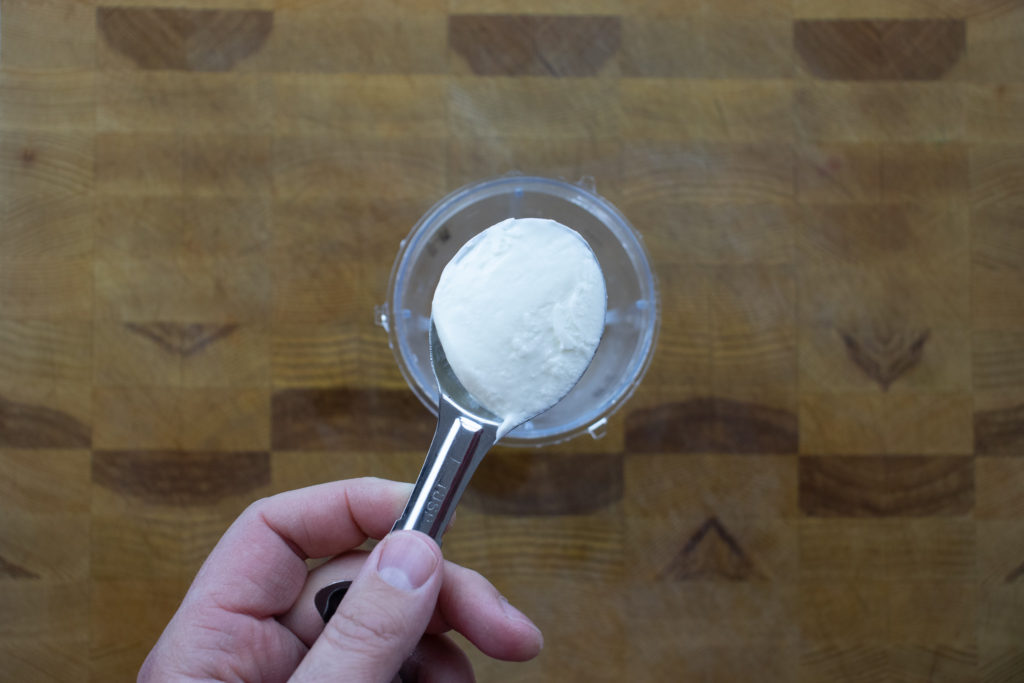
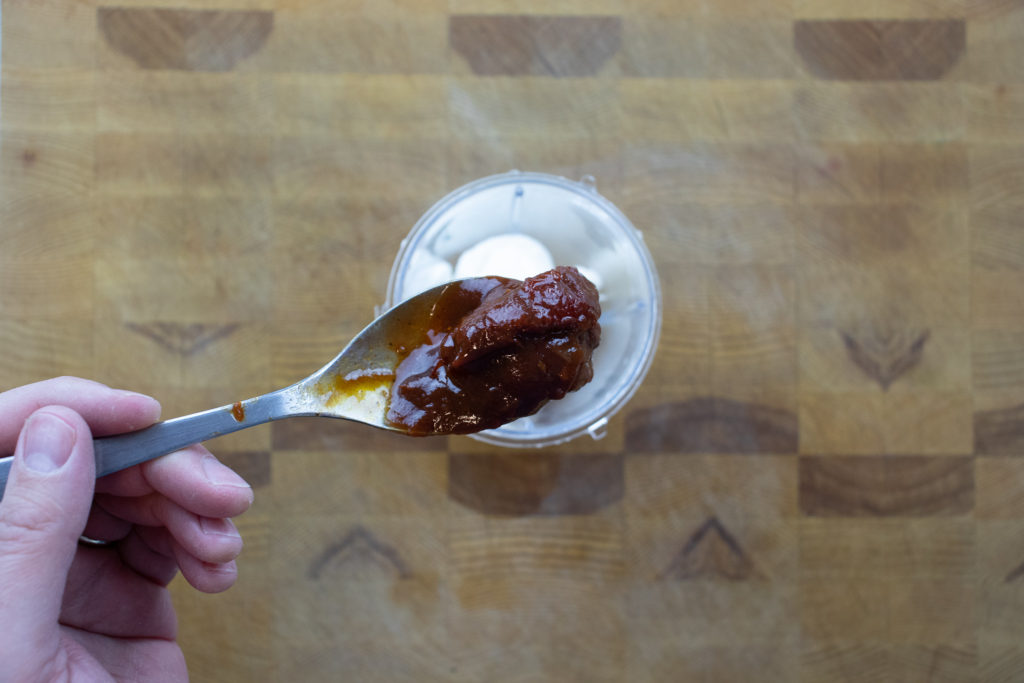
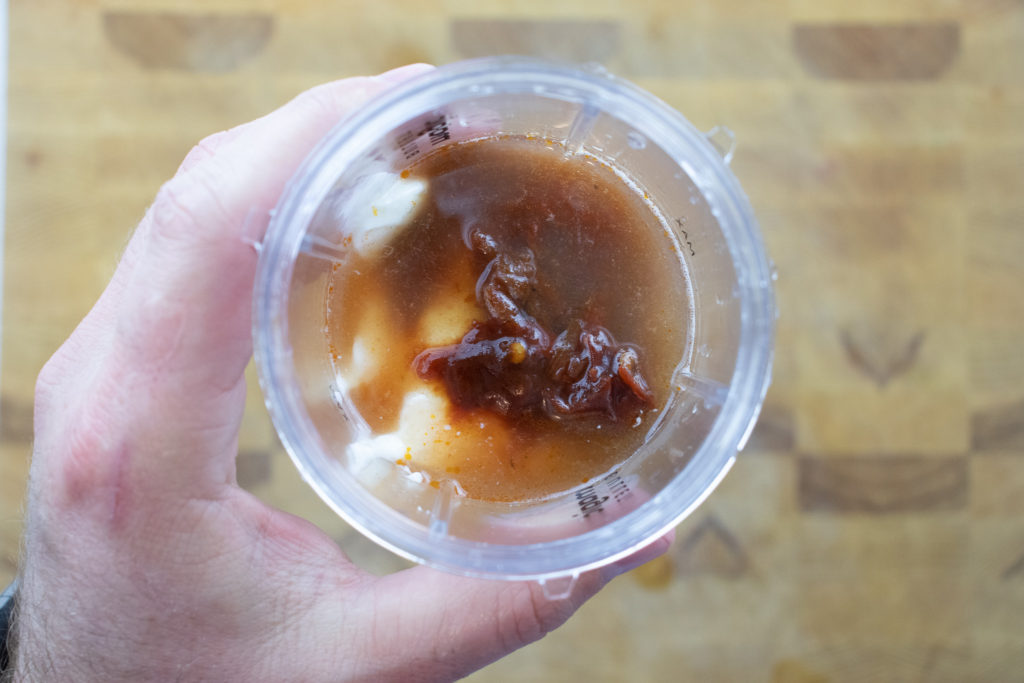
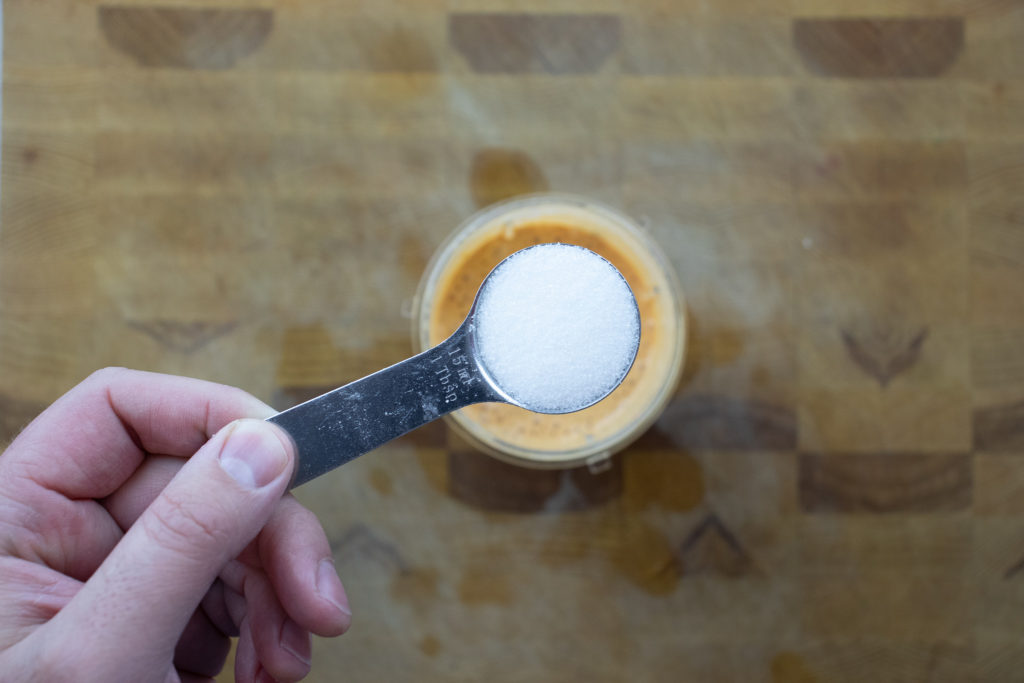
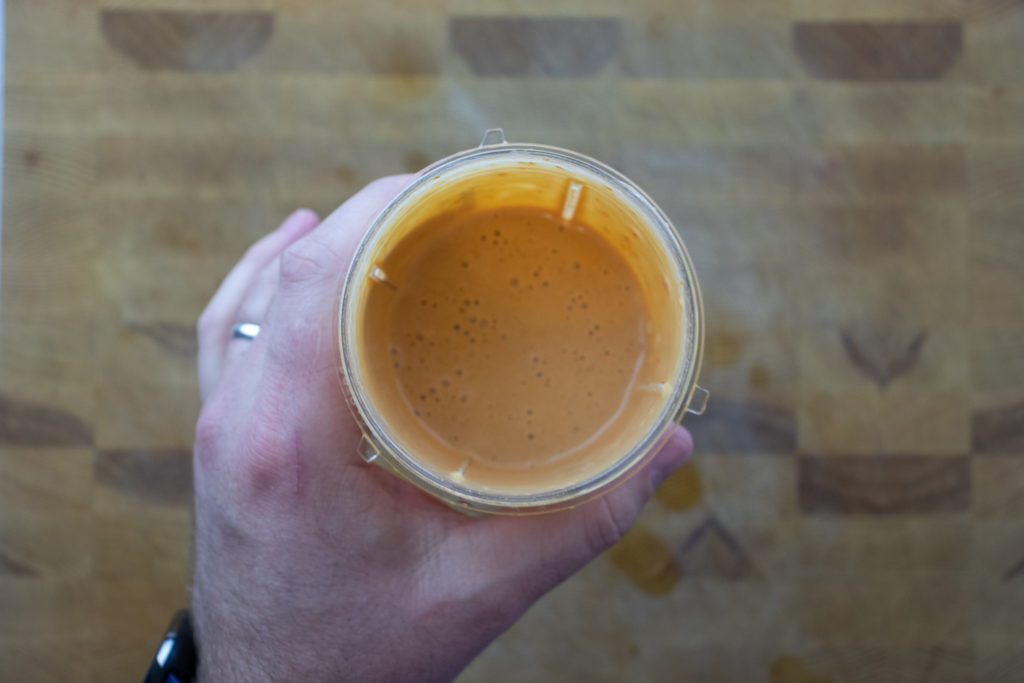
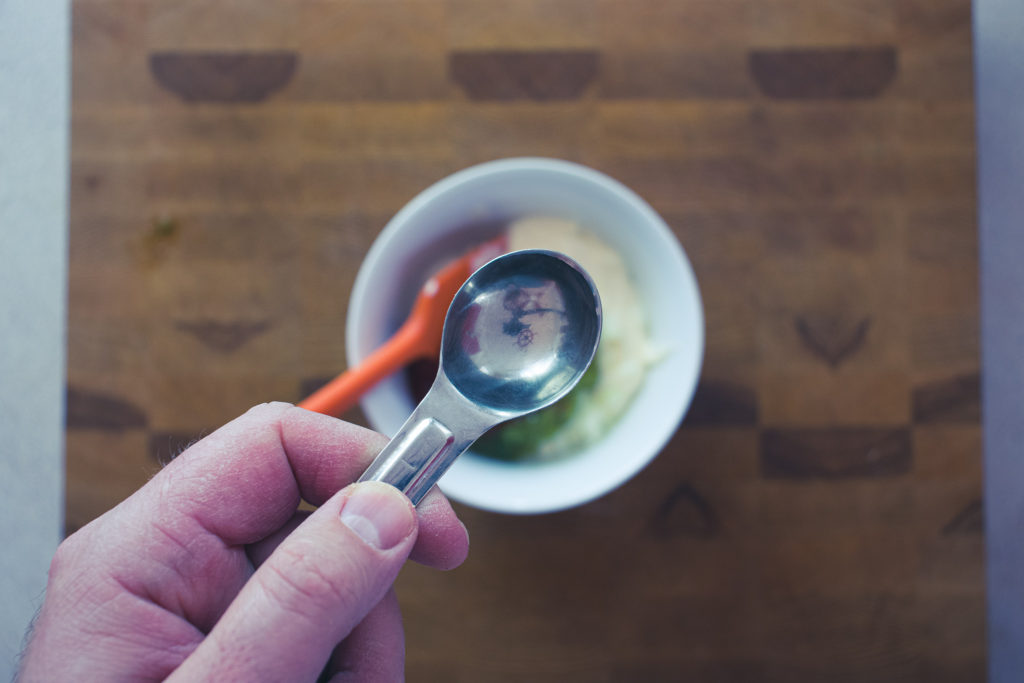
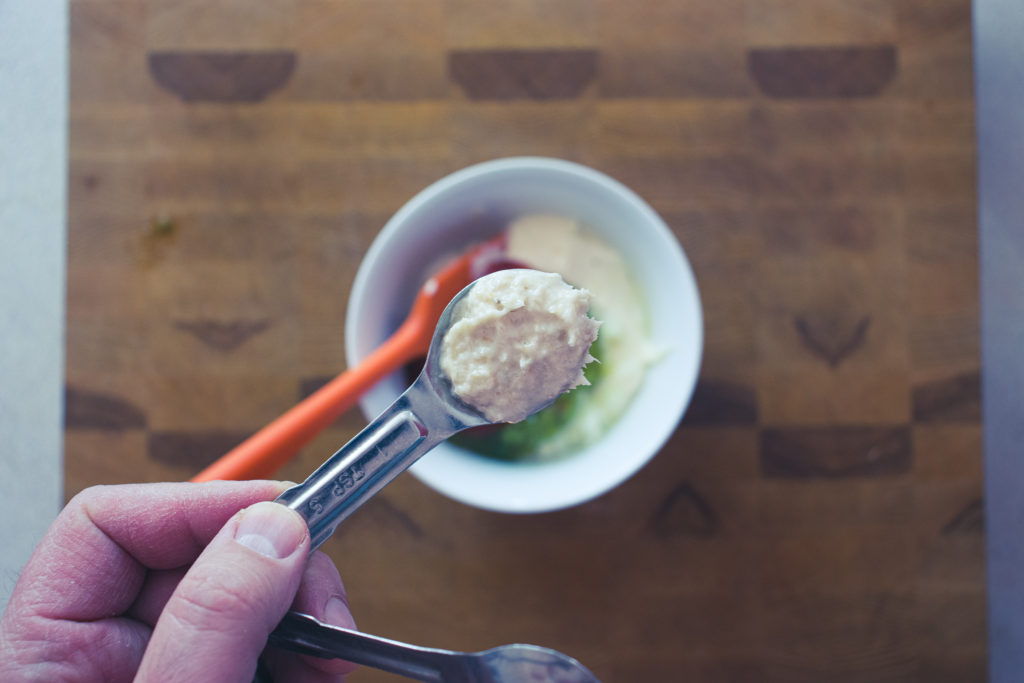
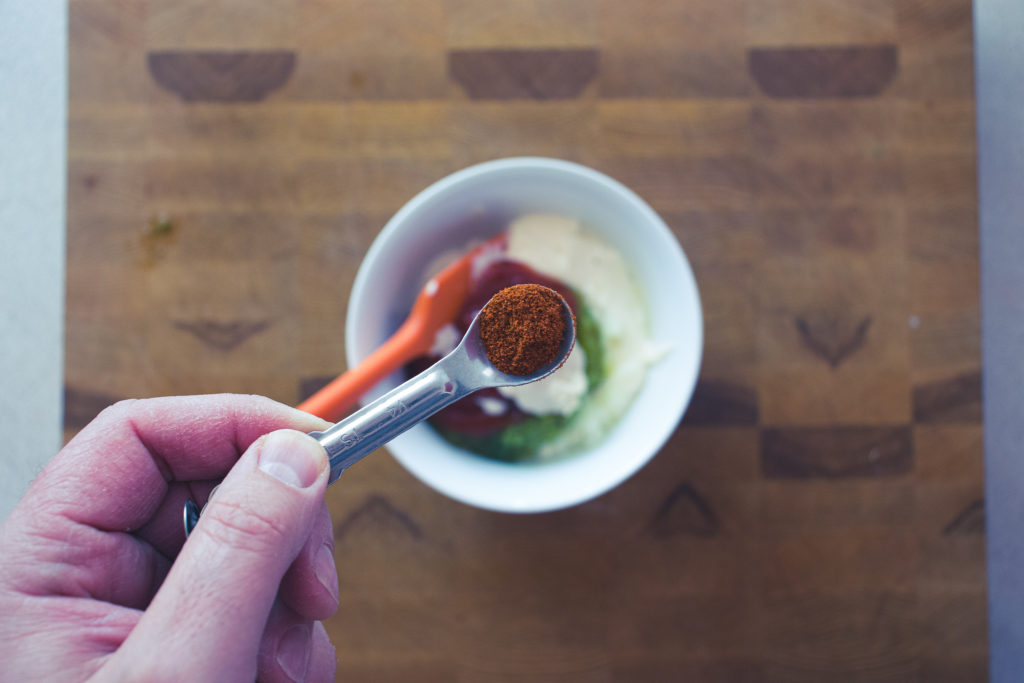
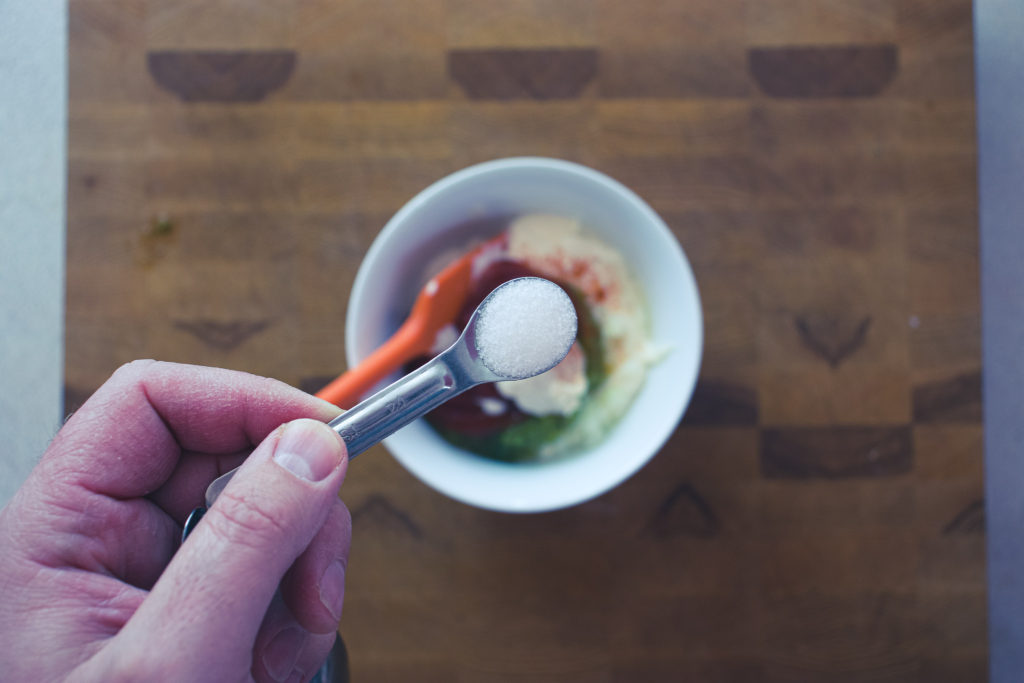
While the beef is sitting in the marinade, take a minute to make the dressing. The chipotle lime dressing combines Greek yogurt or sour cream, mayonnaise, lime juice, chipotle in adobo, sugar, and salt. Put all the ingredients in a small blender and blitz until smooth. Again, if you don’t have a blender or food processor, you can chop the chipotles as fine as possible by hand and mix them with the other ingredients.
What to do with leftover chipotles?
If you find that you have leftover chipotles in adobo sauce, don’t worry – there are plenty of ways to put them to good use! One option is to chop or purée the remaining chipotles and freeze them in an ice cube tray. This way, you can easily pop out a few cubes as needed the next time you want to add a spicy kick to a recipe. Another option is to mix the leftover chipotles with mayonnaise or sour cream to create a spicy condiment for sandwiches or burgers. You can add them to scrambled eggs or omelets for a spicy breakfast or use them to marinate chicken, pork, or tofu before grilling or roasting. Finally, you can mix the leftover chipotles with melted butter or oil to create a spicy drizzle for roasted vegetables or seafood. These are just a few ideas, but the possibilities are endless with a bit of creativity and some leftover chipotles in adobo sauce! You could also try these delicious Chipotle Lime Turkey Tacos.
Cooking The Spicy Beef
Before you start cooking the spicy beef, you should get your ingredients prepped and ready to go. This includes cooking the rice and sweet potato (or using leftovers from the night before), defrosting frozen corn or opening a can of corn niblets, and of course, making the Tangy Chipotle Lime Sauce.
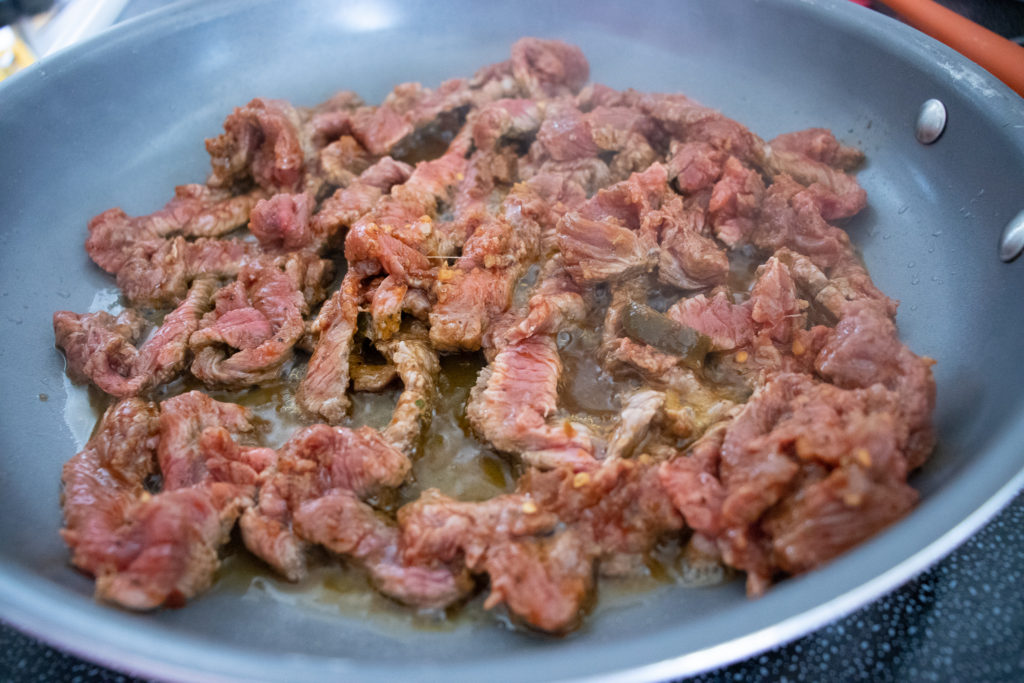
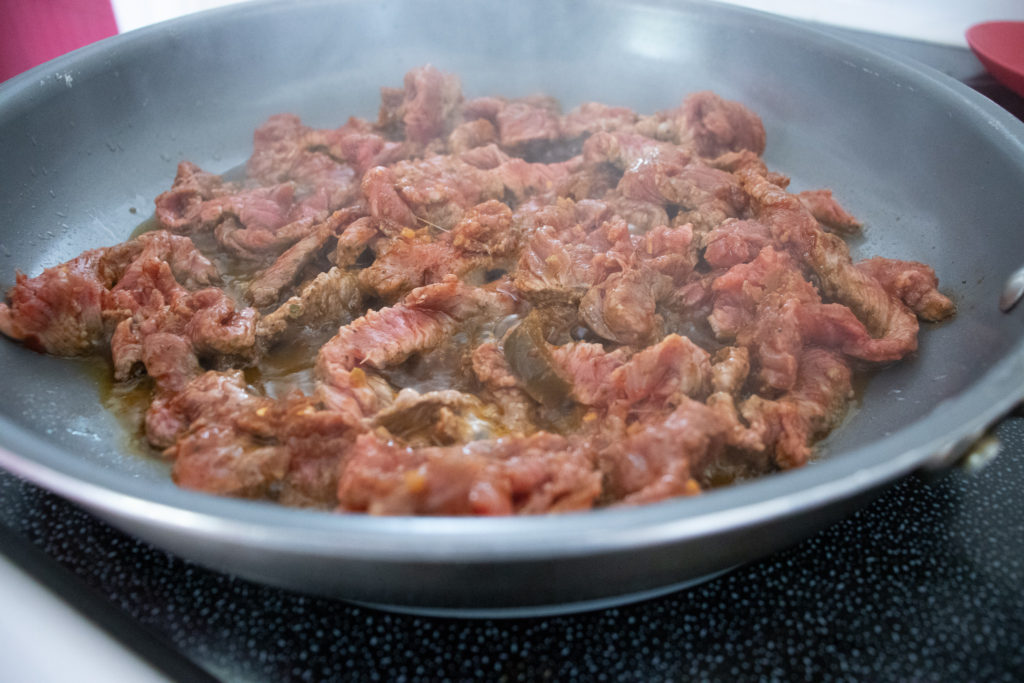
Once everything is ready, it’s time to cook the beef. You have a few options here – you can skewer the beef and cook it on the grill for a delicious, smoky flavour, or cook it in a pan on the stove. If you opt for the latter, heat a large, non-stick skillet over medium-high heat and add a teaspoon or two of cooking oil. Cook the beef in two batches, wiping the pan out between each and making sure it heats back up before adding the second batch. Once the beef goes in the pan, let it sit for a minute or two, flip it, and cook for another minute. You don’t want to overcook the beef, so aim for a medium-rare to medium doneness. Once the beef is cooked, remove it from the pan and set it aside while you cook the second batch.
With everything prepped and the spicy beef cooked to perfection, it’s time to assemble your spicy bowl and dig in! Enjoy!
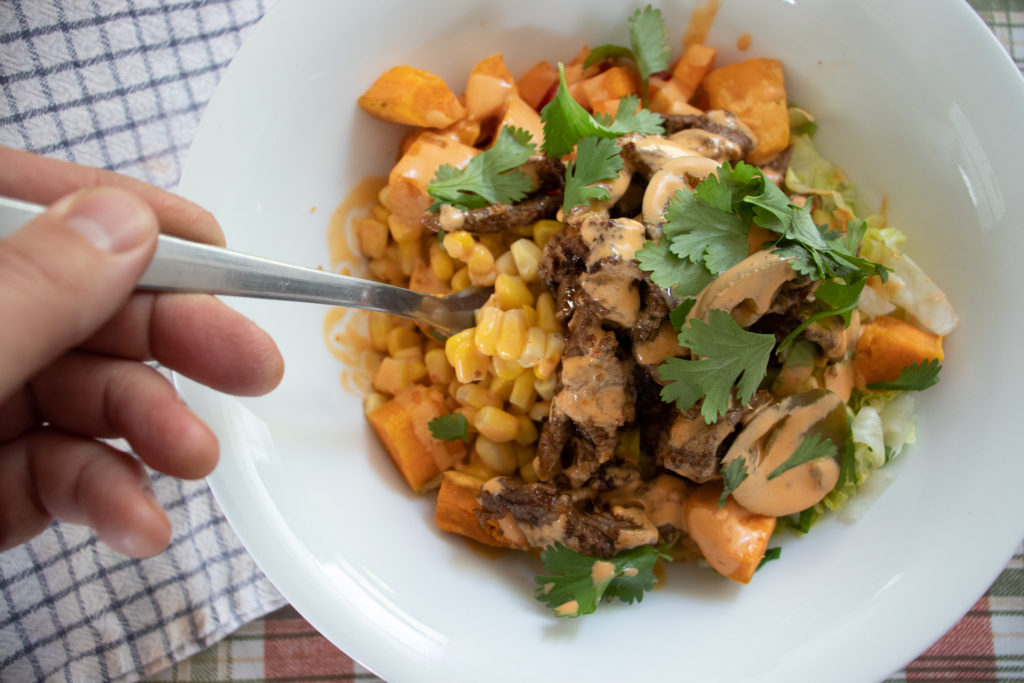
Assembling The Spicy Beef Bowl
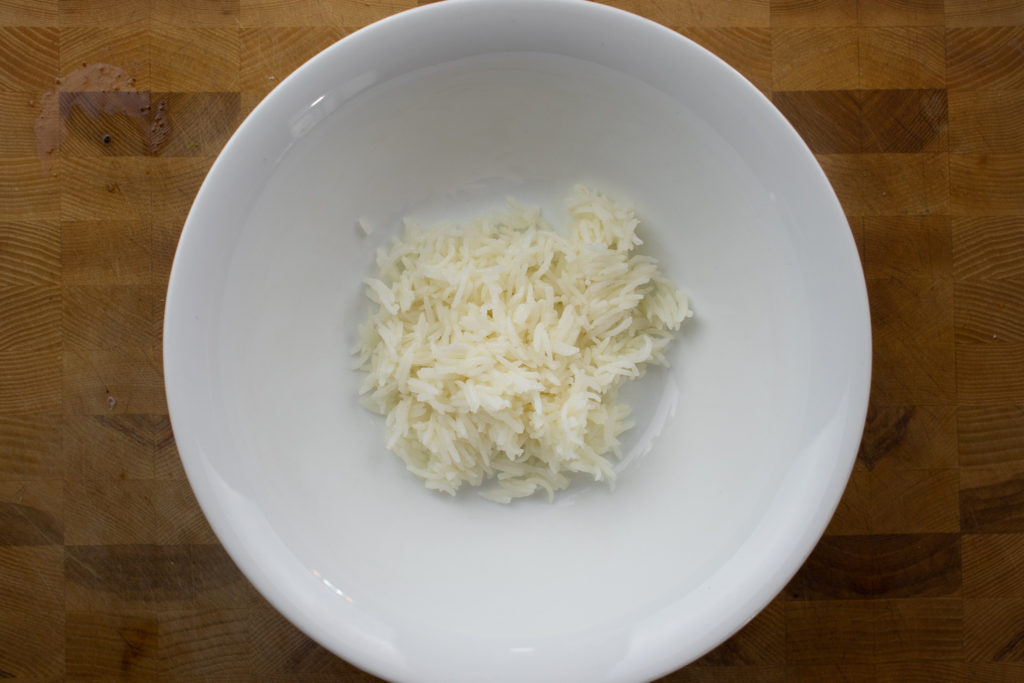
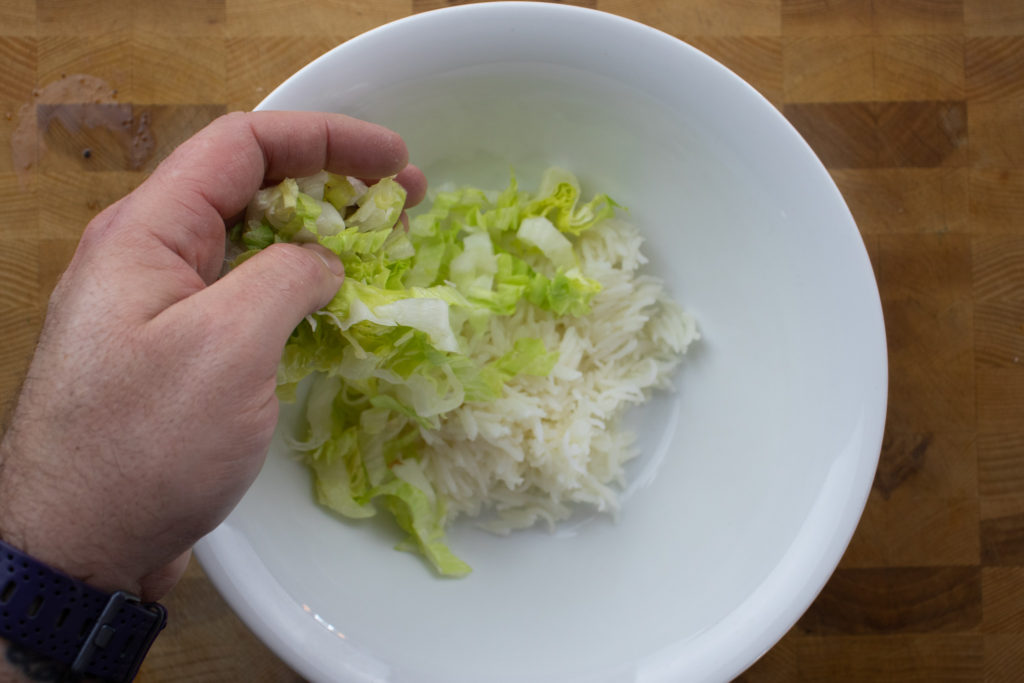
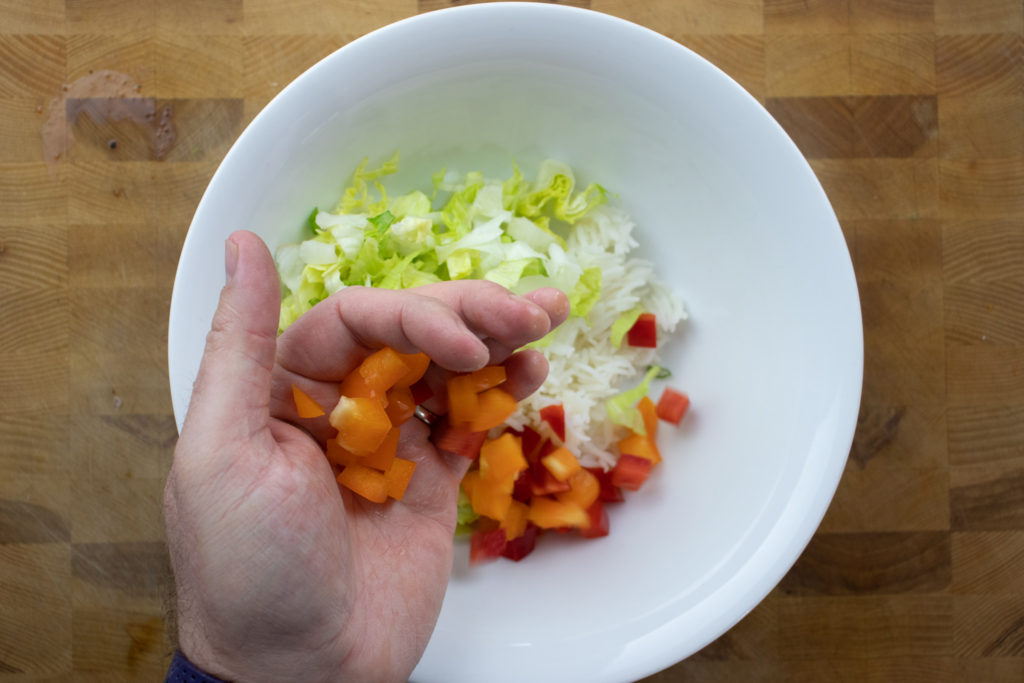
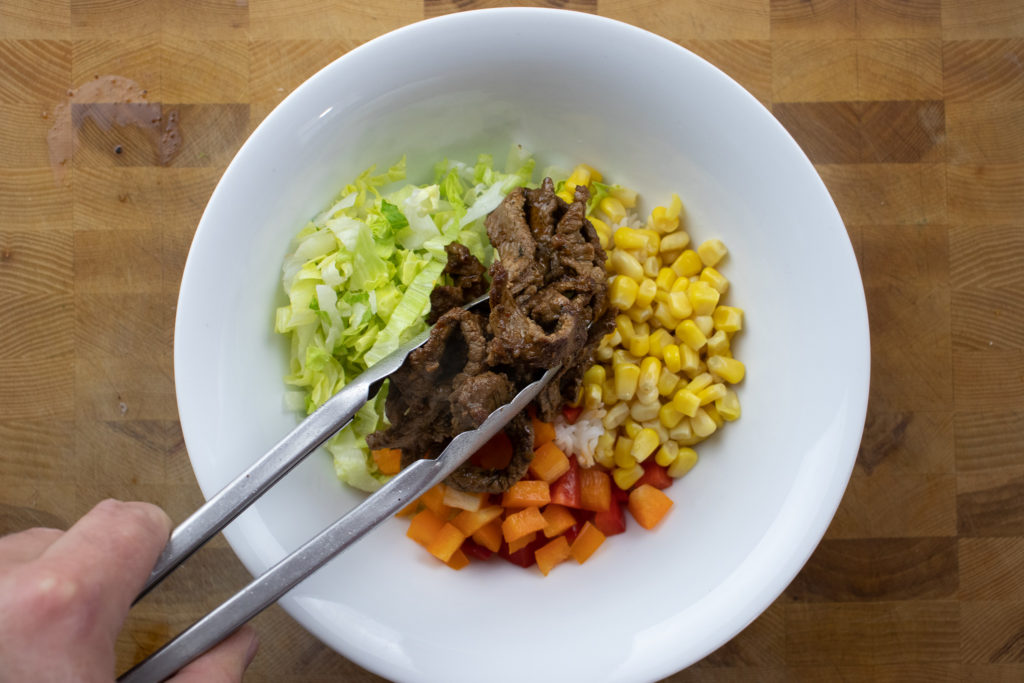
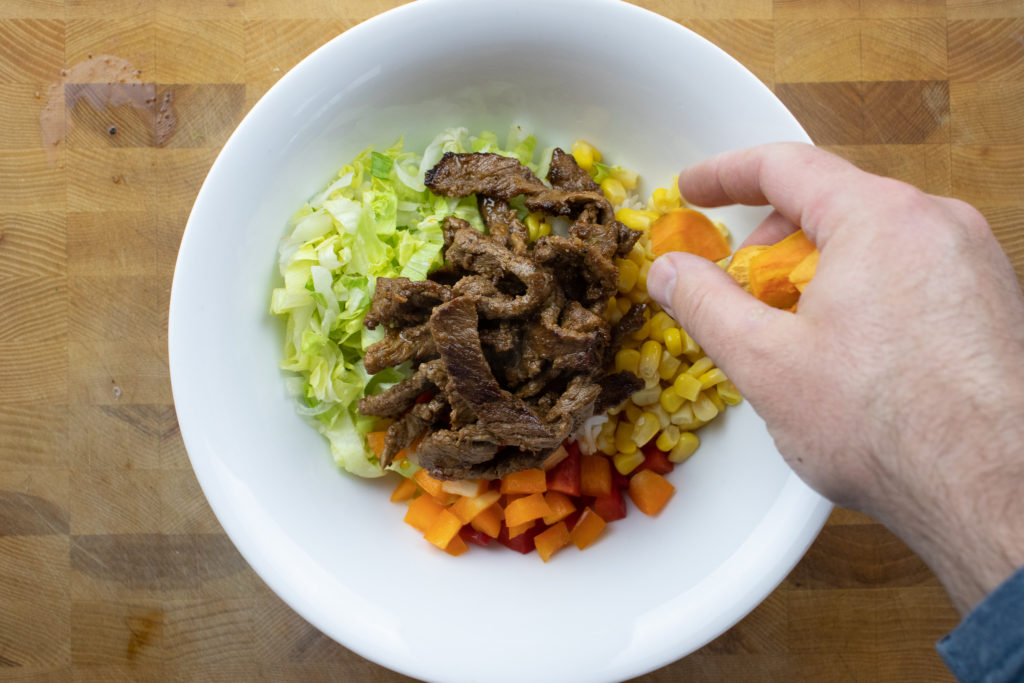
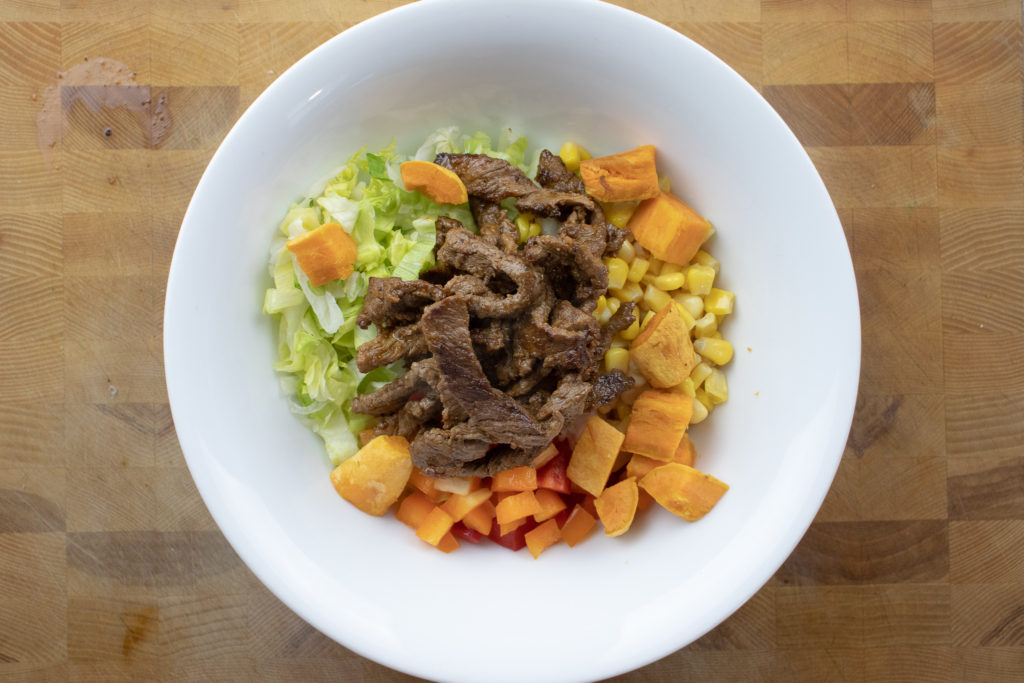
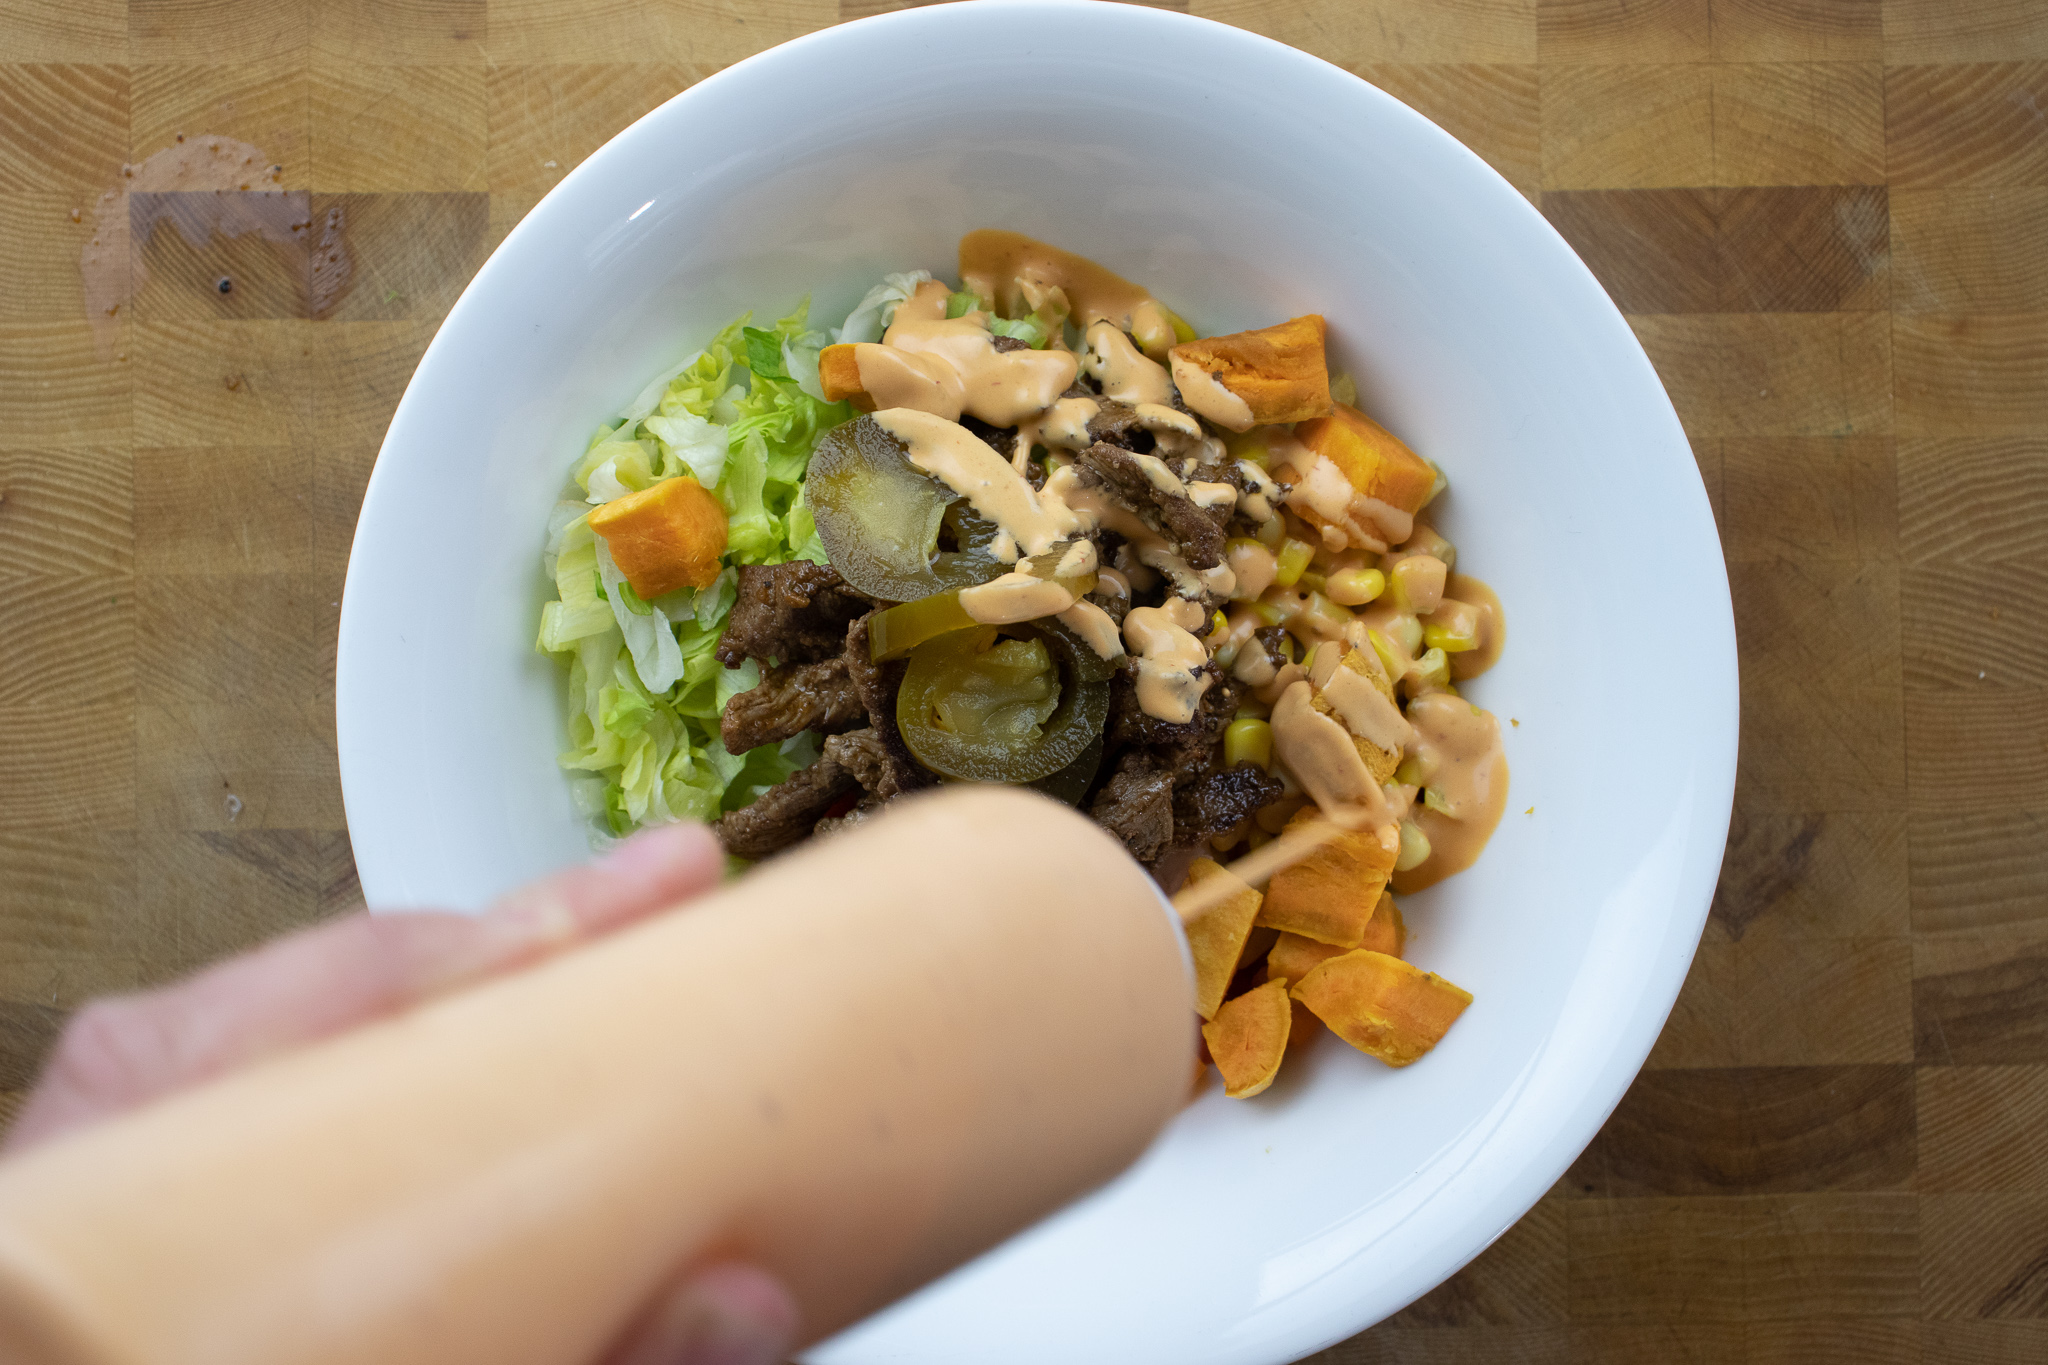
Assembling your spicy beef bowl is easy and fun! Start by adding half a cup of cooked rice to the bottom of two bowls. You can use any kind of rice you like – white, brown, jasmine, basmati. The list goes on. Next, top the rice with shredded lettuce, diced bell peppers, corn, spicy beef you cooked earlier, sweet potato, pickled jalapeno, and Tangy Chipotle Lime Sauce. You can add as much or as little of each ingredient as you like, depending on your personal preferences. Finally, top the spicy bowl with thinly sliced green onions and a sprinkle of cilantro for a fresh, aromatic finish.
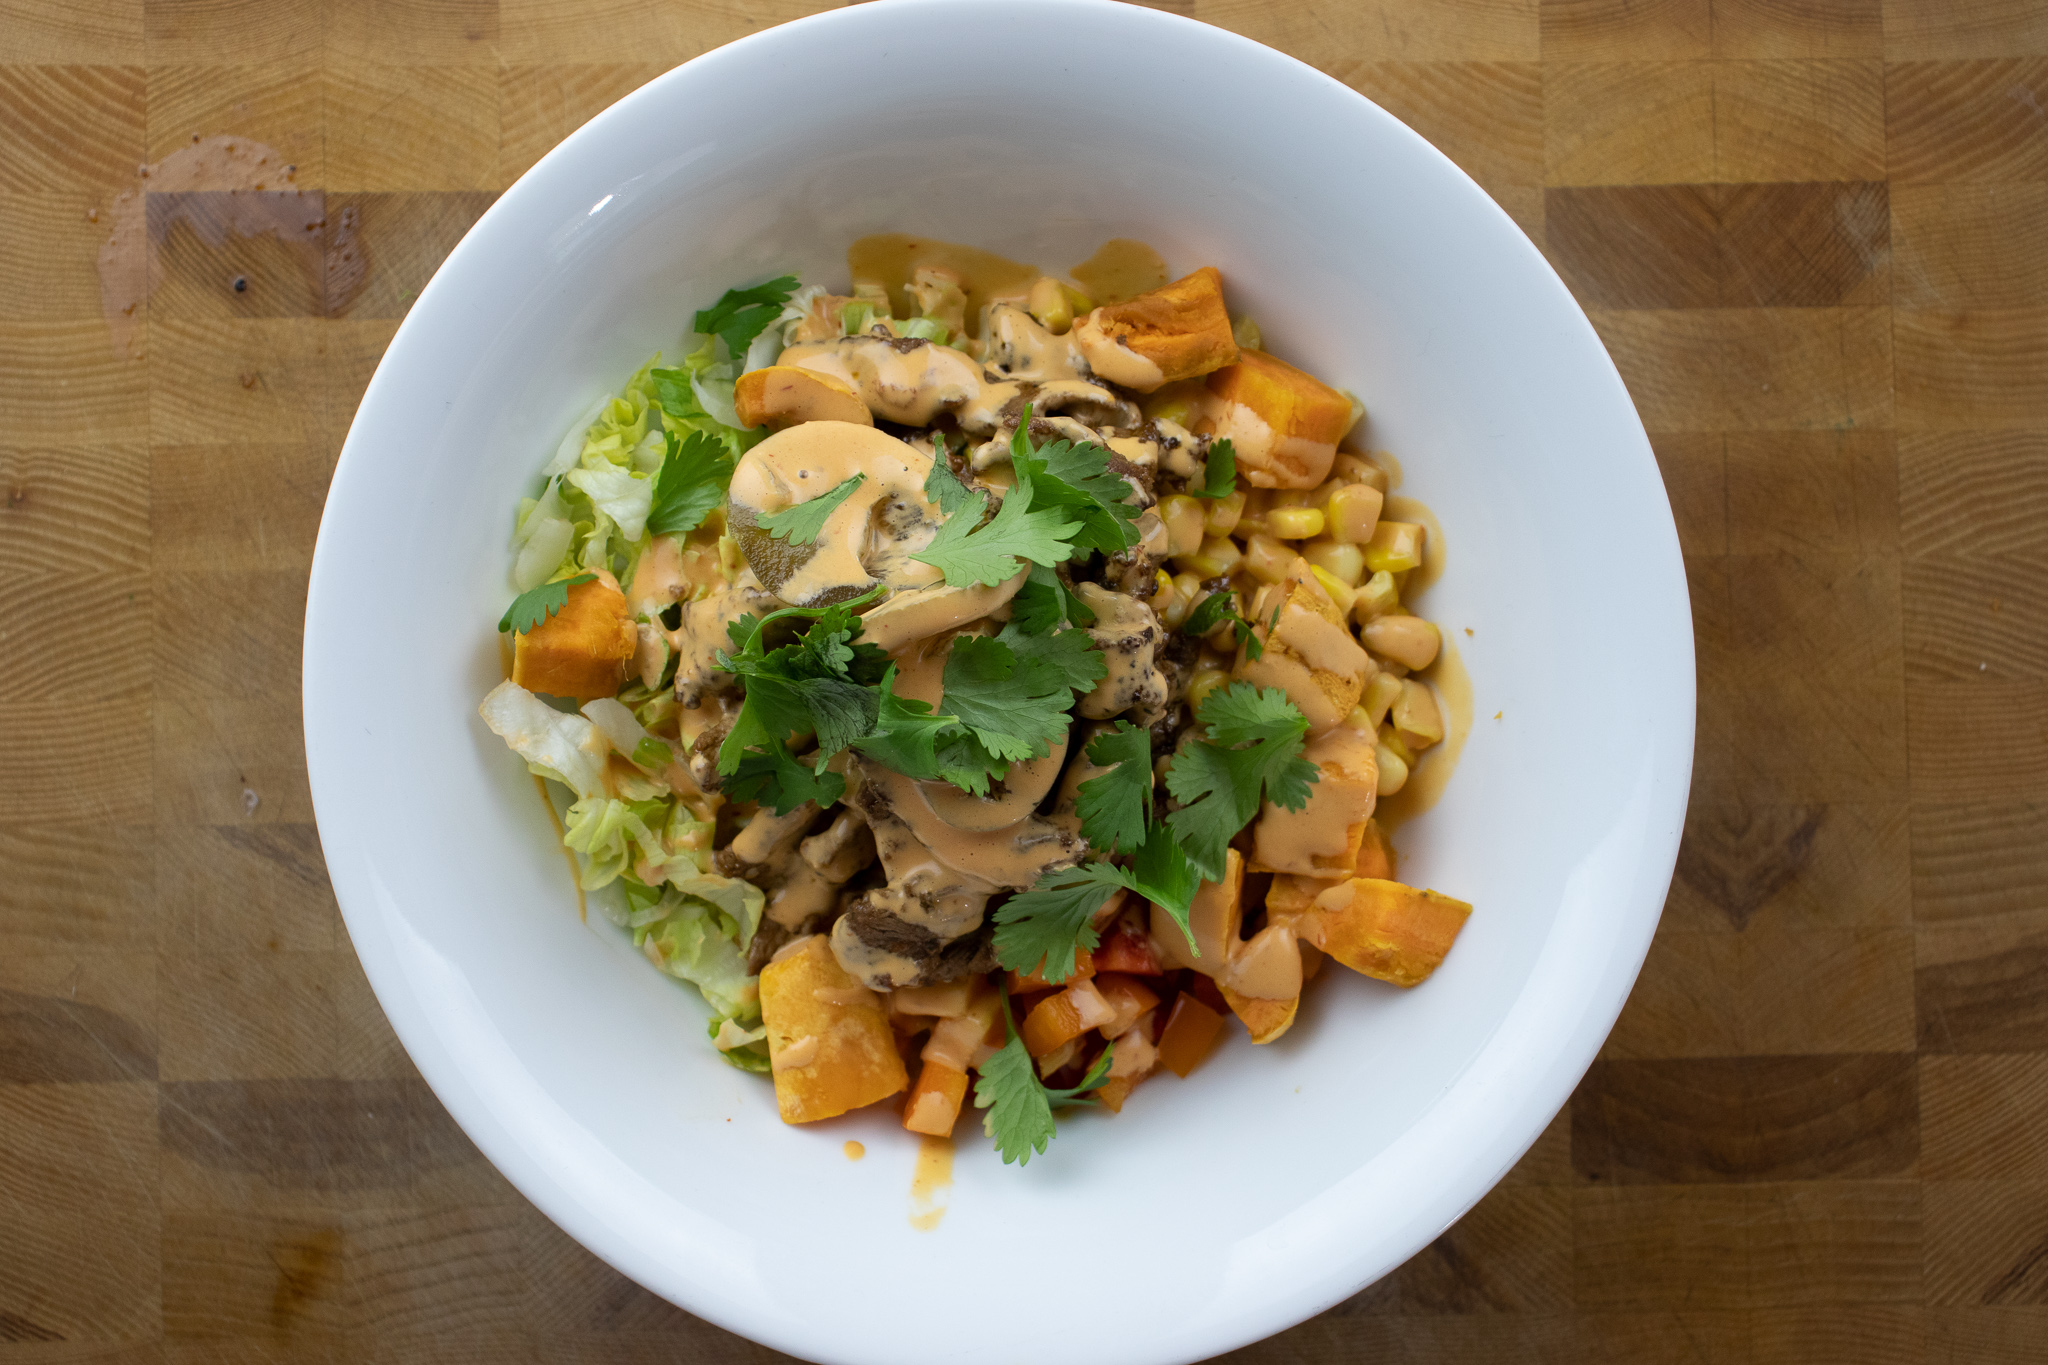
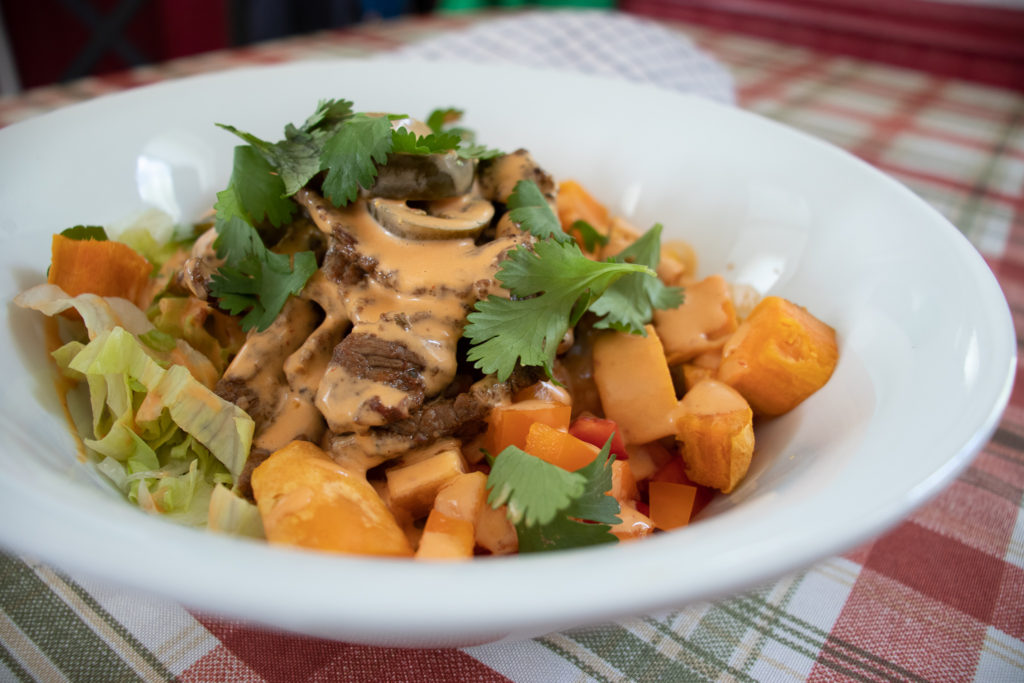
With everything assembled and ready to go, it’s time to dig in and enjoy your delicious spicy bowl! You can eat it as is, or add your favourite hot sauce or salsa to give it an extra spicy kick. Whatever you choose, I hope you enjoy your spicy bowl as much as I do!
Wrap Up
Whether you’re looking for a hearty lunch or a light dinner, this spicy beef bowl recipe is sure to satisfy you. One of the great things about it is that it’s highly customizable – you can try it with different proteins like pork, chicken, salmon, or tofu, or add in other ingredients like black beans, red onion, or cheese. The chipotle lime sauce is also excellent on sandwiches, especially with grilled chicken, or even on these Fish Tacos With Mango Salsa. The point is, the components of this spicy bowl recipe are versatile, so you don’t have to worry about the leftovers going to waste.
Thank you for coming to my blog and reading this post. I appreciate your support and I hope you continue to enjoy my content. Until next time!
Spicy Beef Bowl
Spicy marinated beef, rice, and vegetables with chipotle lime sauce make this spicy beef bowl one to remember.
Put the olive oil, chipotle, jalapeno, and cajun seasoning in a blender and blitz.
Thinly slice the beef and combine it with the marinade. Cover it and put it in the fridge for 1 to 2 hour.
Heat a large skillet over medium-high heat. Add the cooking oil and the beef. Brown on both sides then remove the meat from the pan and set it aside.
Spicy Chipotle Sauce
Combine all the sauce ingredients in a blender and blitz until smooth or, mince chop the chipotles and mix with the yogurt, mayonnaise, sugar, and lime juice.
Taste the sauce, and season with salt to taste.
Use the sauce right away or cover and store in the fridge for up to four days.
Spicy Bowl
Divide the rice among two bowls.
Add the lettuce, corn, bell peppers, green onion, jalapeno, and beef in the bowl. Top the bowl with the sauce, and cilantro then serve.
Notes
Substitute the beef with chicken, pork, or tofu and keep the recipe as is.
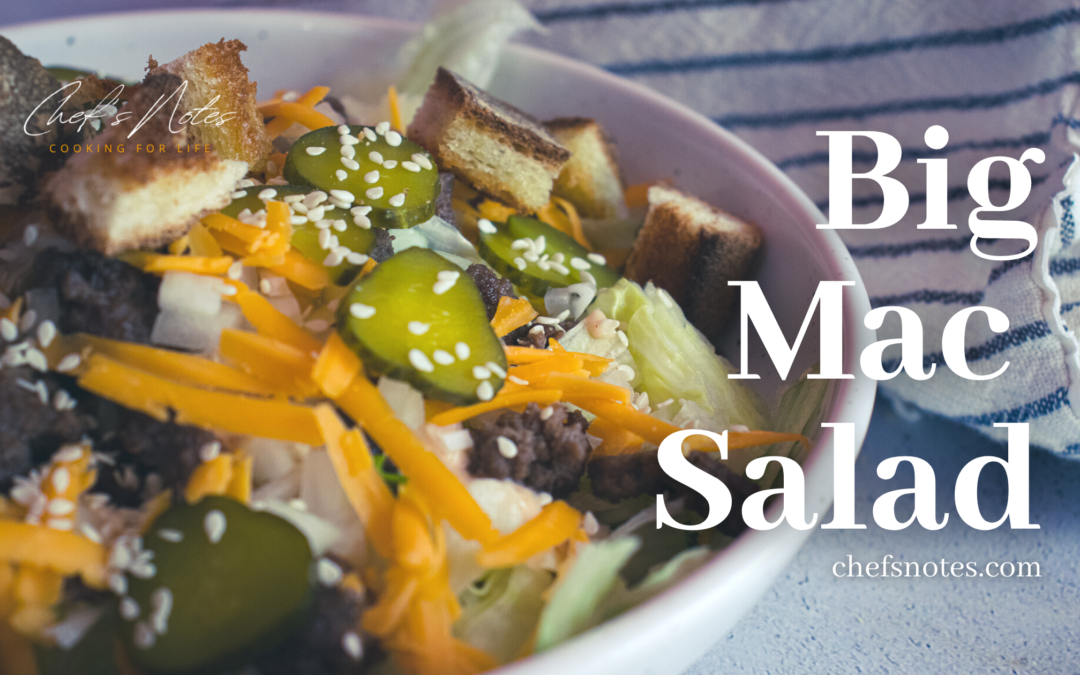
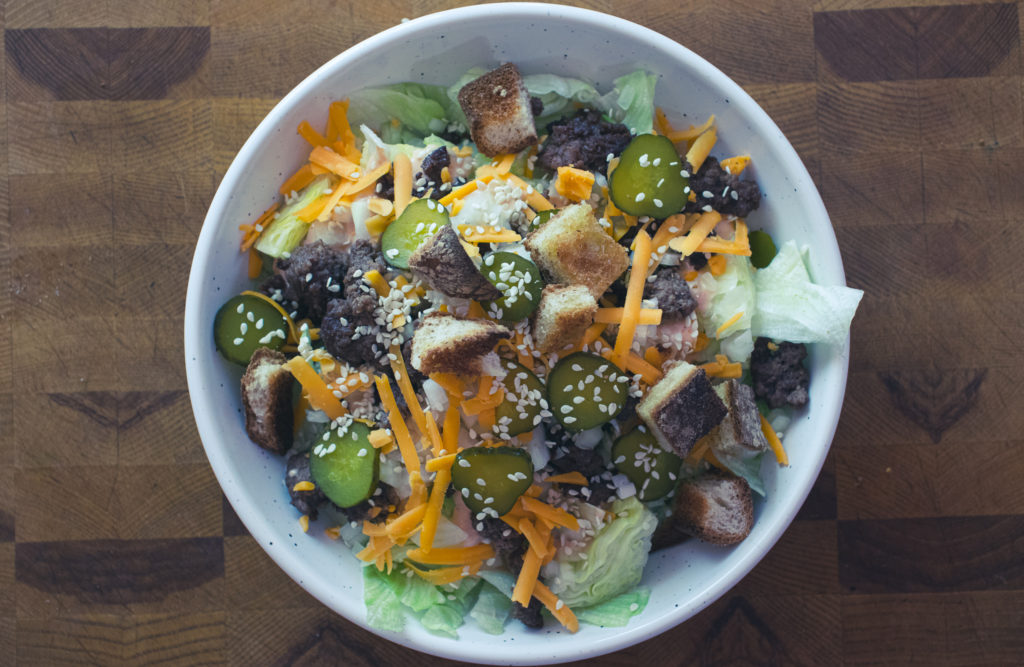
I have to admit, back in the day when I didn’t know I had celiac disease, I was very fond of the occasional Big Mac. I know that people love to hate McDonald’s but come on, as far as fast food burgers go, the Big Mac is one of the best. So, a few weeks ago, I was cruising the internet, and I found a few recipes for a Big Mac salad. Well, I knew right away that I had to make my version. This is my version and I’m very happy with it. This Big Mac Salad is the closest I’ve had to the real thing in years. I am so excited to share this recipe with you. So, let’s get to it.
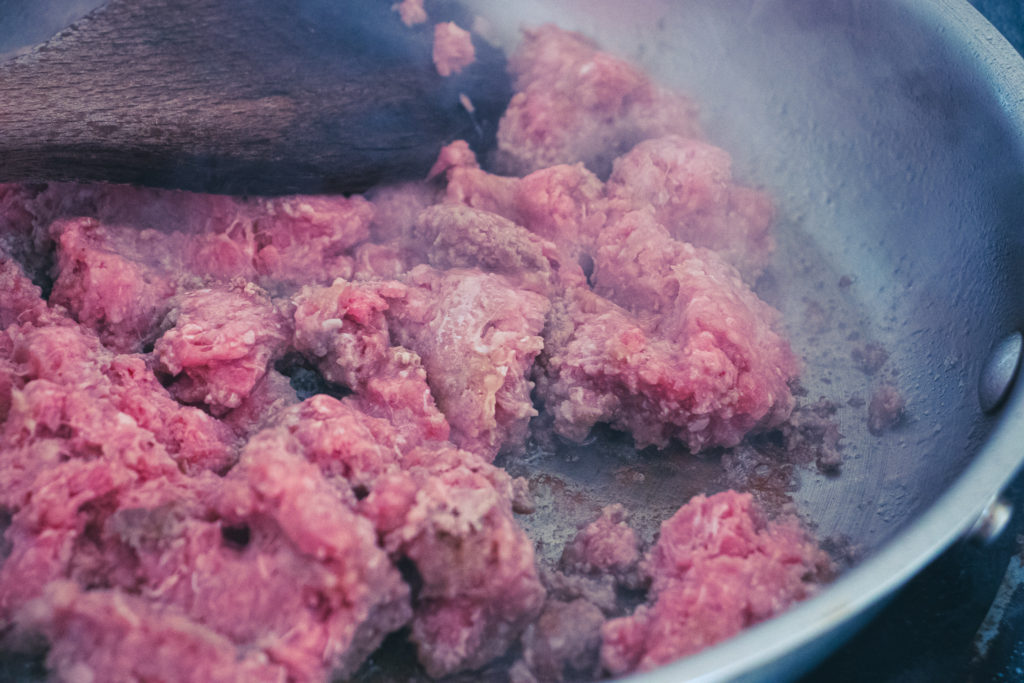
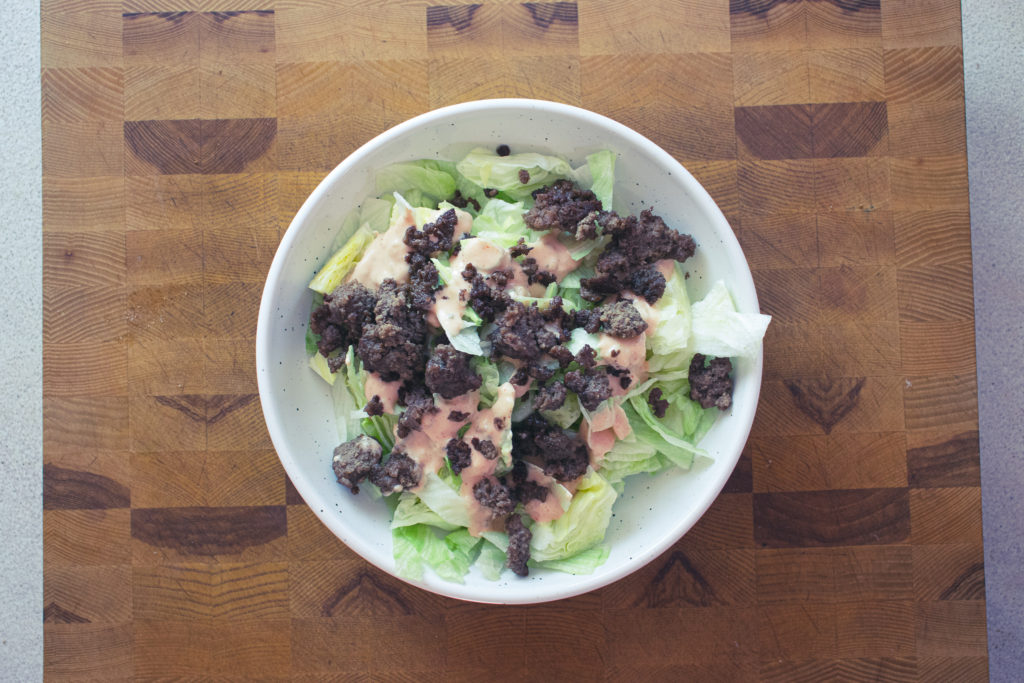
“Burger” Meat
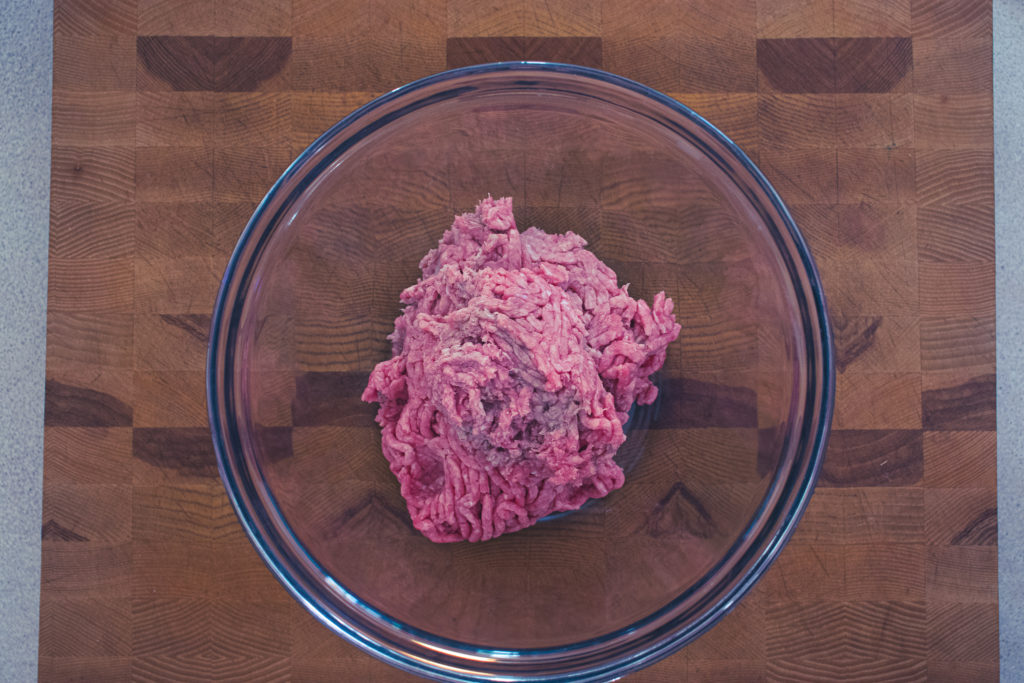
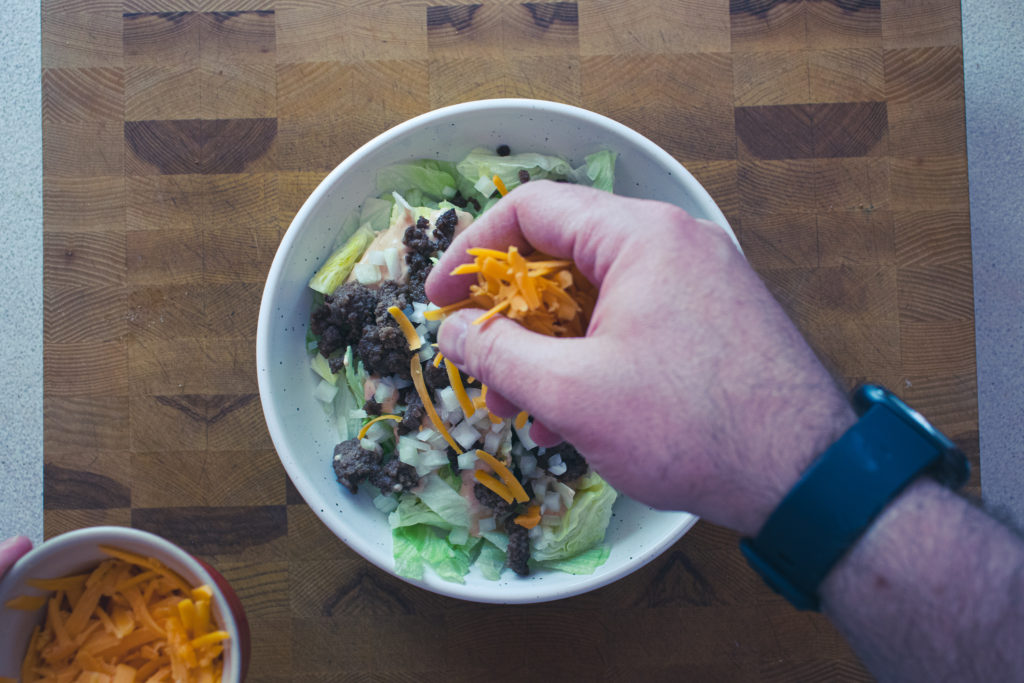
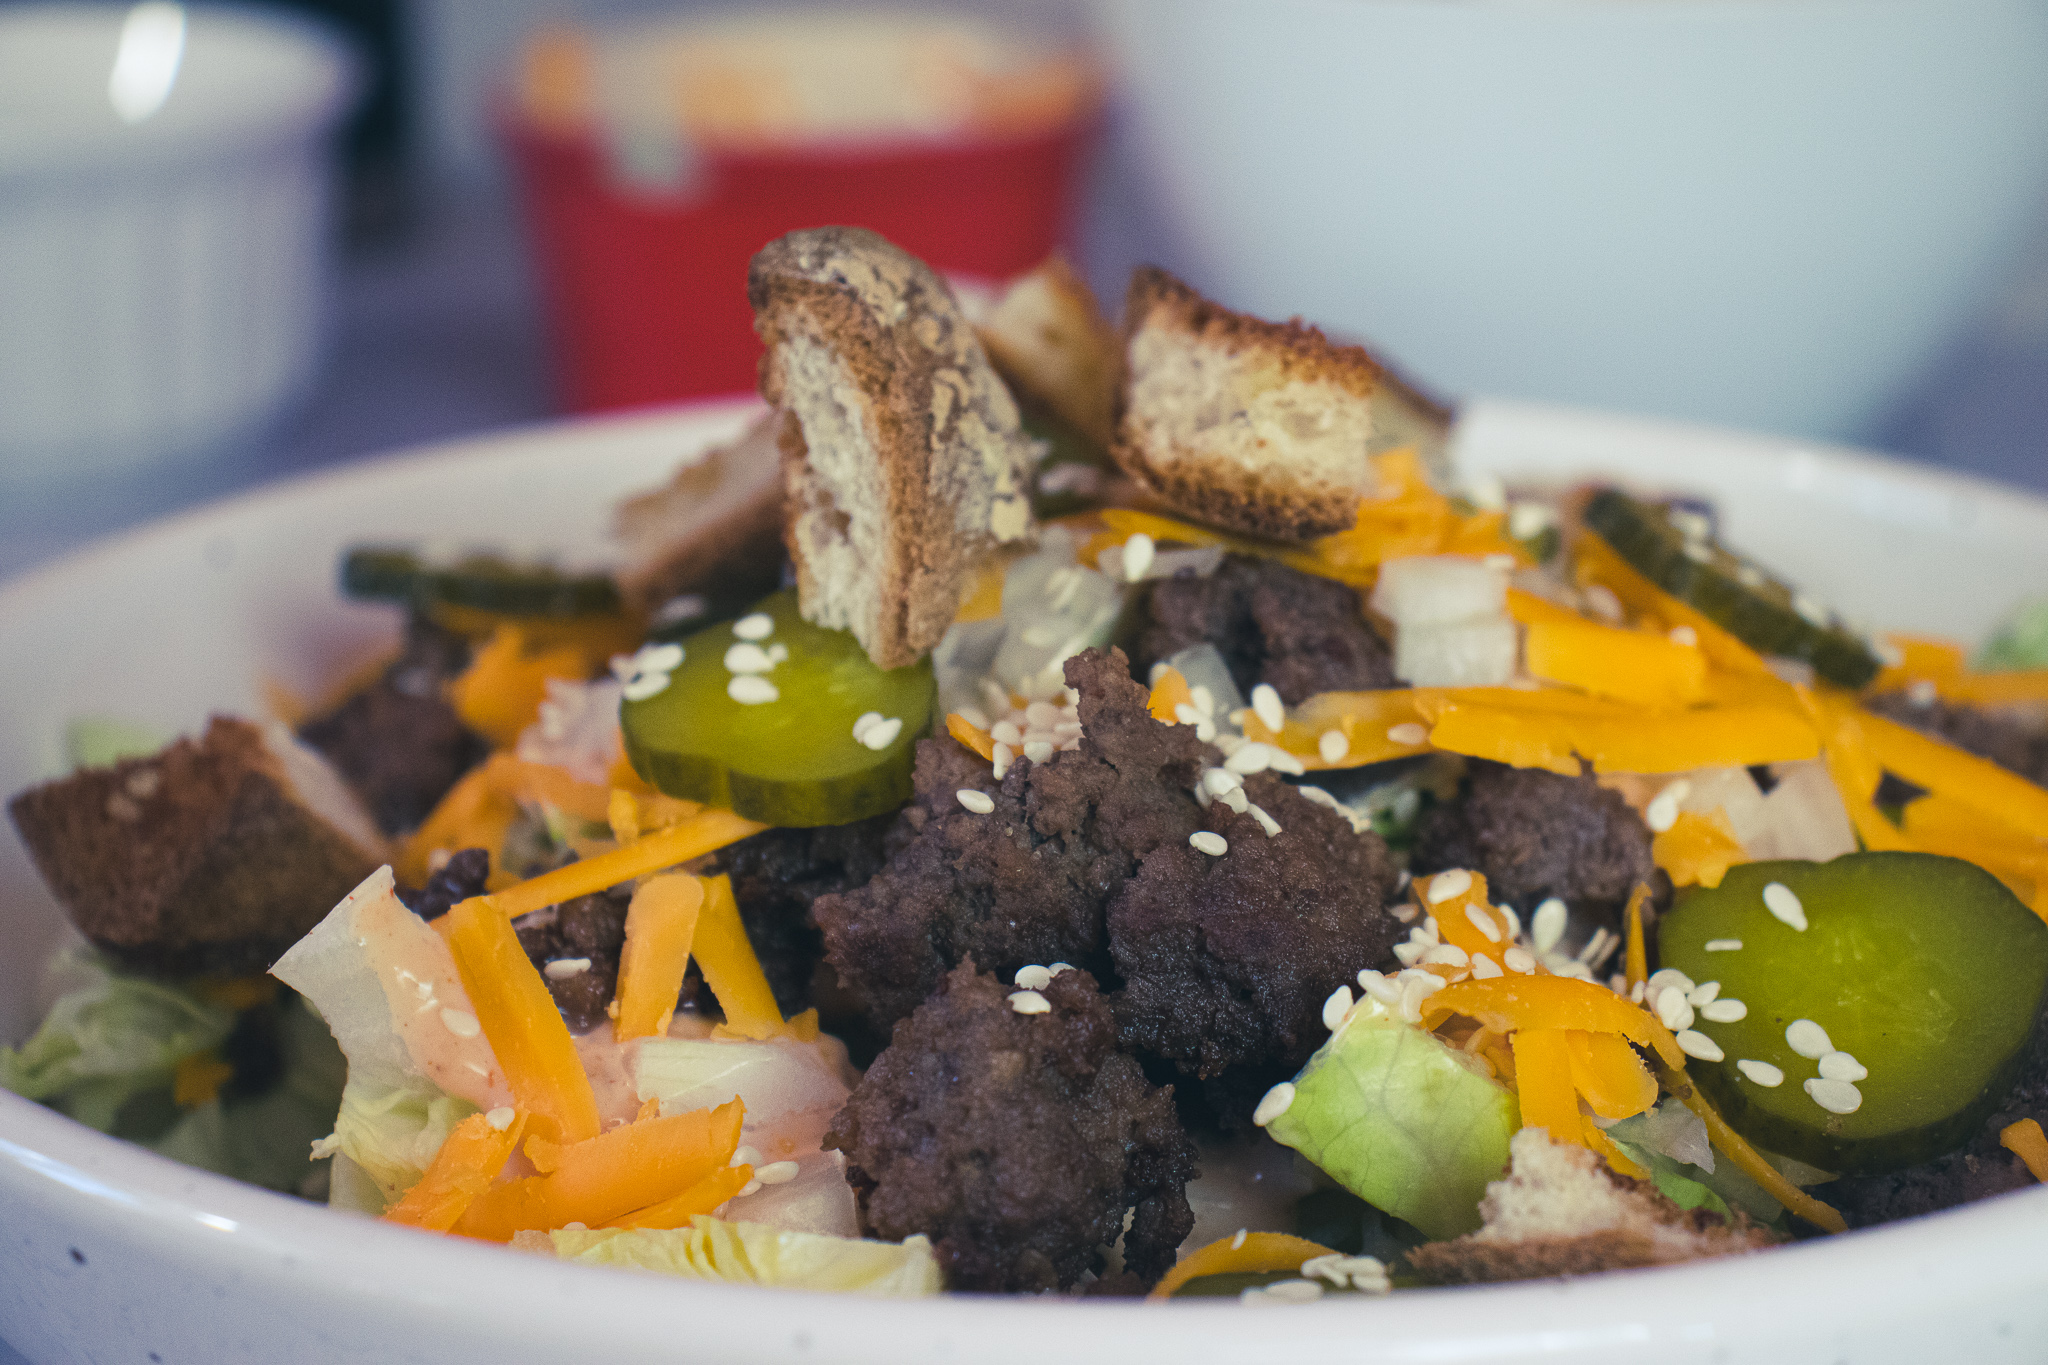
Most of us know the song that goes along with the iconic burger. If you don’t, it starts with, “Two all-beef patties…”. So it makes sense that’s where we will begin to too. However, since we’re making a salad and not a burger, I don’t see the point in making patties. So instead, I seasoned some ground beef with onion powder, garlic powder, and salt then browned it in a hot pan. Once cooked, I drained the oil off the meat. Like that, the “patties” are ready to go.
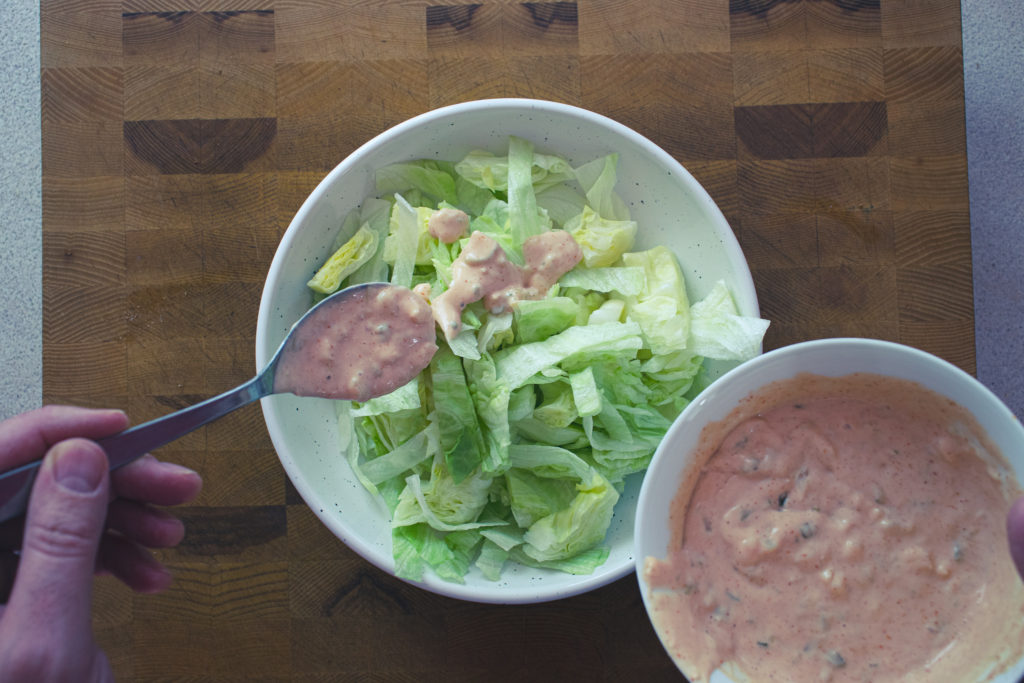
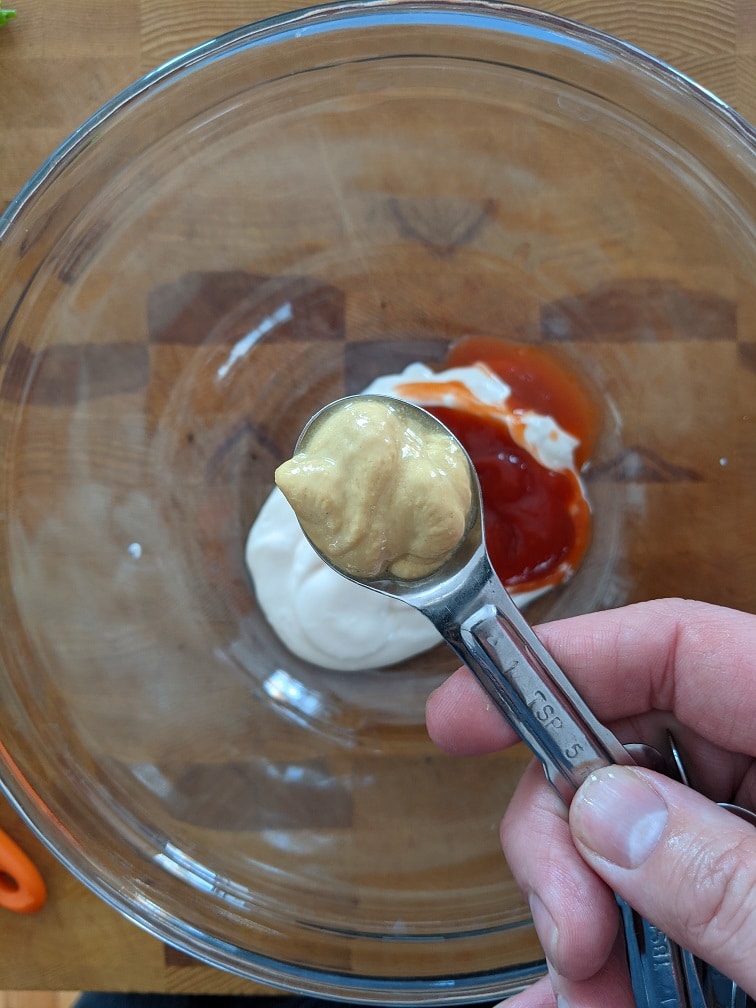
How To Make Big Mac Sauce
After “two all-beef patties” comes the “special sauce.” Big Mac sauce is essentially a version of Thousand Island Dressing, which itself is a version of Russian Dressing. In all honesty, the difference between the two dressings isn’t obvious. The main difference that I can see is that Russian Dressing has a bit of horseradish in it, making it a bit more pungent than Thousand Island. For my money, I think Russian Dressing makes a better Big Mac sauce than Thousand Island.
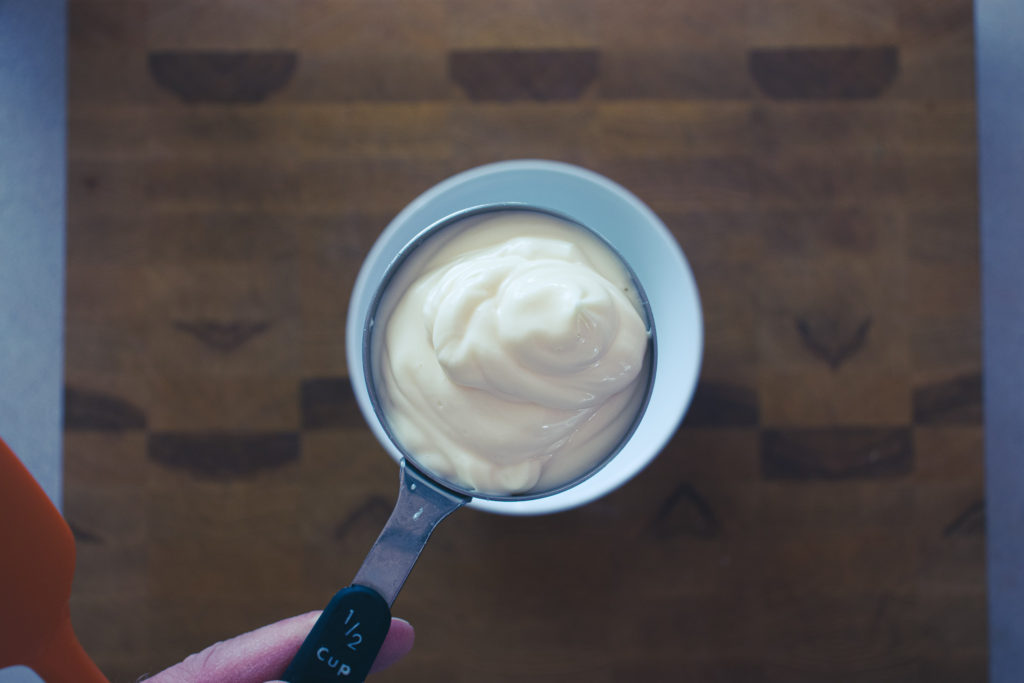
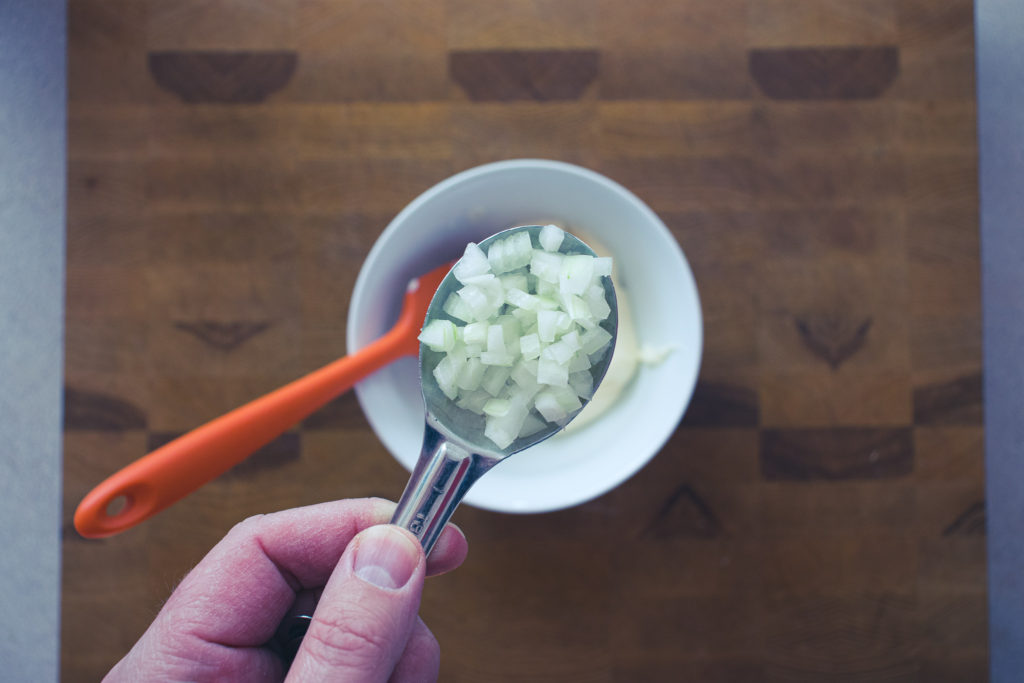
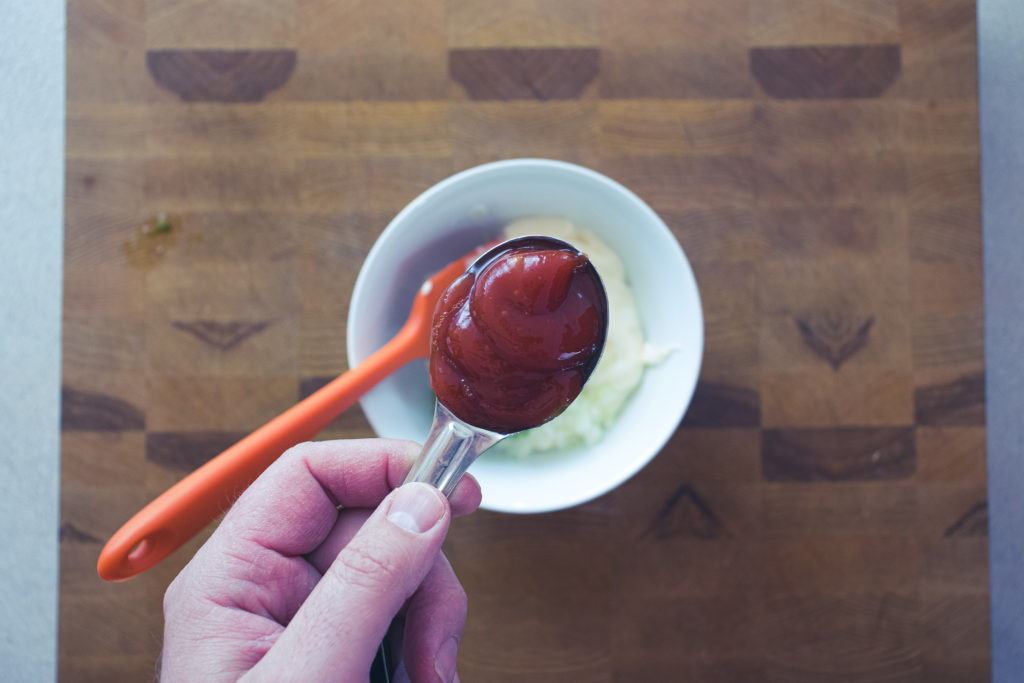
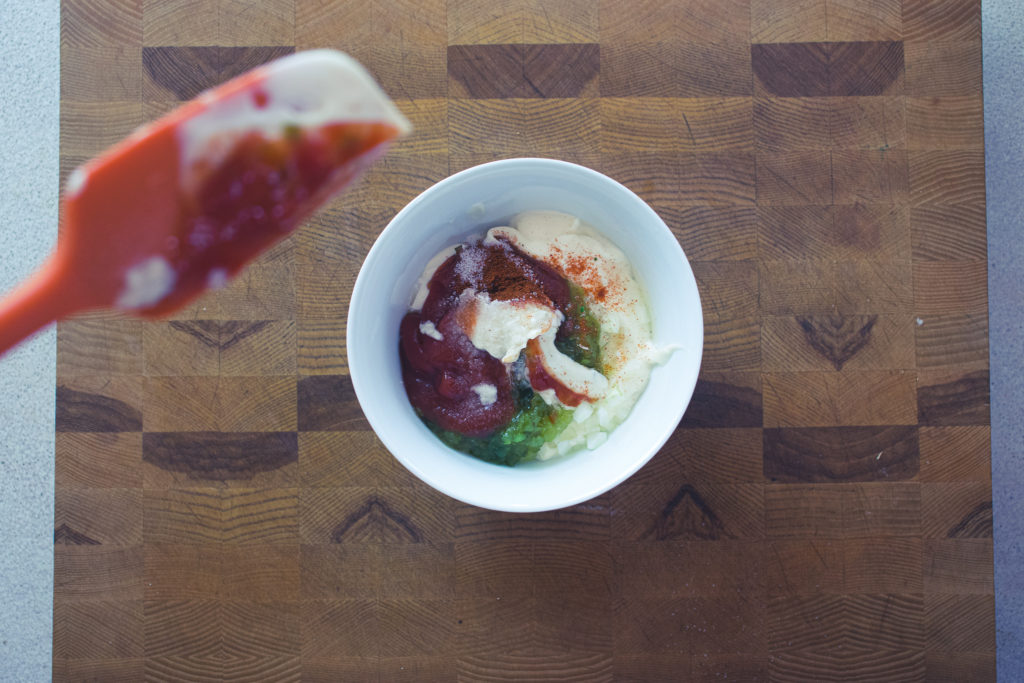
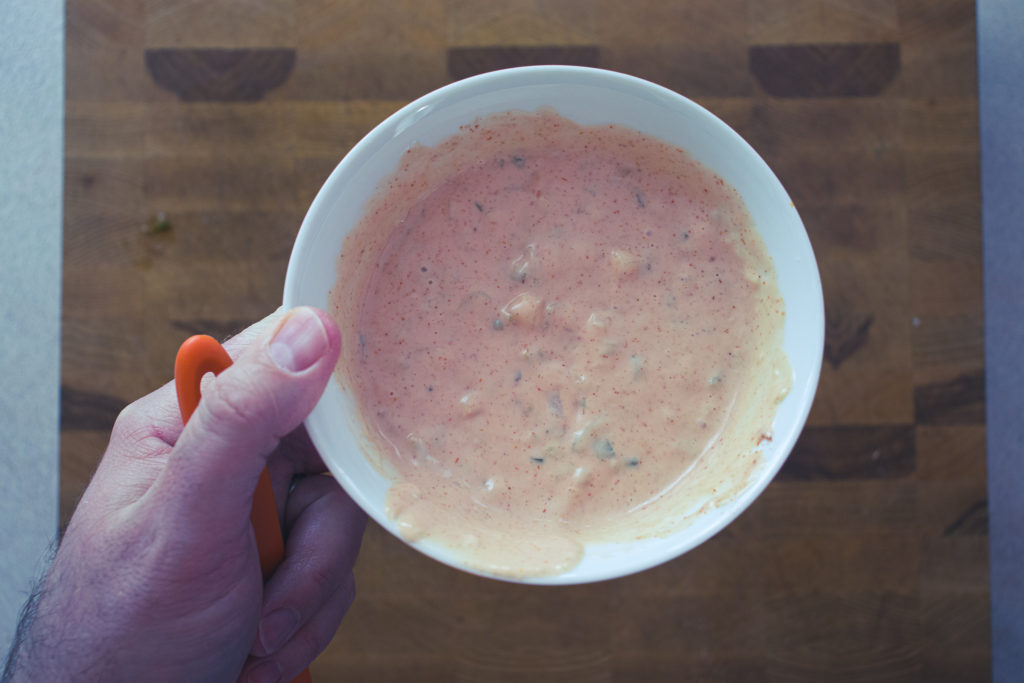
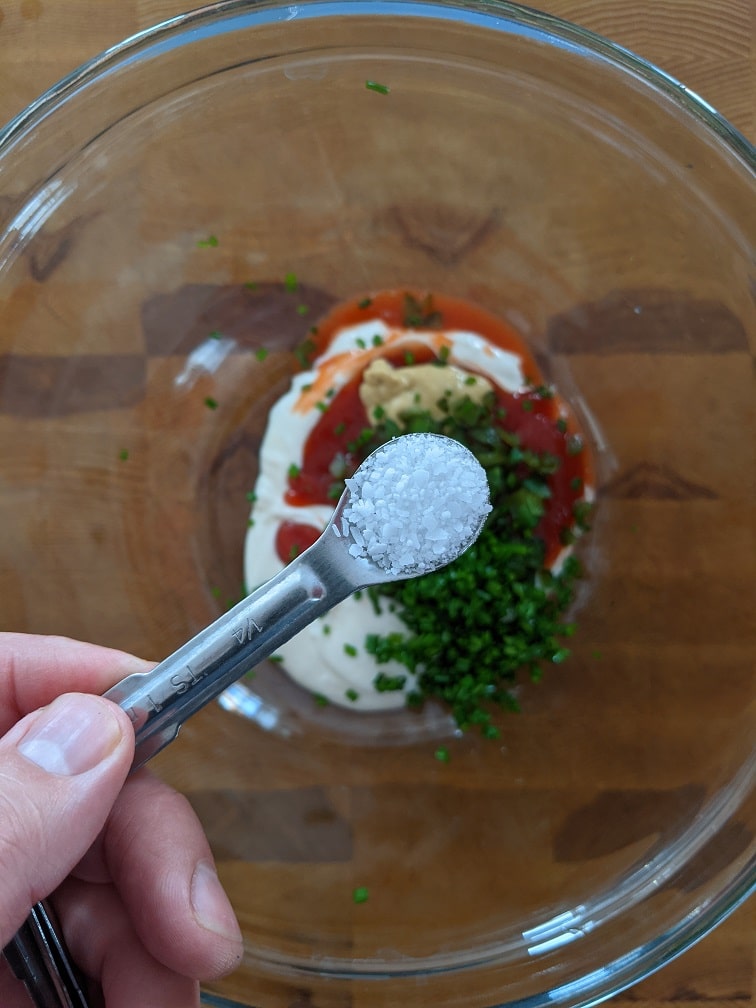
To make Russian Dressing combine mayonnaise, minced onion, relish, ketchup, vinegar, horseradish, paprika, salt, and hot sauce. You can find all the measurements in the recipe above. You can use the sauce immediately after mixing all the ingredients, but I think it’s better to let it rest in the fridge for at least thirty minutes. This resting time gives the dressing a more full flavour. After that, you can store it in the refrigerator in an airtight container for up to five days.
Croutons
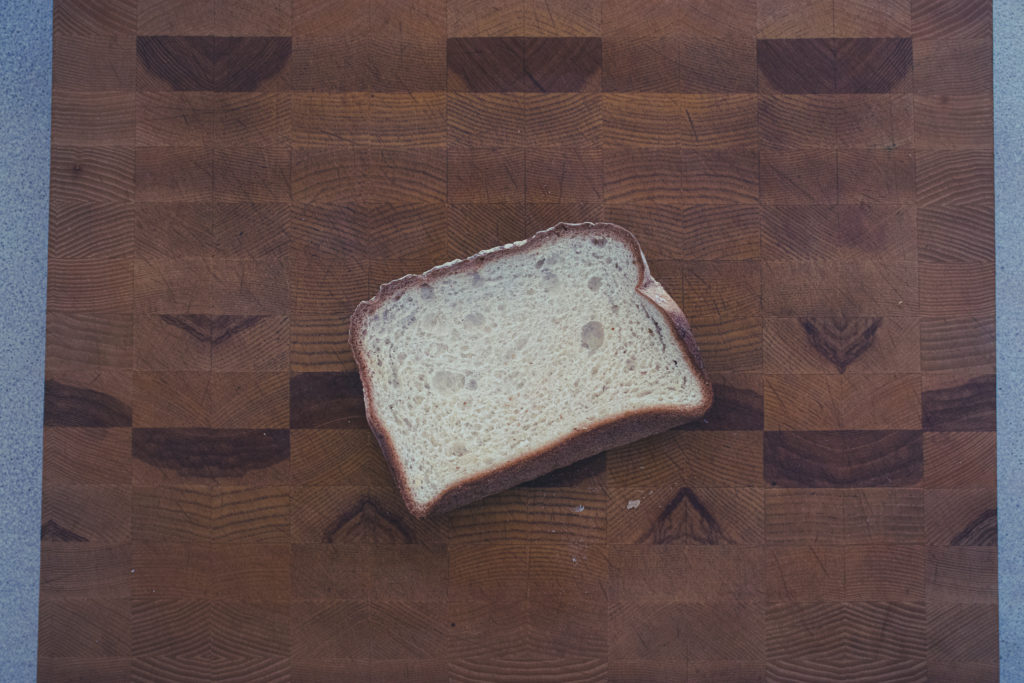
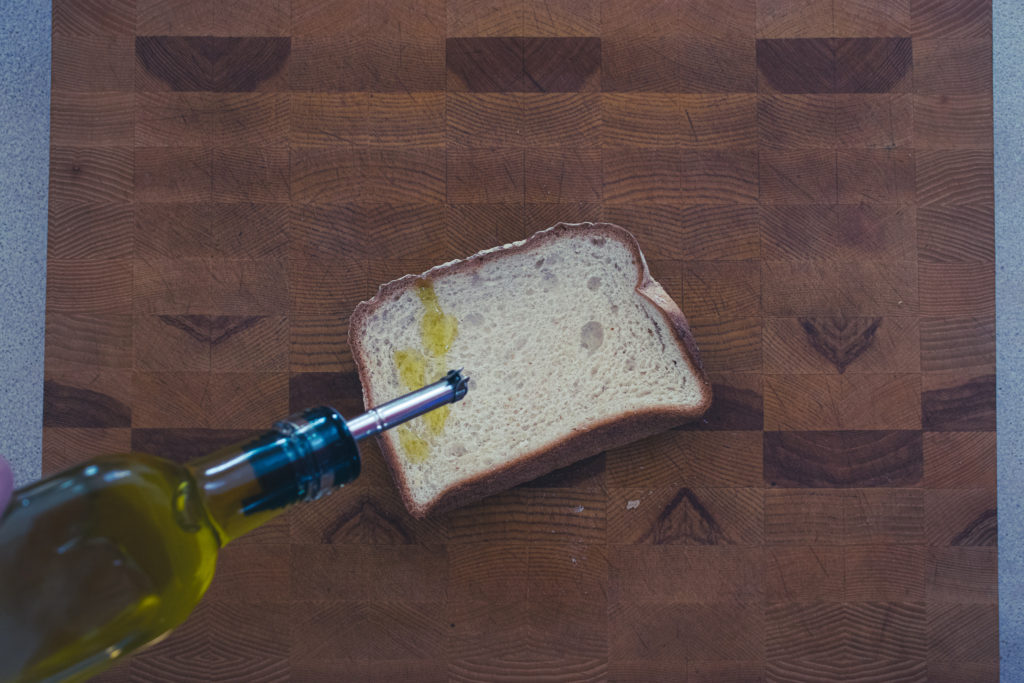
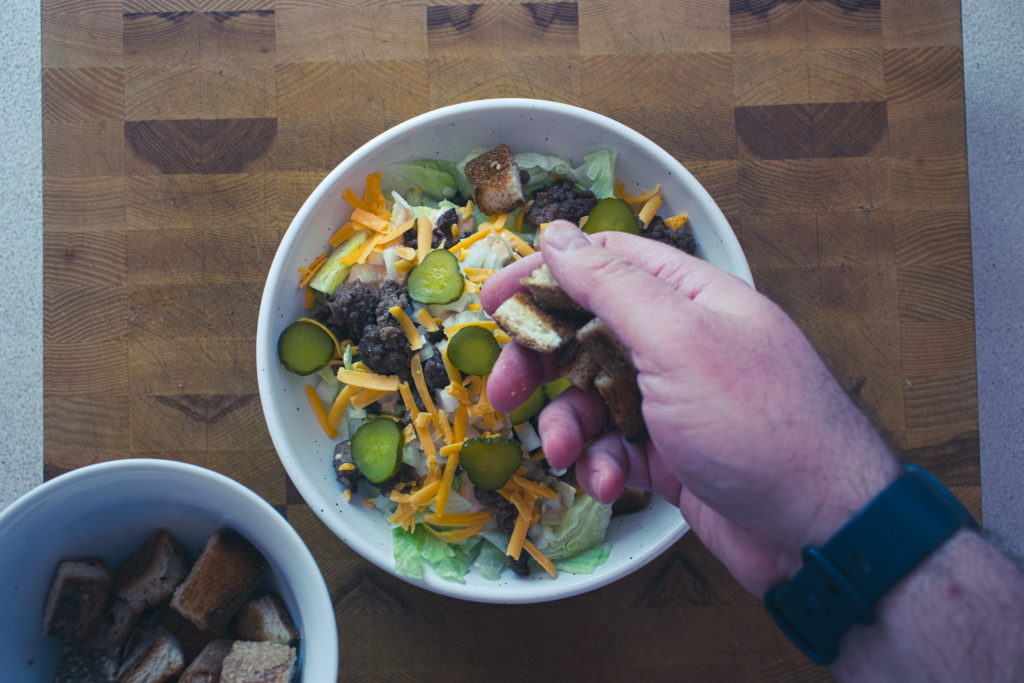
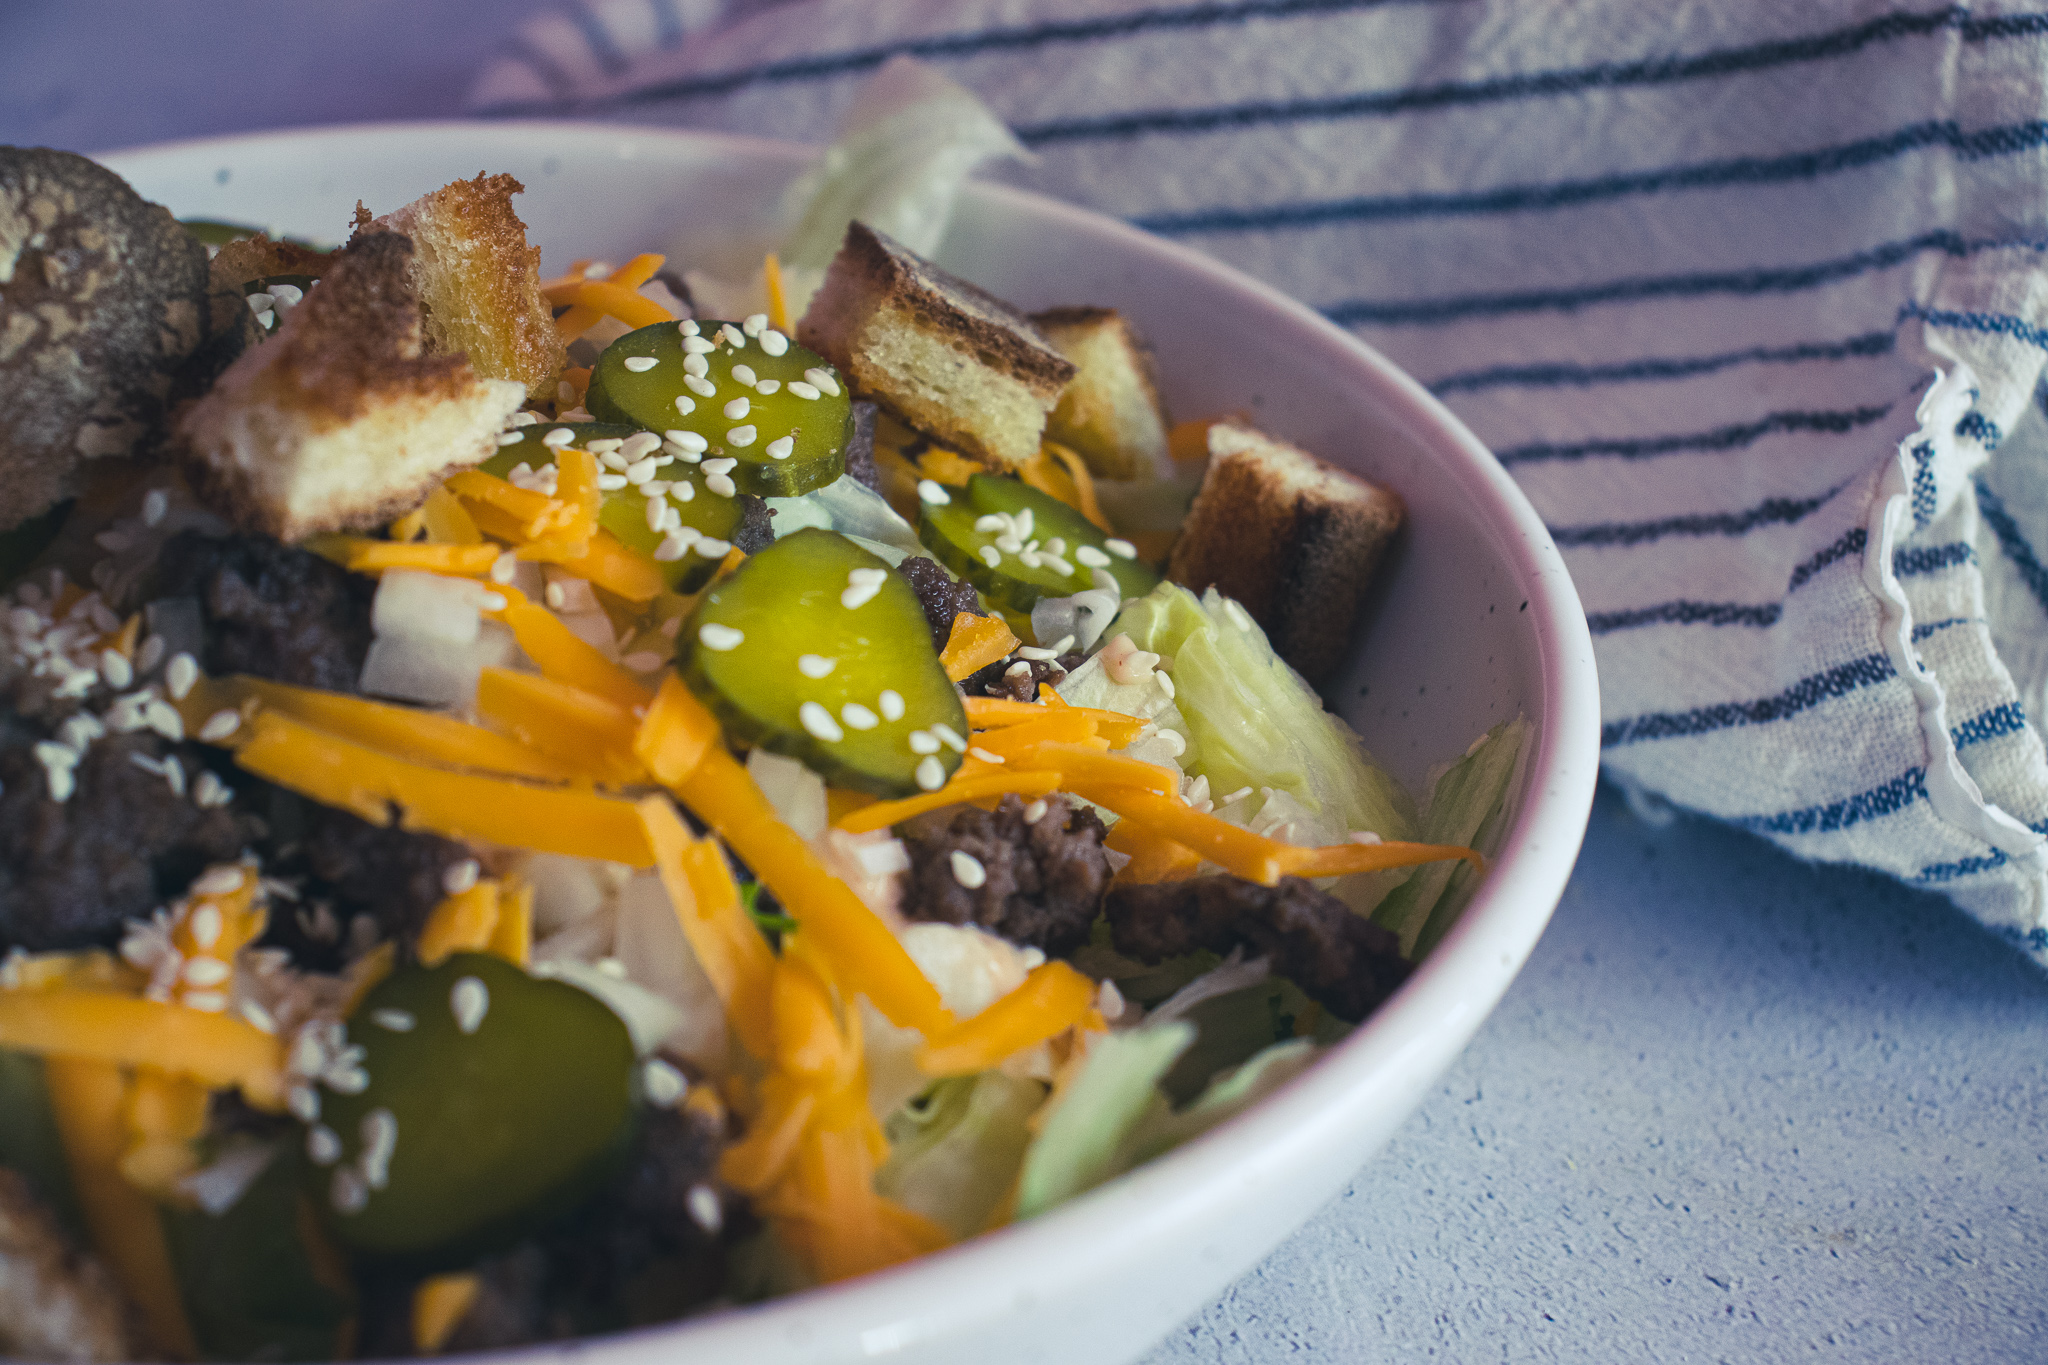
After “special sauce” comes “…lettuce, cheese, pickles, onions…” We’ll worry about all that next. For now, our focus is on the “…sesame seed bun.”. You can’t have a Big Mac Salad without some bread element. So, I decided to make some croutons. Take two pieces of bread, drizzle with olive oil, season lightly with salt and pepper, then bake at 400°f for about eight to ten minutes. Let the toasted bread cool, then cut it into small bite-sized cubes. I made the croutons this way rather than cutting the bread first because I wanted the croutons to be a bit soft in the middle.
Making The Big Mac Salad
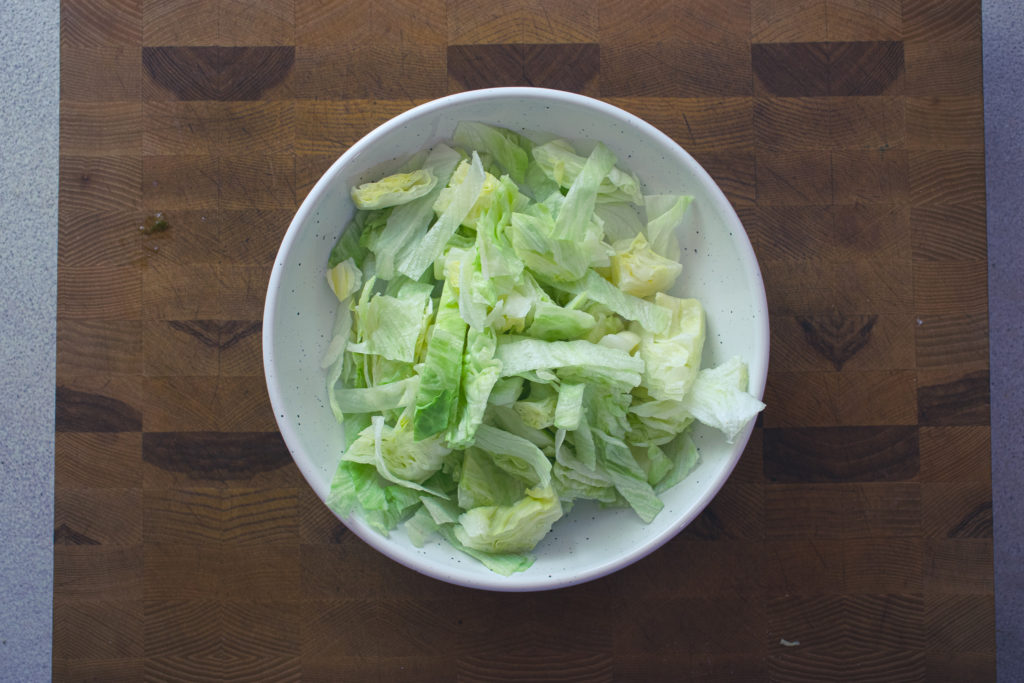
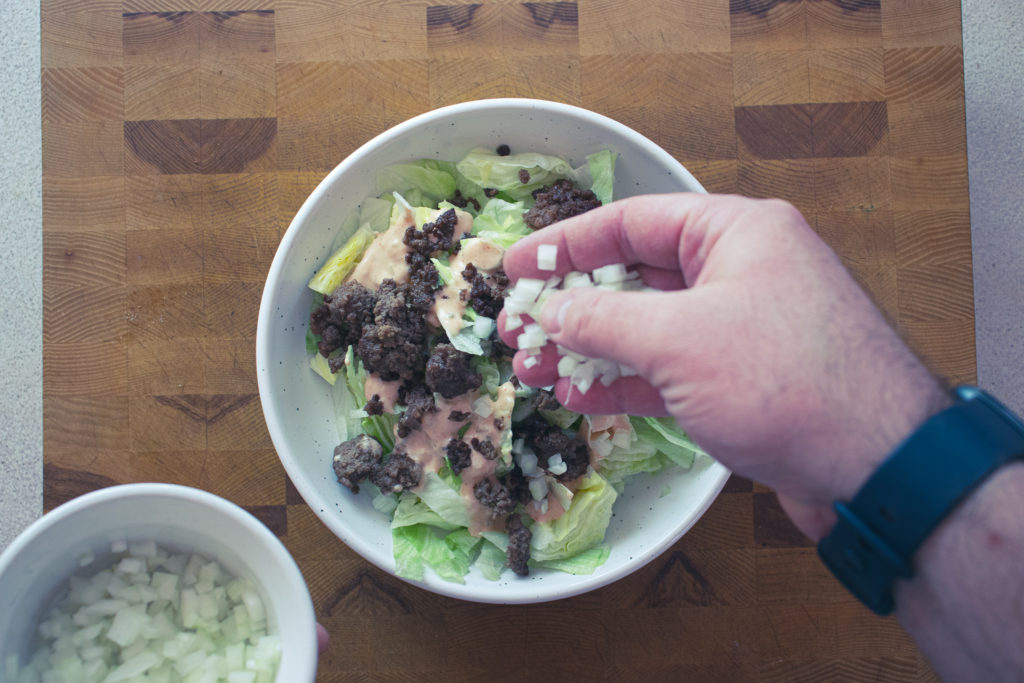
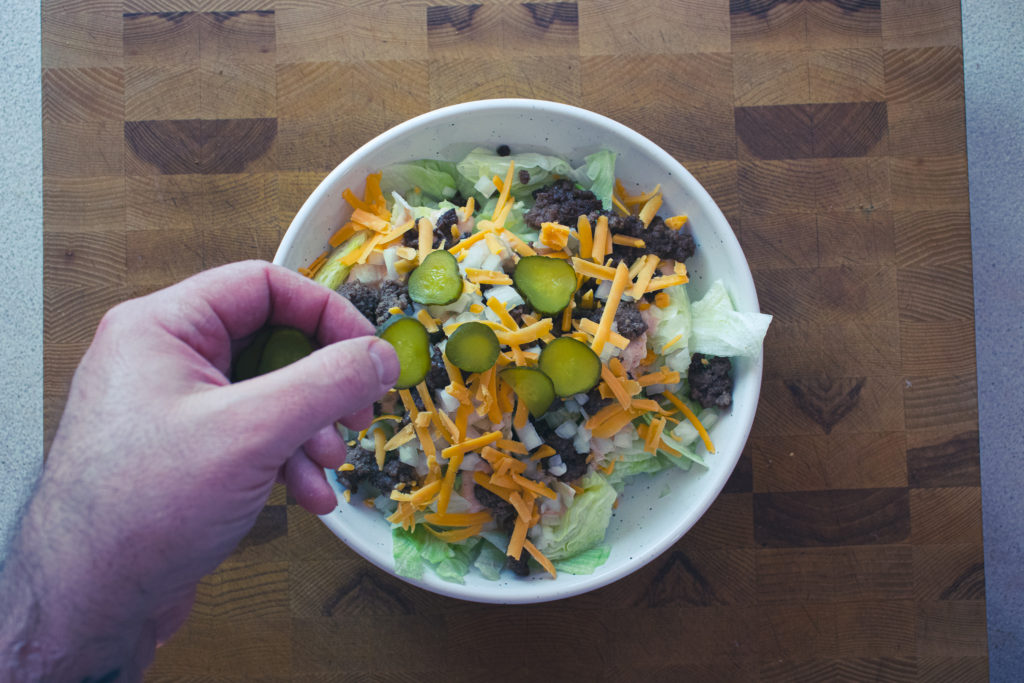
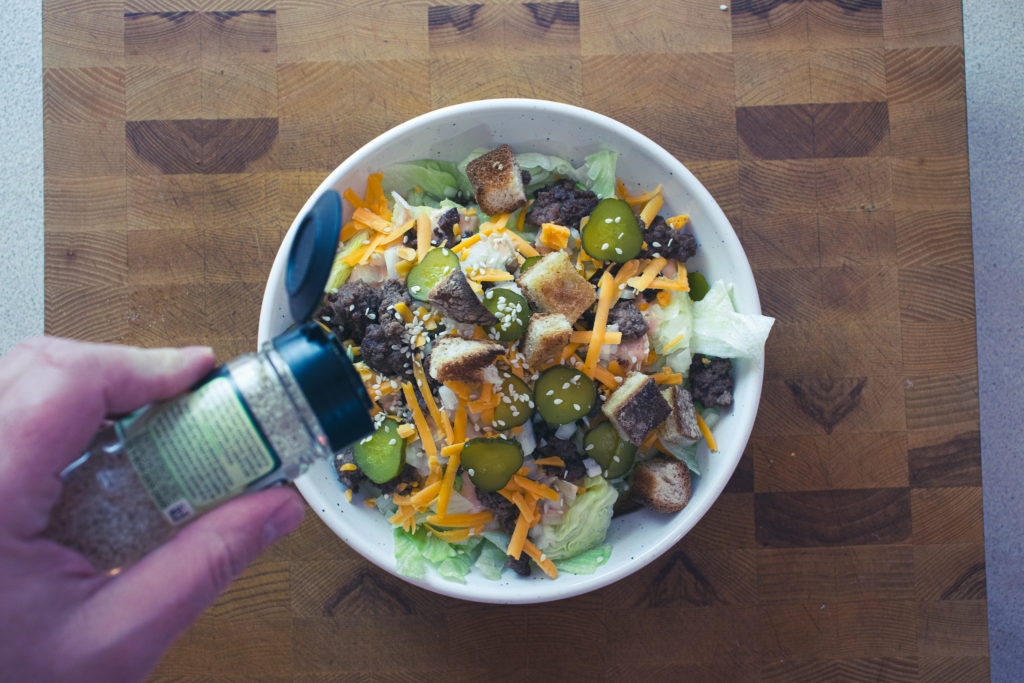
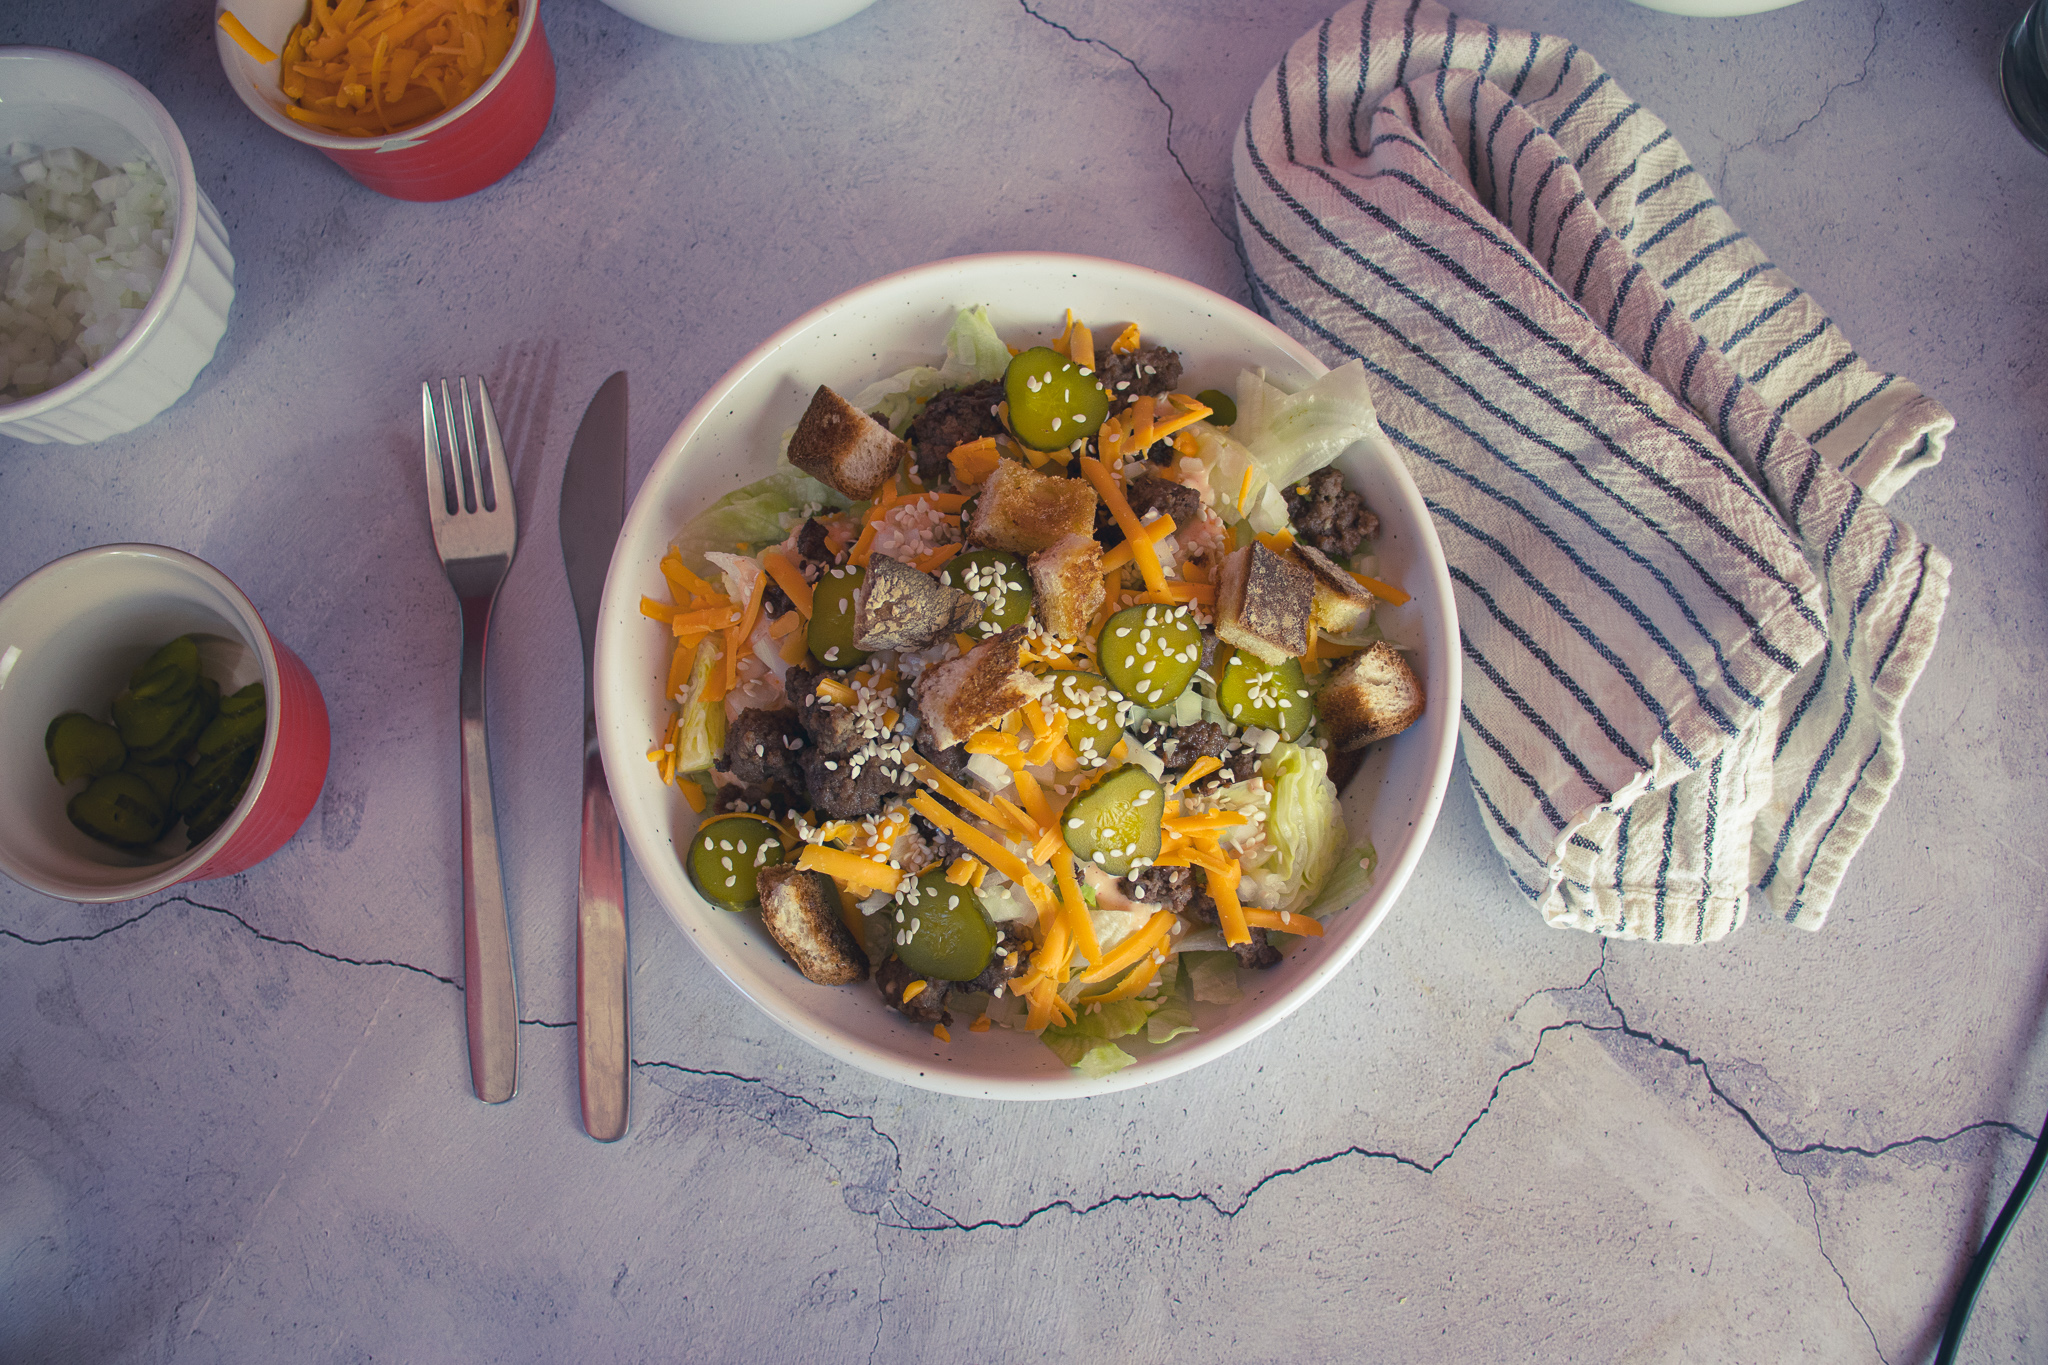
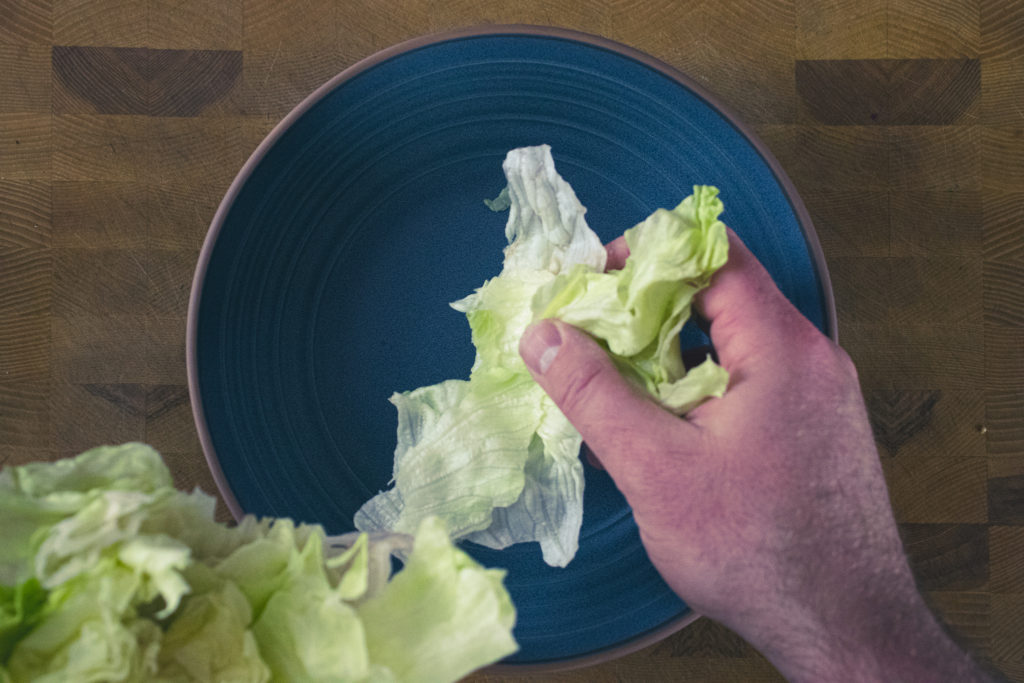
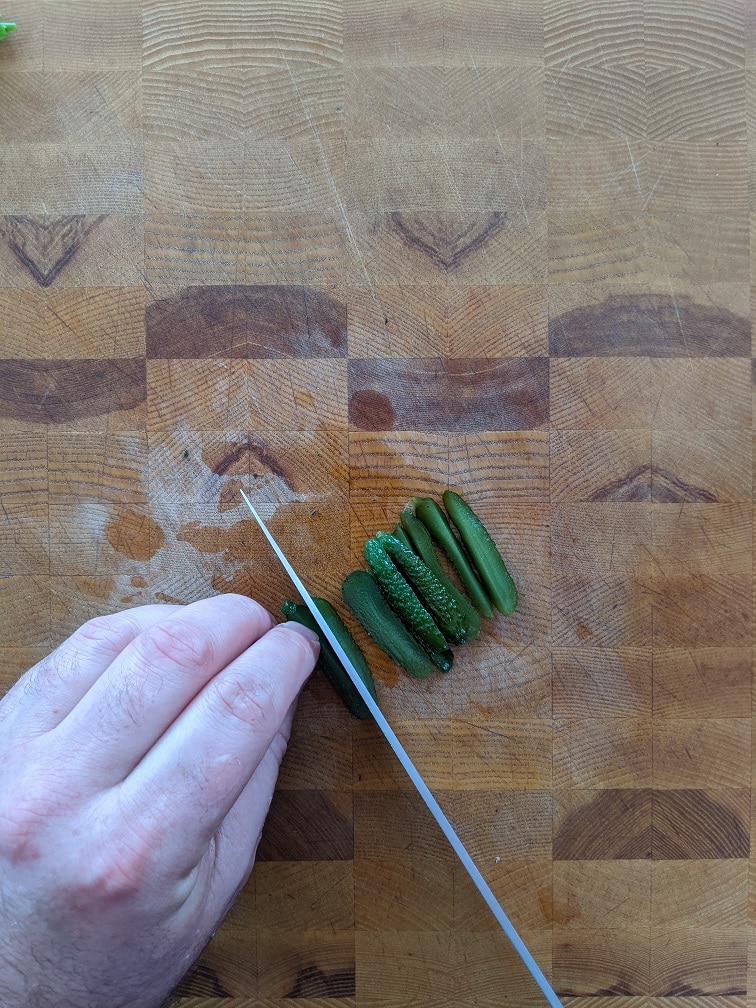
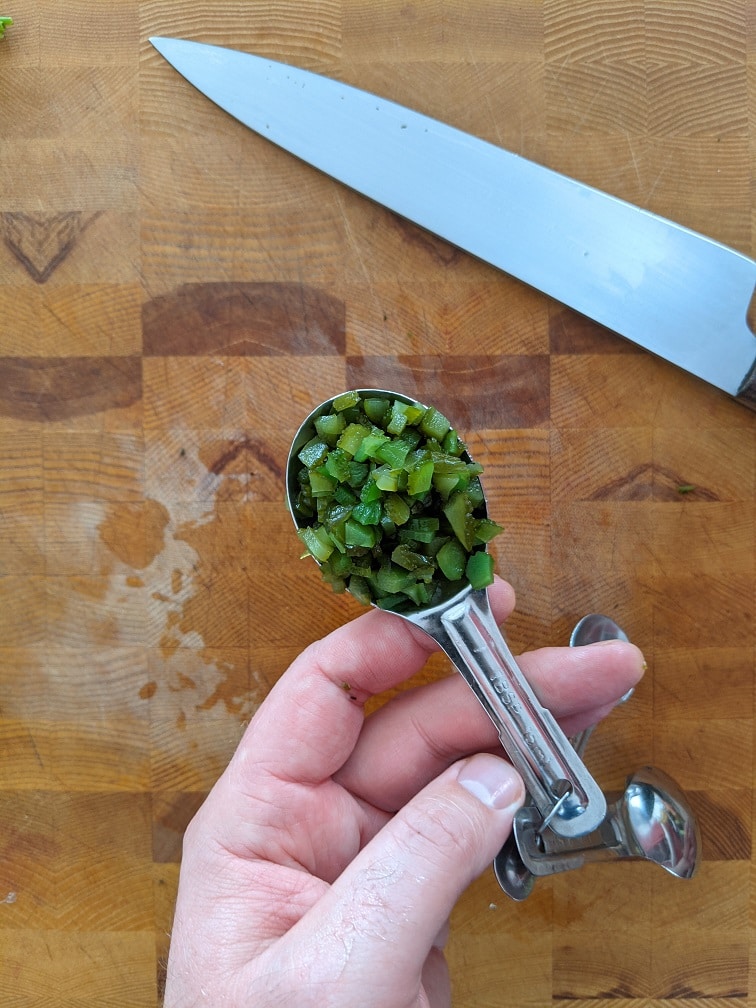
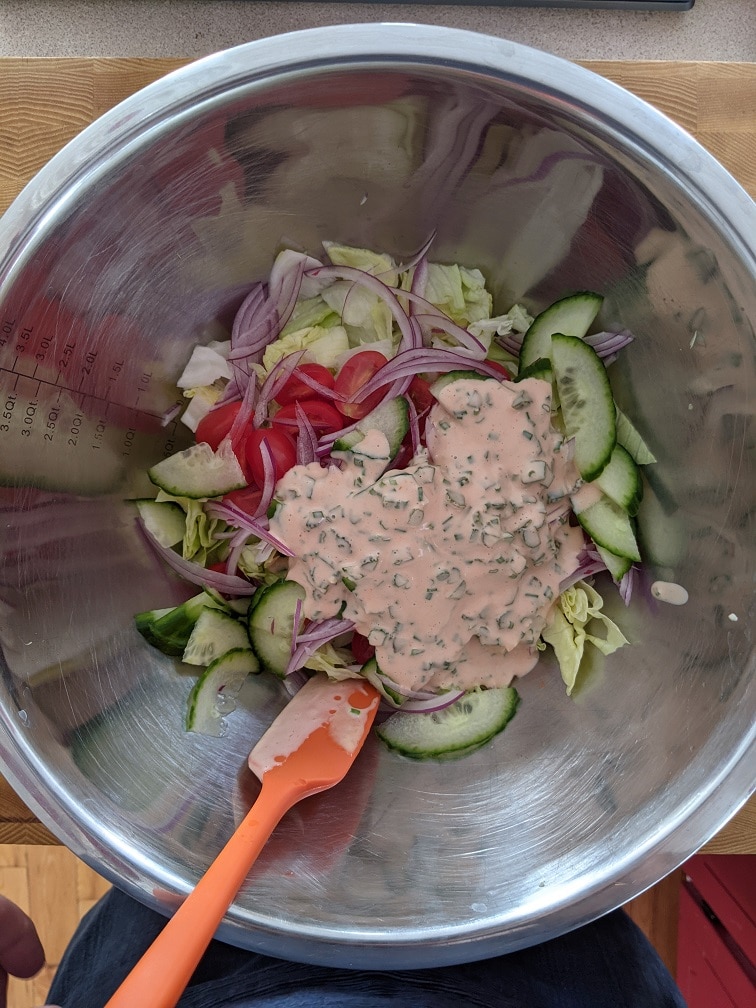
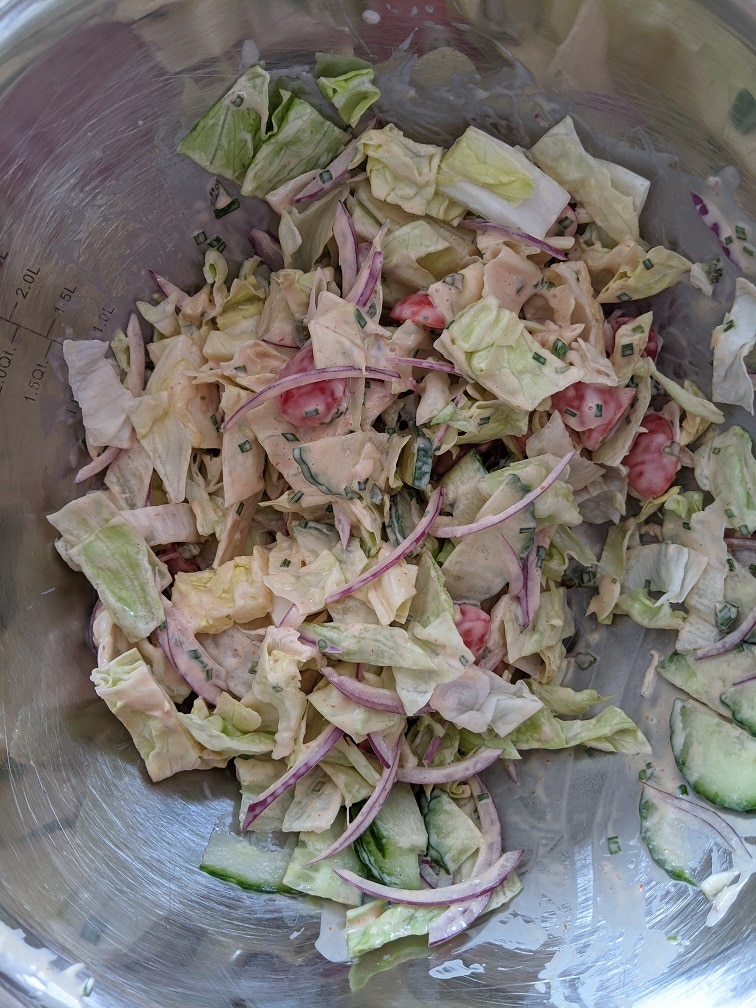
Okay, we’ve got the beef, special sauce, and bun. It’s time for the “…lettuce, cheese, pickles, onions…”. Take a head of iceberg lettuce remove and discard the outer leaves. Cut the lettuce into bite-sized pieces, then wash and dry well. Put the lettuce in four bowls. Top with the Dressing, then the beef. Next, add a tablespoon or two of minced white onions and grated cheddar cheese. I used a good quality cheddar, but if you want to through some processed American cheese on here, I’m not going to judge you. Next up, pickles. I find that Vlasic garlic dill pickles taste the most like the pickles on a Big Mac. Whatever dill pickles you want to use will be fine. Cut the pickles thin and spread them around the salad. Add the croutons to the salad and finish with a sprinkle of sesame seeds. It’s a Big Mac in a bowl!
The Wrap-Up
I GIGGLED when I took my first bite of this Big Mac Salad because it tasted so much like the original burger. I am so happy with how this turned out. Whether you can’t eat a Big Mac like me or love a Big Mac but are trying to stay on the healthy side of things, this Big Mac Salad is for you. Honestly, though, if you just wanted a delicious salad, this Big Mac Salad is for you too. Thanks for reading. I hope you enjoyed this post. Remember to leave a comment below, a rating on the recipe, and share. Sharing is caring. Have a great day! I’ll see you back here next Thursday.
Have you signed up for the Chef’s Notes Monthly Newsletter? No? Why Not? Don’t miss exclusive recipes, cooking tips, and behind-the-scenes pictures and stories.
Big Mac Salad
Everything you love about a Big Mac in a salad. You won't believe how much this tastes like the original.
Keyword: Big Mac Sauce, creamy salad dressing, Salad, salad dressing
Servings: 4
Author: Chef Ben Kelly
Cost: 10
Ingredients
"Burger" Meat
1lbground beef
1tspgarlic powder
1tsp onion powder
3/4tspsalt
Big Mac Dressing
1/2cupmayonnaise
2tbsp minced onion
2tbspketchup
2tbsp relish
1tspwhite vinegar
1tsphorseradish
4dropshot sacue
1/4tsppaprika
1/4tspkosher salt
Croutons
2piecesWhite BreadI used Promise Gluten-Free Bread
1tbspOlive Oil
Salt and Pepper
Big Mac Salad
1headiceberg lettuce
1batch"burger" meat"
1batchBig Mac Dressing
2slicedgarlic dill pickles
1/4cupminced onions
1/2cupgrated cheddar cheese
1batchcroutons
4tspsesame seeds
Instructions
"Burger" Meat
In a medium bowl, combine the ground beef, onion and garlic powder, and salt. Mix well.
Heat a large non-stick skillet over medium-high heat. Add the ground beef and cook until browned using a wooden spoon to break the meat into small pieces.
Drain the fat off the meat and serve.
Big Mac Dressing
In a medium bowl, combine all the ingredients and mix well.
Cover the bowl with plastic wrap and put the dressing in the fridge for 30 minutes before serving.
Croutons
Drizzle the bread with olive oil and season with salt and pepper.
Toast the bread in a 400°f oven for 8 to 10 minutes or until crisp. Let the bread cool on a rack then cut into small cubes and serve.
Big Mac Salad
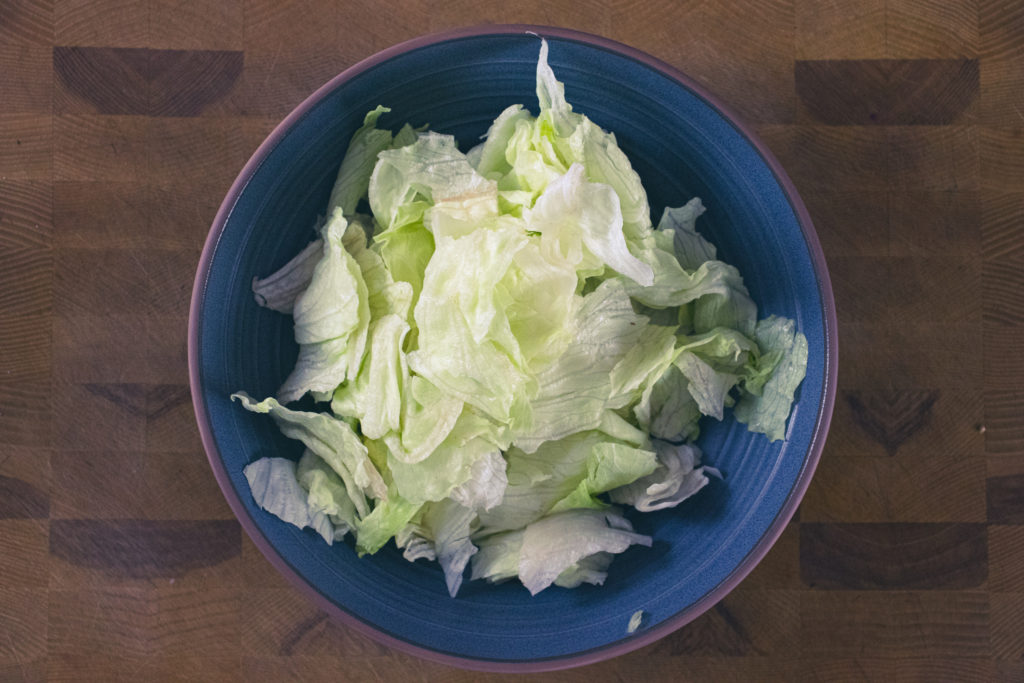
Cut the lettuce into bit-sized pieces. Wash and dry it.
Divide the lettuce between four salad bowls.
Divide the "Burger" meat among the four bowls putting it on top of the lettuce.
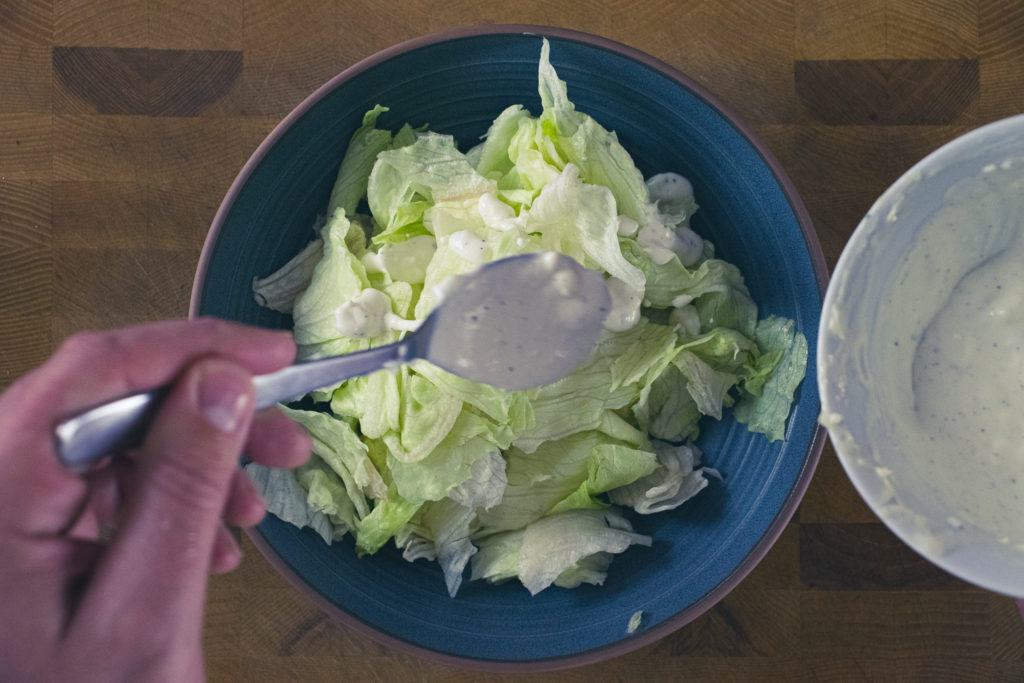
Top the "Burger" meat with the Big Mac Dressing.
Finish dressing the salad with the pickles, onion, cheese, and croutons. Garnish with sesame seeds and serve.
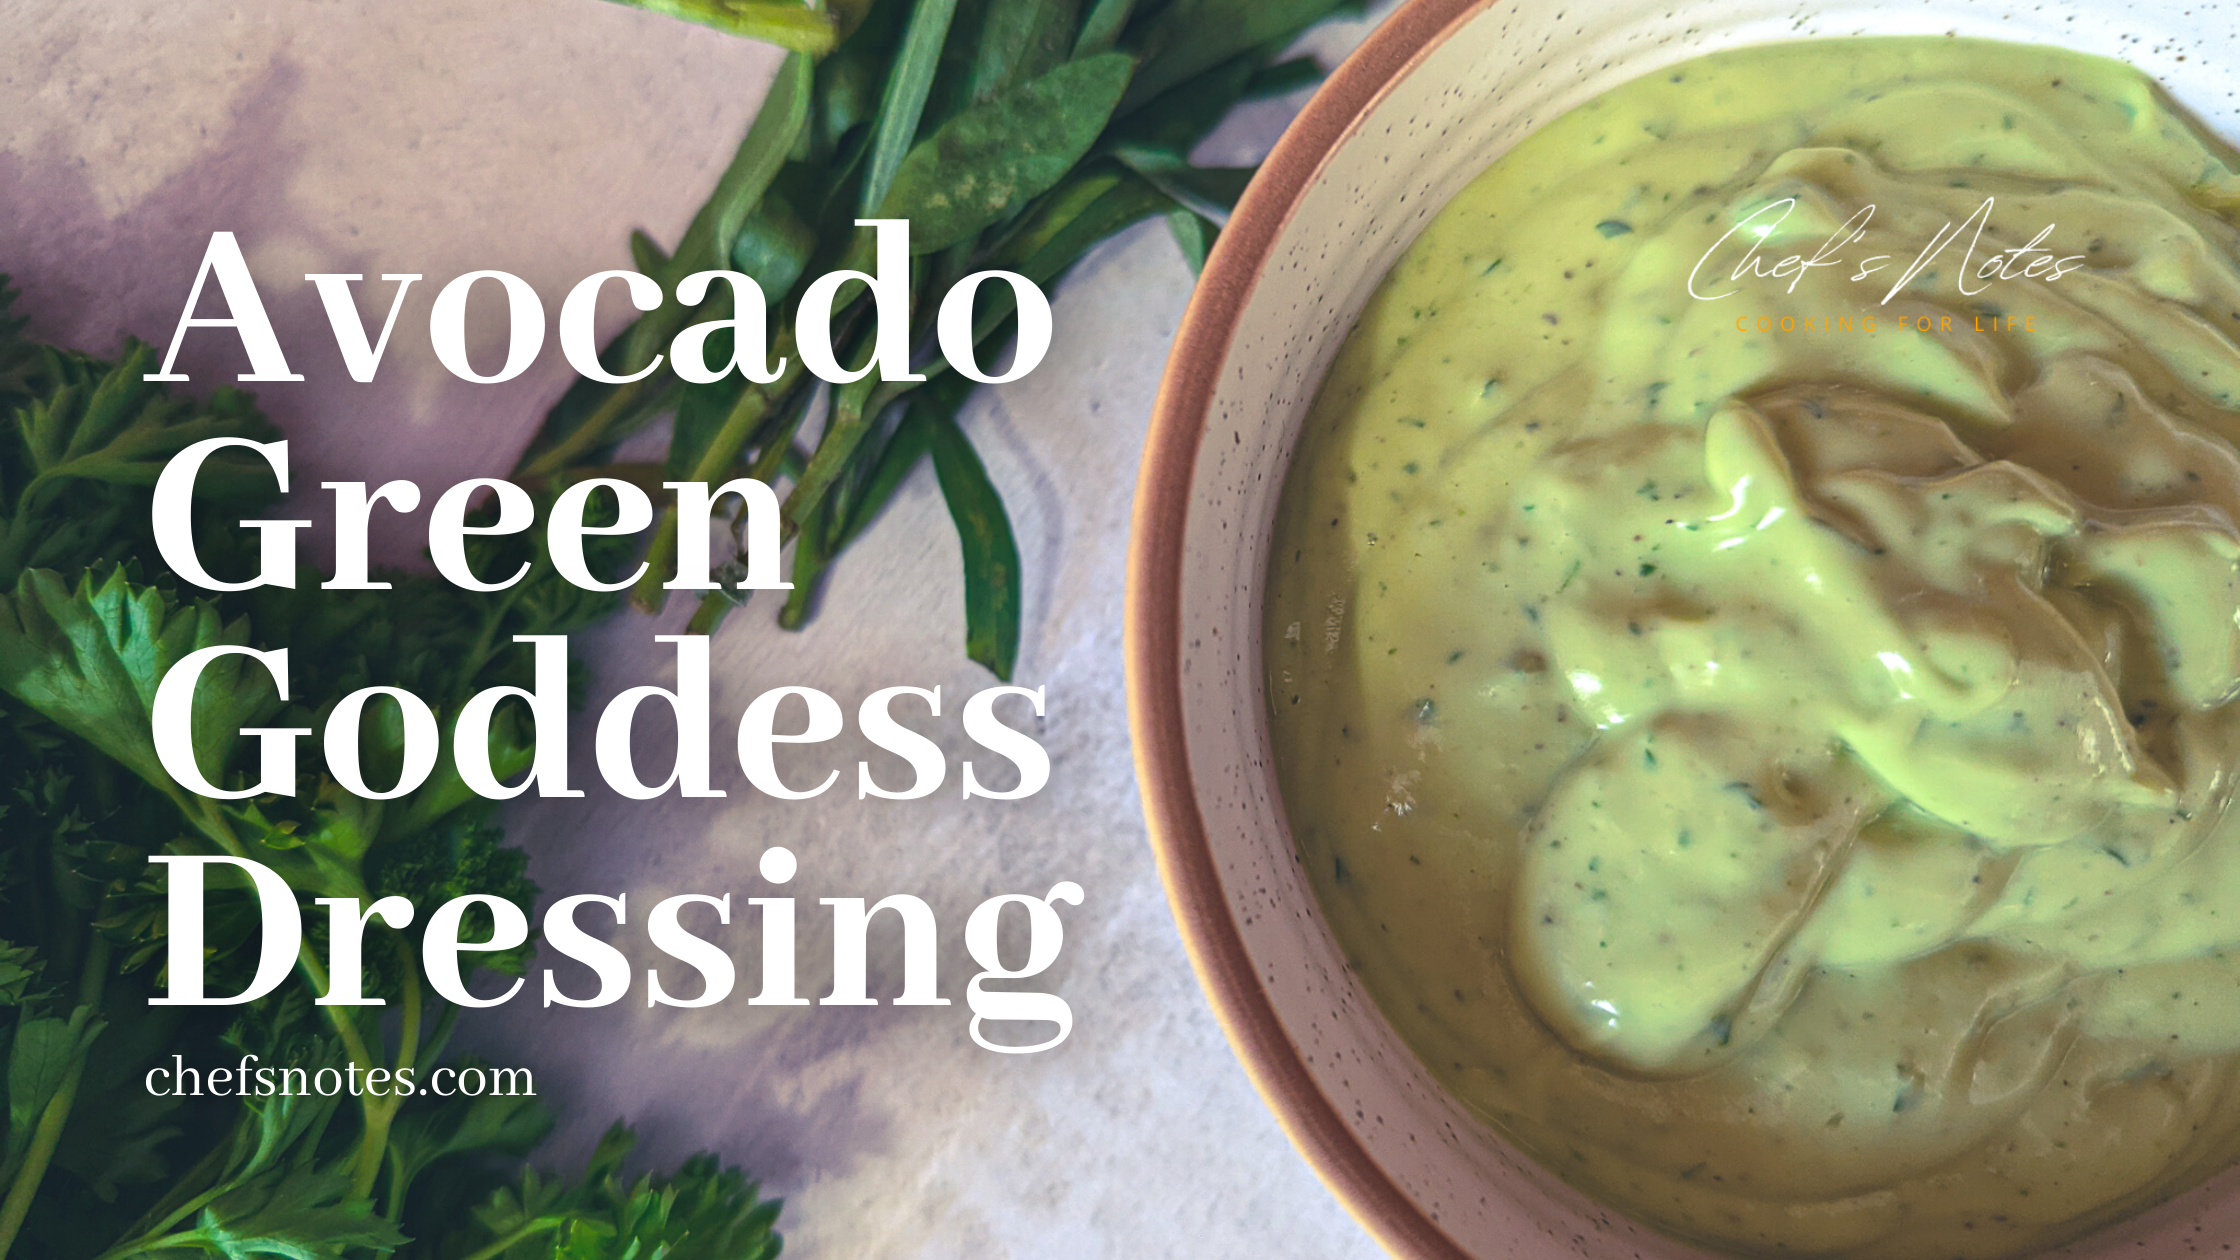
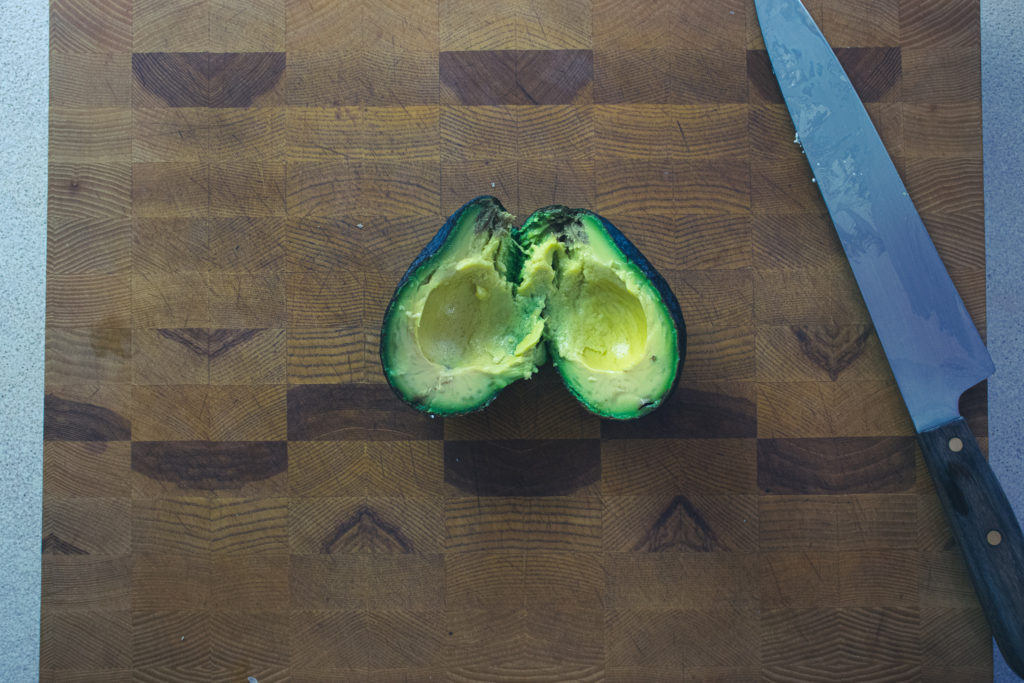
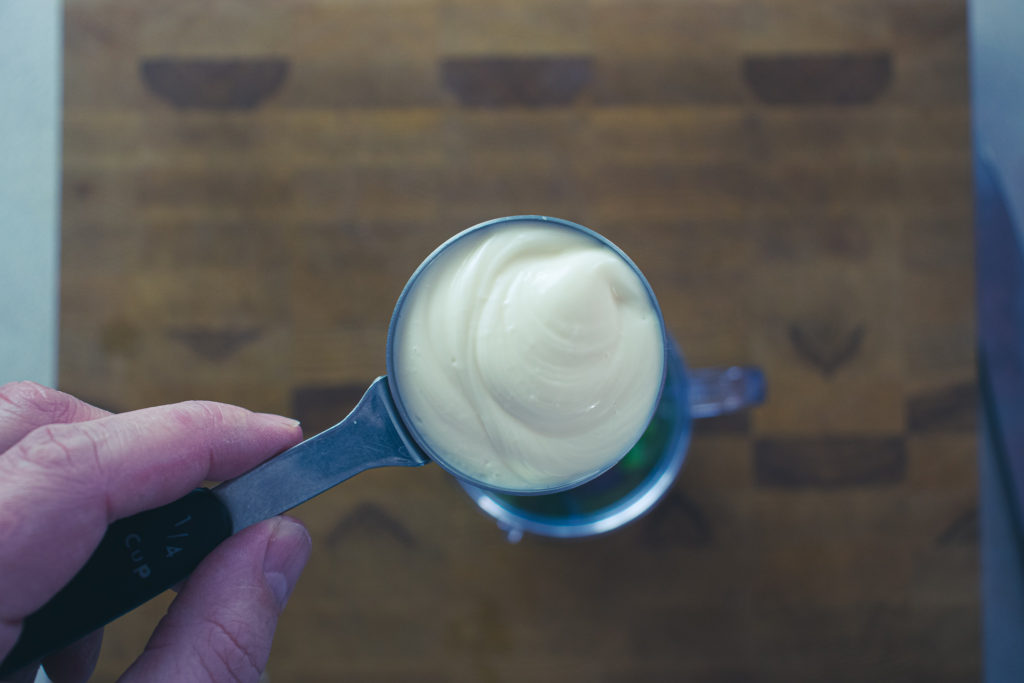
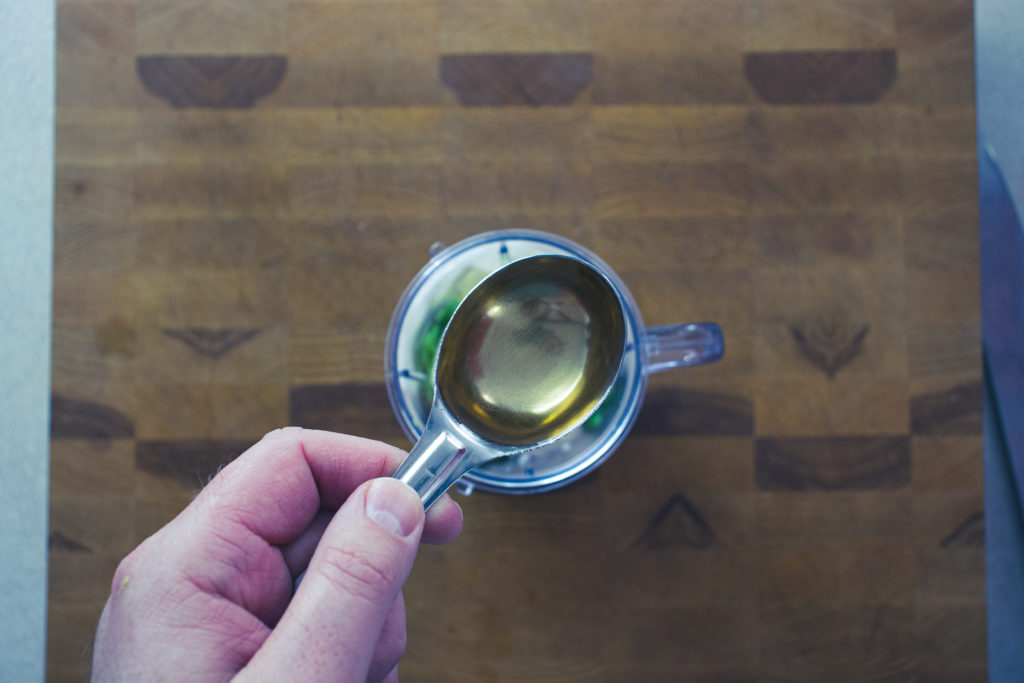
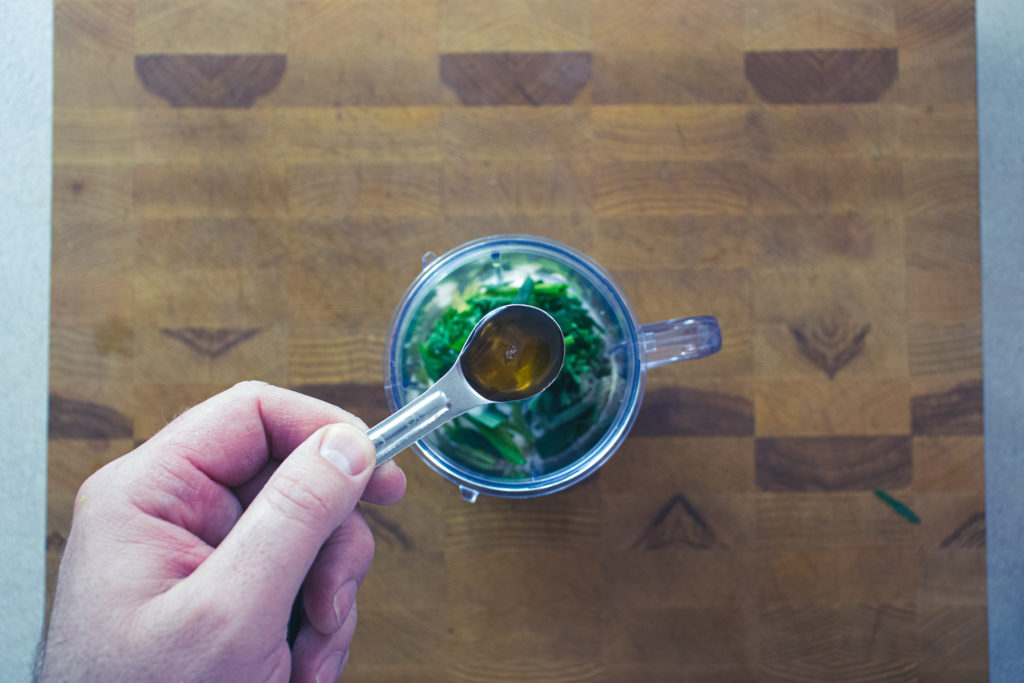
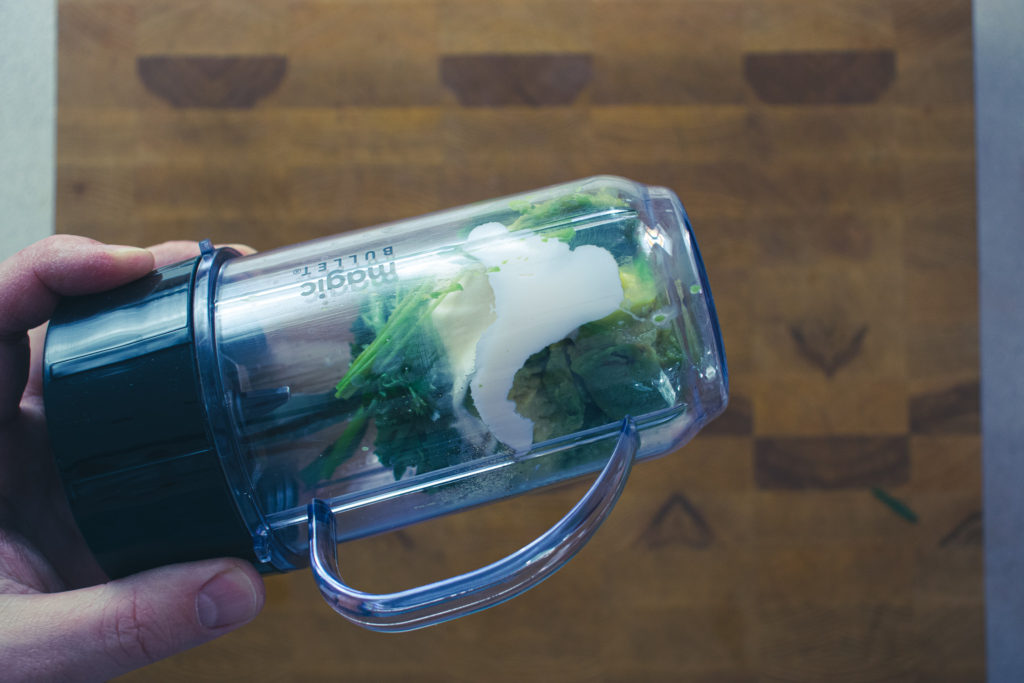
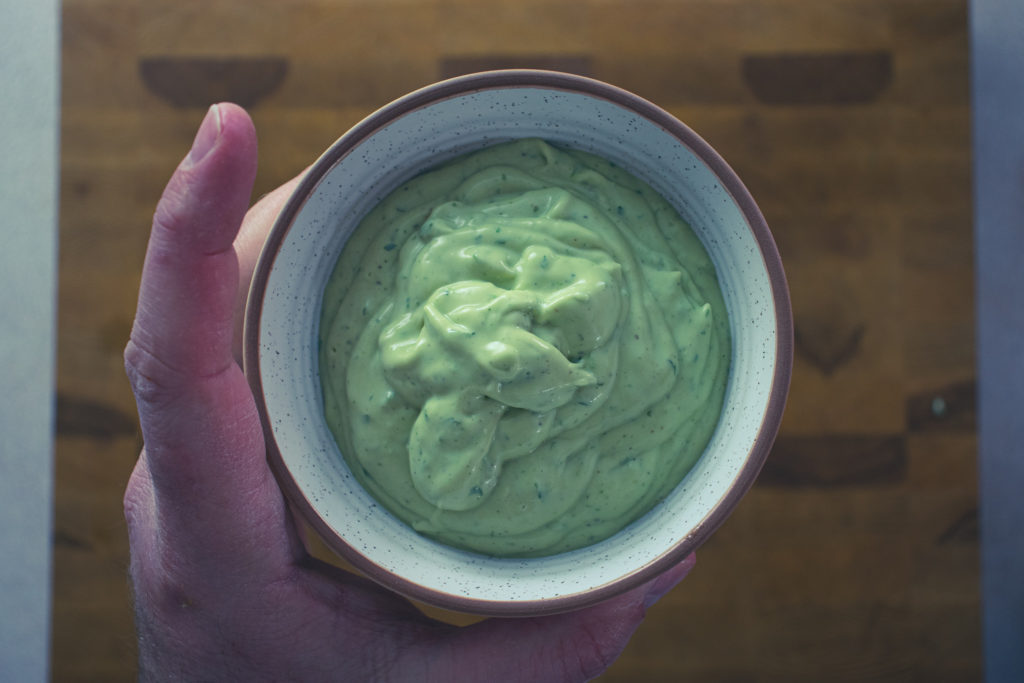
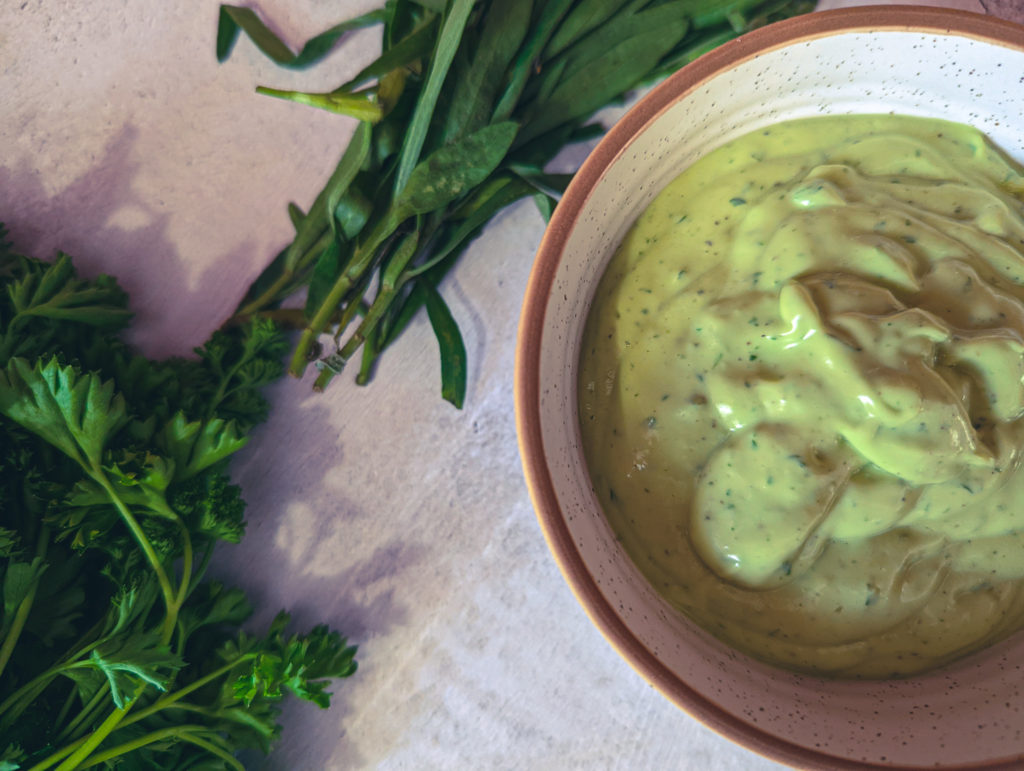
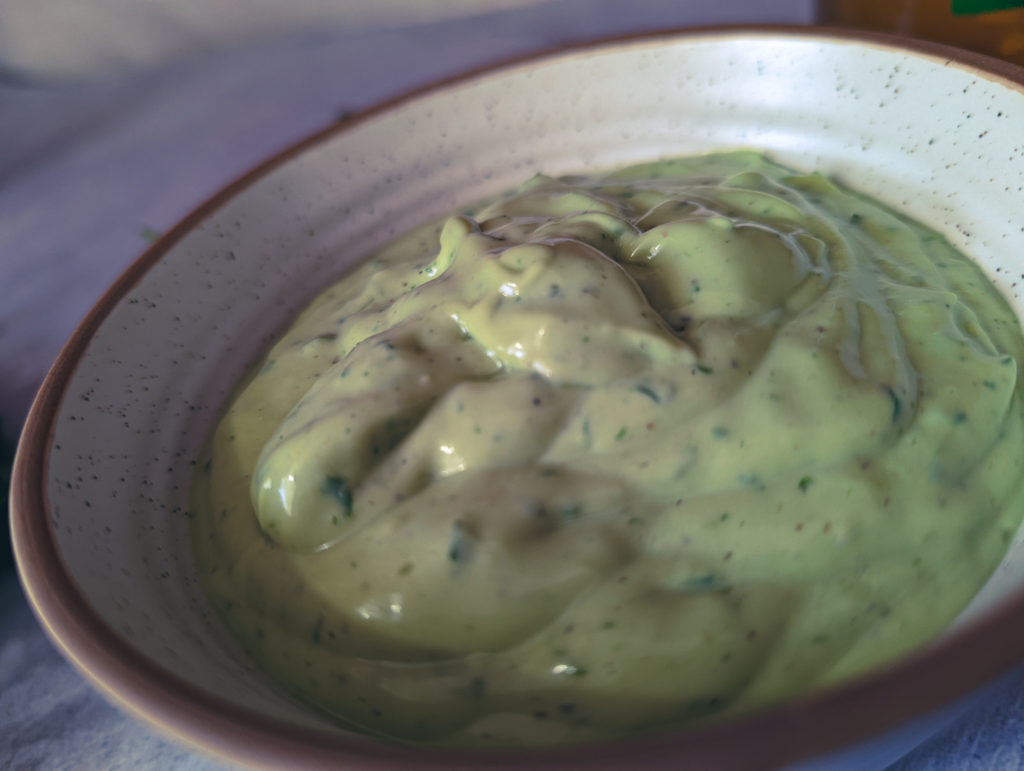
Green Goddess Dressing is a classic mayo-based dressing loaded with herbs for flavour. This version replaces most of the mayonnaise with an avocado to make the dressing greener and more creamy. It is the perfect dressing for a tossed or chopped salad, spinach salad, or a summer salad.
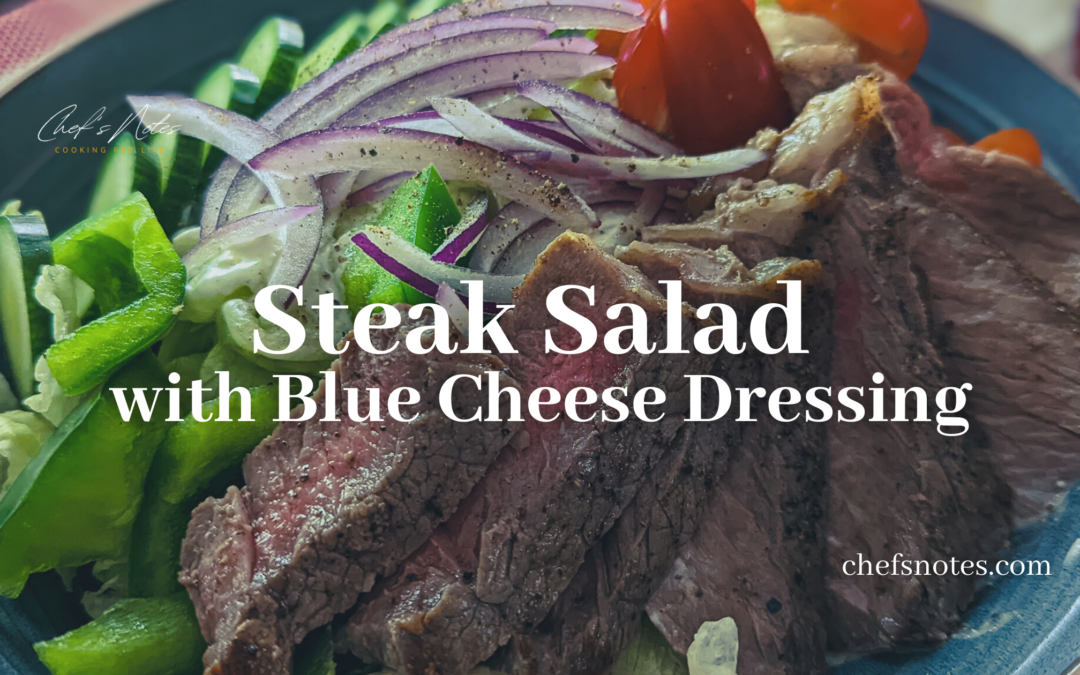
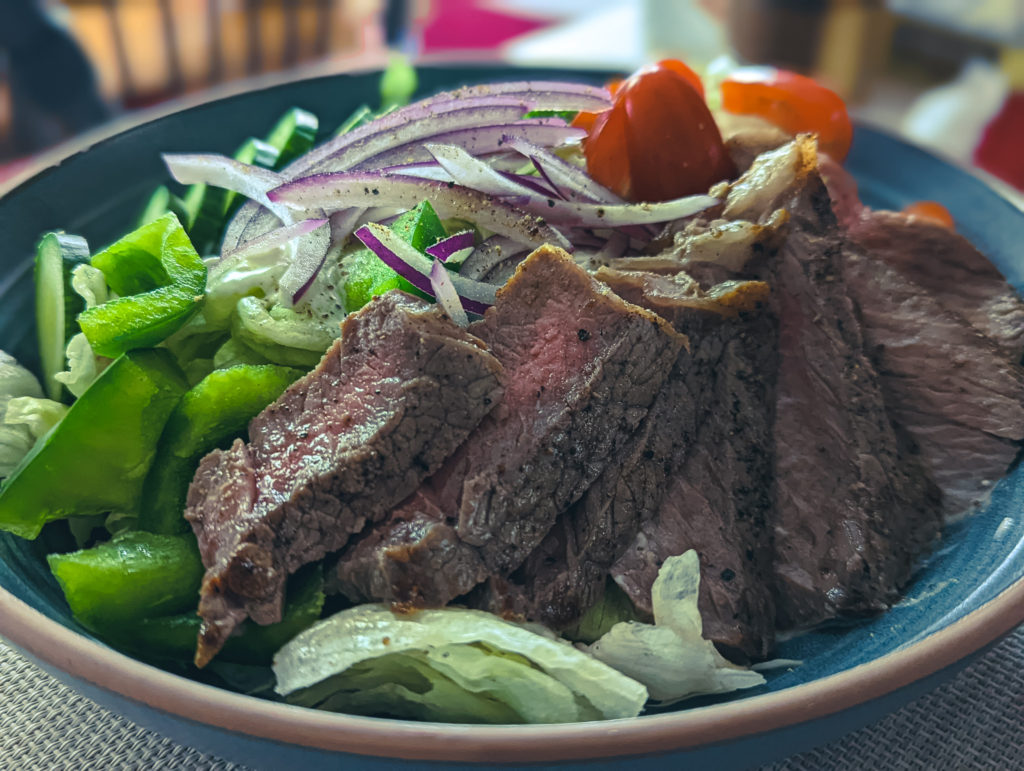
Steak and blue cheese is a classic combination like peanut butter and jelly. The funk of the blue cheese compliments the flavour of the steak like nothing else. Today’s recipe takes that classic combination and makes it a salad creating a wonderfully quick and filling lunch. This steak salad with blue cheese salad is everything you want it to be and more. And, it is a lot less complicated than you probably think it is. So, let’s get to it. You can always find the recipe directly below but keep reading for more details and information.
The Steak
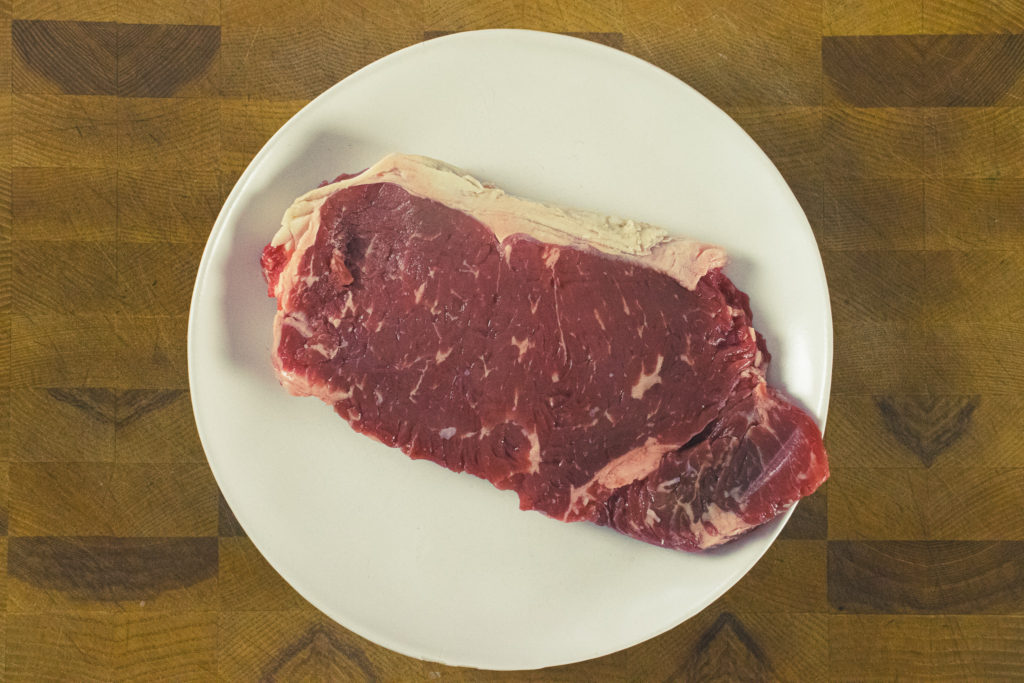
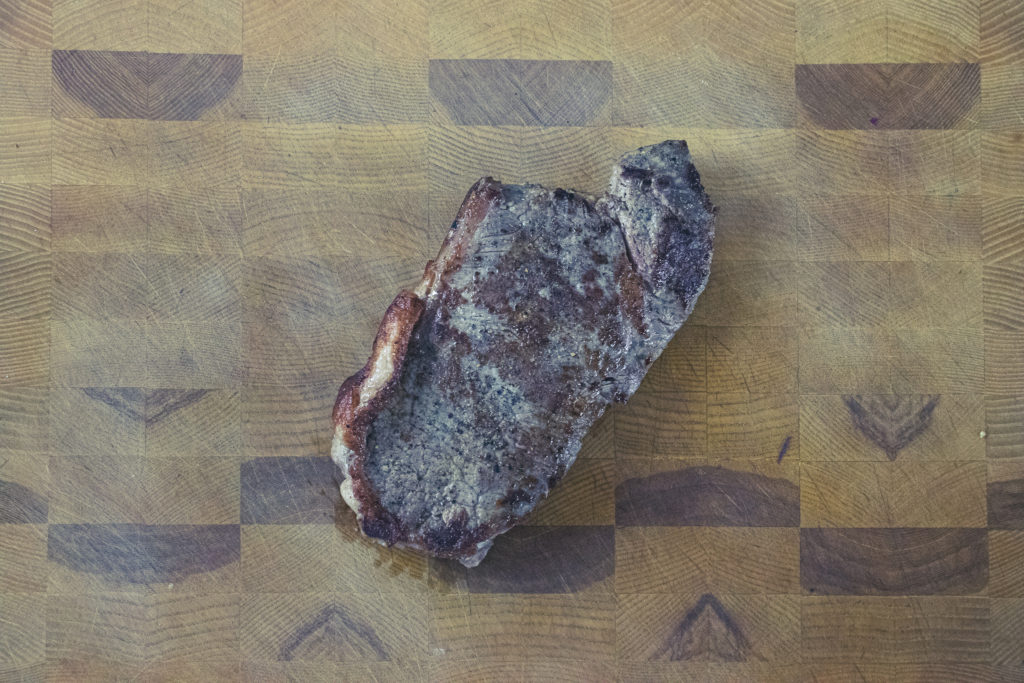
Let’s face it, meat, steak, in particular, is expensive. Especially now. So, if you are going to eat steak, you need to stretch it as far as you can. You can get two to three meals out of one steak with this steak salad. So, if steak happens to go on sale, or you want to splurge, you can get more bang for your buck.
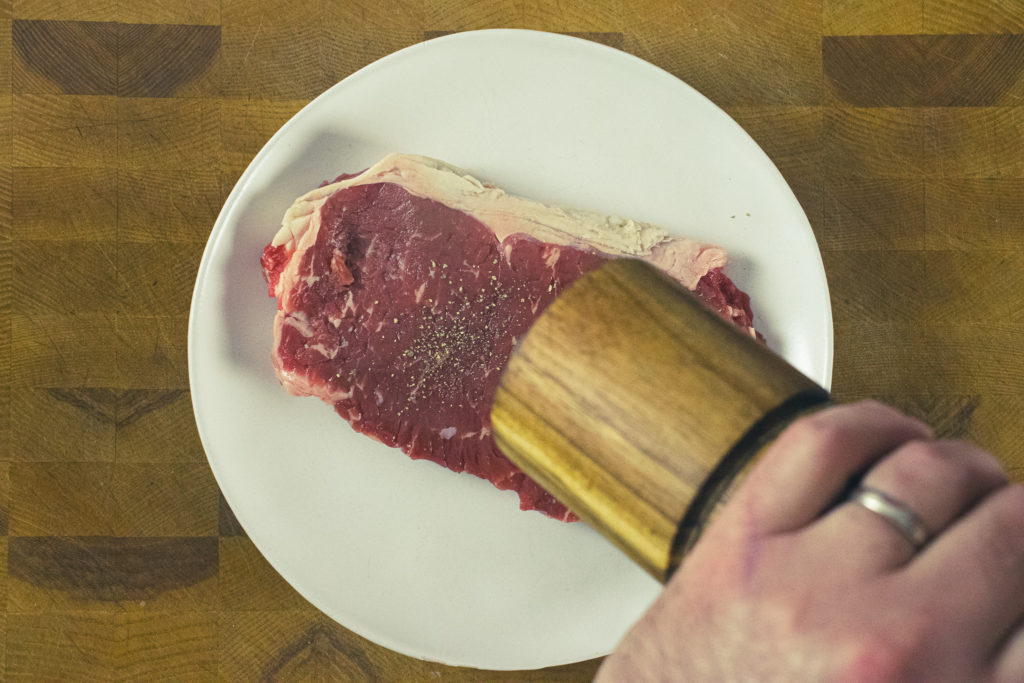
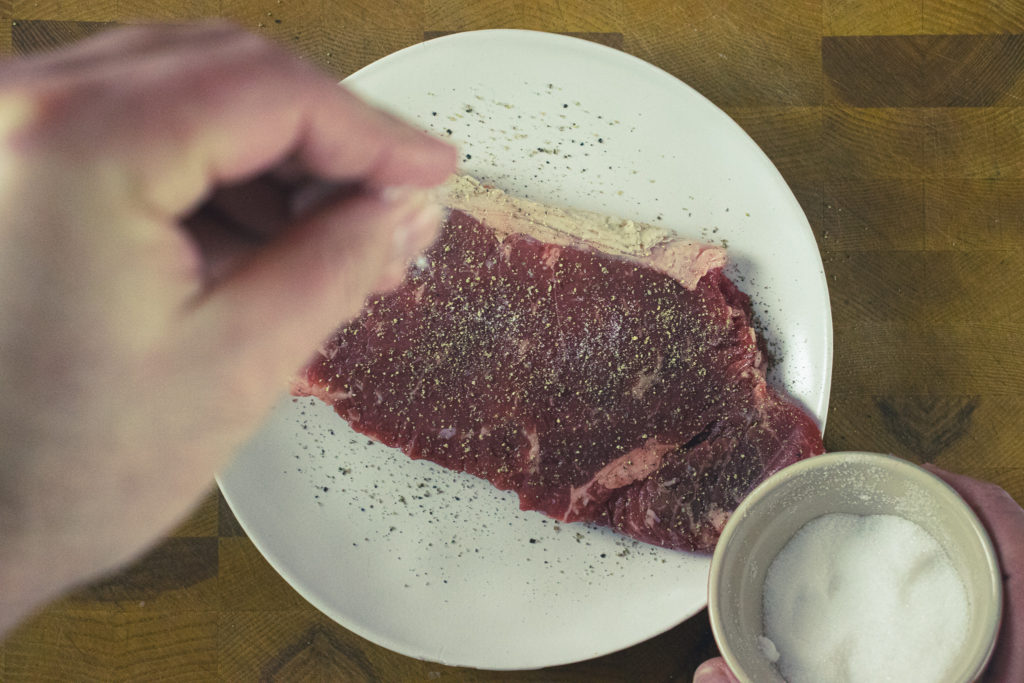
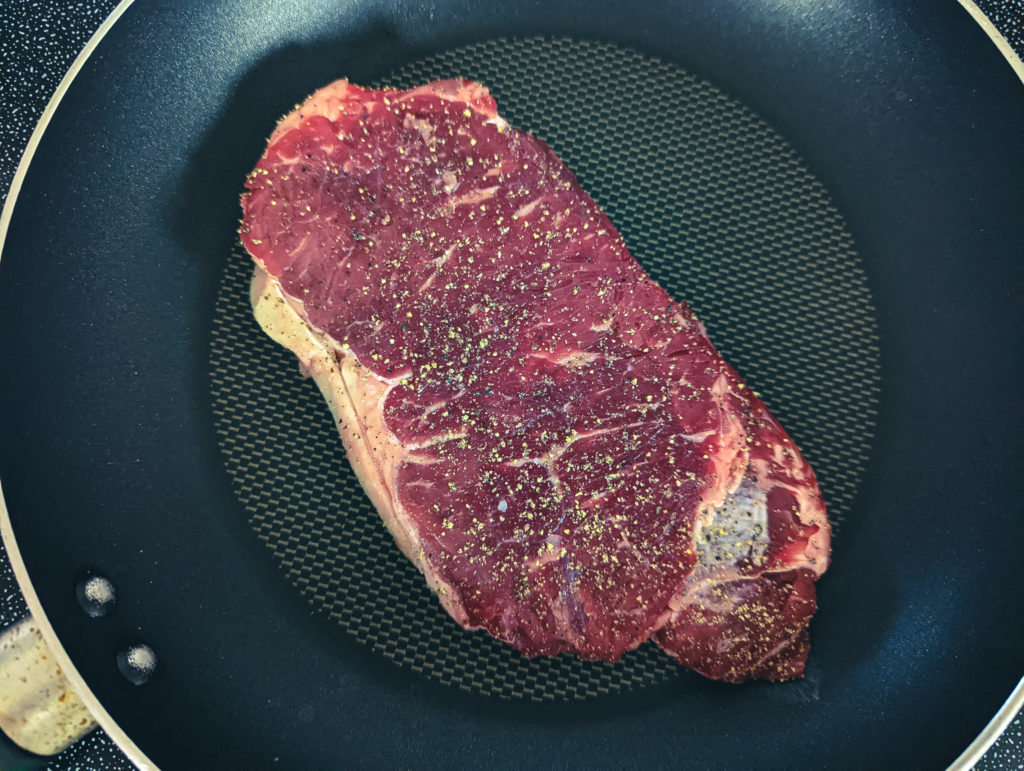
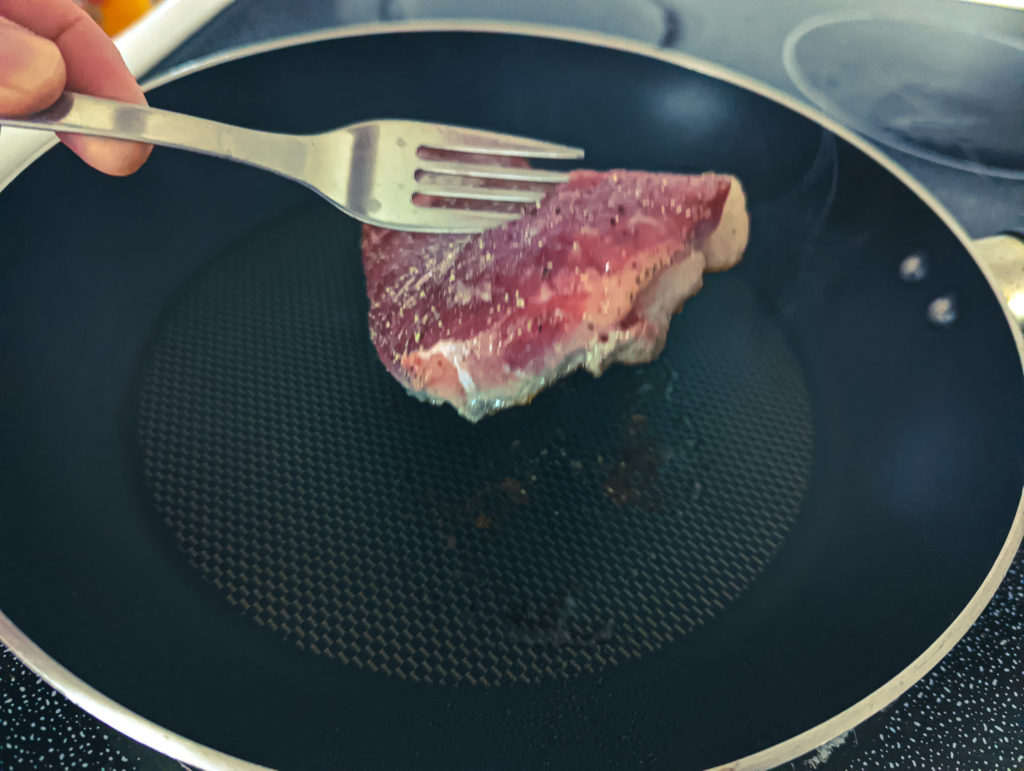
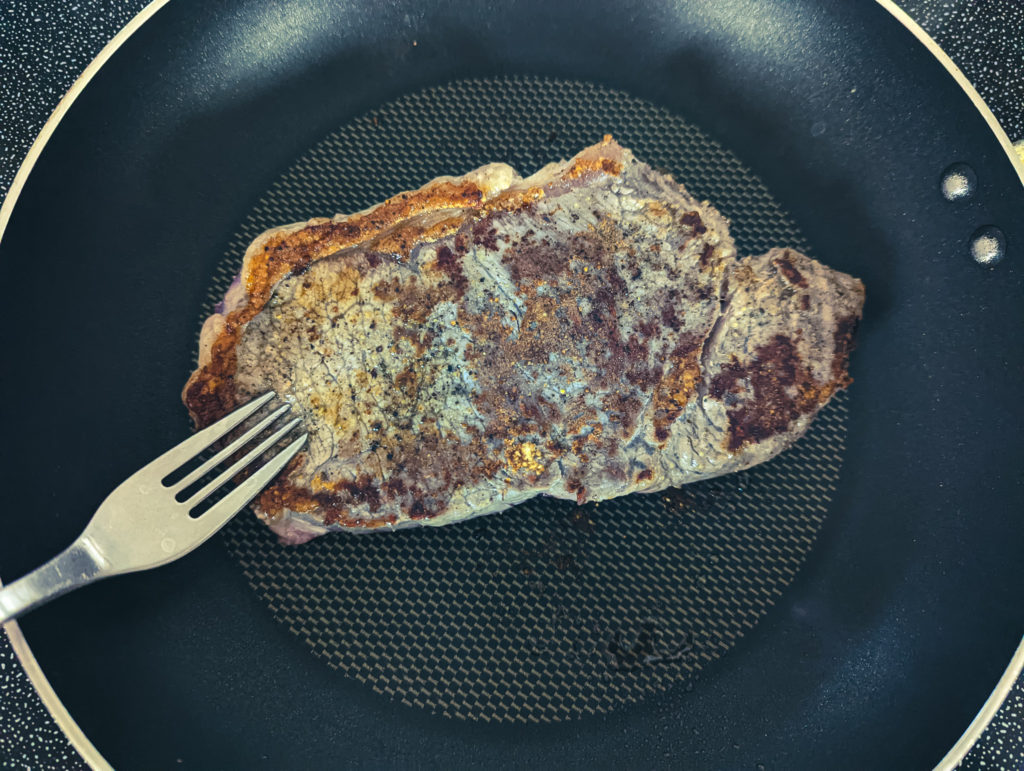
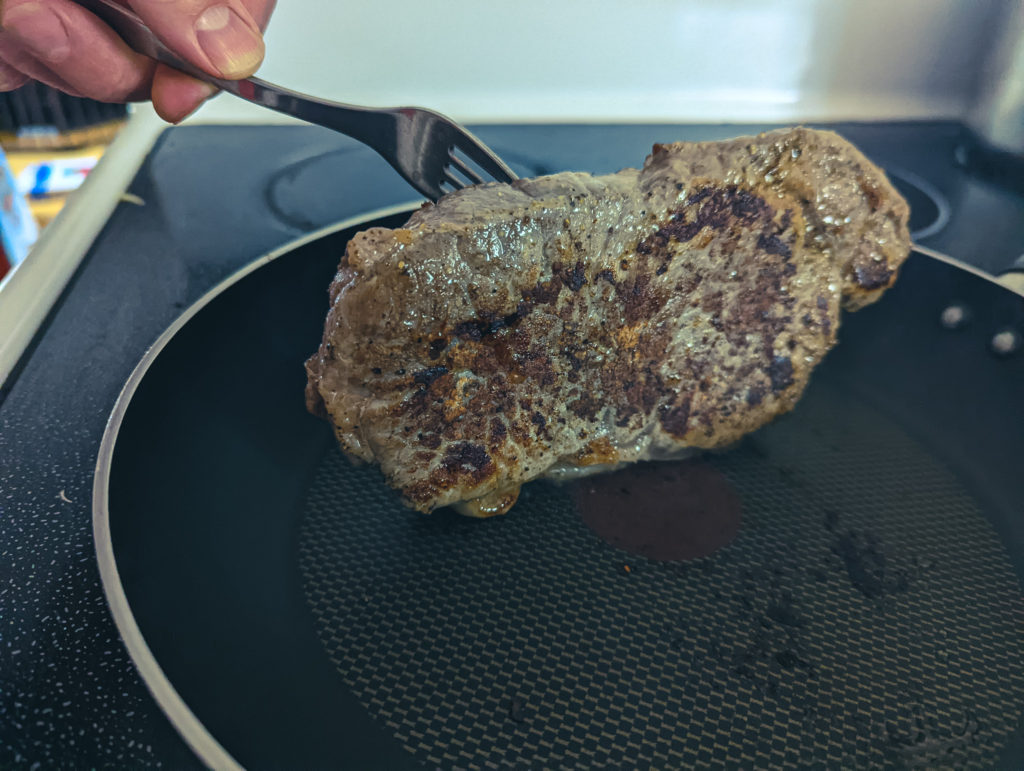
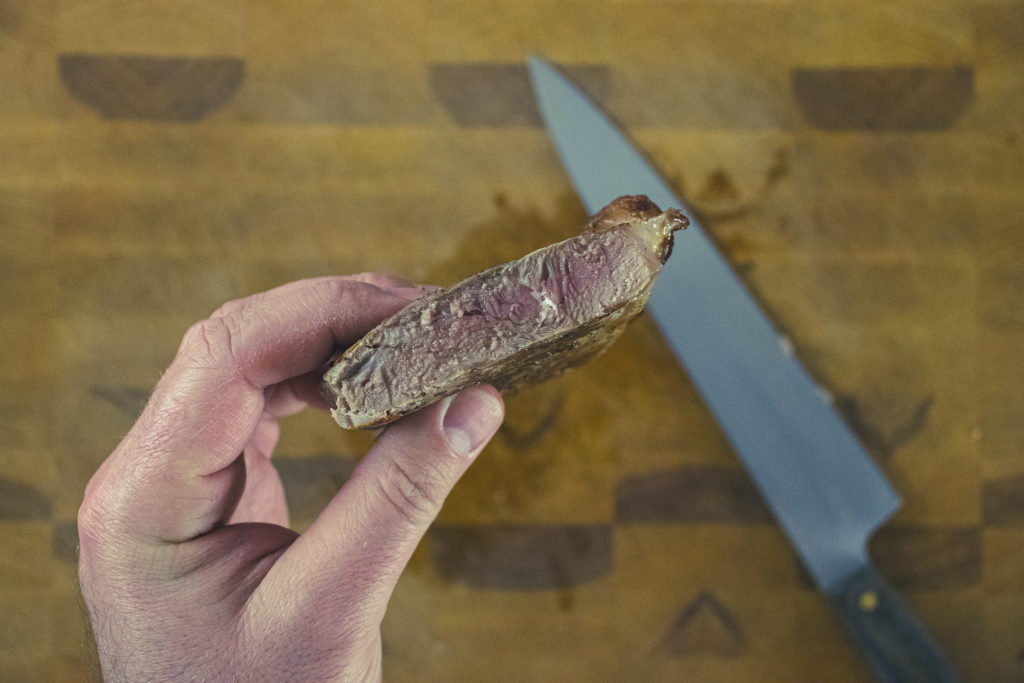
For this steak salad, I used a New York Strip Loin. It was about 6 to 8 ounces or 170 to 226 grams. Season the steak generously on both sides with salt and pepper. Let the steak come up to room temperature for about 30 minutes before you cook it if you have the time. If you don’t have time, don’t worry about it. Heat a medium skillet over medium-high heat. Put the steak in the pan and cook for 2 to 2 1/2 minutes per side. As long as your pan is hot, you don’t need any oil. But, if you want, you can put a teaspoon or two of cooking oil in. Once the steak is cooked, take it out of the pan and set it aside to rest for at least 5 minutes.
Blue Cheese Dressing
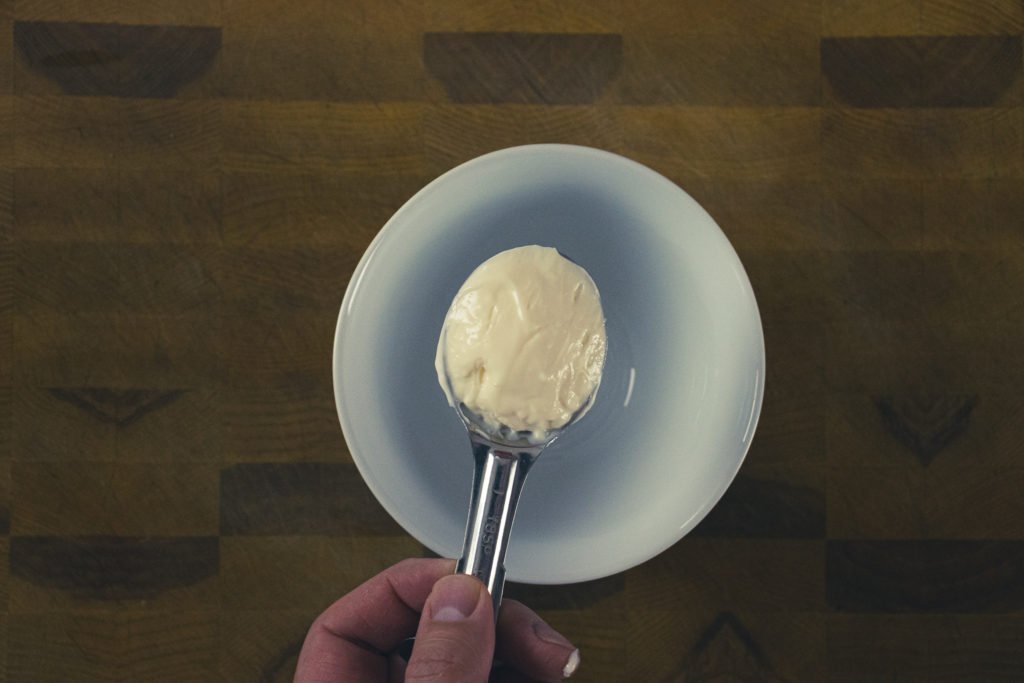
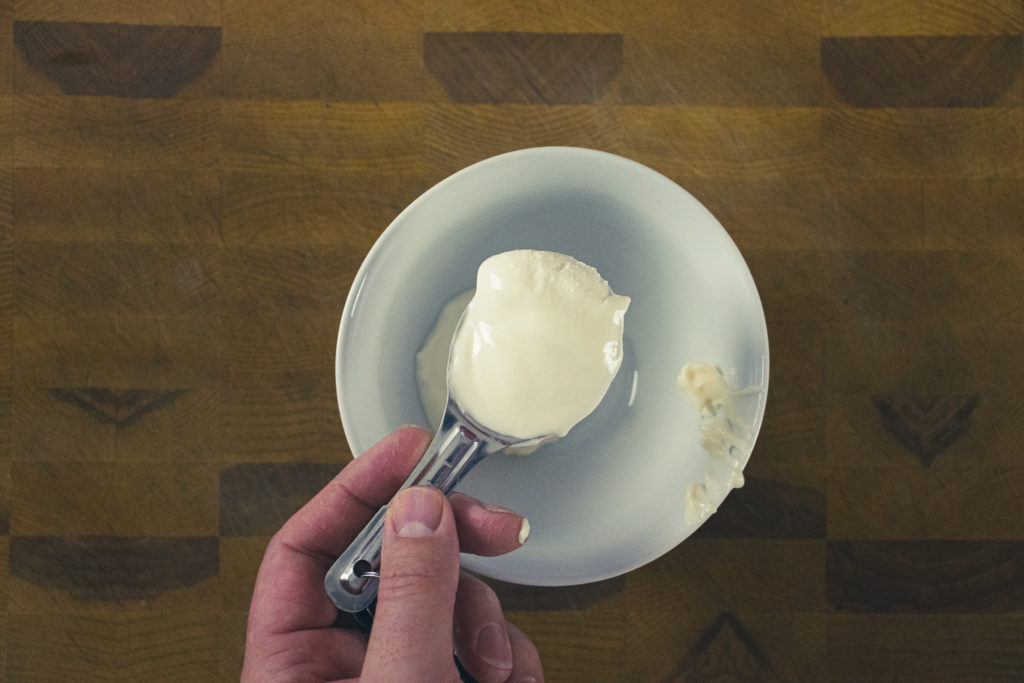
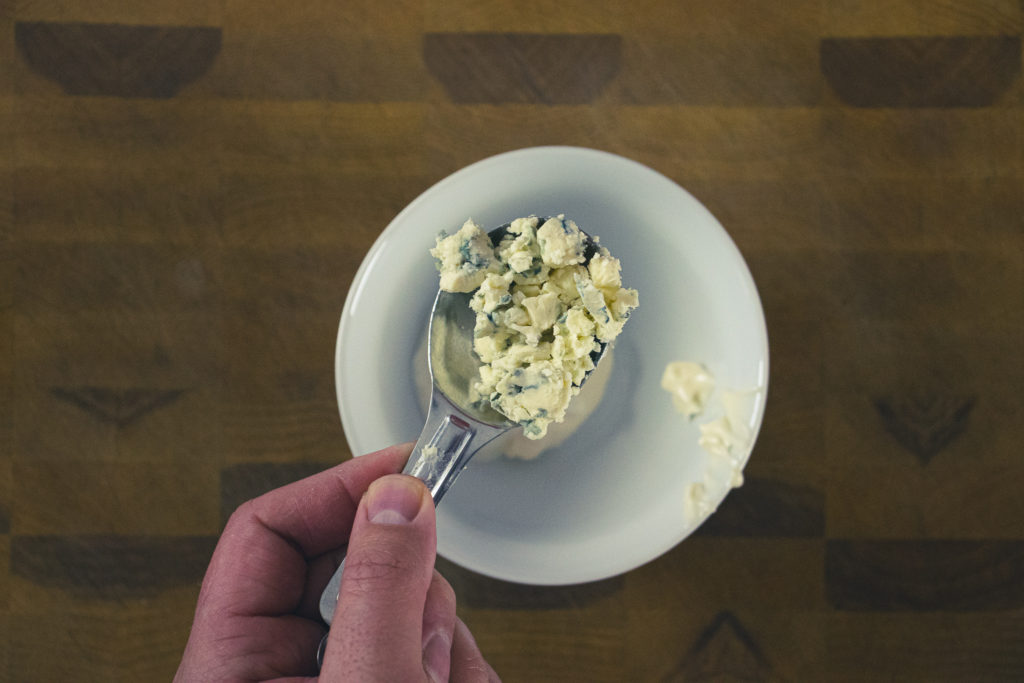
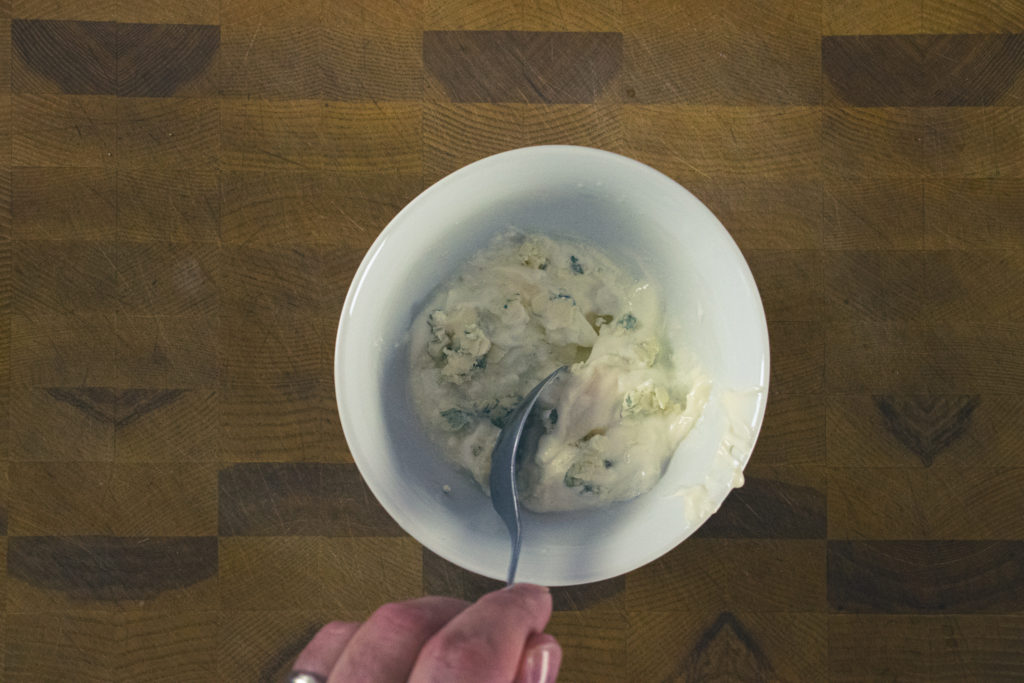
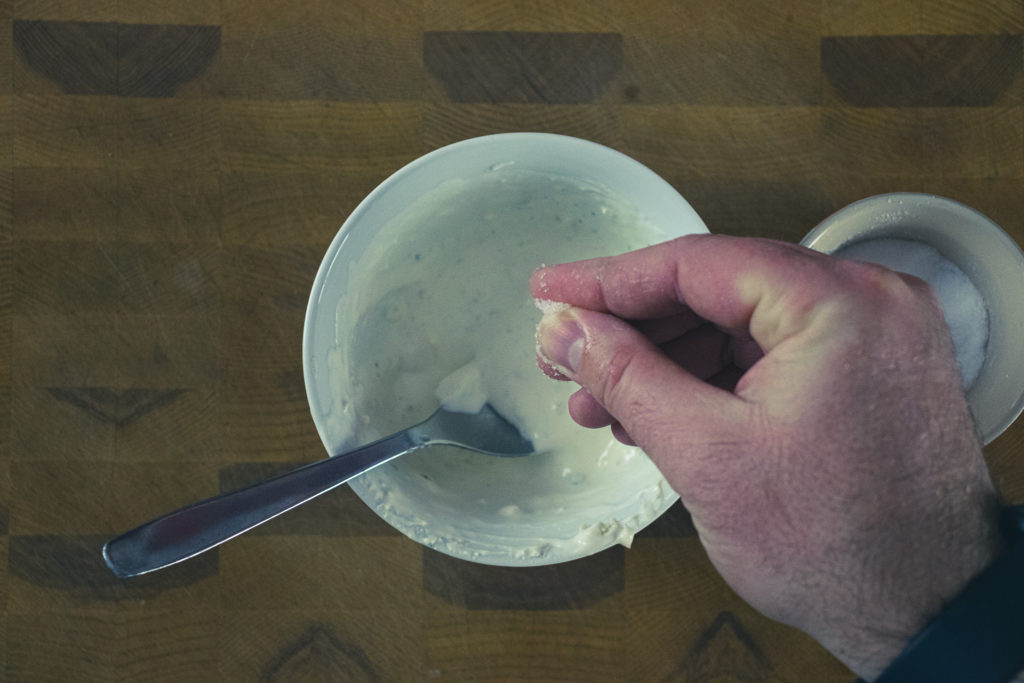
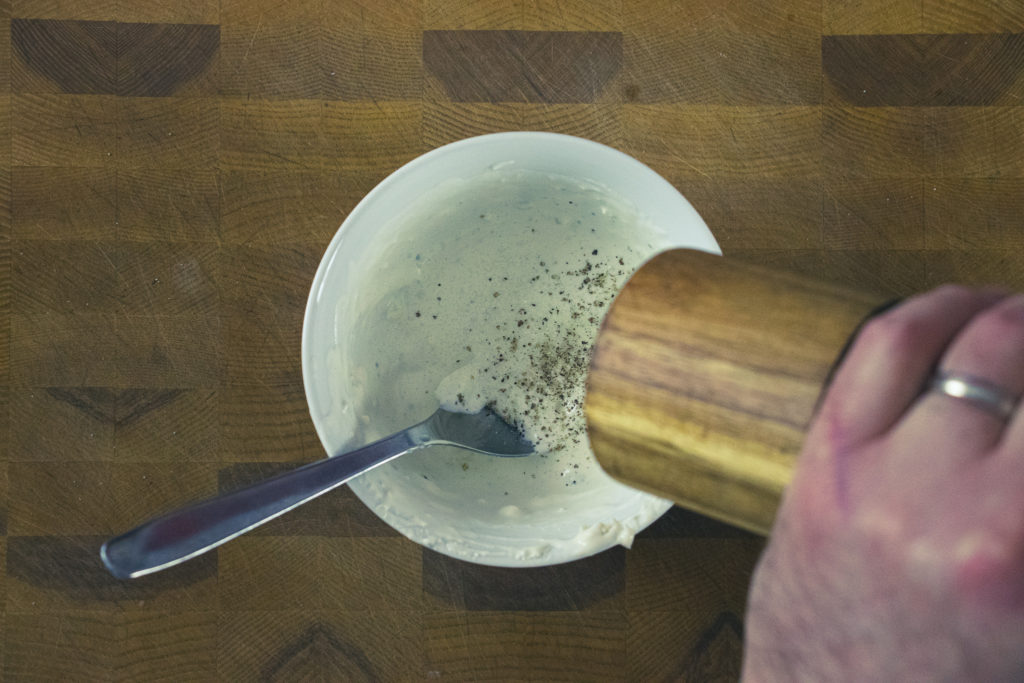
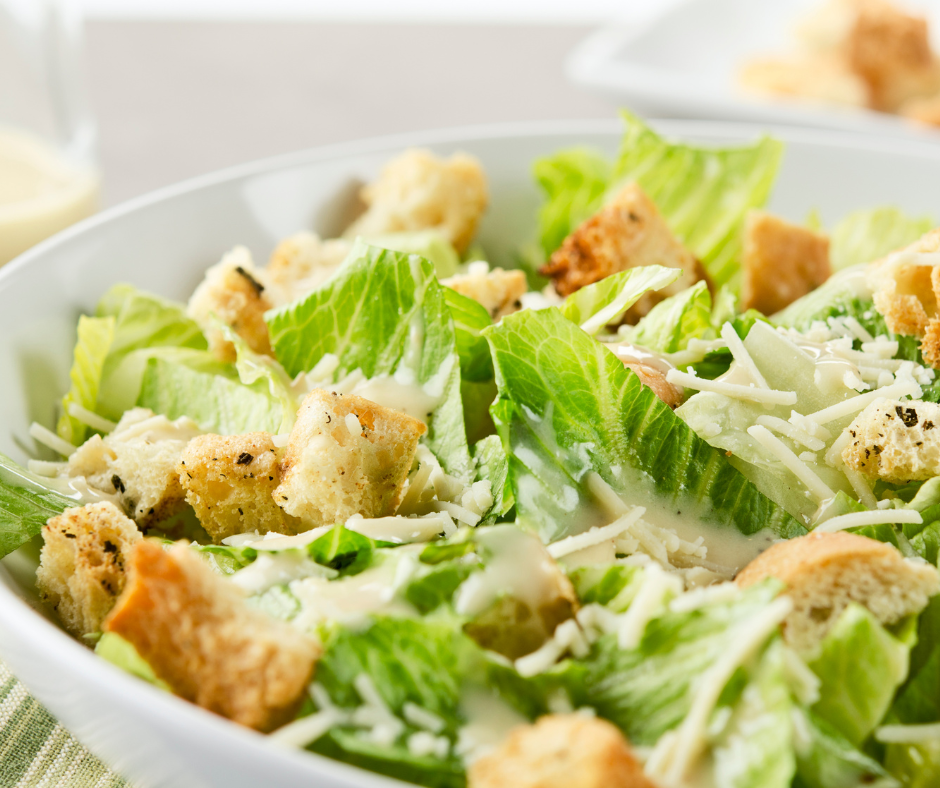
We have a delicious blue cheese dressing to go with the steak salad. If you don’t want blue cheese dressing, you can use ranch or caesar dressing. I’ll include my simple caesar dressing recipe at the end of the post. But, if, like me, you enjoy blue cheese with steak, then make this quick dressing. To make the blue cheese dressing get a small bowl and combine one tablespoon each of mayonnaise and sour cream. Add two tablespoons of crumbled blue cheese. Finish the dressing with a squeeze of lemon and a pinch of salt and pepper. Mix the blue cheese dressing well, then taste it. Adjust the seasoning as needed with a bit more salt and lemon. Use the dressing right away or cover it and store it in the fridge for up to five days.
If you’d like to boost the flavour of the dressing a little, you can add a few other ingredients. A teaspoon of fresh herbs like thyme, dill or parsley will add depth and freshness to the flavour. A tablespoon of minced onion, shallot, or chive will add sharpness. One clove of minced garlic will add a…well, it will add a garlic flavour, won’t it? The point is that you can take this base dressing, add other ingredients and make it your own. Play around and make something even more delicious than I did.
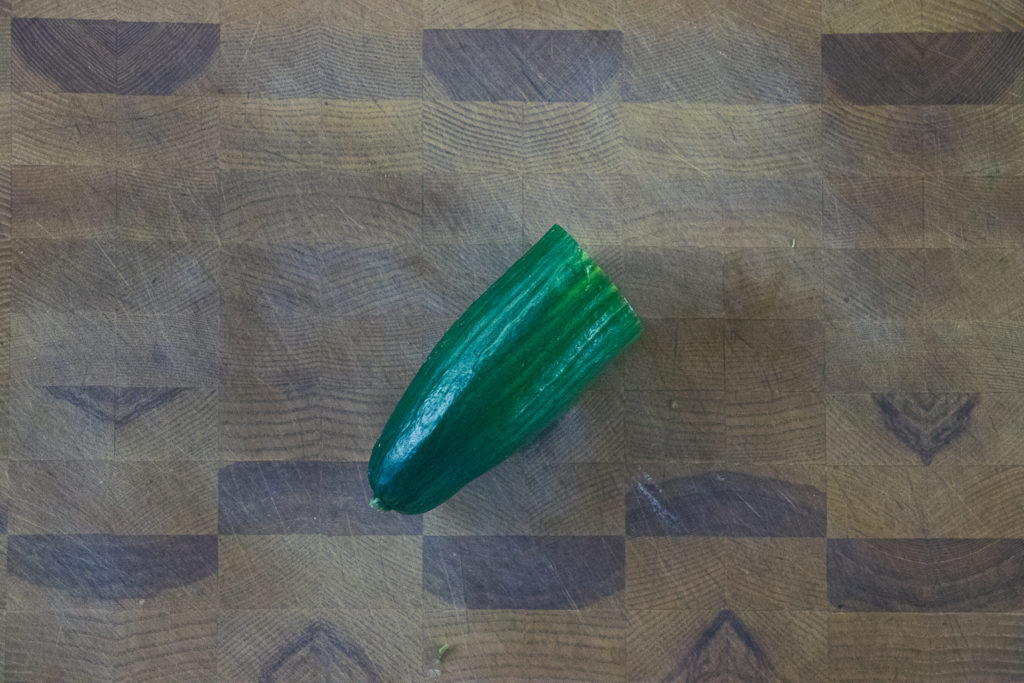
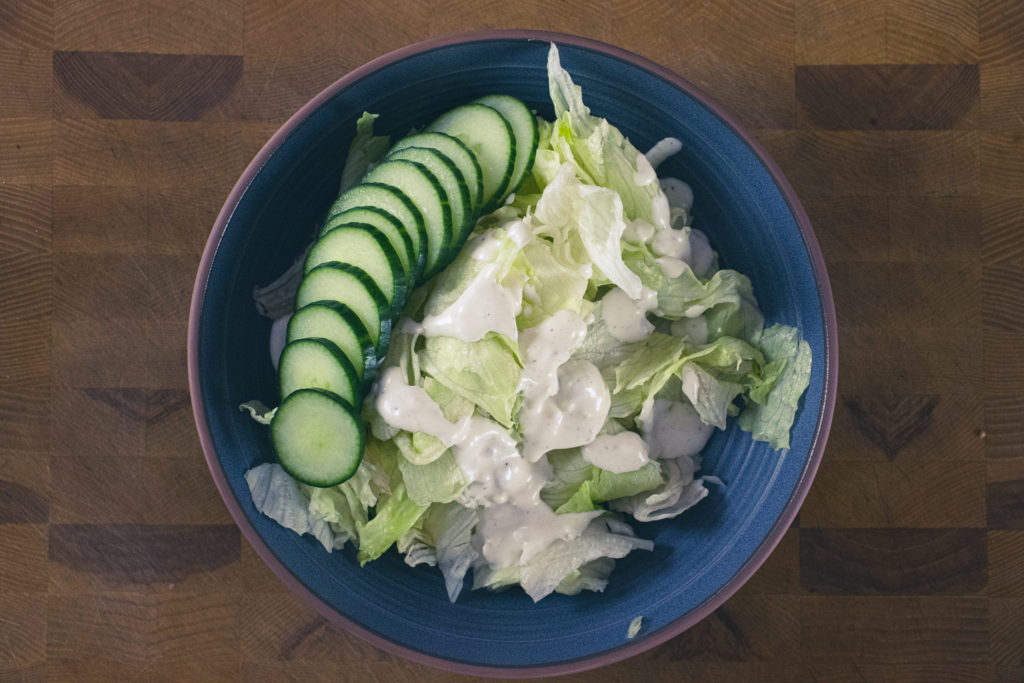
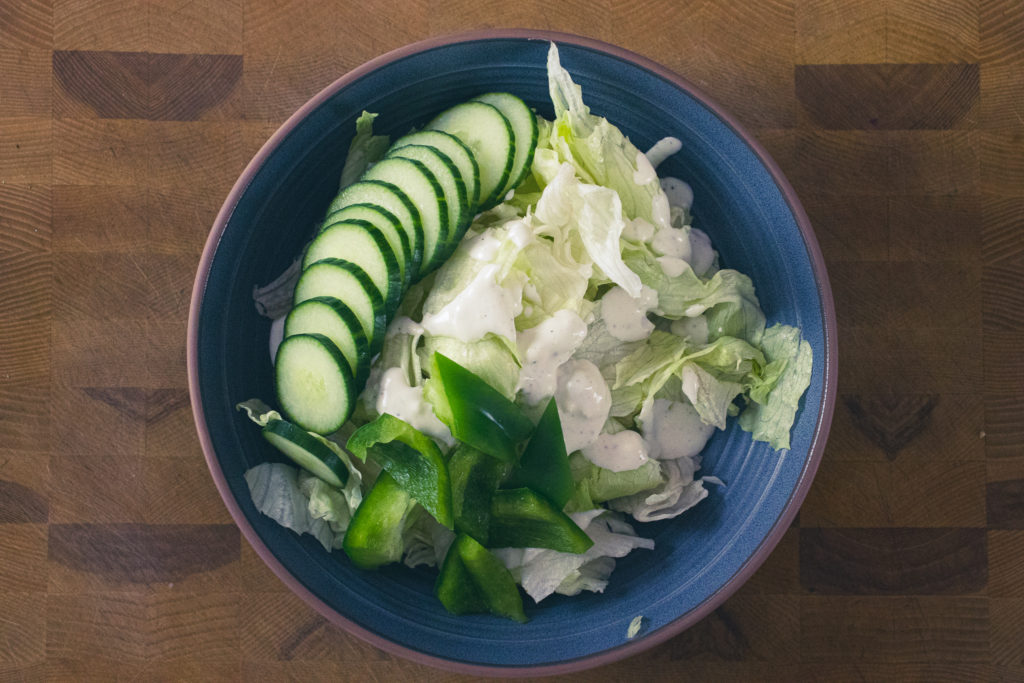
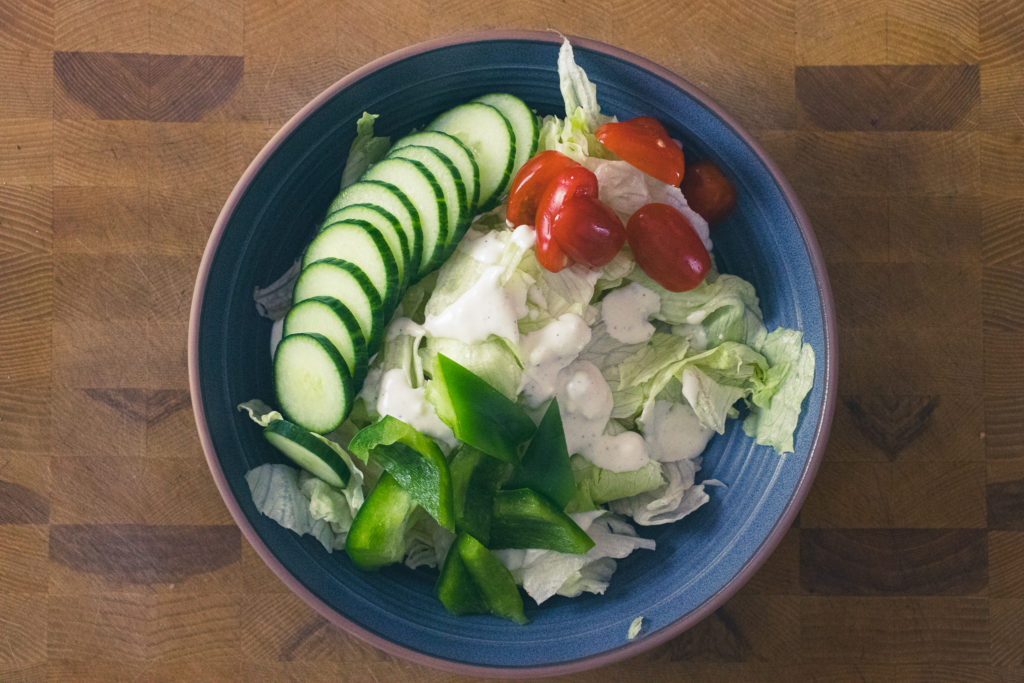
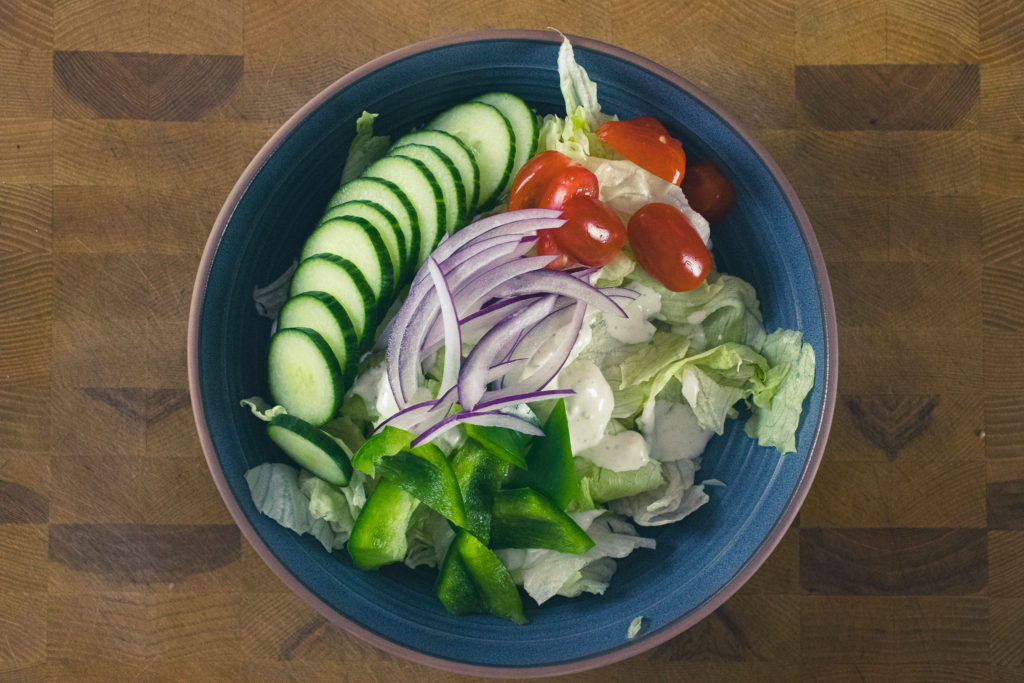
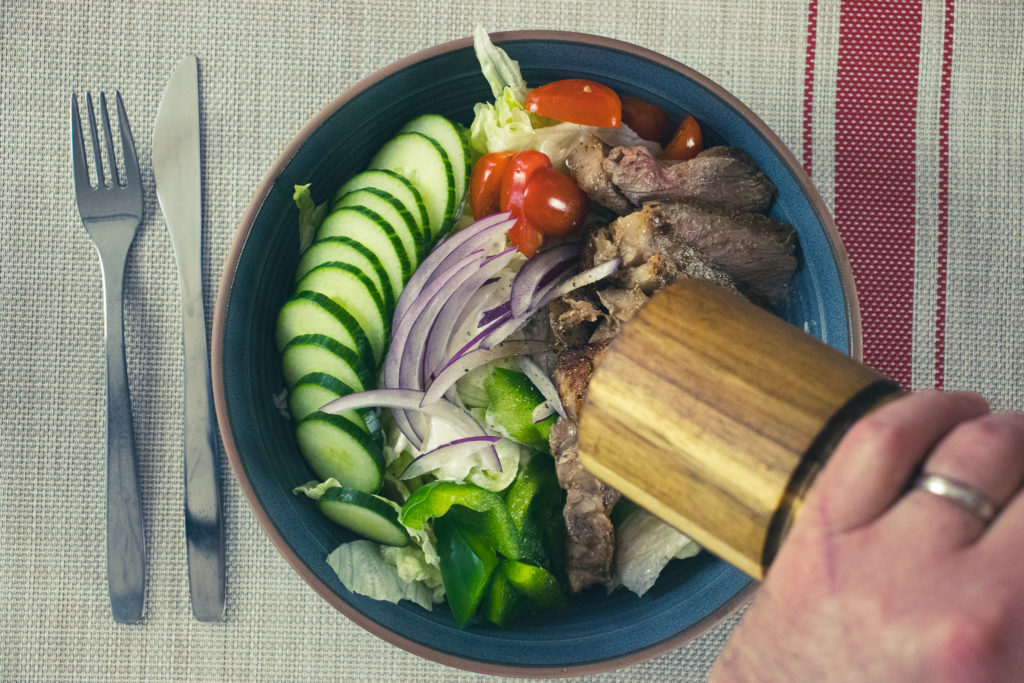
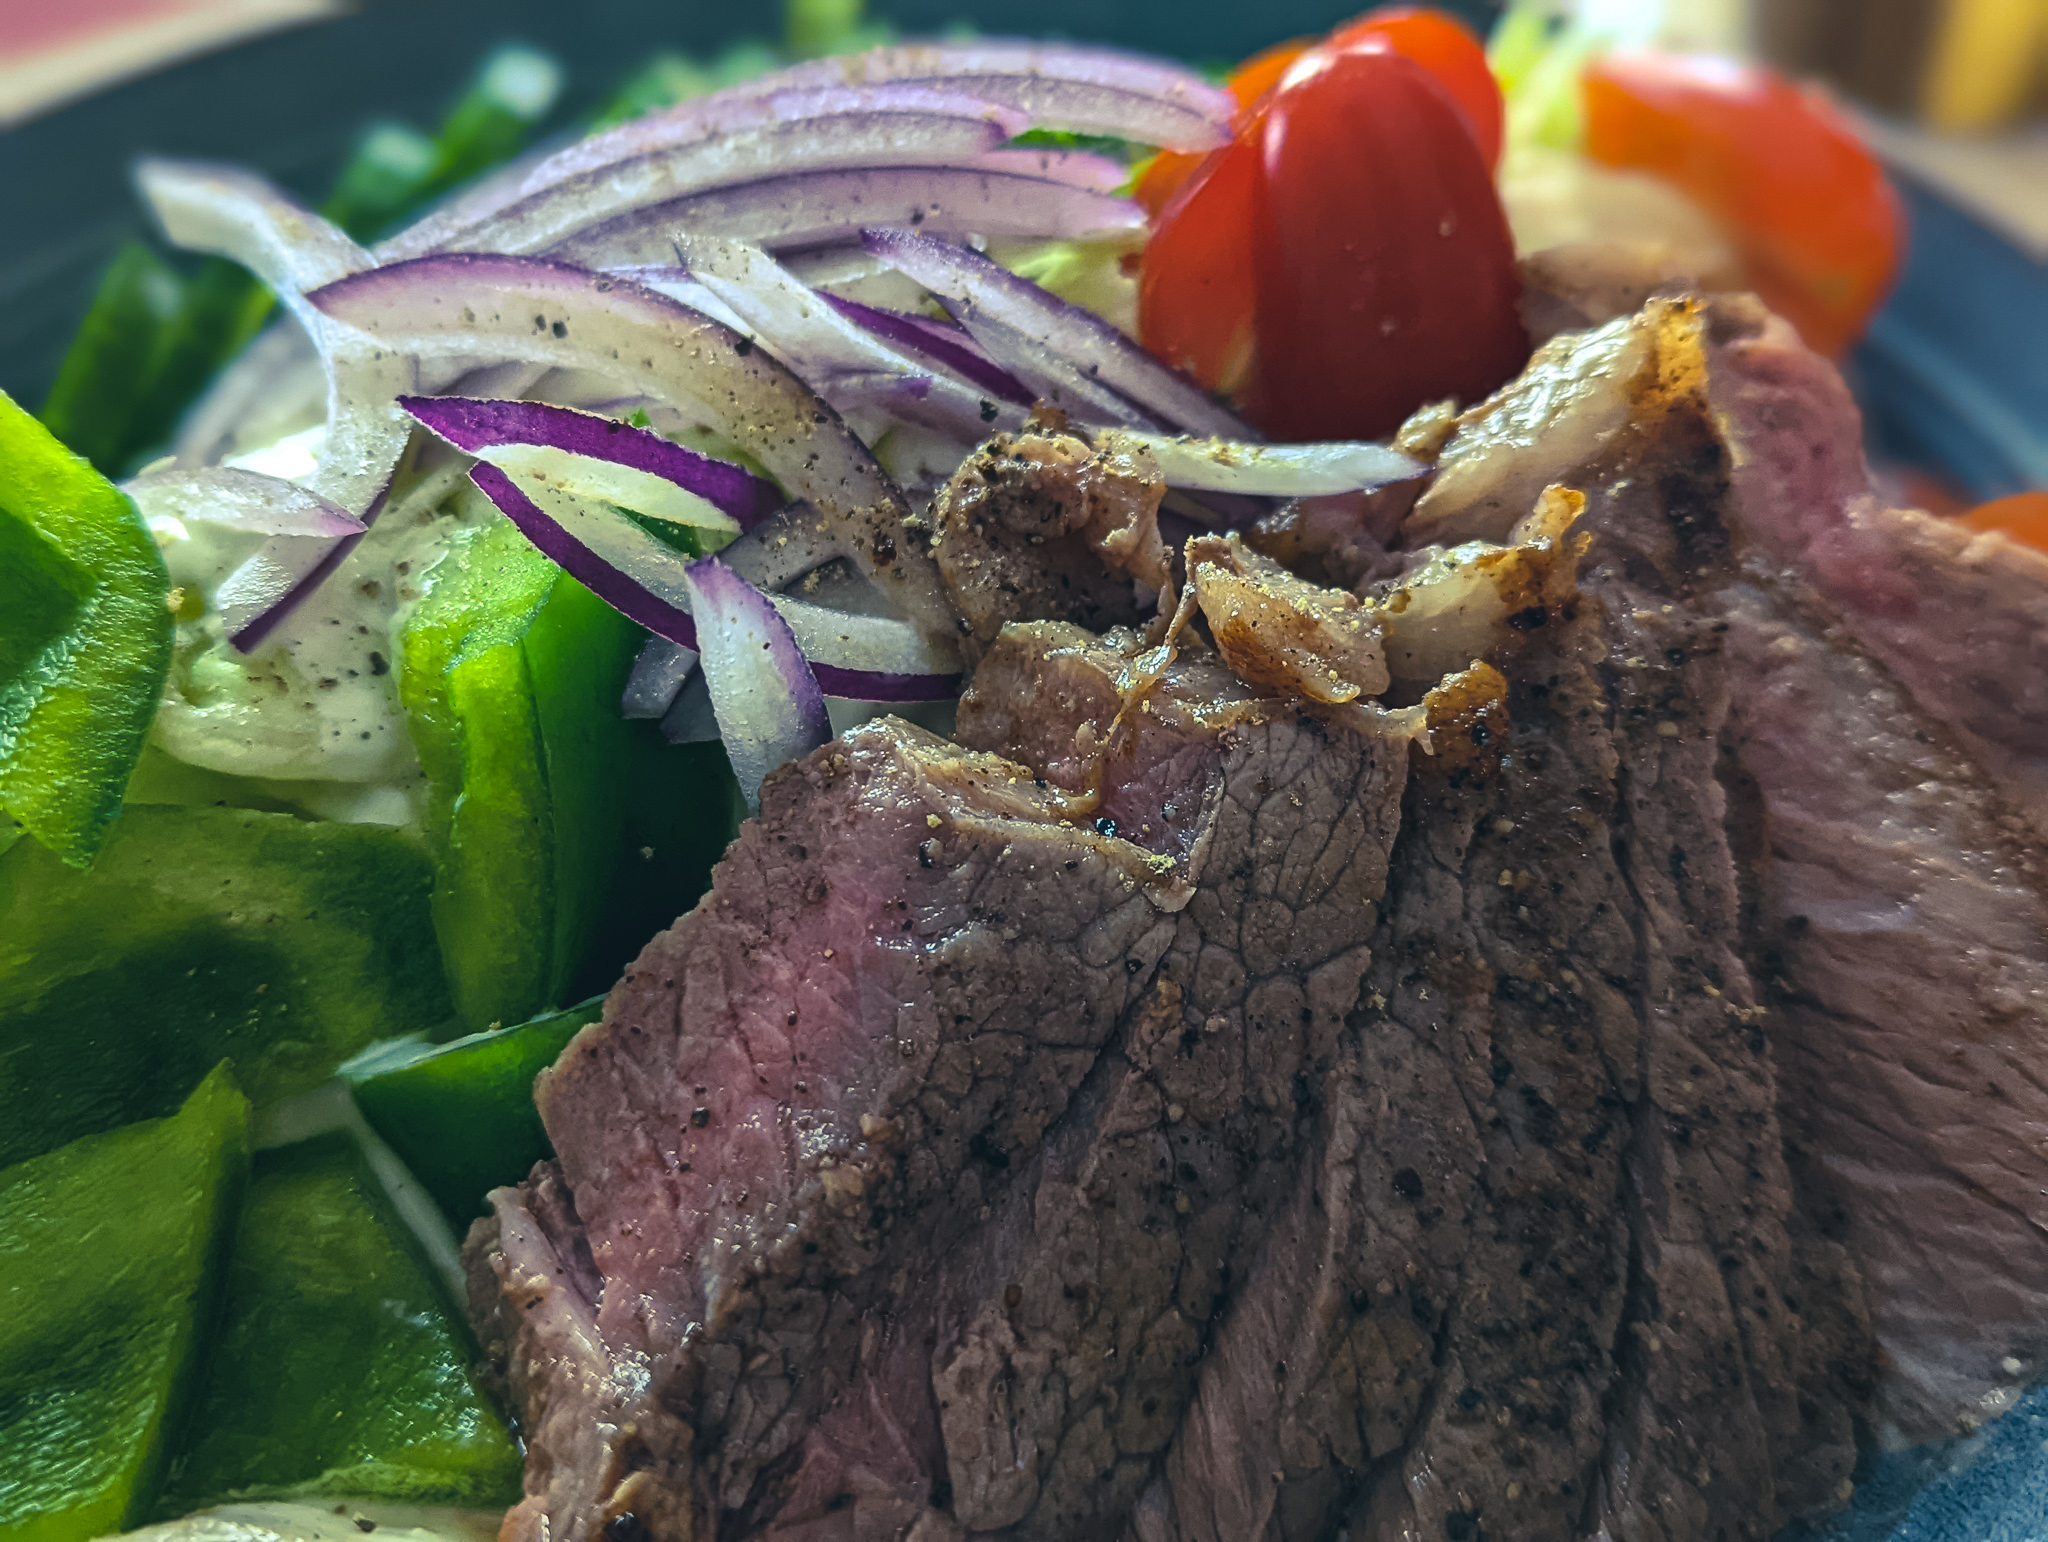
Cutting The Vegetables
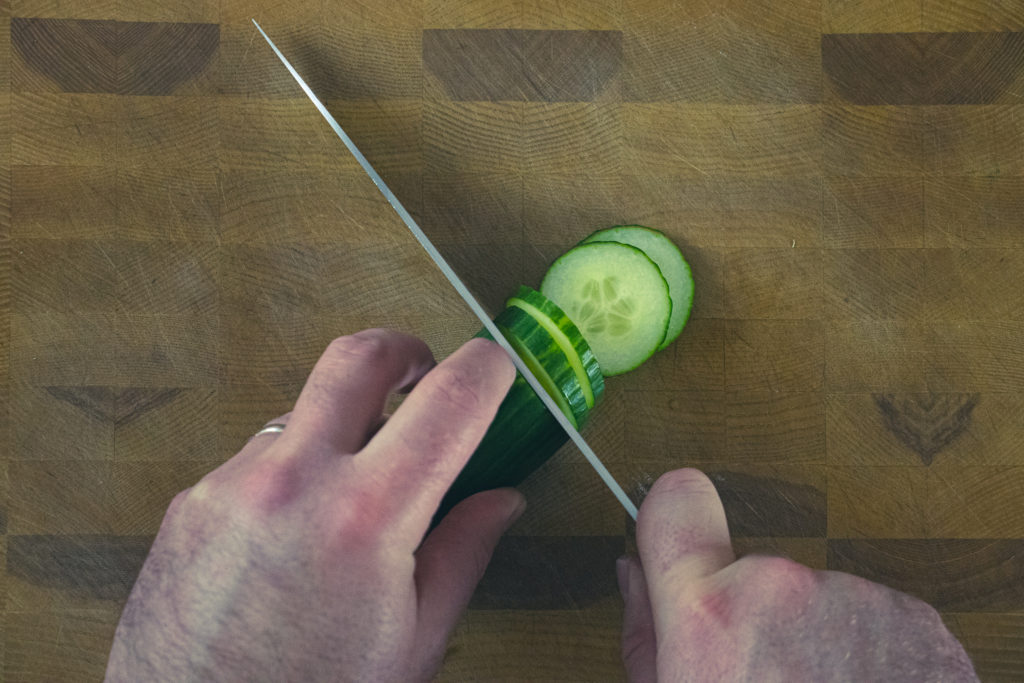
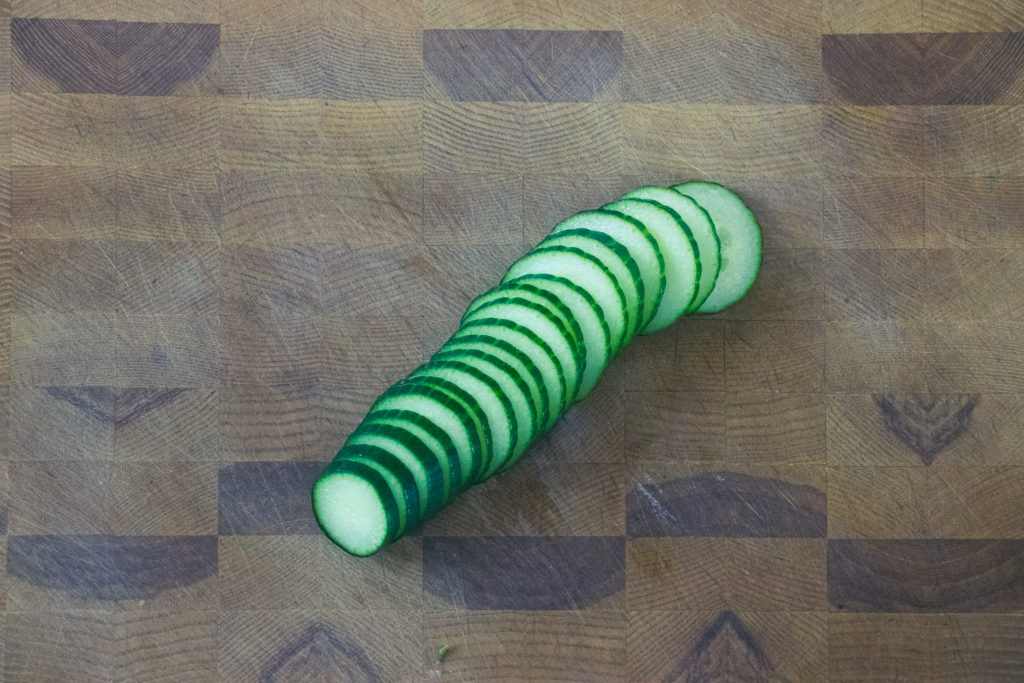
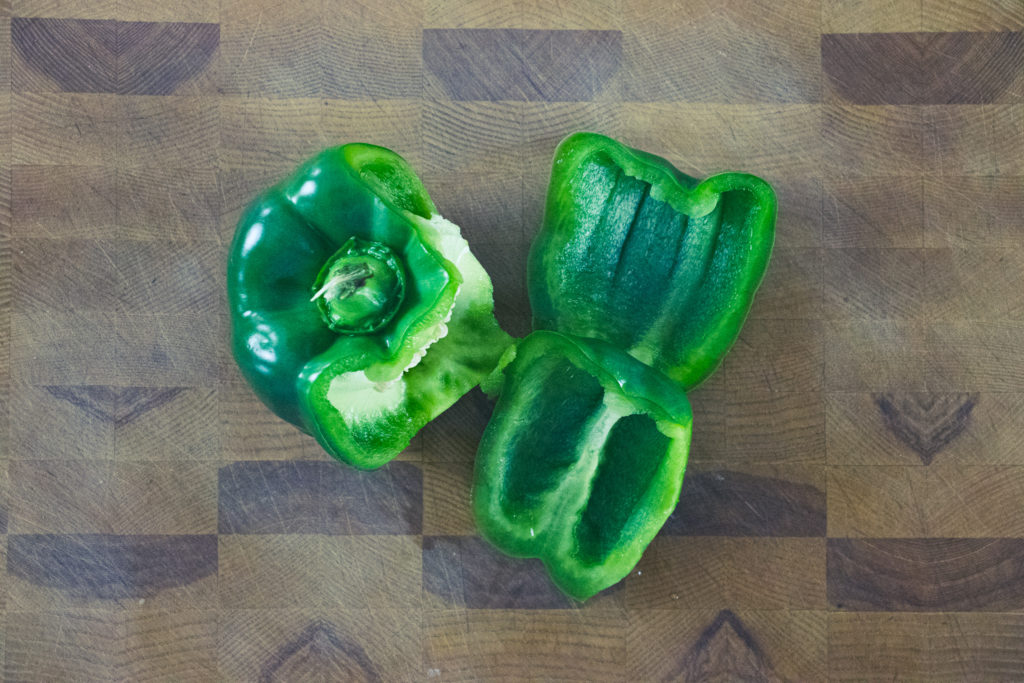
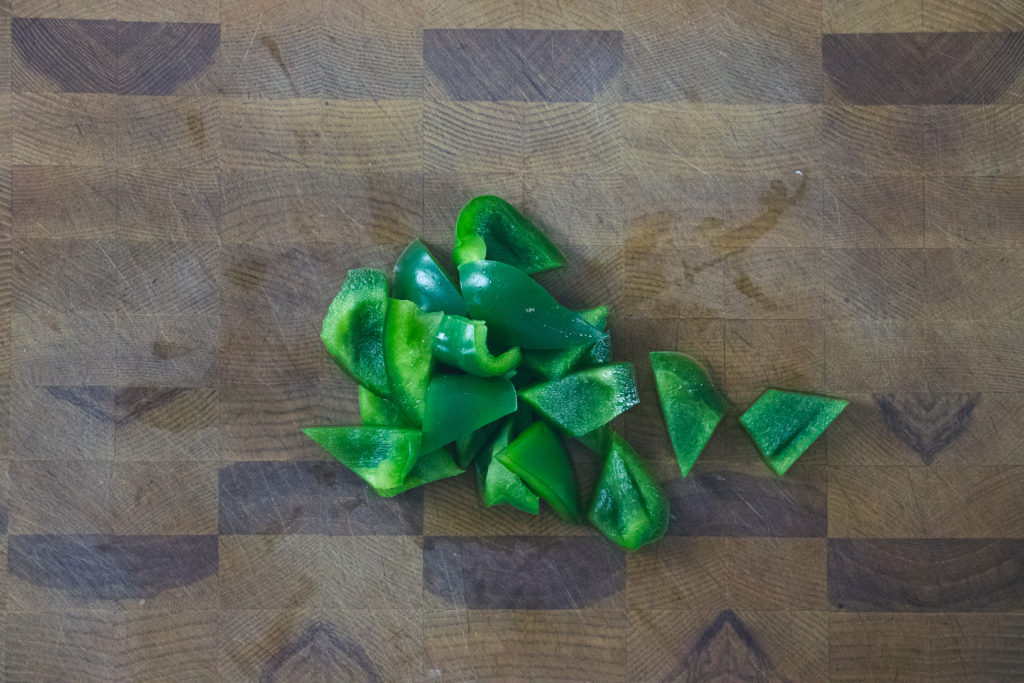
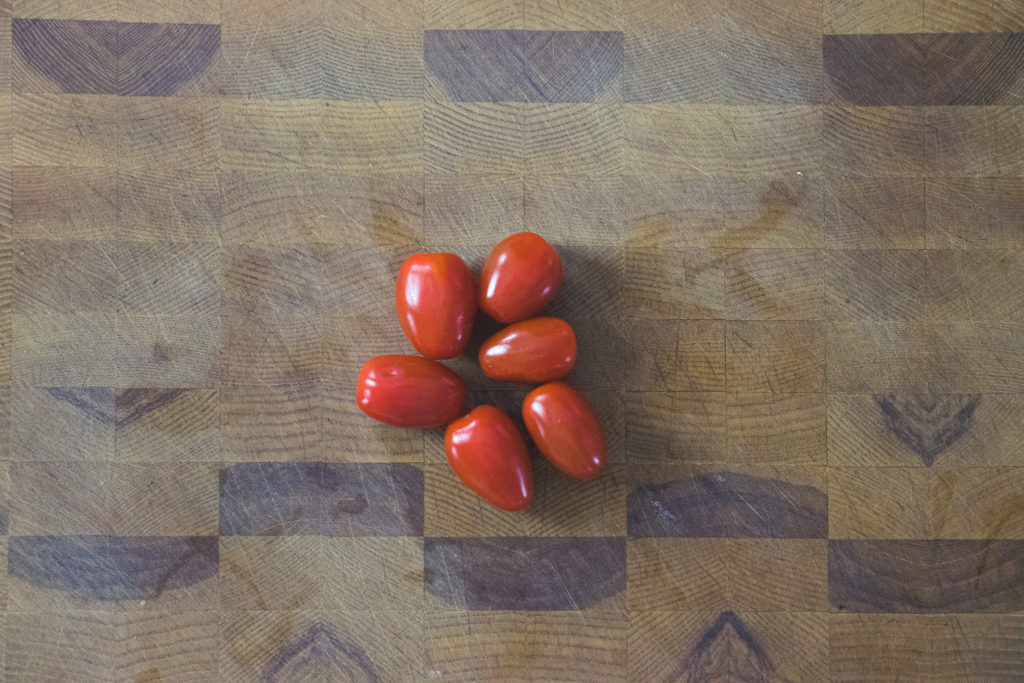
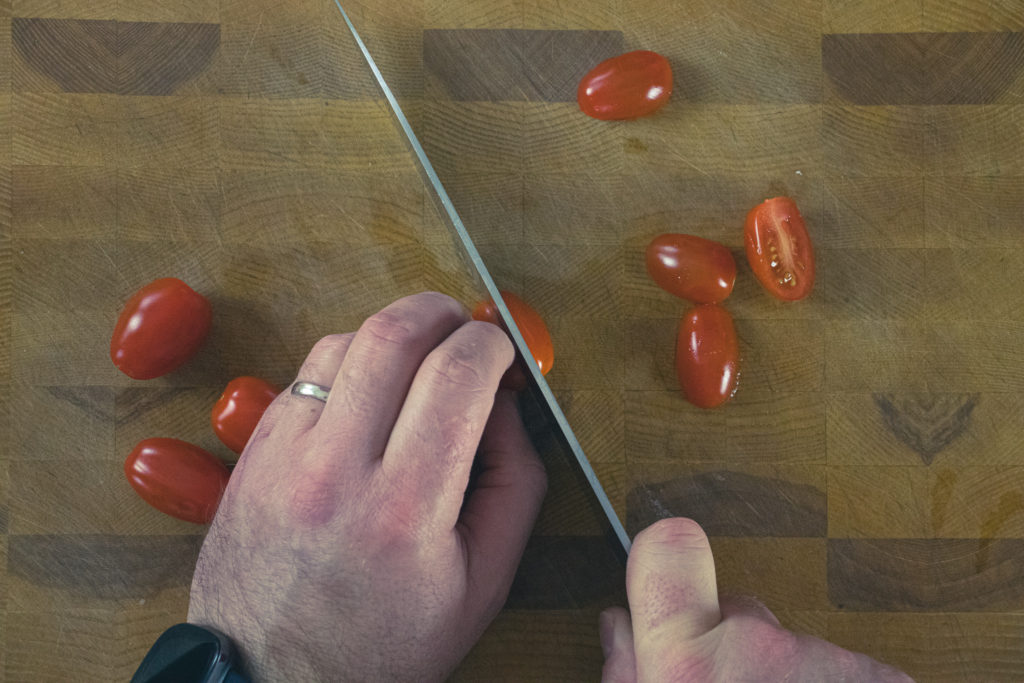
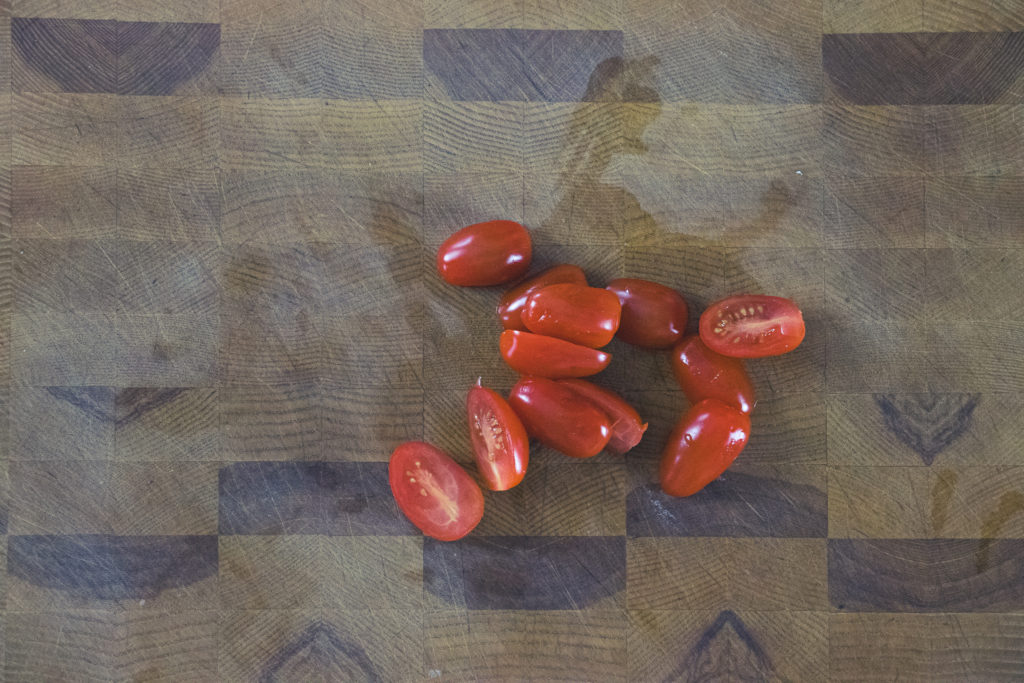
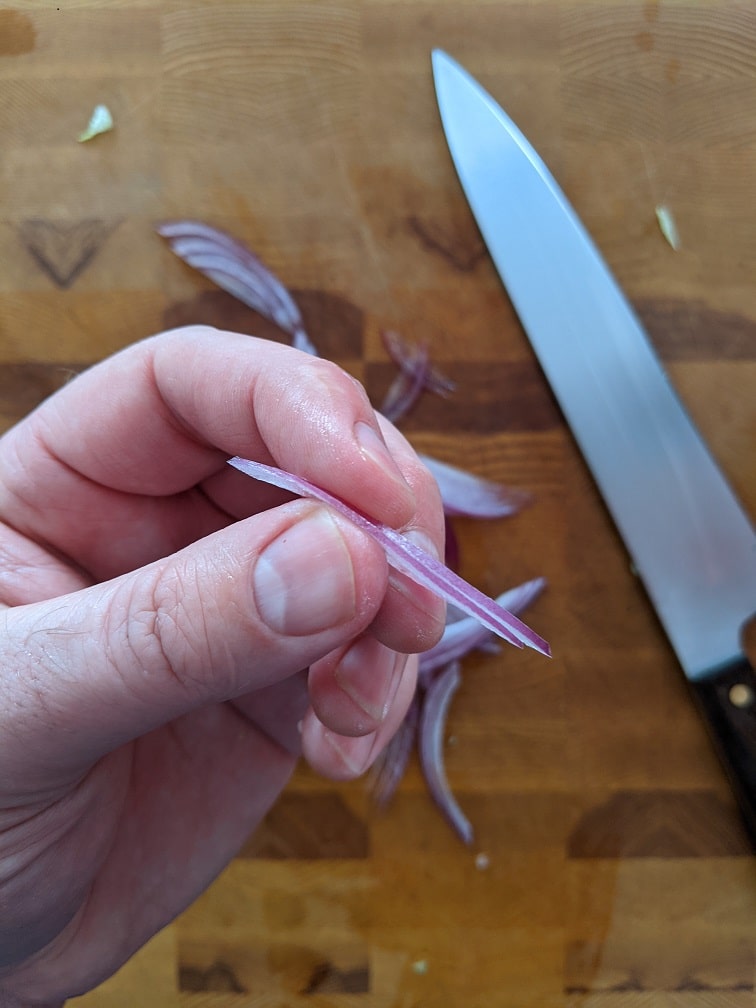
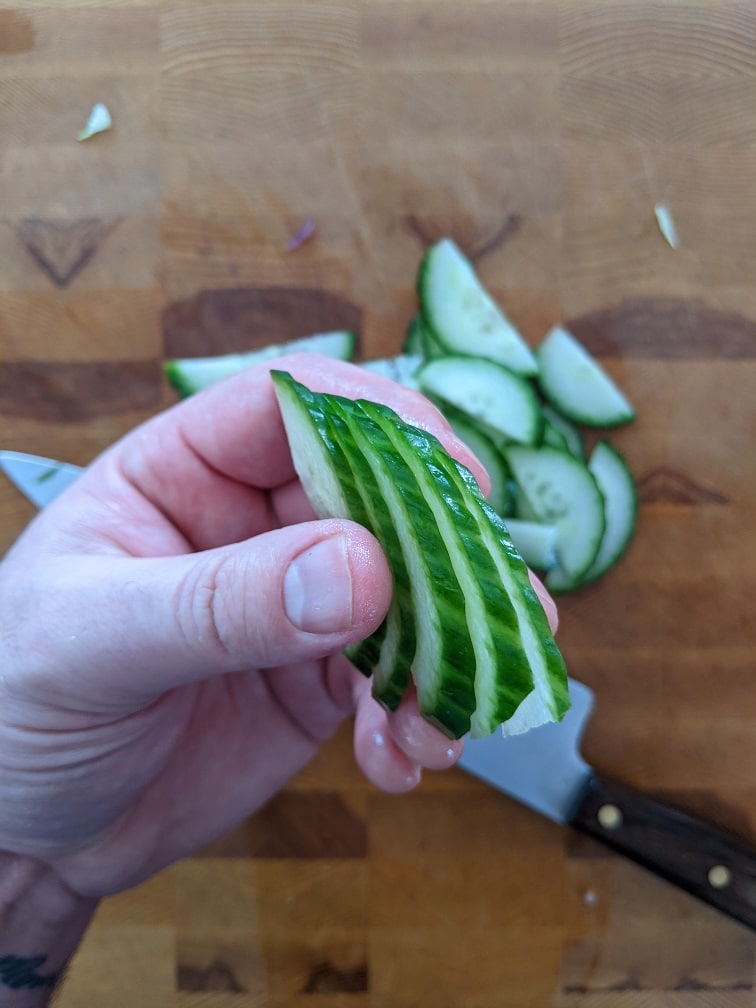
It’s not much of a salad without vegetables. I know the price of fresh vegetables is through the roof right now too, but we all still have to eat. So, for this salad, I used about a quarter of a cucumber, half a green bell pepper, six grape tomatoes, a small piece of red onion and some iceberg lettuce. The appearance of any salad is made less boring when the vegetables are all cut differently. So, I sliced my cucumber into thin medallions. The green pepper I cut into odd evenly-sized pieces. I cut the tomatoes in half and thinly sliced the red onion. You don’t have to do all this. If you want, just cut all the vegetables the same. It’s going to taste the same either way.
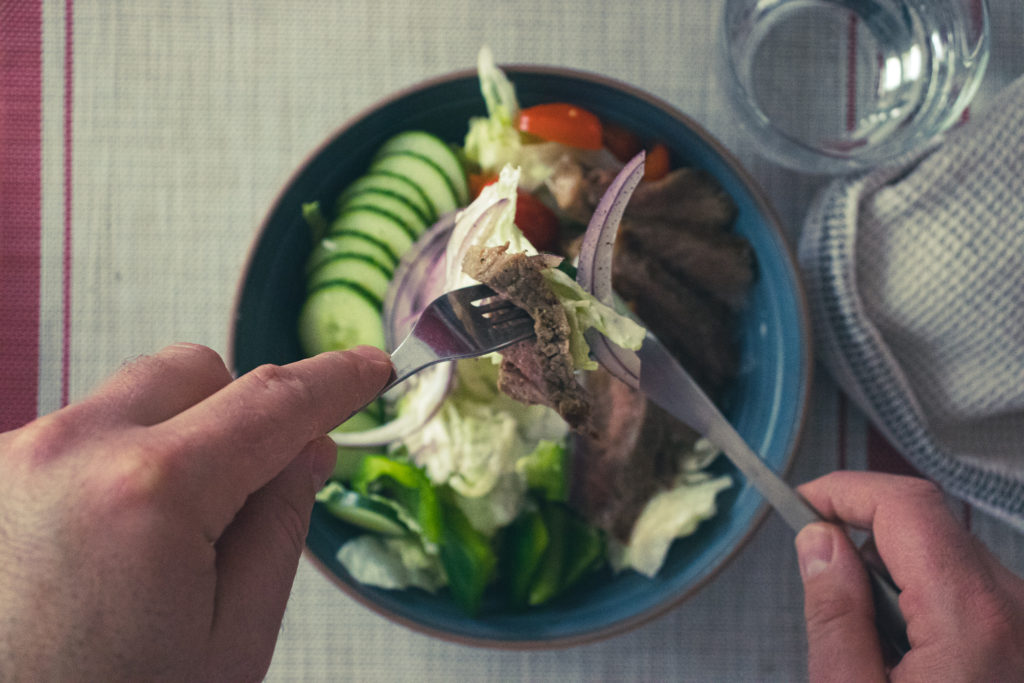
Putting The Steak Salad Together
To put the salad together, start by tearing the lettuce into bite-sized pieces. Top the lettuce with a few spoons fulls of the dressing. I’m going to stop here for a second. If I weren’t taking pictures of this salad, I would have put all the vegetables in a large bowl and mixed them with the dressing. Doing that will give you even coverage of the dressing on the vegetables and a better overall flavour. Again, I’ll leave that up to you.
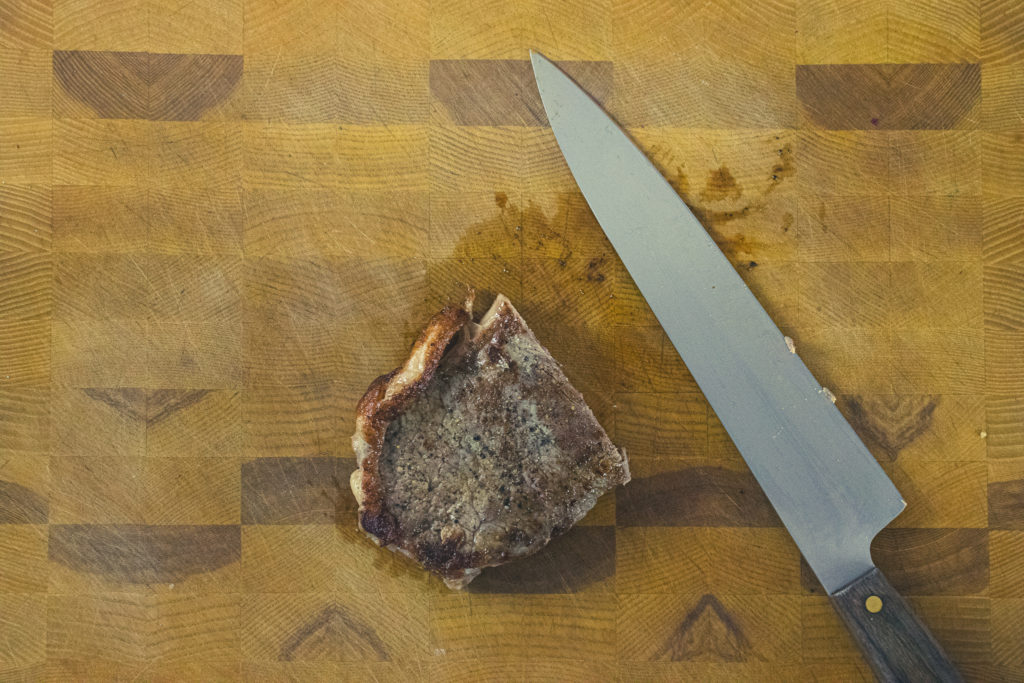
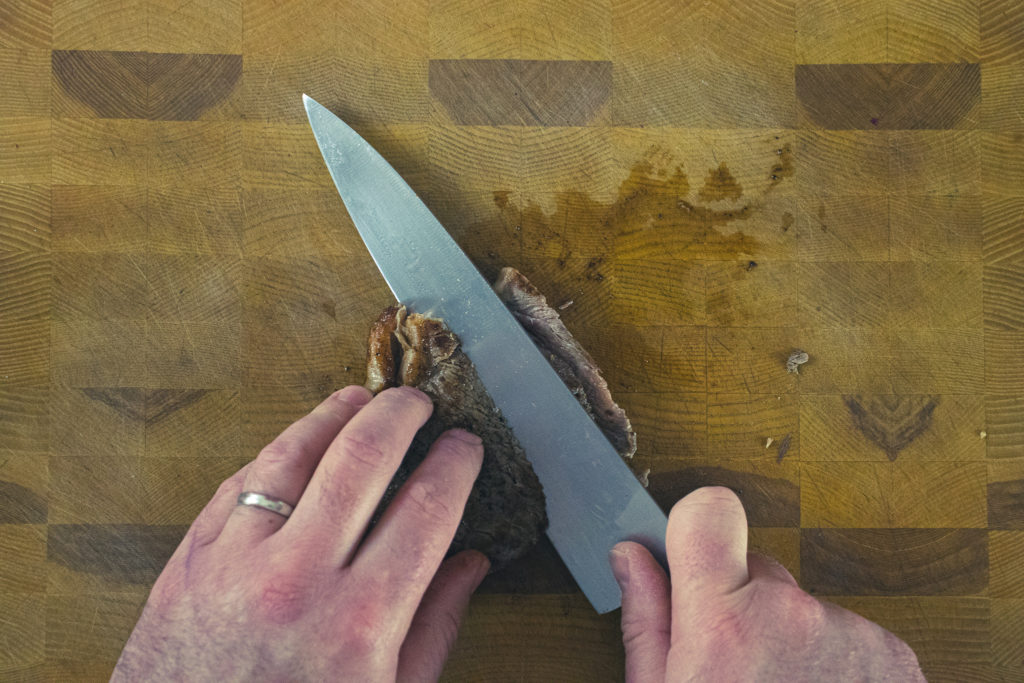
Slicing The Steak
Finally, the steak has rested, the salad is plated. The last step is to thinly slice the steak and place it on the salad. I cut the steak in half to ensure even portions. Then, I thinly sliced the steak with my knife at a 45° angle. This is purely for presentation, but you’re cutting the steak anyway. Why not make it pretty? Place the steak on top of the salad and get to eating.
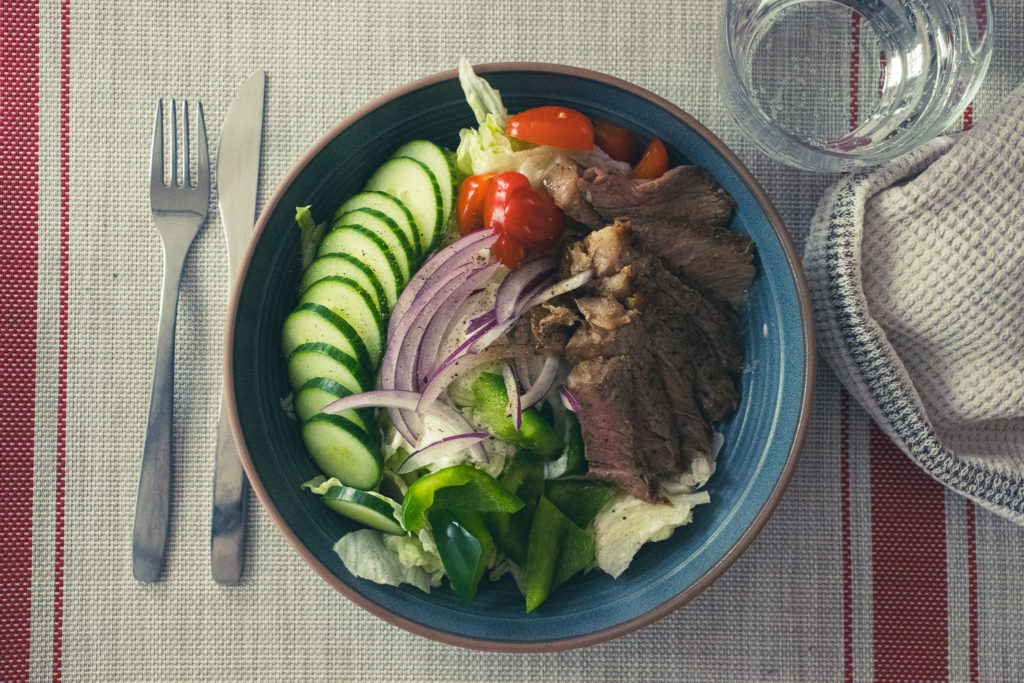
Steak Salad with Blue Cheese Dressing
I like to finish most of my salads with salt and pepper. It adds just a little more flavour that wasn’t there before. Then, eat away. If you want to bulk this salad up a little, some croutons would be nice, as would some red bell pepper or even leftover boiled or roasted potatoes.
The Wrap-Up
Whether you want a hearty lunch or light dinner, this steak salad is the choice for you. It’s also a great way to use up leftover steak from last night’s dinner. I think that about does it for today. I hope you enjoyed this post, and even more, I hope you make this recipe. That’s what it’s all about, after all.
I wanted to take a second here at the end of the post to talk about the new Chef’s Notes newsletter. It’s a once-monthly newsletter in your inbox. There are recaps of all the posts from the previous month, a look ahead at next month’s posts, exclusive recipes, stories, cooking tips and more. If you are new to Chef’s Notes, I encourage you to sign up. If you have already followed me on social media, I still encourage you to sign up. Even if you follow me, the way social media works now, you may be missing some of my posts. Signing up for the newsletter is the only way to ensure you get all the best recipes and information. There may even be some exclusive giveaways in the future. Scroll down to sign up. Have a great day, a great week, and I’ll see you right back here next Thursday. Thanks for coming.
Steak Salad with Blue Cheese Dressing
This simple salad pairs the wonderful combination of steak and blue cheese with crisp fresh vegetables to make a light lunch while still delivering a protein punch.
Heat a medium frying pan over medium-high heat. Add the cooking oil to the pan.
Put the seasoned steak in the pan. Cook for 2 to 2 1/2 minutes per side. Take the steak out of the pan and set it aside to rest for at least 5 minutes.
In a small bowl, combine all the dressing ingredients. Taste and adjust the seasoning with a bit more lemon juice, salt and pepper as needed.
Assemble the salad by dividing the lettuce and vegetables among two bowls. Drizzle the dressing over the salad.
Thinly slice the steak and divide it among the two salads. Serve as is, or crumble a little more blue cheese over the top for a stronger flavour.
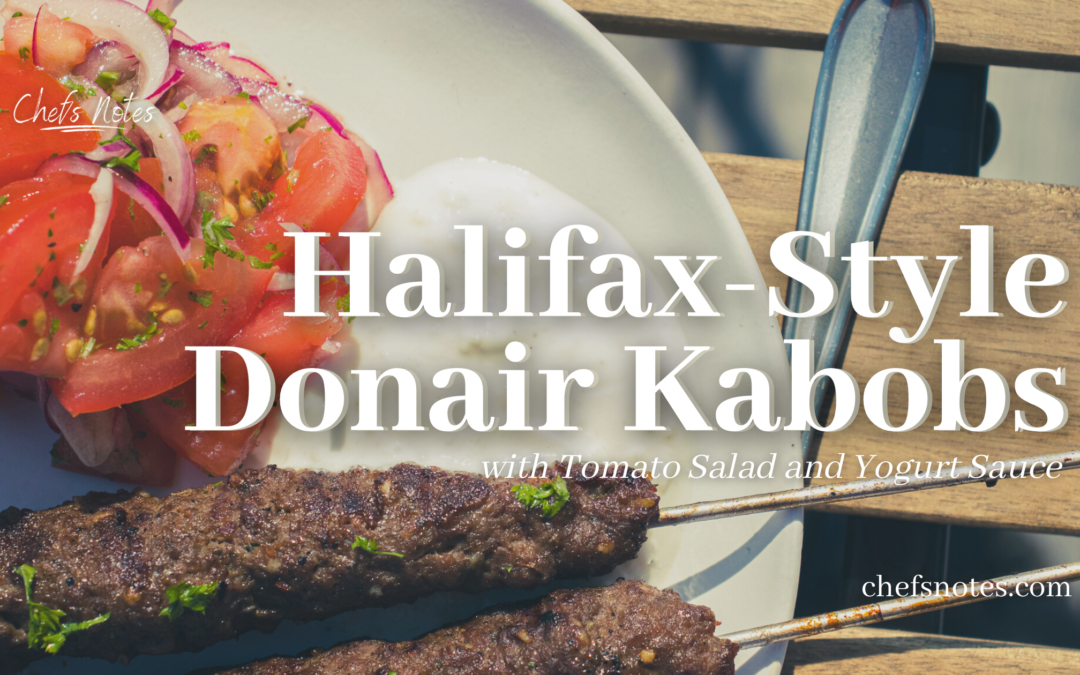
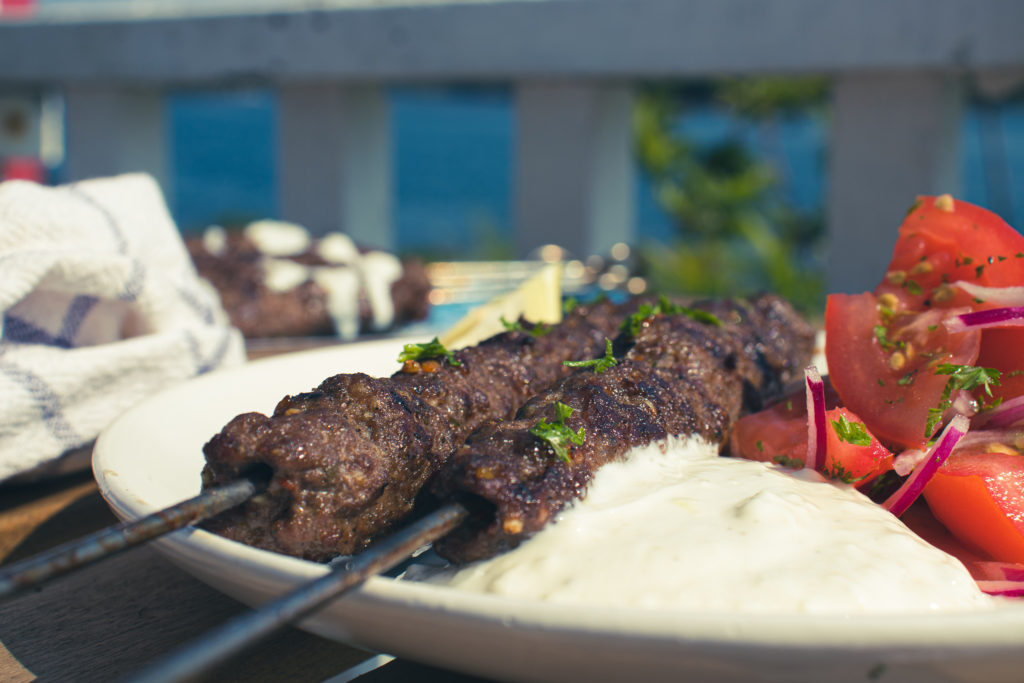
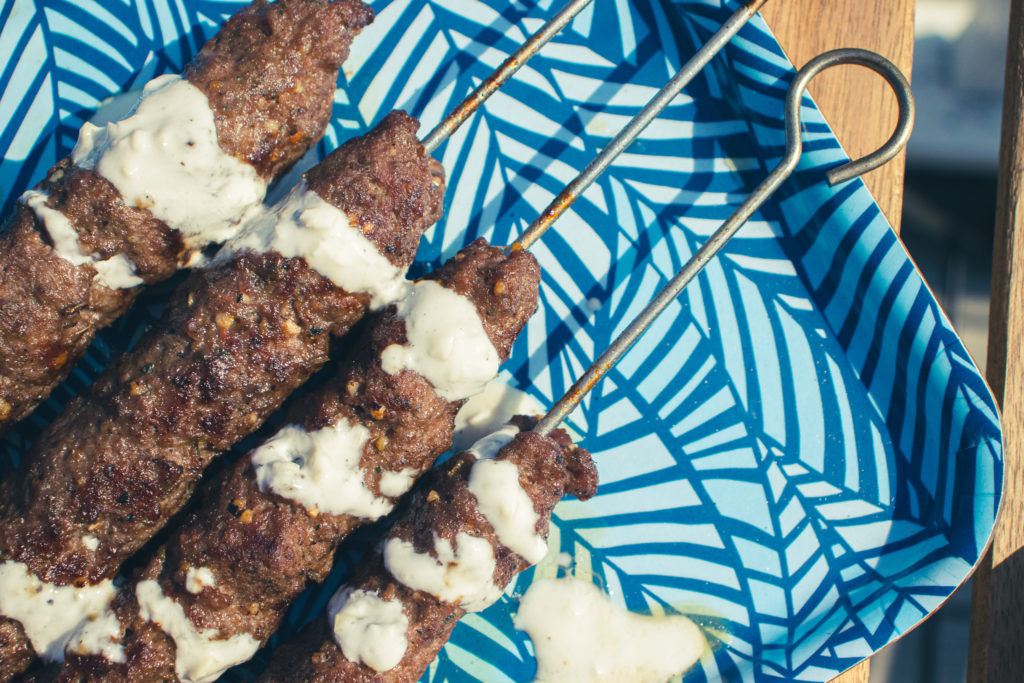
One of my first food memories, actually just one of my first memories, is of a small pizza place under the MacDonald bridge in Dartmouth. It was only about two or three blocks from my family home, and I have a memory of trying my first bite of donair from there. We moved from Dartmouth when I was almost four, so that first donair experience would have been when I was about three. I have loved them ever since. Over the years, I have done my fair share of experimenting with donair flavours. I even once put a donair-spiced scallop dish on a menu. And so, I wanted to make a donair, without making a donair. I wanted the same flavours but in a different package. To do that, I went back to the origins of the donair but kept the flavours that I’ve loved for my whole life. And so, I present to you my Halifax-Style Donair Kabobs with tomato salad and yogurt sauce.
The Recipes
Halifax-Style Donair Kabob
Donair Kabobs seasoned in the Halifax Style. The perfect dish to add to your barbecue menu.
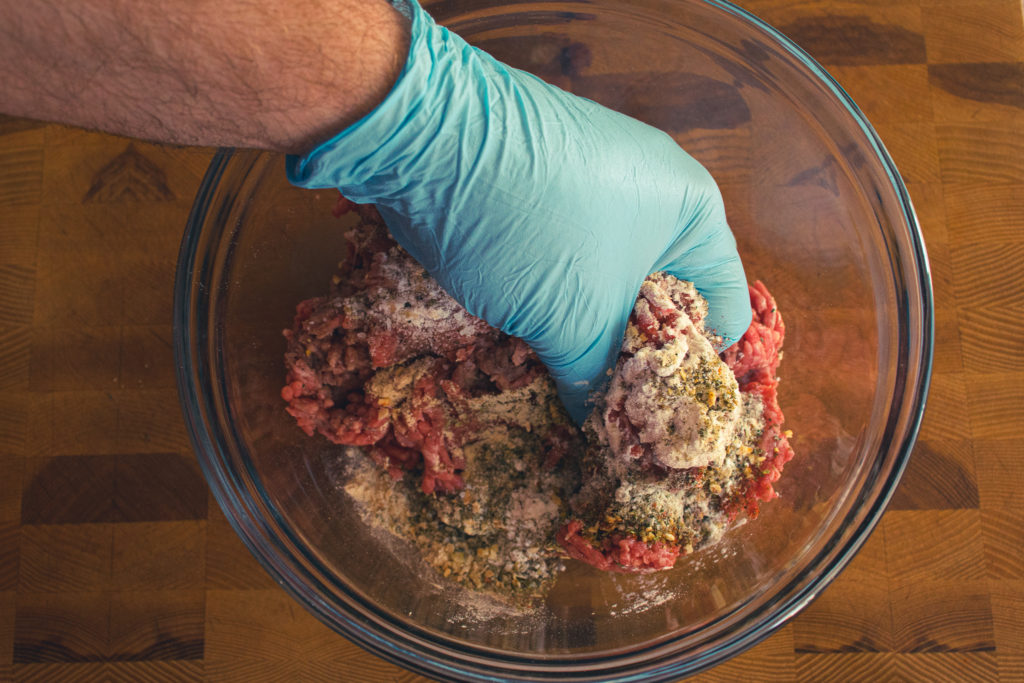
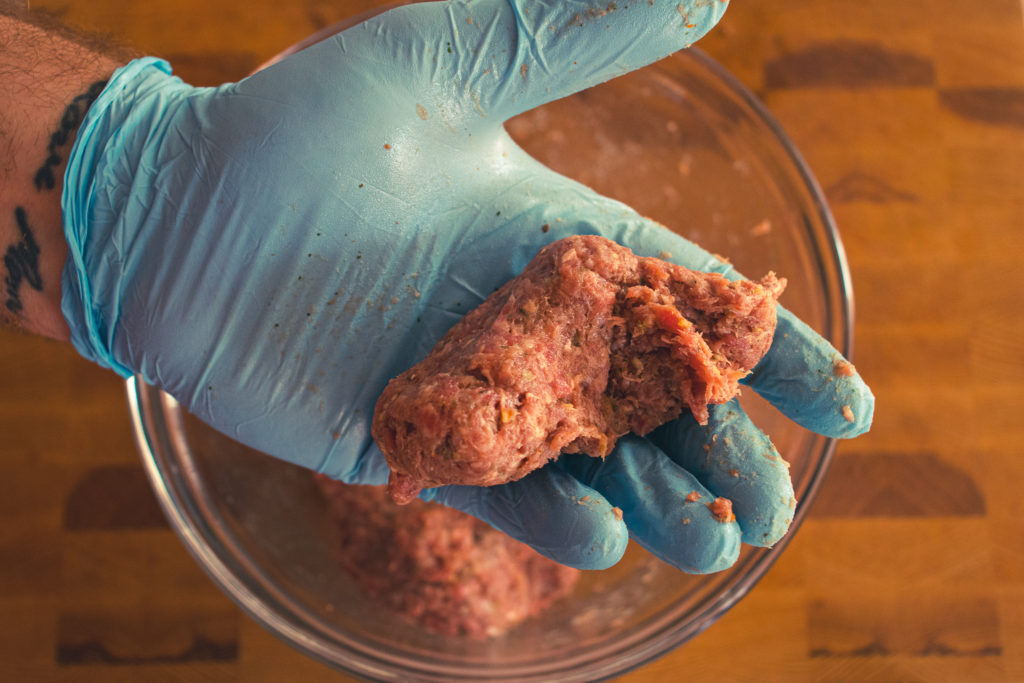
Place all the ingredients in a medium mixing bowl and mix well. Knead the meat mixture for five minutes or until it develops a tacky texture and appearance.
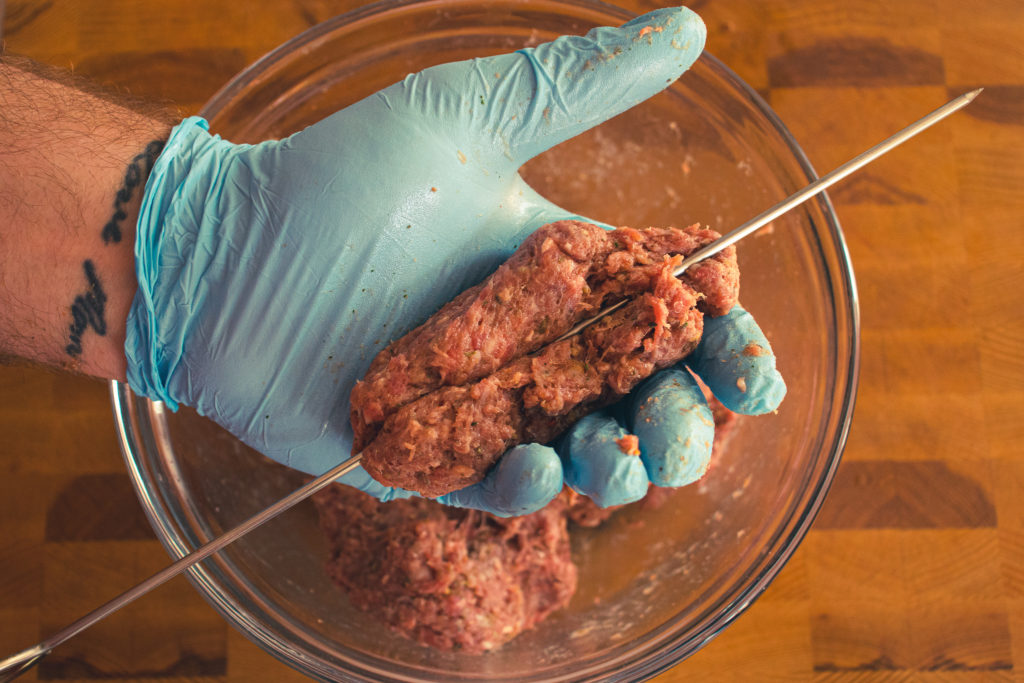
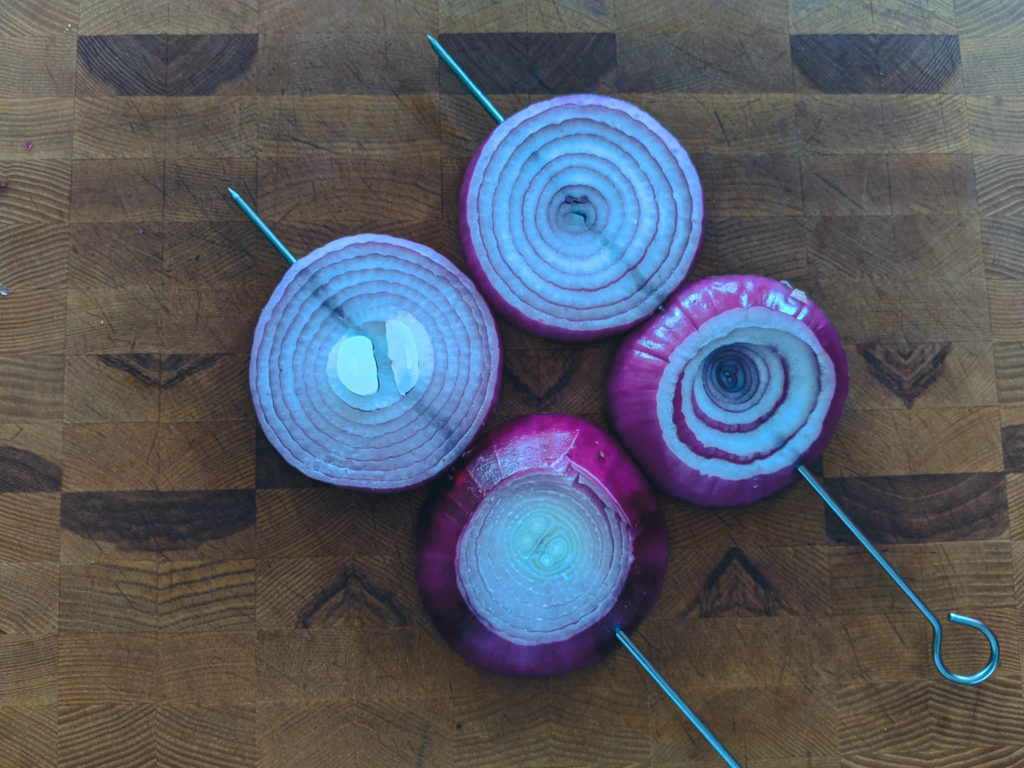
Divide the meat in four and form each fourth of meat around a 12-inch skewer. If you are using wooden or bamboo skewers, soak them in water for 1 hour before skewering the meat.
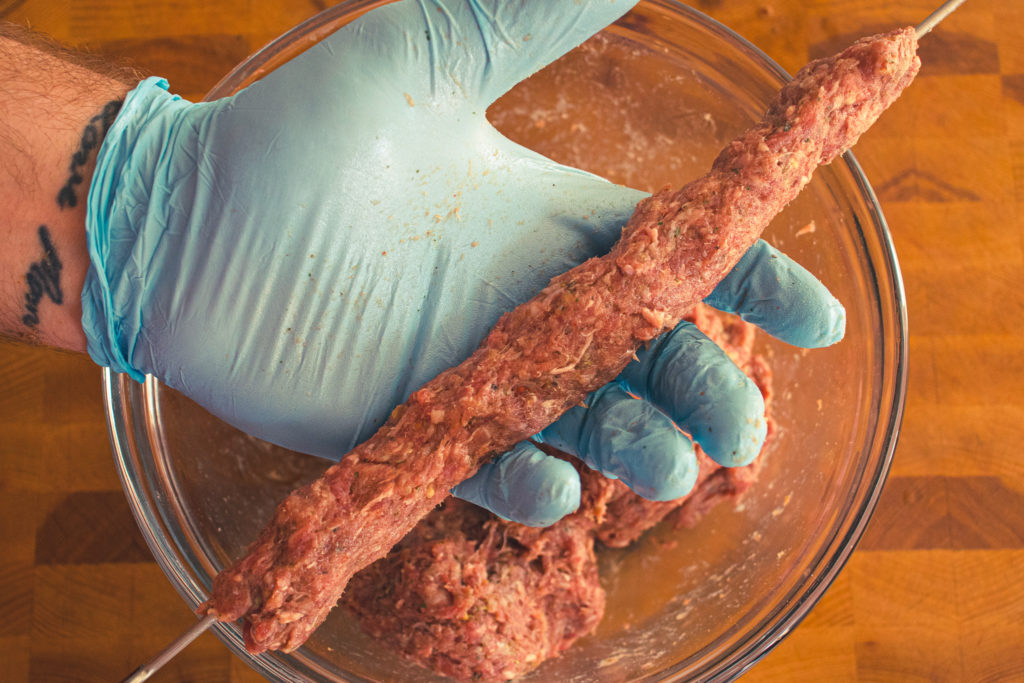
Wrap the meat around the skewer and gently squeeze it to spread it out in an even layer around the length of the skewer.
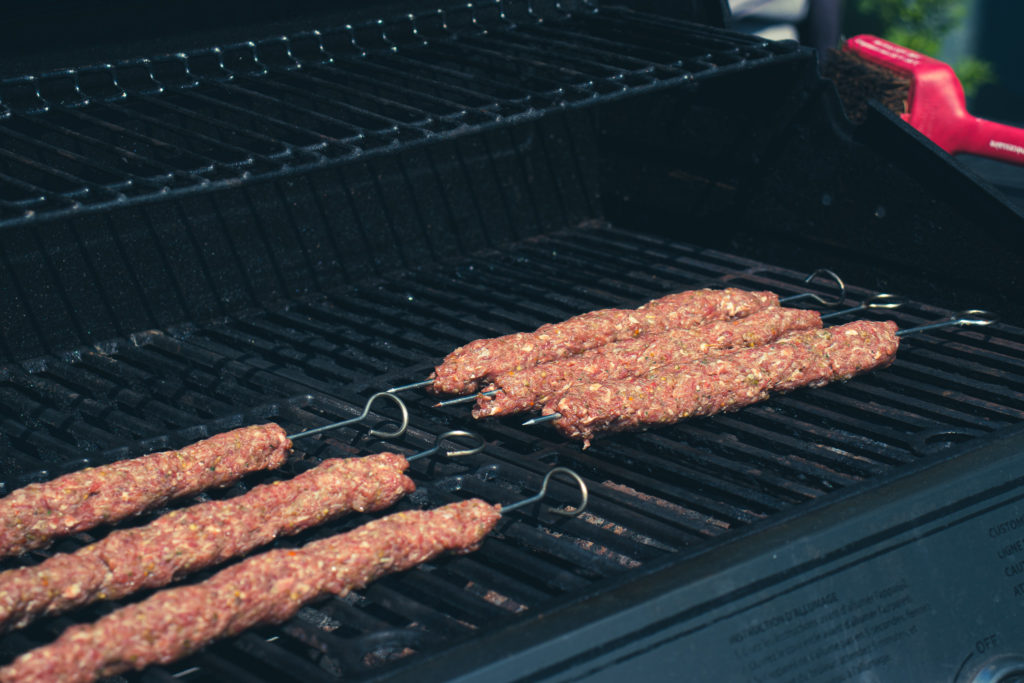
Heat your grill to 400°f.
Grill the skewers on the hottest part of your grill for 10 to 12 minutes or until cooked through. Flip them every 2 to 3 minutes.
Take the skewers off the grill and serve immediately.
Notes
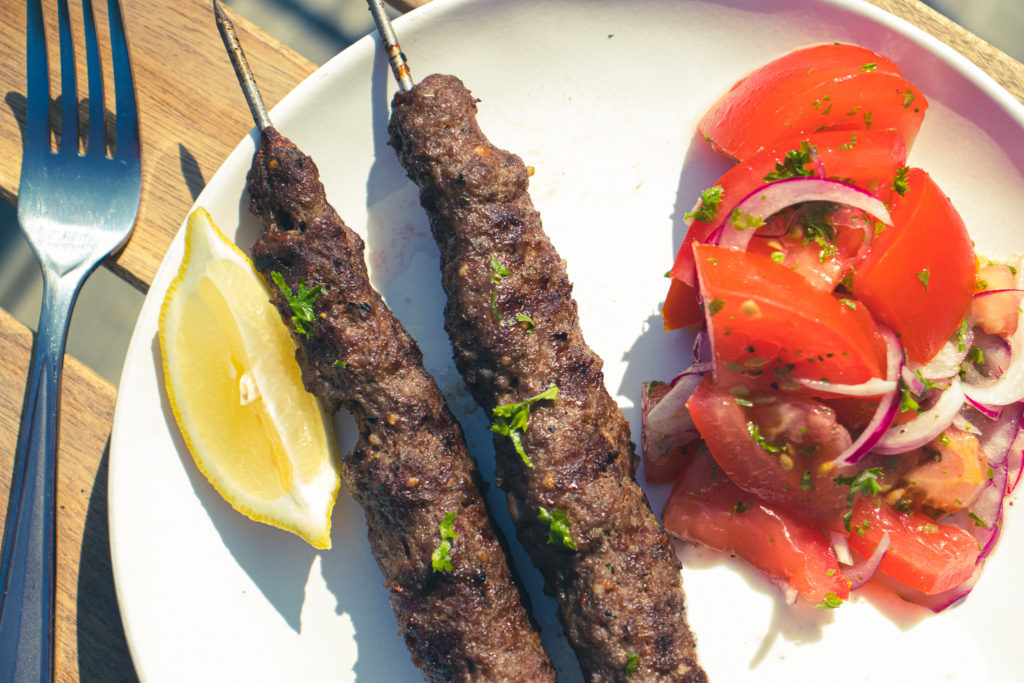
These Donair Kabobs are great with tomato and onion salad and garlicky yogurt sauce, but they also work very well in the traditional pita, with donair sauce, tomato and onion, or in a salad bowl with garlic mayo.
If you aren’t from Nova Scotia, you may be wondering to yourself, “What is a Halifax Donair?”. Let me enlighten you. A Halifax Donair is made from spiced beef that is cooked on a verticle spit. Thinly shaved and wrapped in a soft Lebanese-style pita with fresh diced white onion and tomato, and finished with a sweet and tangy sauce made of sweet and condensed milk, vinegar, garlic powder, and onion powder. It is the kind of thing you usually only eat after a long night of drinking, or on a Friday night in with friends. Every Pizza Place in the province, except for some of the big national chains, sells donairs. And just about every Nova Scotian, at least from a certain generation forward, has a deep-seated love for them. I happily include myself in this group.
Other places in the world have Donair, often spelled doner kebab, or gyros, which are similar. But none are quite like the Halifax Donair, which was introduced to the region by Greek immigrants in the 1970s. It was originally served as a lamb gyro with tzatziki sauce, but the recipe was changed to what it is now to suit local tastes. Since then, it has been a local favourite and has now begun to spread across the country. However, only one city can truly claim it as their own. It is, after all, the official food of Halifax.
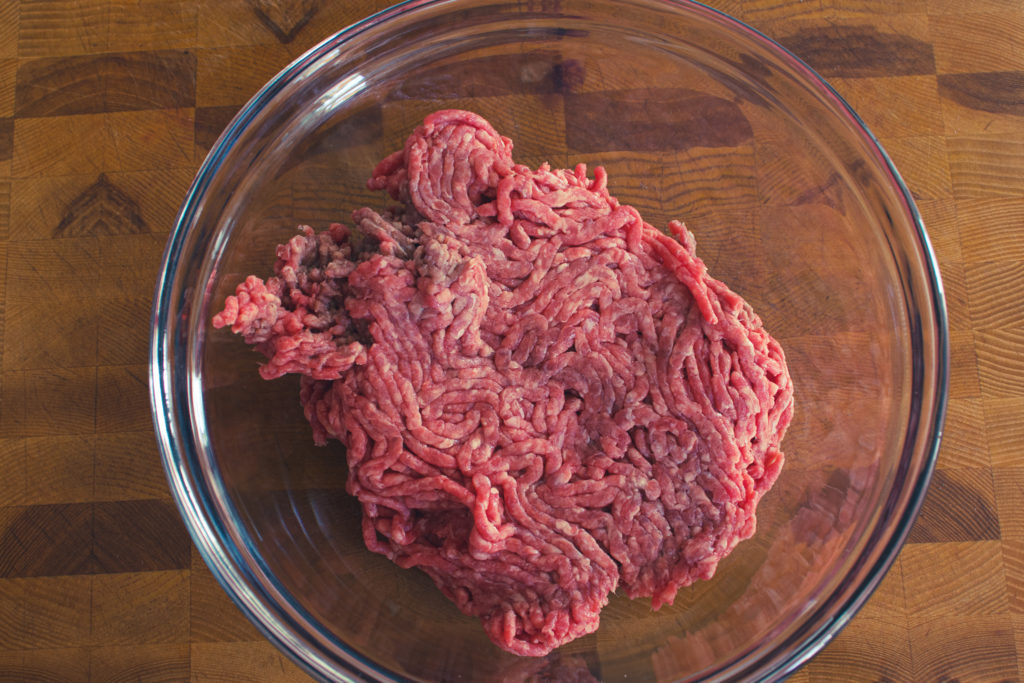
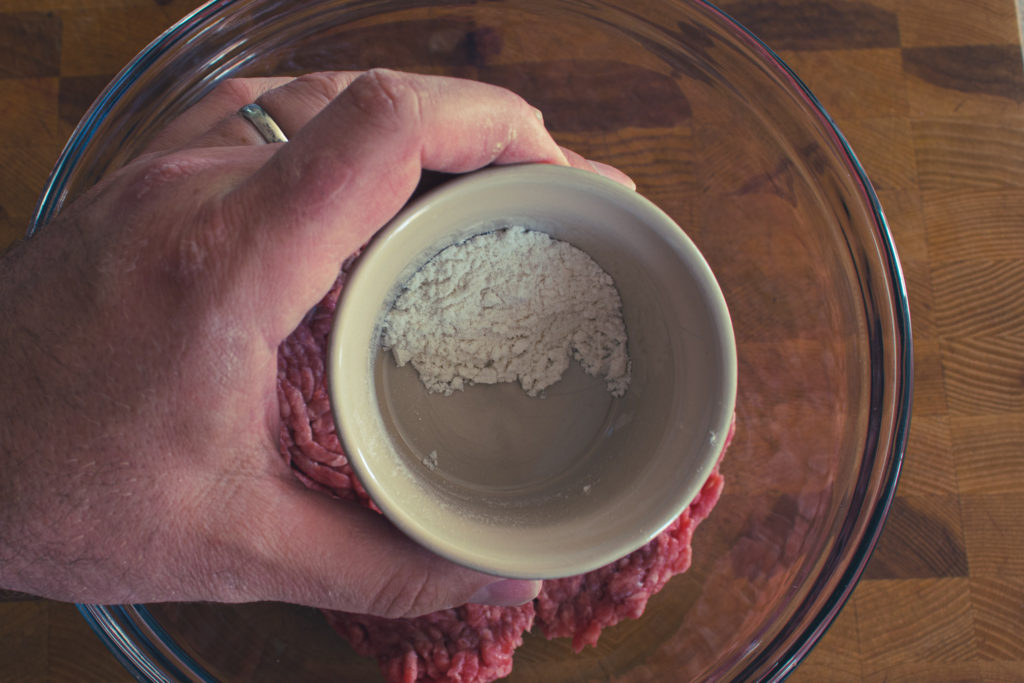
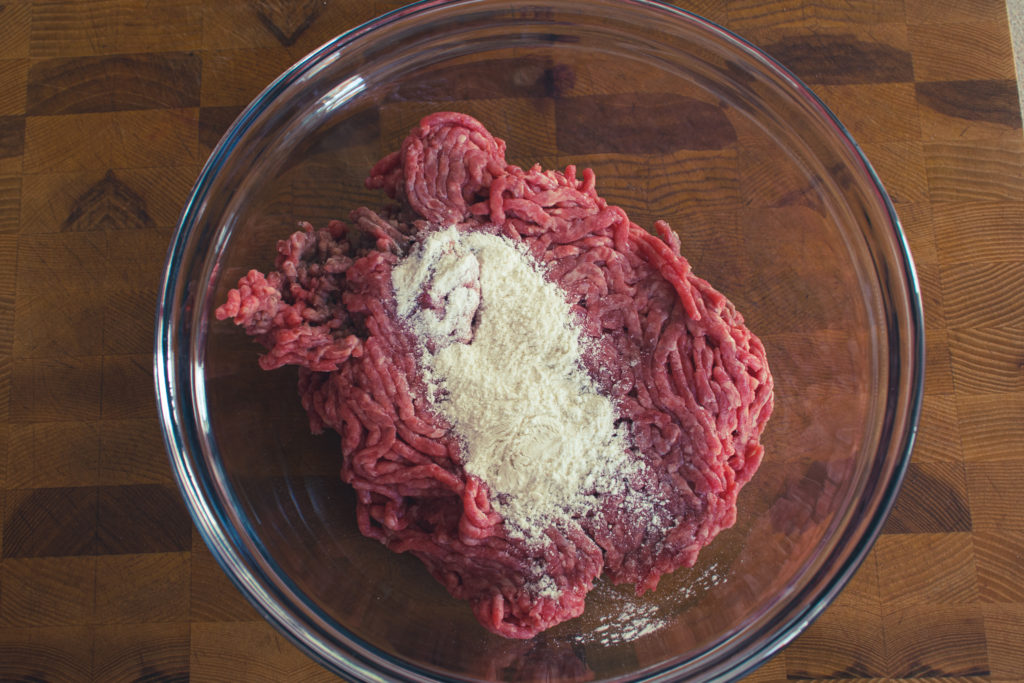
Making The Donair Kabob Meat Mixture
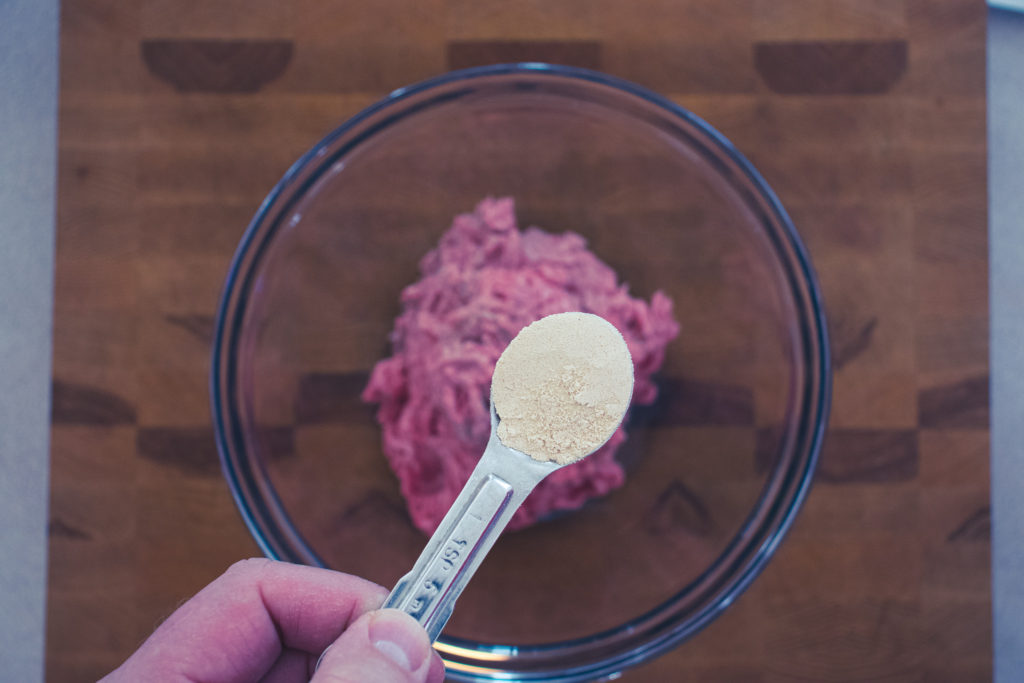
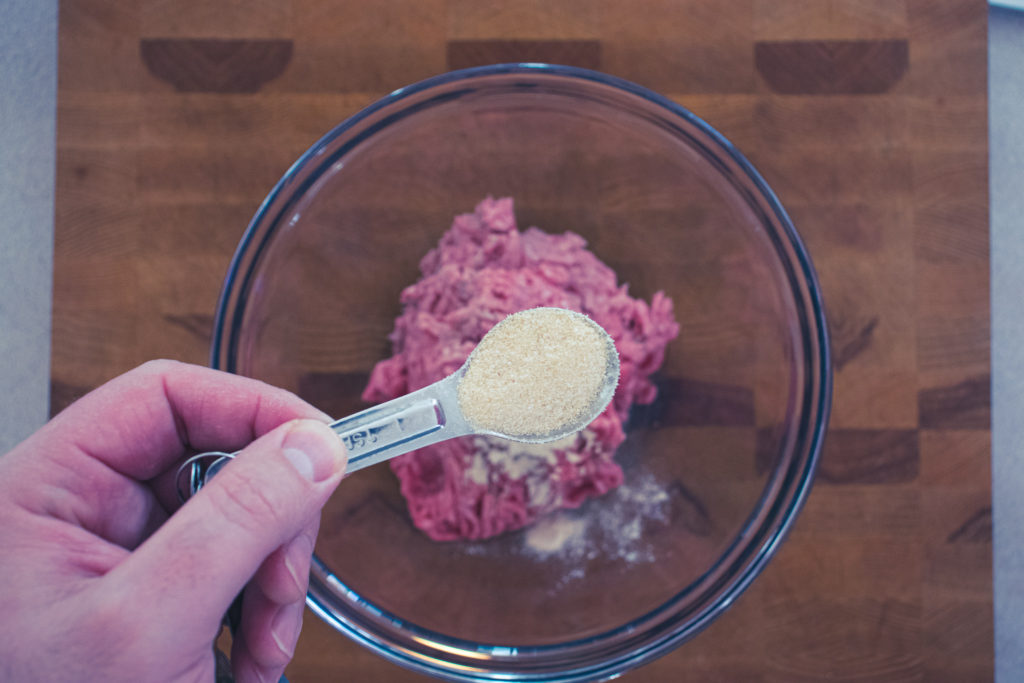
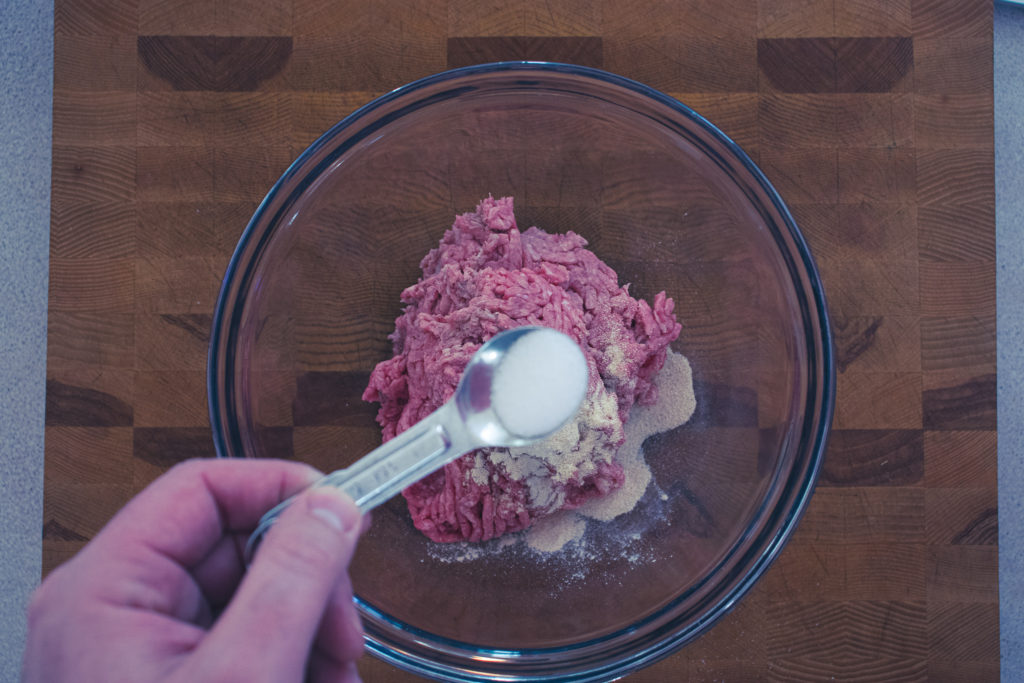
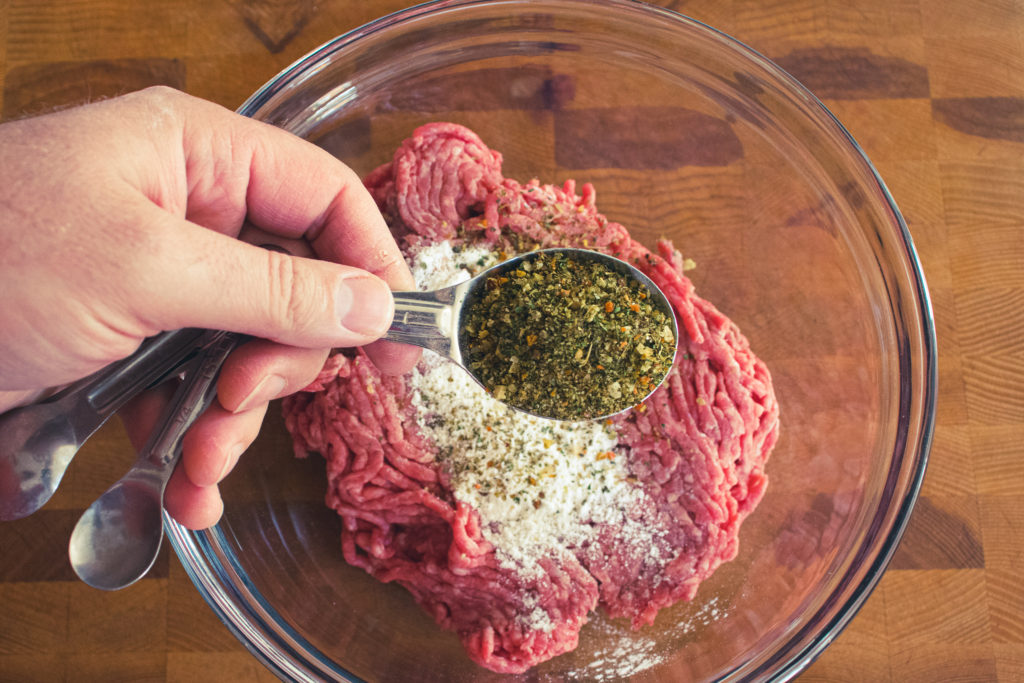
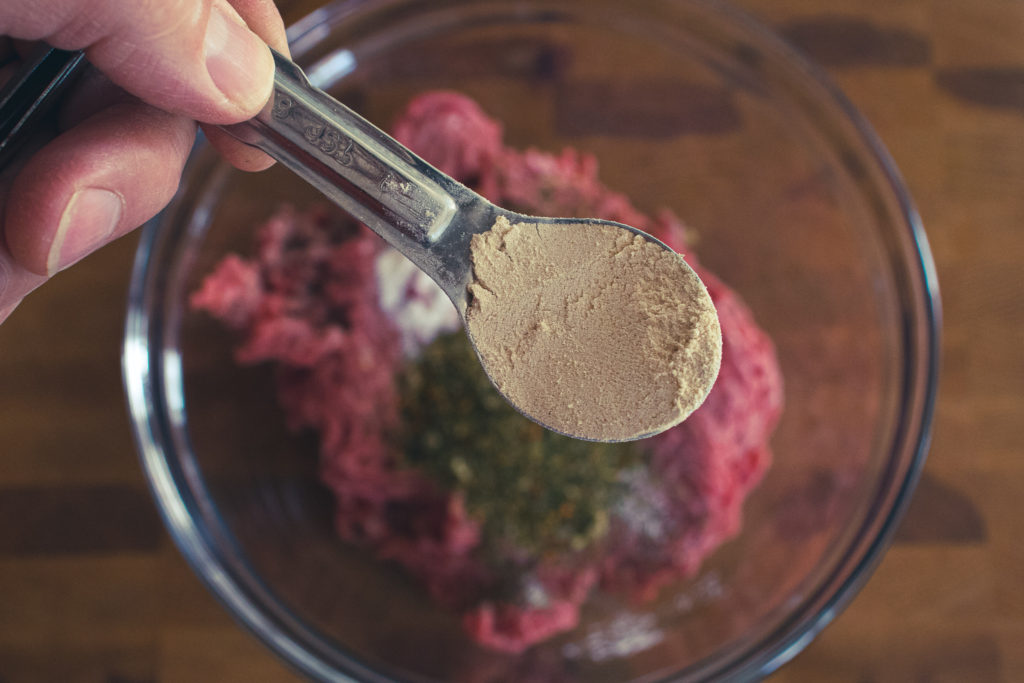
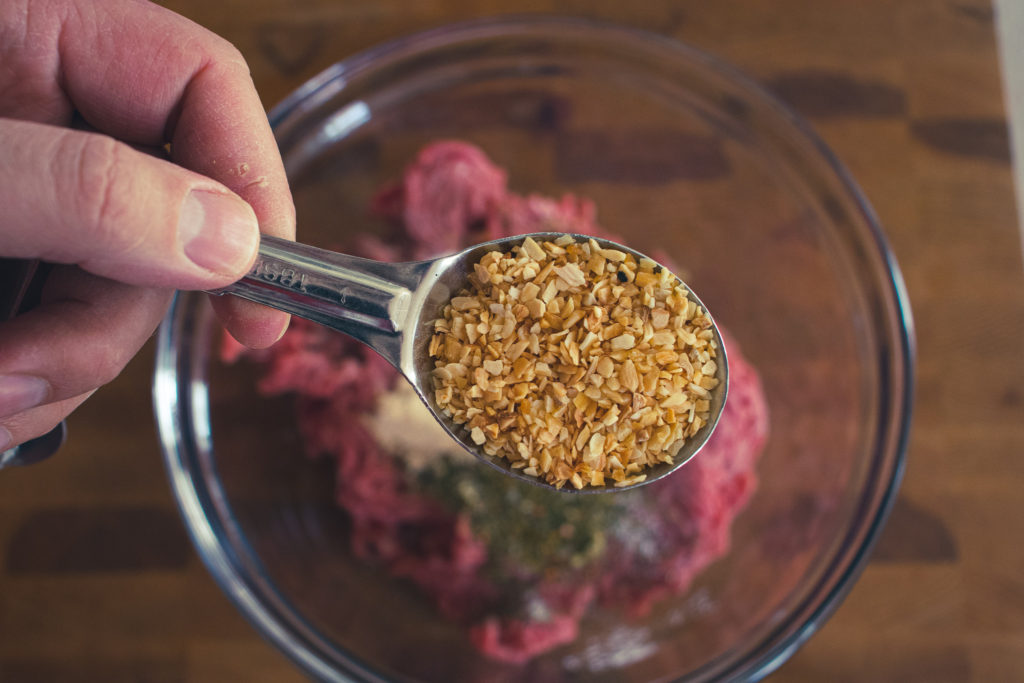
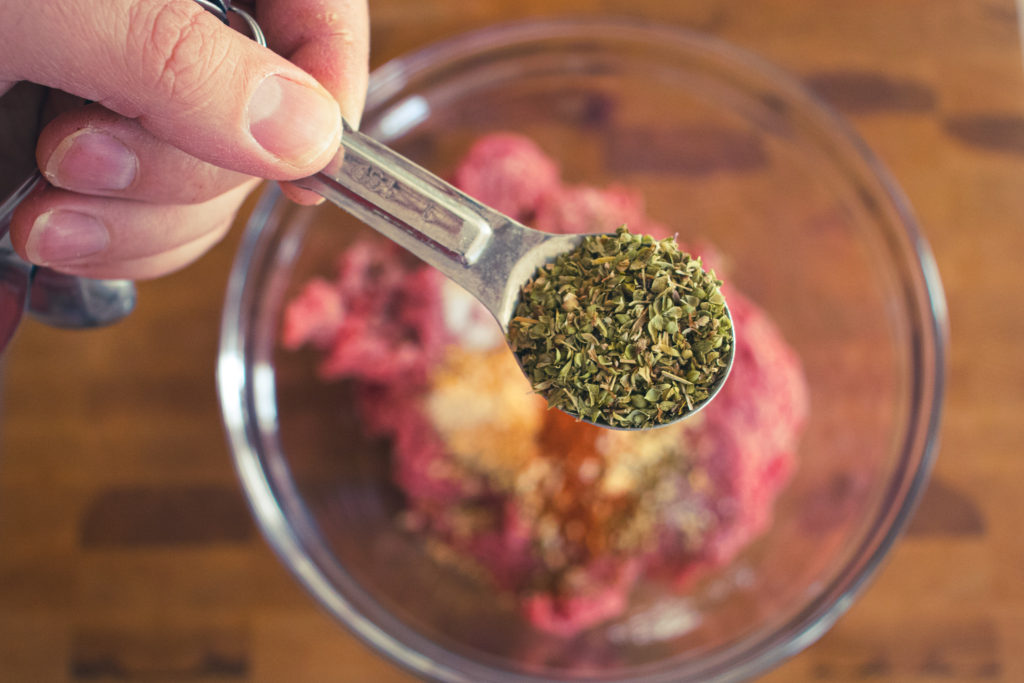
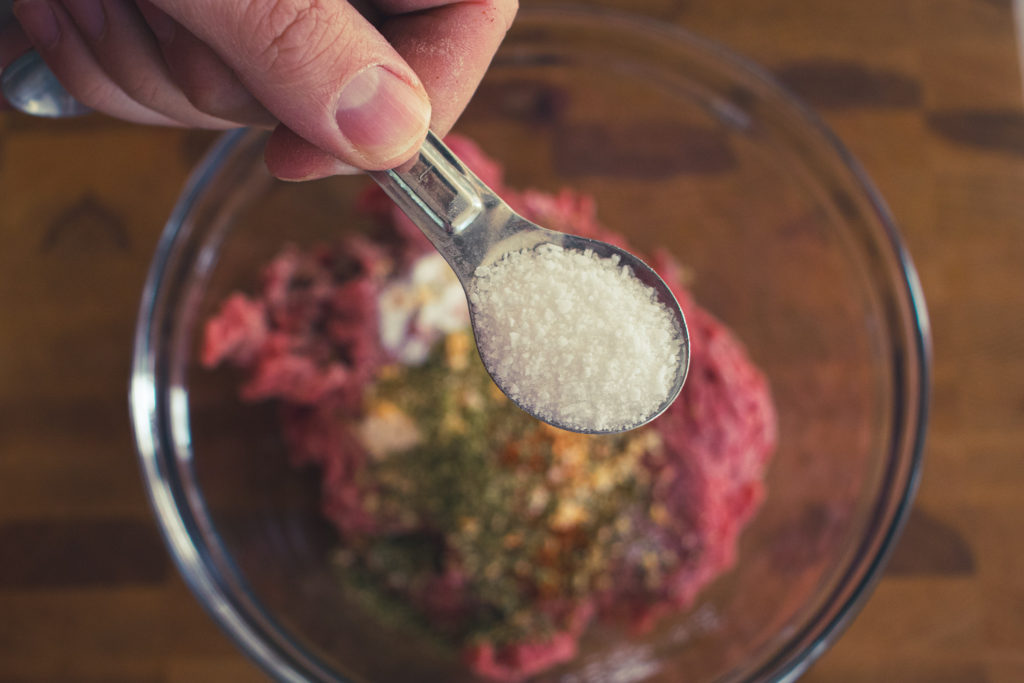
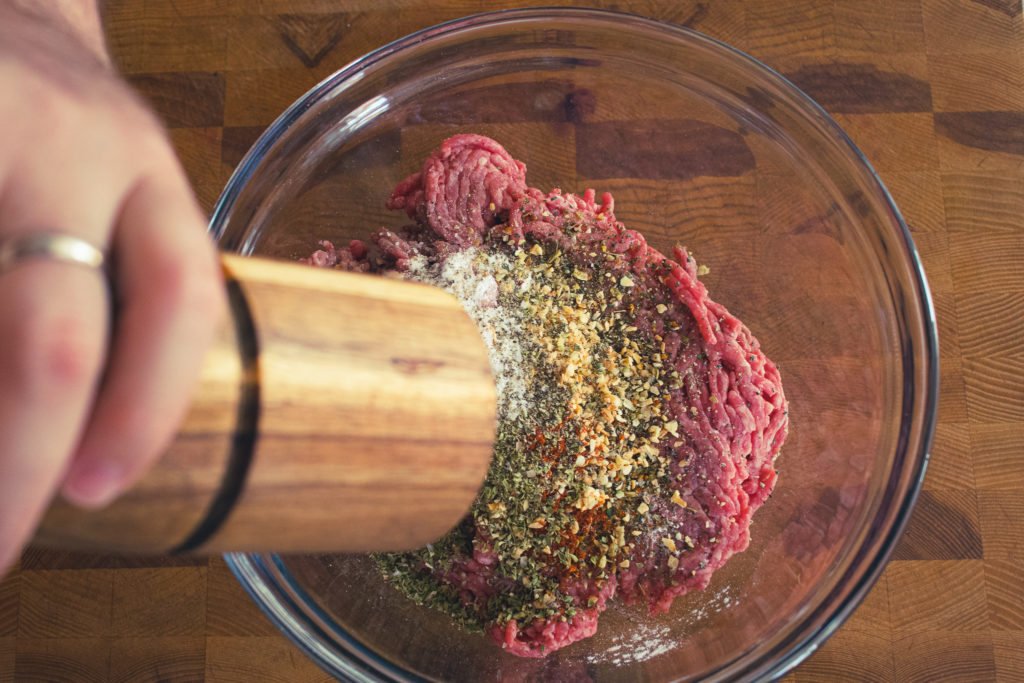
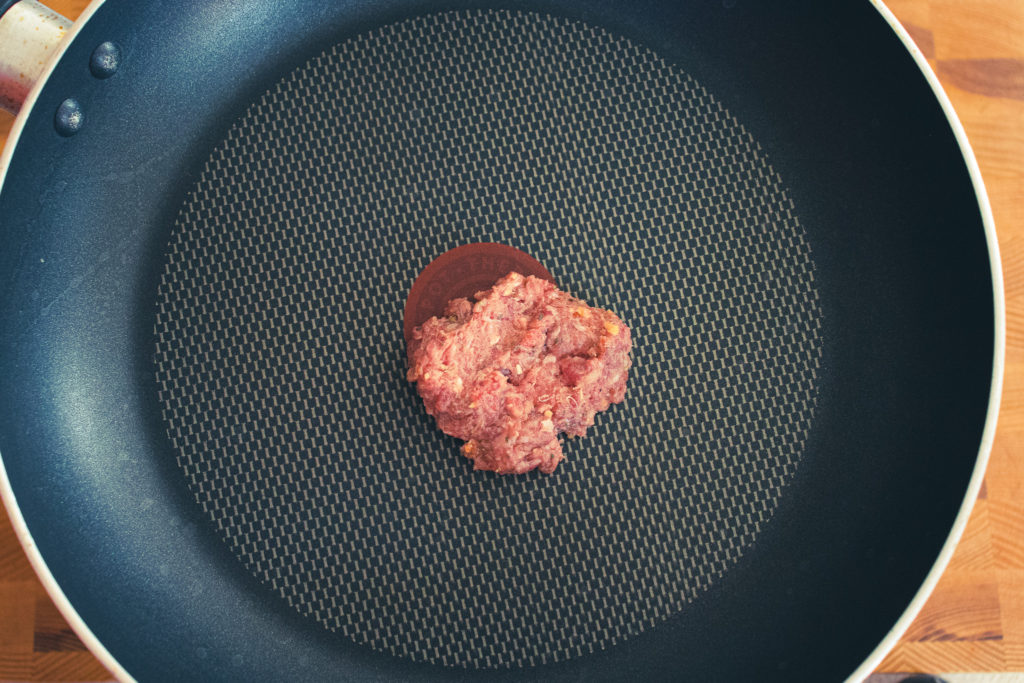
Okay, let’s get cooking. Start with a pound of lean ground beef. Add some flour (I used gluten-free all-purpose flour), Italian seasoning, garlic powder, dried onion or onion powder, cayenne, oregano, salt, and pepper. See the recipe above for all the measurements.
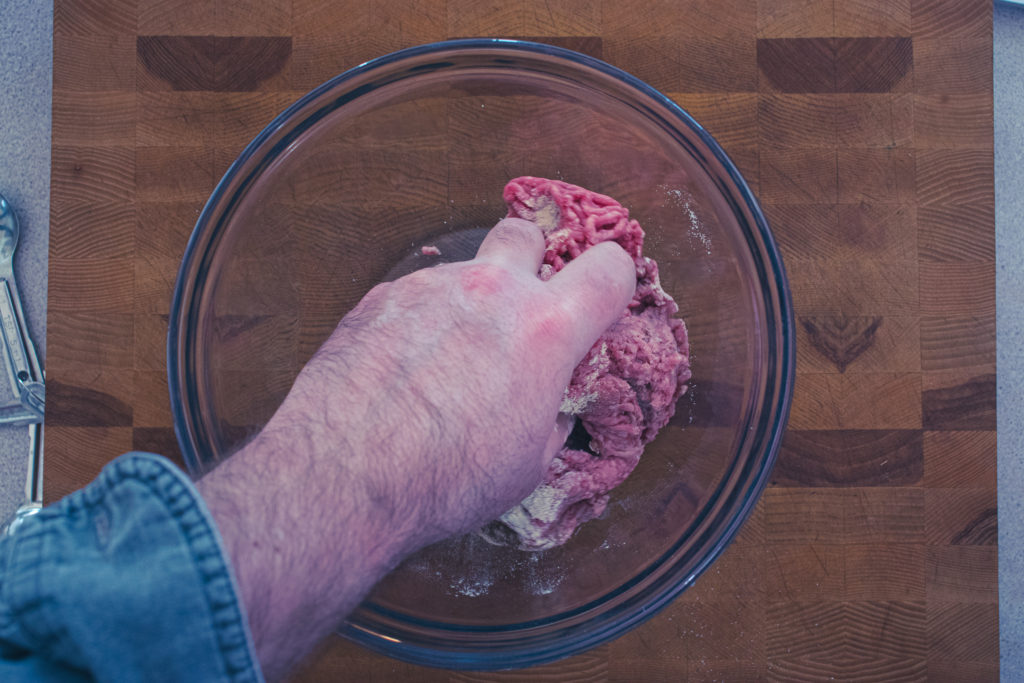
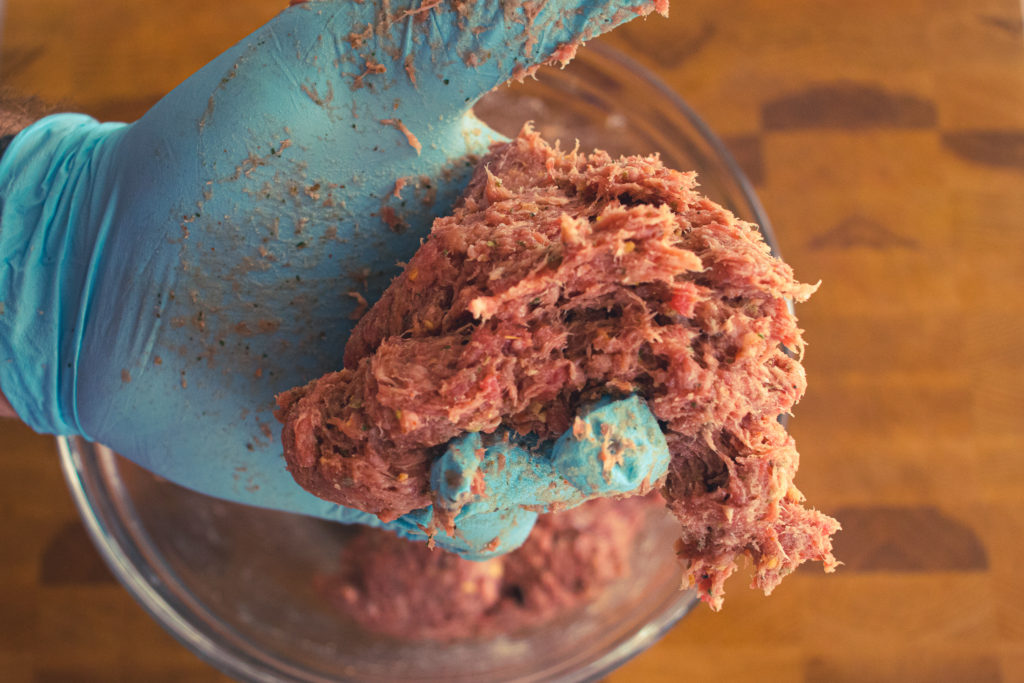
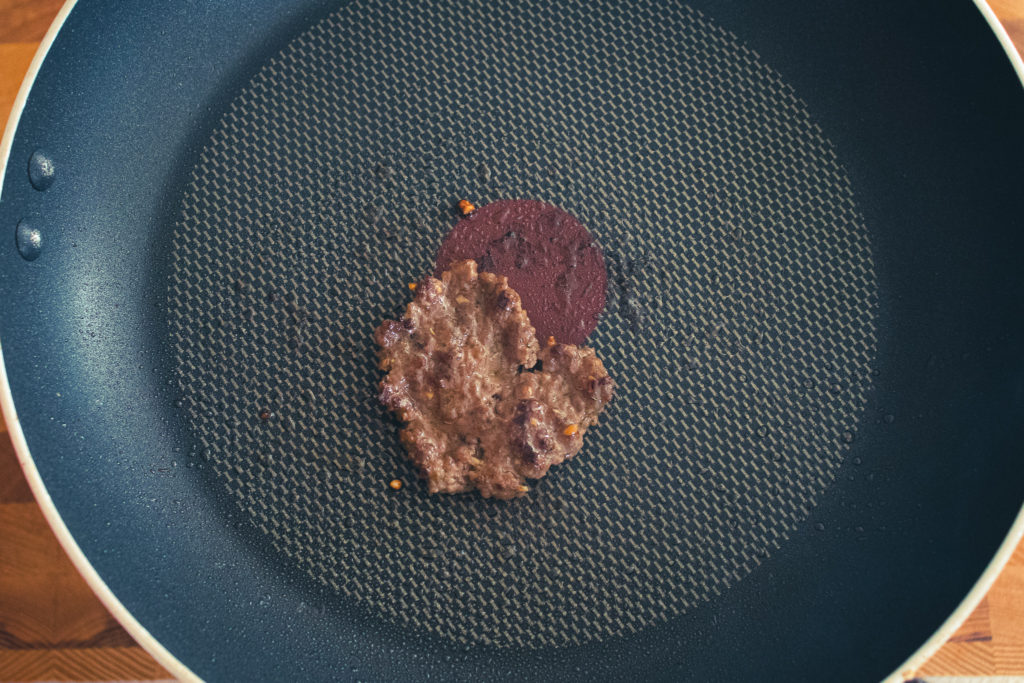
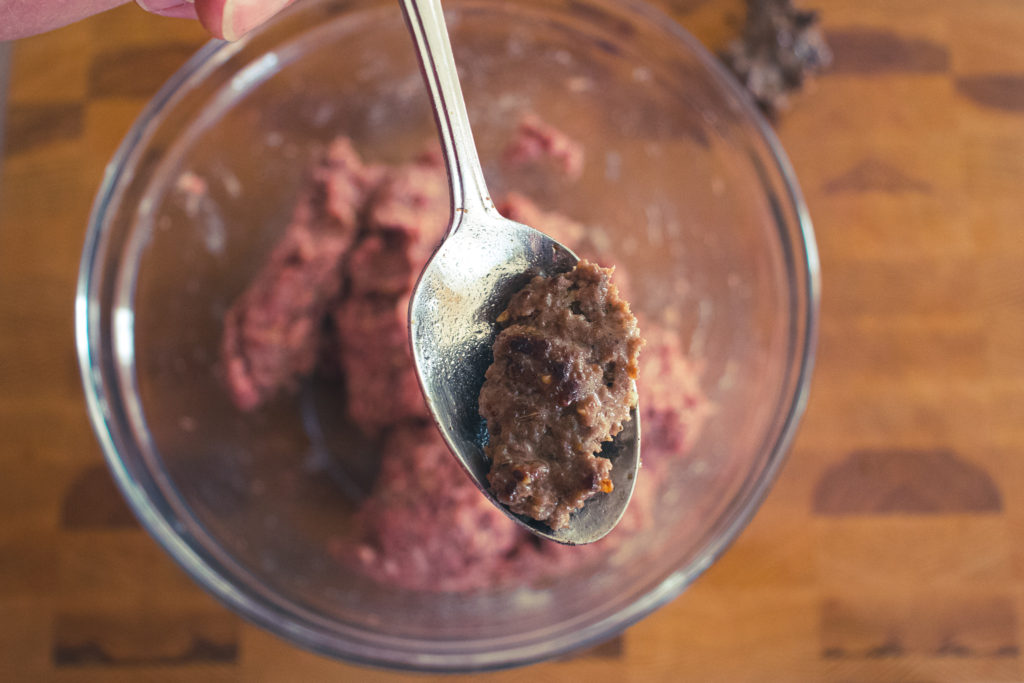
Mixing and Tasting The Donair Meat
Mix the meat well. I mean really well. You want to knead it for about five minutes or until it develops a tacky look and texture. This will give the meat the right texture when cooked. Break off a little piece of the meat and cook it in a small frying pan over medium-high heat. Taste it, and adjust the seasoning as needed. This is a good habit to get into whenever making anything with ground meat like meatloaf or burger. Season the meat, cook off a little piece and taste it.
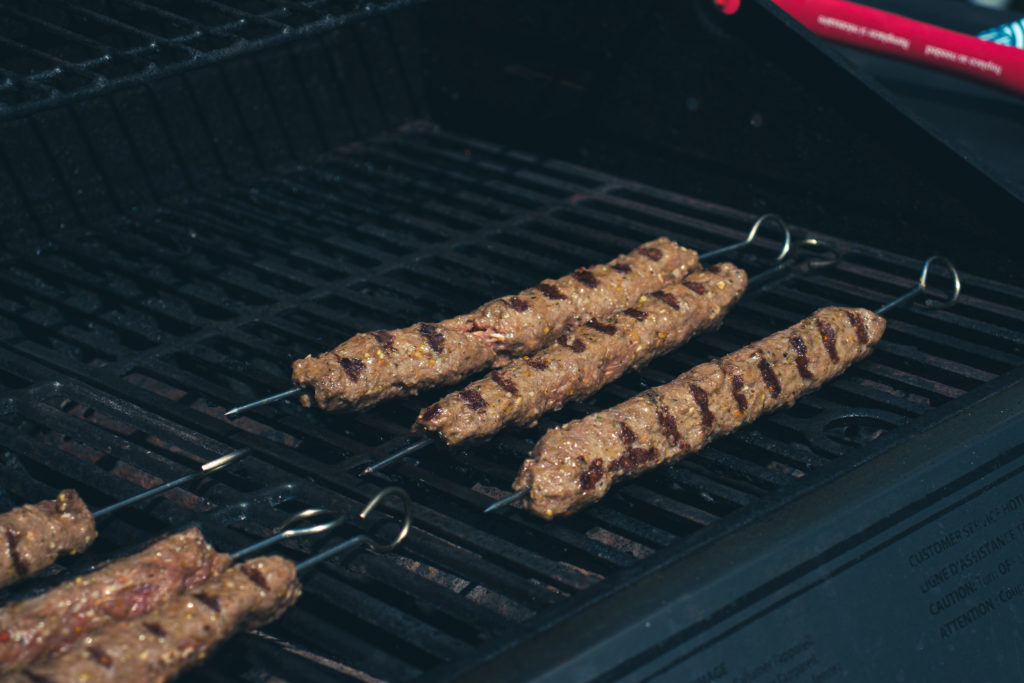
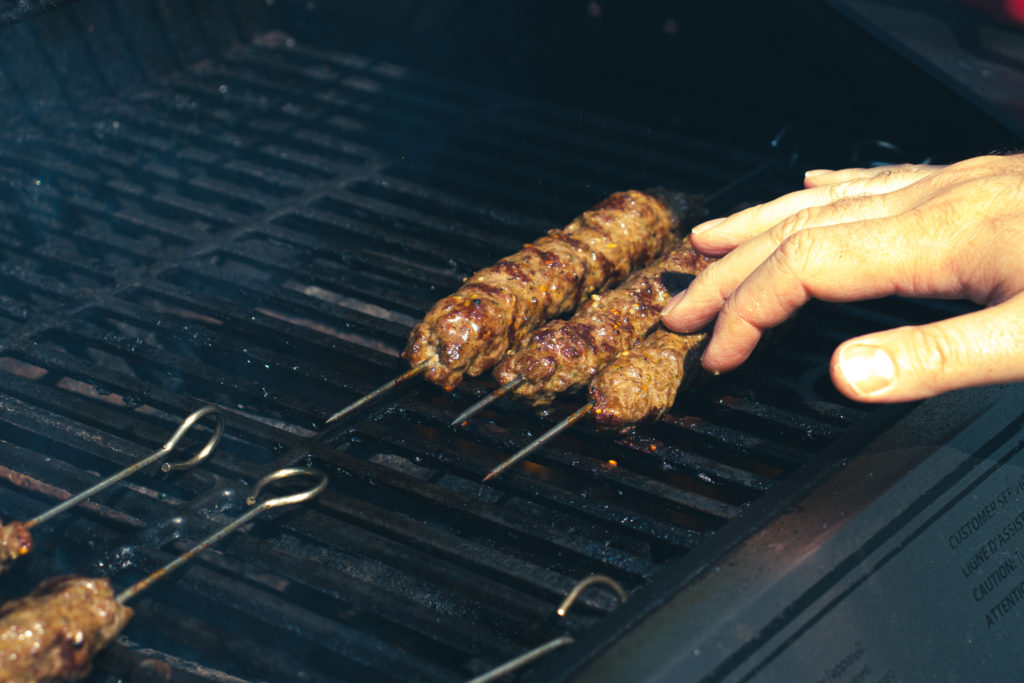
Making Donair Kabobs
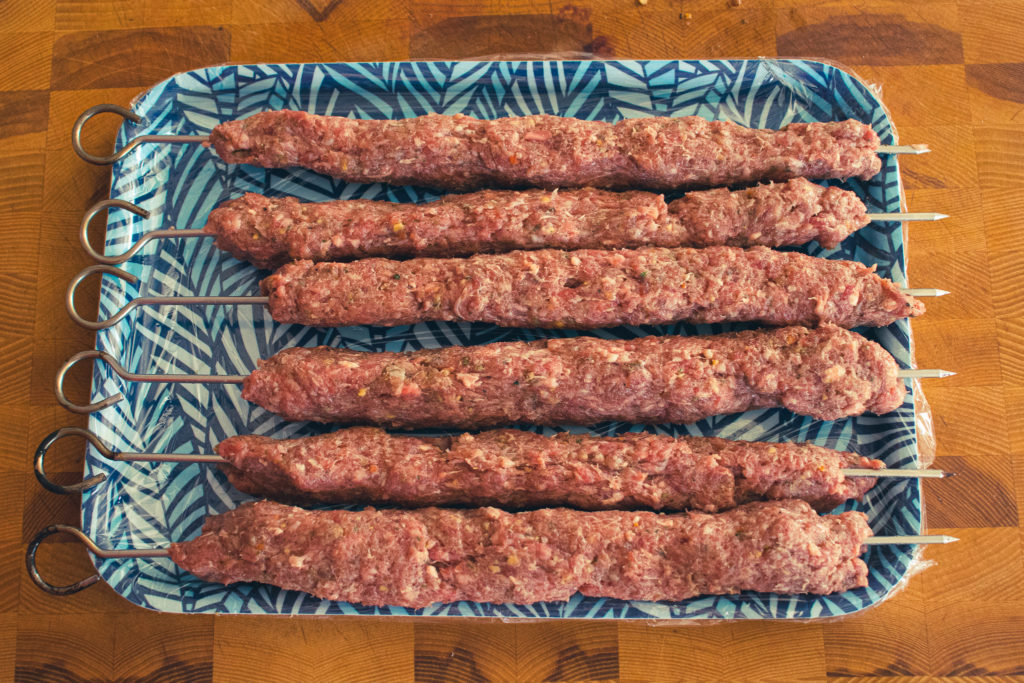
The picture below shows six skewers, but the recipe above only makes four. I apologize for the confusion. I adjust the recipe because the salad and the sauce were only enough for four.
Divide the meat into four evenly sized balls. Wrap each ball around a metal or pre-soaked wooden or bamboo skewer. Gently squeeze the meat to spread it out the length of the skewer in an even layer.
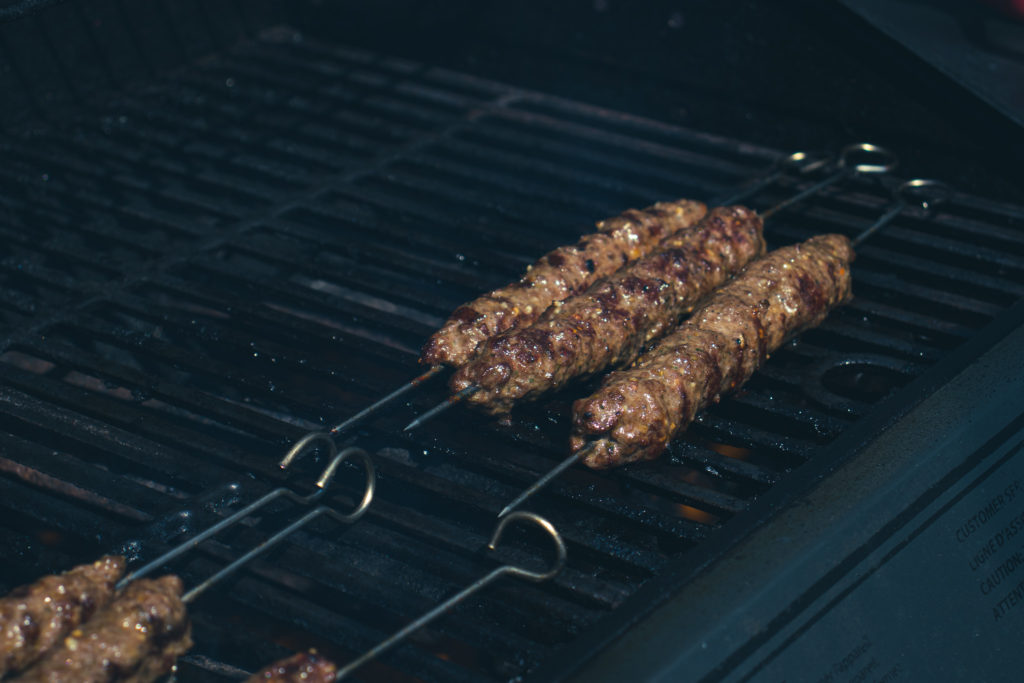
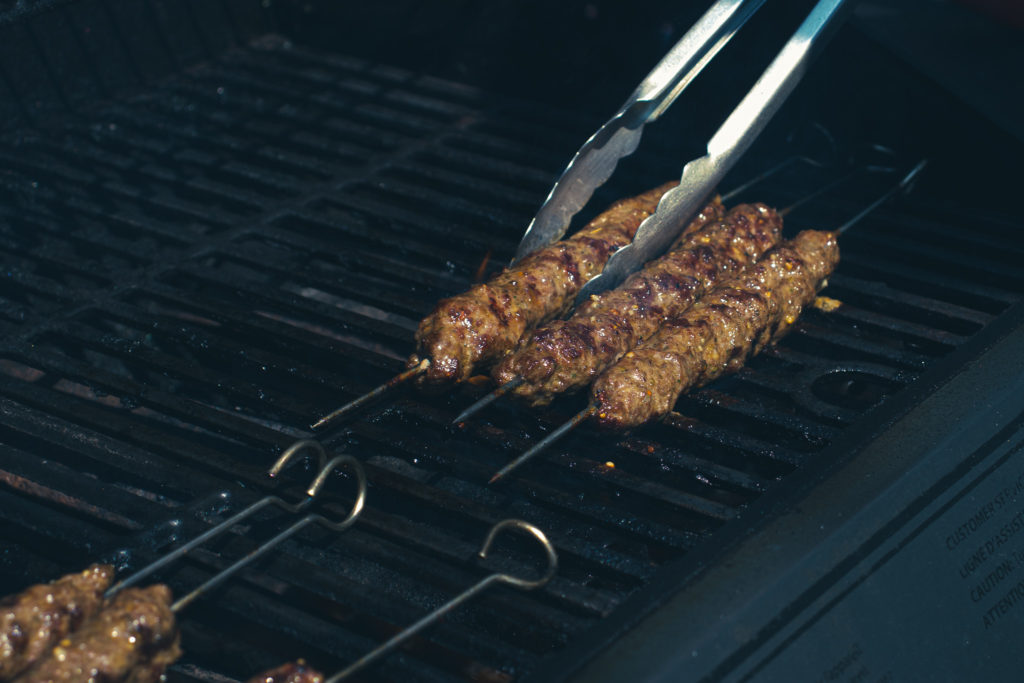
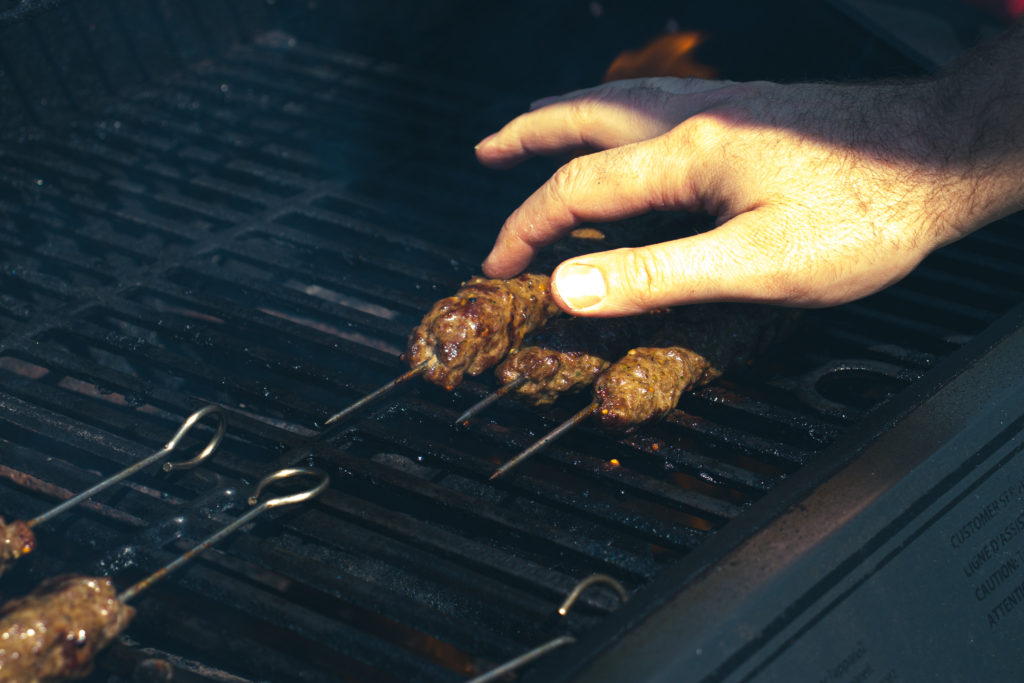
Grilling The Donair Kabobs
Heat your grill to 400°f and let it sit for about 10 minutes to get the grates nice and hot. Cook the skewers for 10 to 12 minutes, rotating every 2 to 3 minutes until cooked. The meat should be firm to the touch with a little spring back when fully cooked. Take the Donair Kabobs off the grill and serve immediately.
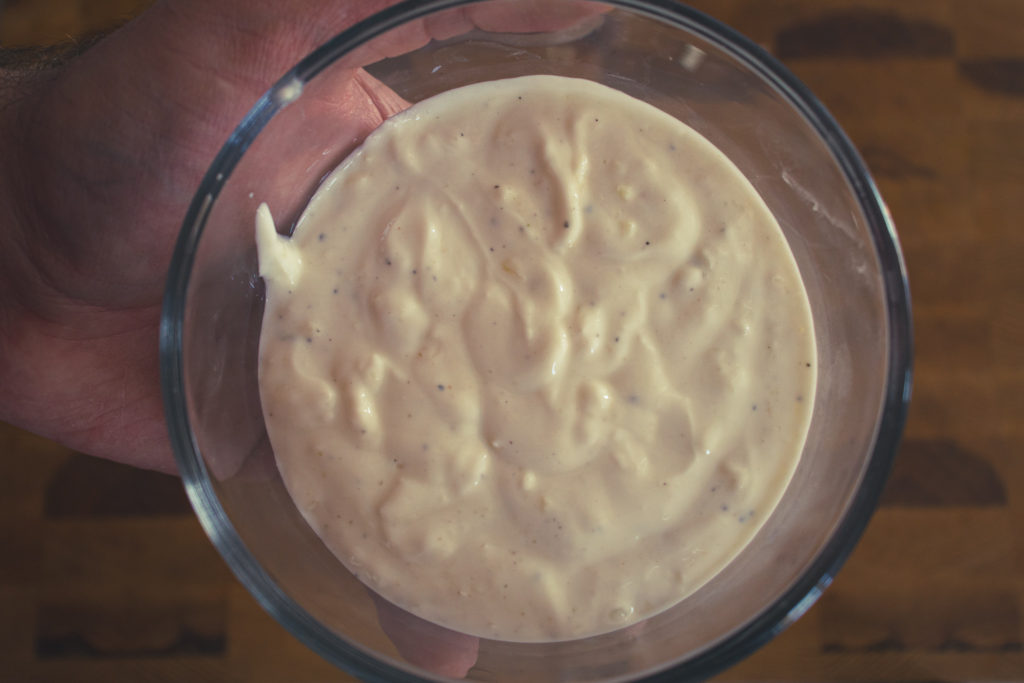
Garlicky Yogurt Sauce
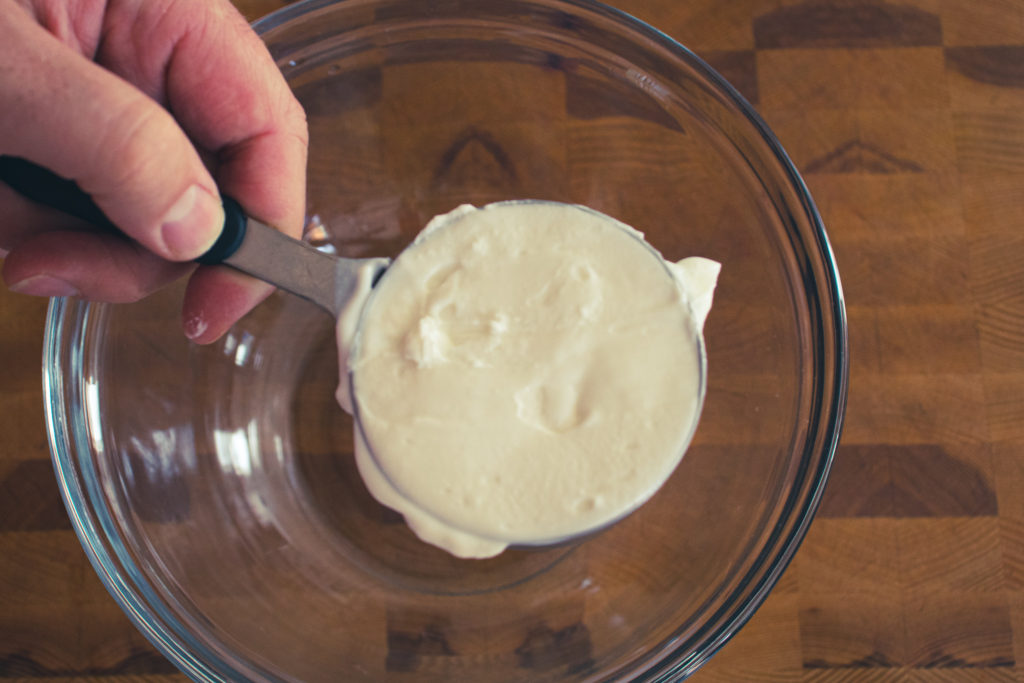
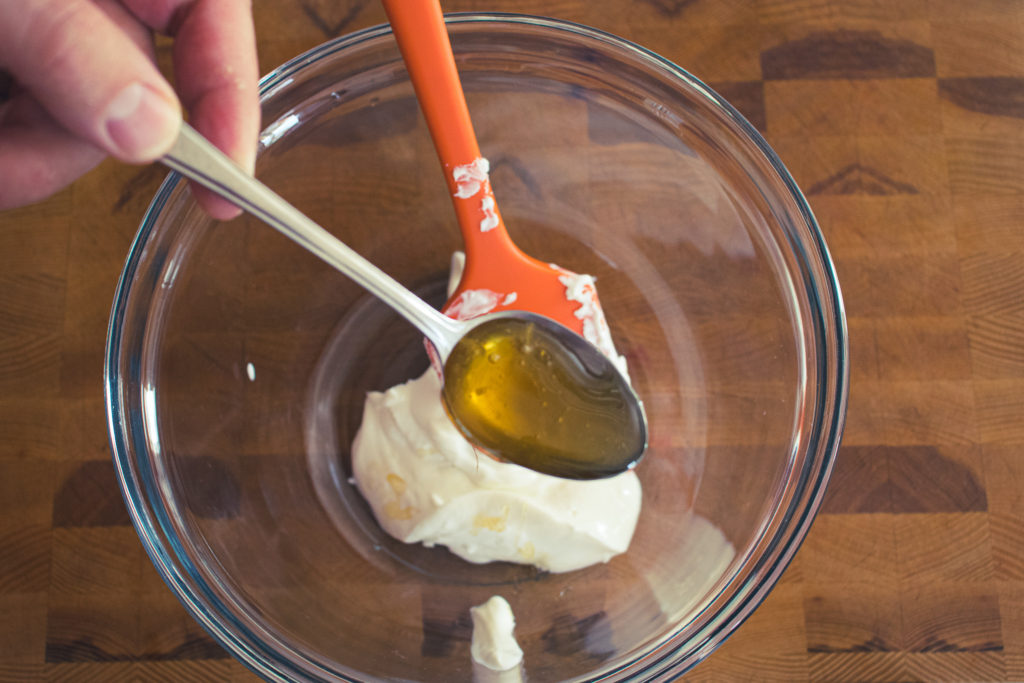
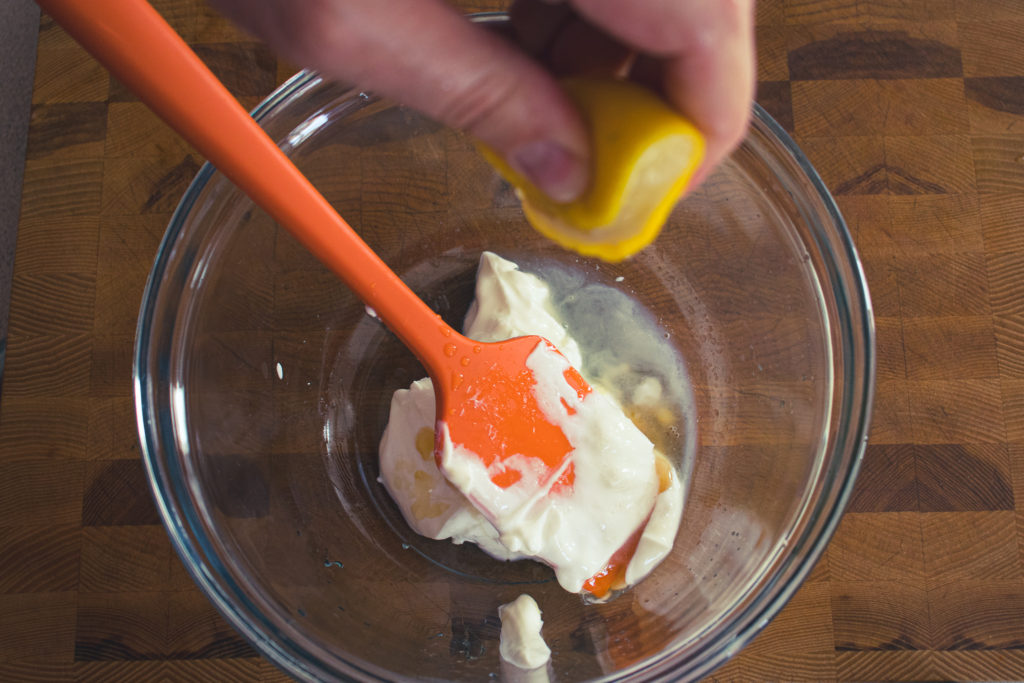
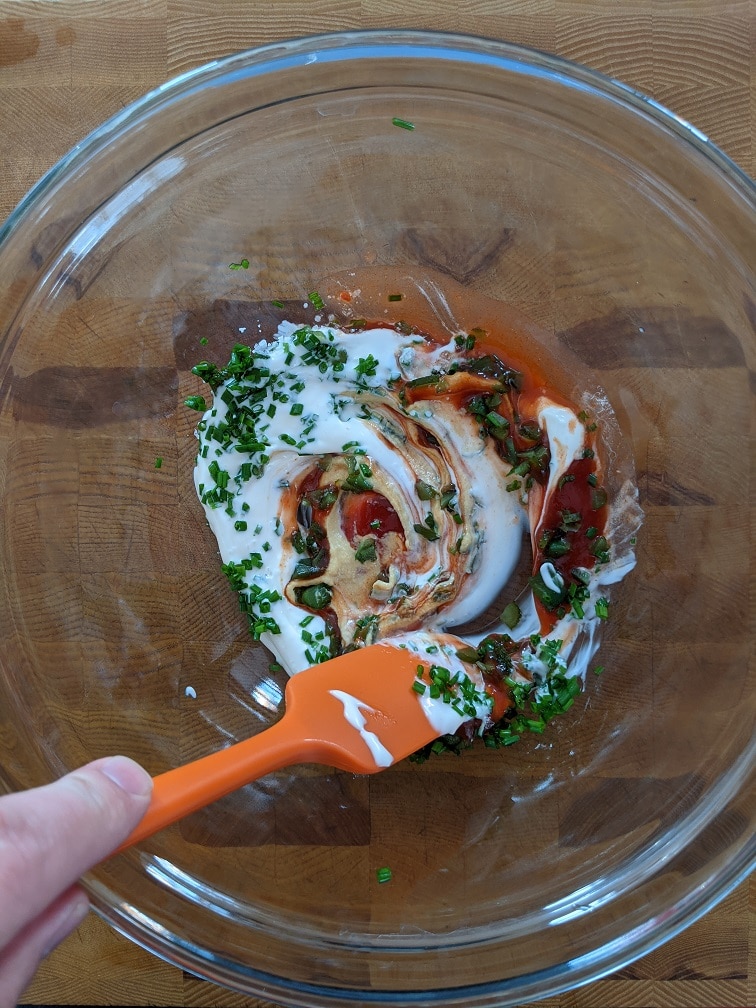
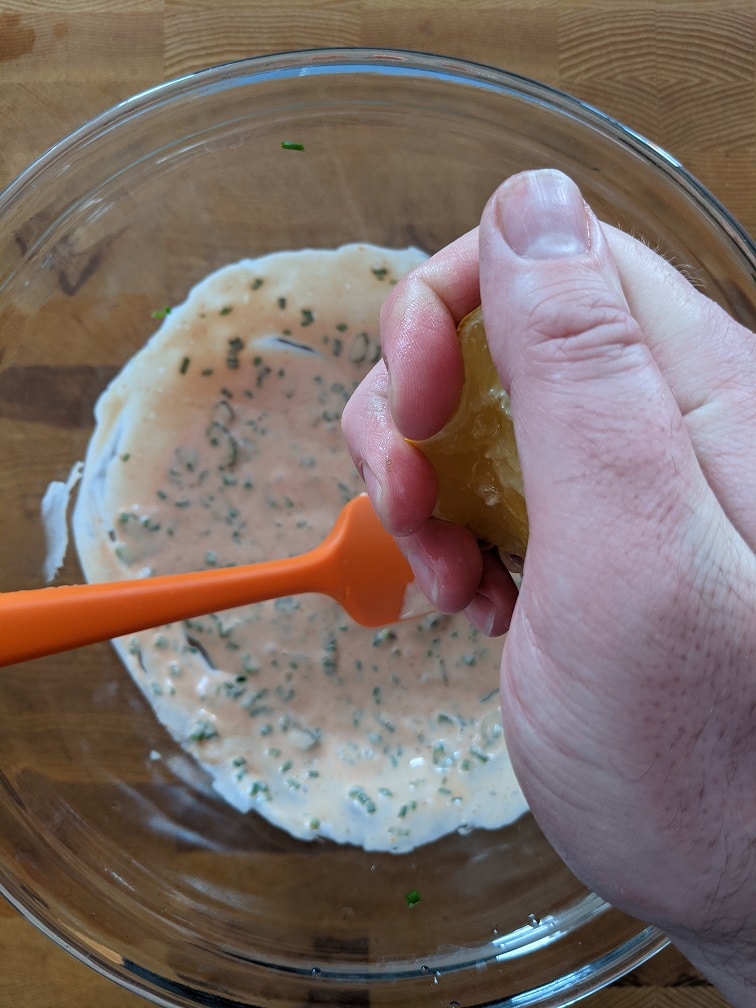
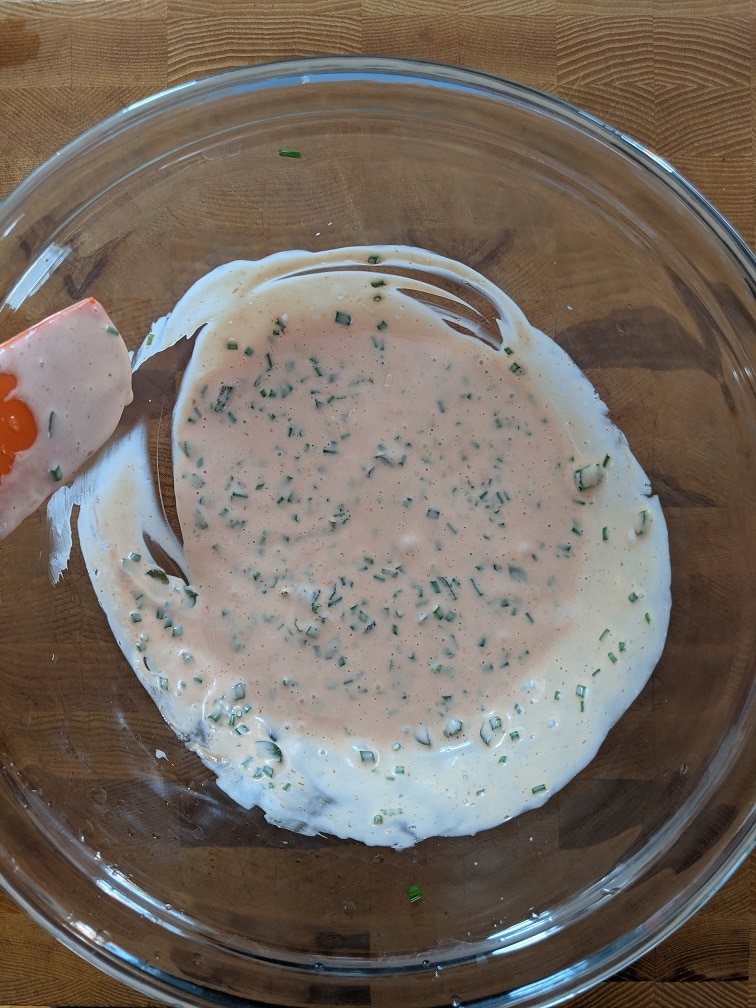
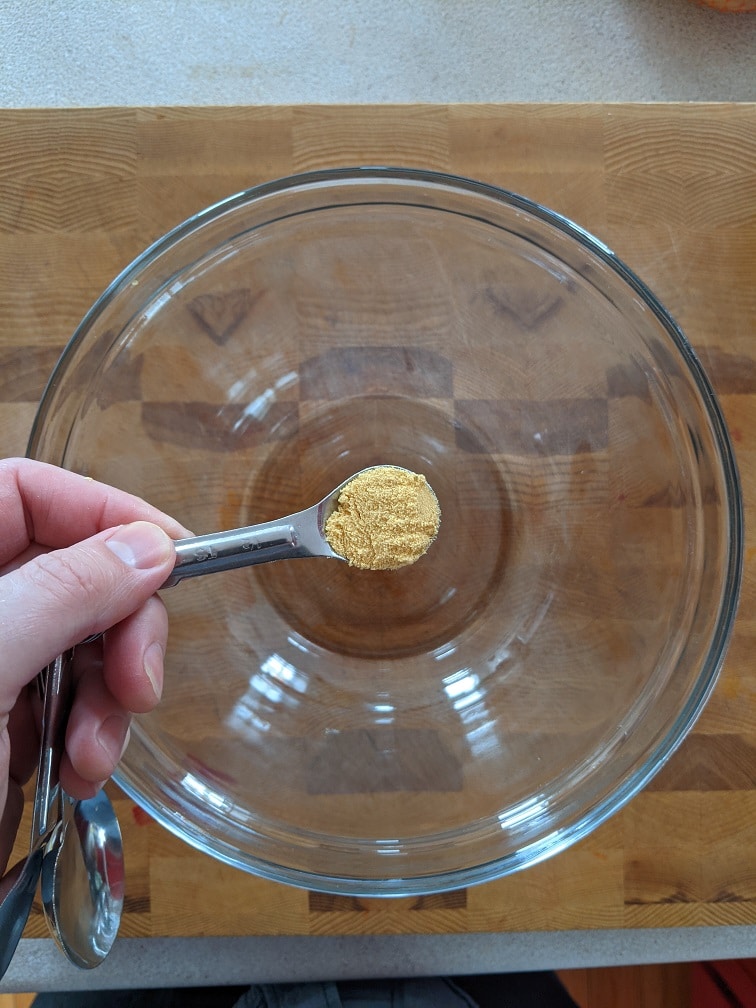
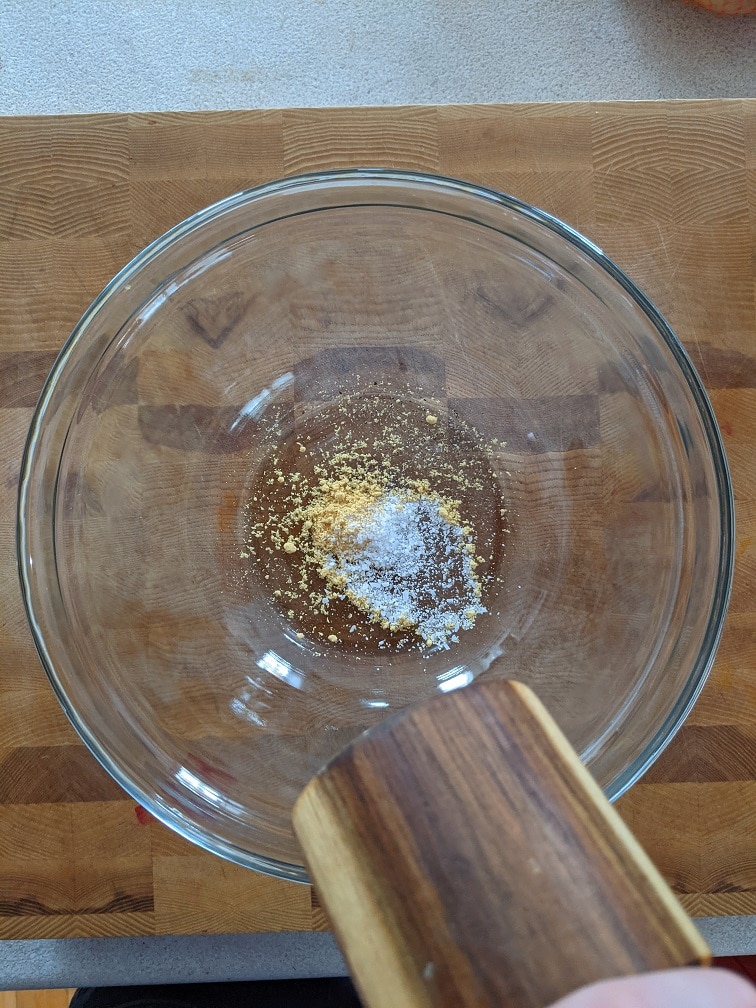
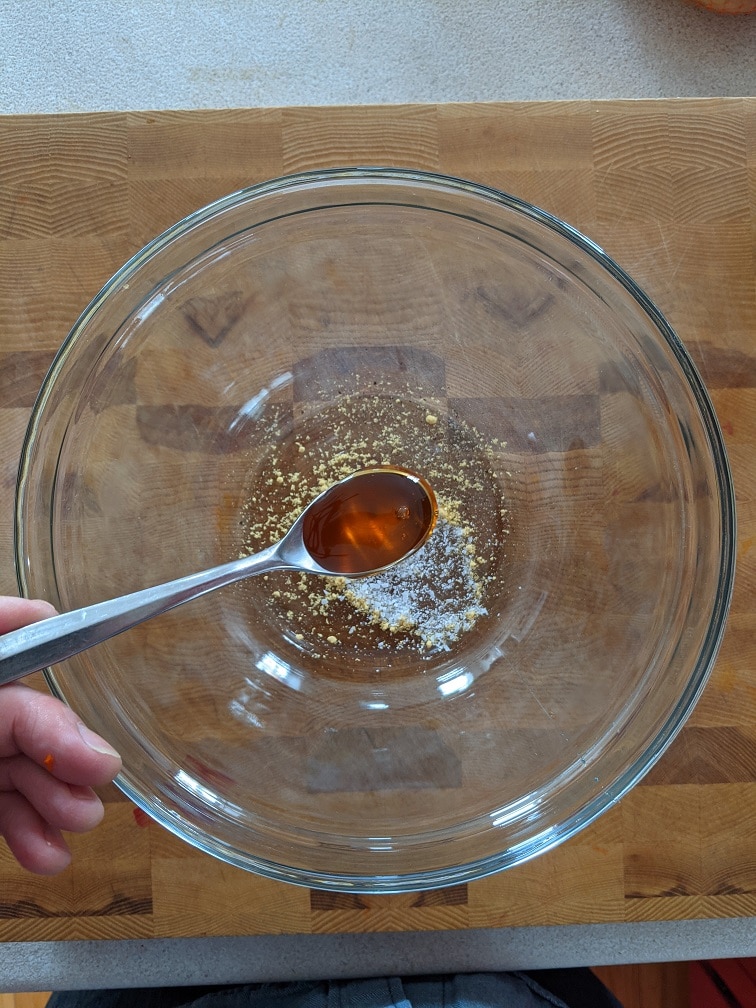
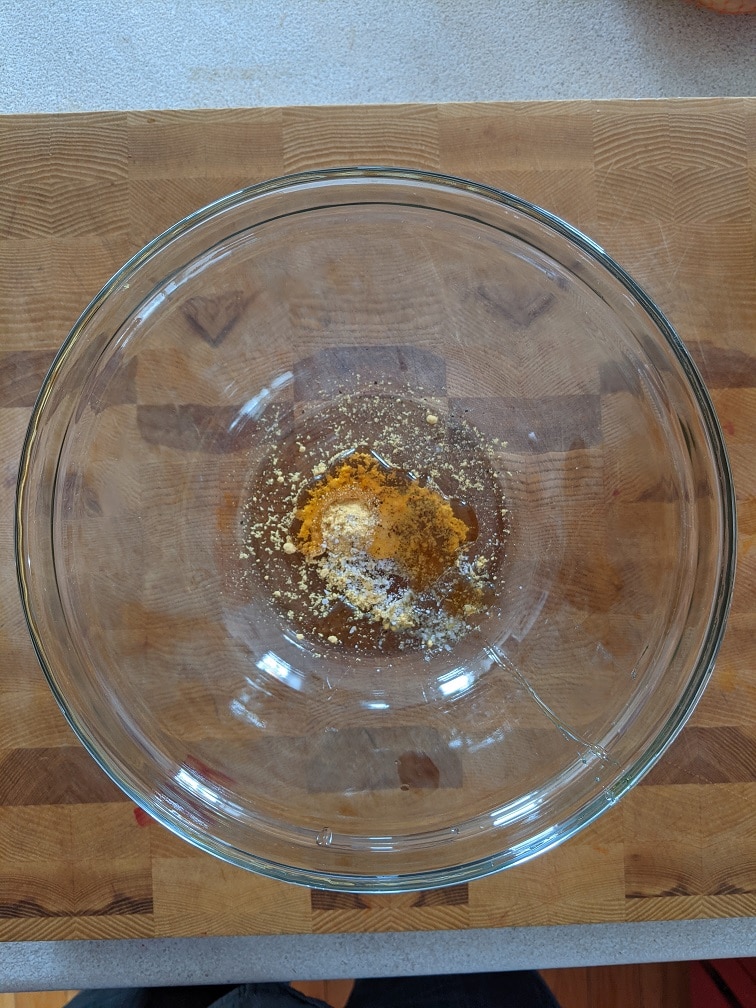
Traditional Donair Sauce is made with sweet and condensed milk, onion powder, and garlic powder. It is delicious but not great if you are trying to watch your waistline. So, I wanted to make a slightly healthier sauce. I made a version with non-fat Greek yogurt as the base. It is sweetened with honey, soured with lemon juice, has plenty of garlic, a bit of onion powder, and tastes delicious. Mix all the ingredients, cover the bowl and put it in the fridge for an hour to let the flavours develop. This sauce works with any spiced meat and goes great on salad bowls too.
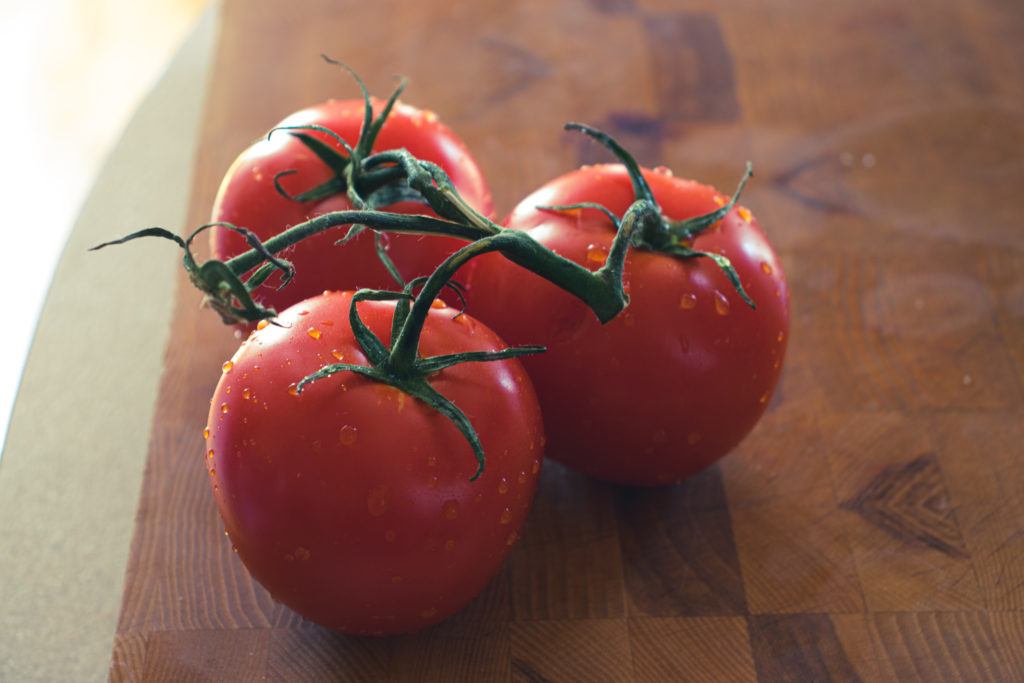
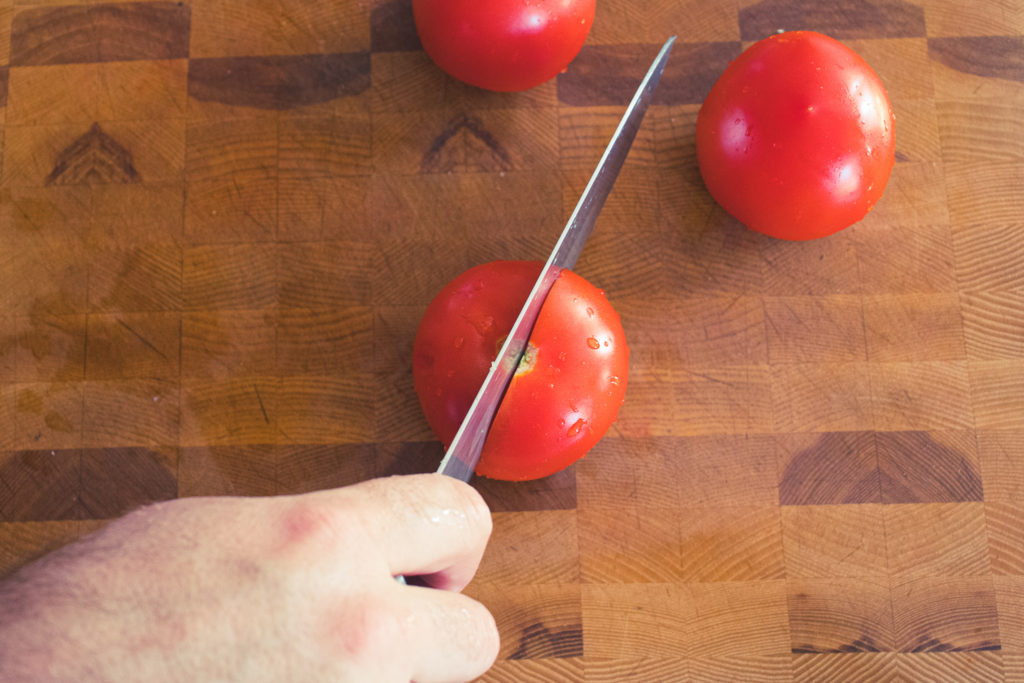
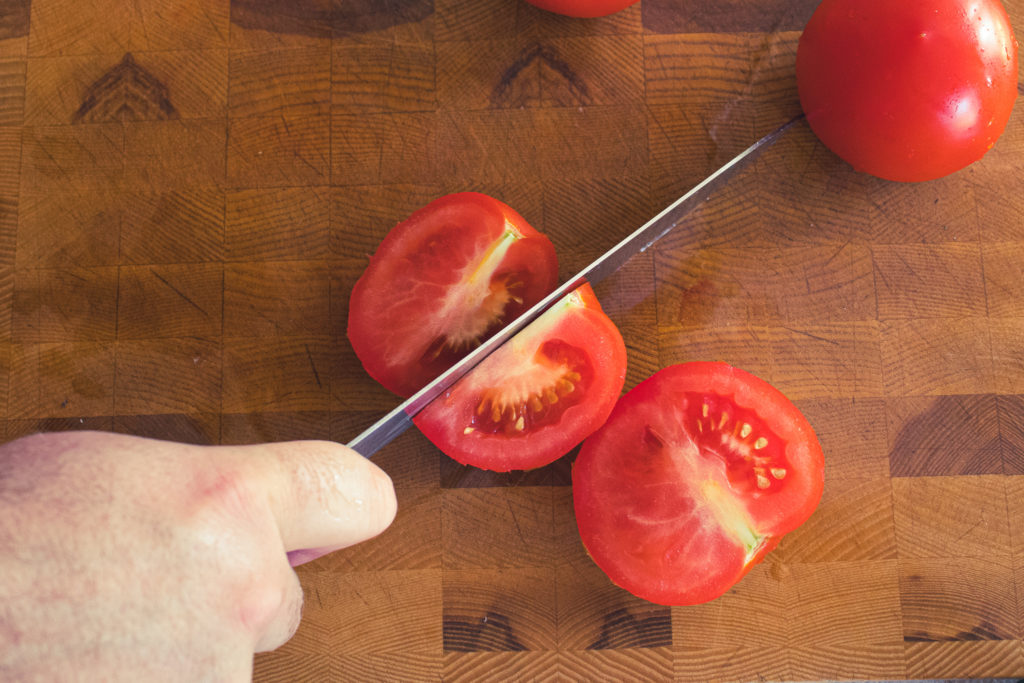
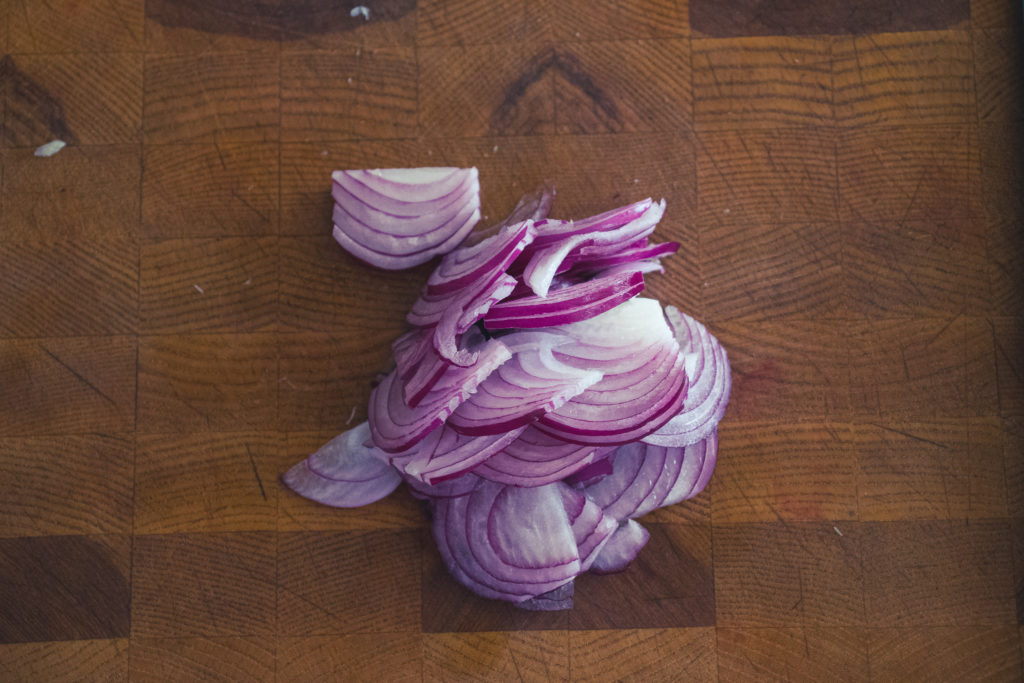
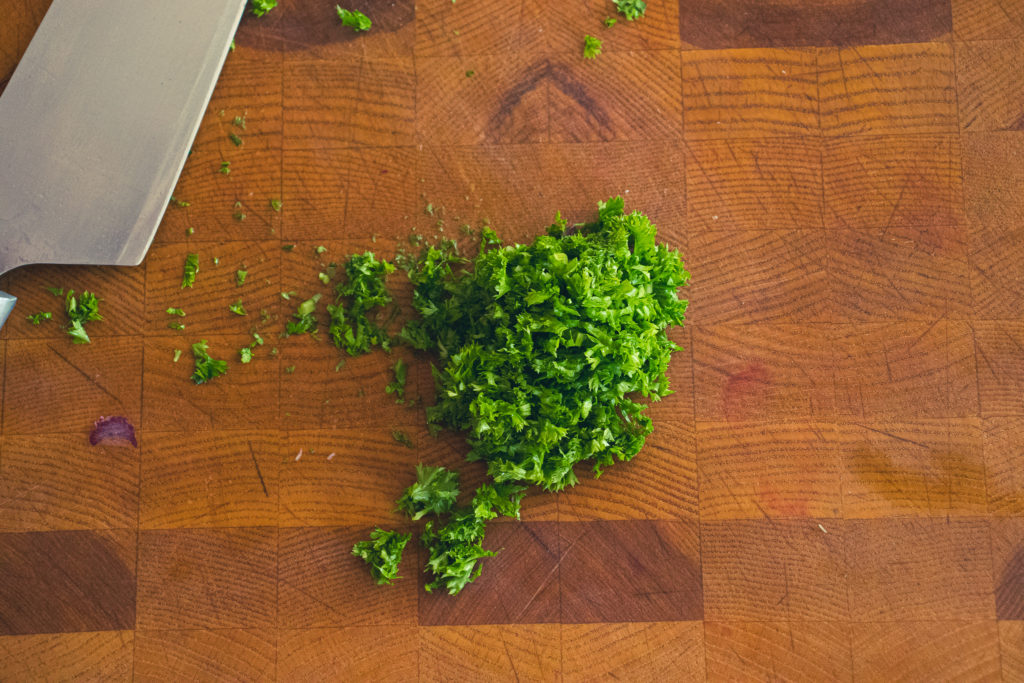
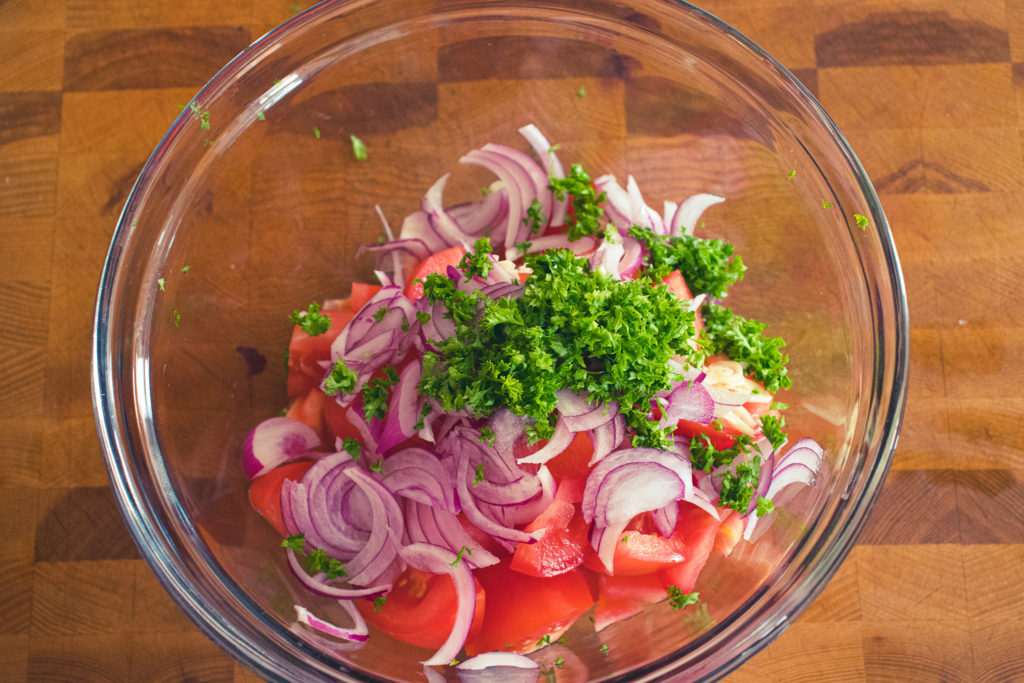
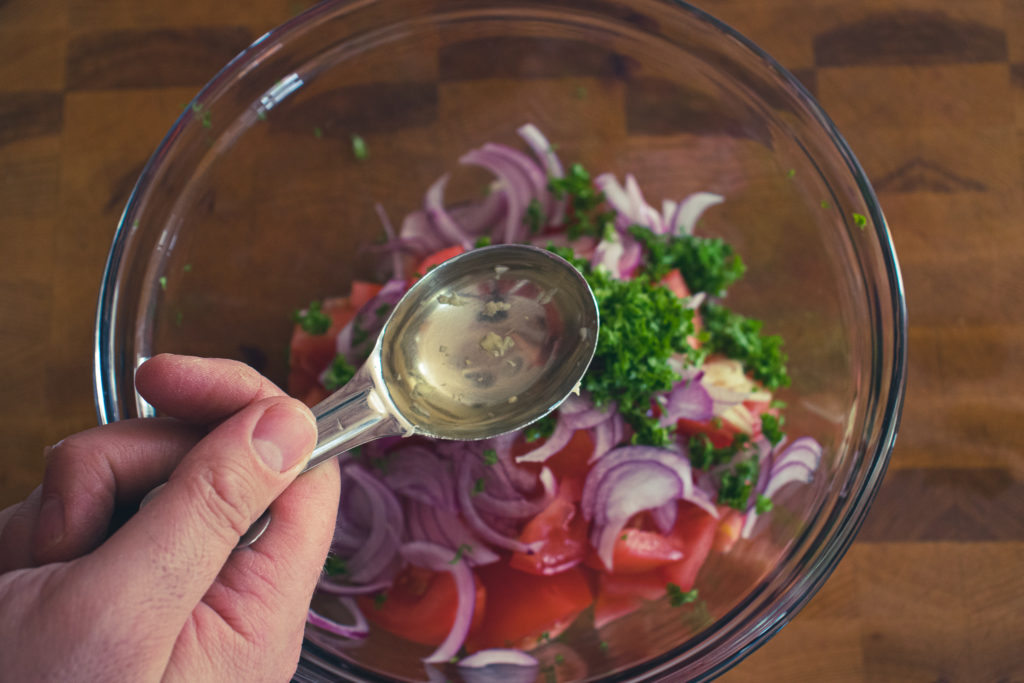
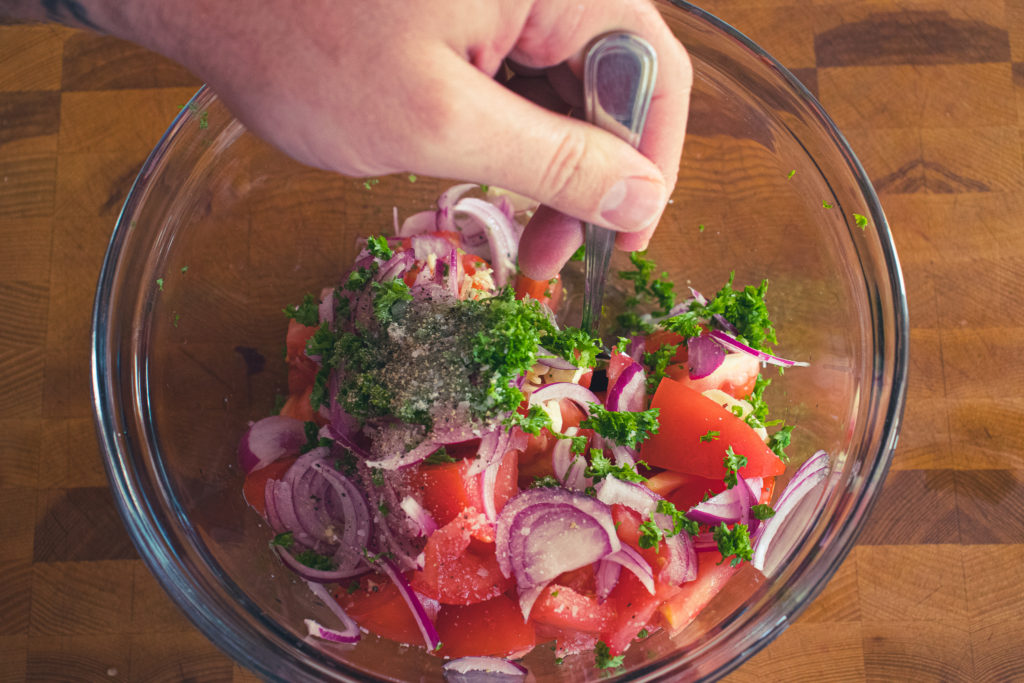
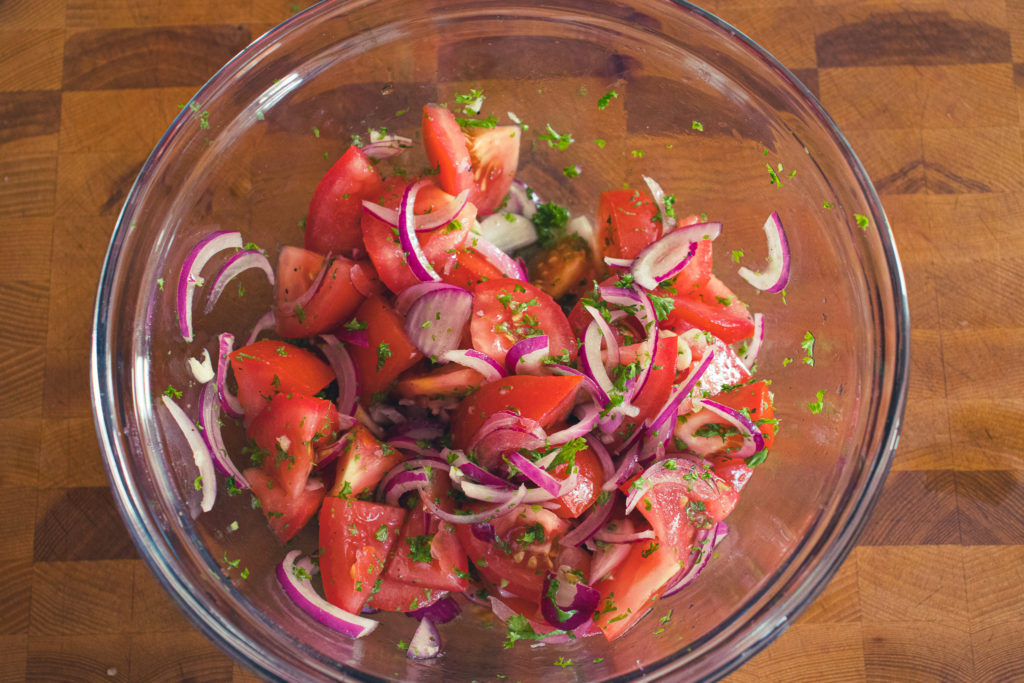
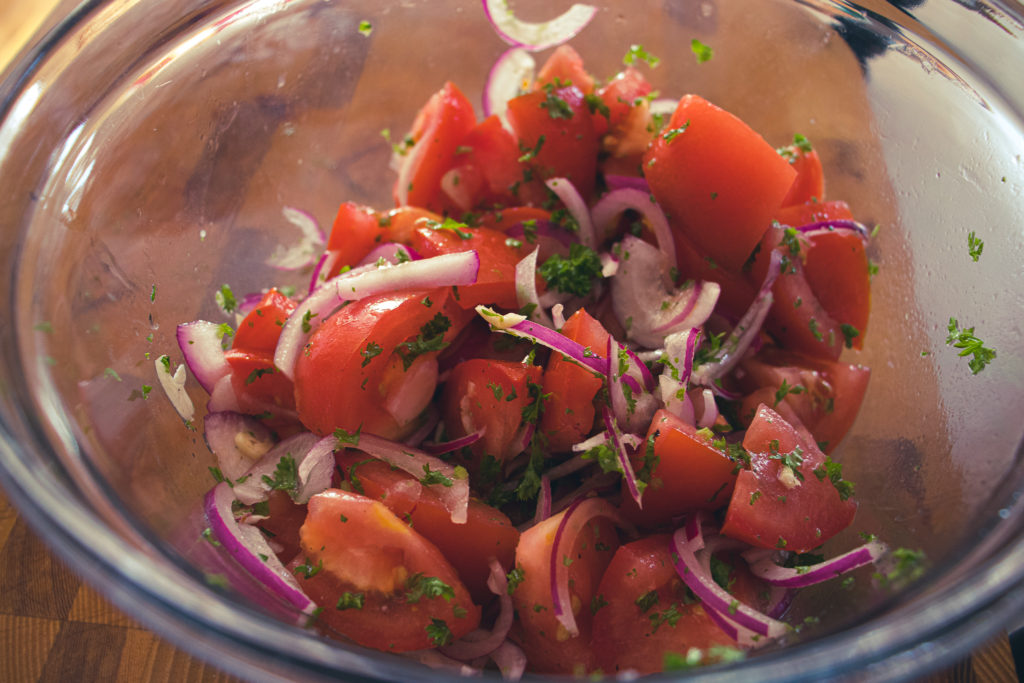
Tomato and Onion Salad
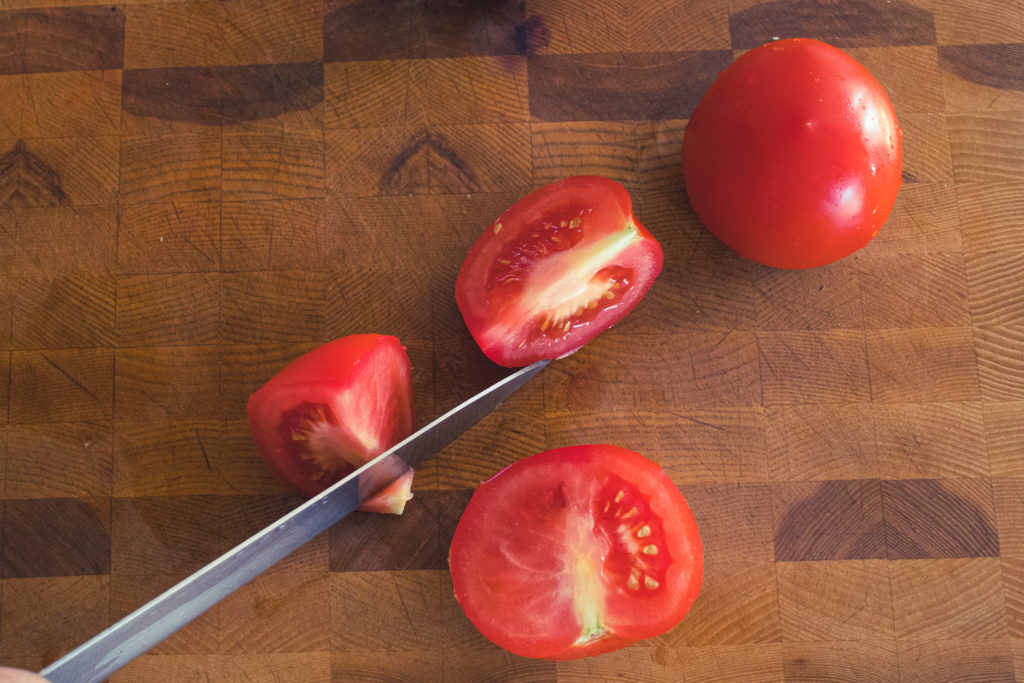
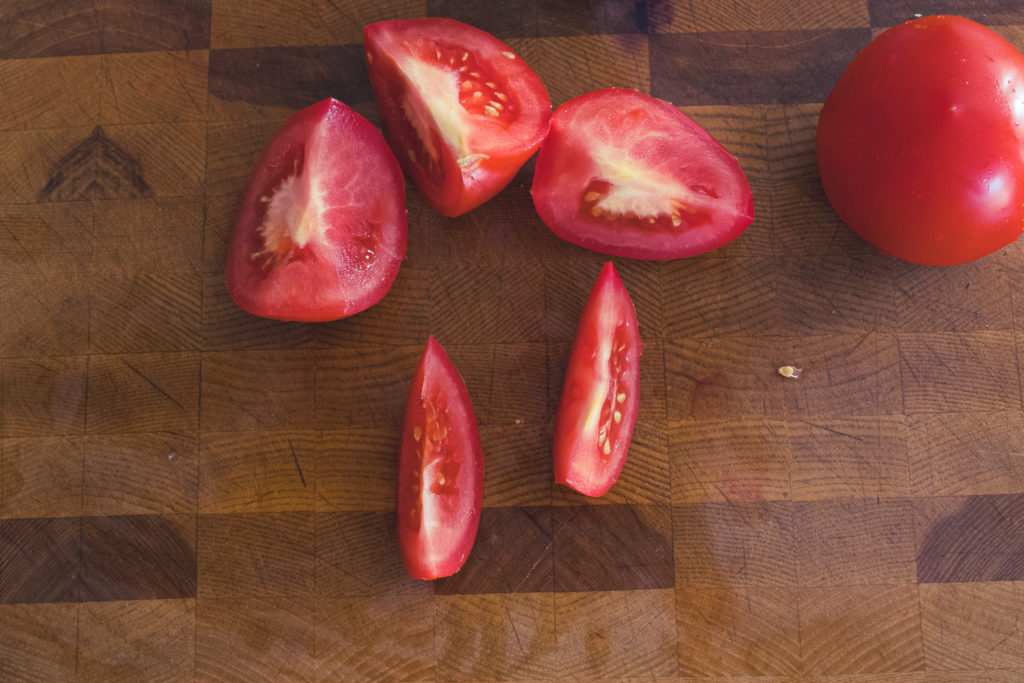
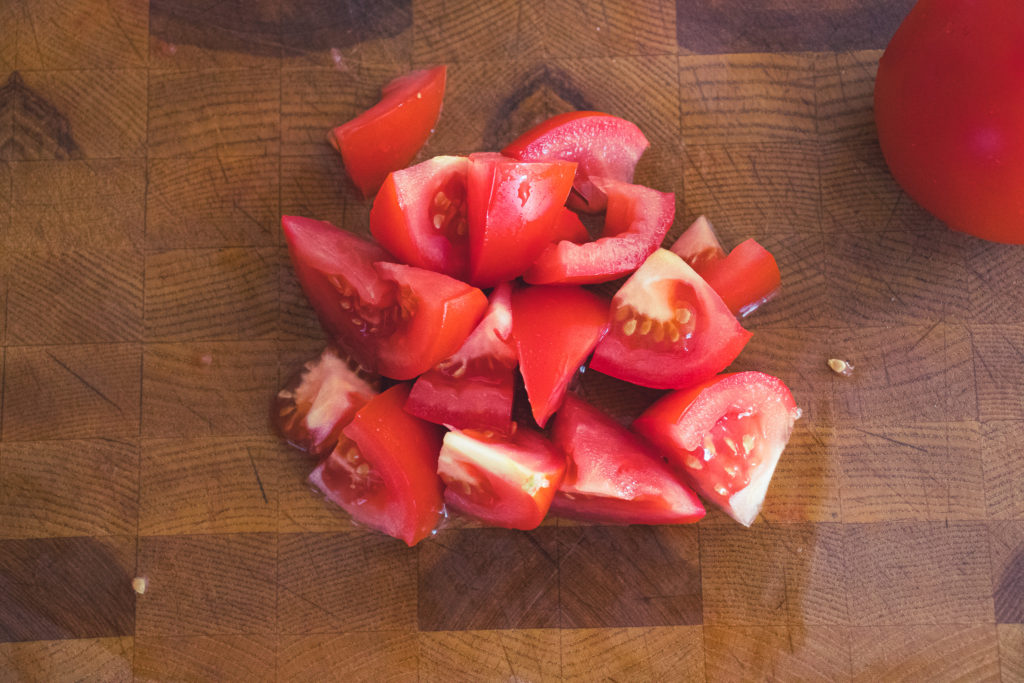
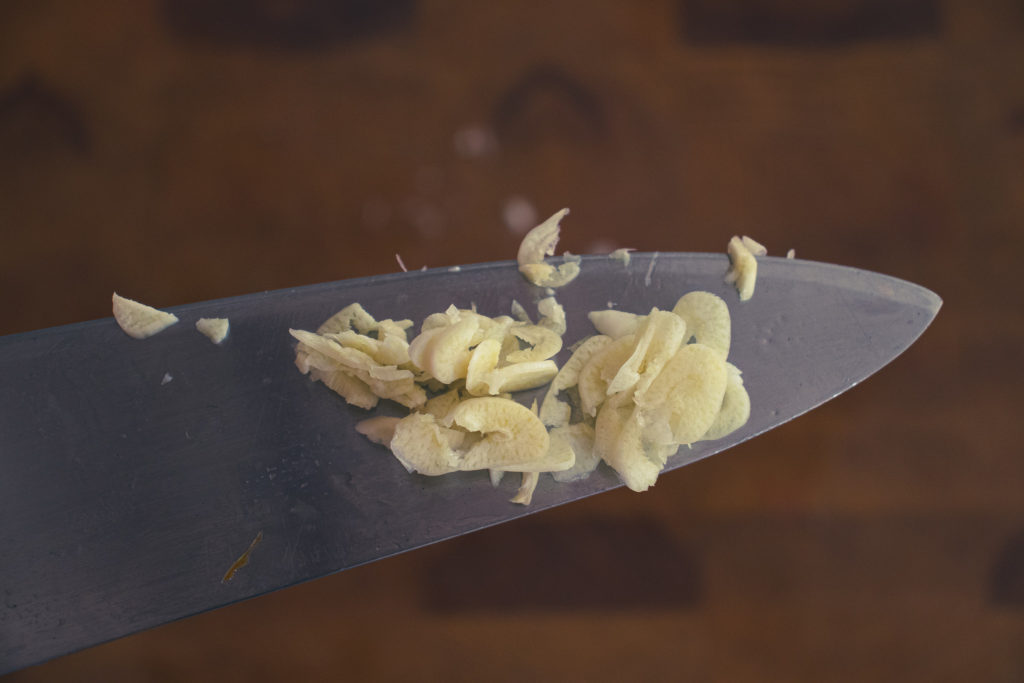
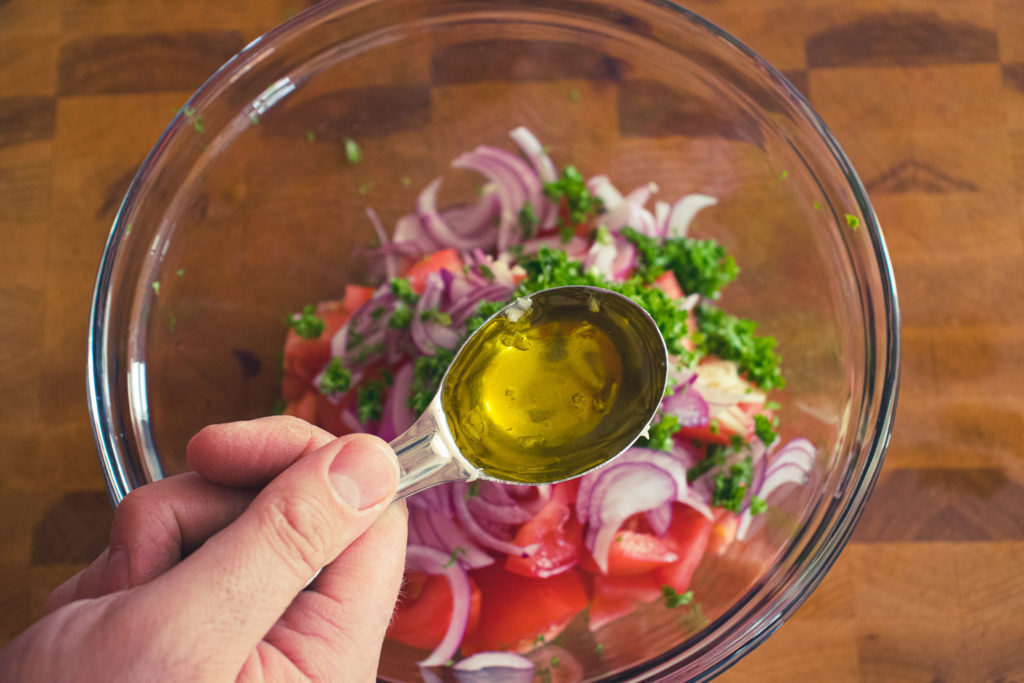
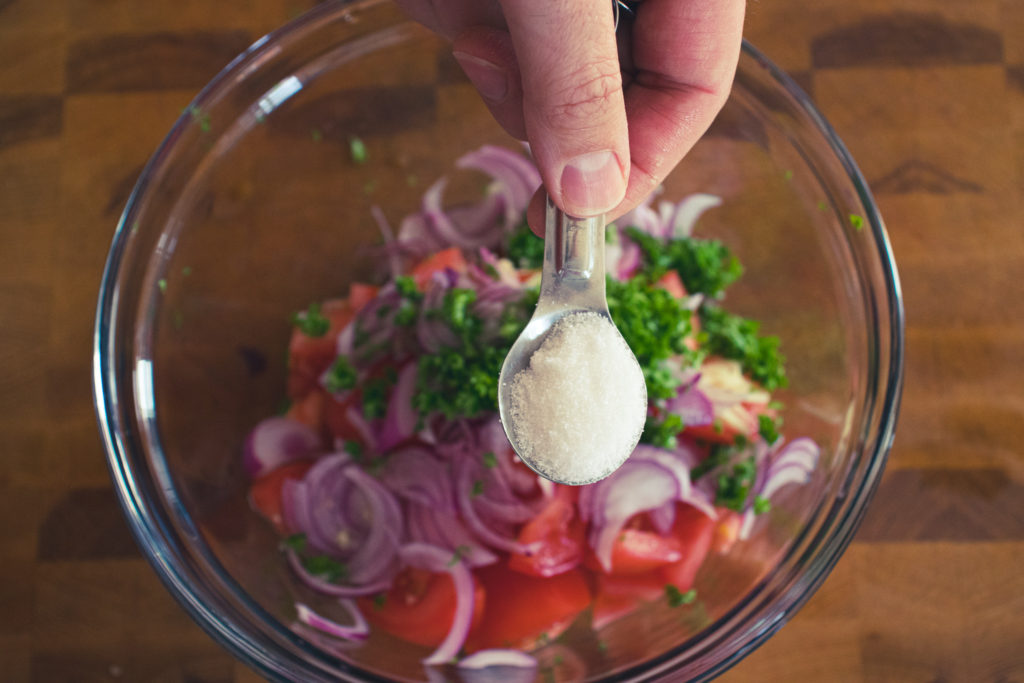
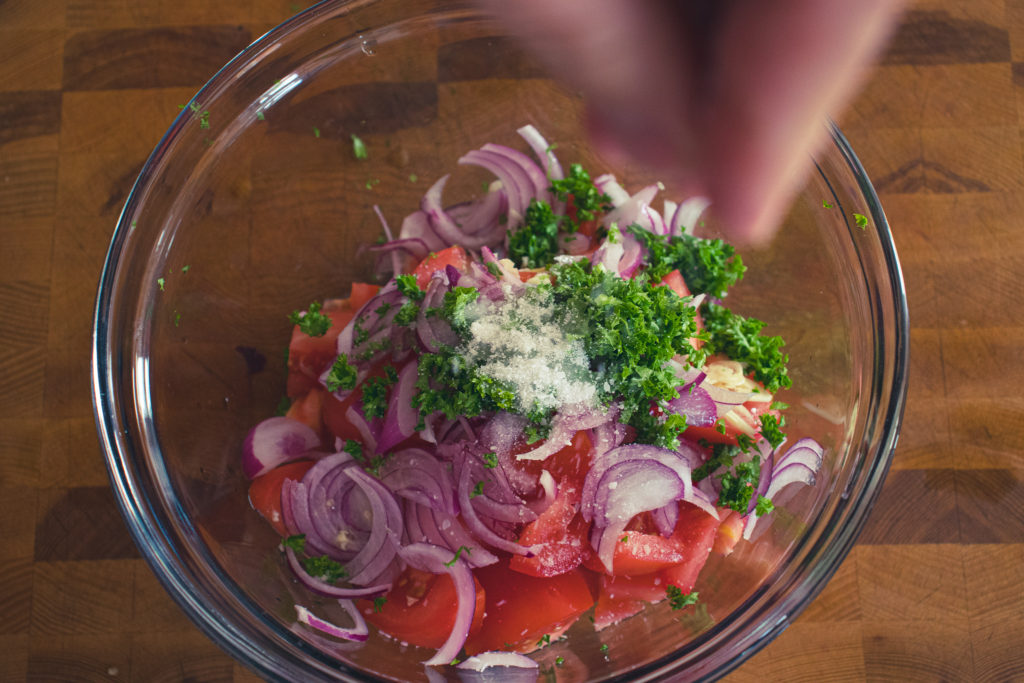
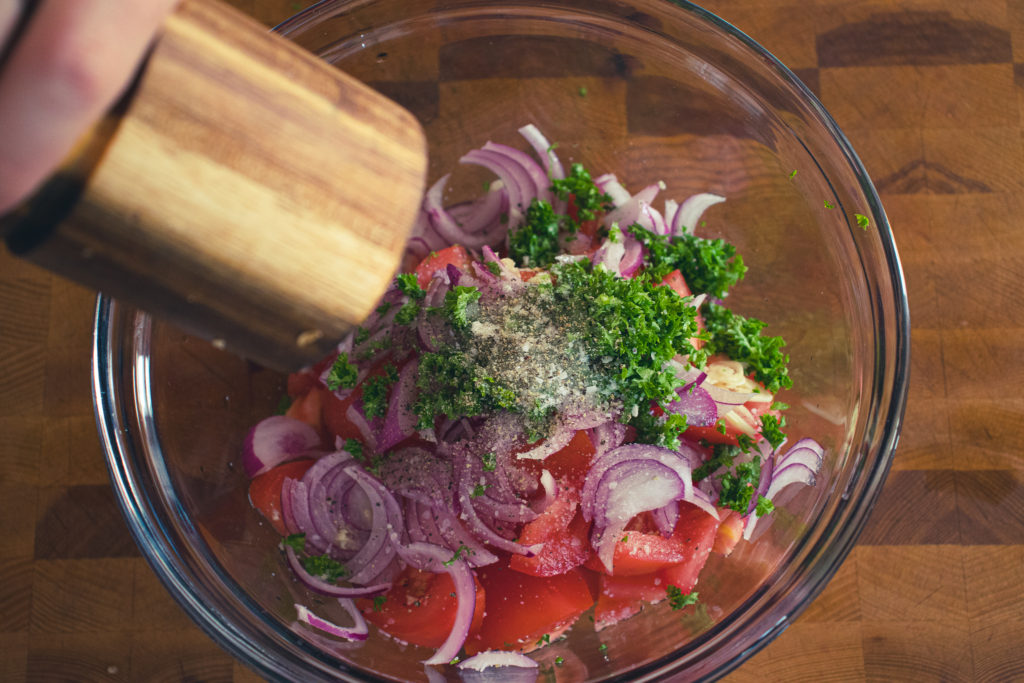
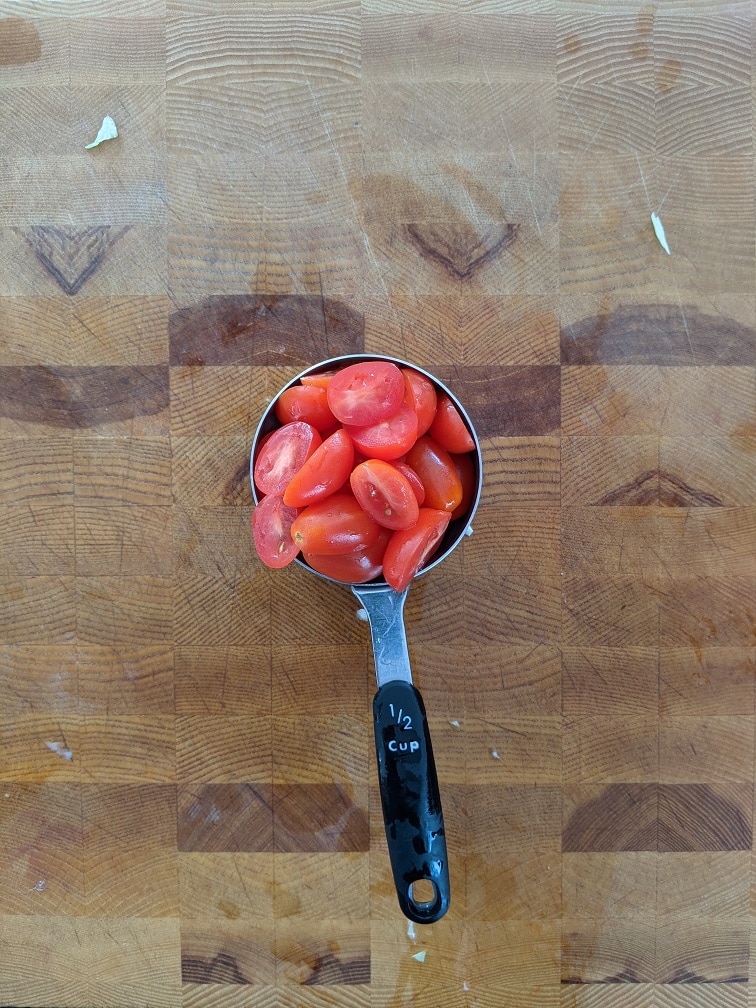
I have to tell you, the surprise breakout star of this meal is by far this really simple tomato and onion salad. I loved the Donair Kabobs, the Garlicky Yogurt sauce was fantastic, but this salad was amazing! Fresh vine-ripened tomatoes with garlic, red onion, parsley, white wine vinegar, olive oil, sugar, salt and pepper. That’s all there is to it, and I wouldn’t be surprised if this becomes one of your new favourite summer side dishes. It has become one of mine. Just like with the sauce, mix all the salad ingredients, cover the bowl, and let it sit in the fridge for an hour before serving for best results.
Putting It All Together
All the components of this meal are good on their own, but when you take a bite with a bit of the meat, some of the salad, and a touch of the sauce, that is when the magic happens. The flavours come alive, and you really get that Halifax Donair experience. Minus the hangover and sauce dripping all over your hands, arms, and clothes.
The Warp Up
I’ve wanted to make this for a long time, and I am so happy that I finally got the opportunity. It was well worth the wait. I think you’ll be happy if you make any of the components of this meal, but I think if you make them all and serve it all together, you will be over the moon. Try it for yourself. You’ll be happy you did.
Thanks for reading, and remember to check out my brand new cookbook, “The How-To Cookbook For Men” It comes out on August 10th and is available for preorder here.
Never miss a post again. Put your email address in below and receive chef’s notes in your inbox.
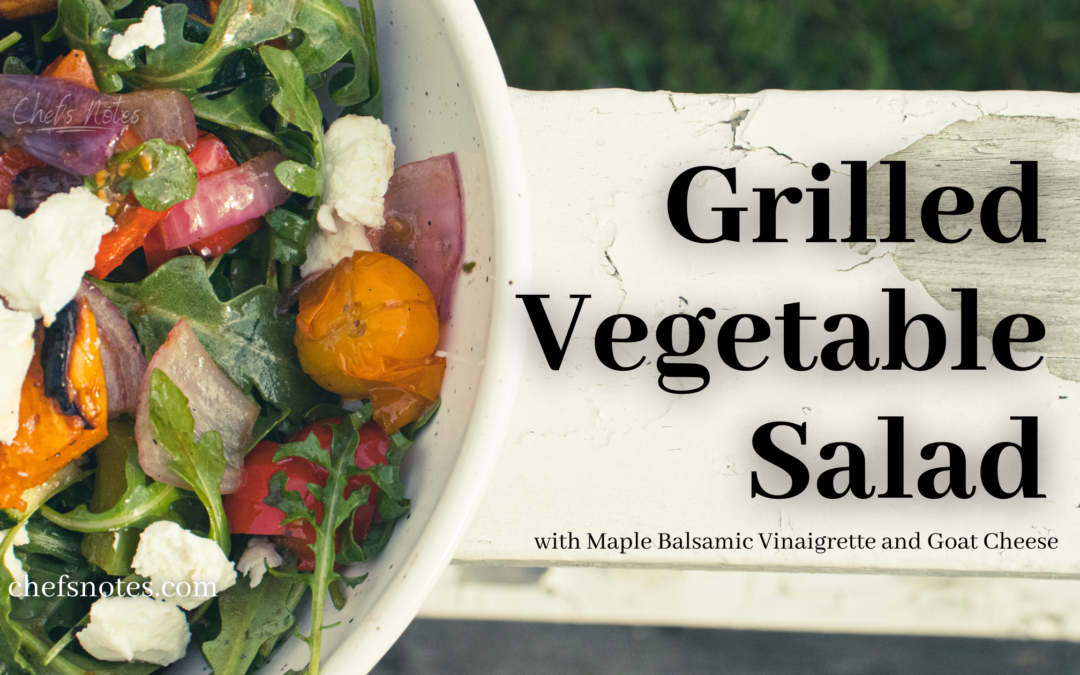
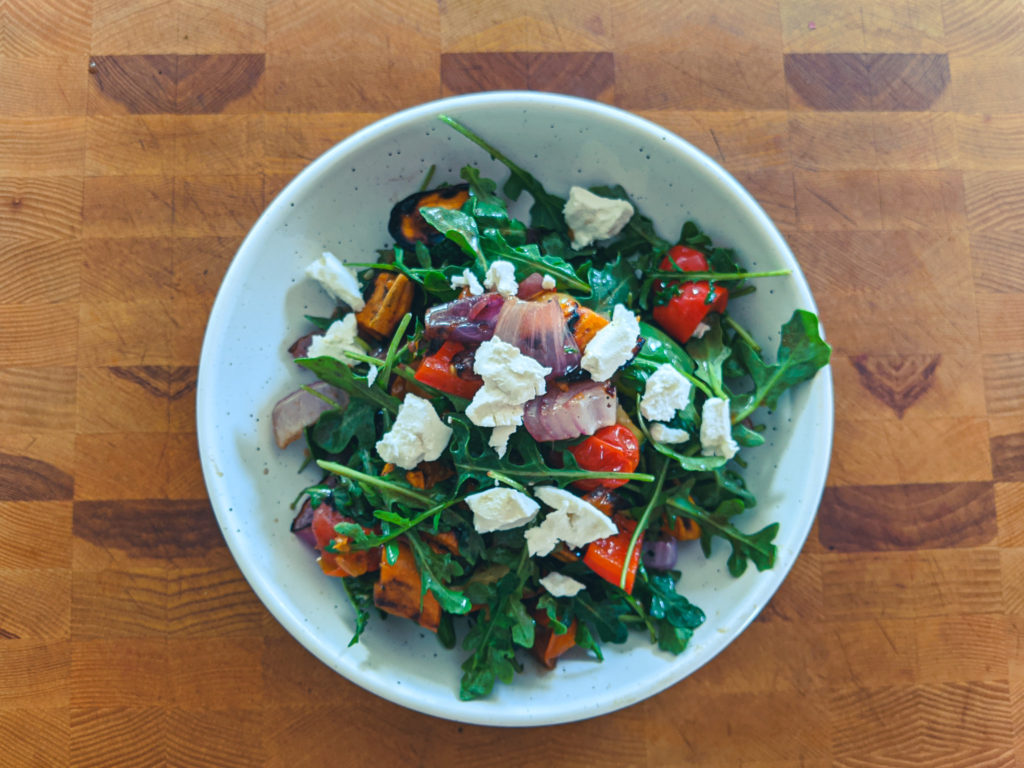
Imagine all of your favourite vegetables cooked on the grill, tossed together with arugula, and maple balsamic vinaigrette, then topped with goat cheese. That sounds amazing, doesn’t it? Well, that is exactly what I am going to show you how to make today. This Grilled Vegetable Salad is the perfect accompaniment to grilled chicken, steak, pork, or even fish. It screams summer, and it tastes amazing. Are you ready to see how it’s made? I know I am! So, let’s get to it.
Grilled Vegetable Salad Recipe
Before we jump into things, there is something I want to mention. I recently took ads off Chef’s Notes because I found them annoying, and if I felt that way, I’m sure other people did too. One other thing that I find annoying about this blog and most others is that when you want a recipe, you have to scroll through so much text to find it. Well, luckily, I have the power to change that, at least on this site. So, moving forward, all new posts will have the recipe published after the introduction. That way, if all you want is the recipe, you can find it instantly. If you want more detailed instructions, tips, and fun anecdotes (I hope they’re fun at least), you can keep scrolling.
I am always trying to improve Chef’s Notes, and I think that publishing the recipe at the top of the article is an easy way to improve the reader experience drastically. If you can think of any other ways to improve the site, please let me know either in the comments section at the end of this post or on my contact page.
Grilled Vegetable Salad with Maple Balsamic Vinaigrette
Take all of your favourite vegetables, cook them on the grill, toss them with arugula and homemade maple balsamic vinaigrette and top it all with crumbled goat cheese. That's what this salad is and it tastes like pure summer.
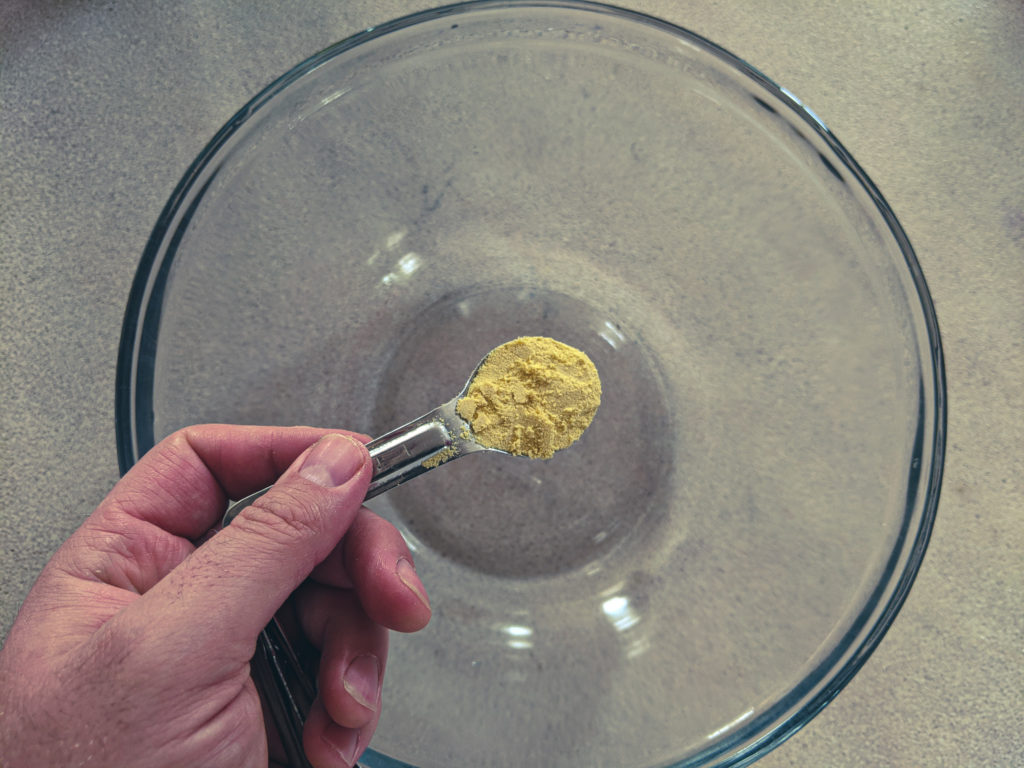
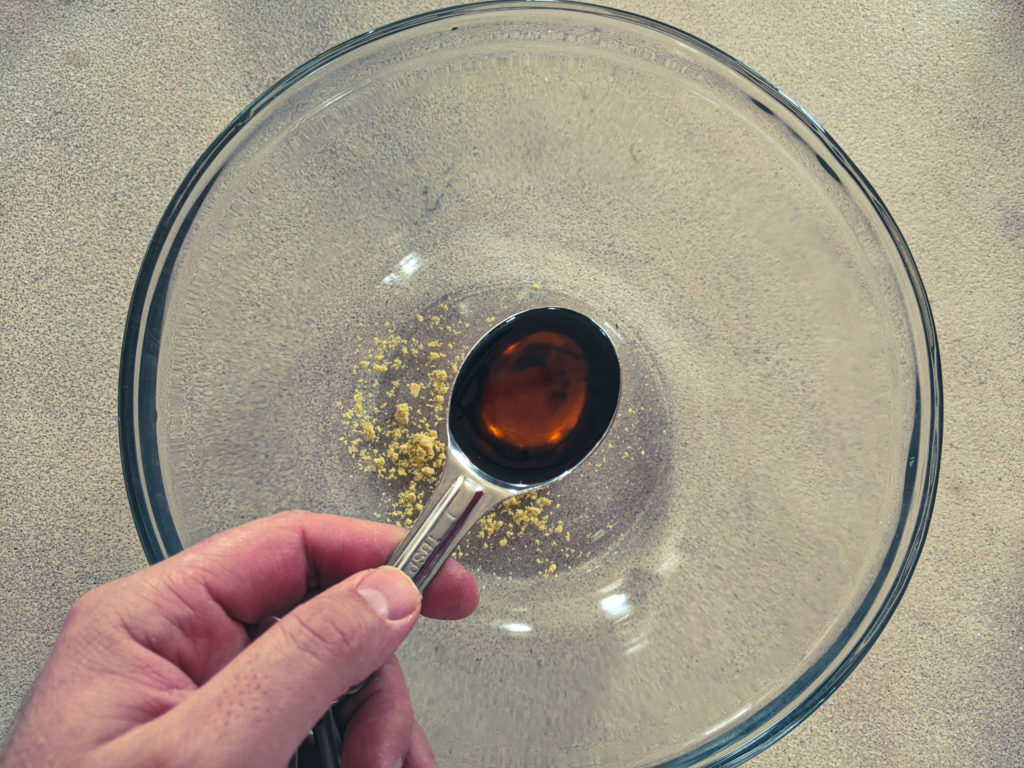
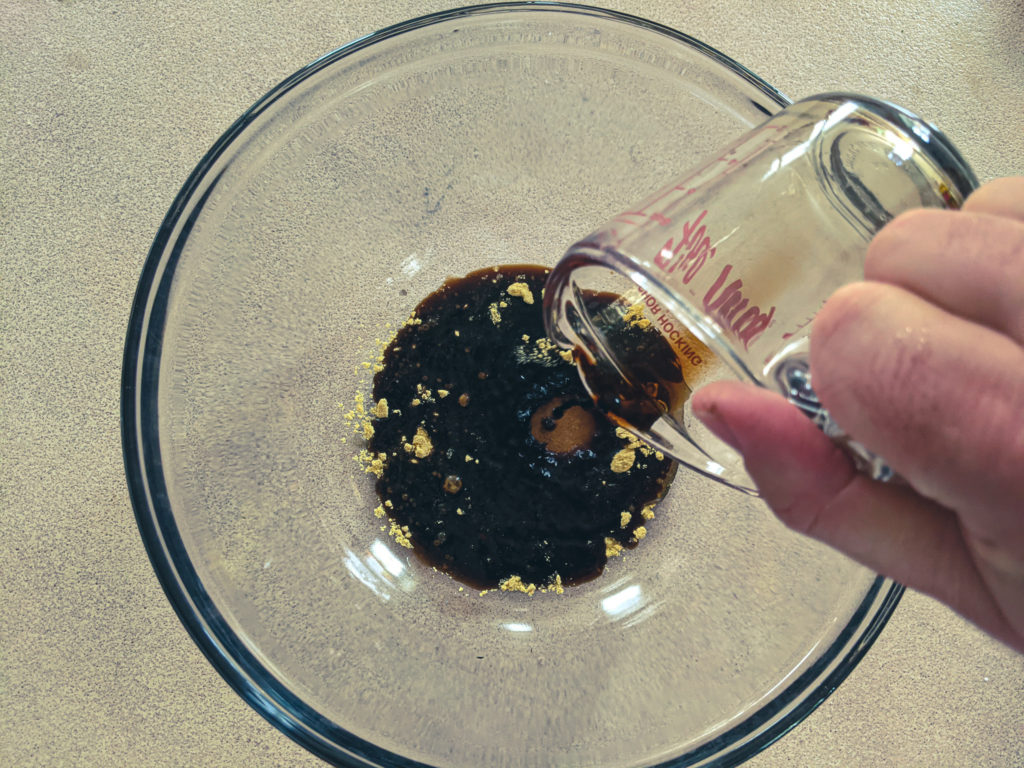
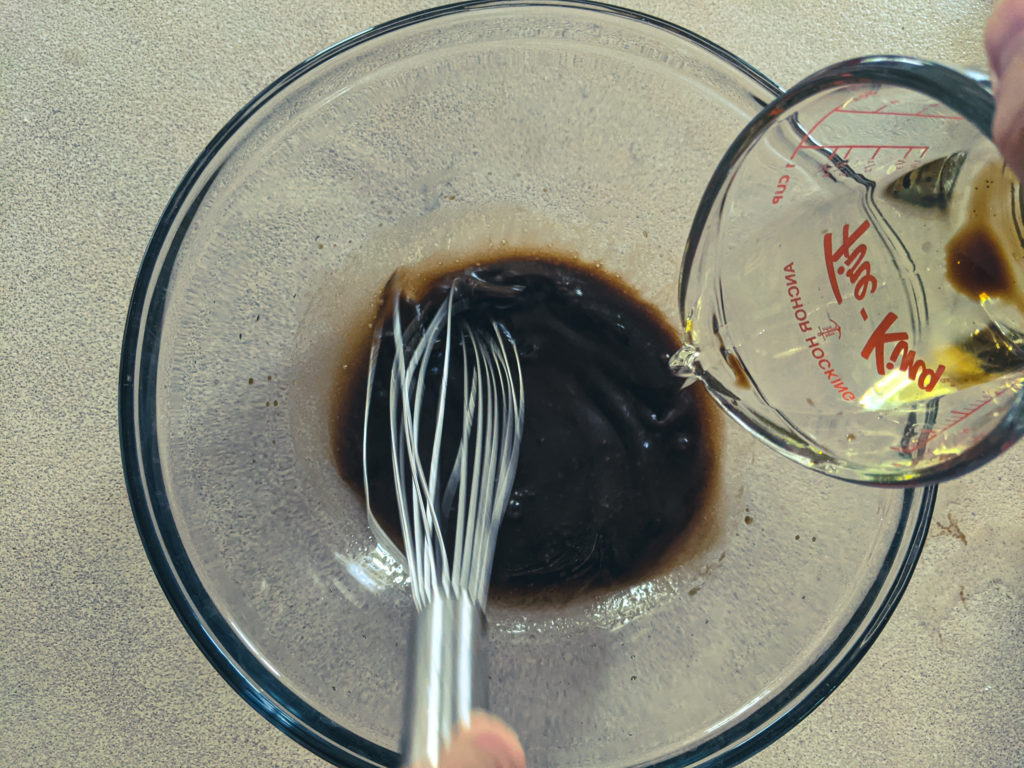
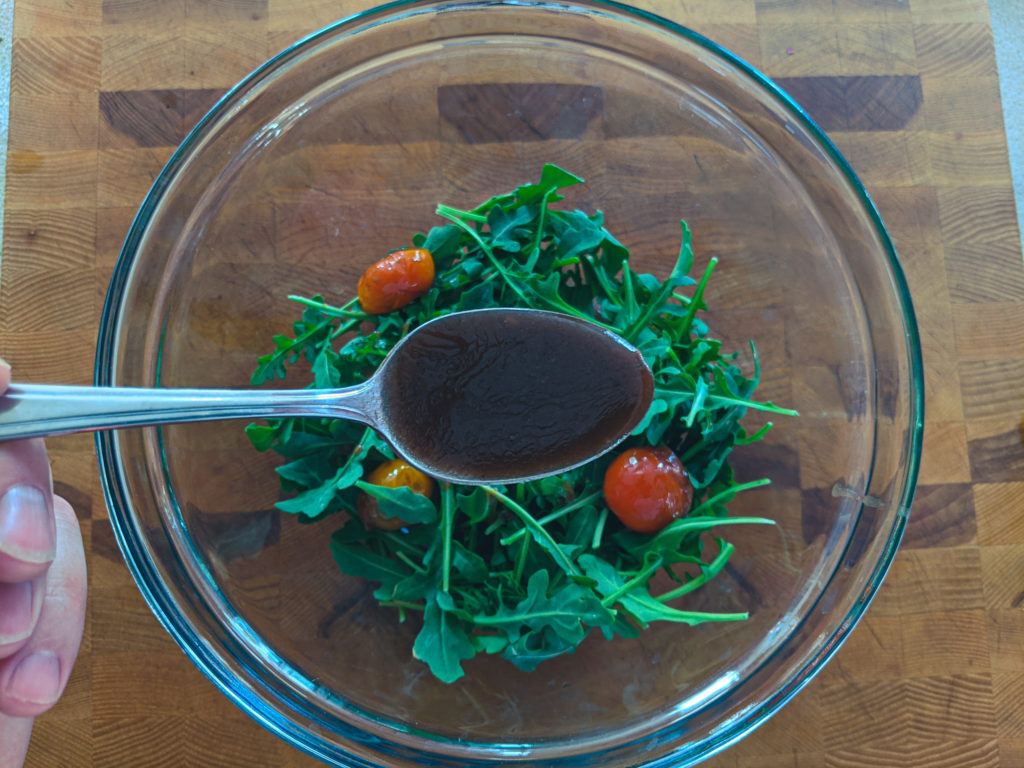
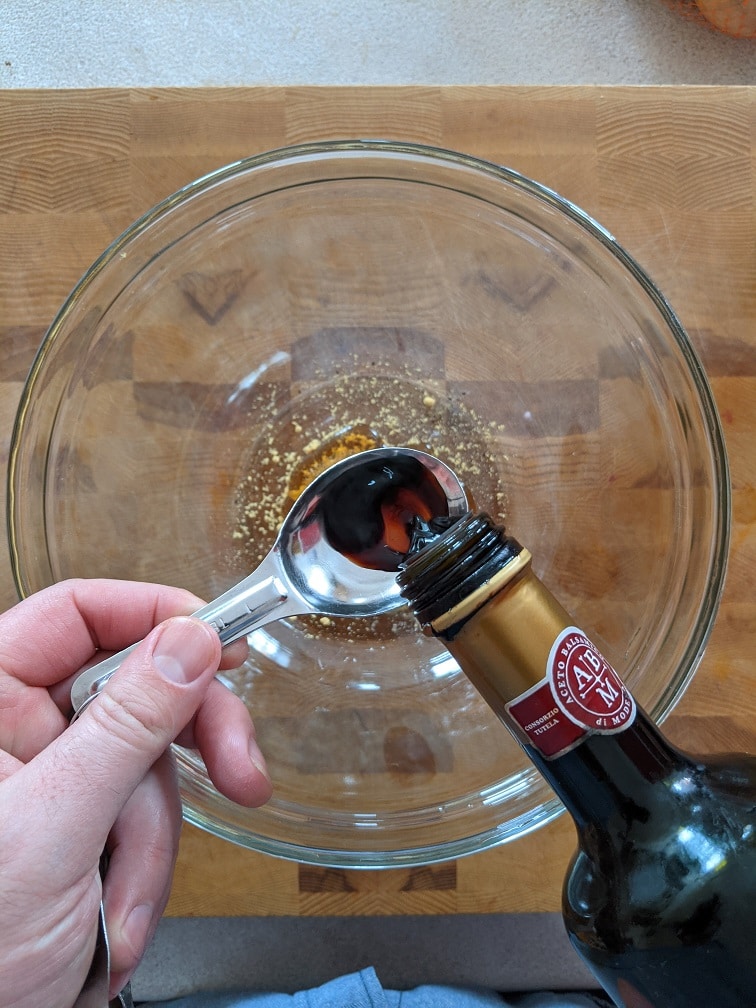
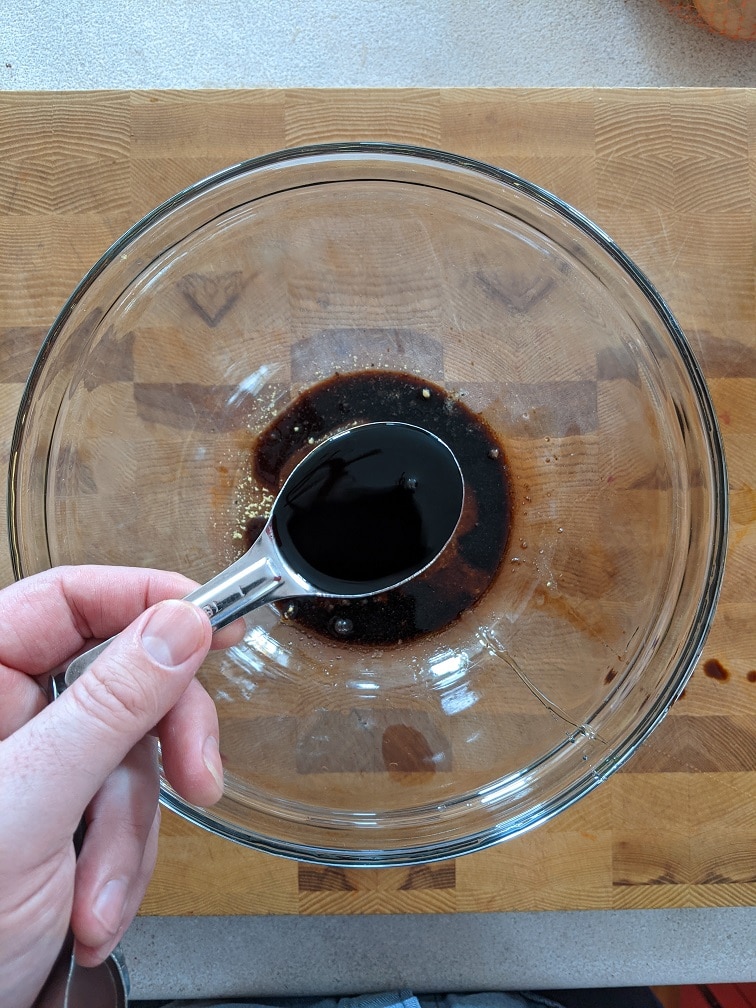
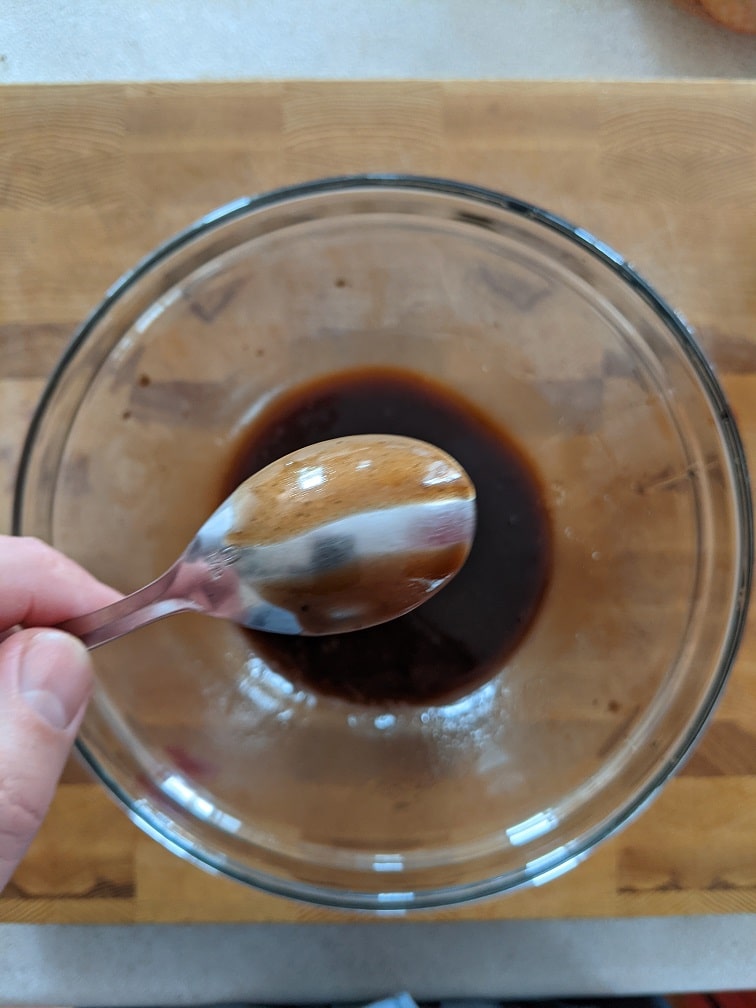
In a medium mixing bowl combine the mustard powder, maple syrup, and balsamic vinegar.
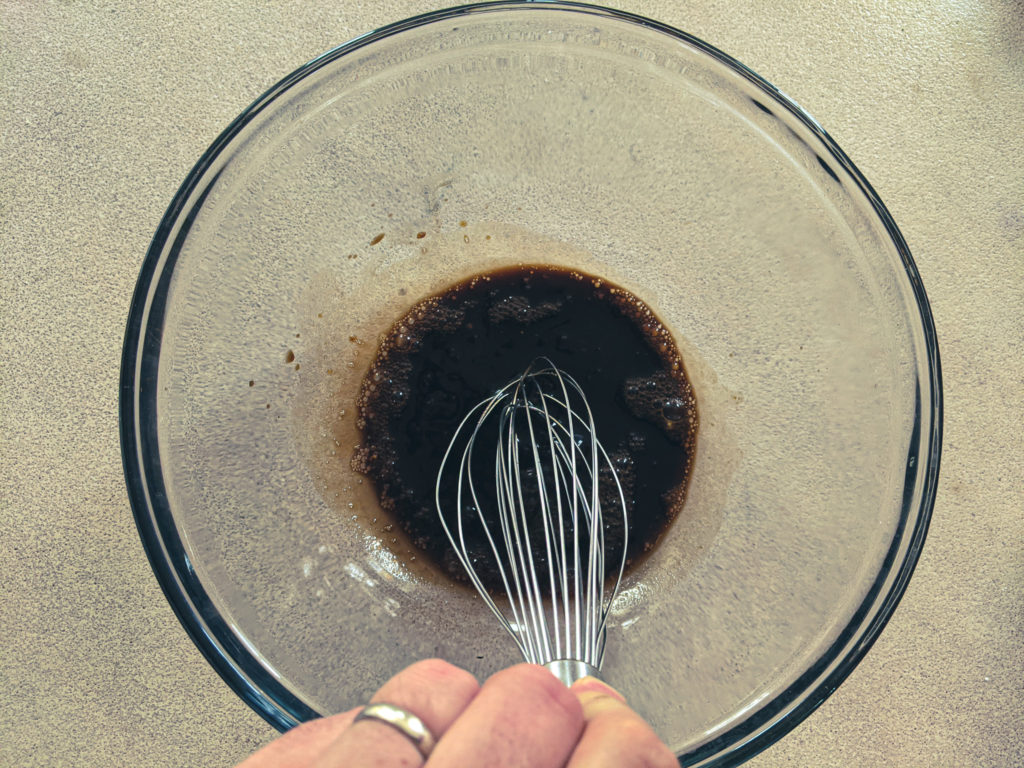
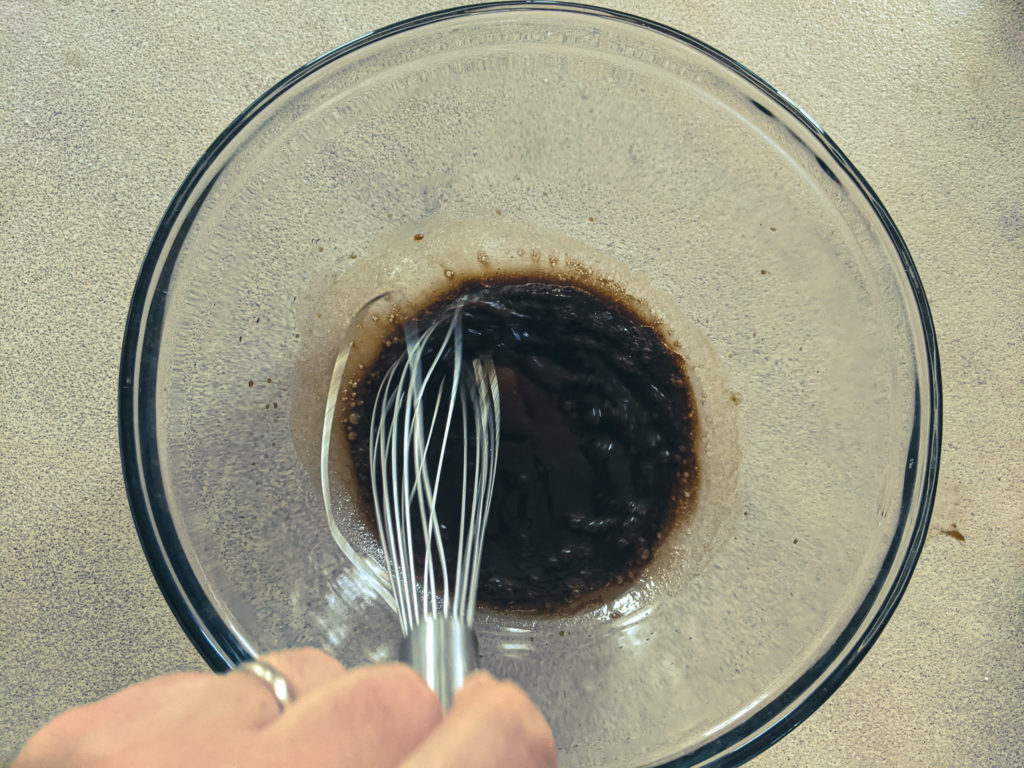
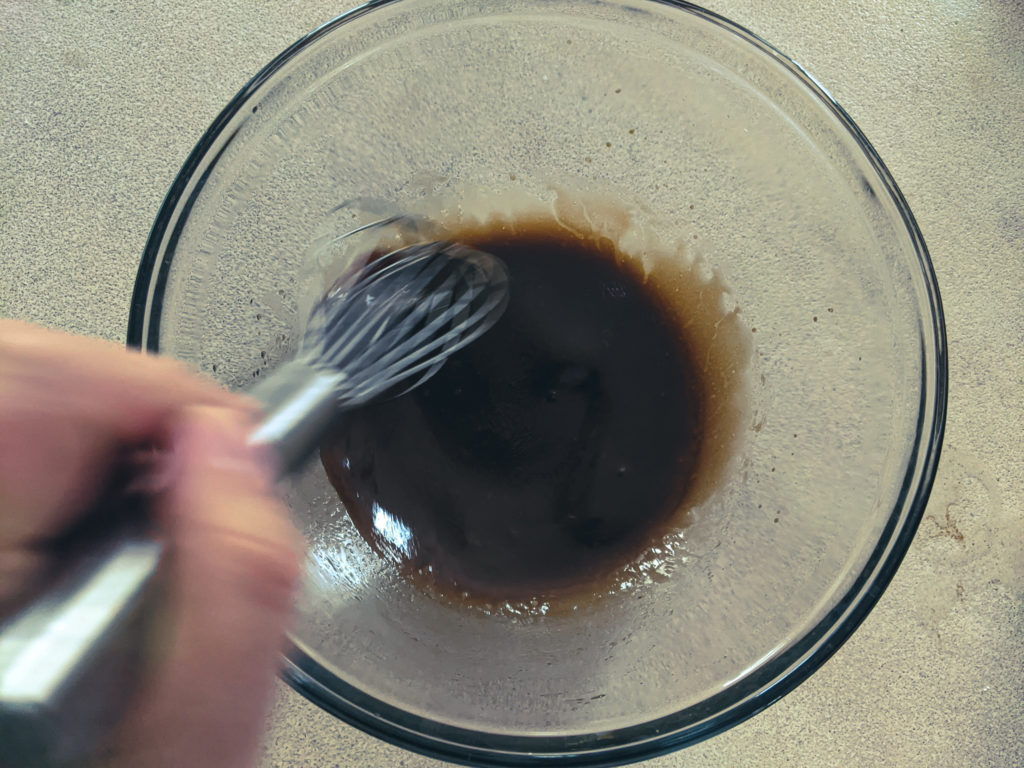
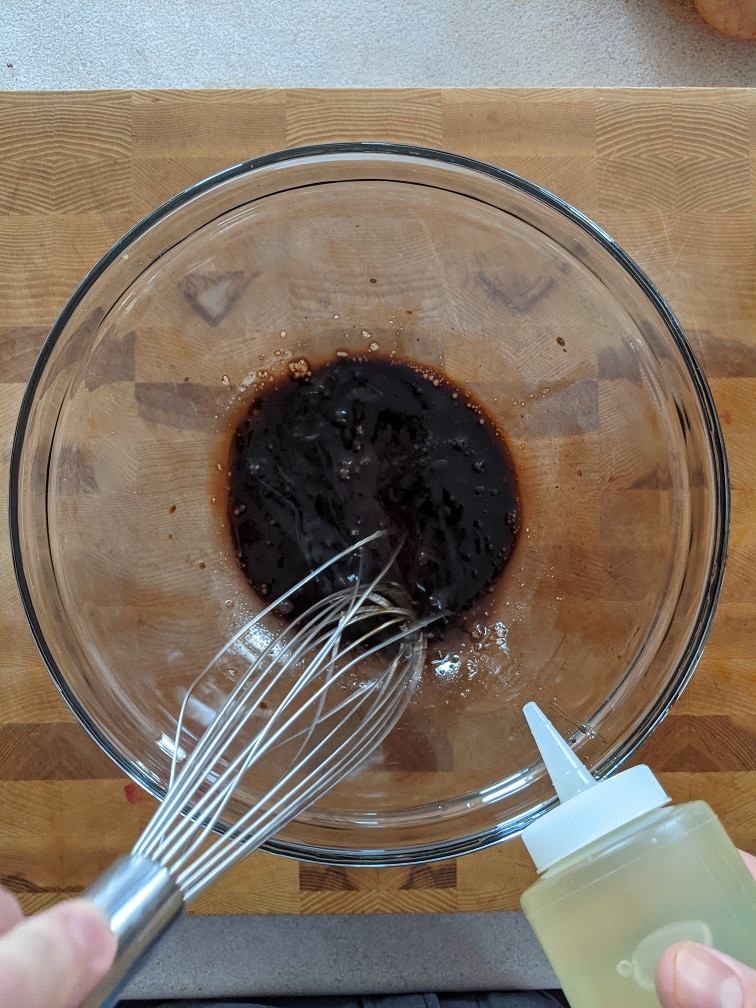
Whisk a few drops of the oil into the mixture. Once the oil has been incorporated, whisk in a few more drops. Repeat this three to four more times, then add the remaining oil in a slow, steady stream while constantly whisking.
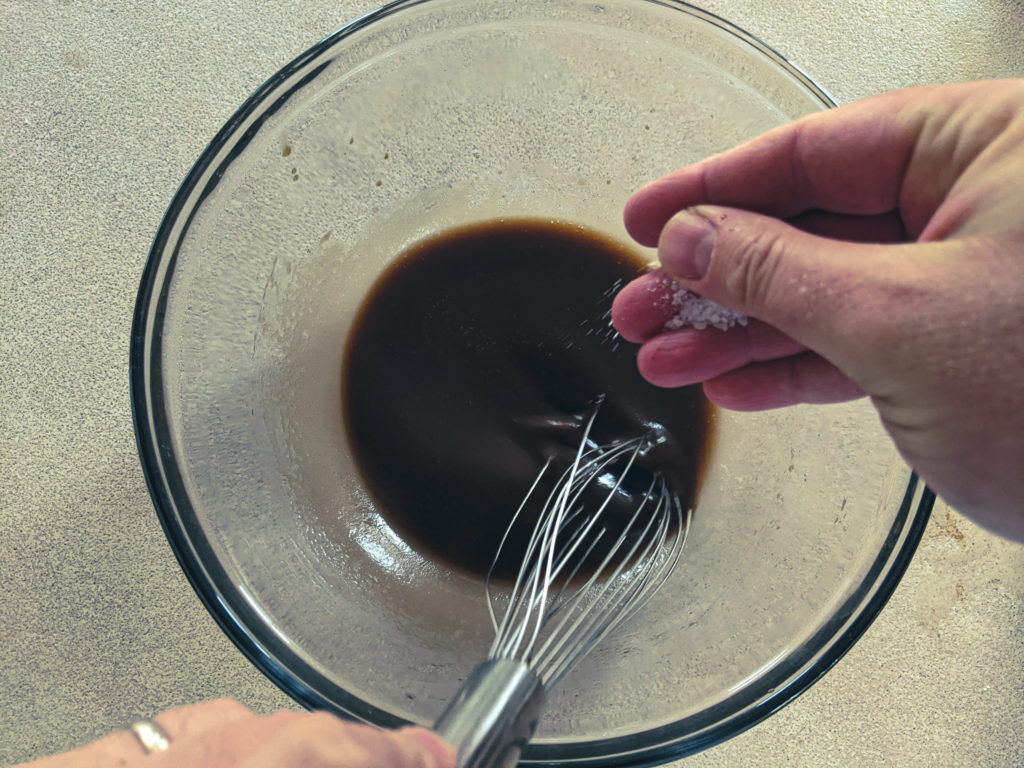
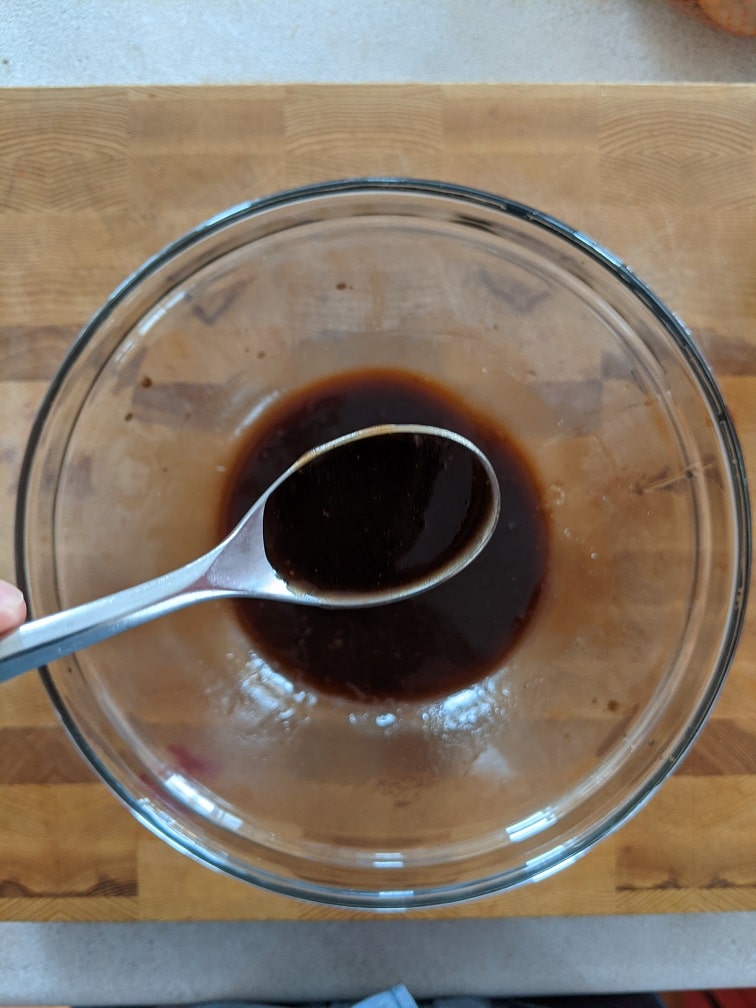
Once all of the oil has been incorporated, taste the dressing and season with salt and pepper as needed. Use the Vinaigrette right away or store it in the fridge in an airtight container for up to two weeks.
Prepping The Vegetables
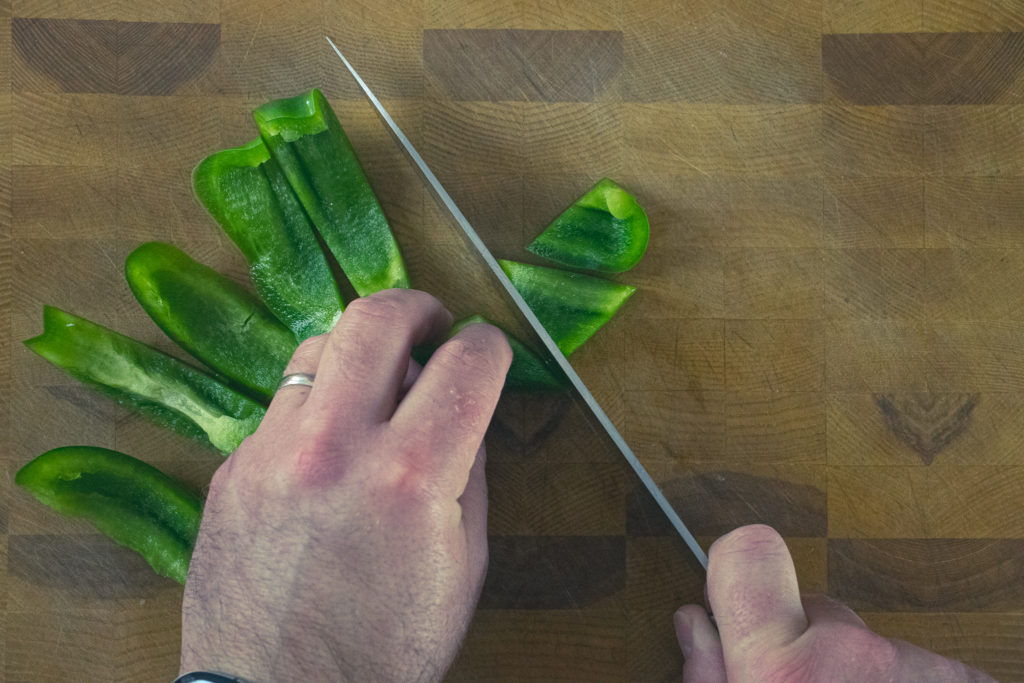
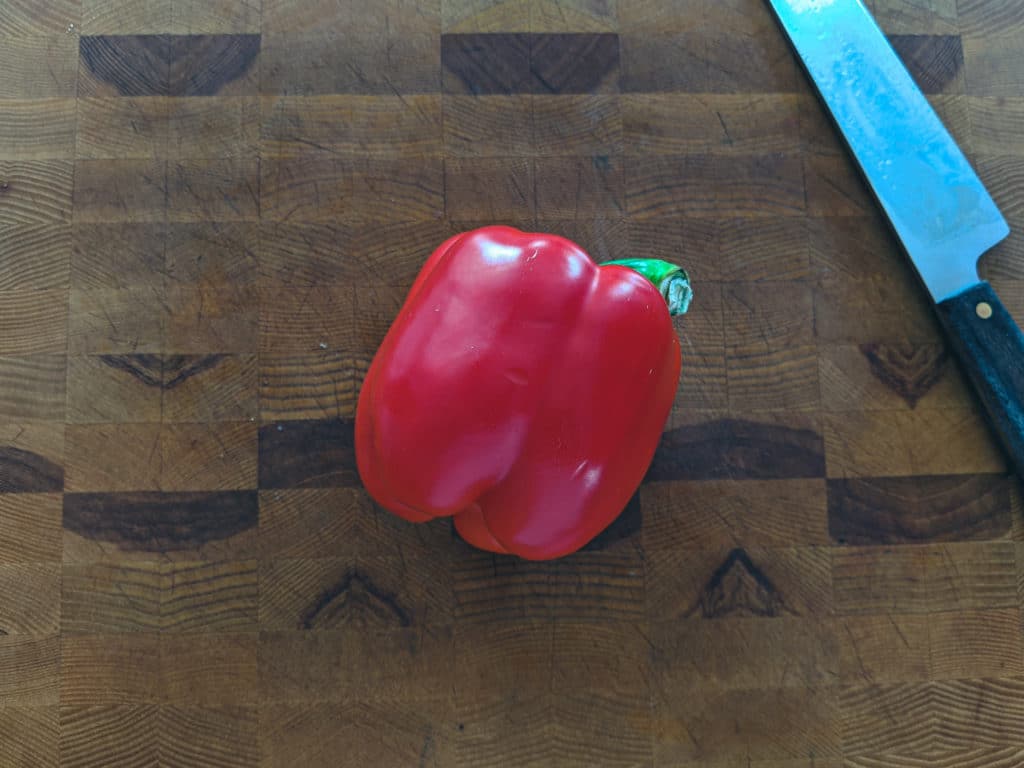
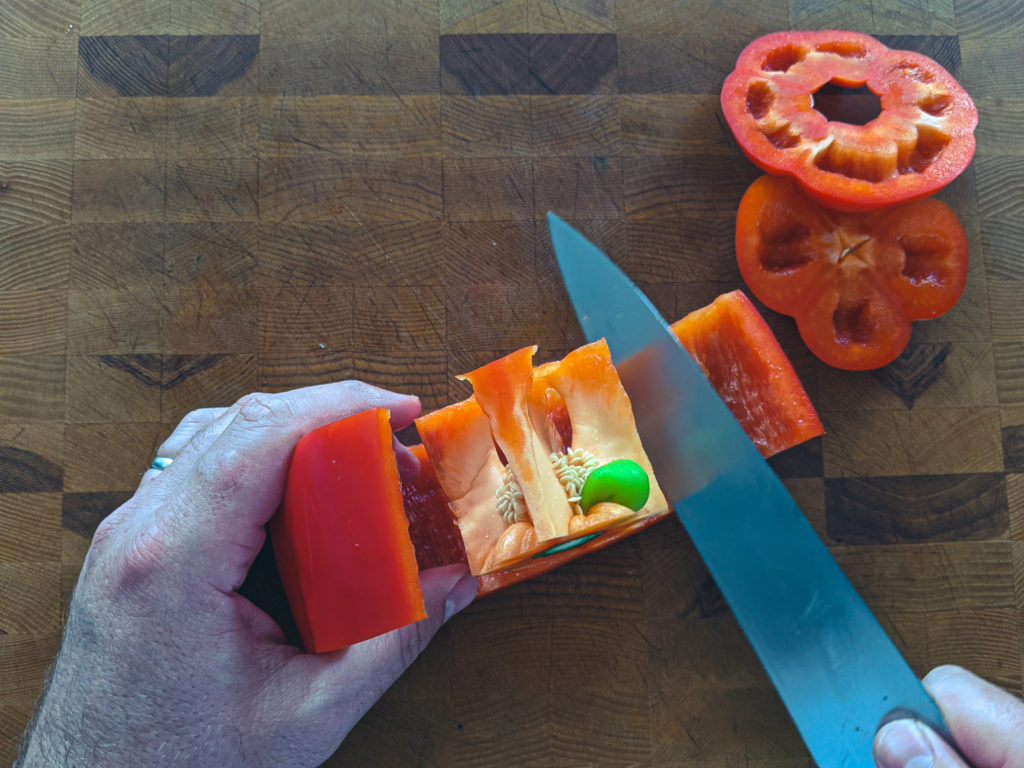
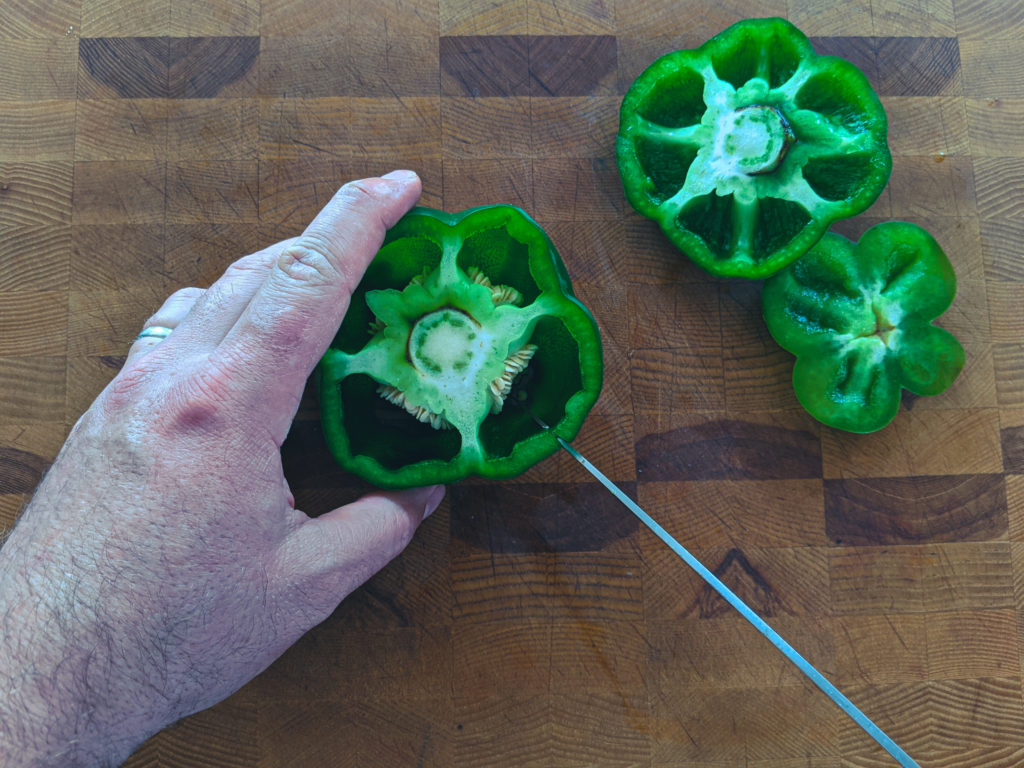
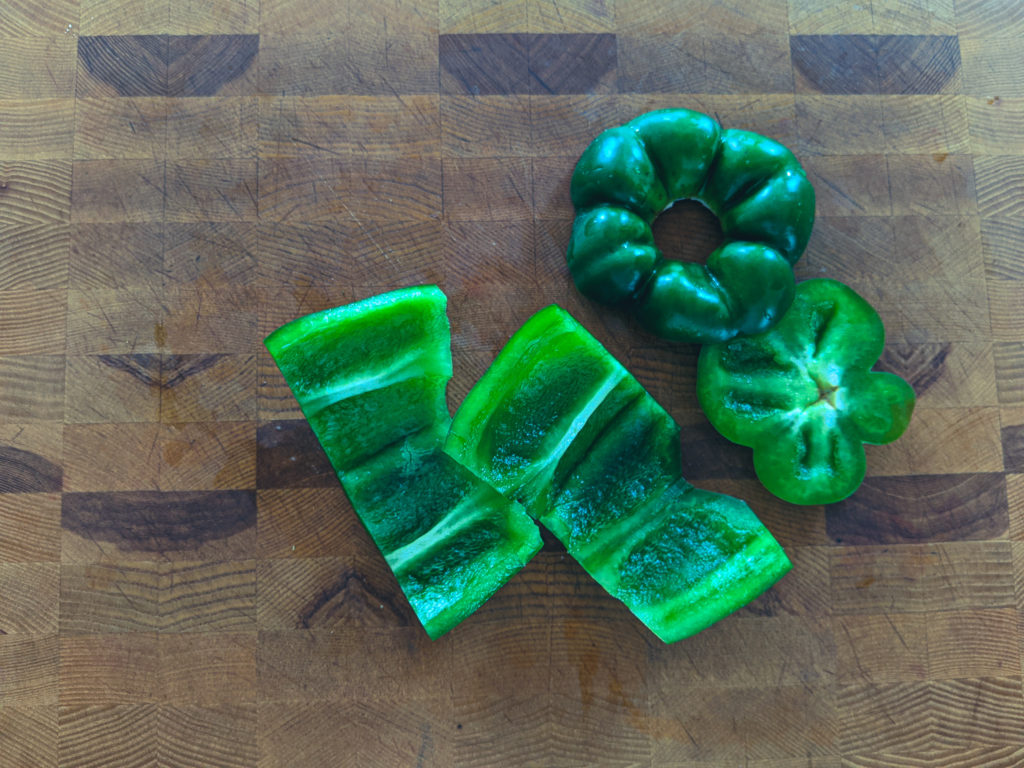
Cut the top and bottom off of the red and green bell pepper. Make a slice down one side of each pepper, then using your knife, cut the seed pod away from the pepper and discard. Cut the peppers in two.
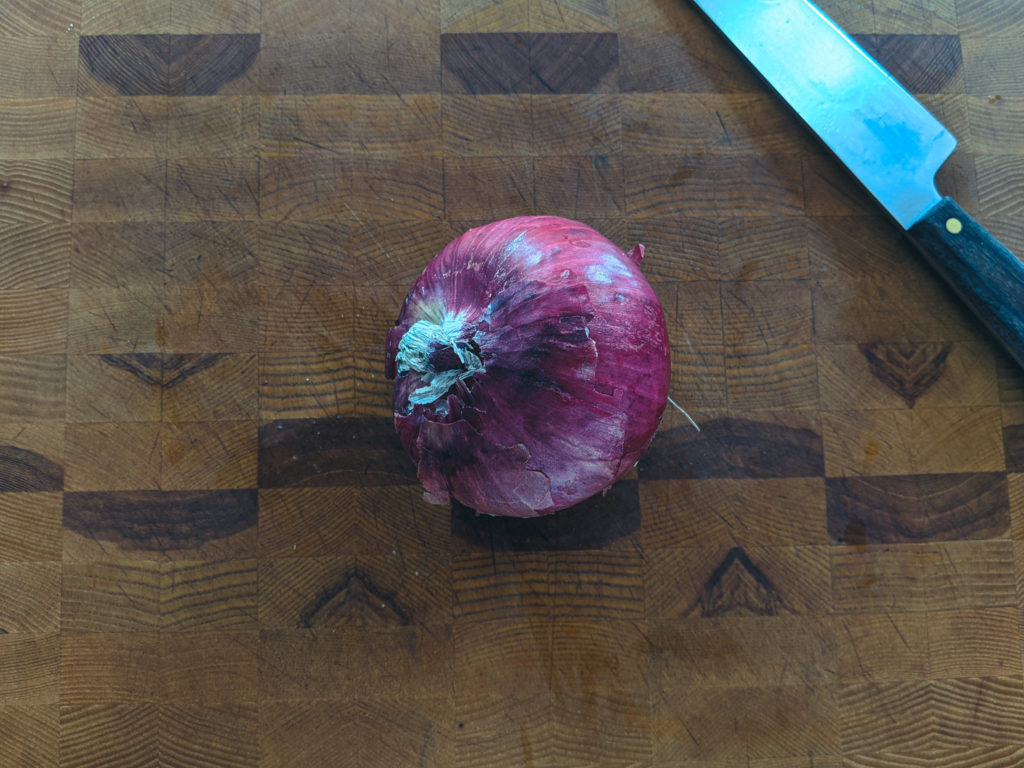
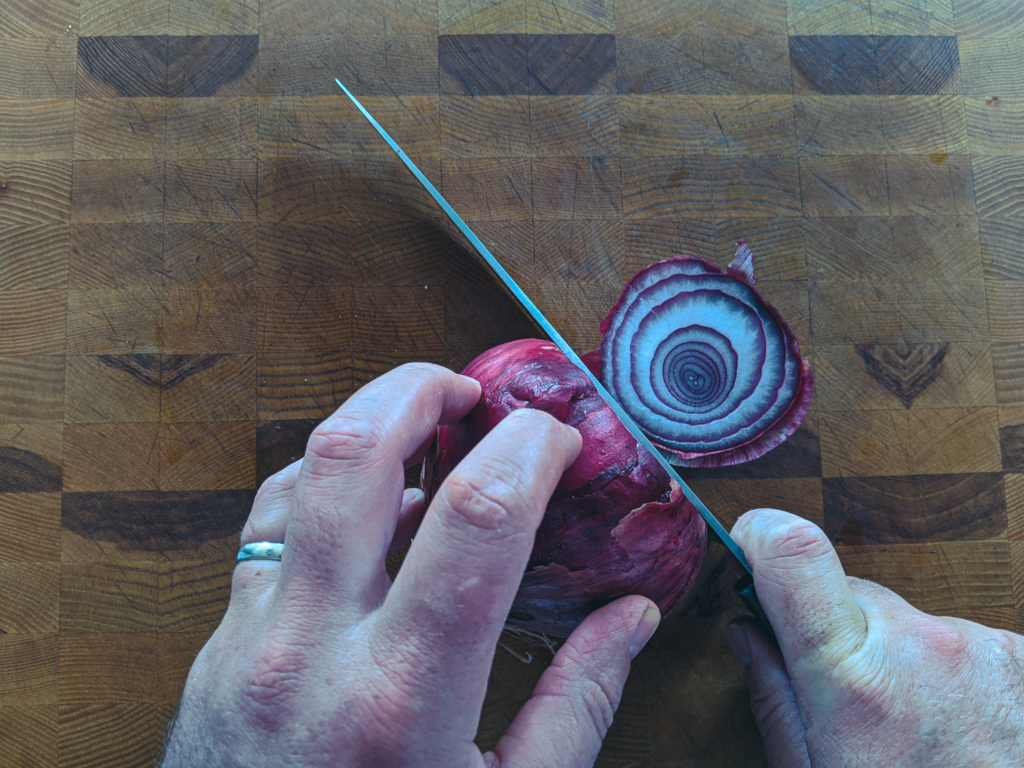
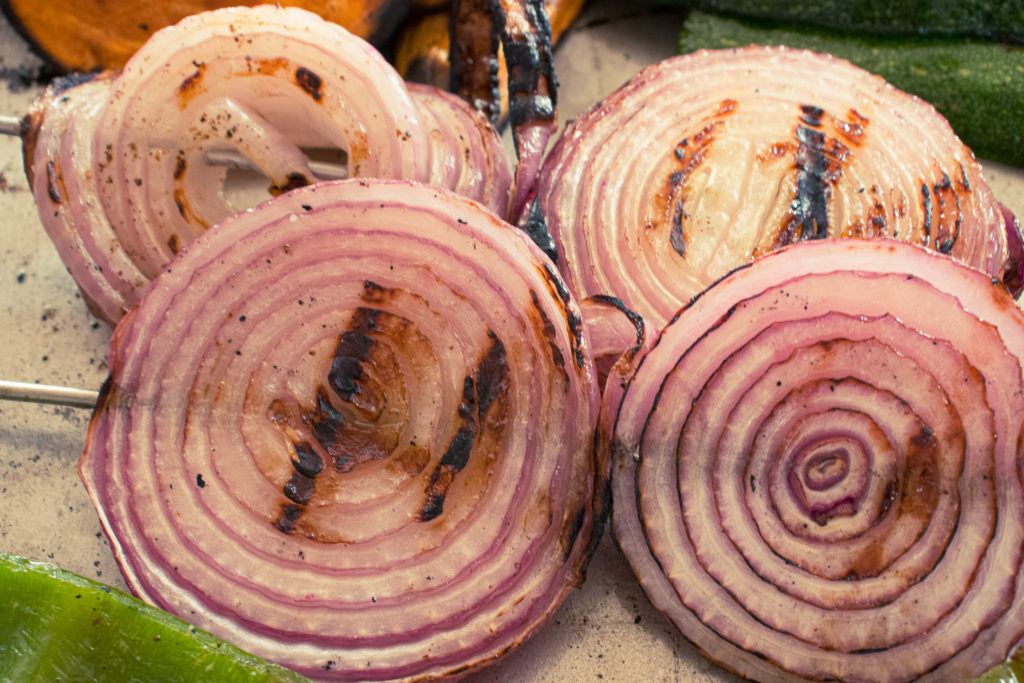
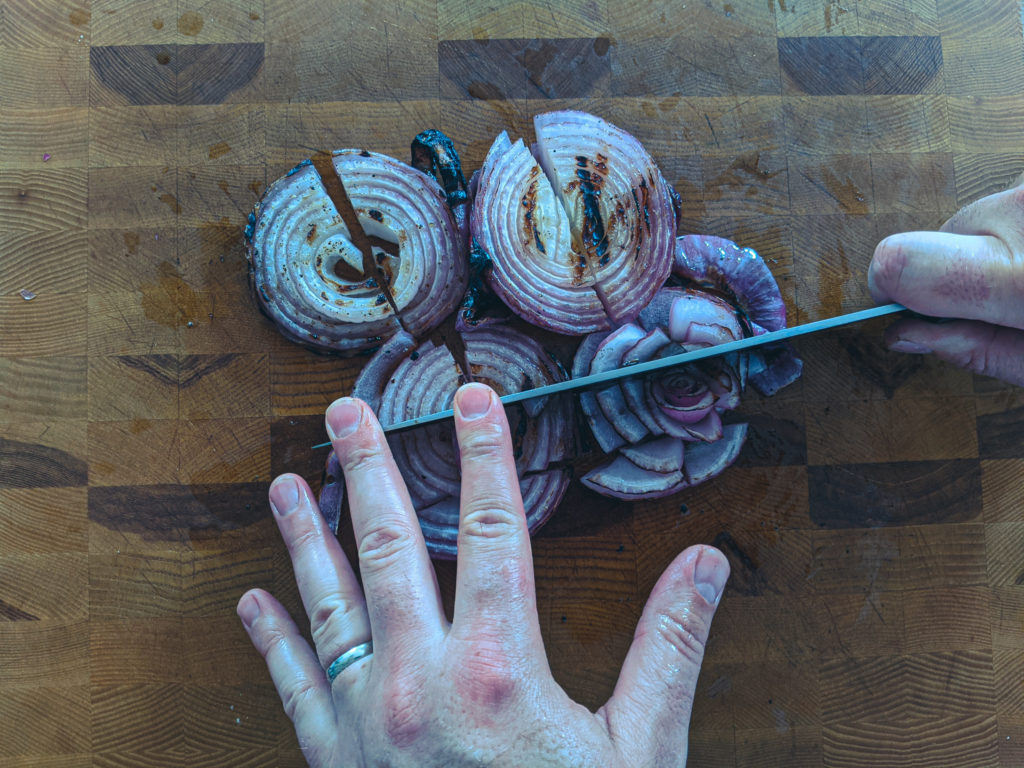
Cut the onion into 1/4-inch rings. Remove the peel and thread the onions onto 2 10-inch metal skewers. If you use wooden skewers, soak them in water for 30 minutes first.
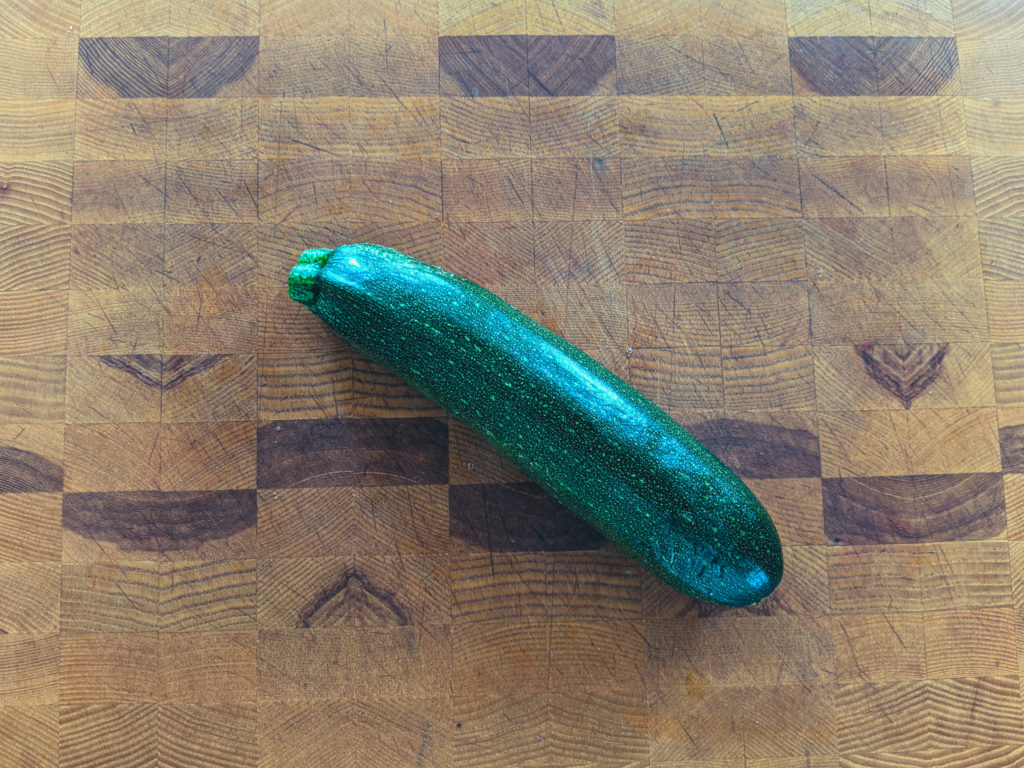
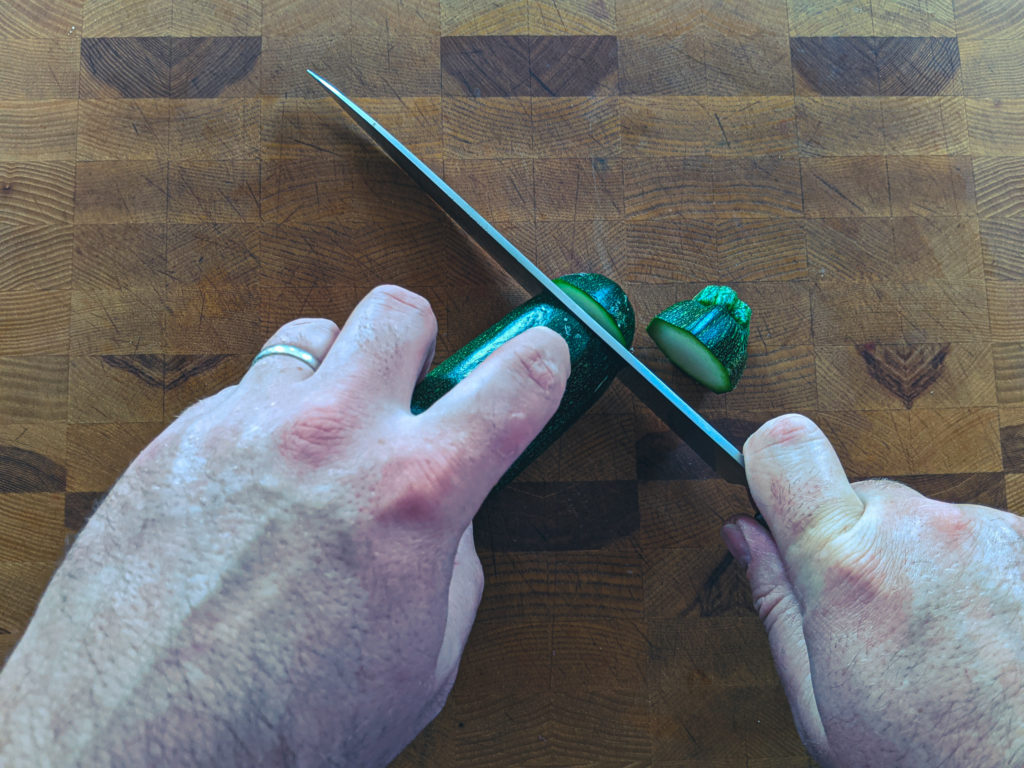
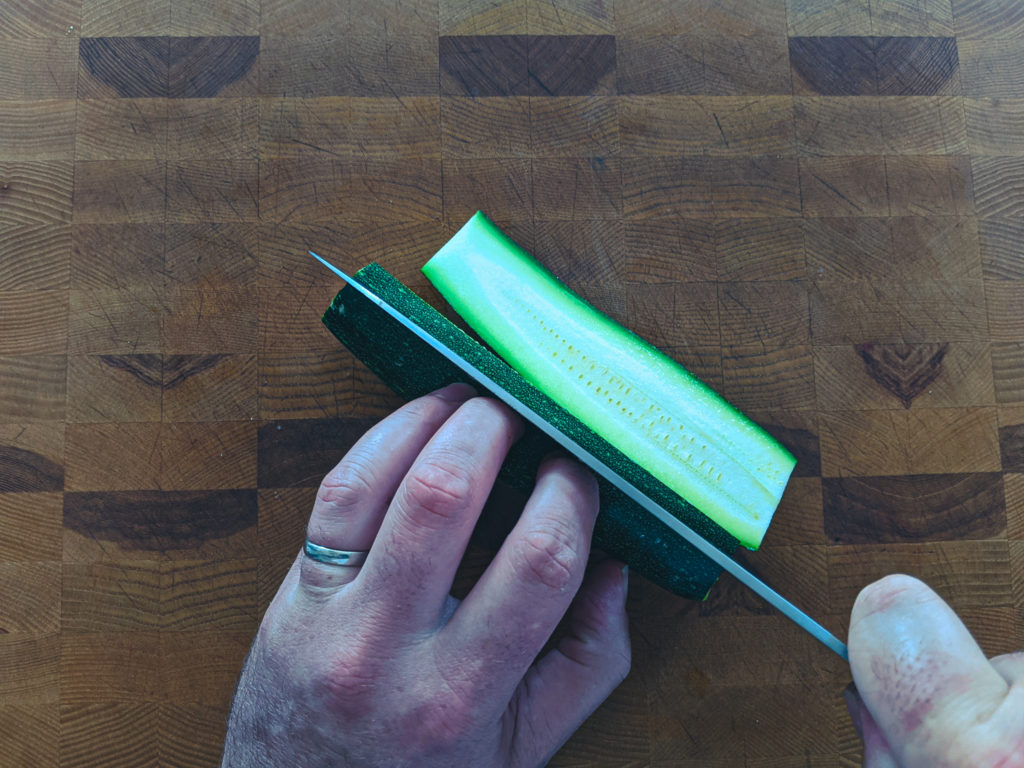
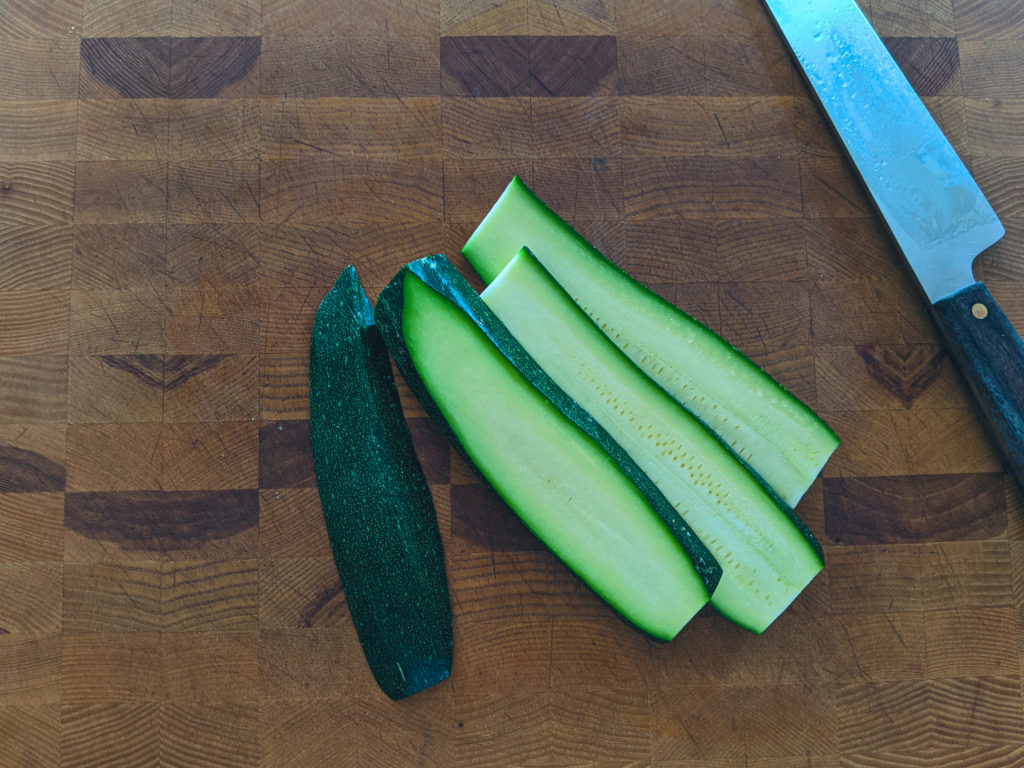
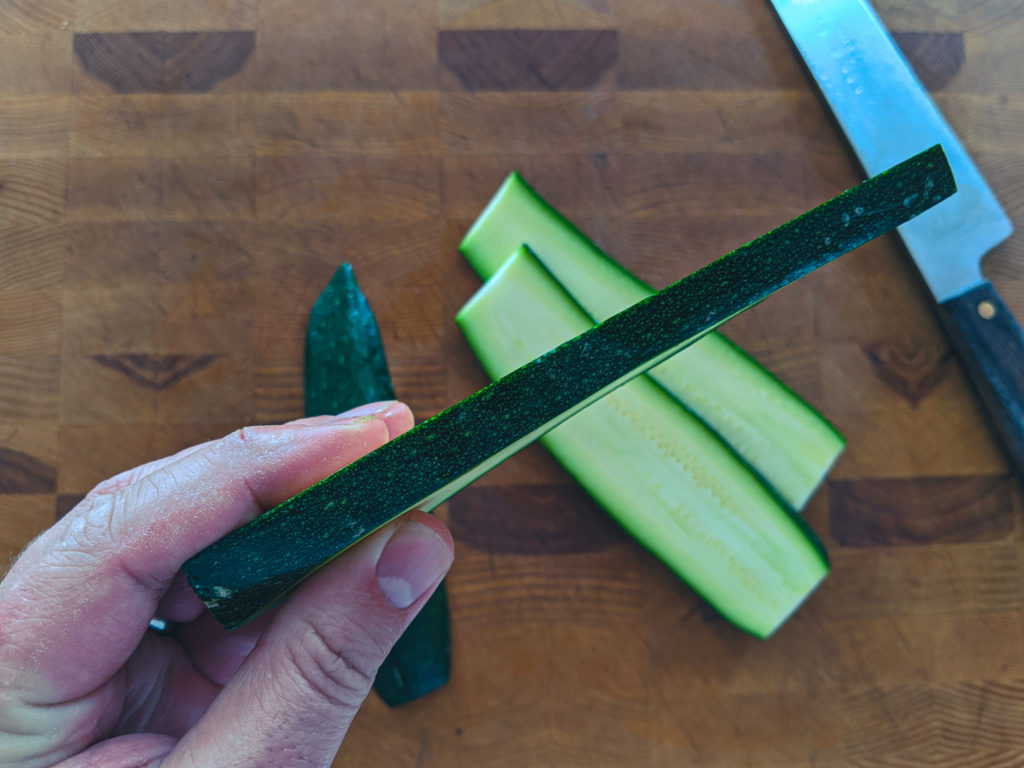
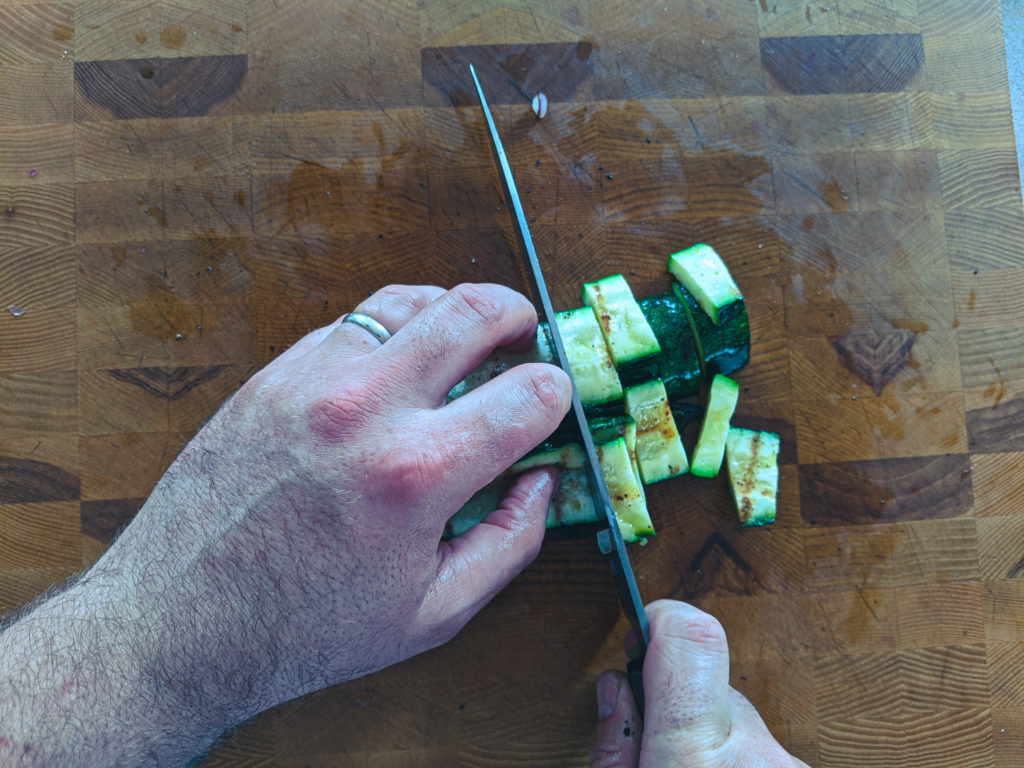
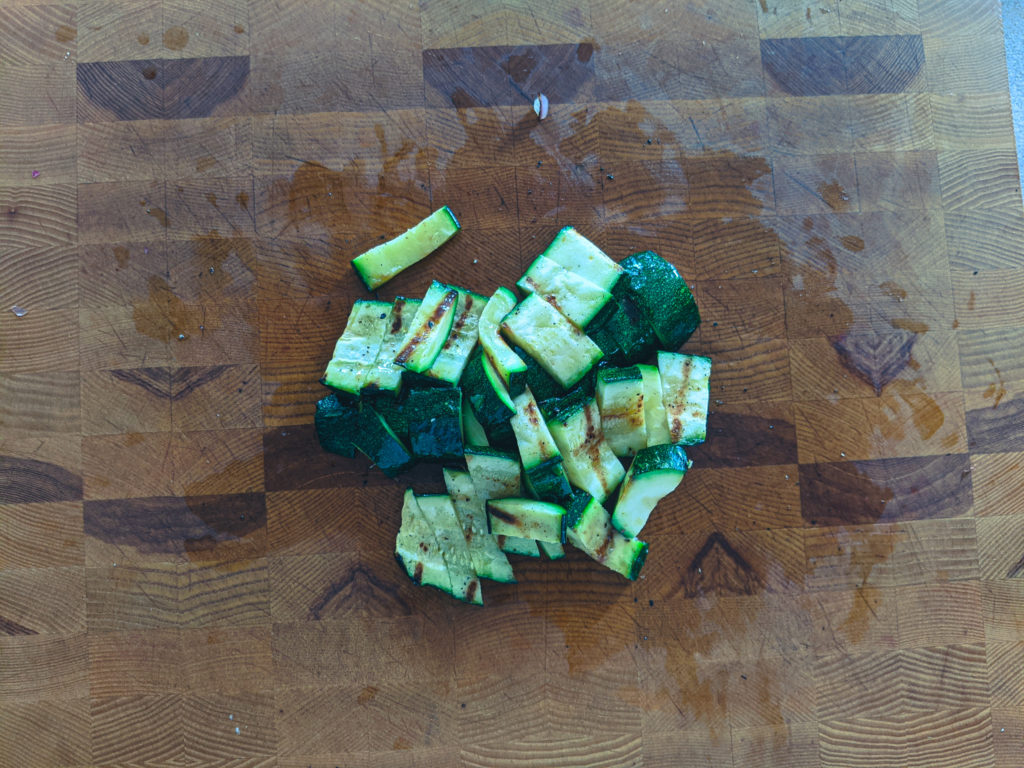
Cut the zucchini in 4 lengthwise.
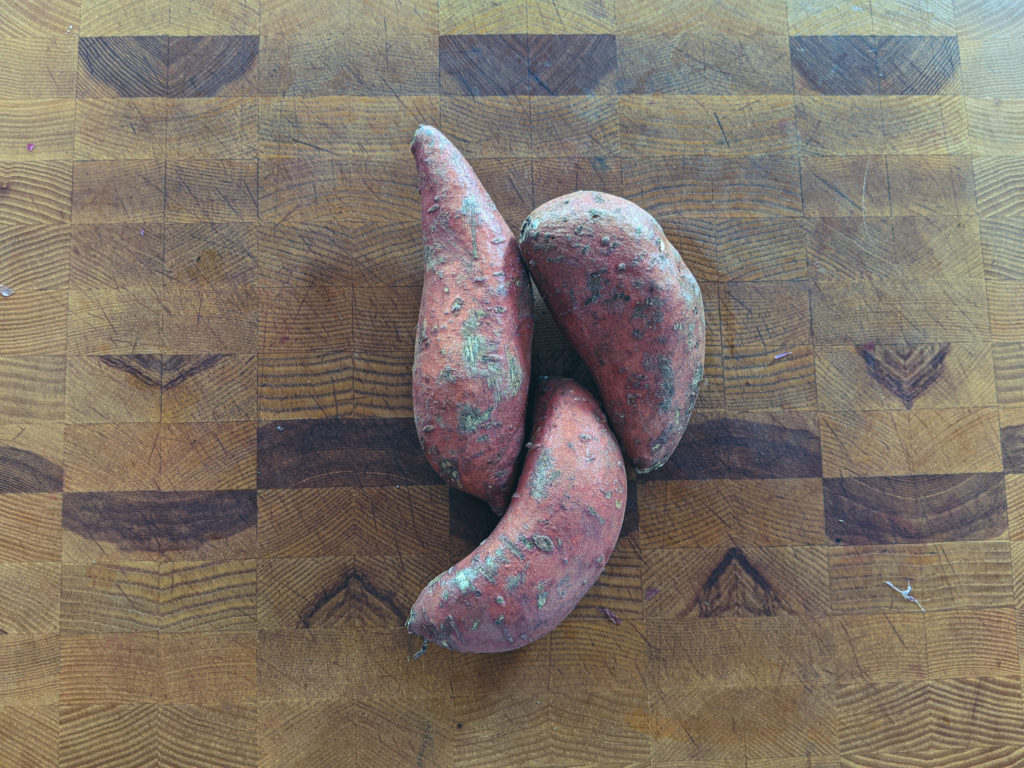
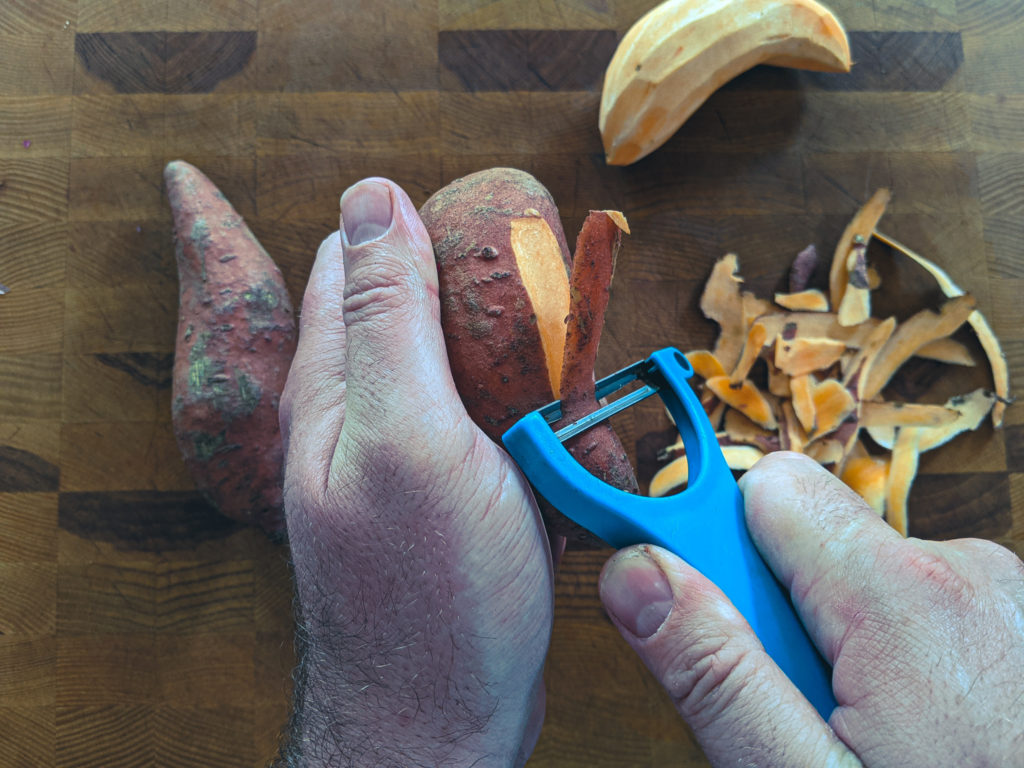
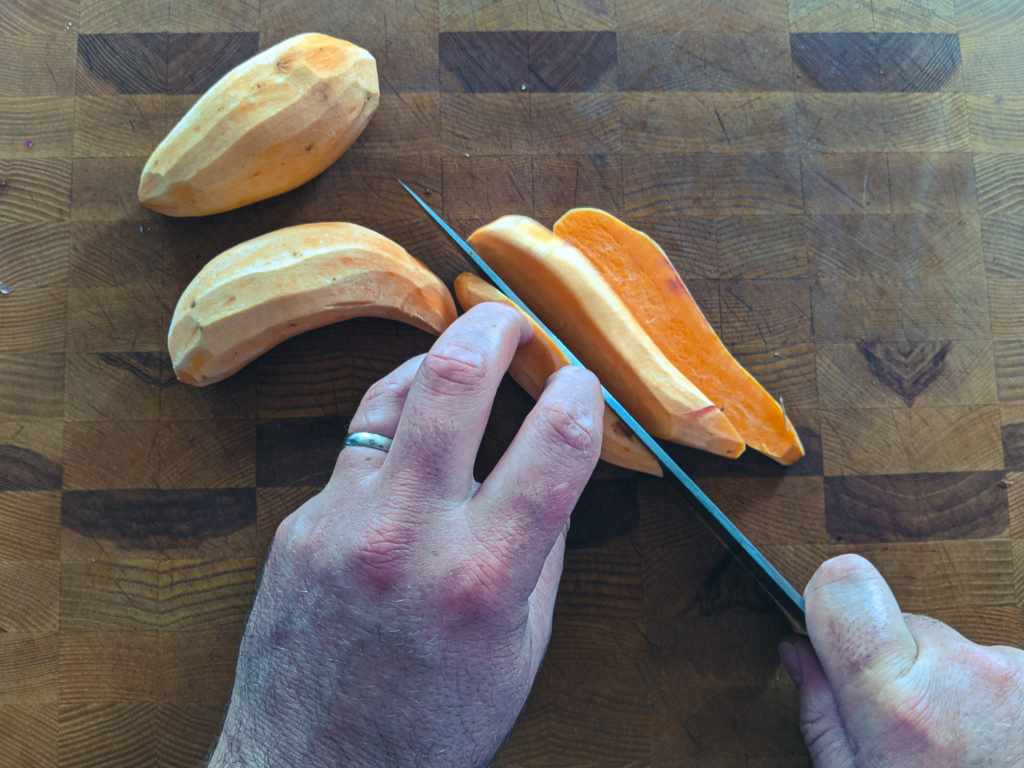
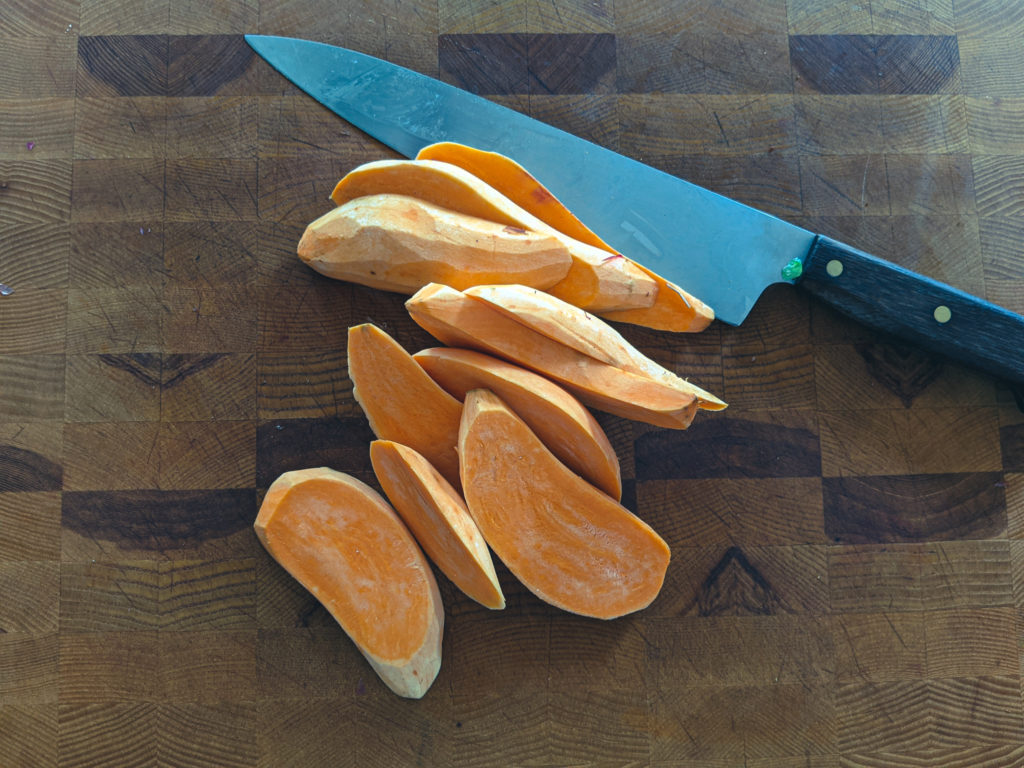
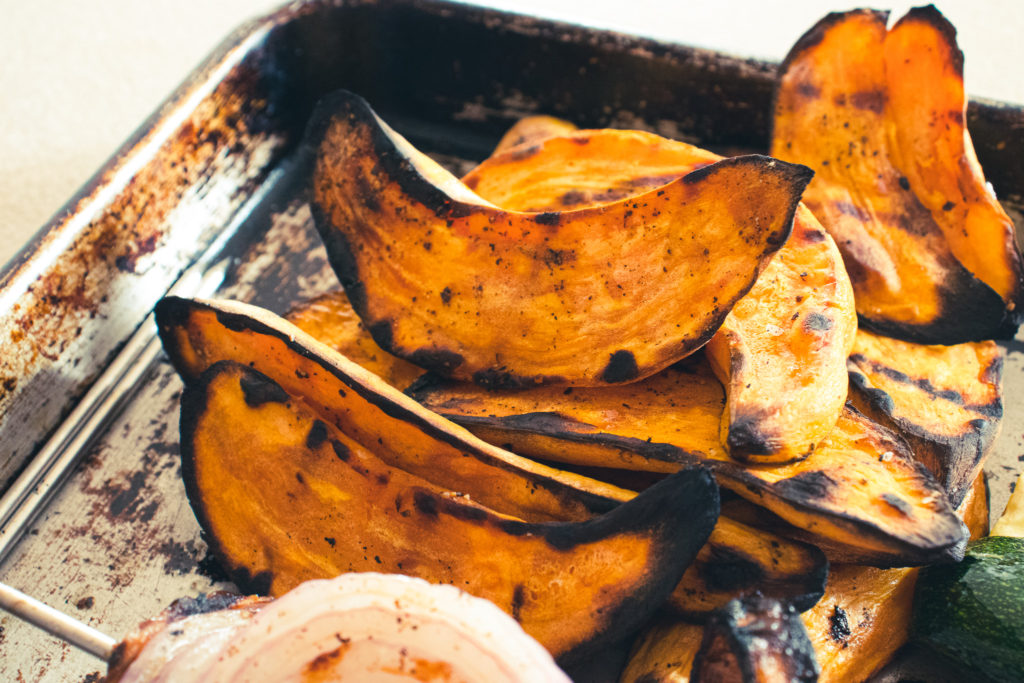
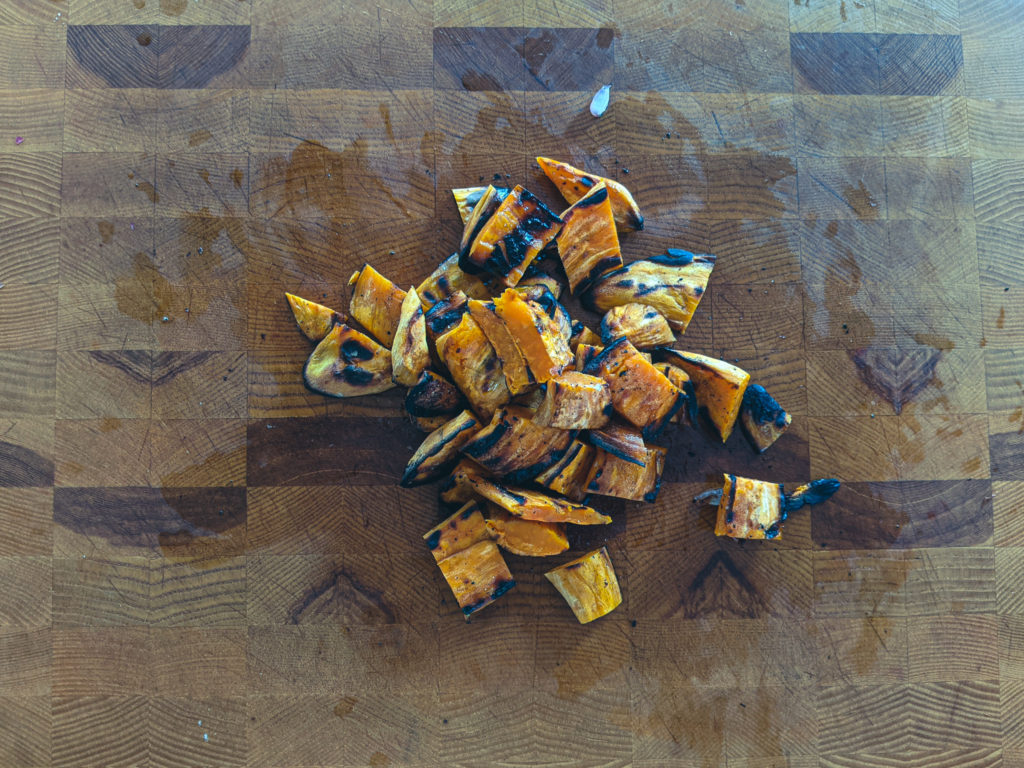
Peel the sweet potato and cut lengthwise into 1/4-inch strips.
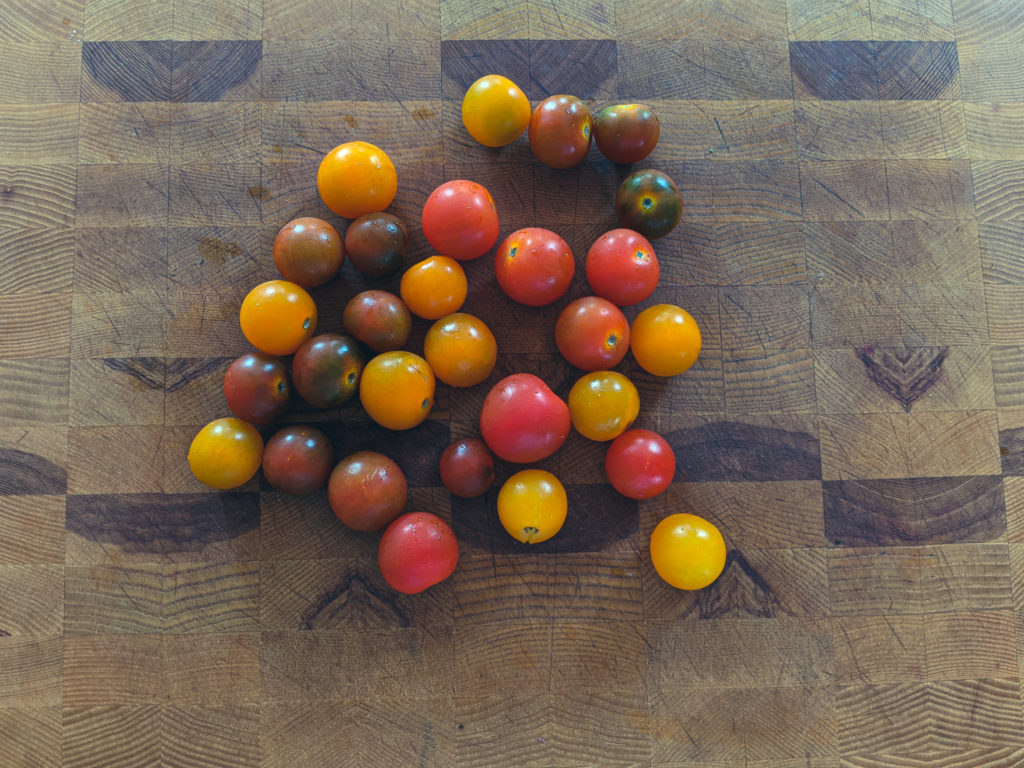
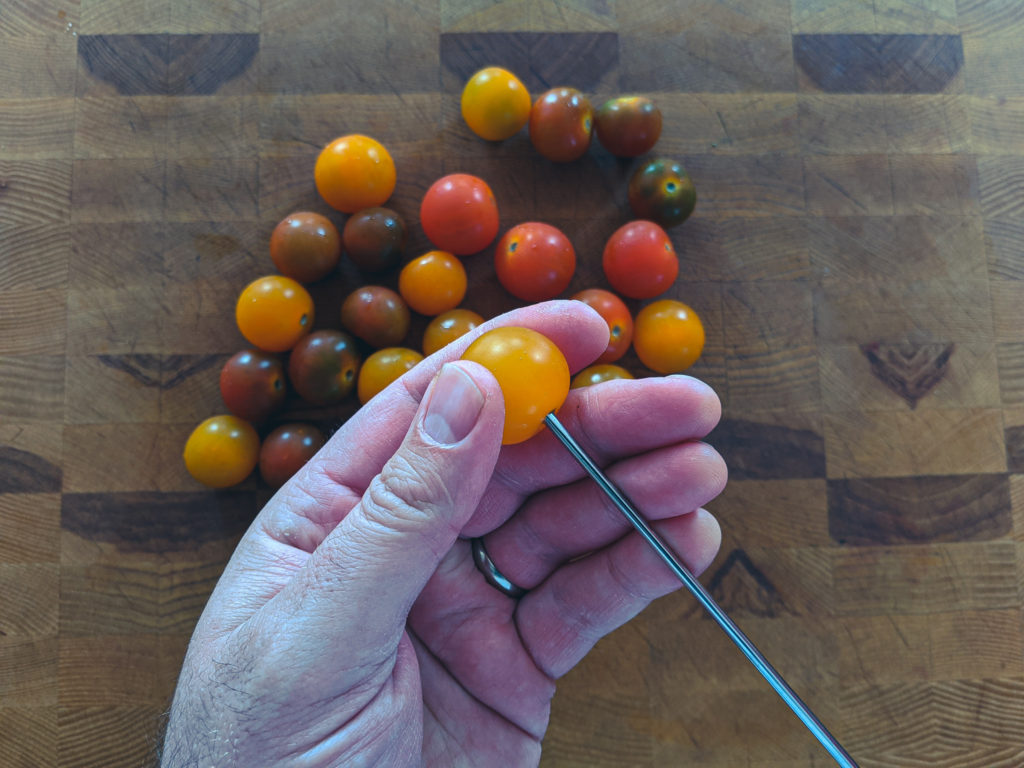
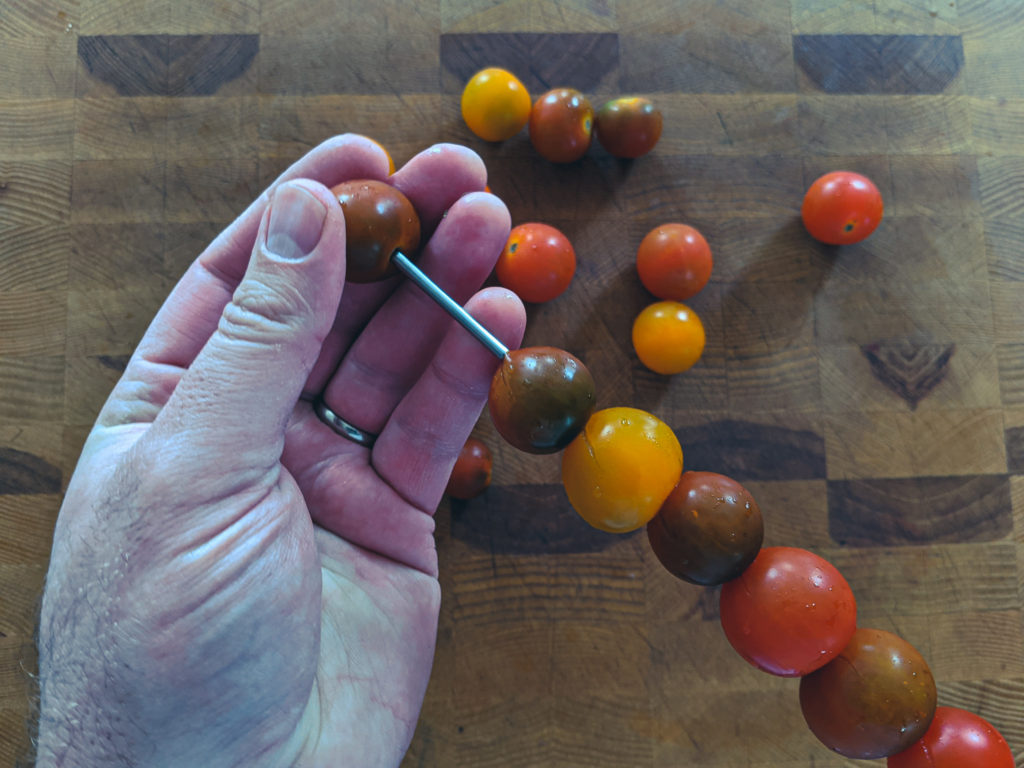
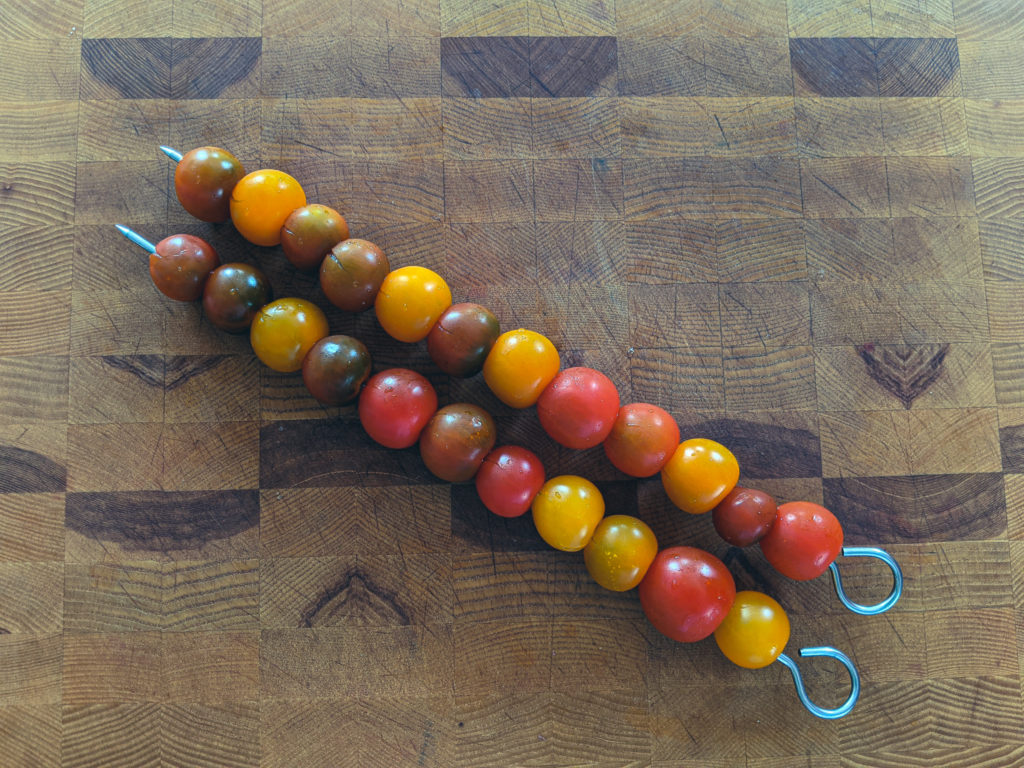
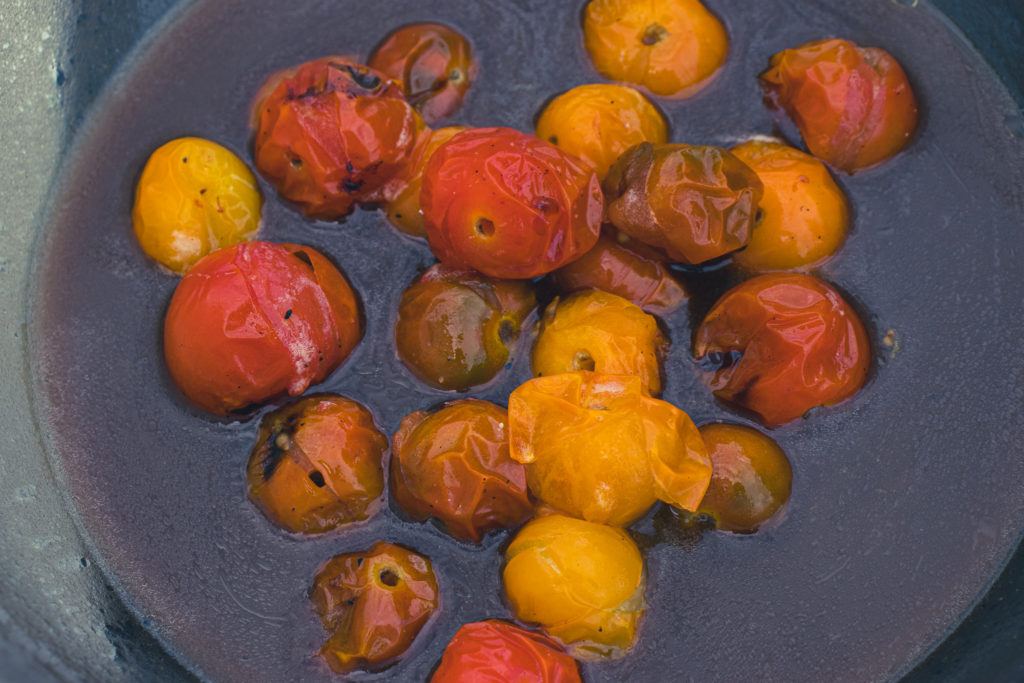
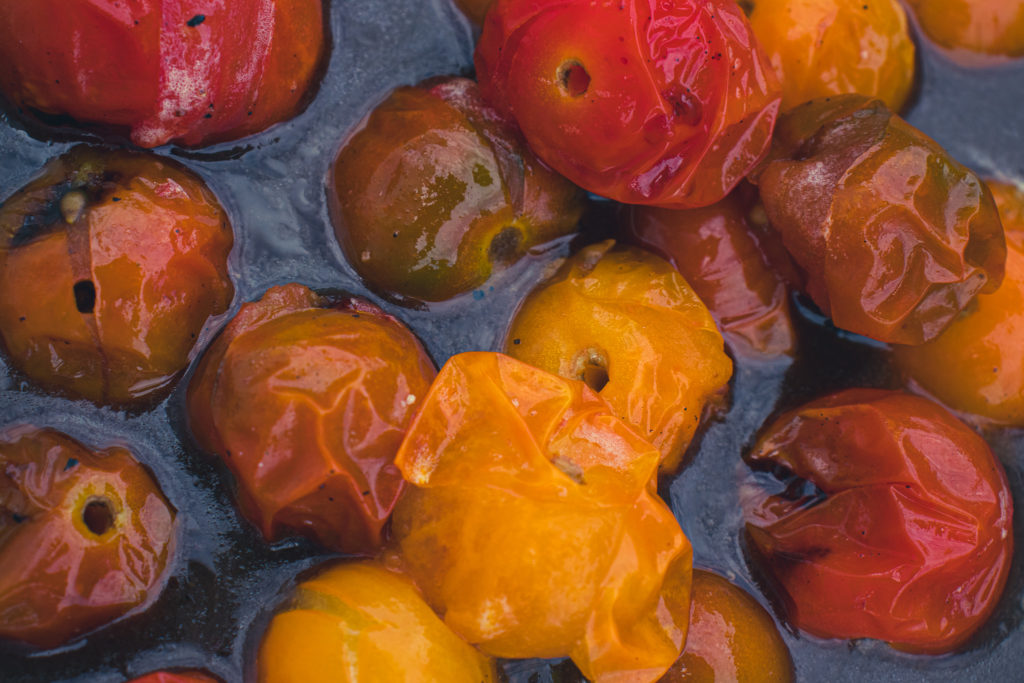
Thread the cherry tomatoes onto 2 10-inch metal or wooden skewers. If you use wooden skewers, make sure to soak them for 30 minutes first.
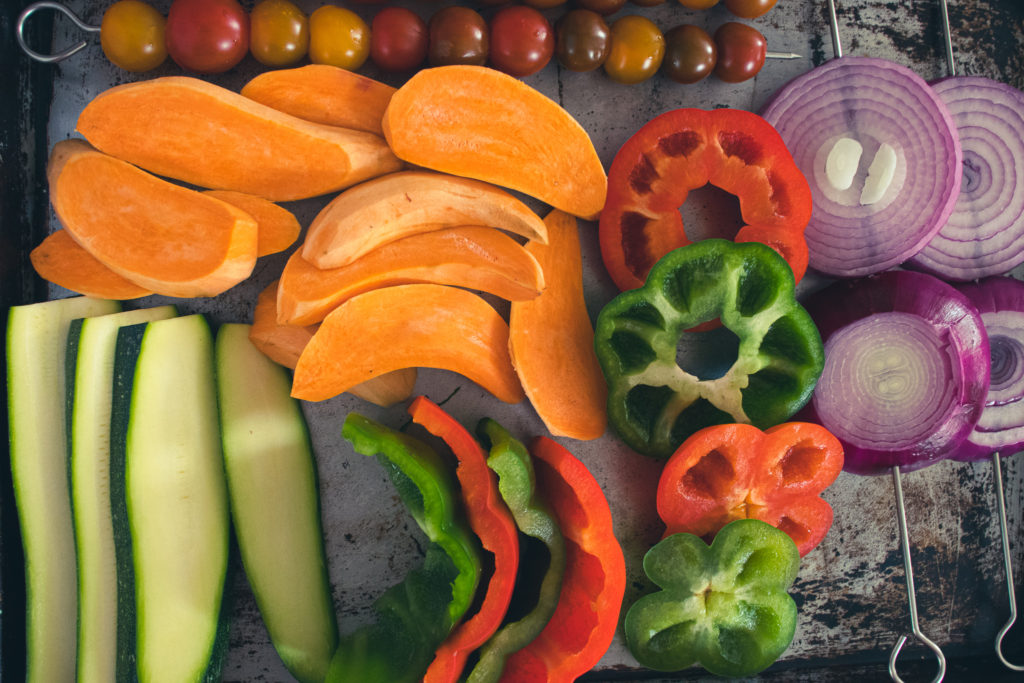
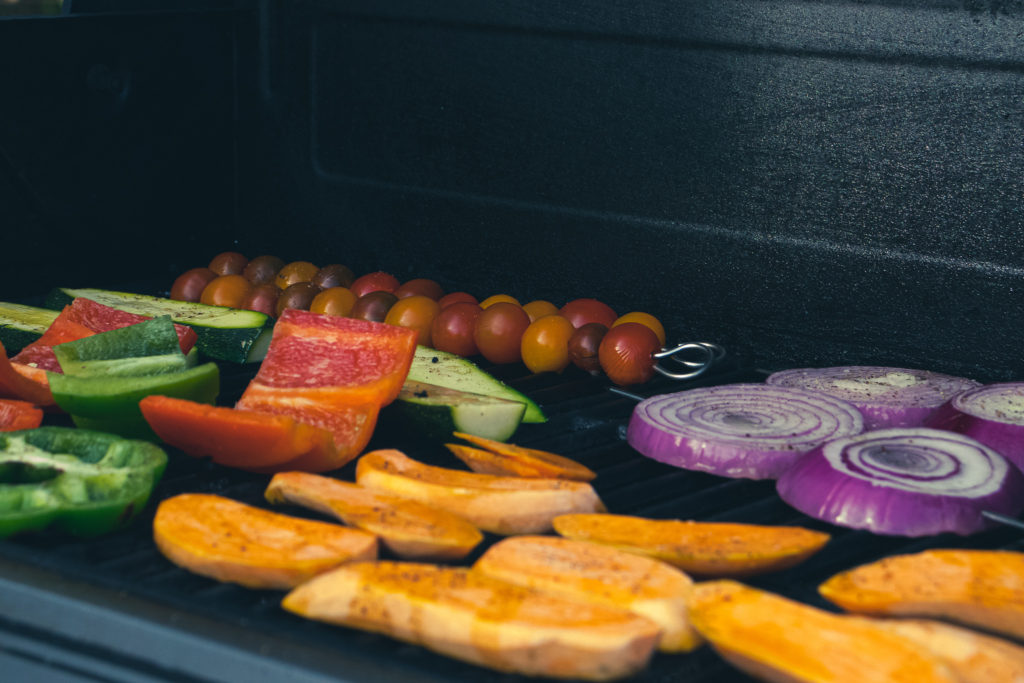
Place all the preparred vegetables on a sheet pan and drizzle with the olive oil. Season on both sides with salt and pepper.
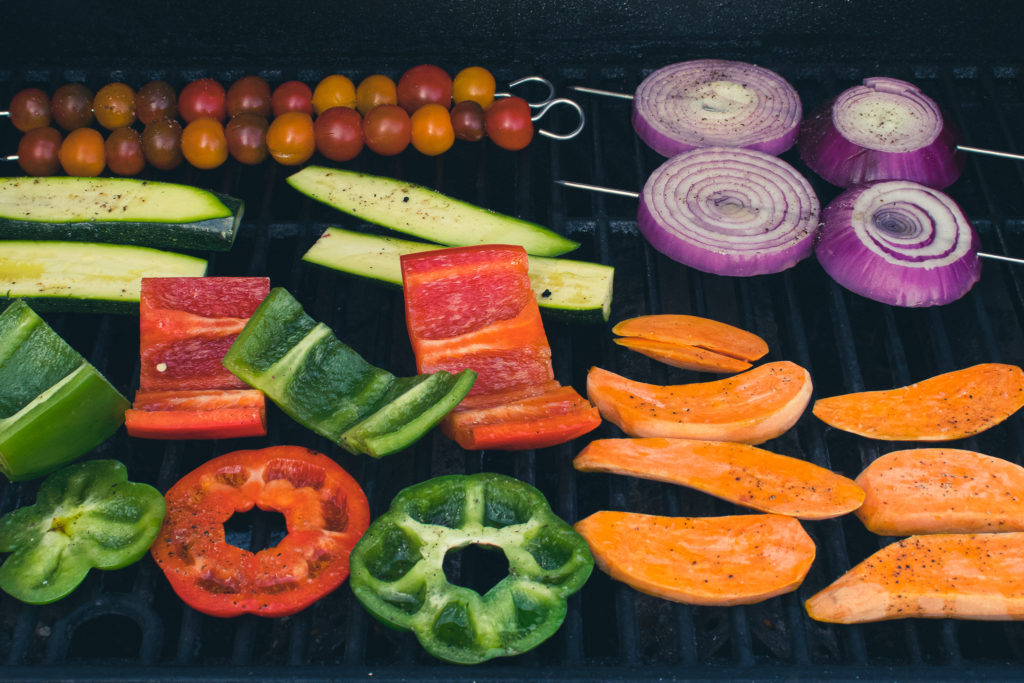
Grill the vegetables on a preheated grill on medium-high heat until cooked. It is hard to give an exact time, but some things like the tomatoes will take 4 to 5 minutes, and other things like the onions and sweet potato will take 10 to 15 minutes. As things cook, remove them from the grill.
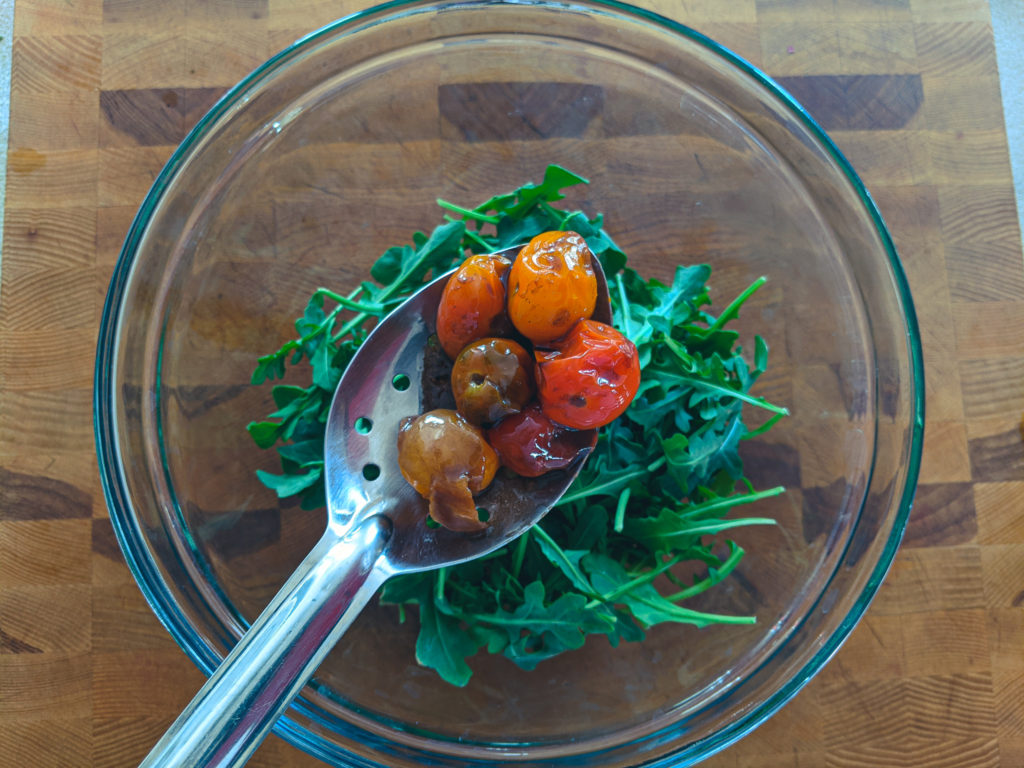
Once the tomatoes are cooked, take them off the skewers and add them to the vinaigrette to cool. The other cooked vegetbles can be returned to the sheet pan until it is time to assemble the salad.
Assemble the salad
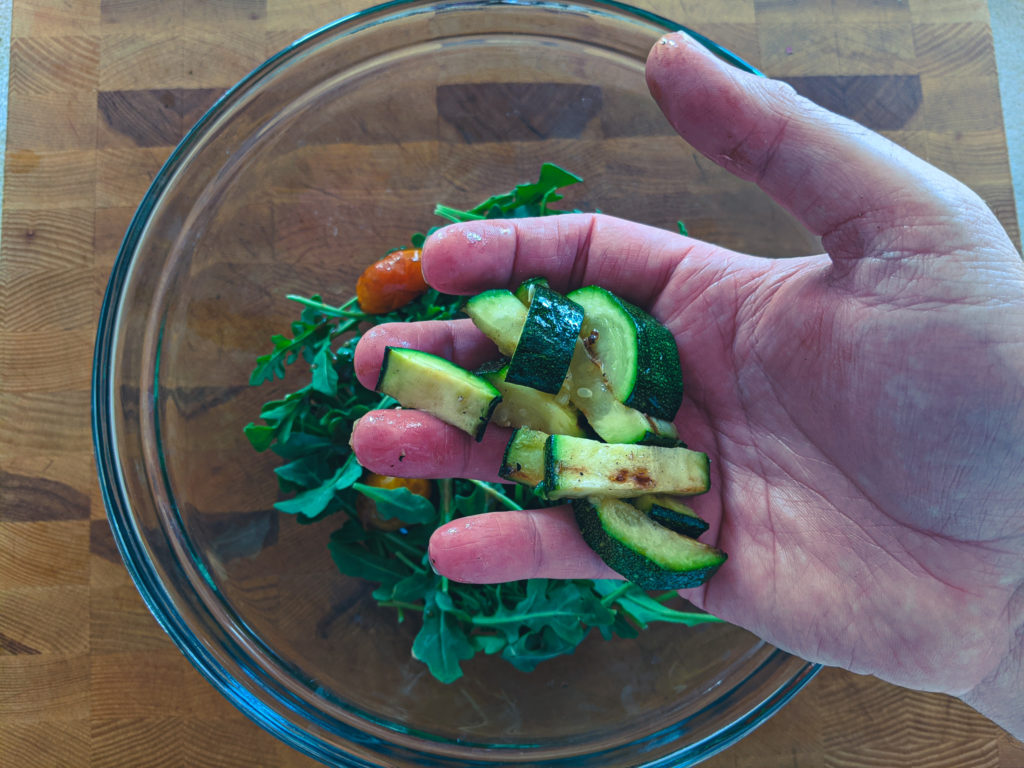
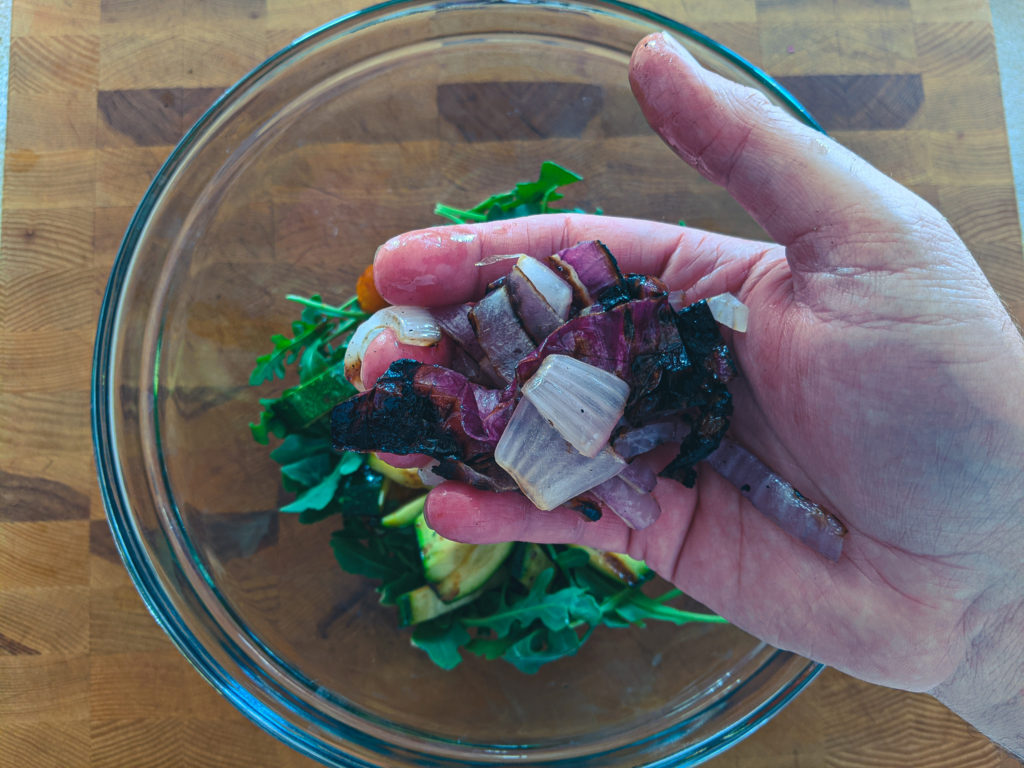
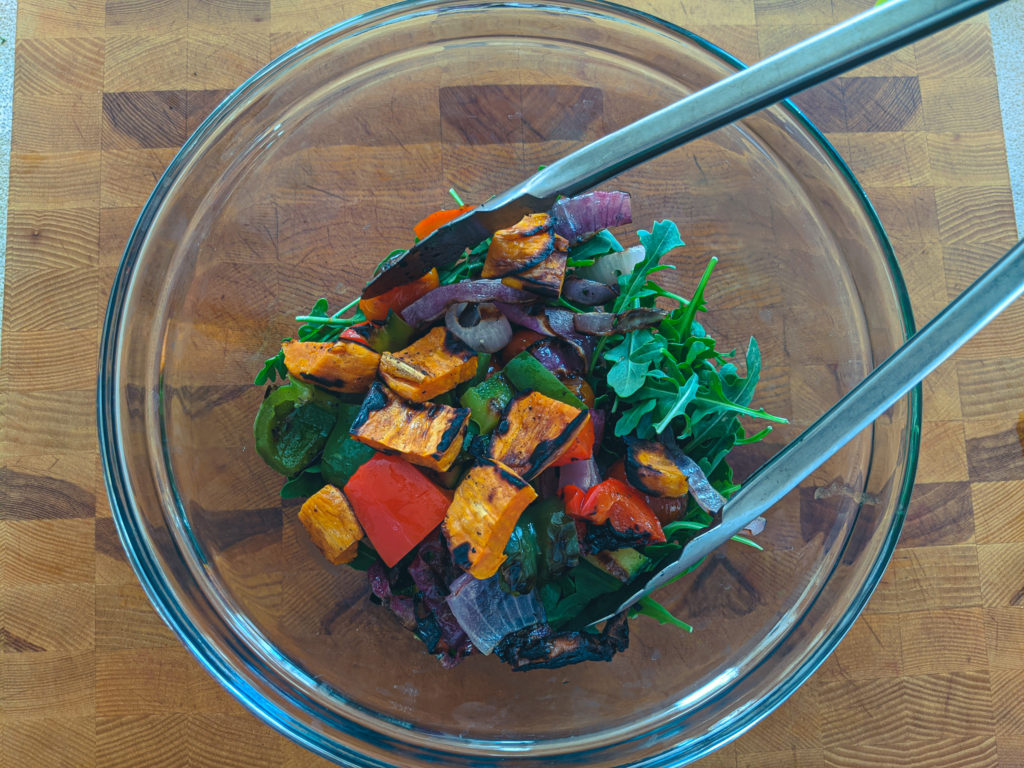
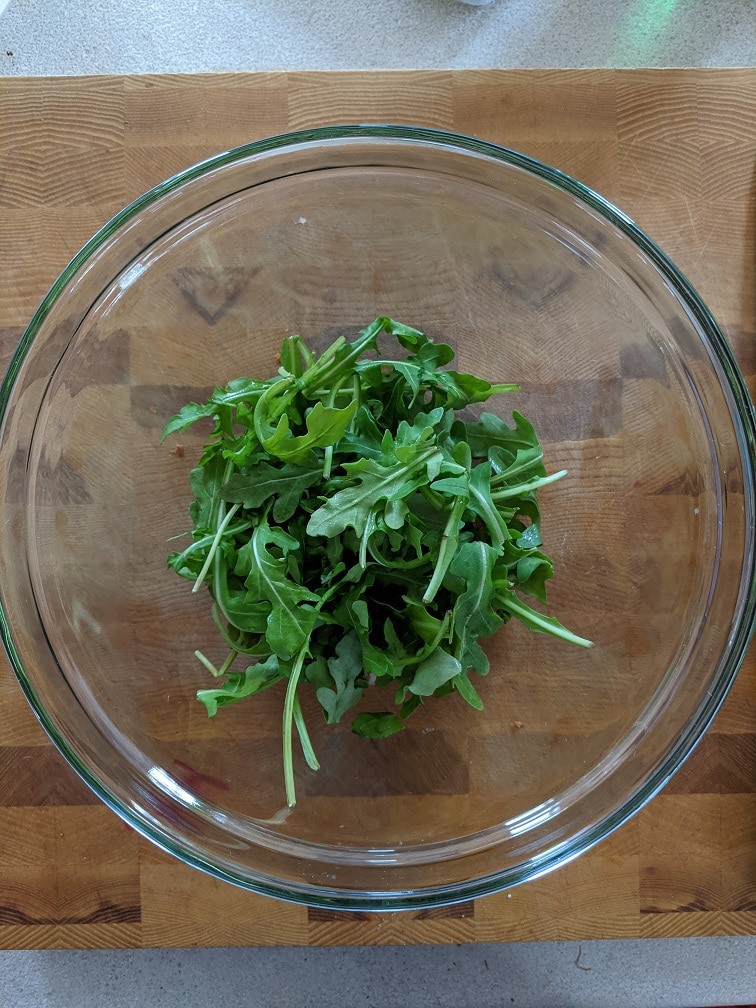
Place the arugula in a large mixing bowl.
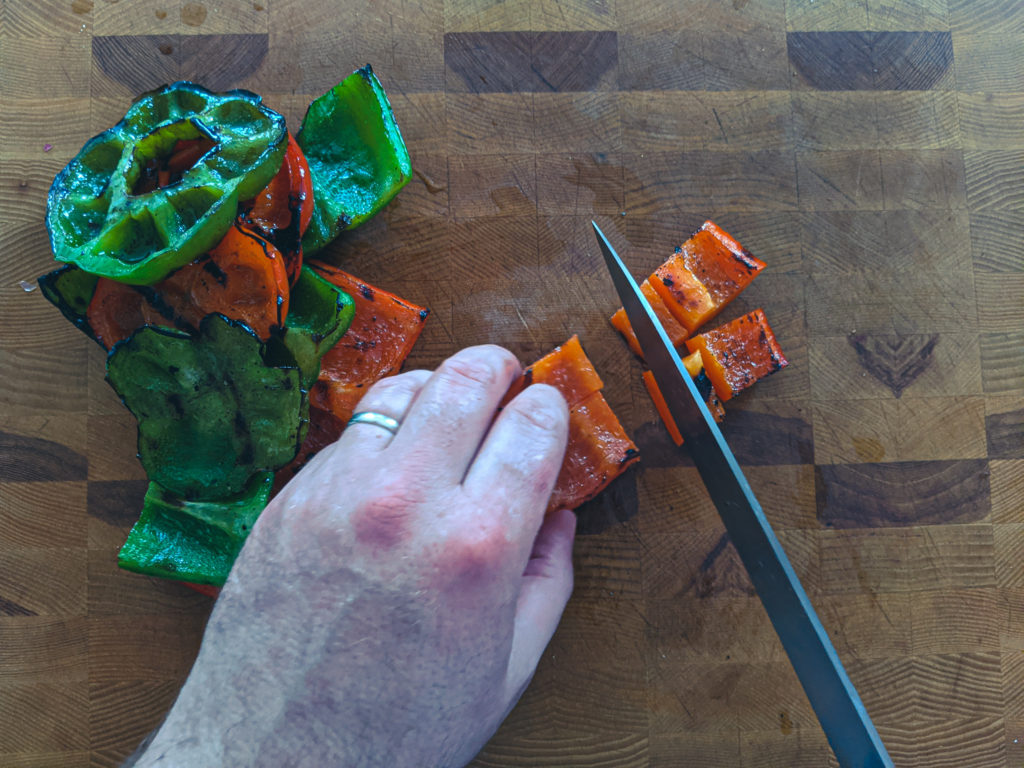
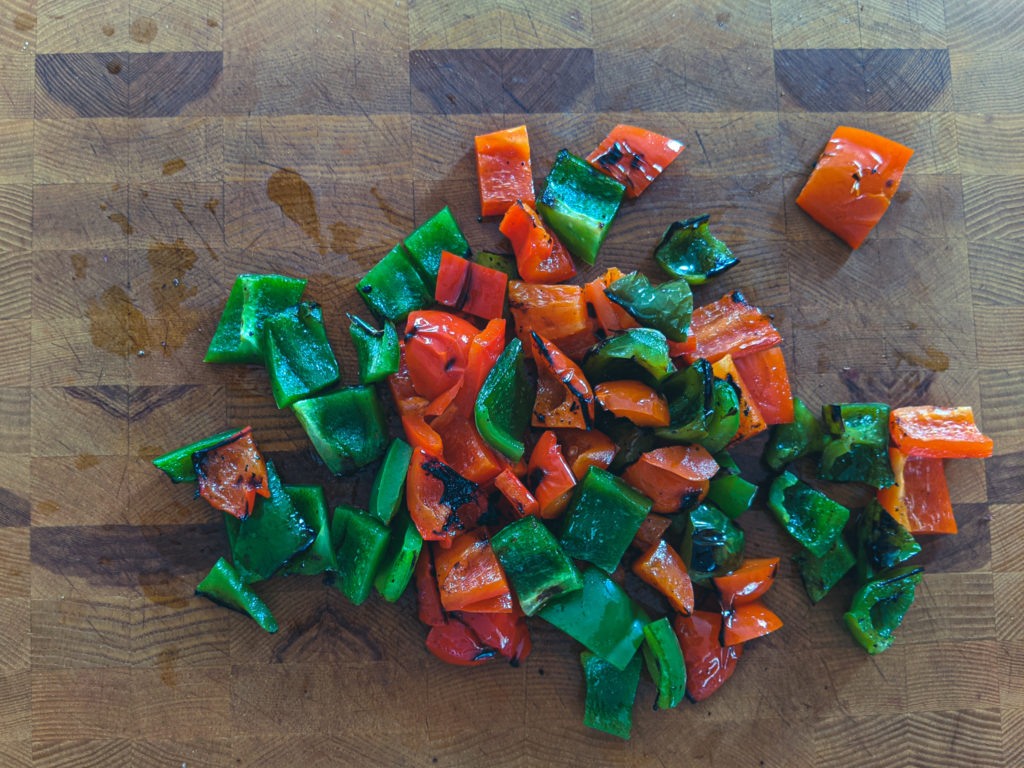
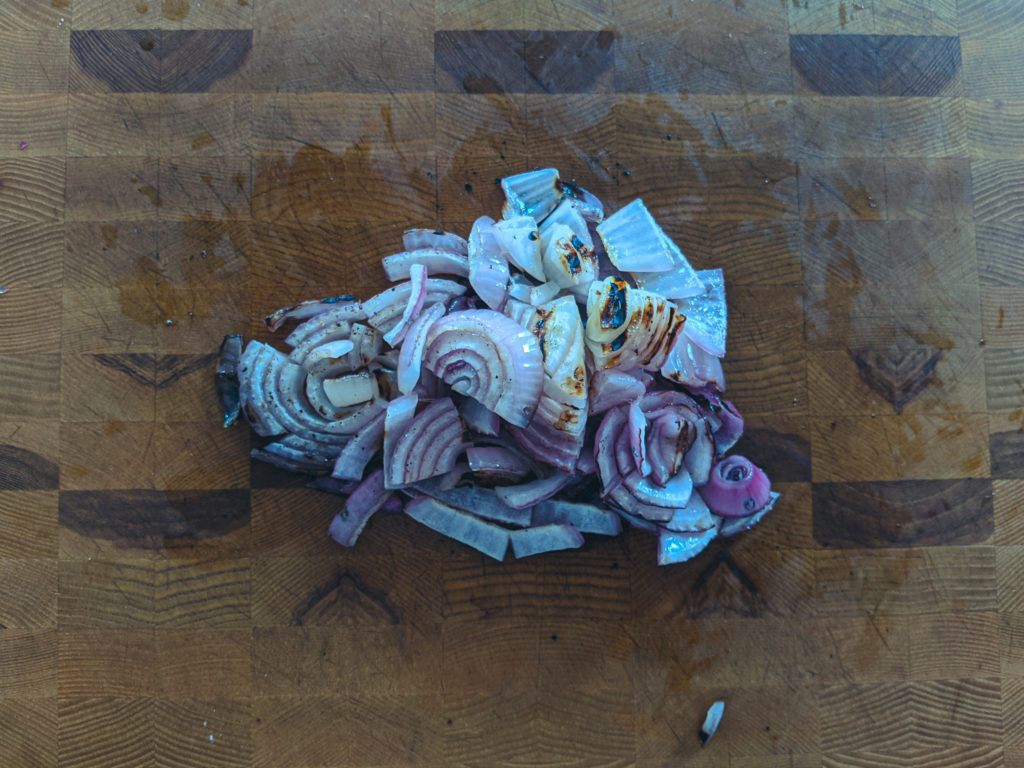
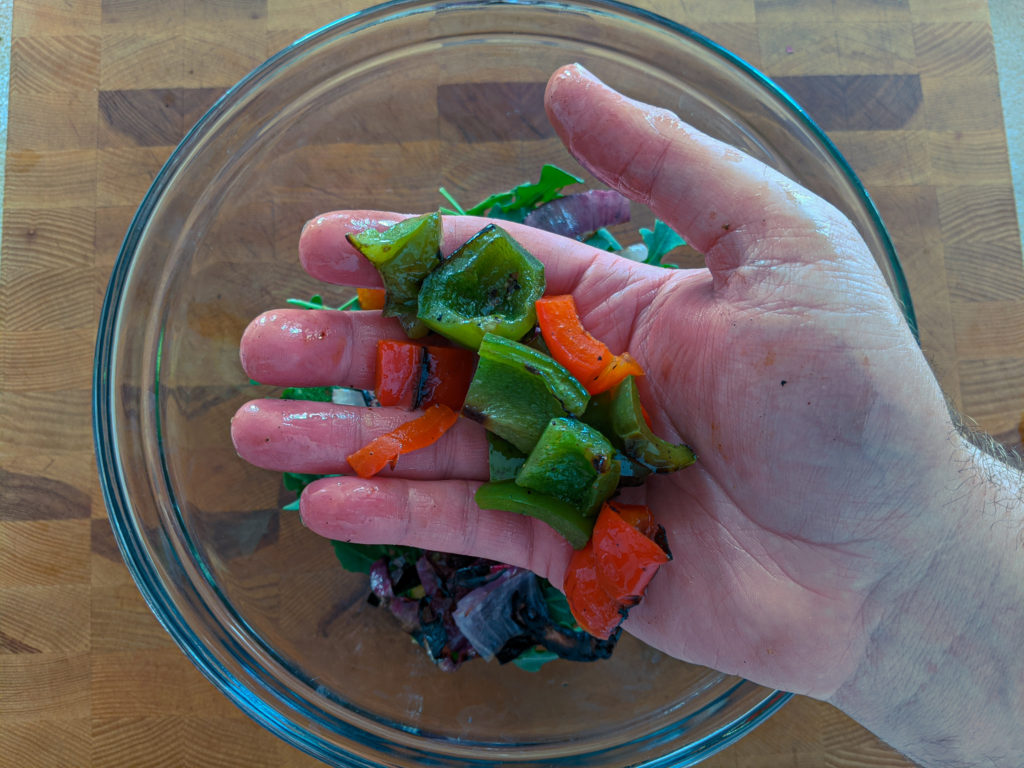
Cut all the cooked vegetables into bite-sized pieces and add to the arugula.
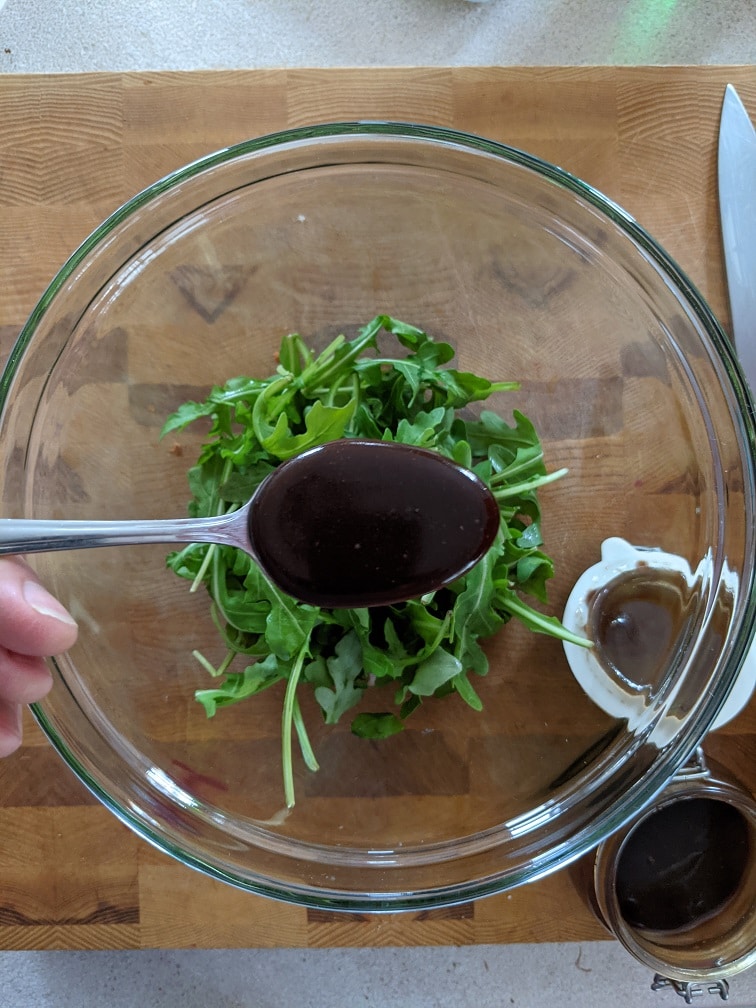
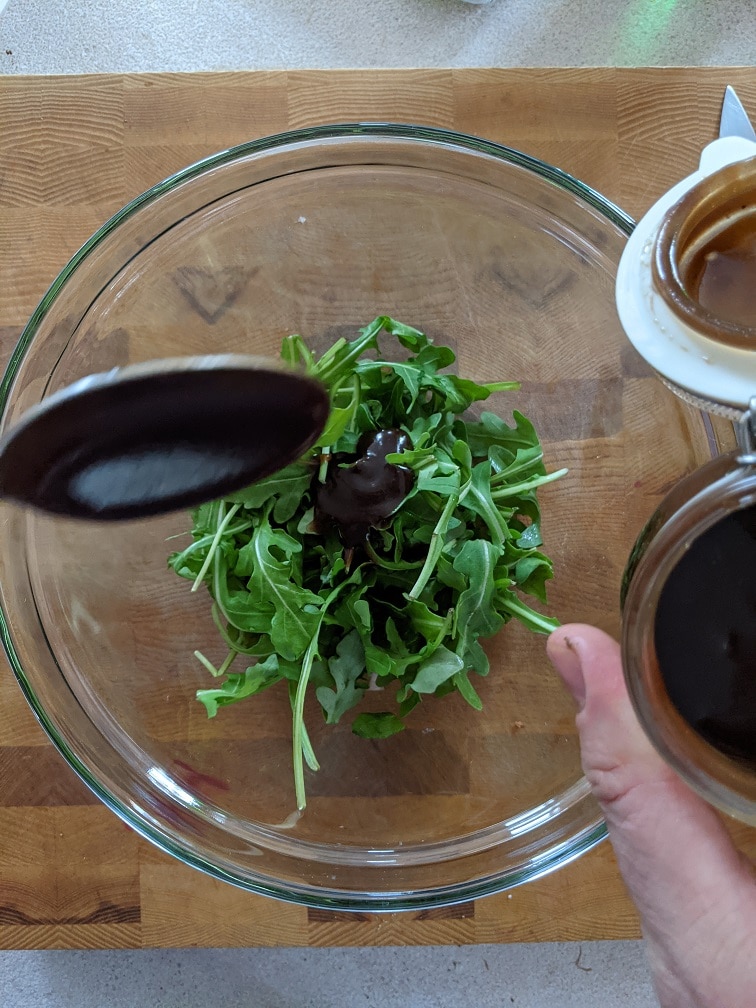
Pour the dressing and tomatoes onto the salad and toss.
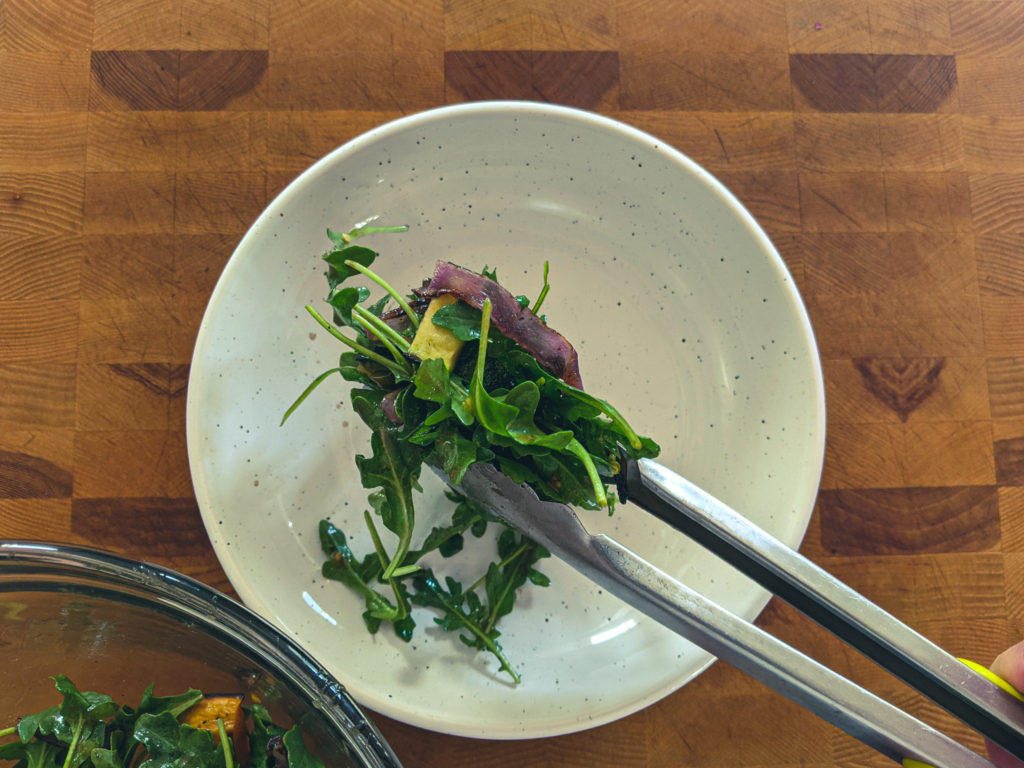
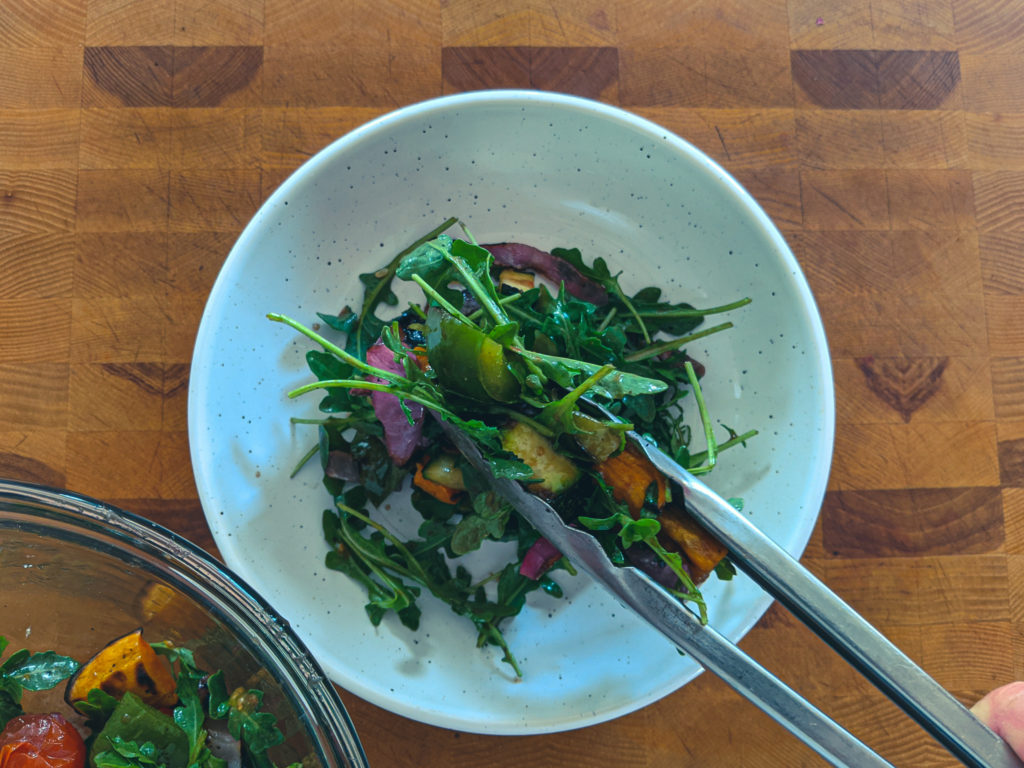
Plate the salad on one big platter or in 4 small salad bowls.
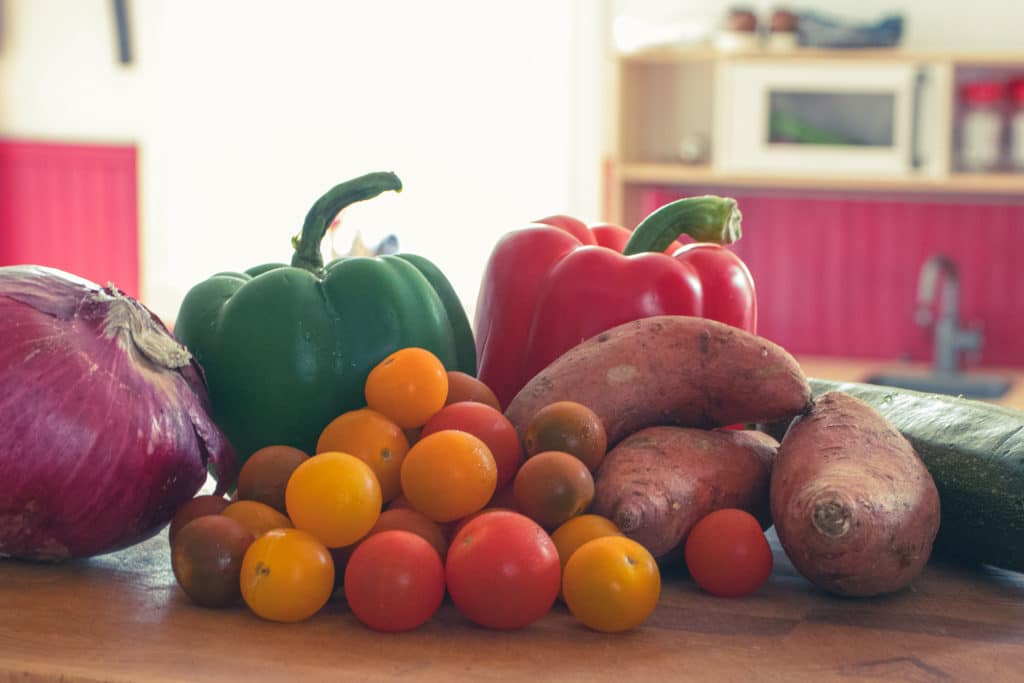
The vegetables I used for my salad are red and green bell pepper, red onion, zucchini, sweet potato, and cherry tomatoes. What’s great about this salad is that you can use anything fresh and in season. Other vegetables like squash, eggplant, and asparagus all work really well in this. So, use what you like.
Prepping The Vegetables For The Grill
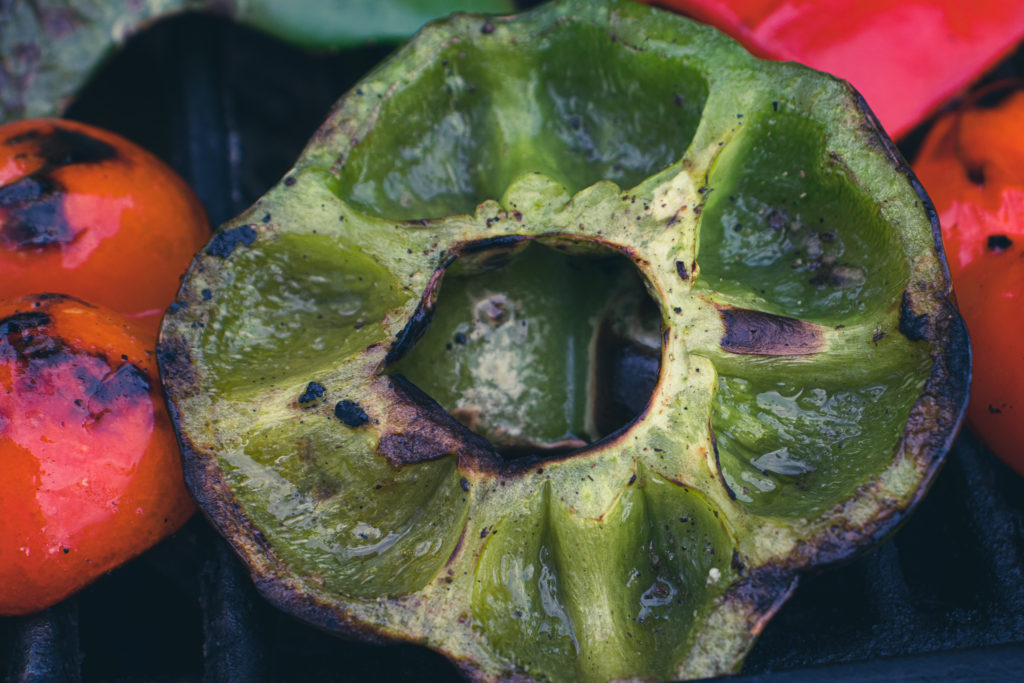
Bell Peppers
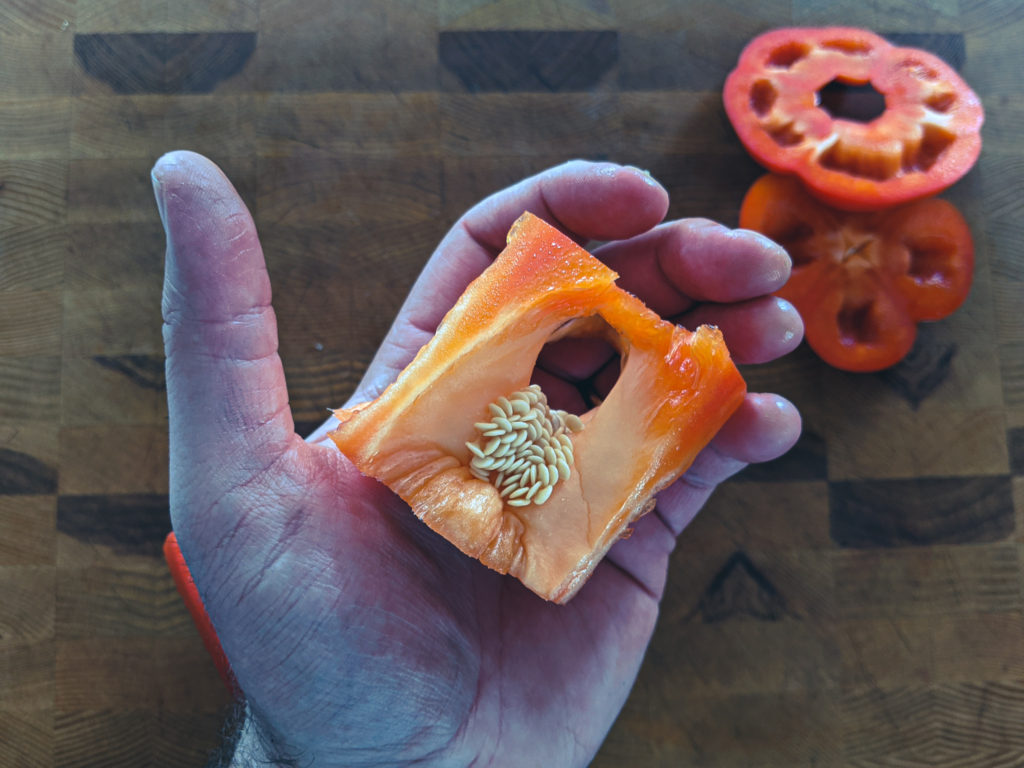
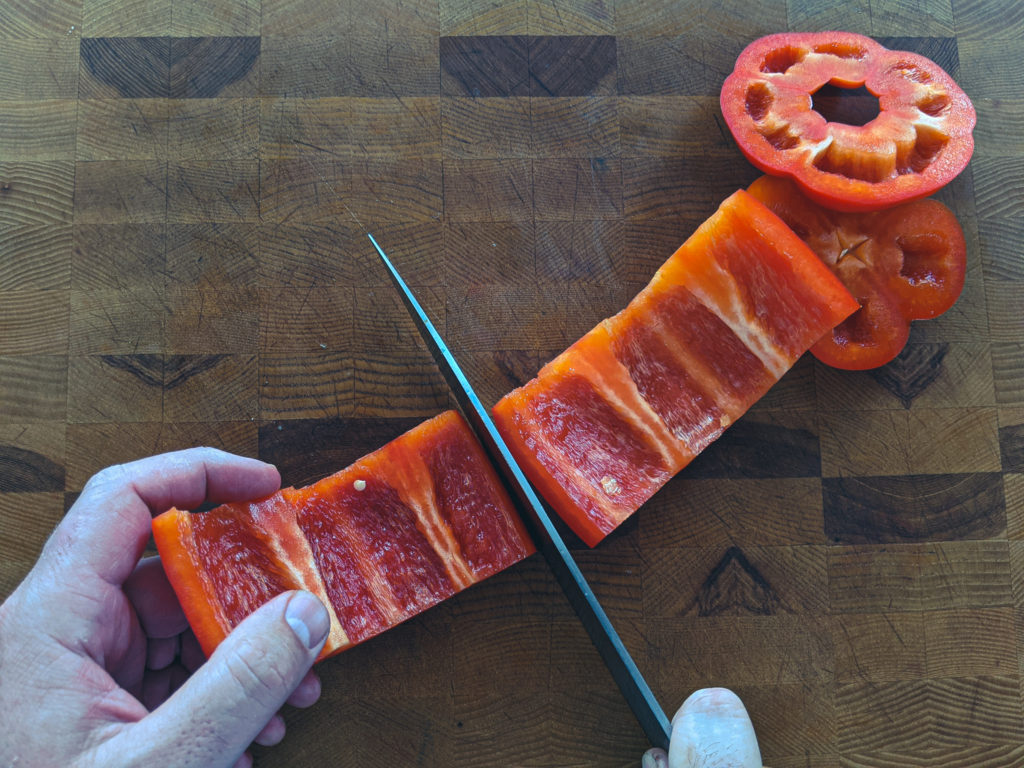
First things first, the vegetables have to be prepared for grilling. We’ll start with the peppers. Cut off the top and bottom and set them aside. Stand the pepper up and make a slice down one side of it. Place the pepper on its side and put your knife inside the slice you just made. Keeping your knife tight against the inside of the pepper, cut and roll. The idea is that you are cutting the inside ribs to release the seed pod without making a big mess of seeds. When you’ve gone all around the pepper, the seed pod should be free, and you should have one long strip of pepper. Cut the pepper stirp in half and move on to the next vegetable.
Red Onions
Next up, red onion. The easiest way I’ve found to grill onions is to slice them into fairly thick rounds (about 1/4 of an inch) and put them on a skewer. So, that is exactly what we’ll do. Slice the onion into thick rounds, remove the peel and put the rounds on a skewer. To ensure that the onion holds together while grilling, the skewer must be threaded through the middle of the onion.
Cherry Tomatoes
As with the onion, the easiest way to grill cherry tomatoes is to put them on a skewer. There’s isn’t really a trick to this. Just skewer them. I’m using fancy metal skewers because I’m cool like that, but if you use wooden ones, soak them for at least 30 minutes before putting them near a fire.
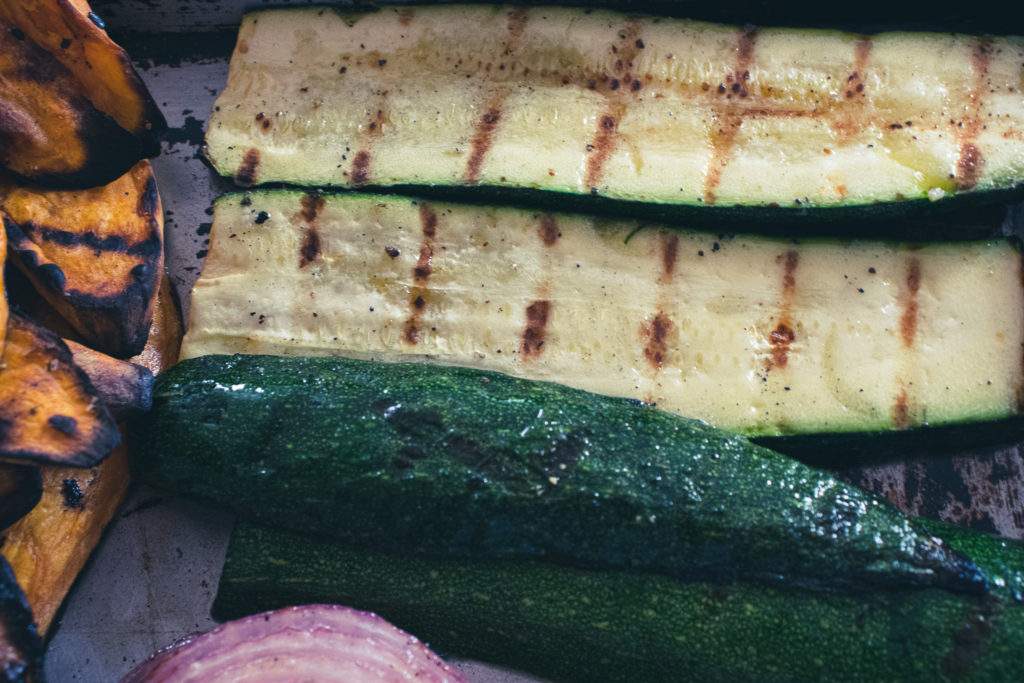
Zucchini
The second to last vegetable to prep is the zucchini. Cut it into long thick strips (again, about a 1/4 of an inch thick). That’s all you have to do. I like to cut vegetables like zucchini and the sweet potato, as you’ll see in a minute, into strips rather than rounds when grilling because I find they are less likely to fall between the grate of my grill. If you want to risk it and cut them into rounds, go for it.
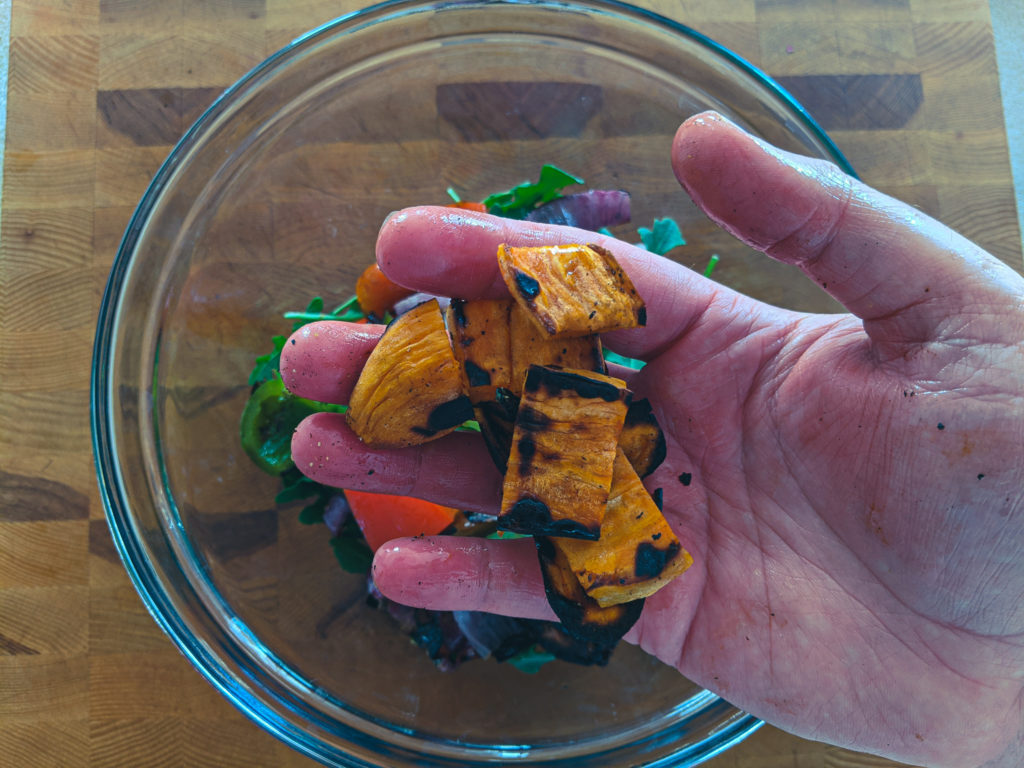
Sweet Potato
I had three tiny sweet potatoes, but you can obviously use one large one instead if you have it. Peel it, and cut the sweet potato into thin strips. Becasue the sweet potato will take longer to cook than anything else, you want to cut it thinner than everything else. This will help ensure that everything cooks in about the same amount of time.
Grilling The Vegetables
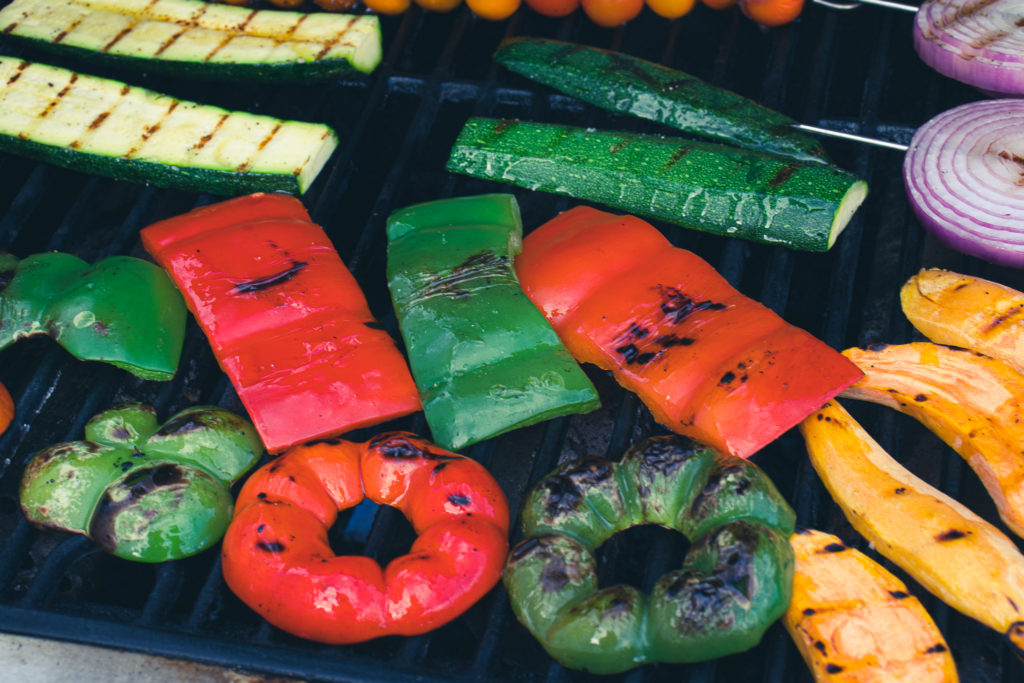
The vegetables are all cut up, some are on skewers, and now it’s time to get grilling. Wow! Wait a minute there speedy. We have to season and oil the vegetables first. Drizzle a few tablespoons of olive oil over the vegetables and season them on both sides with a little salt and pepper. Okay, now we can hit the grill.
Even though I didn’t mention it before, your grill should have been preheating on medium-high heat for the last 15 minutes. Throw the vegetables on the grill. Close the lid and let them cook. How long it takes to cook the vegetables will be largely determined by your grill, how windy it is outside, and what the outside temperature is. So, all I can really say is cook your vegetables until they are cooked. Make sense? You want them to have some bite still but not be hard. They should have a little char but not be burnt. Take a look at the pictures below for a little guidance.
Subscribe To Chef’s Notes and Get New Posts In Your Inbox Every Week
While the vegetables are grilling, or before you put them on the grill, you need to make the Maple Balsamic Vinaigrette. Don’t worry, it is super easy. To make the dressing get a medium mixing bowl and combine 1 teaspoon mustard powder, 1 tablespoon maple syrup, and a 1/4 cup balsamic vinegar. Whisk it all together, then whisk in a few drops of canola or grapeseed oil. Once those drops have all been incorporated, whisk in a few more. Then a few more. After three or four oil additions, you can start to add the remainder (1/2 cup in total) in a slow, steady stream whisking the whole time. Once all of the oil has been added and is whisked in, taste the dressing, and season with salt and pepper as needed.
You can use this Maple Balsamic Vinaigrette right away or store it in the fridge in an airtight container for up to two weeks.
Marinate The Tomatoes
Okay, back to the grill. Once the tomatoes start to pop (4 to 5 minutes flipping once), take them off the grill, remove them from the skewer and put them right in the dressing to marinate while the other vegetables finish cooking.
Grilled Vegetable Salad
Finishing The Grilled Vegetables
As the vegetables finish cooking, take them off the grill and set them aside. Once all the vegetables are finished, take them back to the house, and make the salad. Start by cutting all of the grilled vegetables into bite-sized pieces.
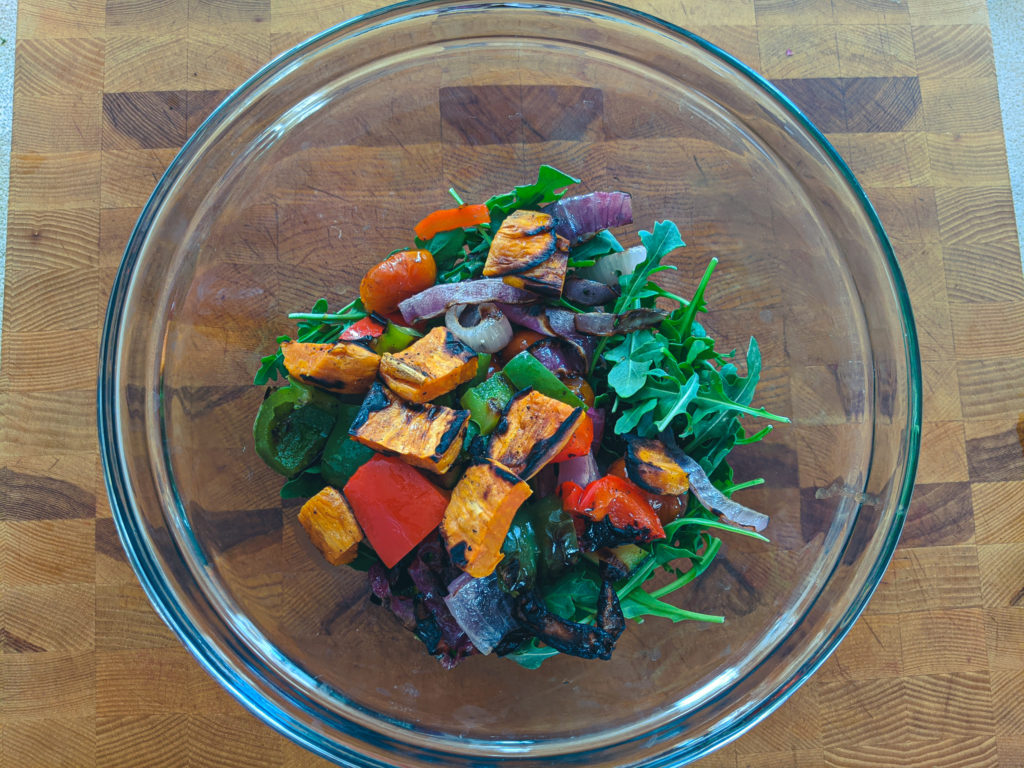
Making The Grilled Vegetable Salad
Put four to five cups of arugula in a large mixing bowl, spoon the dressing and the tomatoes over the arugula. Add the rest of the vegetables and toss. If you are only making a salad for one or two people, prepare it in a medium mixing bowl with half the vegetables and spoon some of the dressing over the greens.
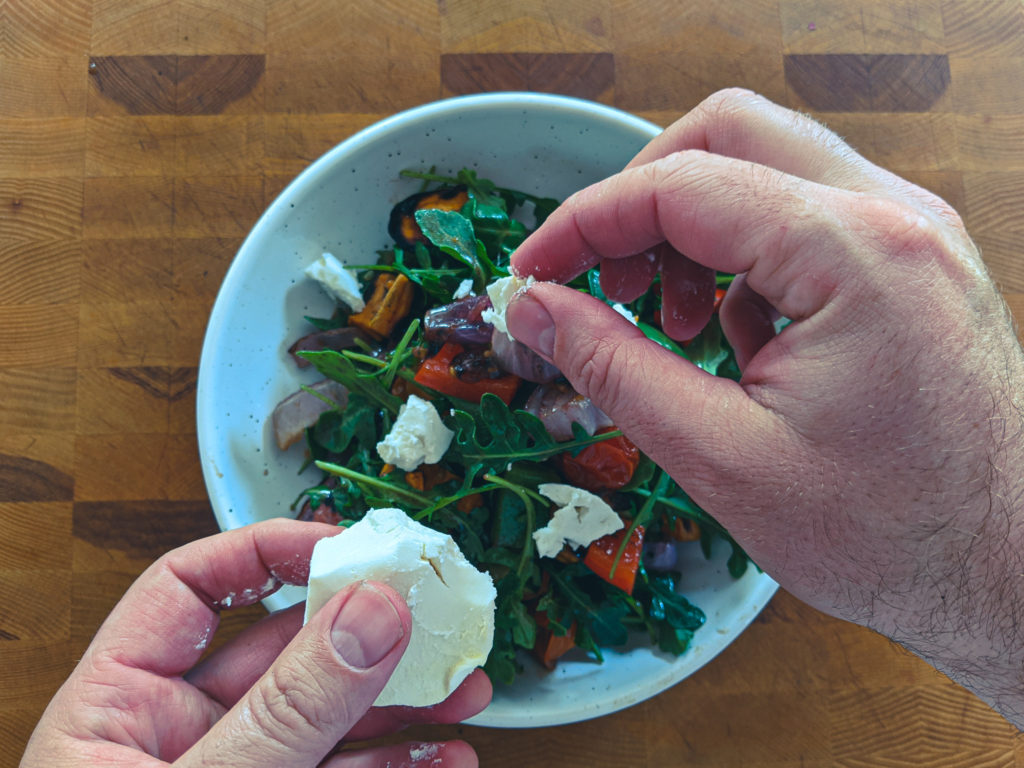
Finish The Salad
To finish the salad, plate it in four small bowls or on one large platter. Top it with crumbled goat cheese and serve.
The Wrap Up
I love this salad because the sweetness from the grilled vegetables plays with the spiciness of the arugula and the tartness of the vinaigrette. Then, the creaminess of the goat cheese ties it all together to create something truly delicious and memorable. Give it a try for yourself. You won’t be disappointed.
Thank you for reading. Remember to subscribe below to get every Chef’s Notes post delivered to your inbox. And If you enjoyed this post, share it on Facebook or Pinterest.
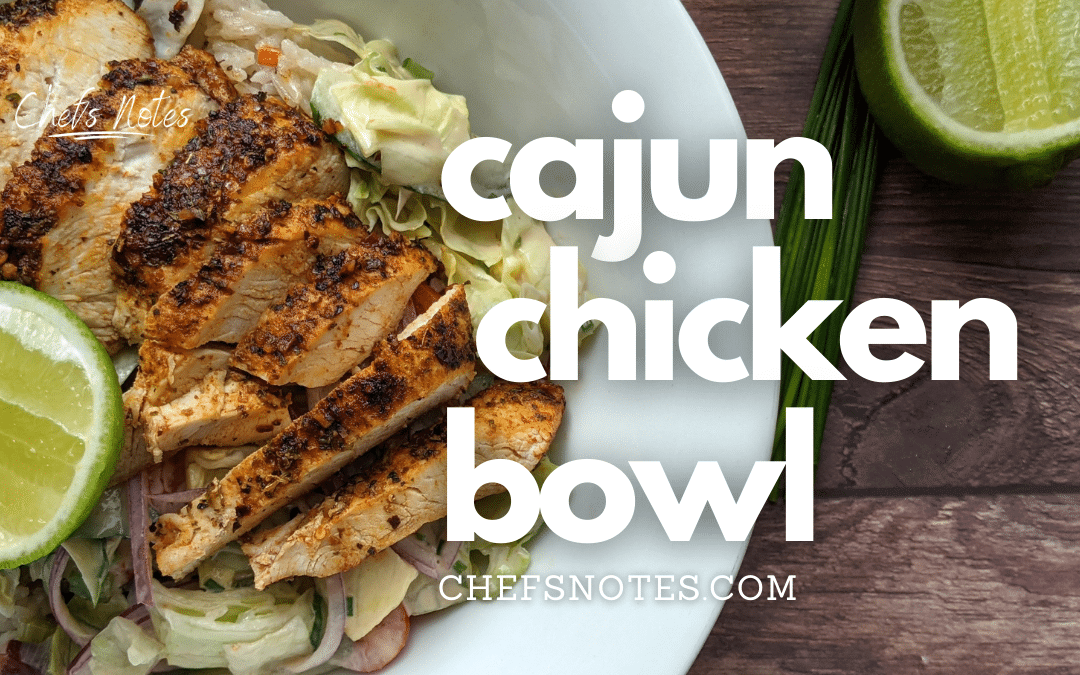
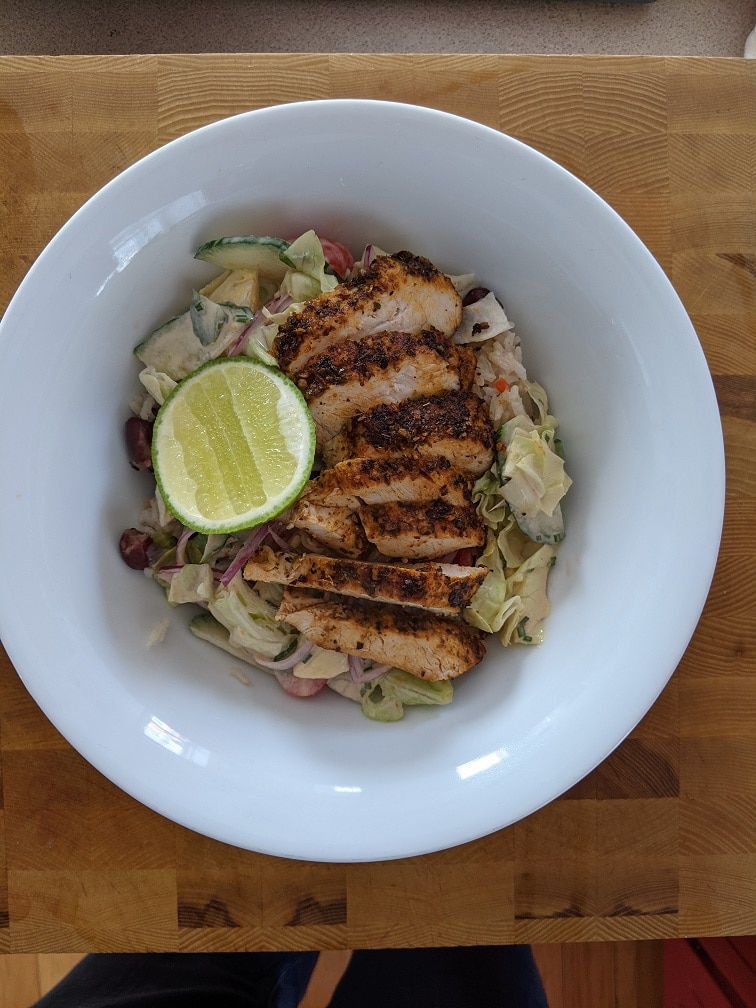
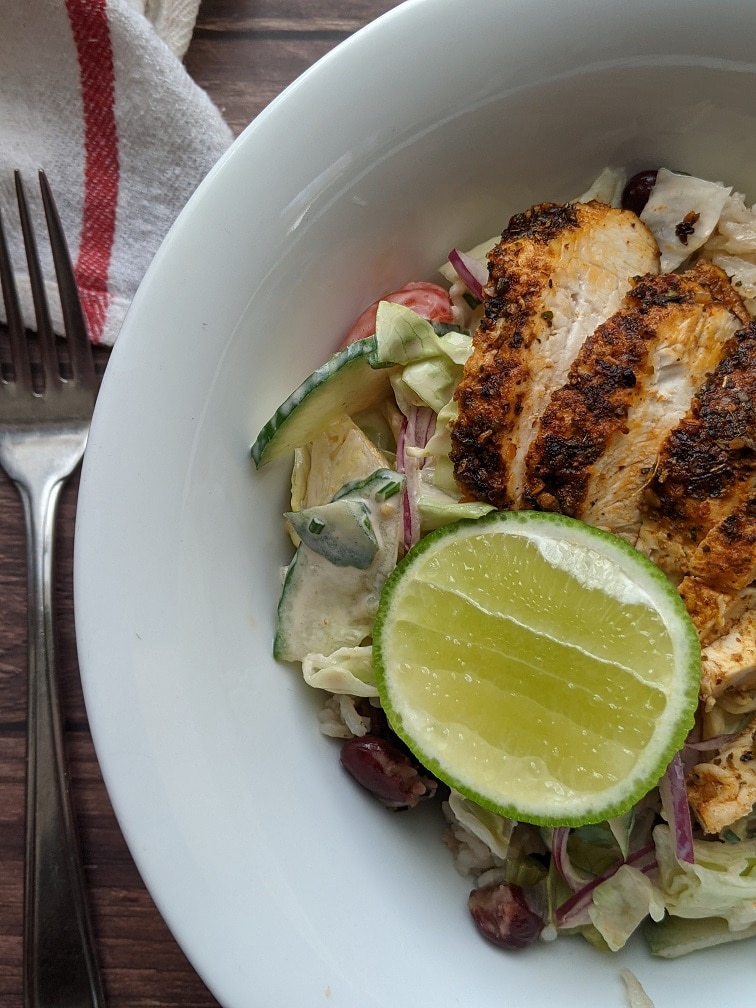
Today marks the beginning of a brand new series here at Chef’s Notes. Over the next eight Friday’s I will share with you recipes, instructions, and tips on how to make delicious “salad bowls.” Today, we’ll make a Cajun Chicken Salad and Rice Bowl. This bowl has three main components—the rice, which has beans and bell peppers in it. There is a salad with a delicious homemade dressing. And of course, there is the cajun chicken. I absolutely loved this Cajun Chicken Bowl, and I am very excited to share it with you. So, let’s get to it.
Rice and Beans
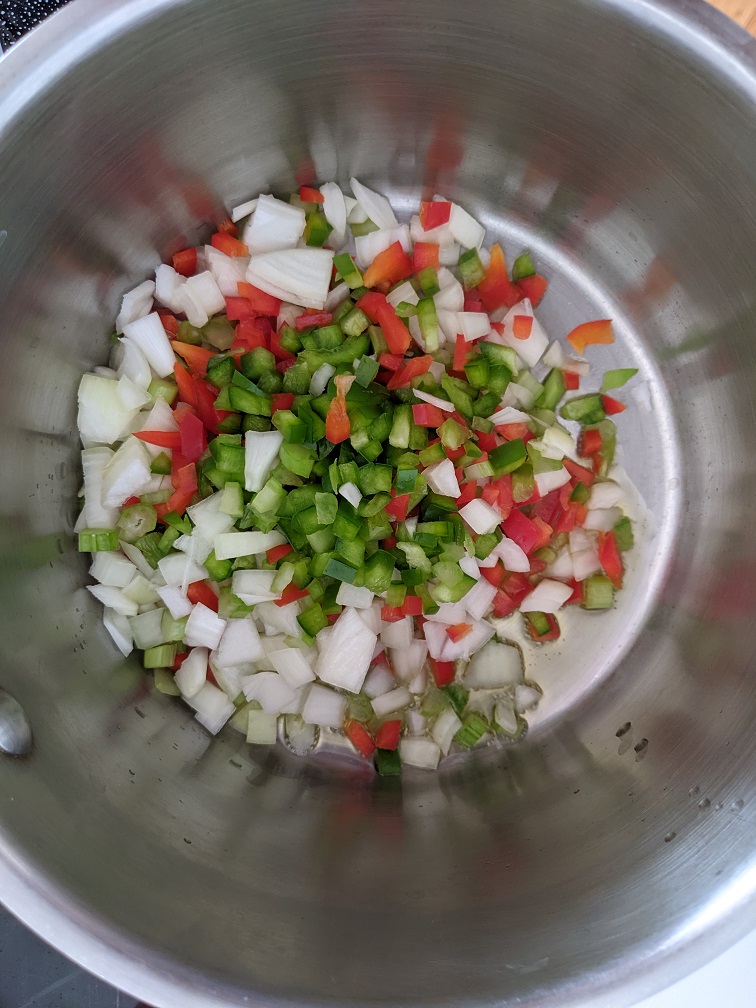
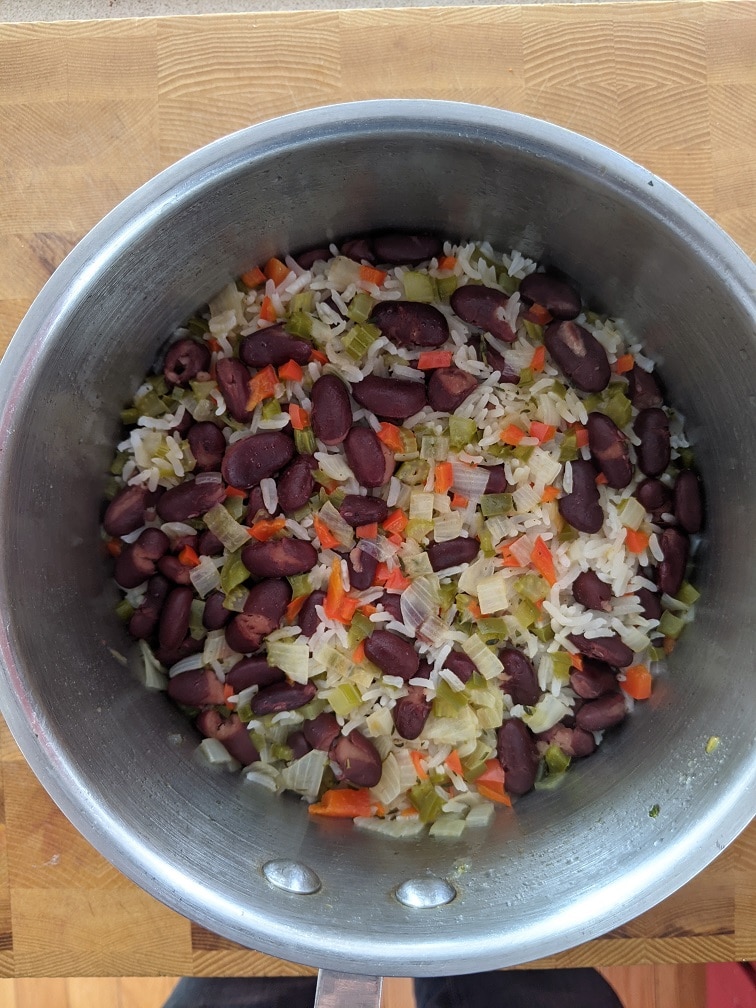
This bowl is built around the Cajun chicken, so I wanted to keep that Cajun feel throughout the dish. To do that, I made Cajun-style rice and beans. As any regular reader of this blog will know, the French have a combination of ingredients called Mire Poix (onion, carrot, and celery) they use as a base for soups, sauces, and just about everything else. Cajun cooking has a similar combination that is the foundation of their flavour called the Holy Trinity. The only difference between the Holy Trinity and Mire Poix is that the Holy Trinity substitutes carrots for bell peppers. You’ll be surprised at how much of a difference in flavour that small change makes. The rice and beans can be made a day ahead, then reheated in the microwave or on the stove.
Ingredients
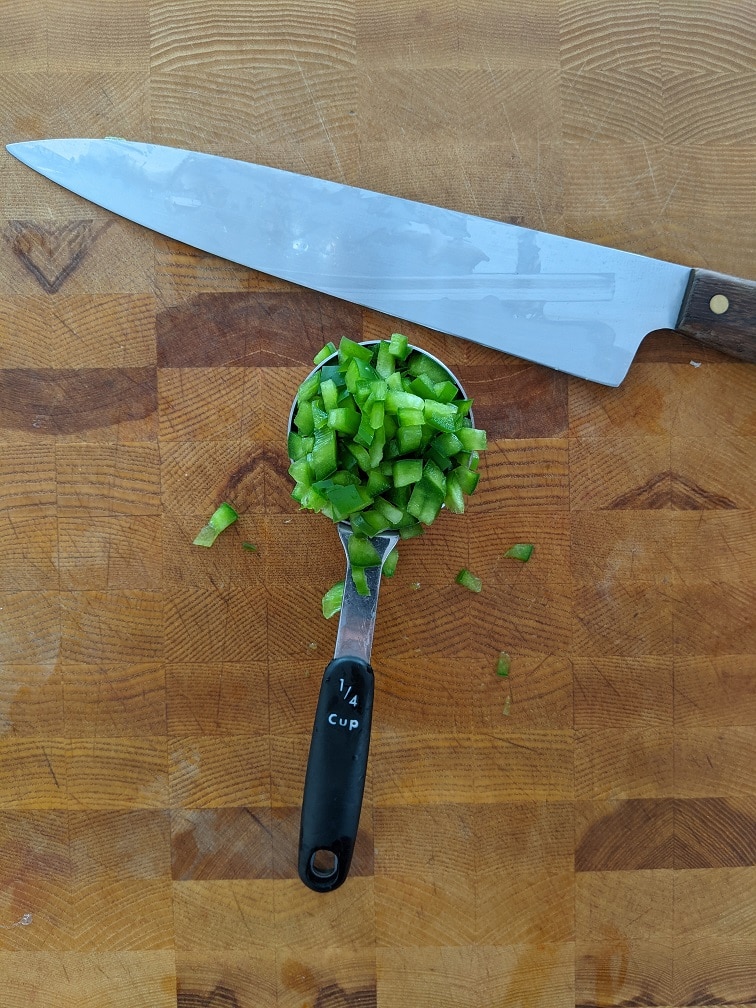
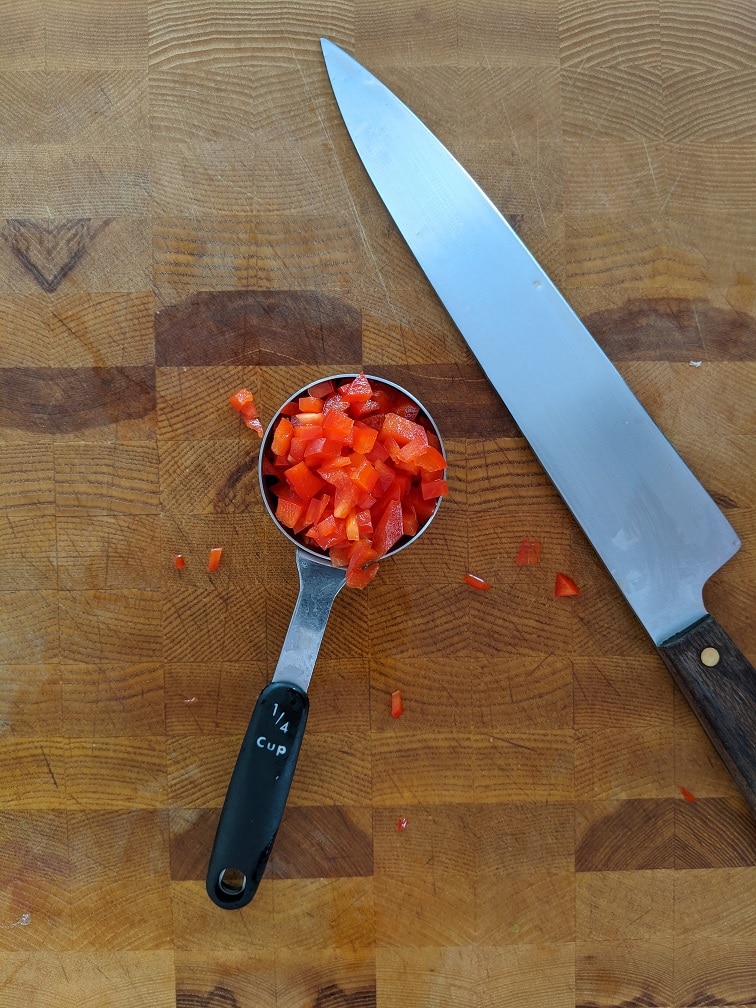
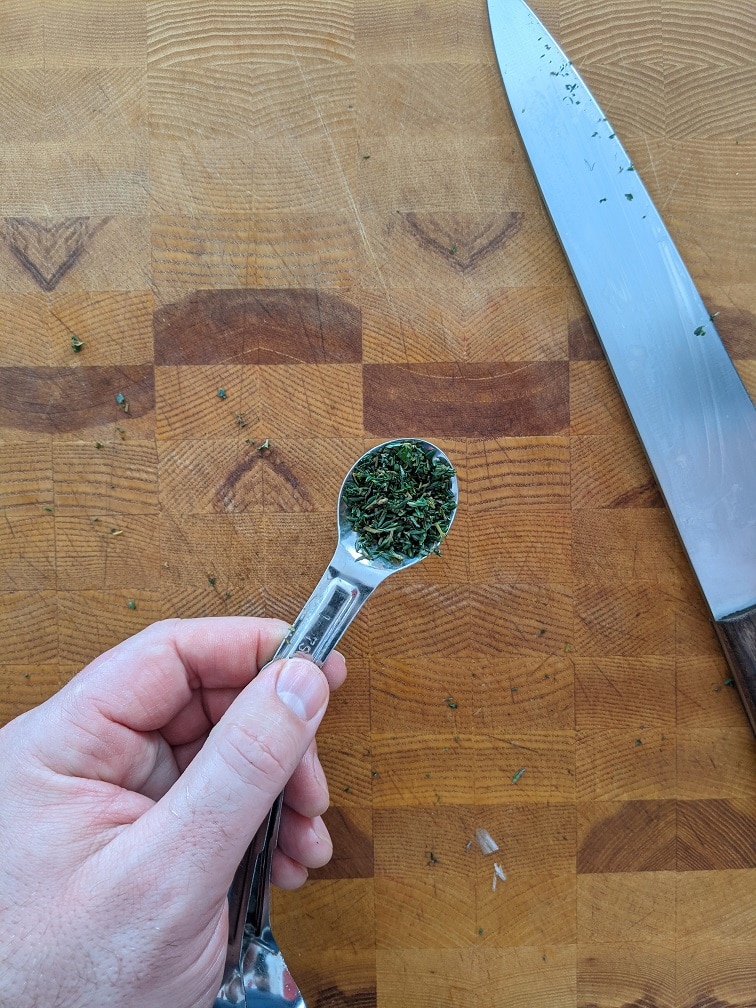
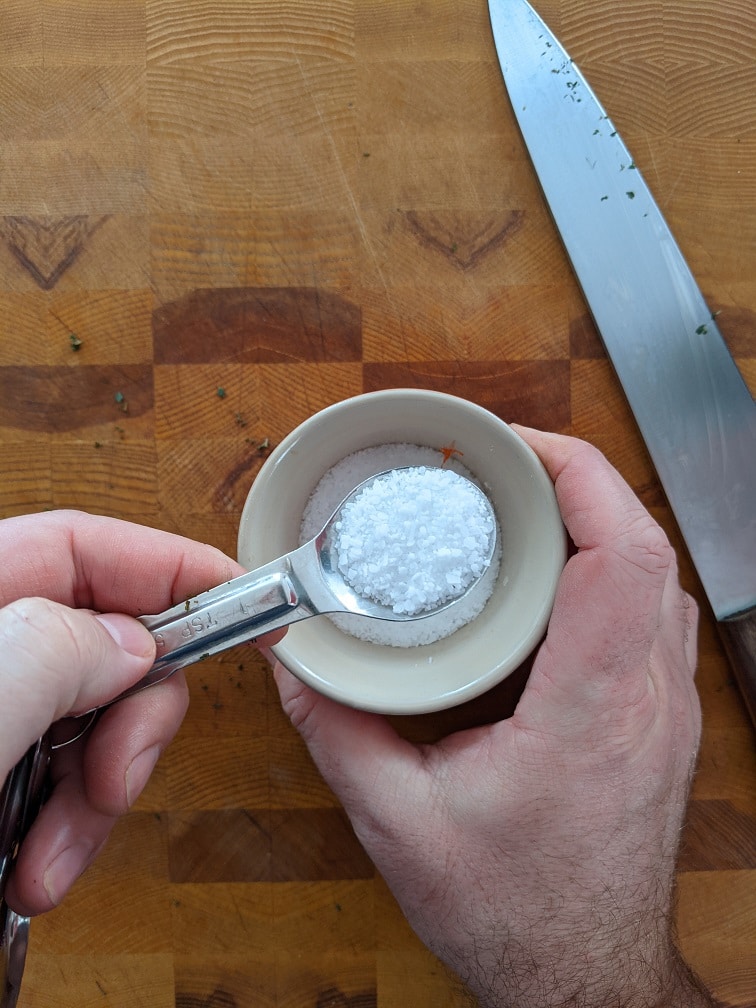
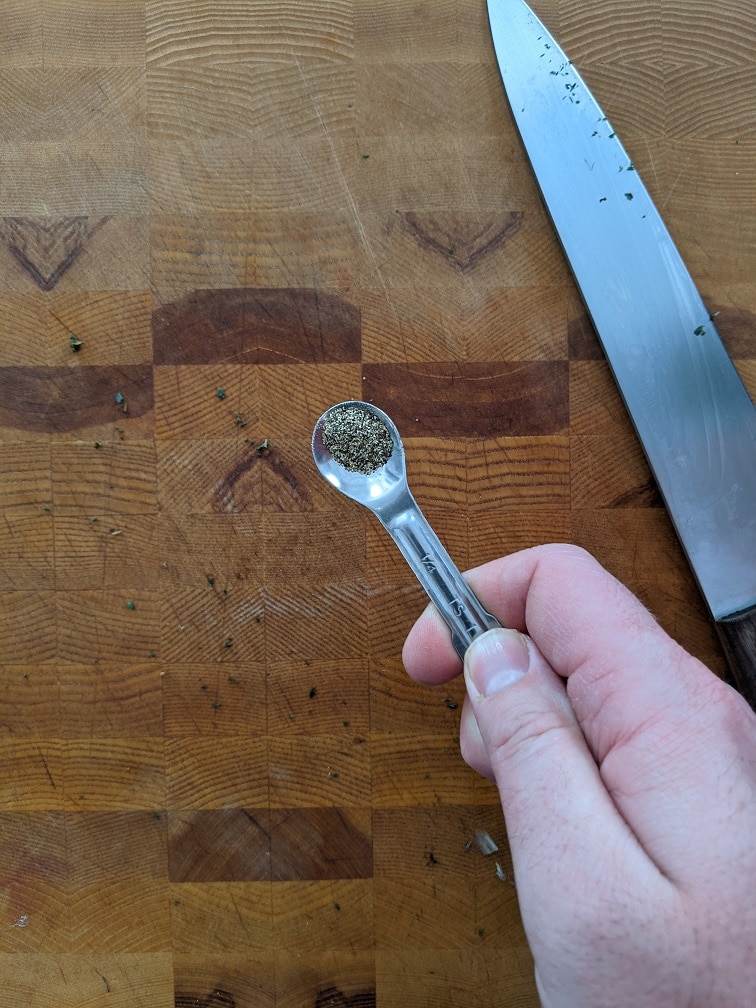
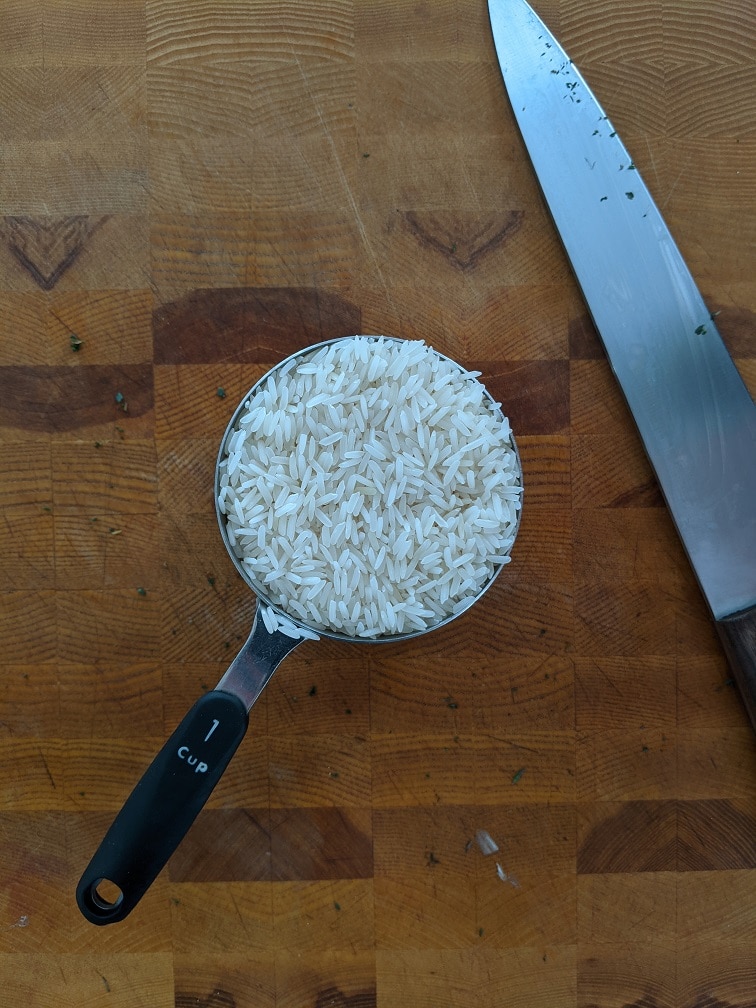
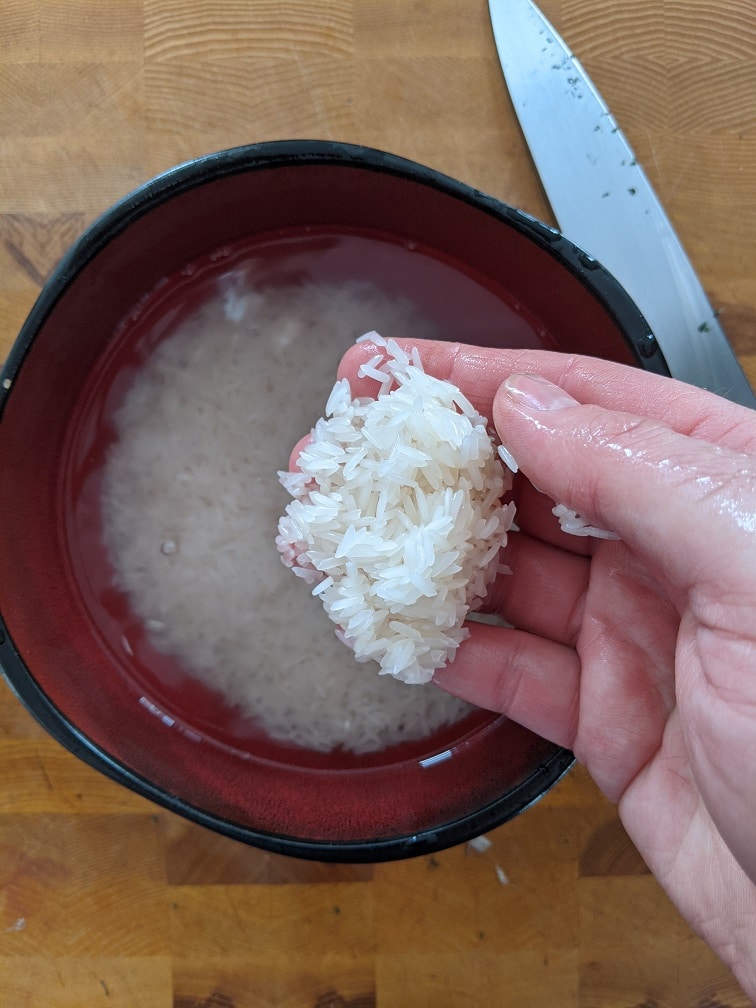
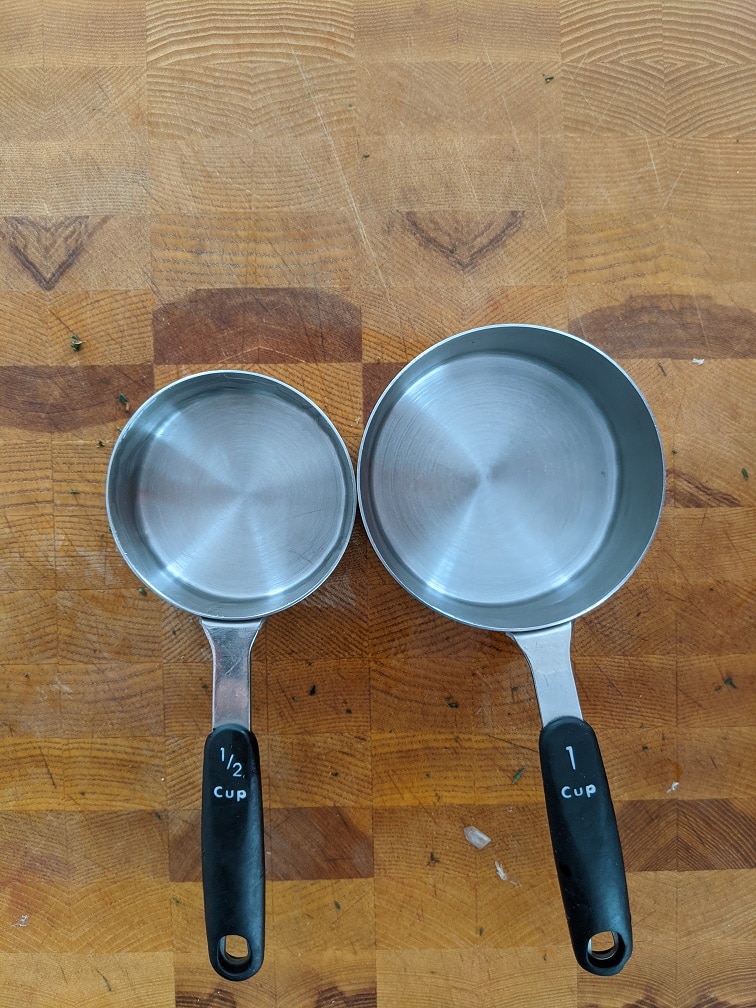
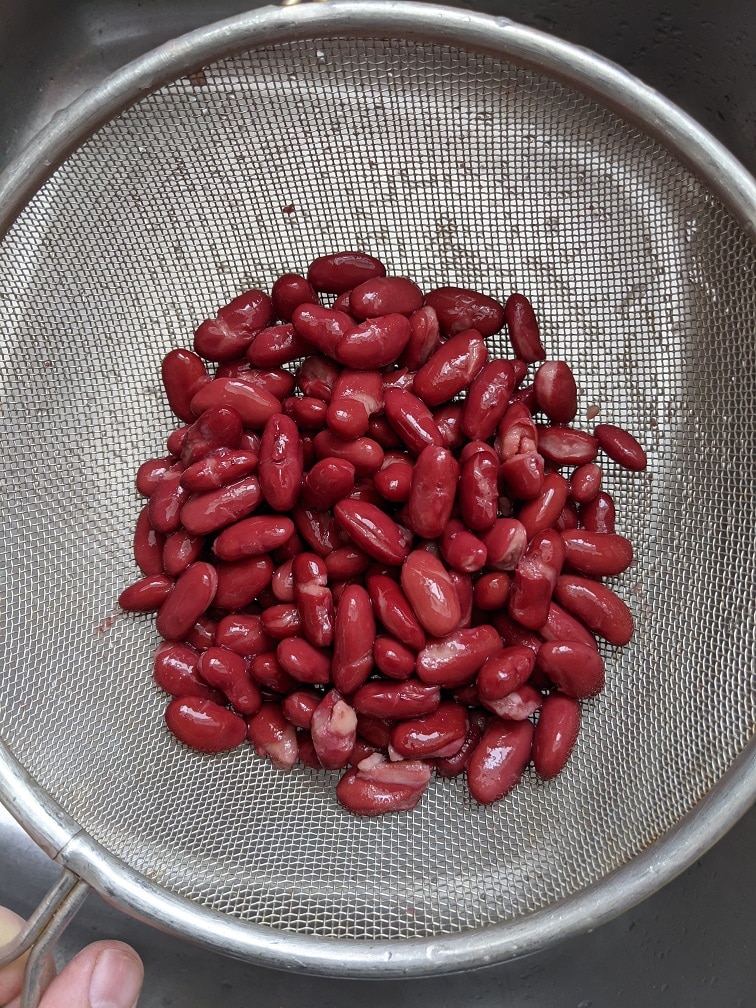
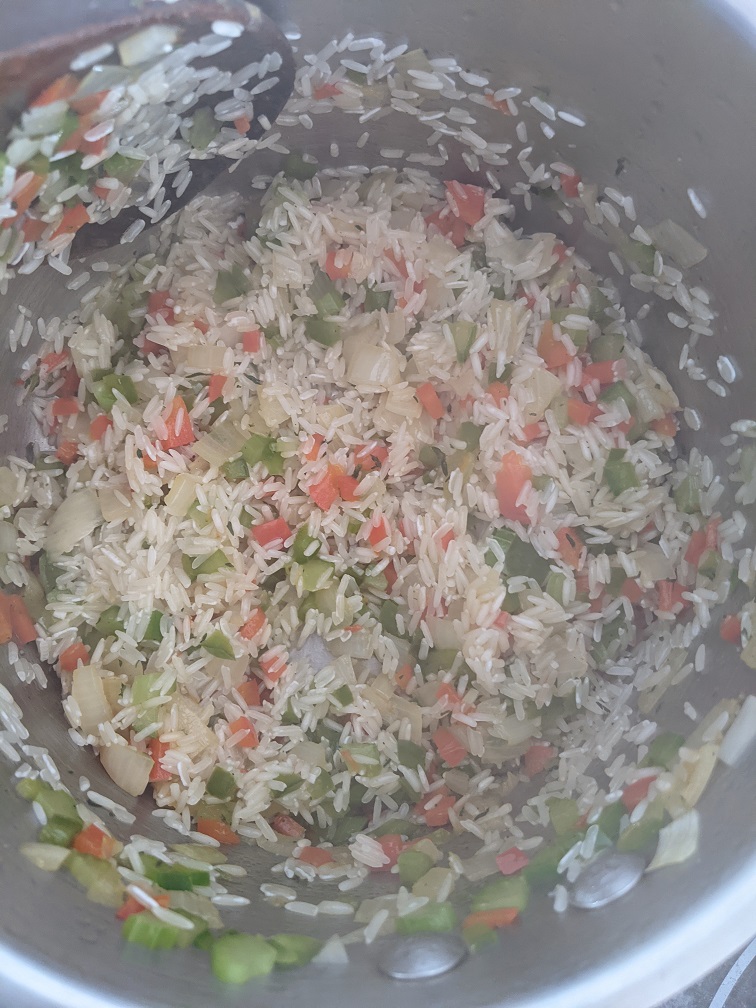
The rice and beans ingredients are a quarter cup each diced green bell pepper, red bell pepper, and celery. Half a cup of diced onion. One teaspoon of chopped fresh thyme. One teaspoon of kosher salt. One cup of jasmine rice, rinsed and drained. One and a half cups of water. And one 398ml can of red kidney beans, drained and rinsed.
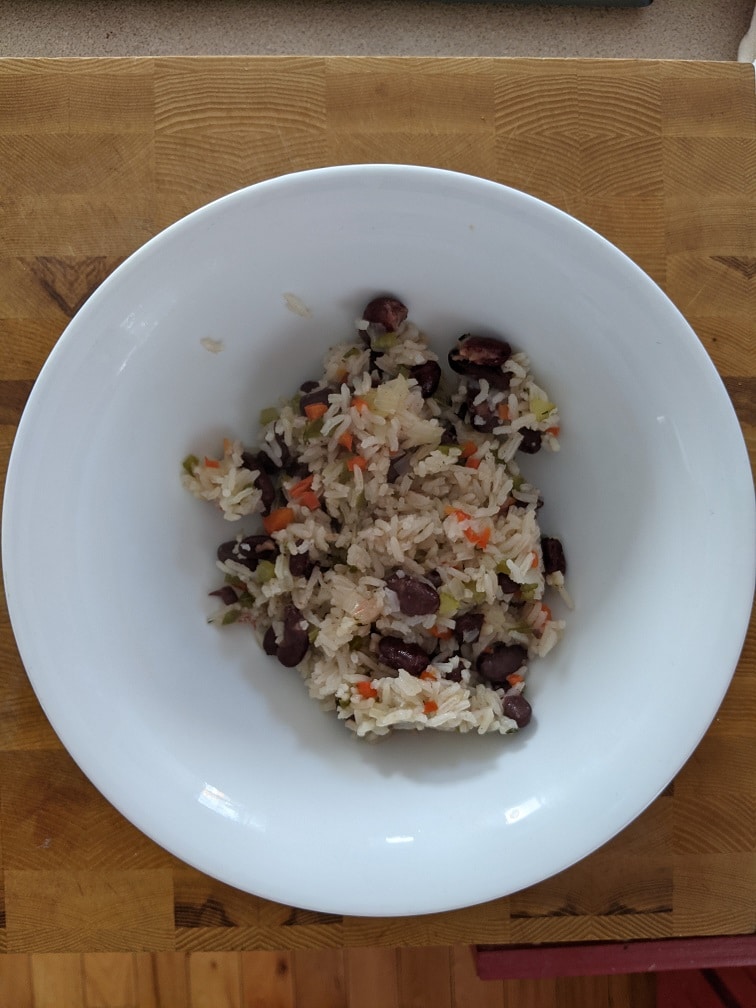
Making The Rice and Beans
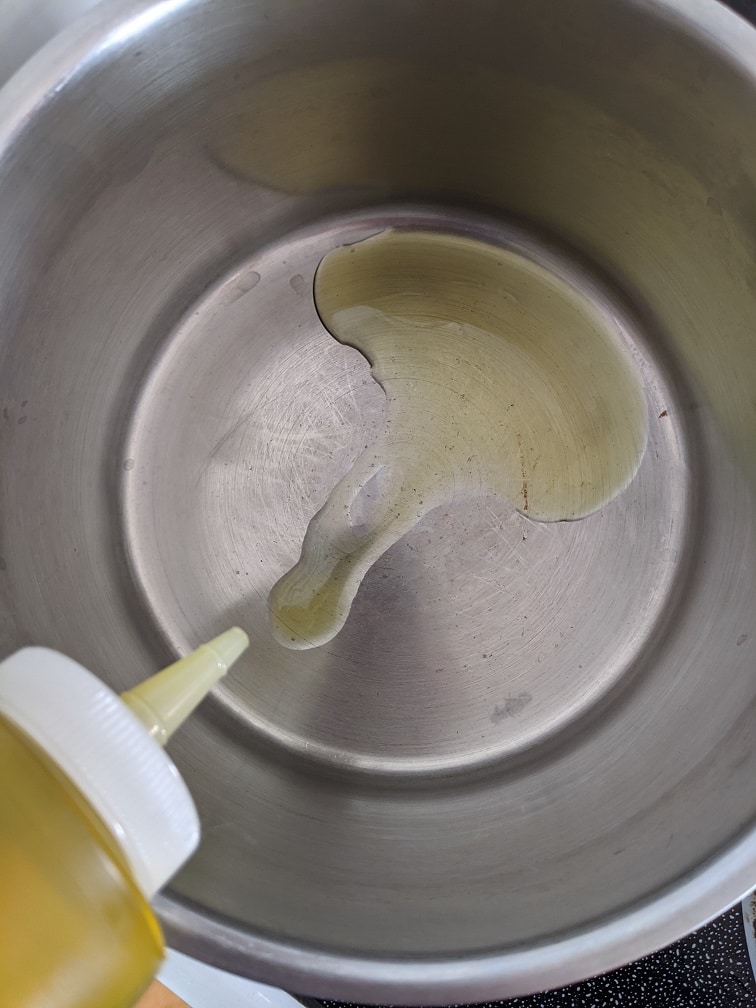
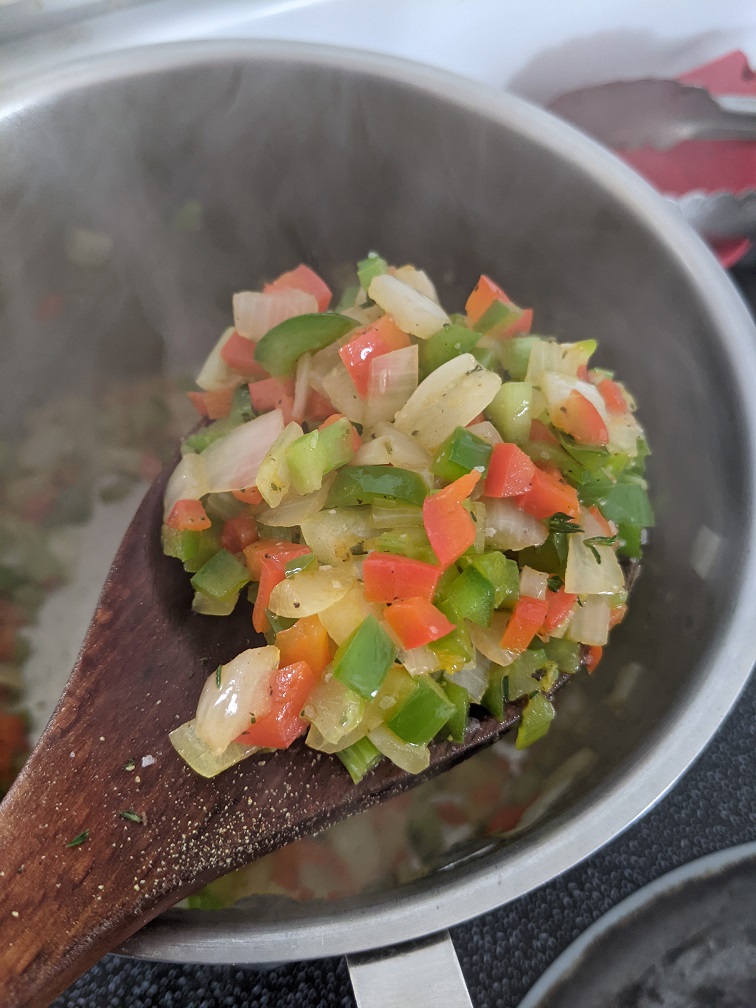
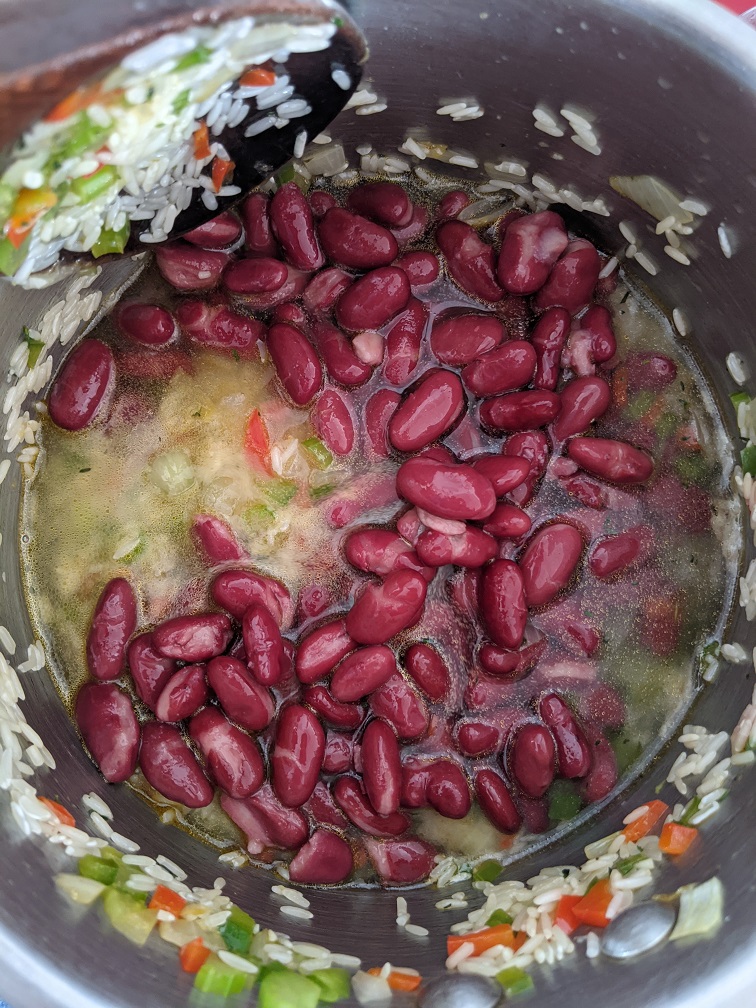
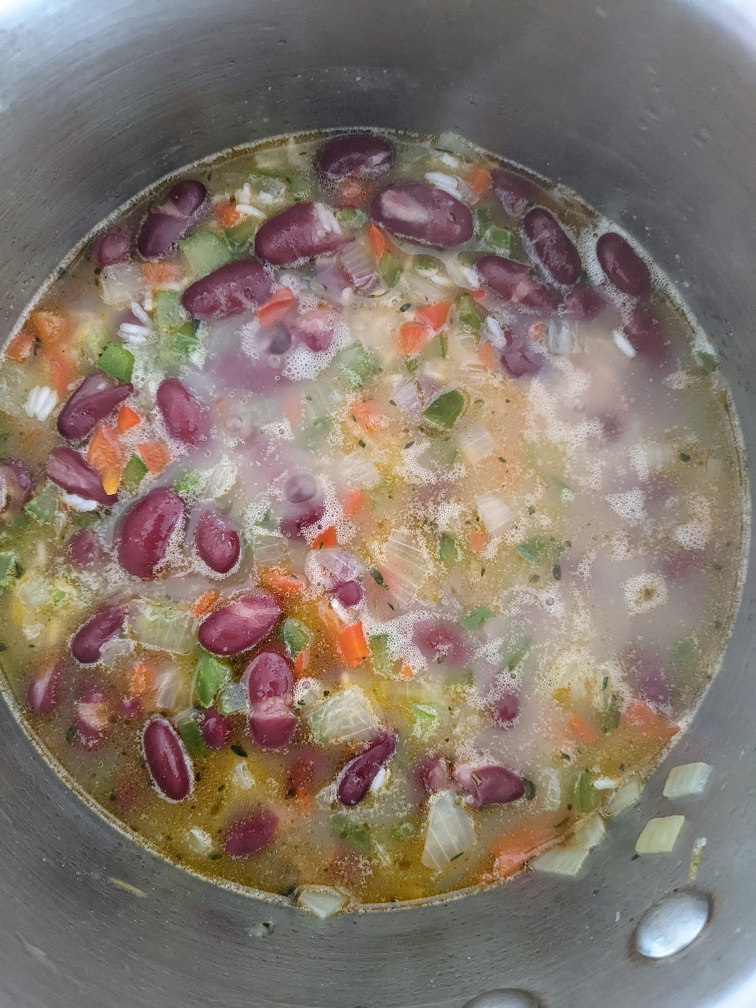
Start the rice and beans by heating a two-quart pot over medium-high heat. Add in the onion, celery and bell peppers and cook for three to four minutes or until the onions soften. Add the salt, pepper, and thyme, cook for thirty seconds, then add in the rice and cook for one more minute. Add the beans and the water, bring the pot to a boil, put a lid on the pot, turn the heat down to low, and let the rice simmer for seventeen minutes. Then, take it off the heat and let it rest for five minutes before serving.
Cajun Rice and Beans
The perfect side dish to any Cajun meal and a key componenet to my Cajun Chicken Salad Bowl
While the rice and beans are cooking, make your dressing and salad. The salad is a pretty standard type of garden salad with lettuce, cucumber, and tomato. However, the dressing is a take on a classic Cajun remoulade. Cajun remoulade differs from French remoulade only sightly. These differences are mostly based on regional ingredients. If you don’t know what remoulade is, don’t worry, you’ve had it before. Remoulade is essentially a fancy precursor to tartar sauce. Cajun remoulade tastes more like Thousand Island Dressing than tartar sauce, and that’s what we’re making today. Of course, you can just use store-bought dressing if you’d like, but I encourage you to make this at least once.
Making The Dressing
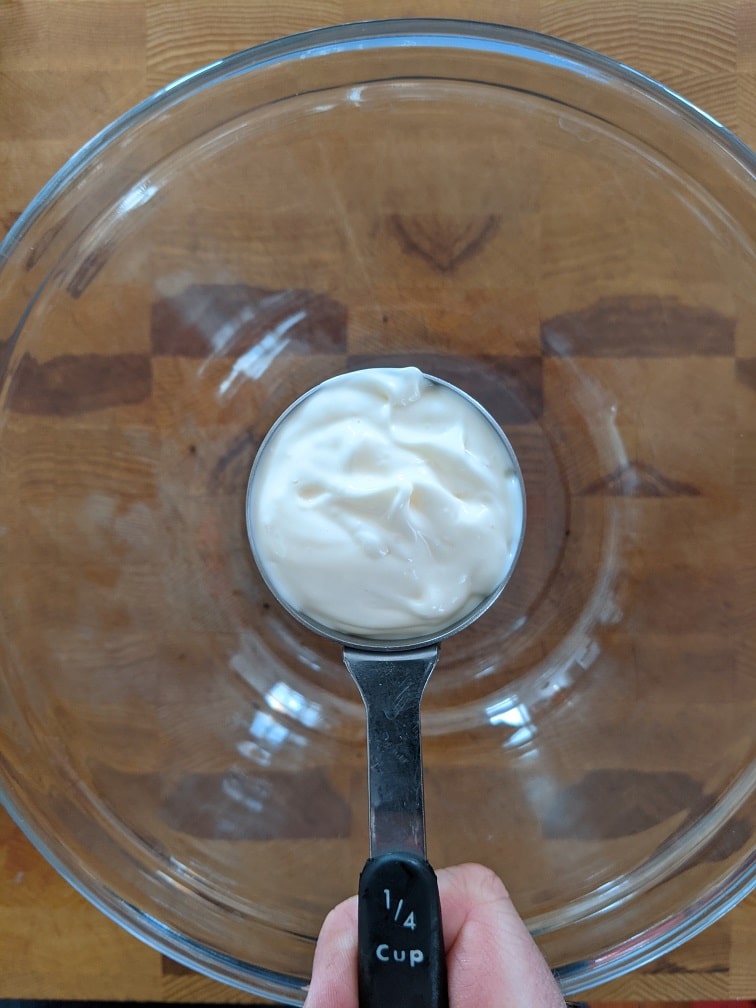
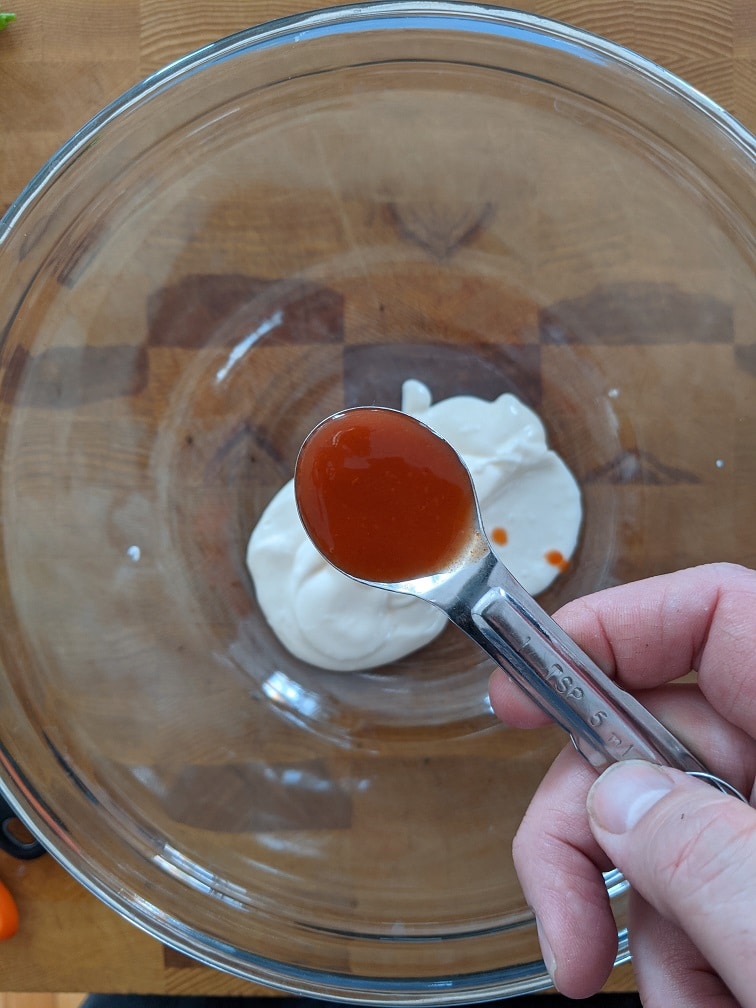
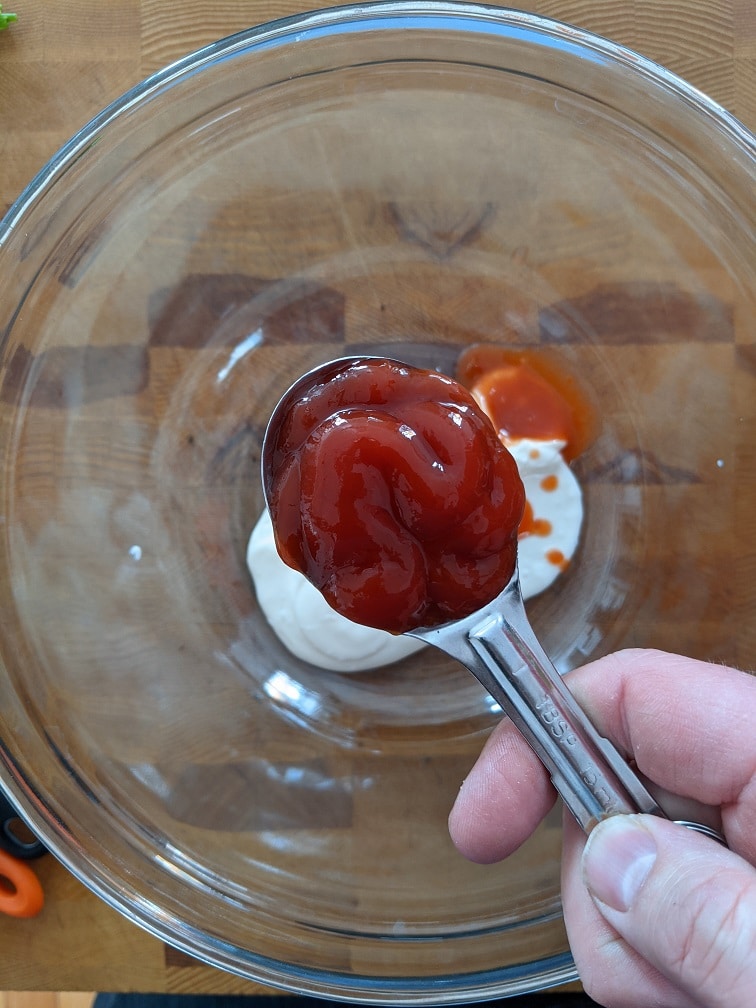
To make the Cajun remoulade combine a quarter cup of mayonnaise, one teaspoon hot sauce, one tablespoon ketchup, one teaspoon dijon mustard, one tablespoon finely chopped gherkins, one tablespoon minced chives, a quarter teaspoon kosher salt, and a teaspoon or two of fresh-squeezed lemon juice. Mix all the ingredients and let them sit for ten minutes before using.
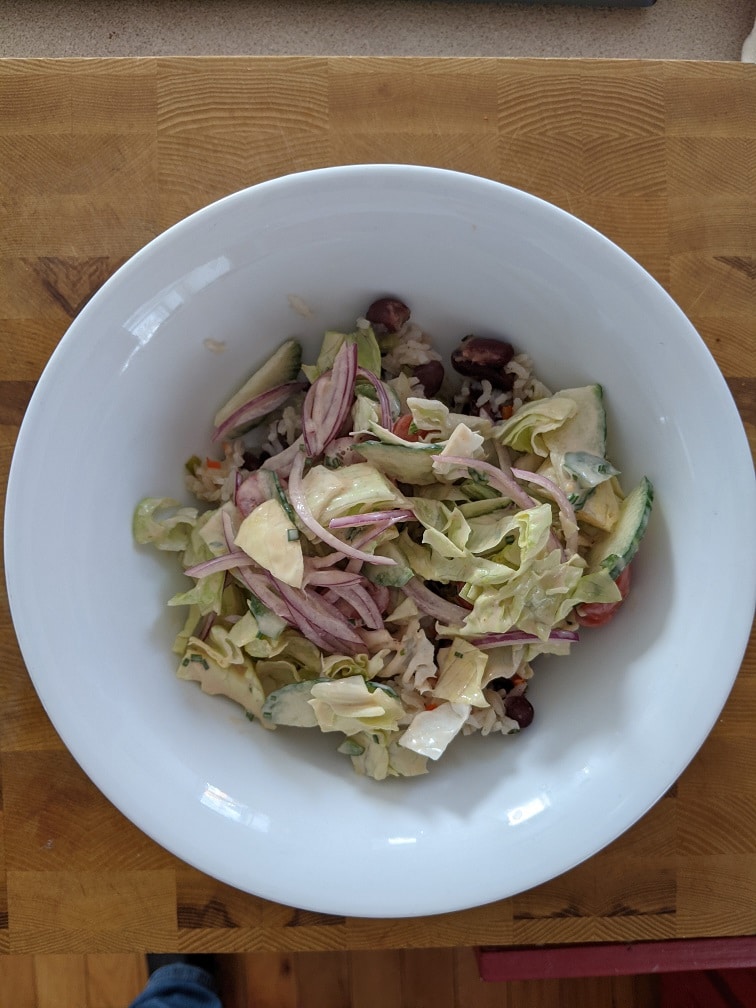
Making The Salad
As I said, the salad itself is basic. It is a combination of iceberg lettuce, about three cups once it’s chopped—half a cup of quartered grape tomatoes. A quarter of an English cucumber cut in half lengthwise, then sliced thin. And about a quarter cup of thinly sliced red onion. Put all the ingredients in a bowl and toss with the Cajun remoulade.
Garden Salad with Cajun Remoulade
A simple salad tossed with a delicious dressing. Serve it as a side or as part of the Cajun Chicken Salad Bowl.
Finally, the star of the show, the Cajun Chicken. I cooked one very large chicken breast for two people. If you buy smaller chicken breasts, you will want one for each person. The rice and the salad should make four portions, so you will want enough chicken for four portions too.
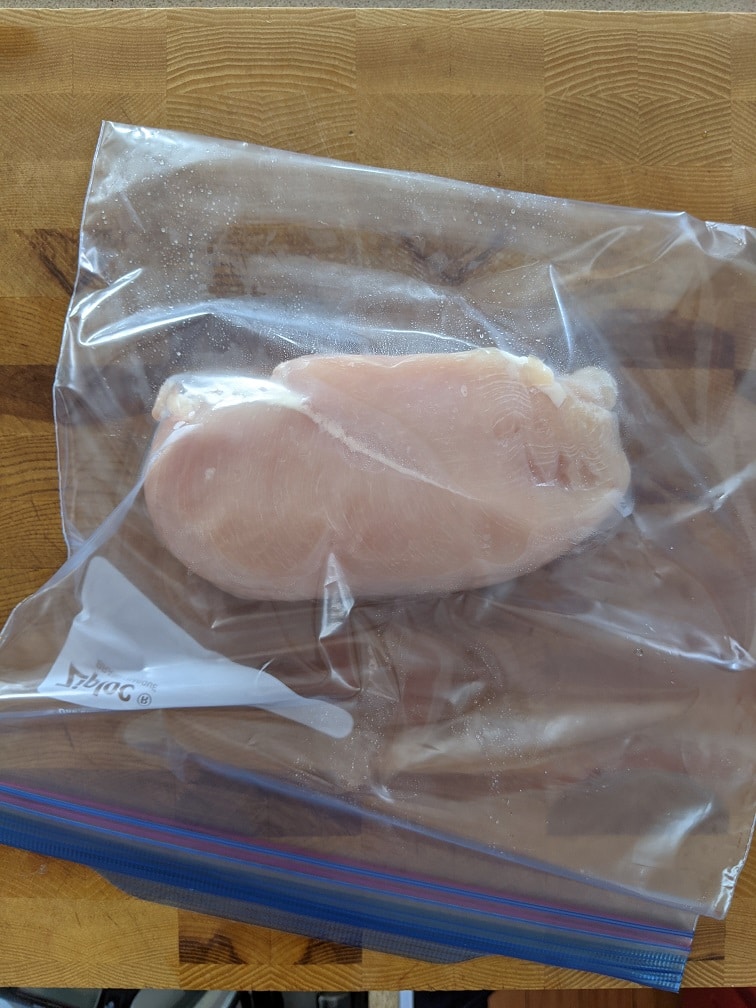
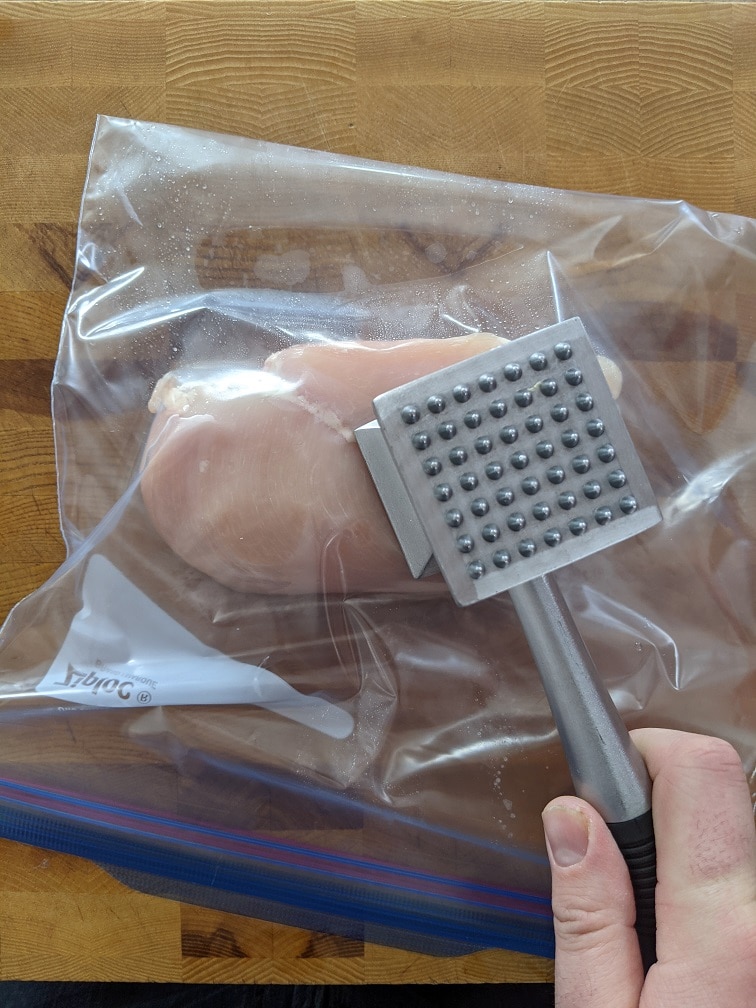
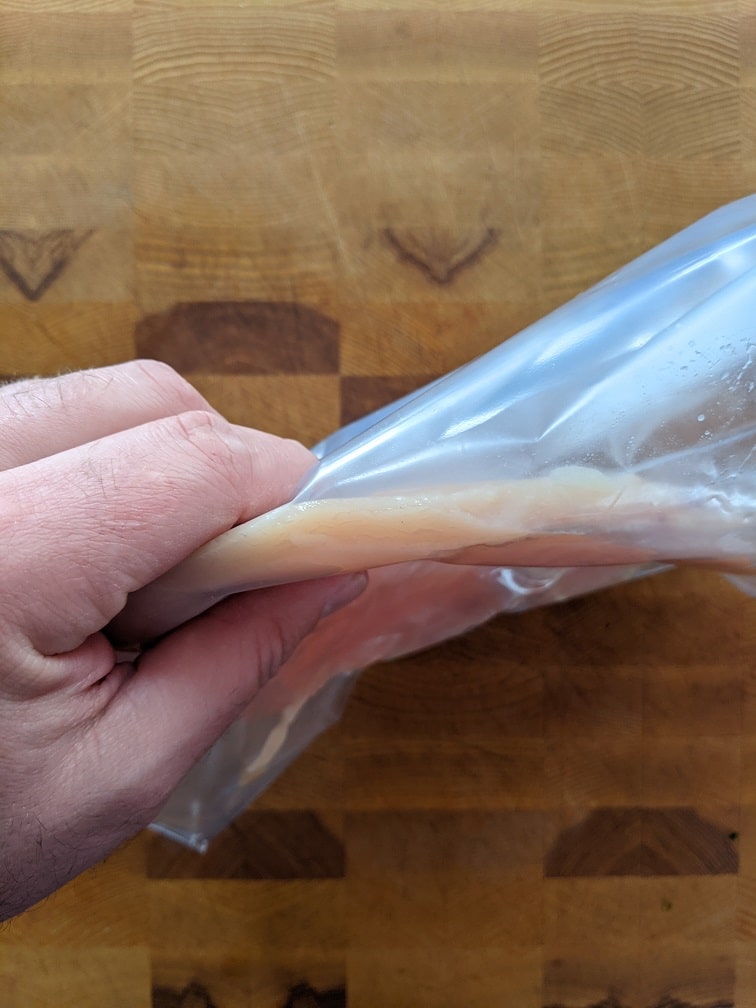
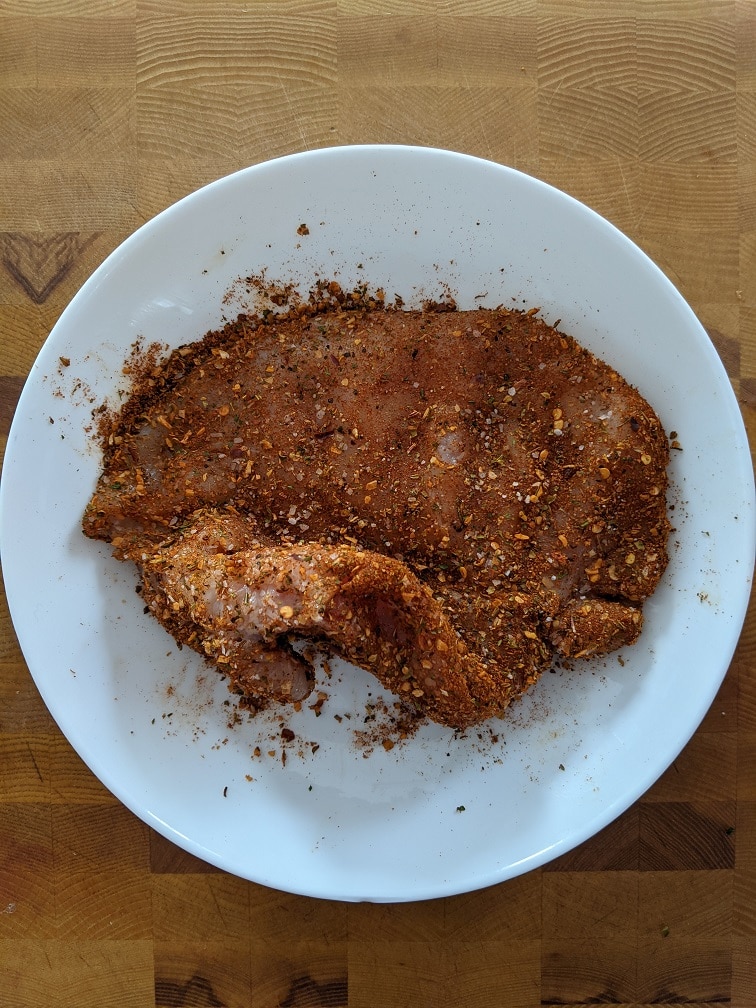
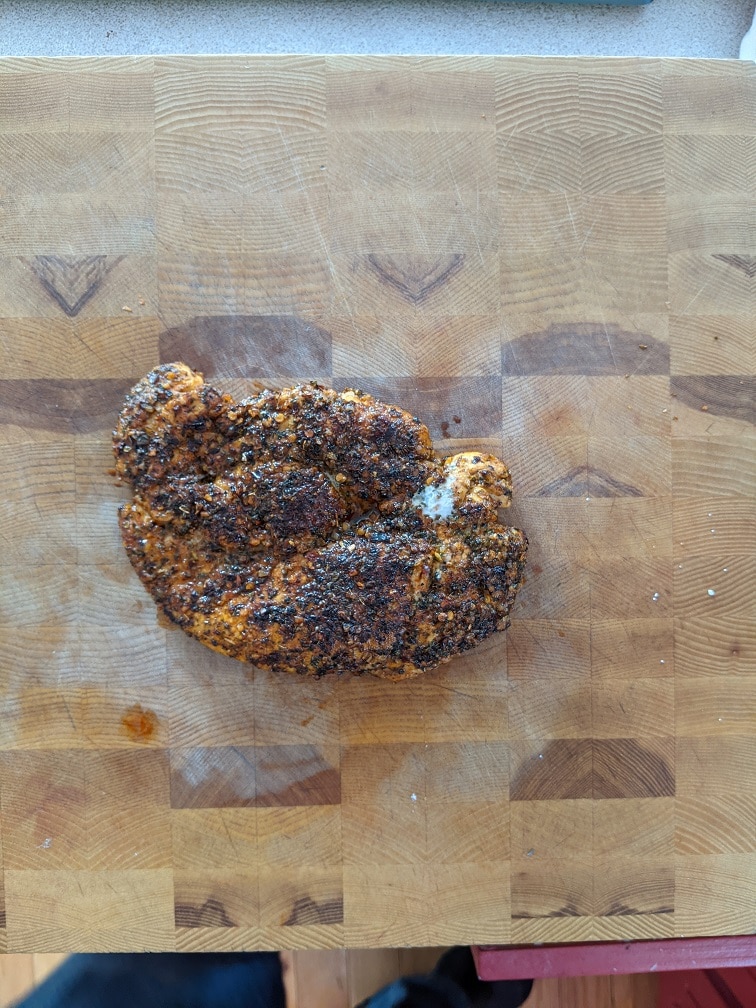
The first step is to flatten your chicken breast. The easiest way to do that is to put the breast in a zip-top bag, but don’t seal it all the way. If there is any air stuck in there, the bag may pop when you hit it, so leave one corner unseeled. Pound the chicken with a meat mallet or a heavy pot until it is about a centimetre thick.
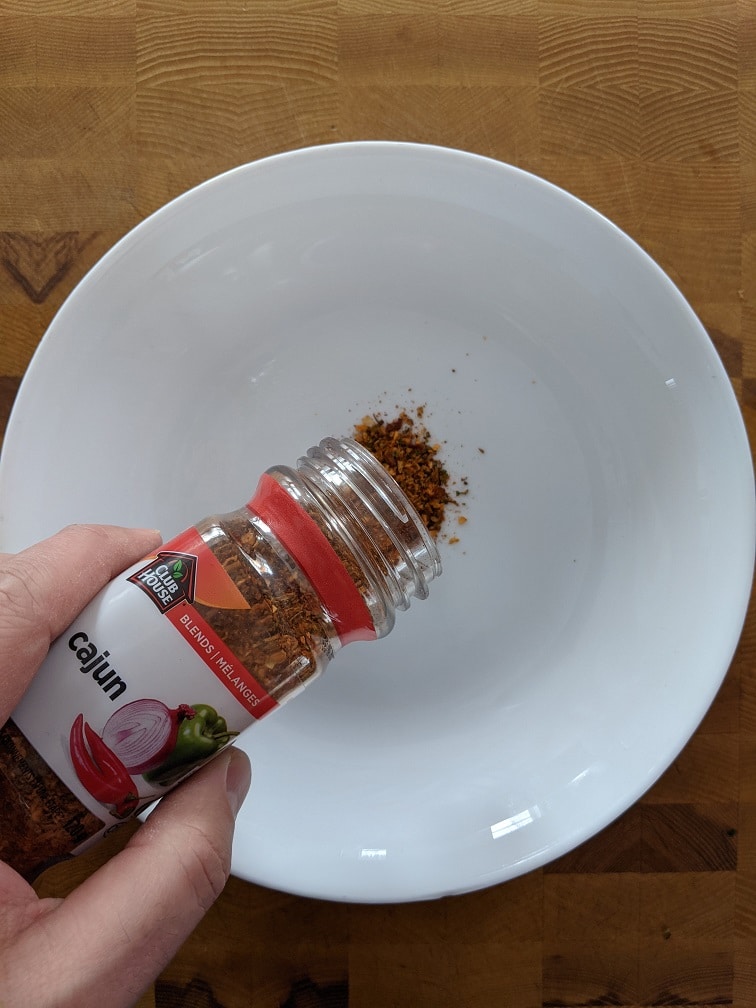
Make it Cajun
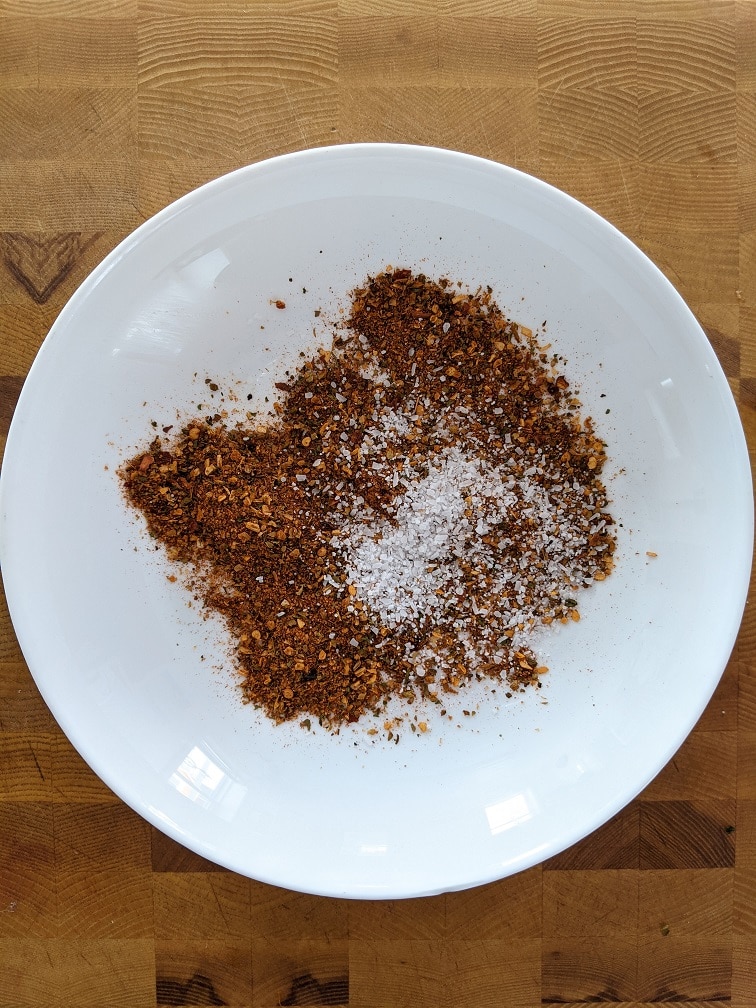
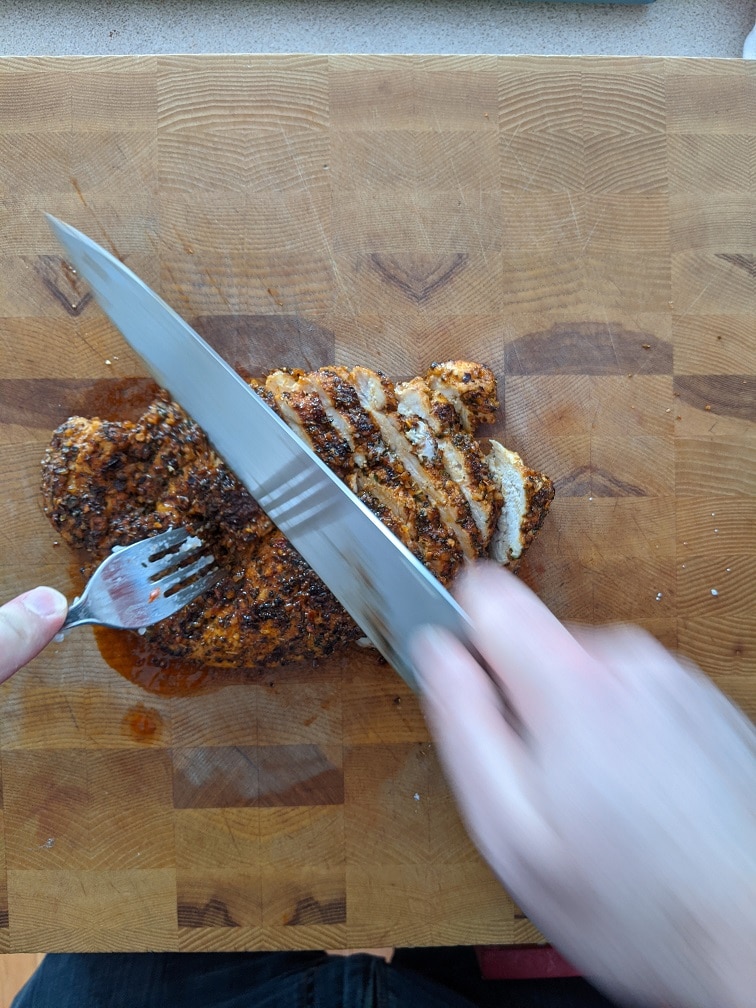
I used a store-bought Cajun seasoning becasue it is quicker than making a homemade one, and it’s delicious. I didn’t actually measure the amount of Cajun seasoning I used, but I would say about three tablespoons. I also added about a half teaspoon of kosher salt to it. Then, I rolled the chicken around in it. In retrospect, it would have made more sense to mix the salt, and Cajun seasoning then add it to the bag I used to pound the chicken and give it a good shake. All well. Next time.
Cooking the Cajun Chicken
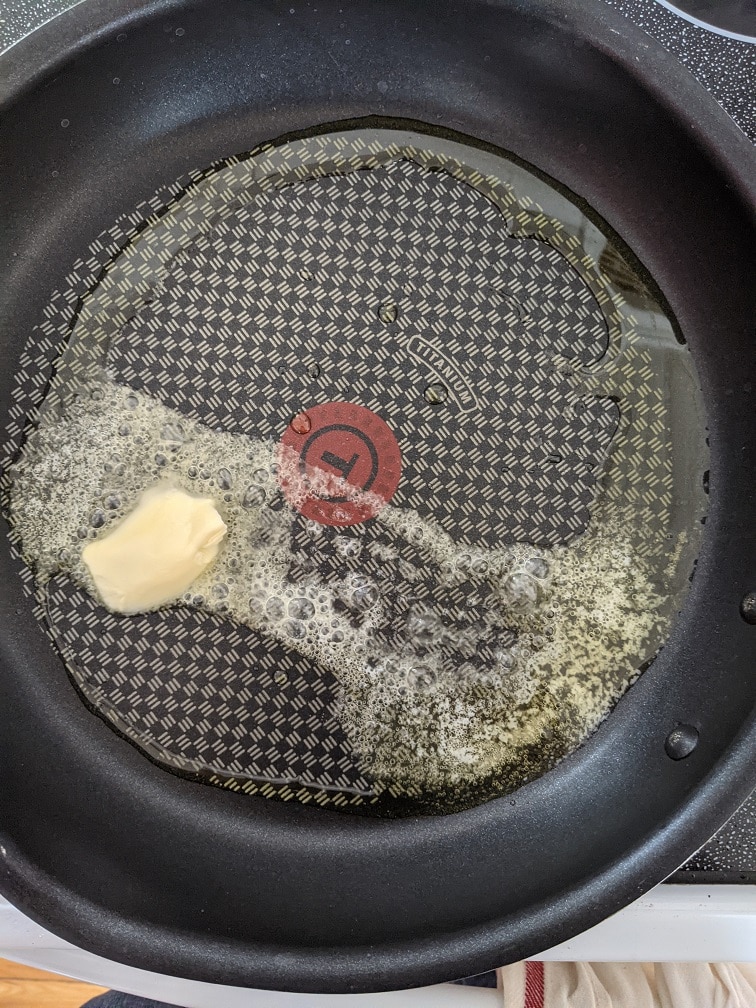
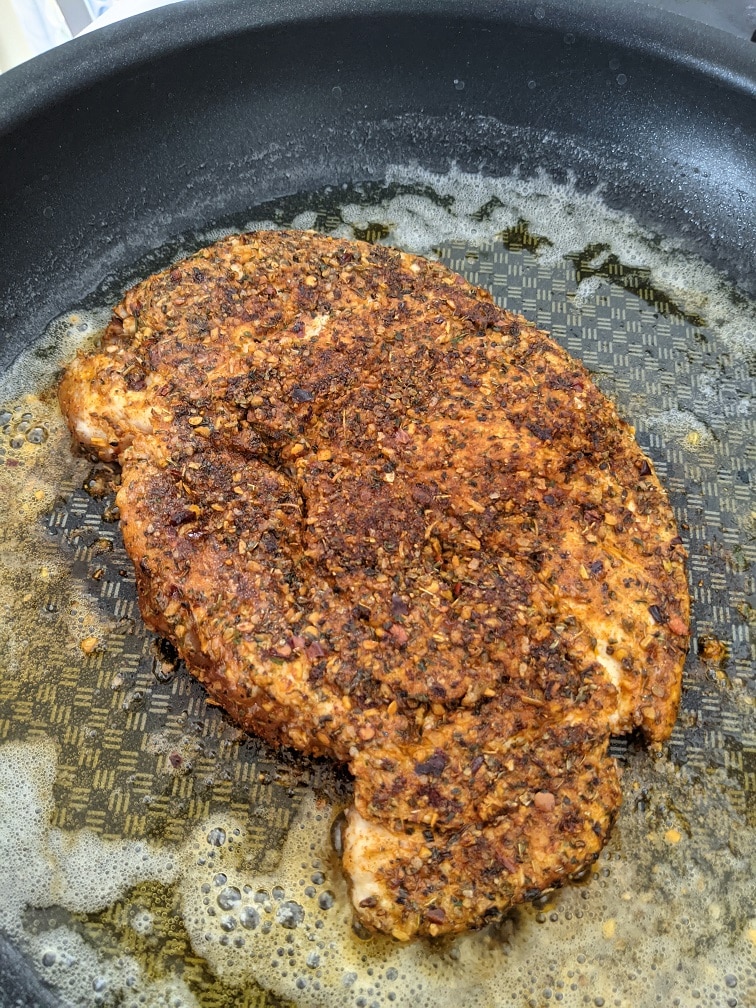
The Cajun seasoning is really only half the equation of getting that kind of authentic Cajun taste. The other part of the equation is butter. The butter is going to brown and help to flavour the chicken. That’s very important for the overall flavour of the dish.
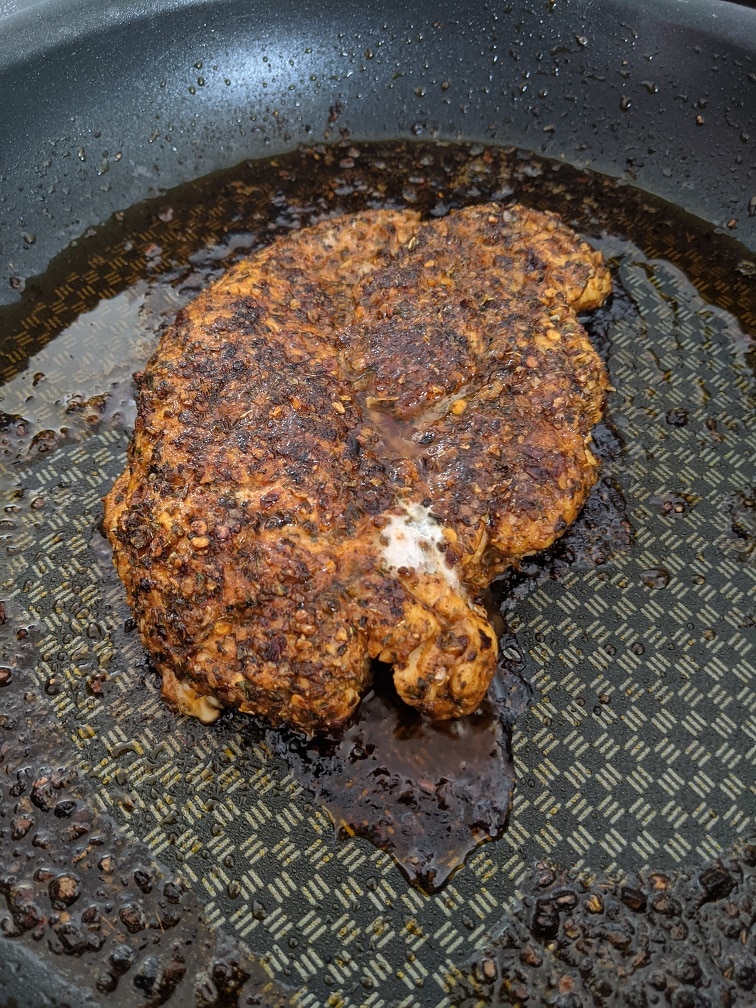
To cook the Cajun chicken, heat a large oven-safe skillet over medium-high heat. Add in two tablespoons of butter and one of olive oil. Once the butter melts and starts to foam, add in the chicken and cook for about three minutes before flipping and cooking for another minute. Finish the chicken in a 375°f oven for about twelve minutes or until it is cooked. Take it out of the pan and let it rest for five minutes before cutting it.
Cajun Chicken
A delicious cajun chicken recipe and the key ingredient to the Cajun Chicken Rice Bowl.
Put the chicken breasts in a zip-top bag and seal all but one corner.
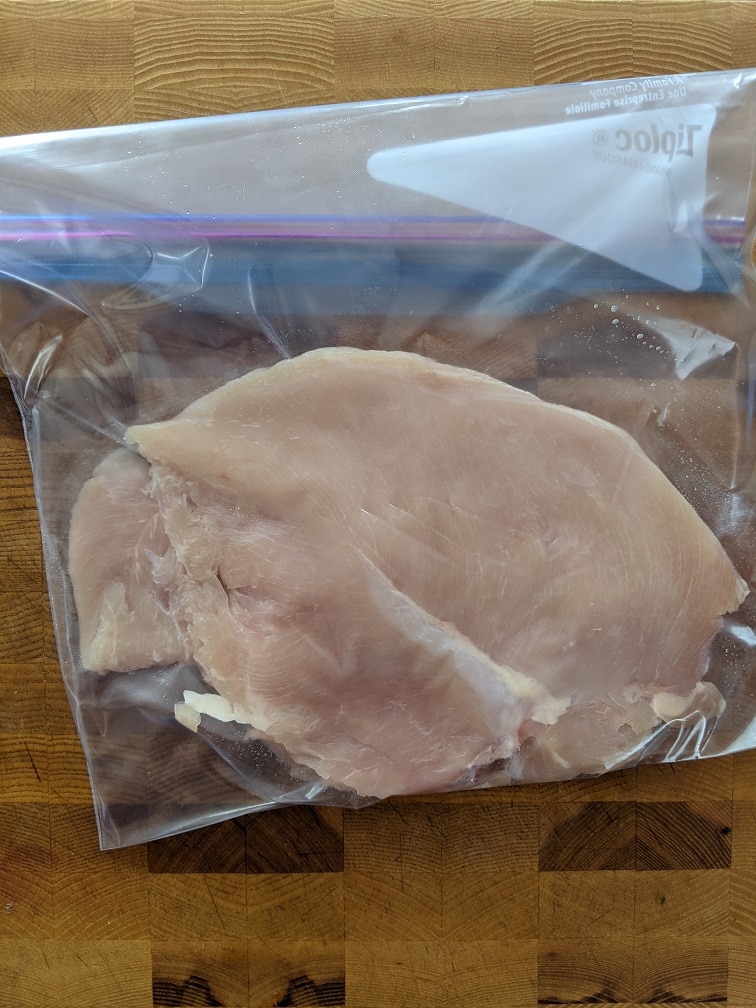
Pound the chicken using a meat mallet or heavy pot until the breasts are 1 cm thick.
Mix the Cajun seasoning and salt, then add to the bag with the chicken. Seal the bag and shake to coat the chicken in the seasoning.
Heat a large oven-safe skillet over medium-high heat. Add in the butter and olive oil. Once the butter melts and starts to foam, add in the chicken and cook for 3 minutes. Flip the chicken, cook for 1 more minute, then put the pan in the oven for 10 to 12 minutes or until the chicken is cooked.
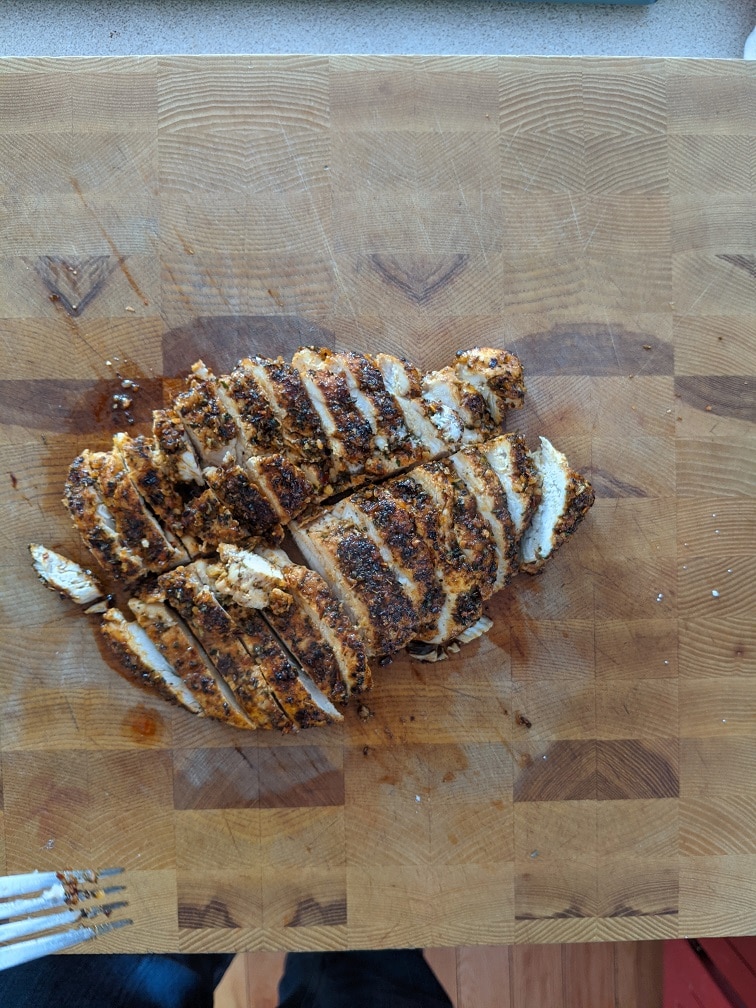
Take the chicken out of the pan and let it rest for 5 minutes before slicing and serving.
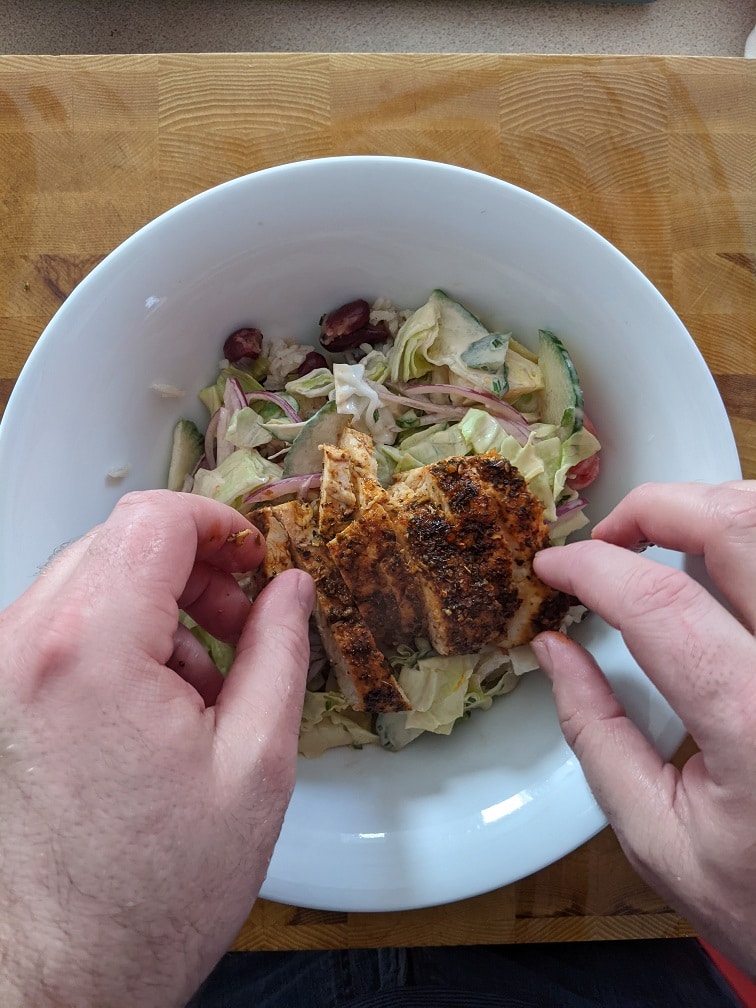
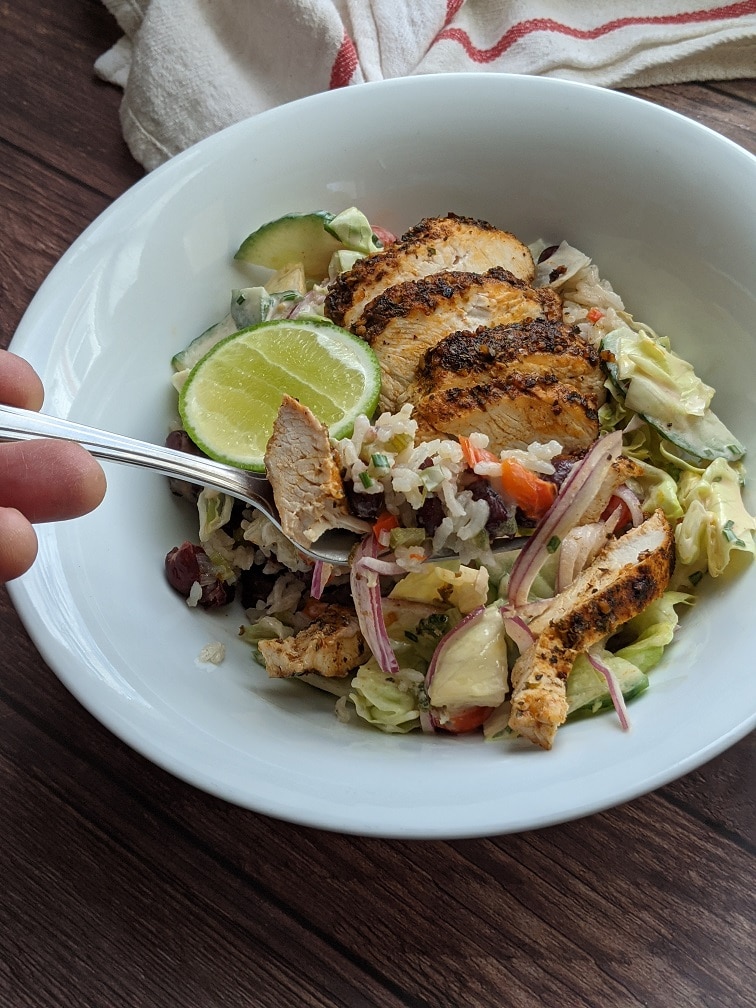
Okay, the three components are ready. We have the rice and beans, the salad with Cajun remoulade, and of course, the Cajun chicken. Now, it is time to put it all together. Start by putting the rice and beans in four bowls, top with the salad. Thinly slice the chicken and put that on top of the salad. Serve with a lime wedge and enjoy.
The Wrap Up
In all honesty, I didn’t intend to make a Cajun Chicken Salad bowl. Originally, this post was going to be a Chicken Shawarma bowl. But, just before I started cooking, I realized that I made a Chicken Shawarma bowl on the blog already, way back in May of 2019. I don’t like repeating myself, so I had to come up with something on the fly. I came up with the recipe you just read, and I have to tell you that I couldn’t be happier with it. The Cajun Chicken Salad bowl is loaded with flavour and is something I will be making again in the very near future. I hope that you enjoy it as much as I did.
I can finally announce that I have written a cookbook. It’s called the 5-Ingredient Cookbook for men (of course, it is for everyone). It officially goes on sale on March 16th, but you can preorder it now from Amazon in Canada here, and Amazon in the US here.
Thank you for reading this post. Please share it on Facebook, Pinterest, or Twitter to help Chef’s Notes grow. Subscribe to Chef’s Notes below, and you will never miss a post again.
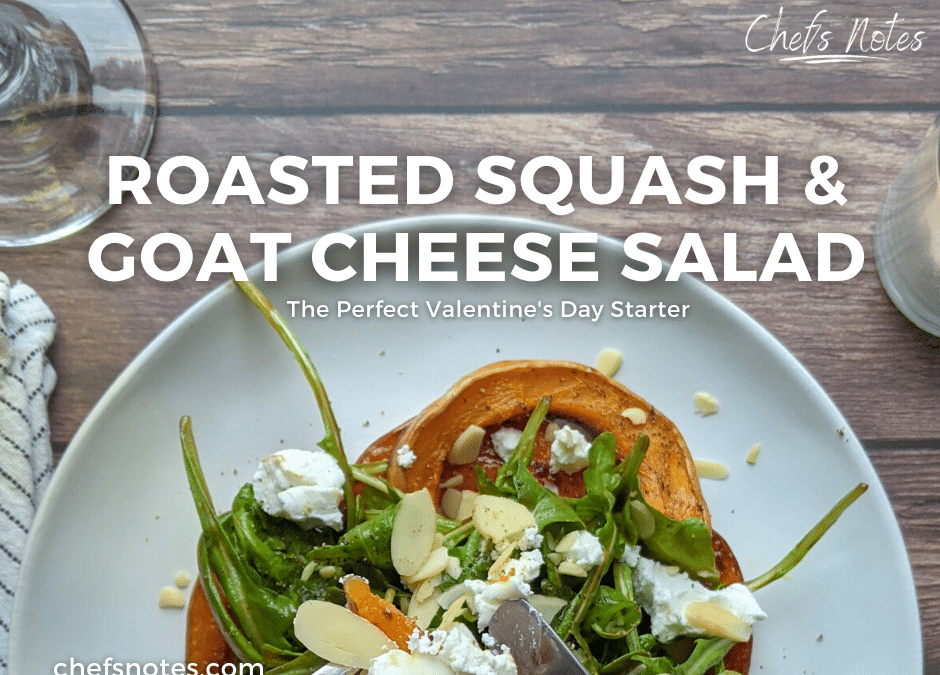
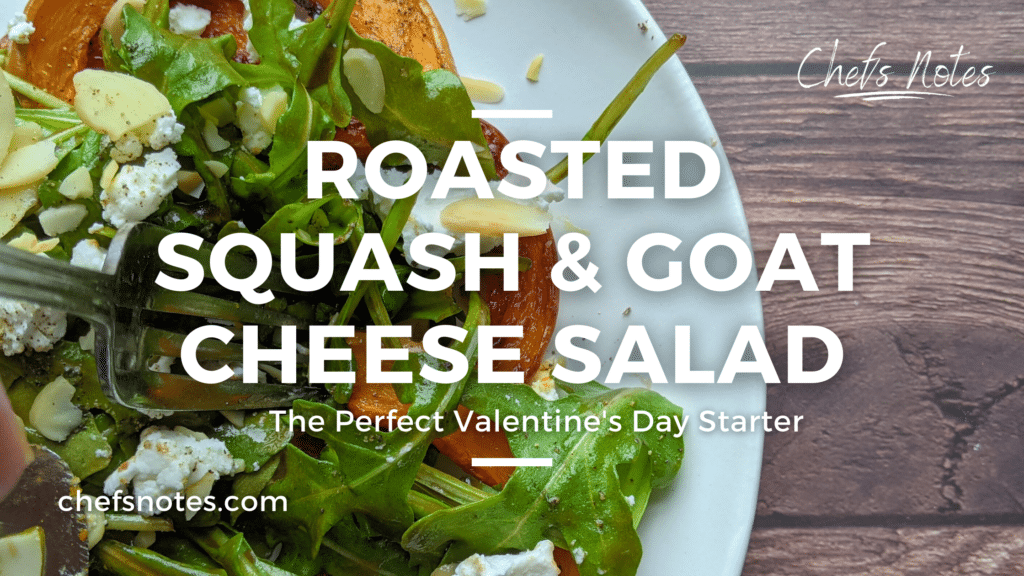
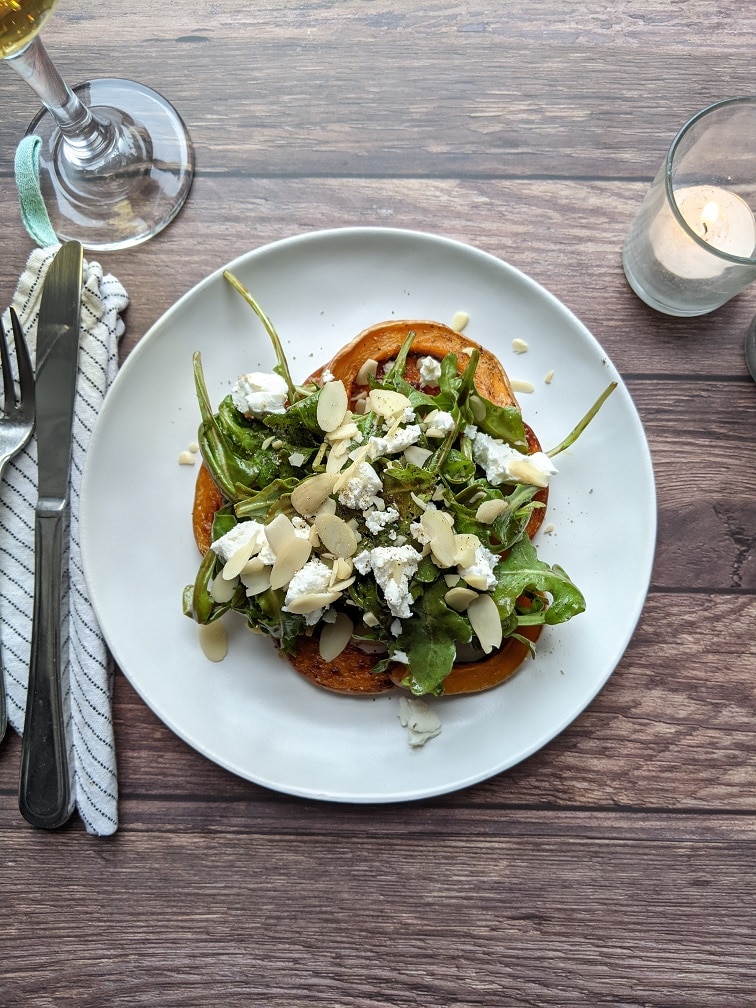
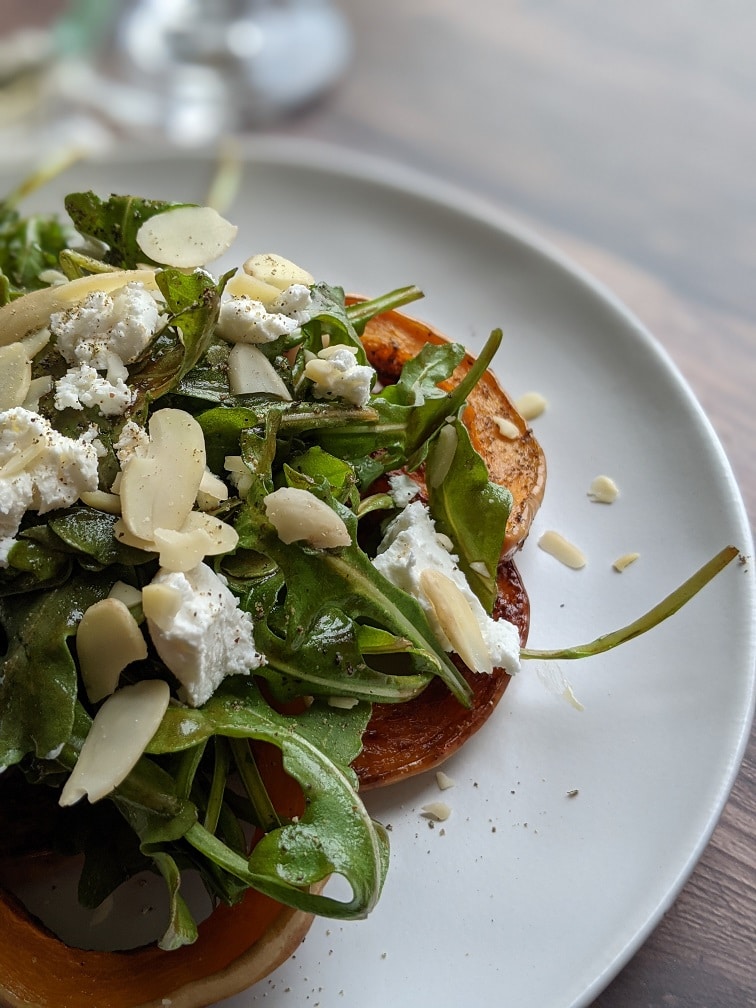
This week at Chef’s Notes is all about helping you craft a perfect Valentine’s day meal at home. Let’s face it, you probably aren’t going to a restaurant this year. Today, we’ll make a delicious Roasted Squash and Goat Cheese Salad with homemade balsamic vinaigrette and almonds. This salad makes the perfect starter for your Valentine’s Day meal. On Wednesday, we’ll make the main course, and on Friday we will make dessert. By the end of the week, you’ll have all the knowledge and skill to make a delicious three-course Valentine’s Day meal for two. Let’s get to it.
Roasted Butternut Squash
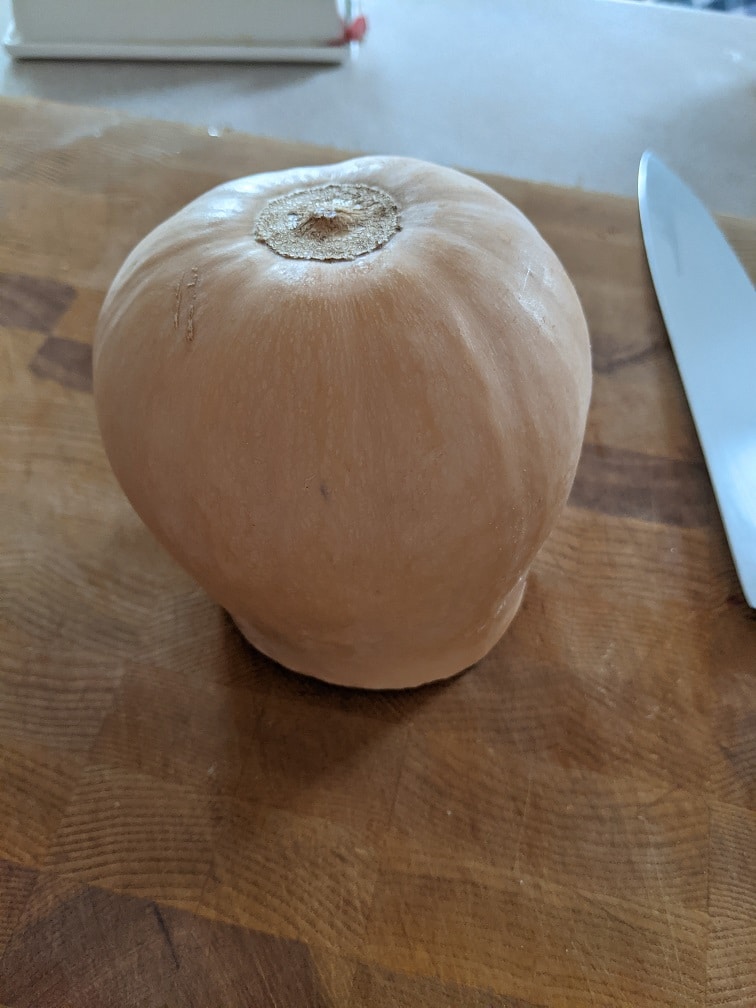
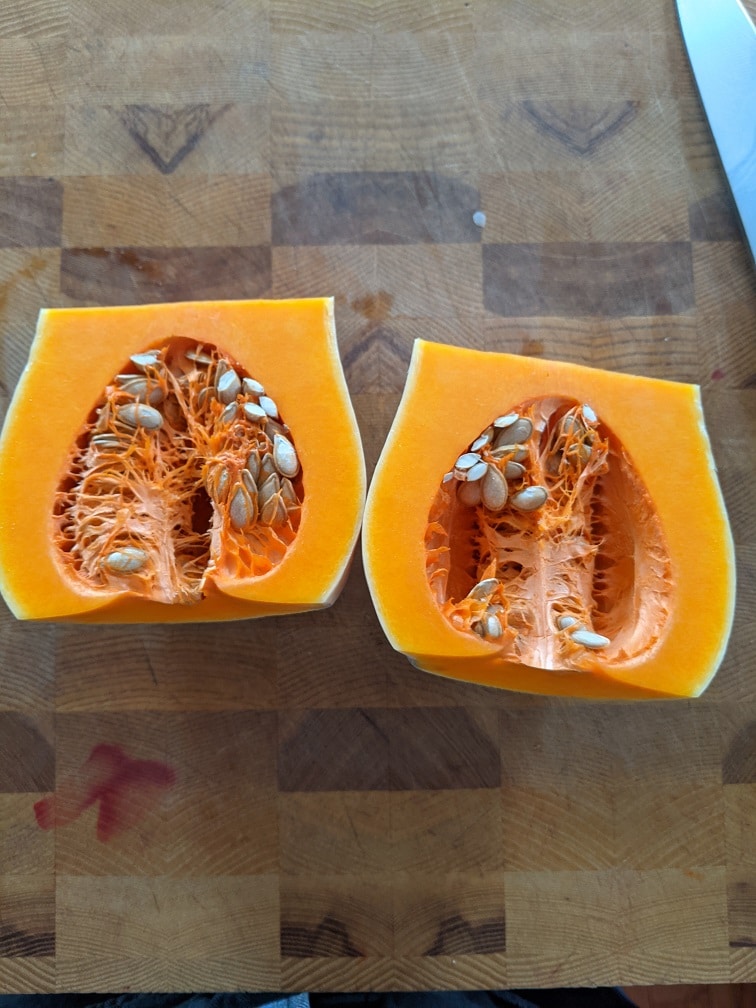
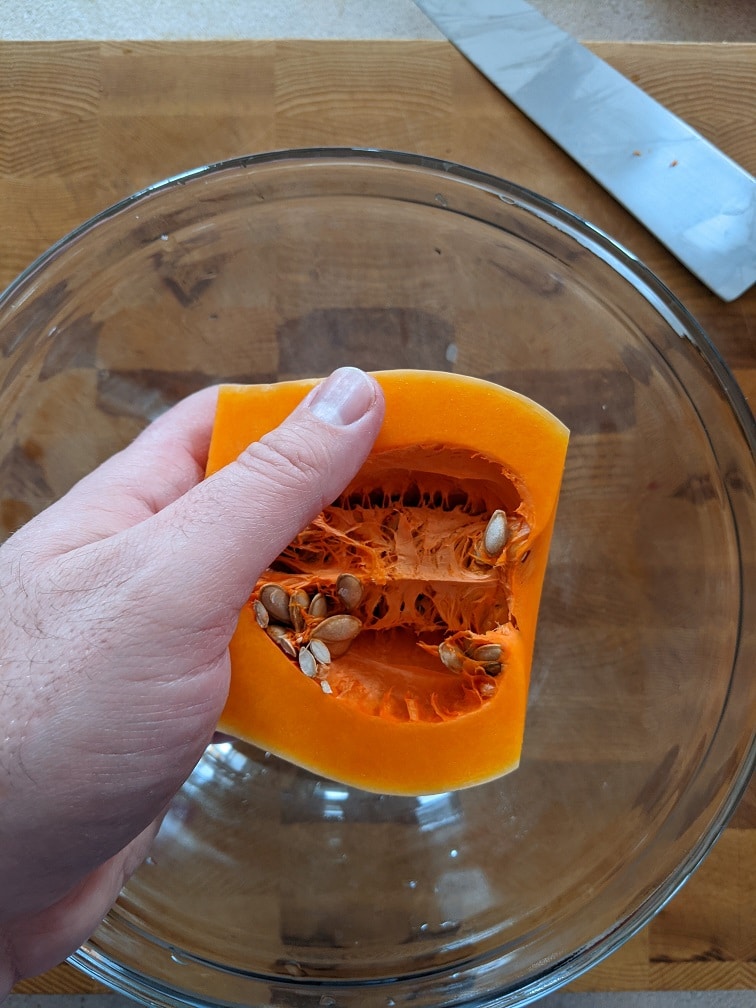
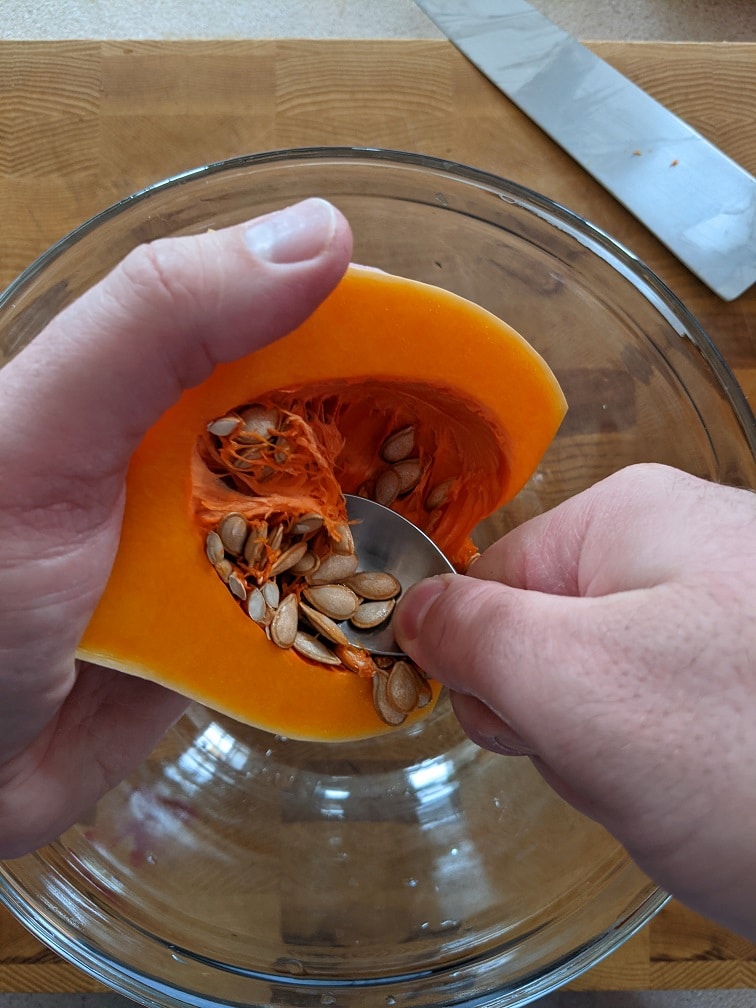
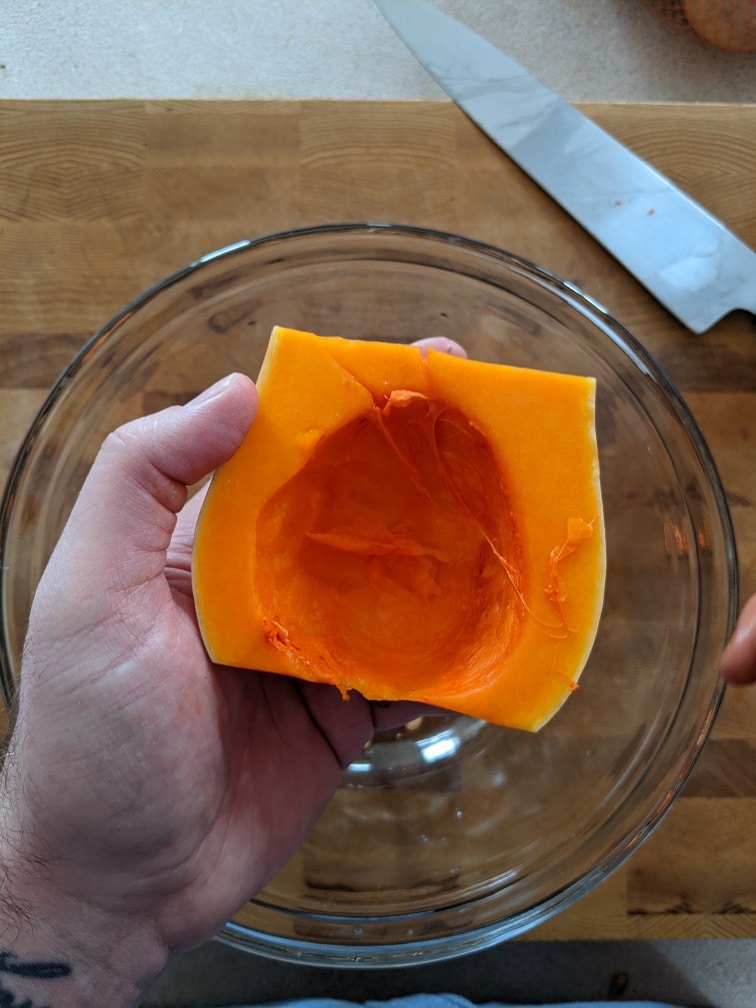
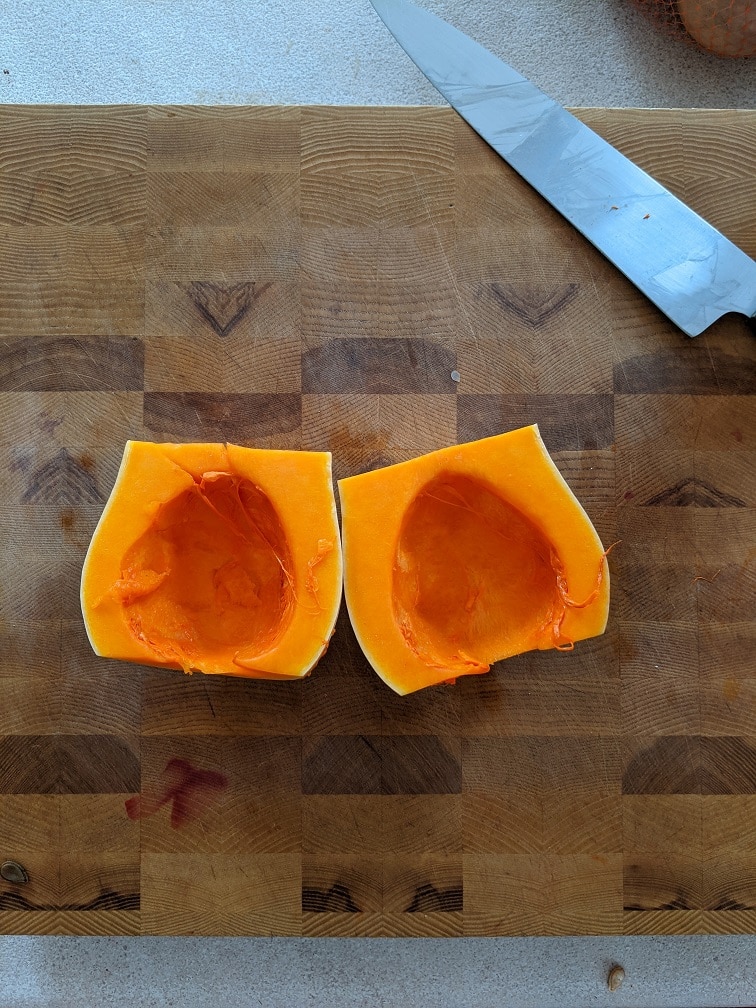
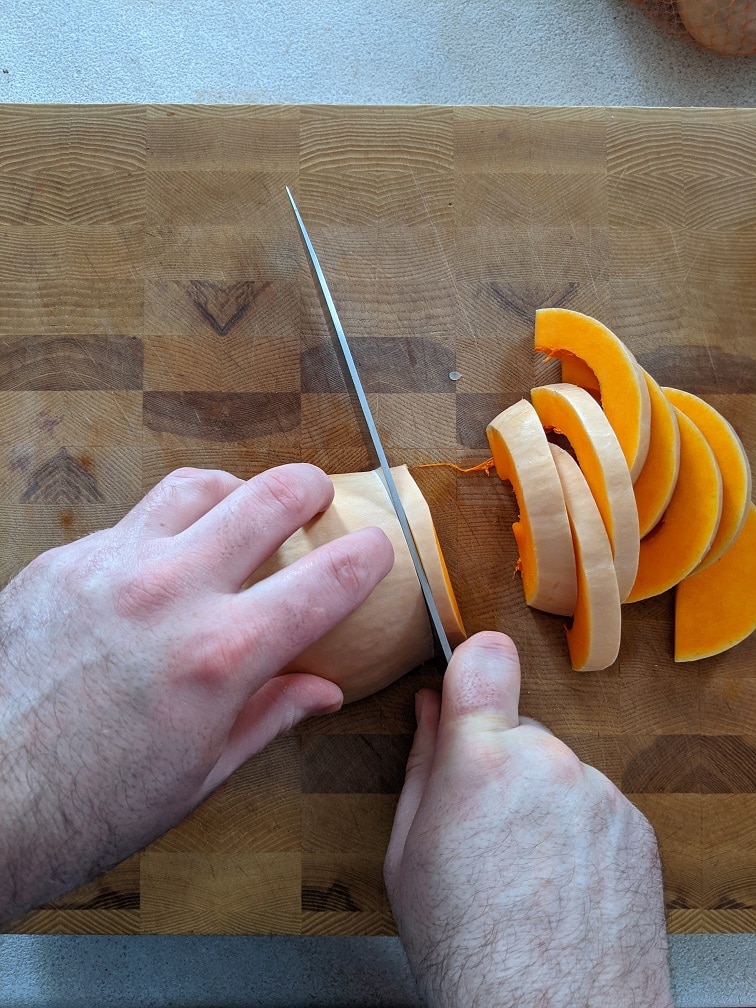
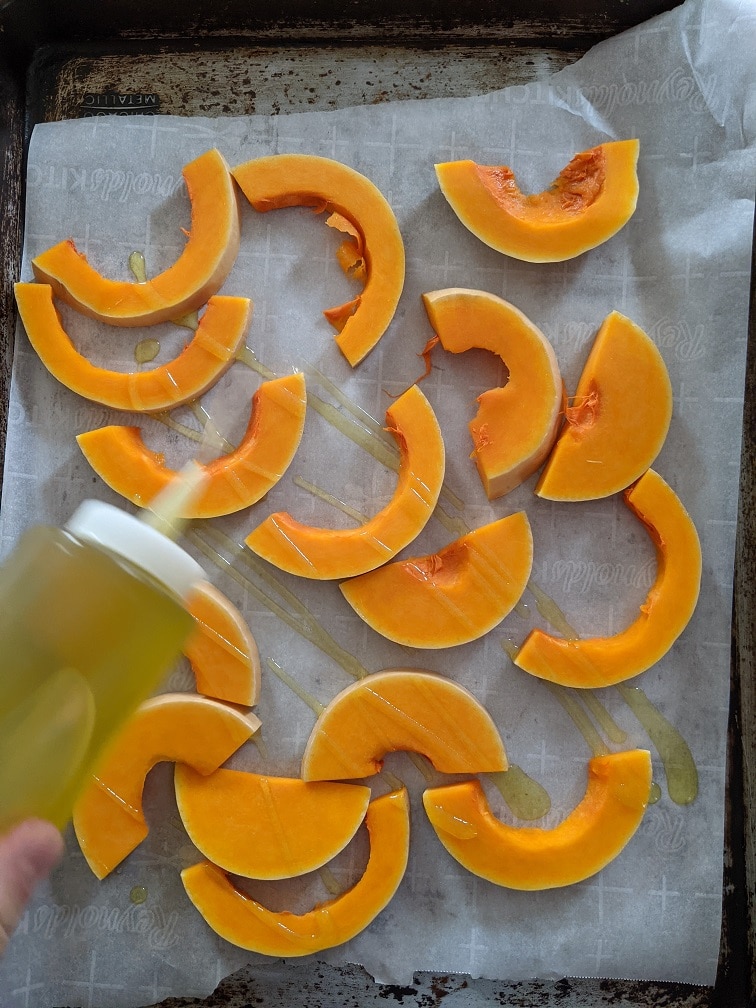
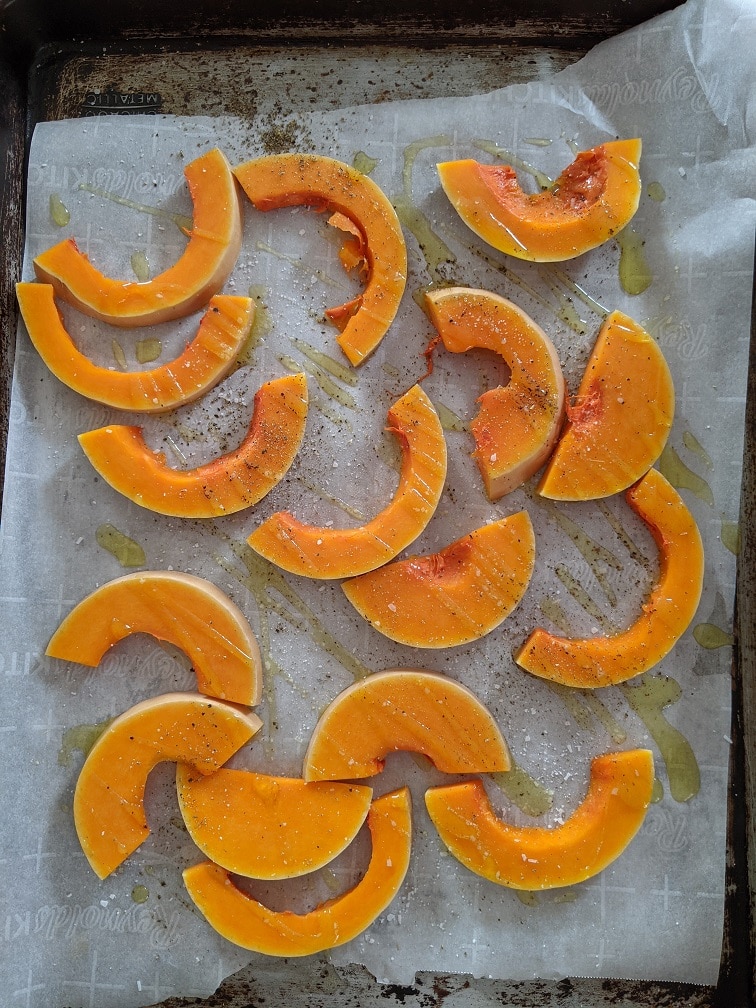
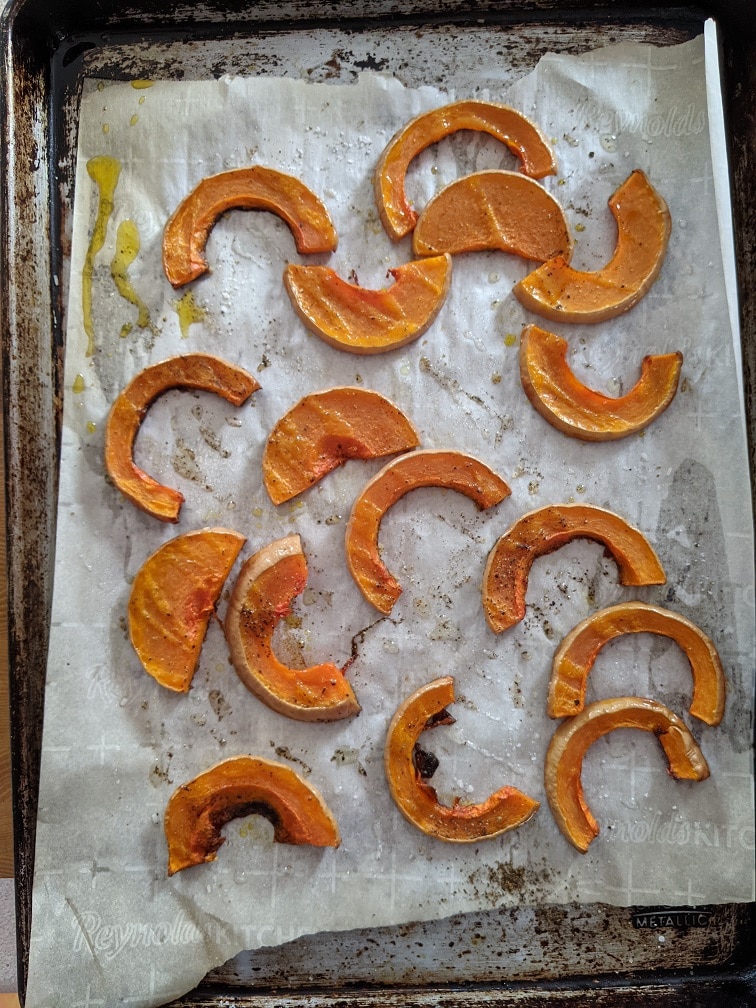
For two people, you’ll need half of a butternut squash. I prefer the bottom half for this salad, you’ll see why in a little bit. Cut the top half off your squash, use it to make soup, or roast it for a side dish. Cut the bottom part of the squash in half and remove the seeds. I recommend peeling the squash even though I didn’t. It’s easier to eat if you do. Once you have the bottom of the squash freed of seeds and skin, slice it into one-centimetre slices. Put the squash on a sheet pan lined with parchment paper and drizzle with olive oil, salt and pepper. Roast in a 400°f oven for 35 minutes or until the squash is tender and slightly brown. Take the squash out of the oven and let it cool to room temperature.
Balsamic Dressing
While the squash is roasting, make the balsamic vinaigrette. You can find the full measurements in the recipe below. Start with mustard powder, salt, pepper, and honey. Then add in your balsamic vinegar. Slowly whisk in your oil, perferrably canola or vegetable oil. The dressing should be thick enough to coat the back of a spoon. Put the finished dressing in a jar and store it in the fridge until you are ready to use it.
Putting The Squash Salad Together
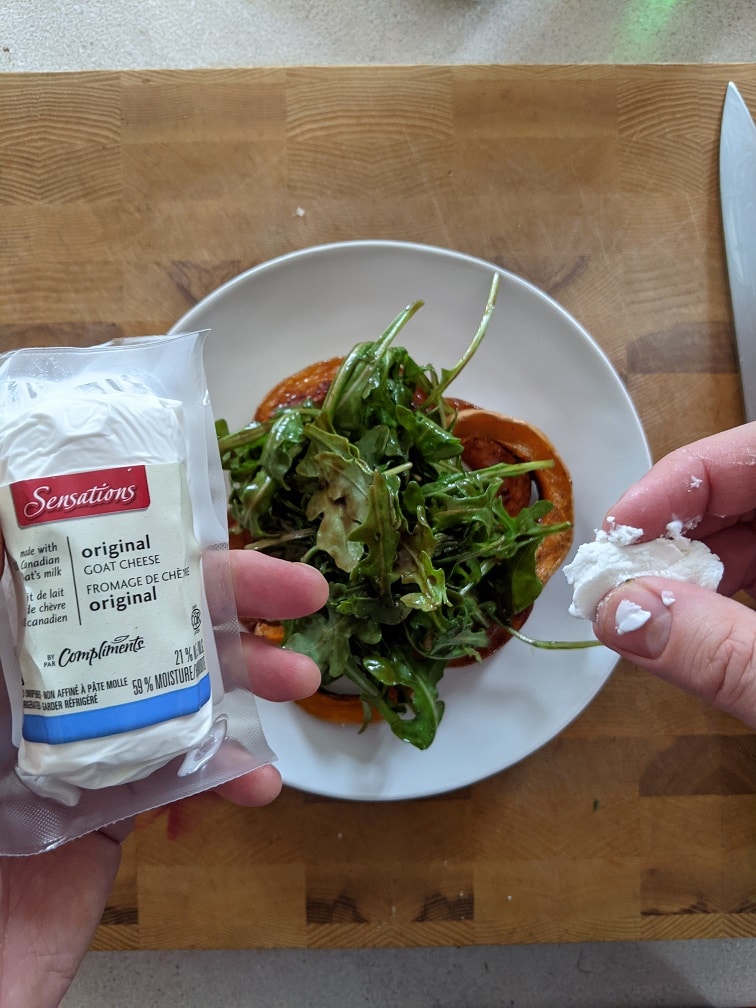
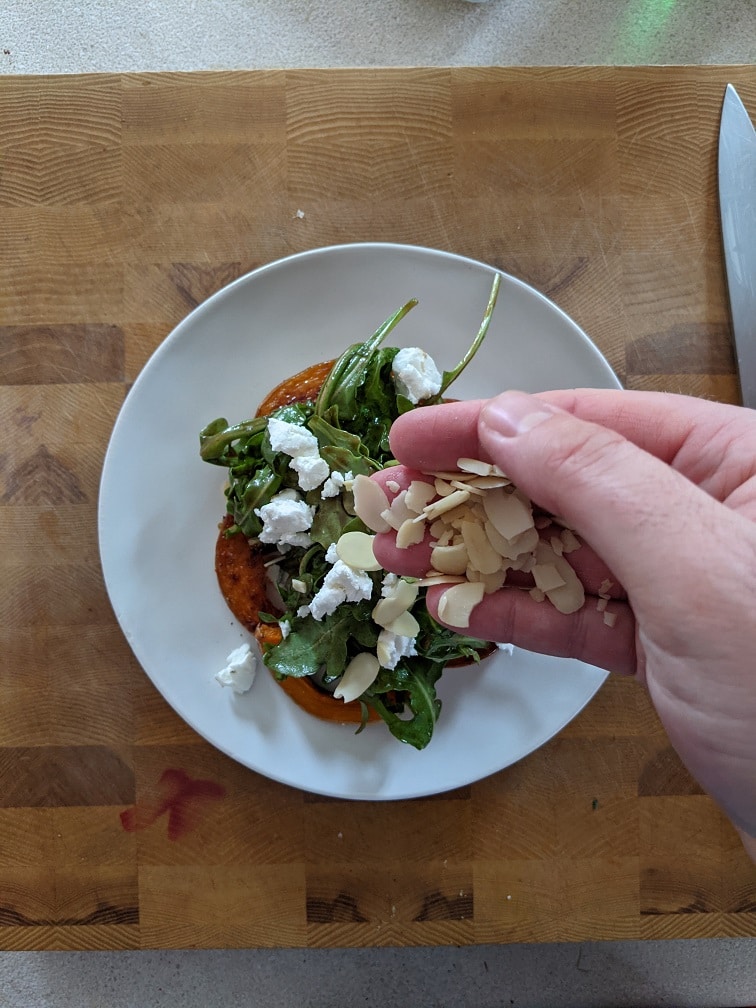
The salad ingredients are the roasted squash, the balsamic vinaigrette, arugula, sliced almonds, and goat cheese. If you aren’t a fan of arugula, you can substitute it for baby spinach or mesclun if you’d like. I really like arugula and I find the peppery nuttiness of it balances the tartness of the dressing with the sweetness of the squash. The goat cheese can be substituted for blue cheese, parmesan, or old cheddar. You can also substitute the almonds for hazelnuts, cashews, or pecans.
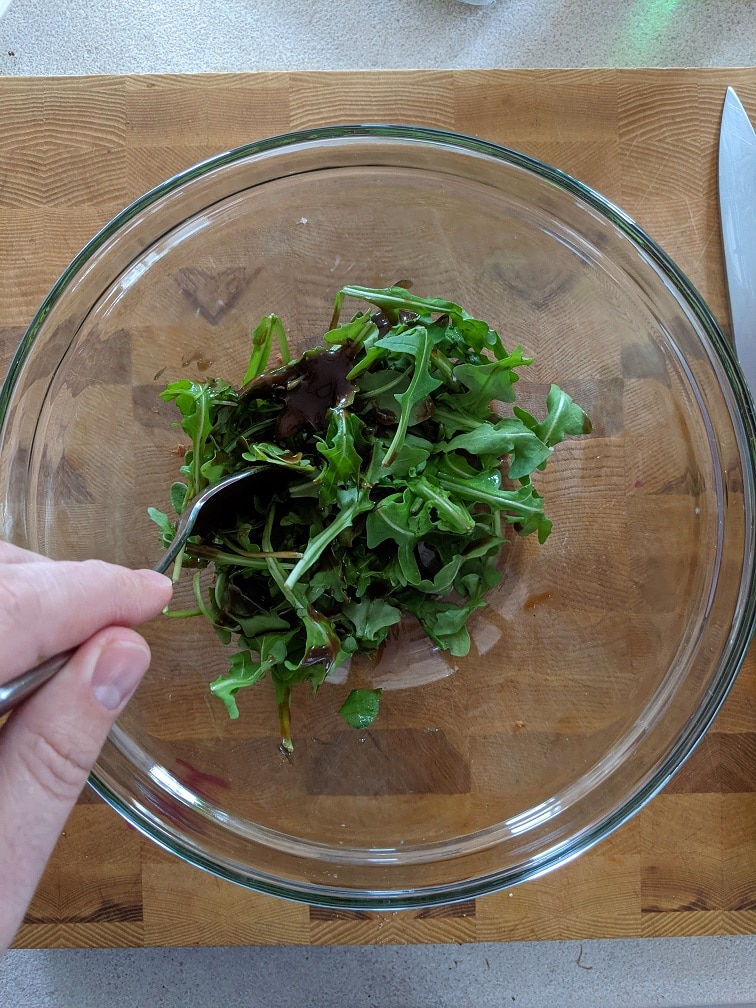
Dressing The Arugula
For two people put three to four cups of greens in a mixing bowl and toss with two to three tablespoons of the dressing. You want just enough dressing to coat the greens, but not drown them.
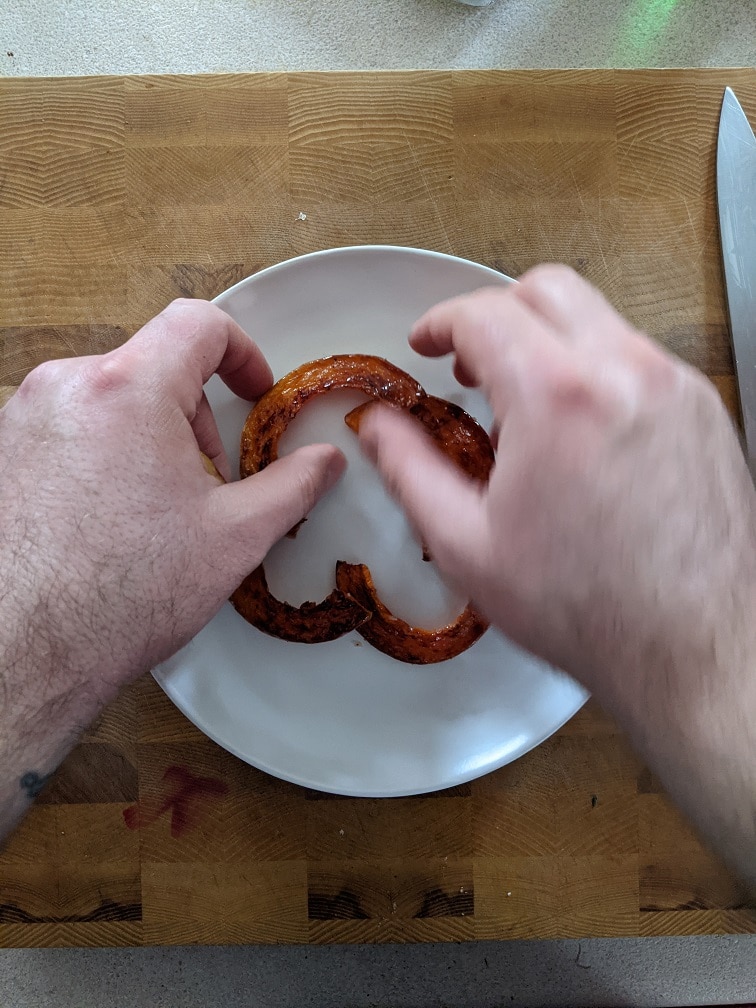
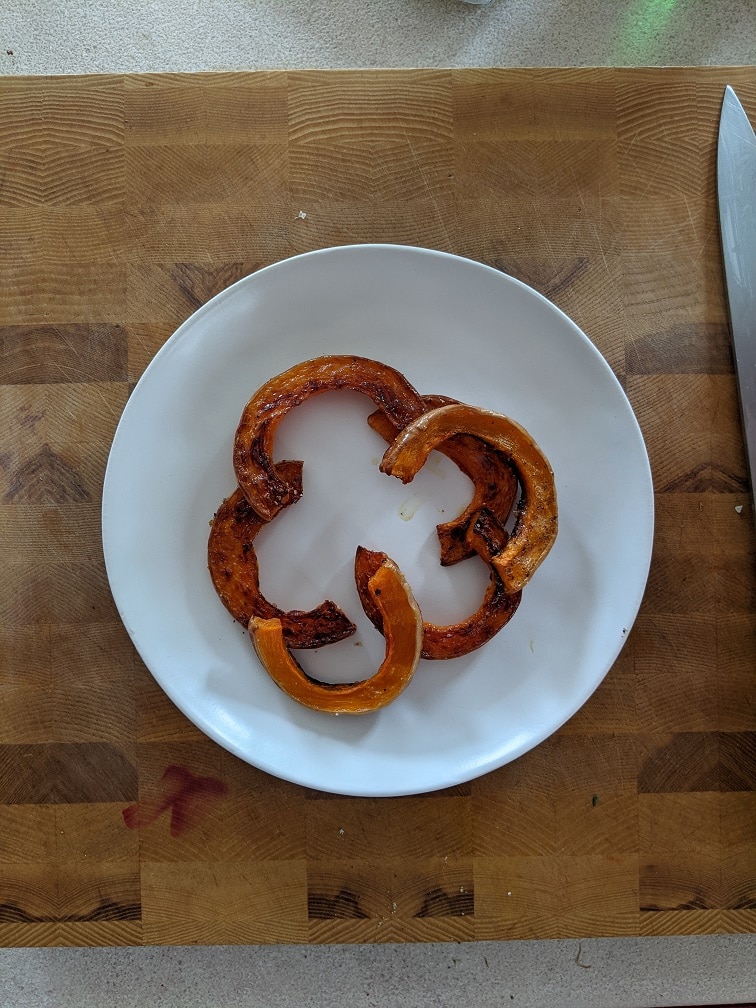
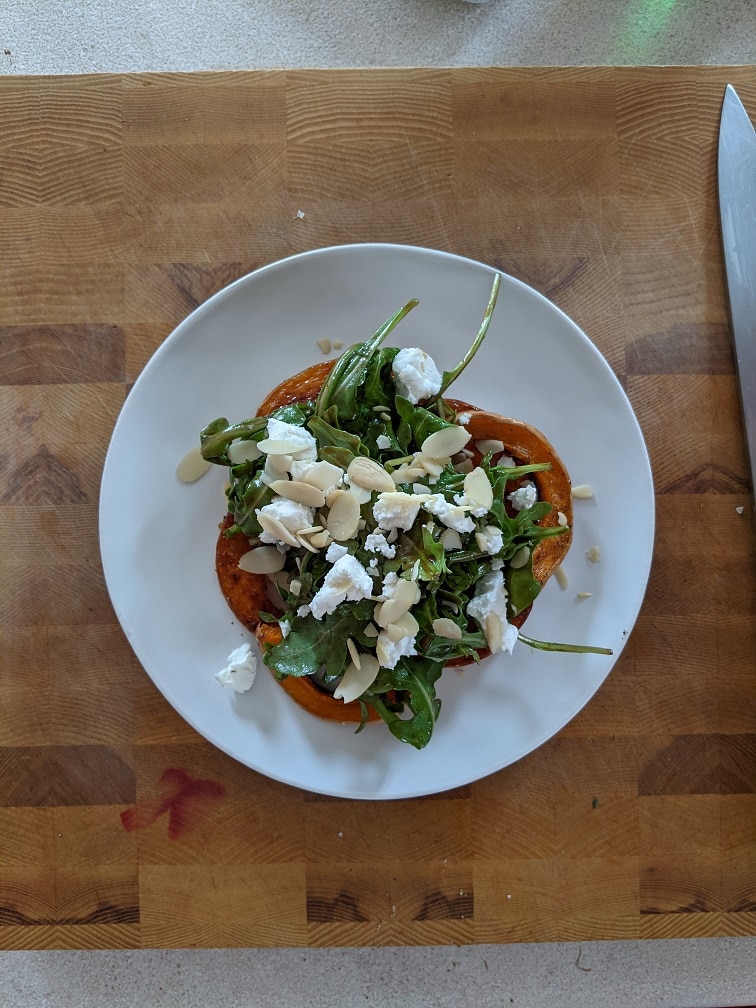
Plating The Squash Salad
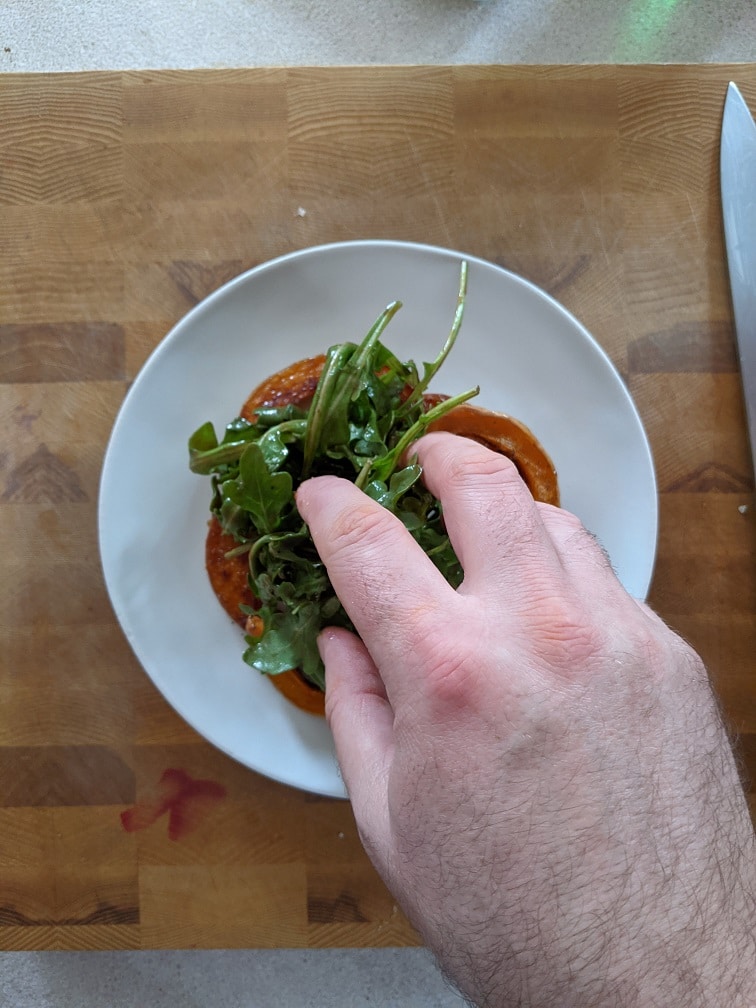
Get two small round plates, and plate the roasted squash in a circle around the middle of the plate. Put the dressed greens in the middle of the squash, then top with a few tablespoons of the cheese and the nuts. If you’d like, you can finish the salad with a little bit of fresh cracked pepper and a pinch of salt.
Squash Salad
Roasted butternut squash salad with balsamic vinaigrette, arugula, almonds and goat cheese. This makes the perfect start for a dinner party, or a romantic dinner for two.
Keyword: Butternut Squash, Starter, Valentine’s Day
Servings: 2servings
Author: Chef’s Notes
Ingredients
Roasted Butternut Squash
The bulb of a butternut squash
2tbspolive oil
Salt and Pepper
Balsamic Vinaigrette
2tbspBalsamic vinegar
1/2tspmustard powder
1tsphoney
1/4tspsalt
Pinchof pepper
1/2cupcanola oil
Roasted Squash Salad
4cupsof arugula
1/4cupssliced almonds
1/4cupof goat cheese
Instructions
Roasted Butternut Squash
Cut the squash bulb in half through the middle. Remove the seeds and peel it. Slice the squash into 1 cm slices.
Put the squash slices on a sheet pan lined with parchment paper and drizzle with olive oil, salt and pepper.
Roast the squash in a 400°f oven for 35 minutes of until the squash is soft and slighty brown around the edges. Take the sqaush out of the oven and let it cool to room temperature.
Balsamic Vinaigrette
In a medium mixing bowl combine the mustard powder, salt, pepper, honey, and balsamic vinegar.
Whisk in the canola oil in a slow steady stream. If you notice that the oil isn't mixing in, stop adding oil, and whisk until it has been incorporated then continue to whisk in more oil.
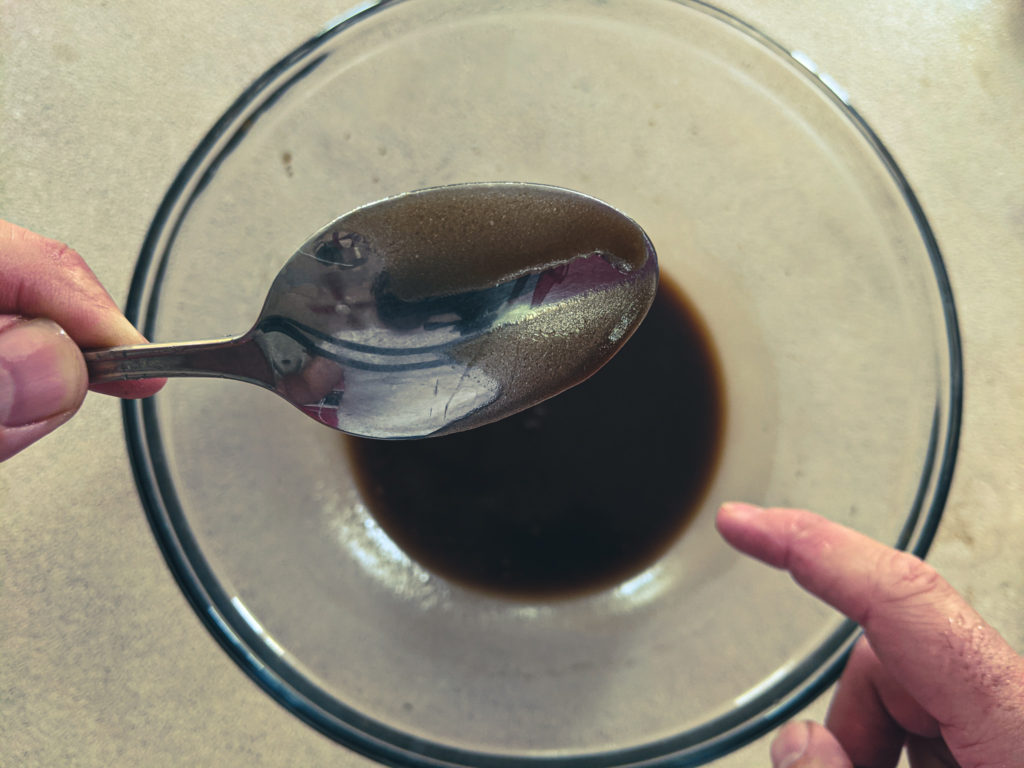
The finished dressing should be thick enough to coat the back of a spoon.
Once the dressing is made, transfer it to a jar and put it in the fridge until you are ready to use it.
Roasted Squash Salad
Put the arugula in a large mixing bowl and toss with 2 to 3 tablespoons of the balsamic vinaigrette. You want just enough dressing to goat the arugula, but not so much that it is drowning.
Get to small round plates and palce the roasted squash in a circle around the center of the plates. Put the dressed arugual in a pile in the center of the squash circle.
Divide the almonds and goat cheese among the two salads. Season with salt and pepper, and serve.
The hardest part of making this salad is the dressing. If you are that intimidated by it, you can buy balsamic vinaigrette at the grocery store instead. The fact is that this a very simple salad that looks beautiful and tastes amazing. Whoever you are making this salad for is going to be blown away because it is exaclty the type of thing you would get in a nice restaurant on Valentine’s Day. The difference is that you made it yourself for a fraction of the price. You can’t beat that. Remember to come back on Wednesday for your Valnetine’s Day main course.
Thank you for reading this post. Please share it on Facebook, Pinterest, or Twitter to help Chef’s Notes grow. Subscribe to Chef’s Notes below, and you will never miss a post again.
We use cookies on our website to give you the most relevant experience by remembering your preferences and repeat visits. By clicking “Accept”, you consent to the use of ALL the cookies.
This website uses cookies to improve your experience while you navigate through the website. Out of these, the cookies that are categorized as necessary are stored on your browser as they are essential for the working of basic functionalities of the website. We also use third-party cookies that help us analyze and understand how you use this website. These cookies will be stored in your browser only with your consent. You also have the option to opt-out of these cookies. But opting out of some of these cookies may affect your browsing experience.
Necessary cookies are absolutely essential for the website to function properly. This category only includes cookies that ensures basic functionalities and security features of the website. These cookies do not store any personal information.
Any cookies that may not be particularly necessary for the website to function and is used specifically to collect user personal data via analytics, ads, other embedded contents are termed as non-necessary cookies. It is mandatory to procure user consent prior to running these cookies on your website.