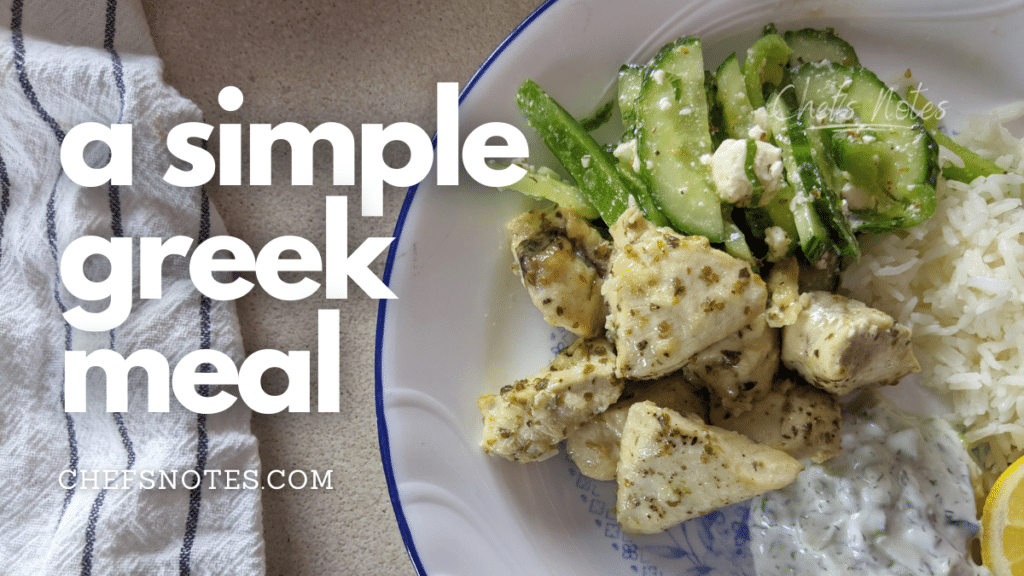
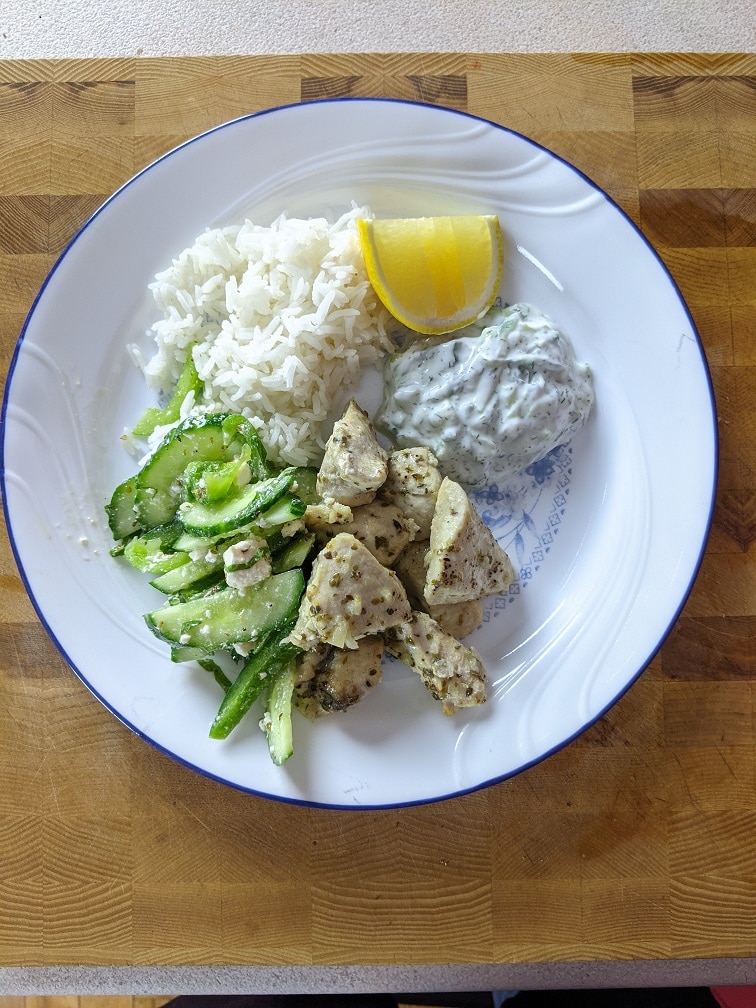
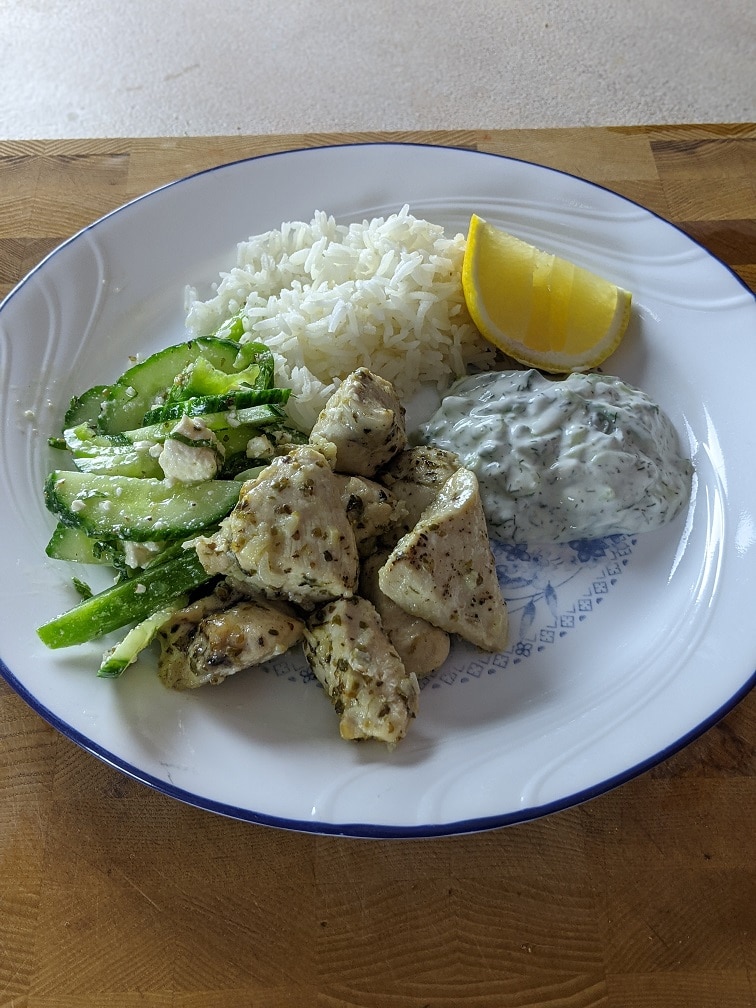
Greek-style chicken, village salad, and tzatziki with rice. This simple Greek meal is all you’ve ever wanted and more. Join me as I walk you through how to make it and share a few tricks from my time working in a Greek restaurant. Without further ado, let’s get to it.
Greek-Style Chicken
It’s best if this Greek-style chicken is left to marinate overnight (two hours will be okay), so we will start with that. The marinade for the chicken is essentially a less acidic version of Greek salad dressing. If you want to, you can use Greek dressing, but it is a pretty simple marinade to make so why skip it?
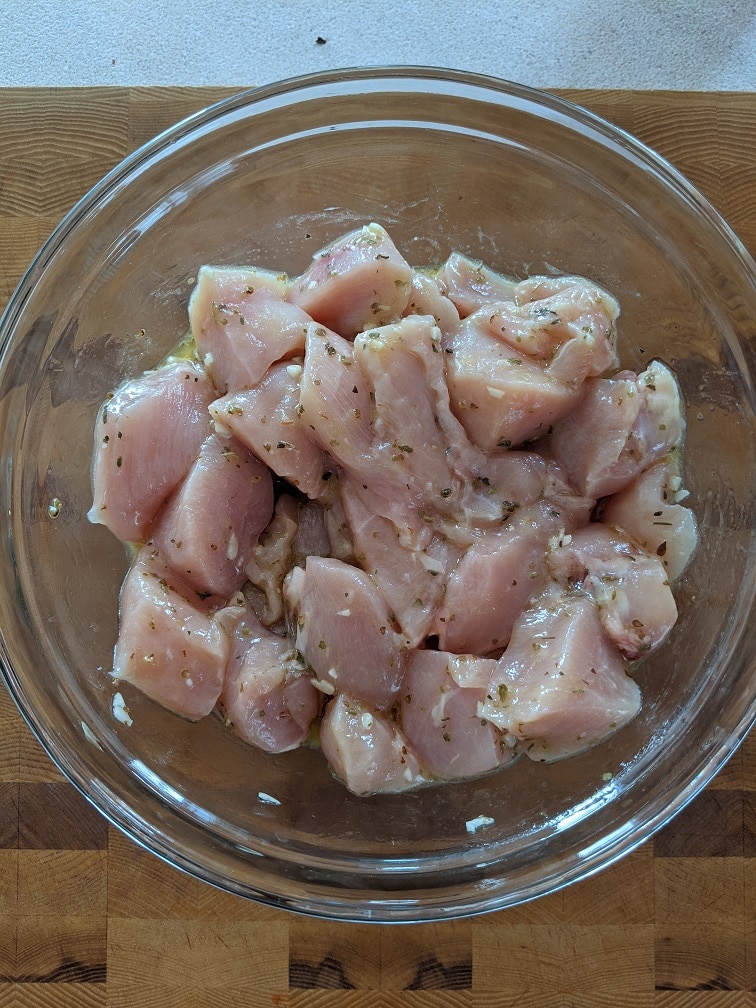
Marinating the chicken
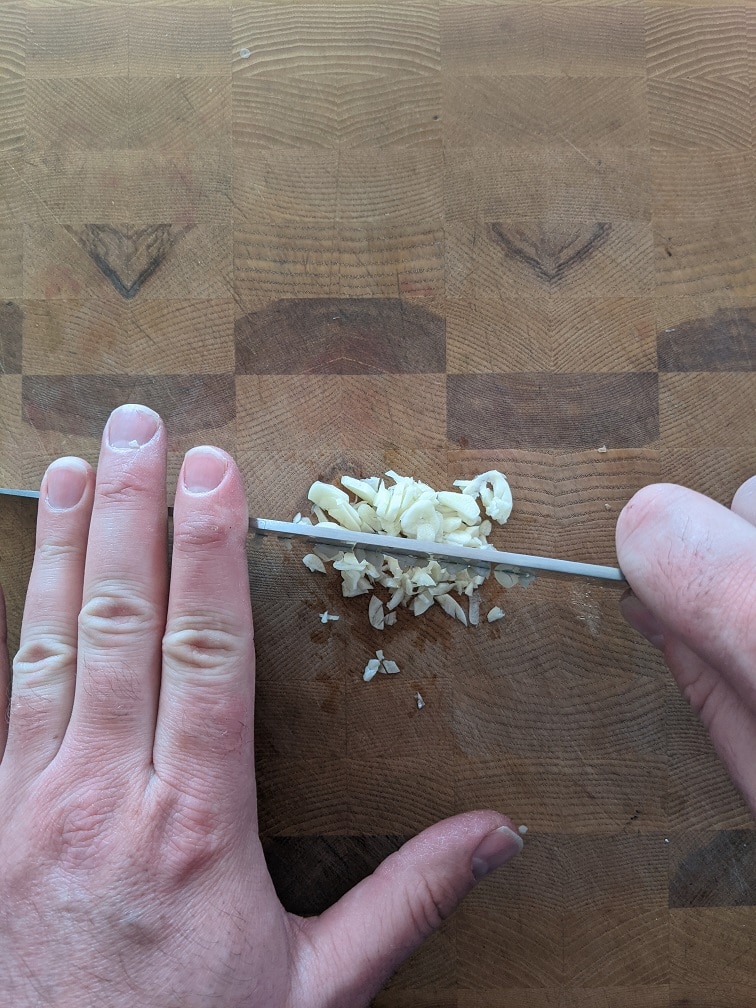
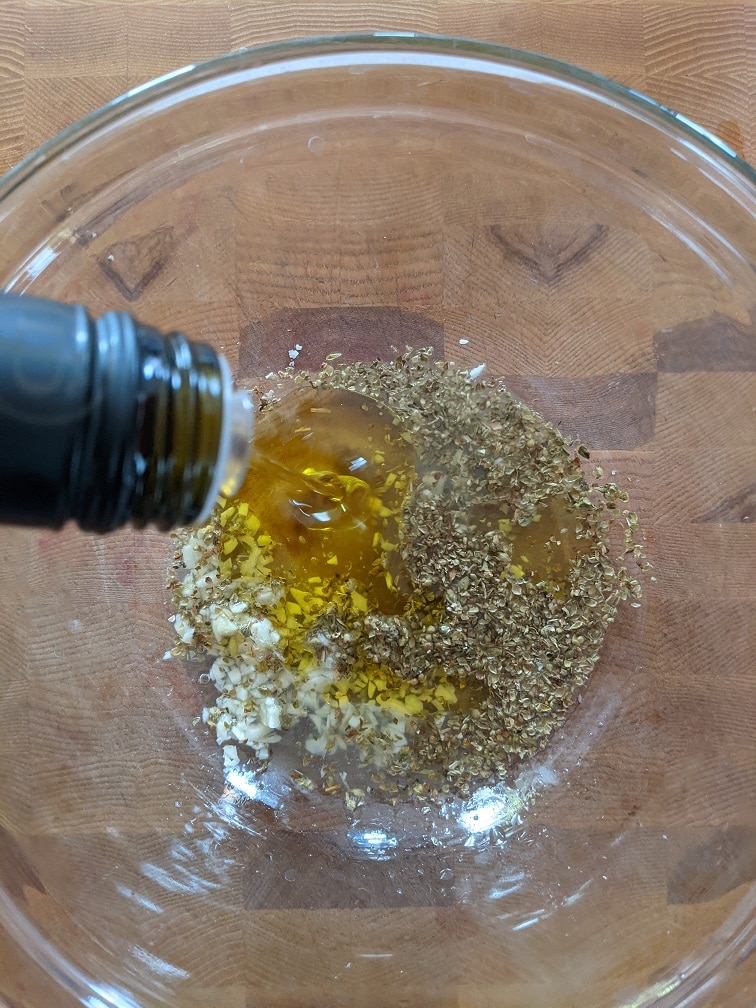
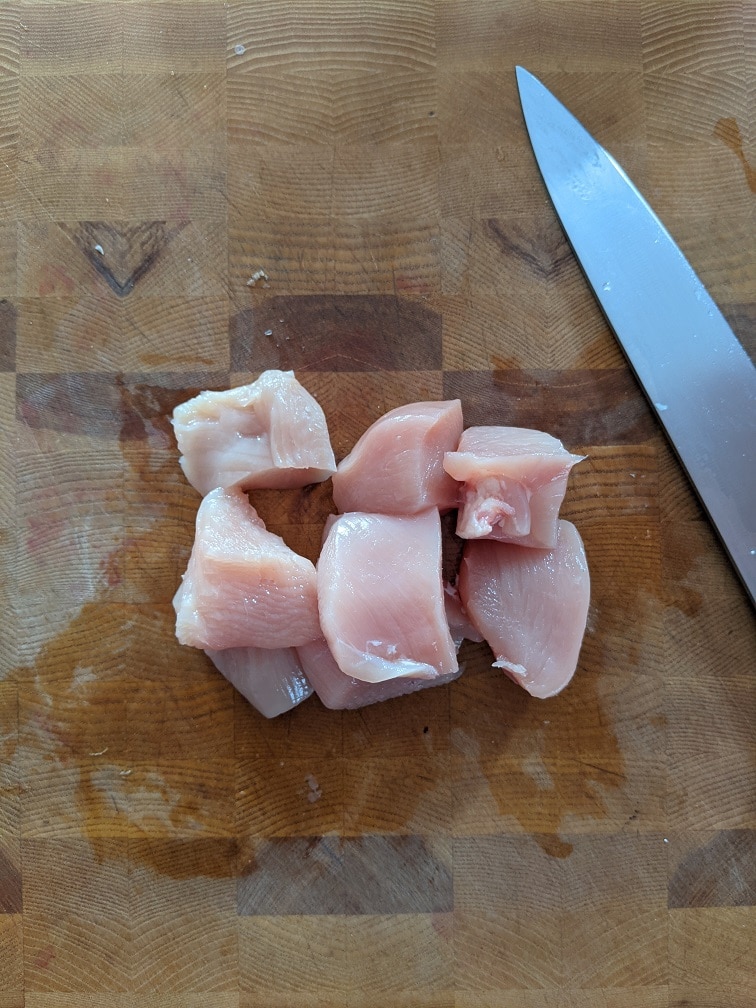
To make the chicken’s marinade, combine one tablespoon of minced garlic with one tablespoon of dried oregano, the juice of one lemon, and a quarter cup of olive oil. Mix well. Cut three large chicken breasts into 2cm x 2cm cubes and add to the marinade. Stir to coat the chicken. Cover the bowl with plastic wrap and put it in the fridge for the night.
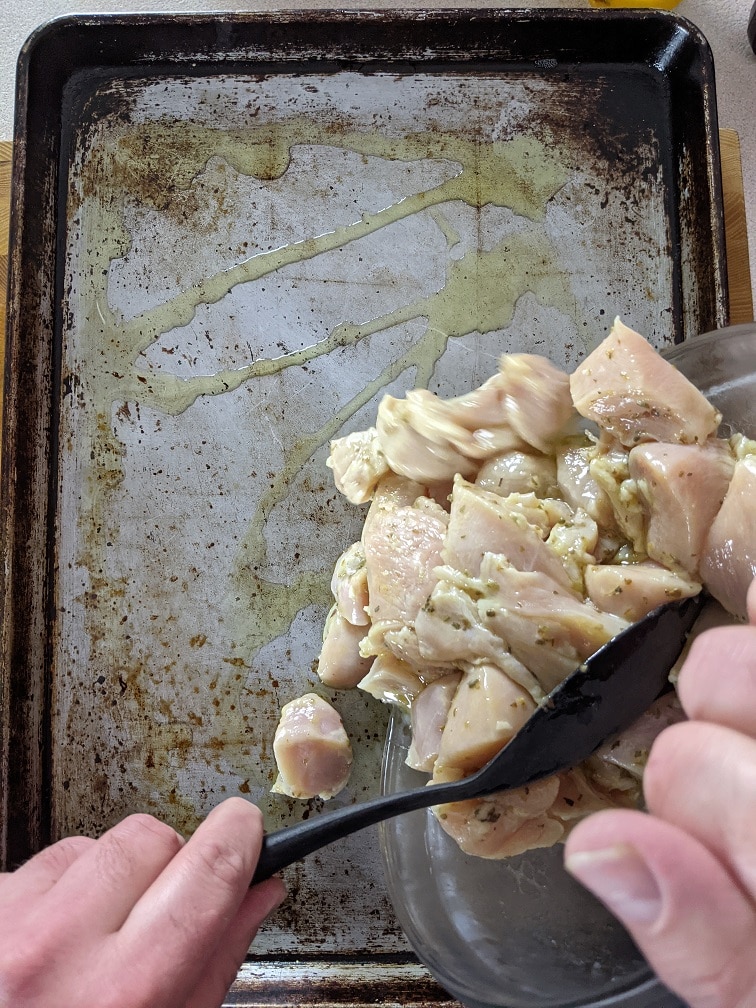
Roasting the chicken
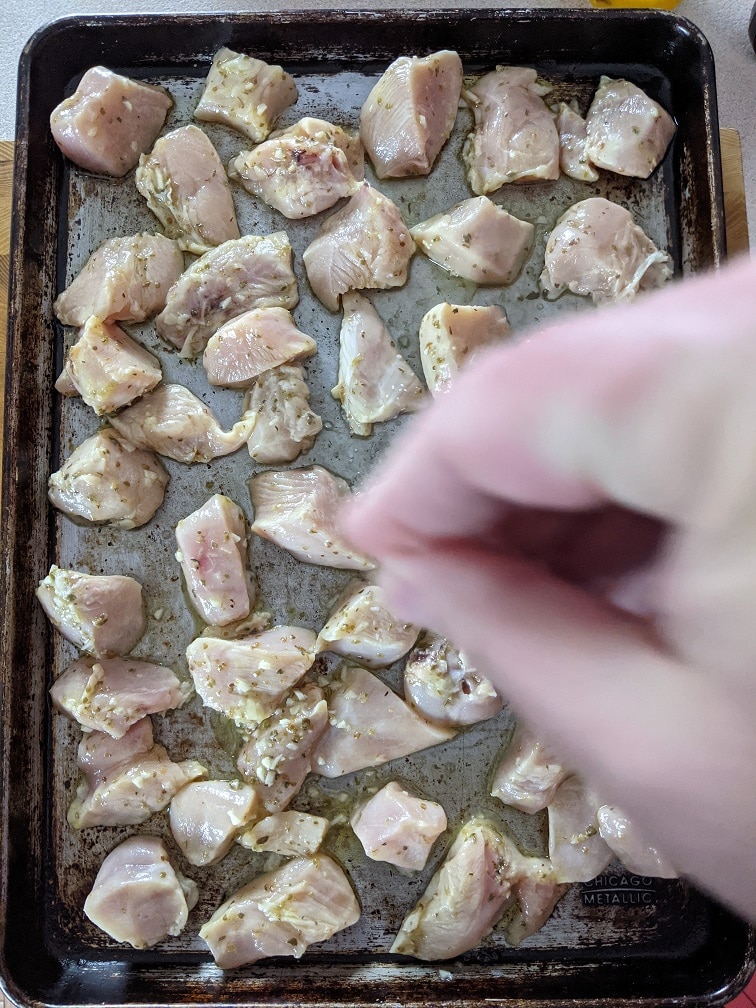
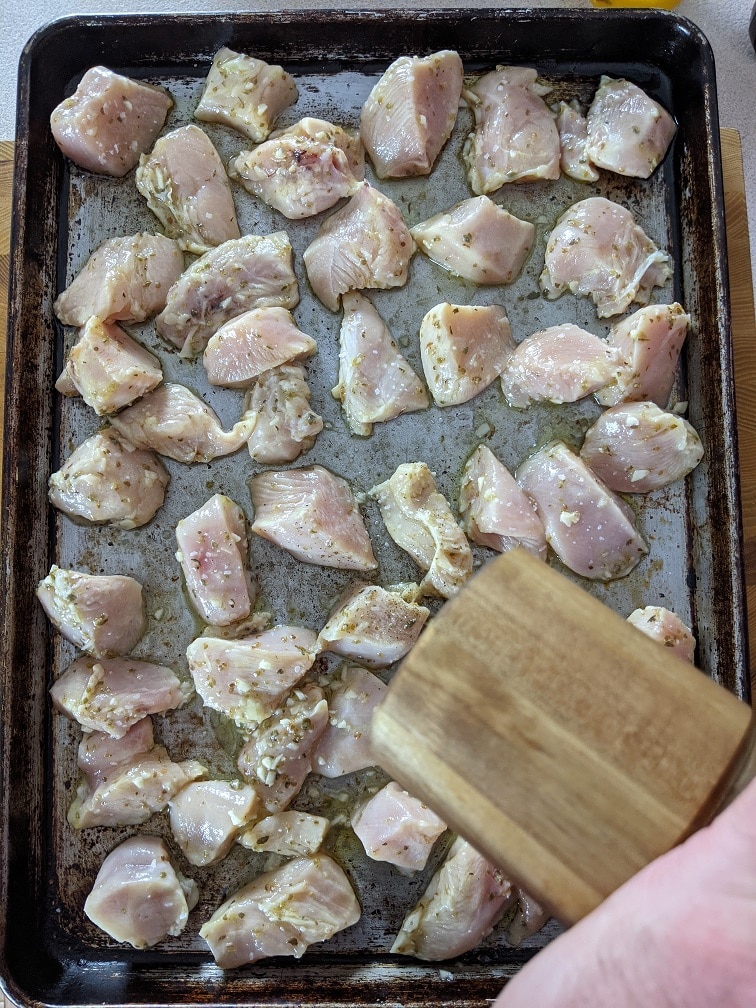
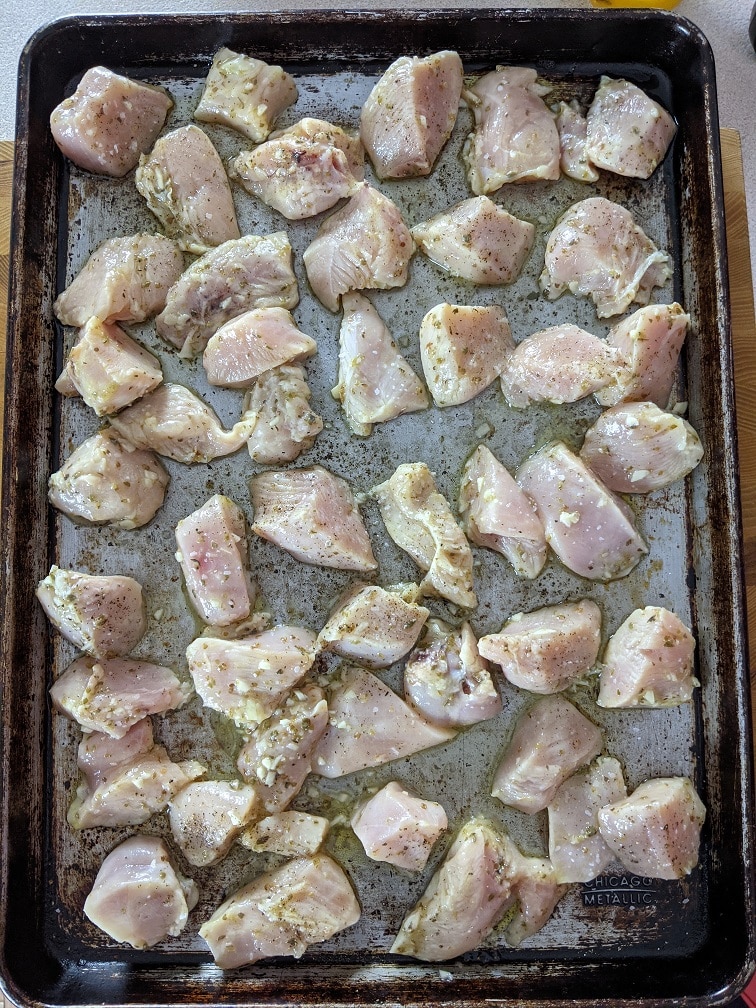
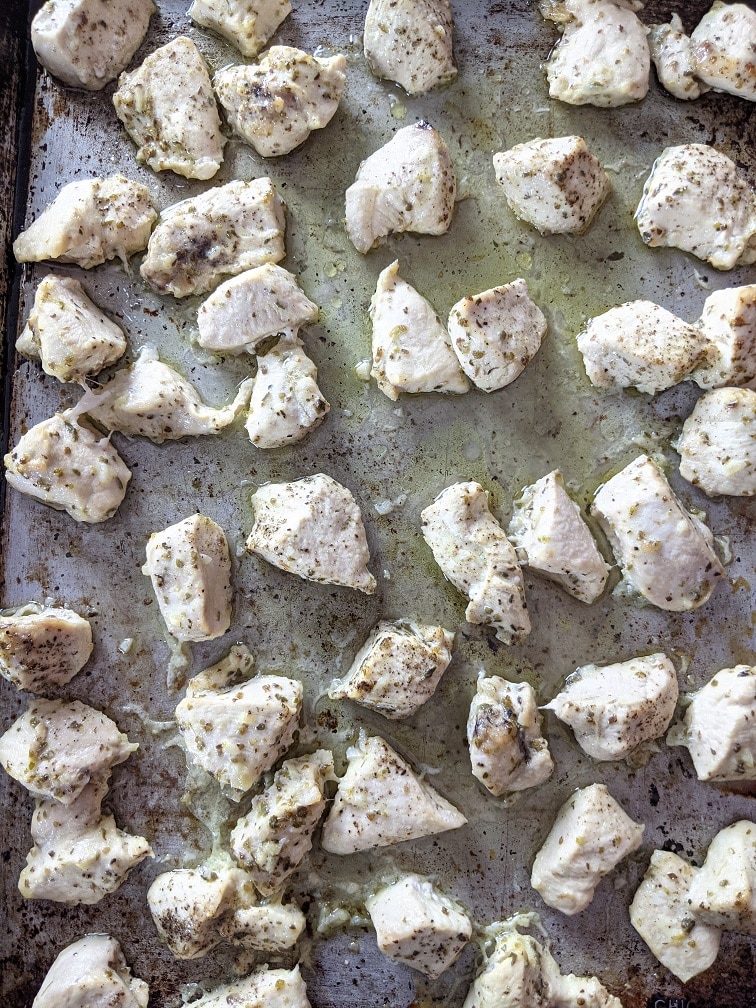
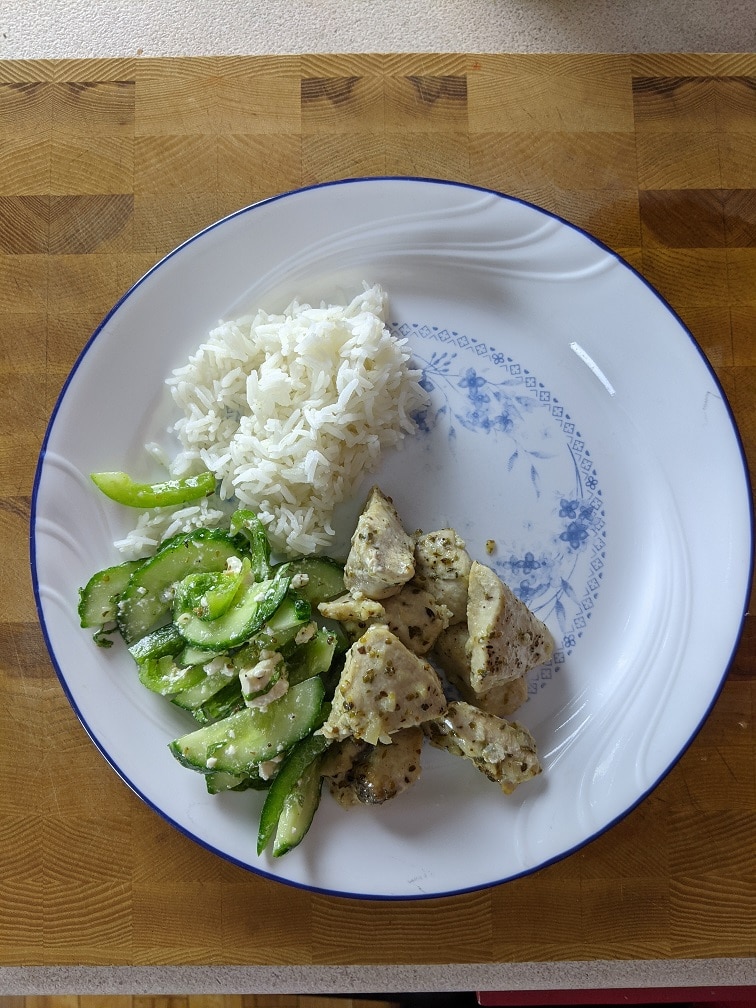
To cook the chicken, first heat your oven to 400°f. Spread a few tablespoons of olive oil on a sheet pan, drain the excess marinade off the chicken, and spread the chicken out on the sheet pan. Season with salt and pepper, then roast for 25 to 35 minutes or until the chicken is cooked. The chicken is cooked when its internal temperature reaches 165°f.
Greek-Style Marinated Chicken
Chicken marinated in lemon, olive oil and other Greek flavours then roasted or grilled.
Squeeze the juice of the lemon into a medium mixing bowl. Then add the garlic, dried oregano, and olive oil. Whisk to combine.
Cut the chicken into 2cm x 2cm cubes or are close to that as you can get them. Put the chicken in the marinade, and stir to coat.
Put the chicken in the fridge and leave it to marinate overnight.
Heat your oven to 400°f.
Drain the marinade off the chicken, then spread it out onto a lightly oiled sheet pan. Season the chicken with salt and pepper, then roast in the oven for 25 to 35 minutes or until the chicken is cooked.
Alternatively, put the chicken on bamboo skewers that have been soaked in water for 1 hour, then grill on medium-high heat for 4 to 5 minutes per side.
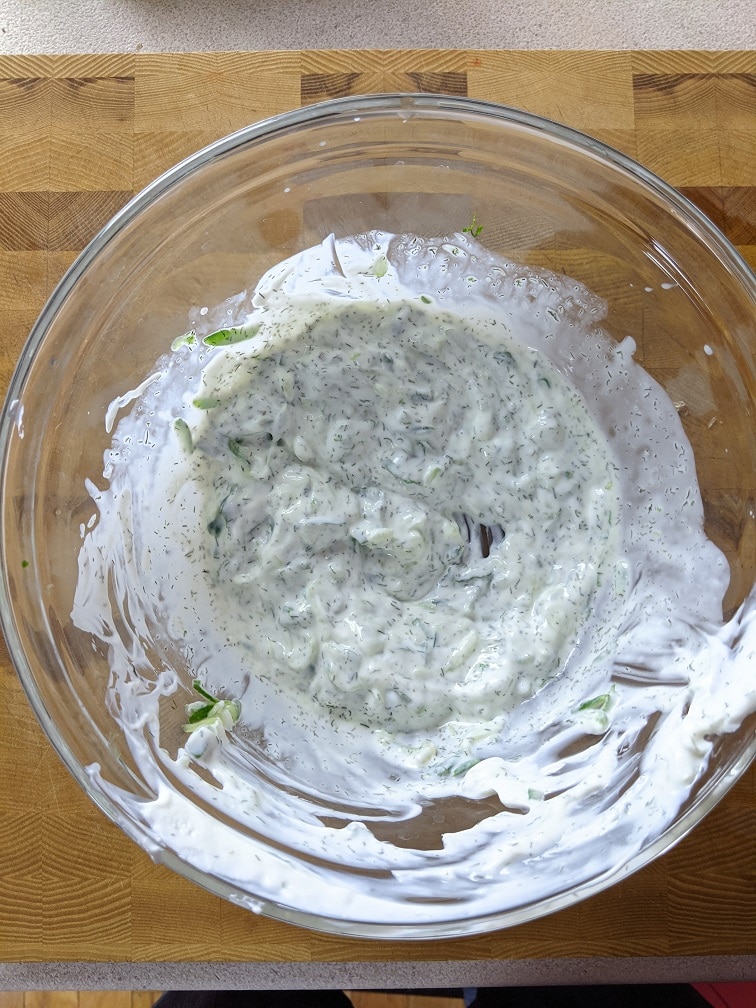
Tzatziki is like the secret weapon of Greek food. It can act as a dip for vegetables or bread, as a sauce for grilled or roasted meat, or as a spread for pita wraps. Oh, and it tastes fantastic. There are two things that you have to focus on to get the right consistency for your tzatziki. First of all, the yogurt. It has to be a thick Greek-syle yogurt. Otherwise, you may end up with watery tzatziki. No one wants watery tzatziki. The second point to focus on is how you process the cucumber. Let’s take a look at how you do that.
Salting the cucumber
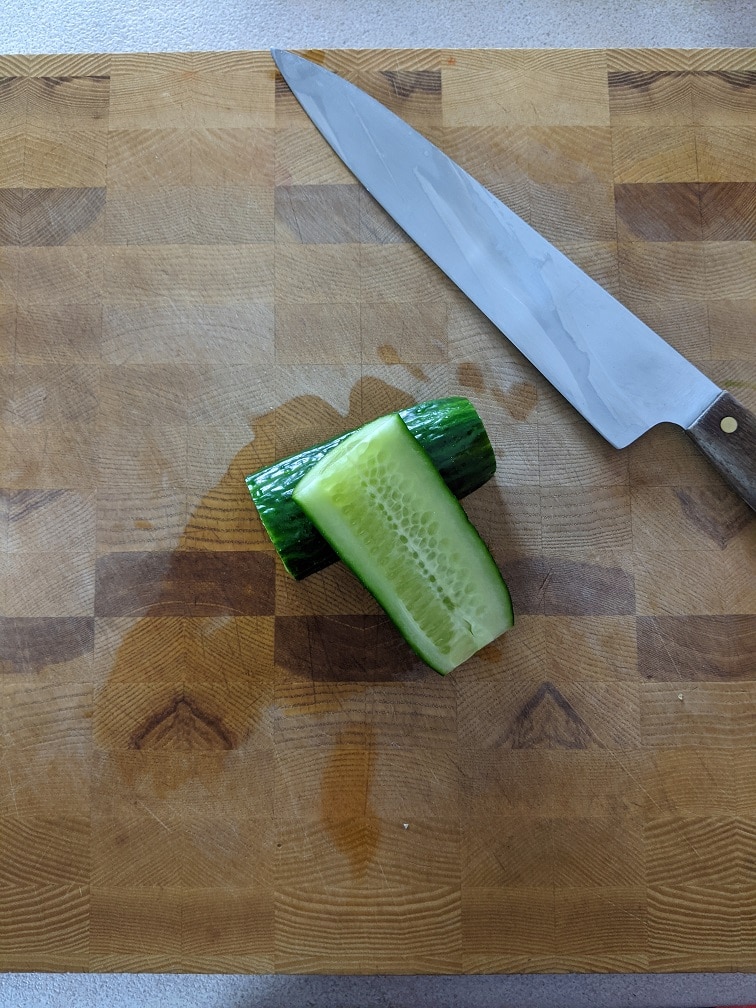
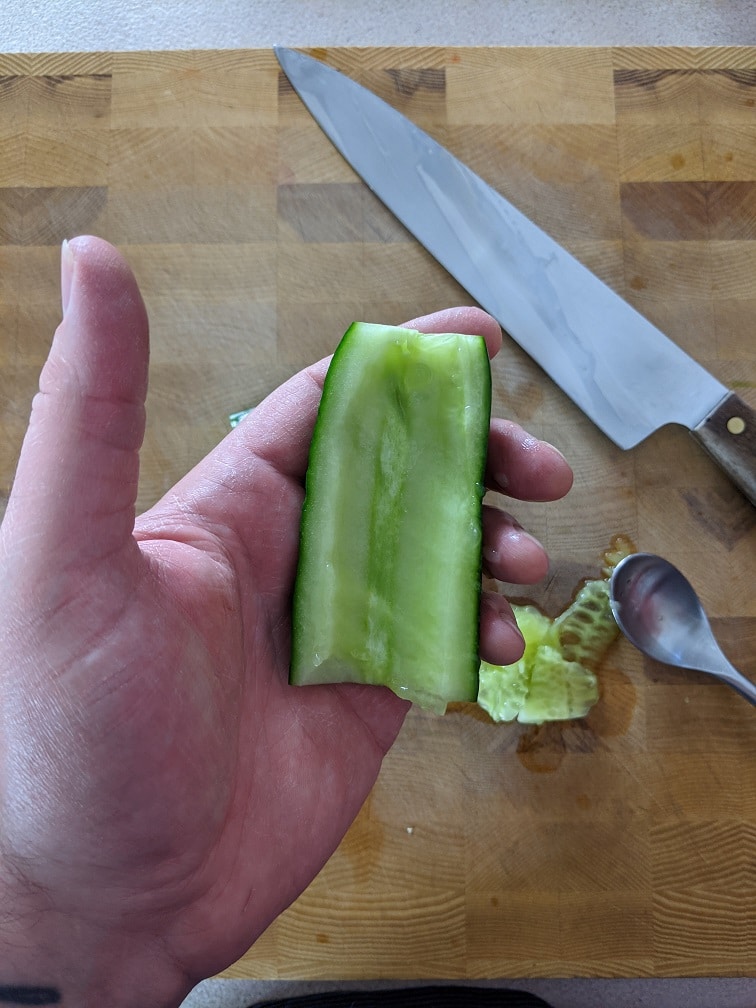
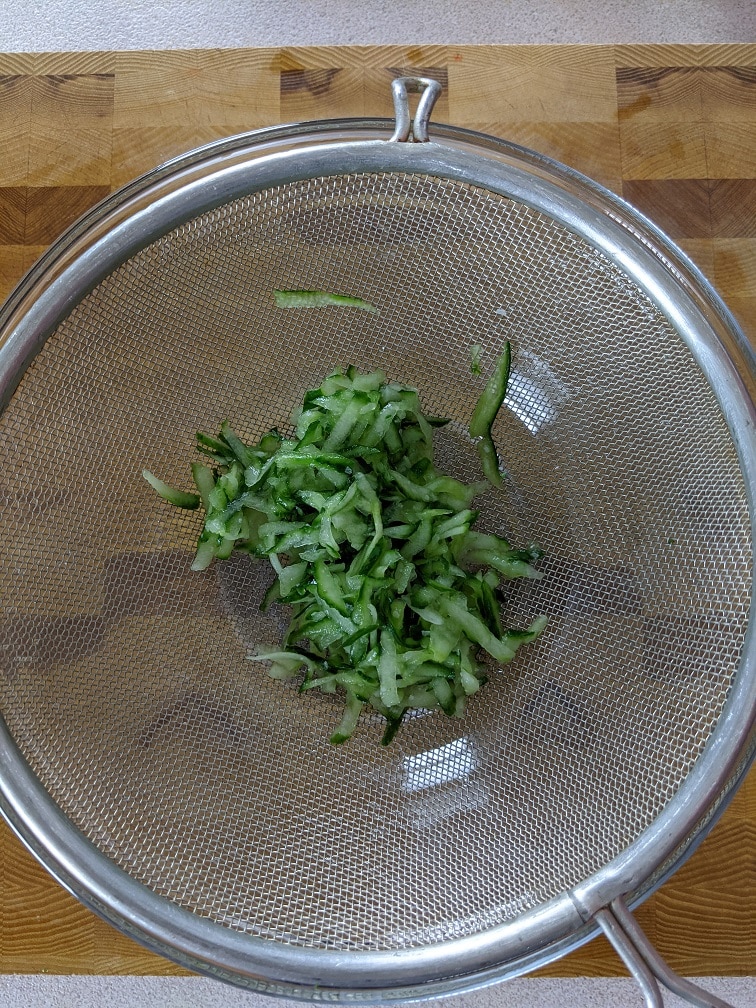
Cucumbers are mostly water. As the cucumber sits in the yogurt, a lot of that water is going to be pulled out, again, giving you watery tzatziki. There are four steps to process the cucumber to limit how much cucumber juice leaks into the yogurt. 1. remove the seeds. 2. grate the cucumber. 3. salt the cucumber. 4. drain the cucumber.
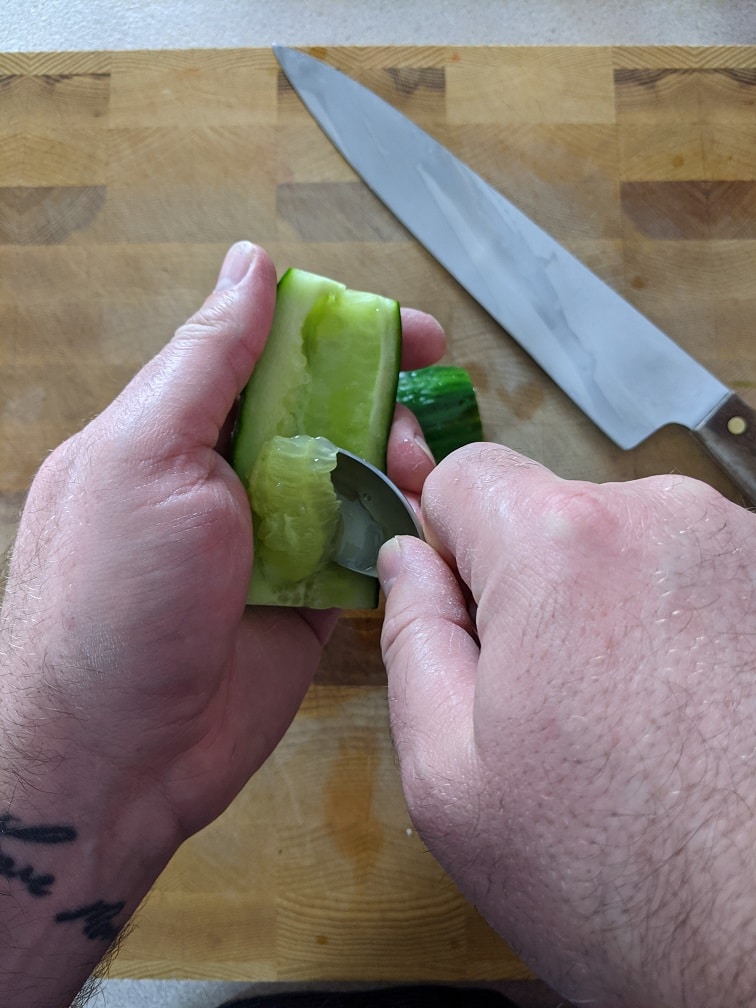
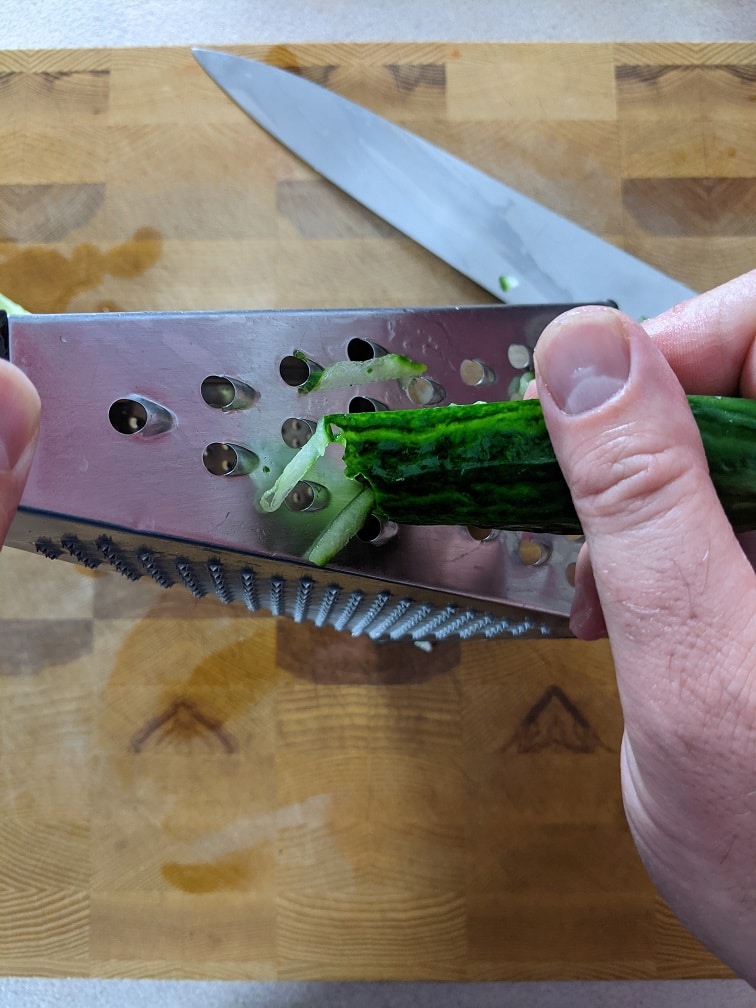
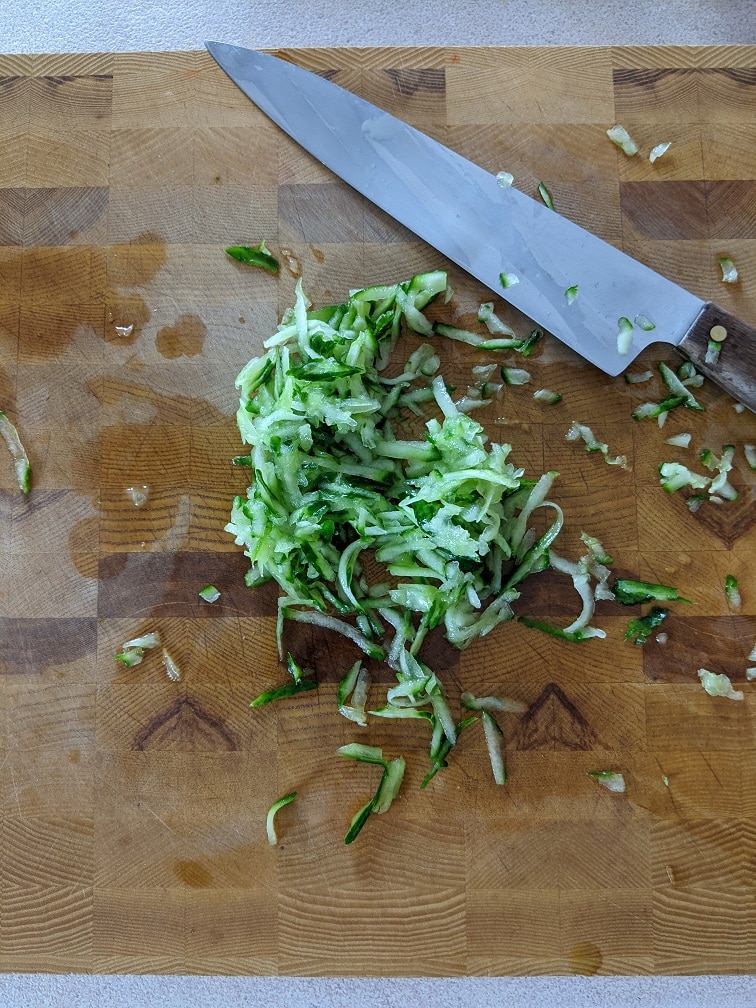
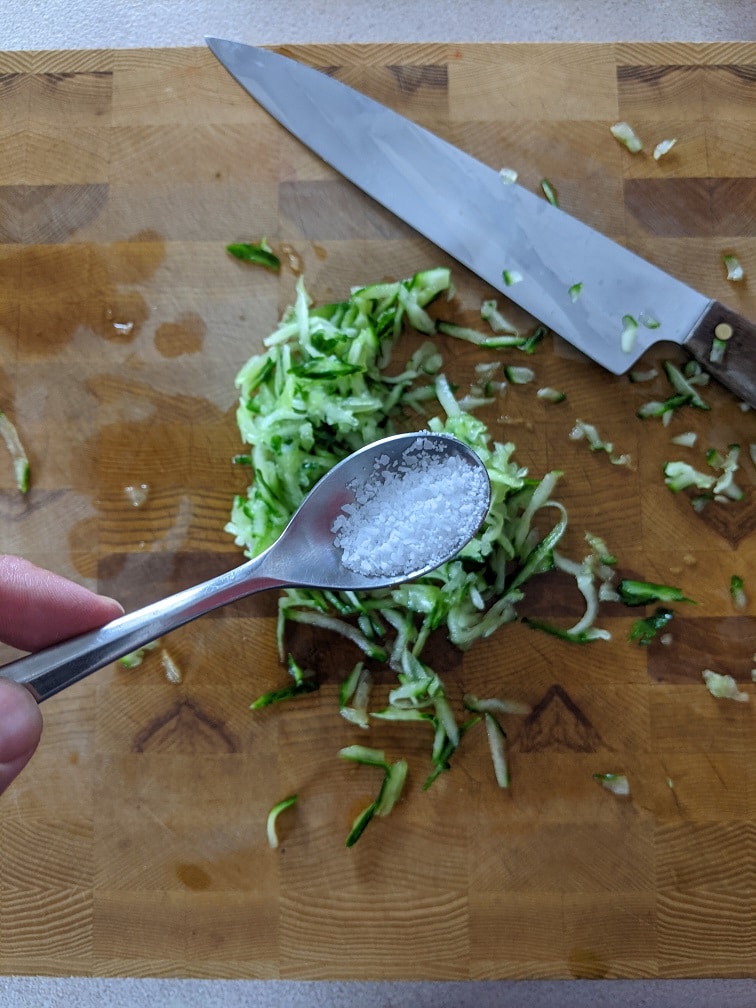
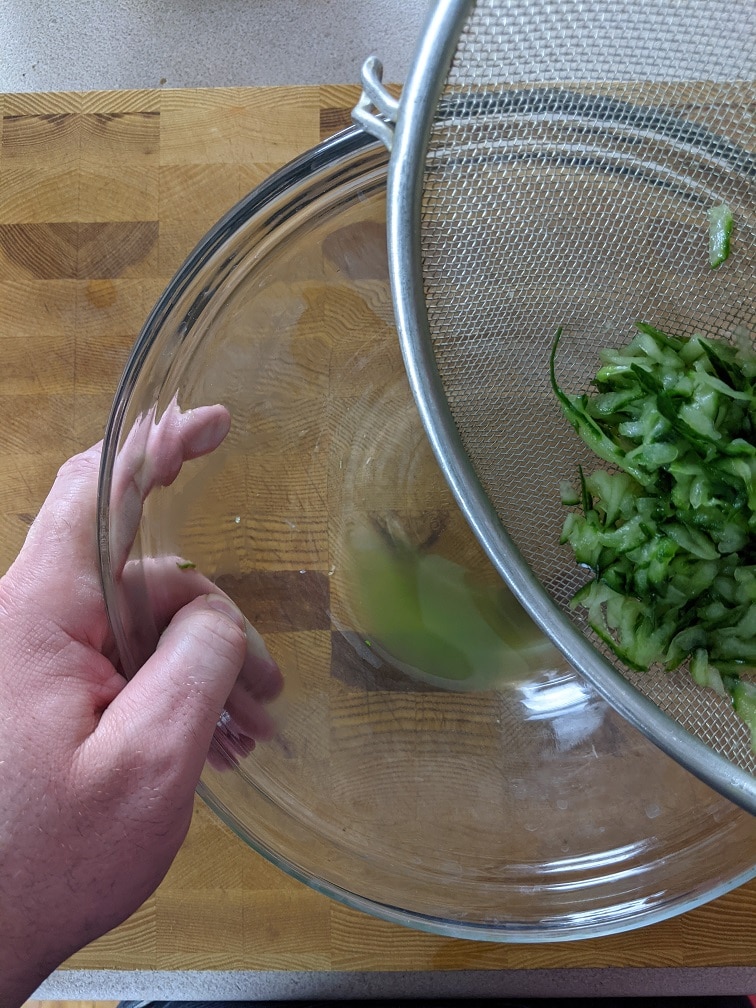
To remove the seeds, cut the cucumber in half lengthwise and scoop them out with a spoon. This will remove a lot of excess moisture, but it will also extend your tzatziki’s shelf life because the seeds will spoil quicker than the rest of the cucumber. Grate the cucumber on the large setting of a cheese grater. This creates more surface area, allowing you to extract more moisture. It also helps to distribute the cucumber throughout the tzatziki evenly. Mix half a teaspoon of kosher salt into the cucumber. The salt will pull water out of the cucumber. Finally, put the cucumber in a strainer set above a mixing bowl. Let it sit for ten minutes, then discard the liquid.
Finishing the tzatziki
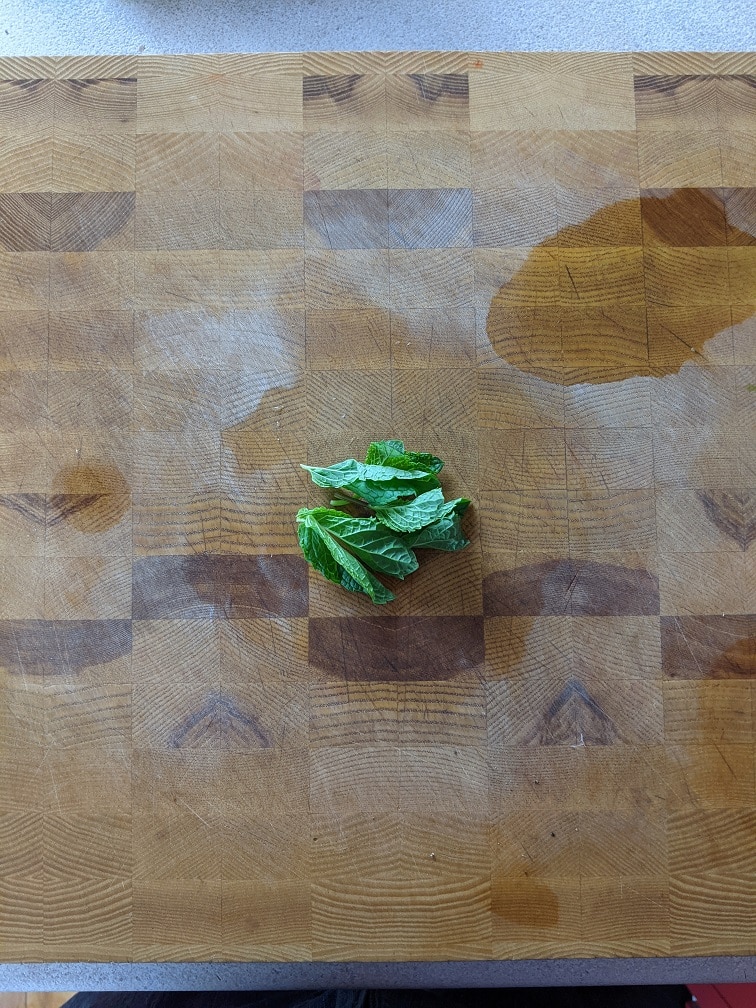
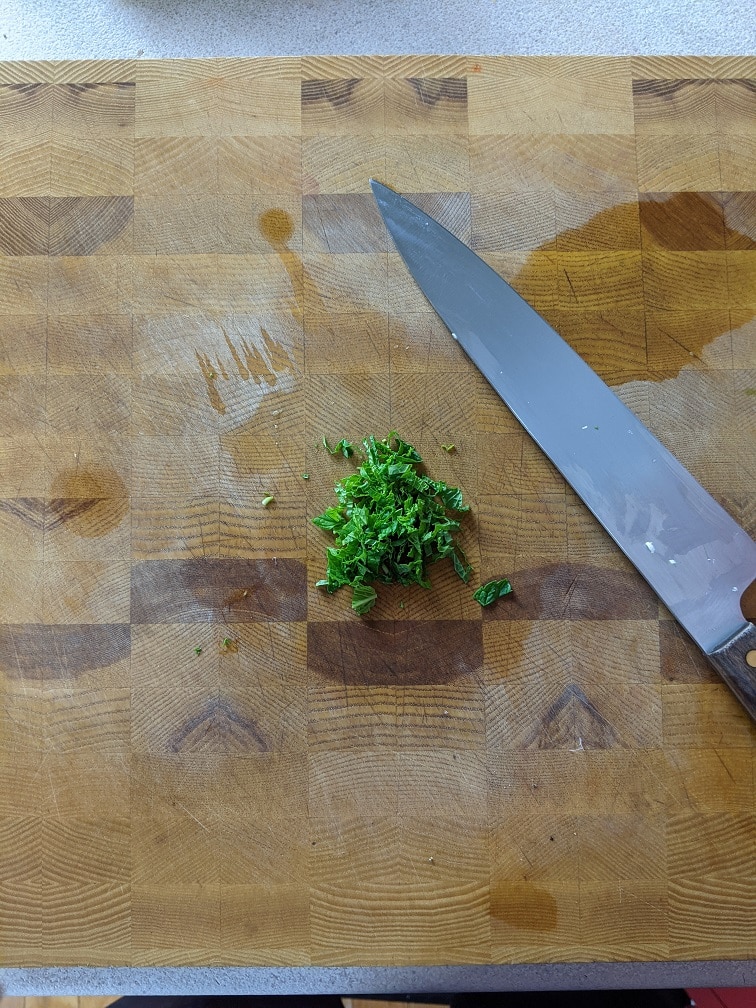
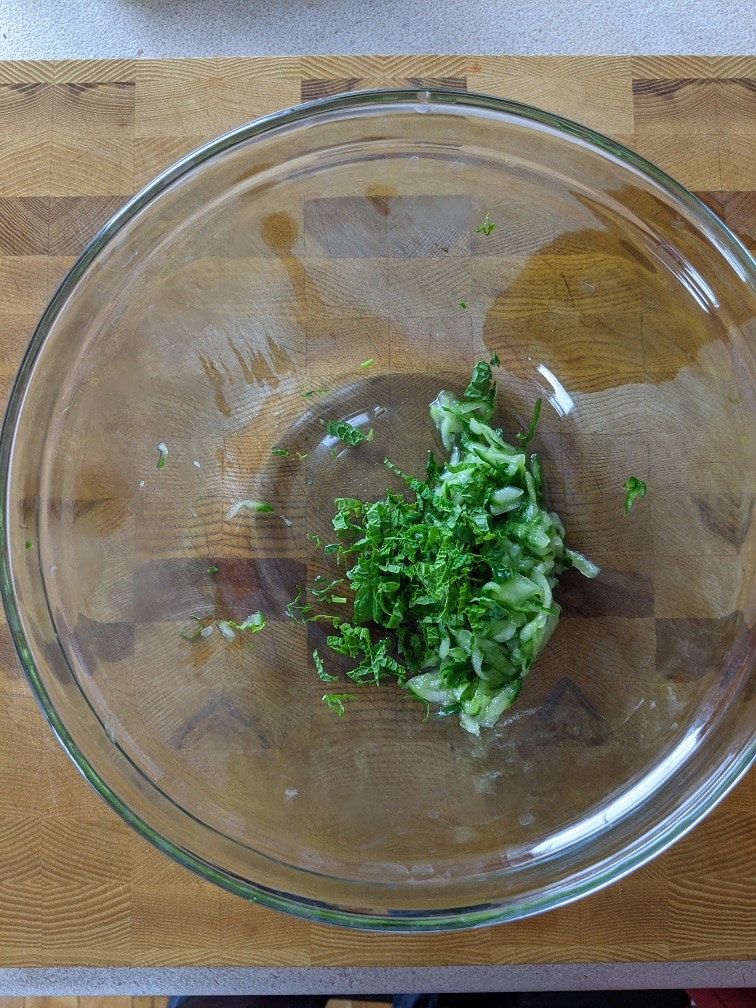
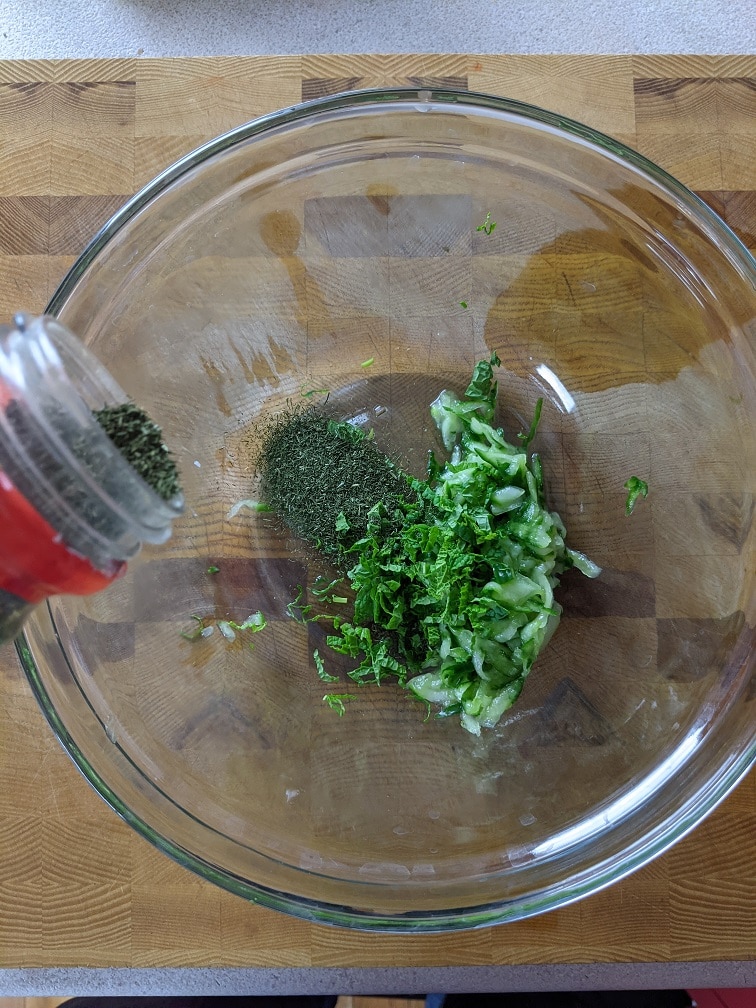
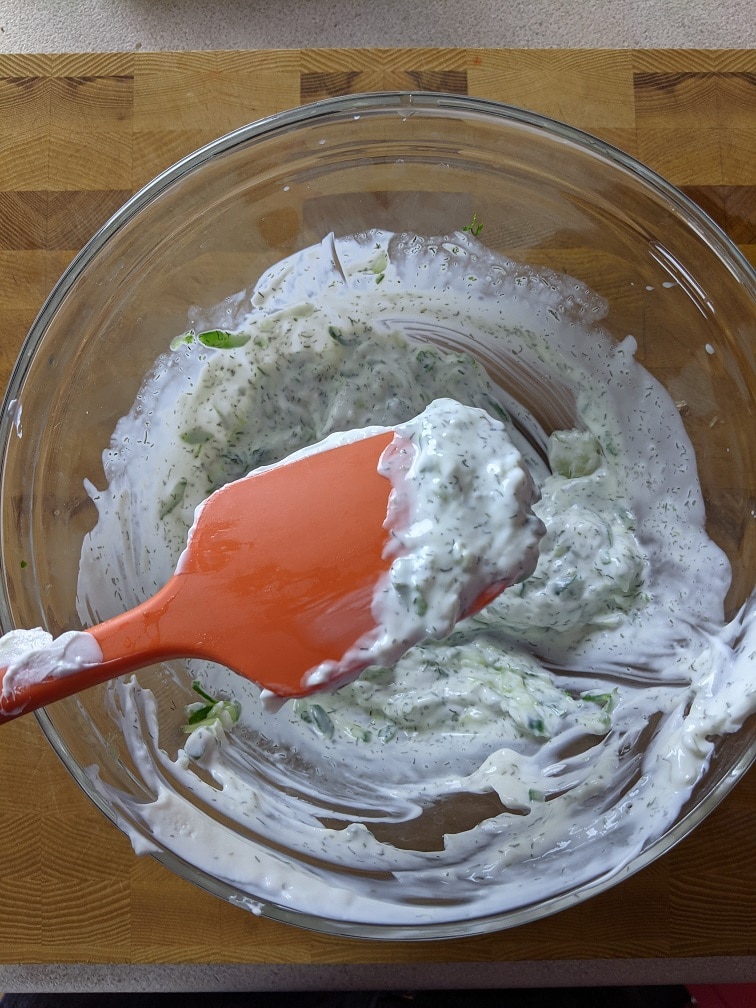
To finish the tzatziki, add one tablespoon chopped mint, a quarter teaspoon dried dill, one teaspoon minced garlic, the juice of half a lemon, and one cup of Greek yogurt to the cucumber. Mix well. You can use the tzatziki right away, but if you cover it and put it in the fridge for an hour or two, it will have more flavour.
Tzatziki Sauce
Greek yogurt and cucumber sauce that works as a dipping sauce for almost any grilled or roasted meat, fresh or roasted vegetables, or pita bread.
Cut the cucumber in half and remove the seeds. Grate the cucumber on the large holes of a cheese grater. Mix the grated cucumber with the salt and put it in a strainer set above a medium mixing bowl. Leave to sit for 10 minutes.
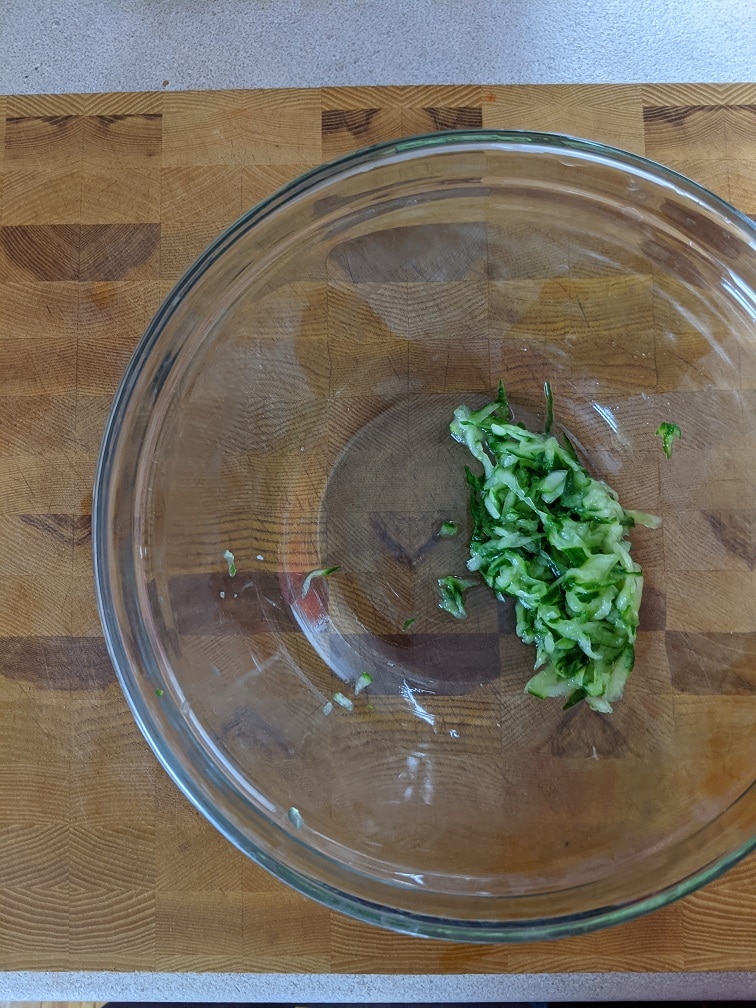
Squeeze the cucumber to extract any remaining juice then discard the liquid in the bottom of the bowl. Put the cucumber in the bowl with the remaining ingredients, stir and serve.
Did you know that I wrote a cookbook? It’s called the 5-Ingredient Cookbook for Men (of course, it is for everyone). Get your copy today at Amazon in Canada here, and Amazon in the US here, or wherever fine books are sold.
Greek Salad
You can’t have a Greek meal without a Greek salad. When you think of Greek salad, you may think of cucumber, green pepper, red onion, cherry tomatoes, olives, all on a bed of romaine lettuce topped with feta and Greek dressing. That’s a delicious salad, and one you will see in every Greek restaurant in North America, but it isn’t what we’re making today. Our salad is a more rustic version of the Greek salad. Gone are the tomatoes, olives, lettuce and red onion.
Making the Greek Salad
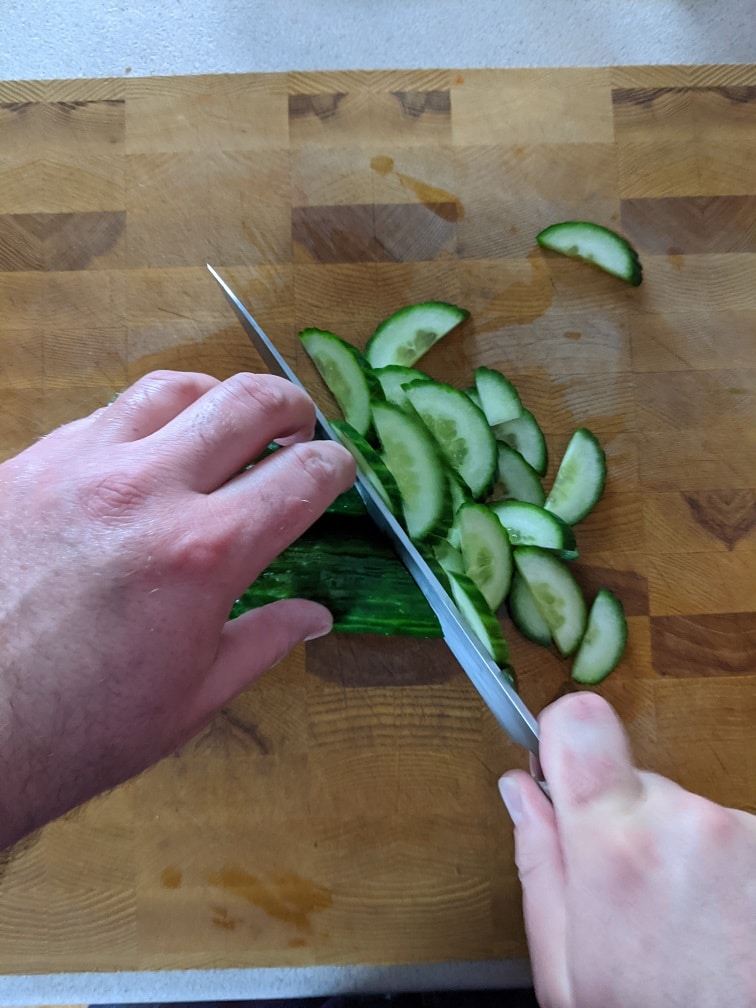
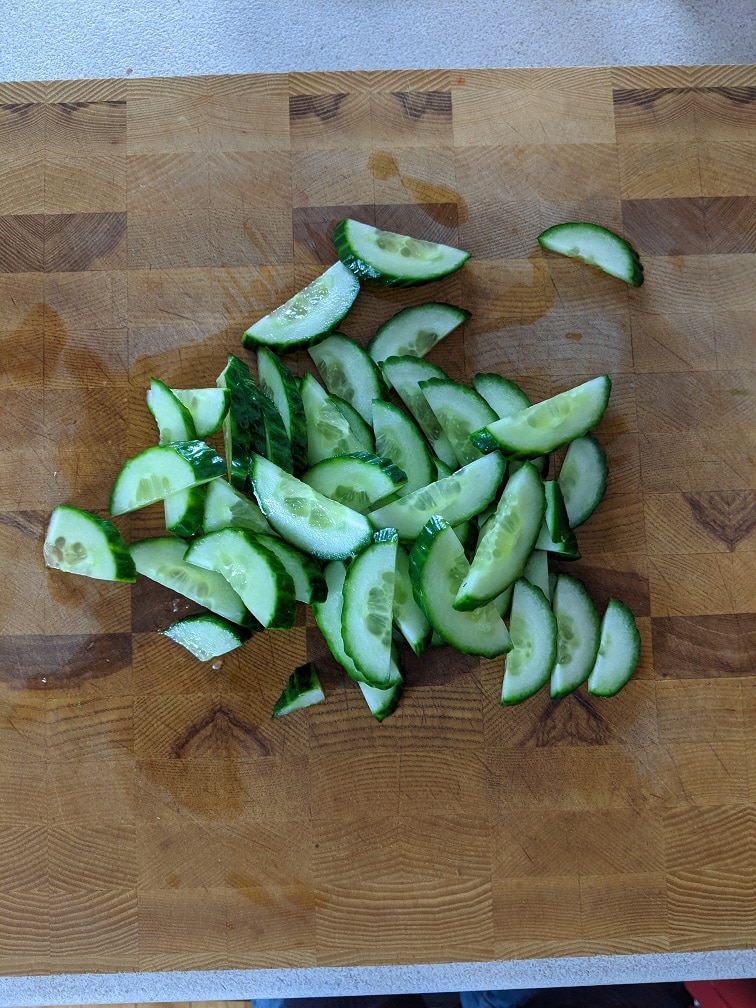
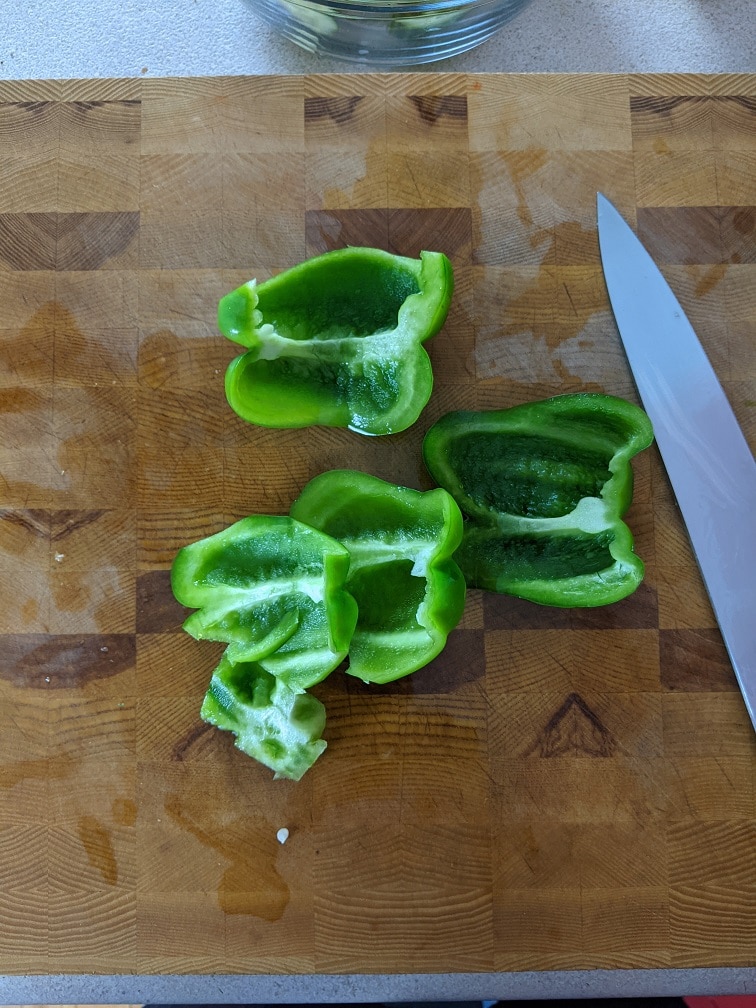
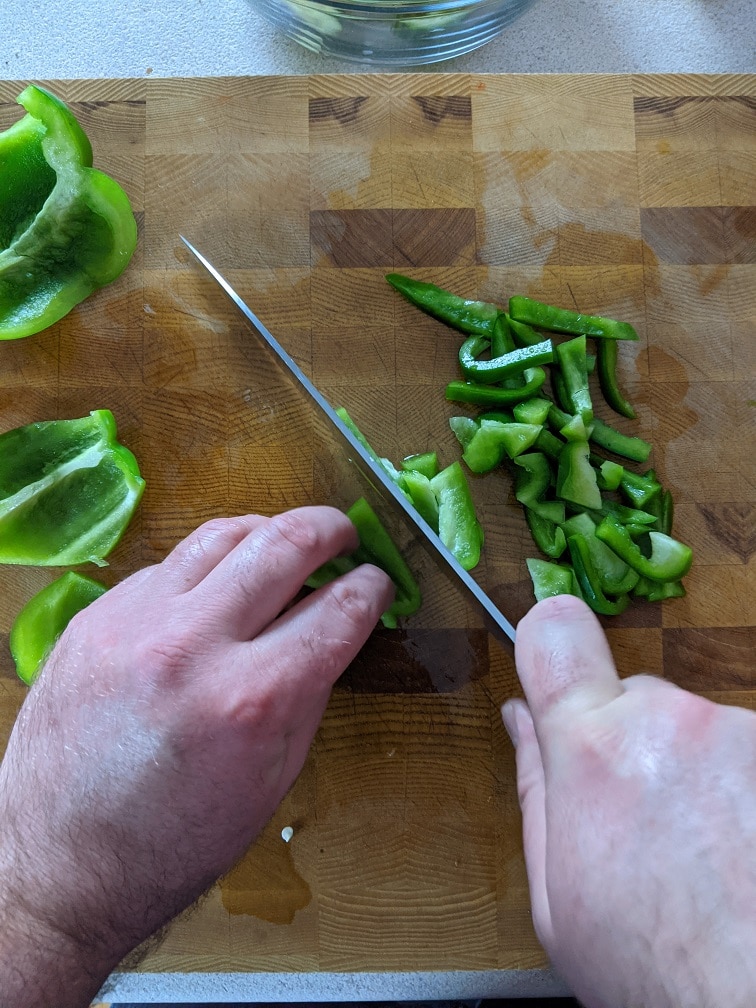
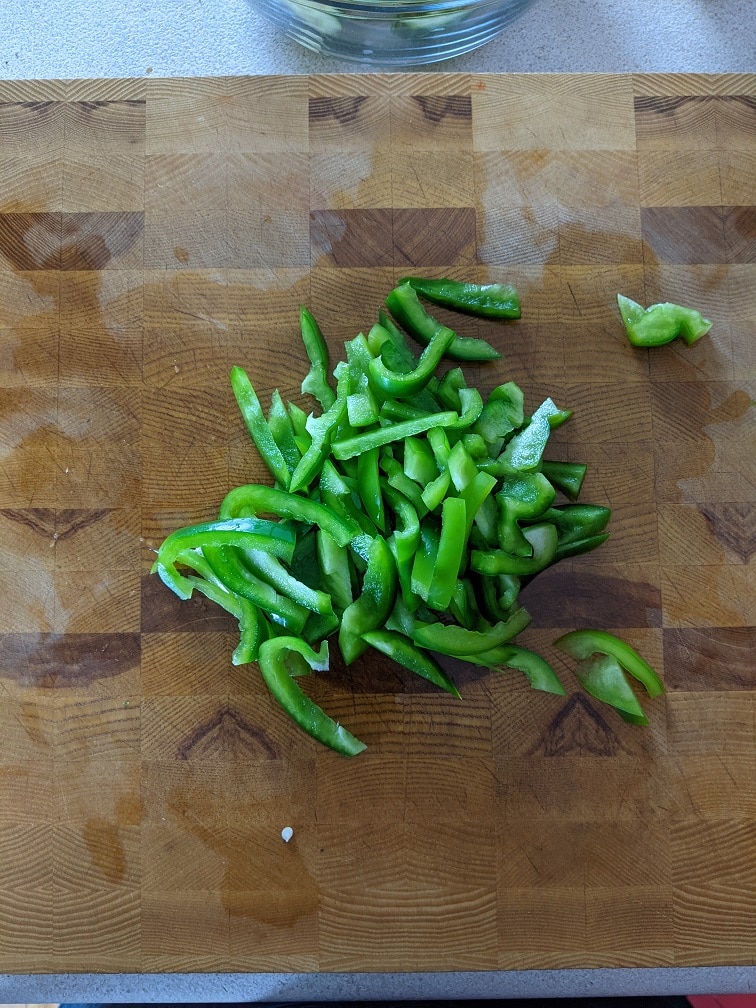
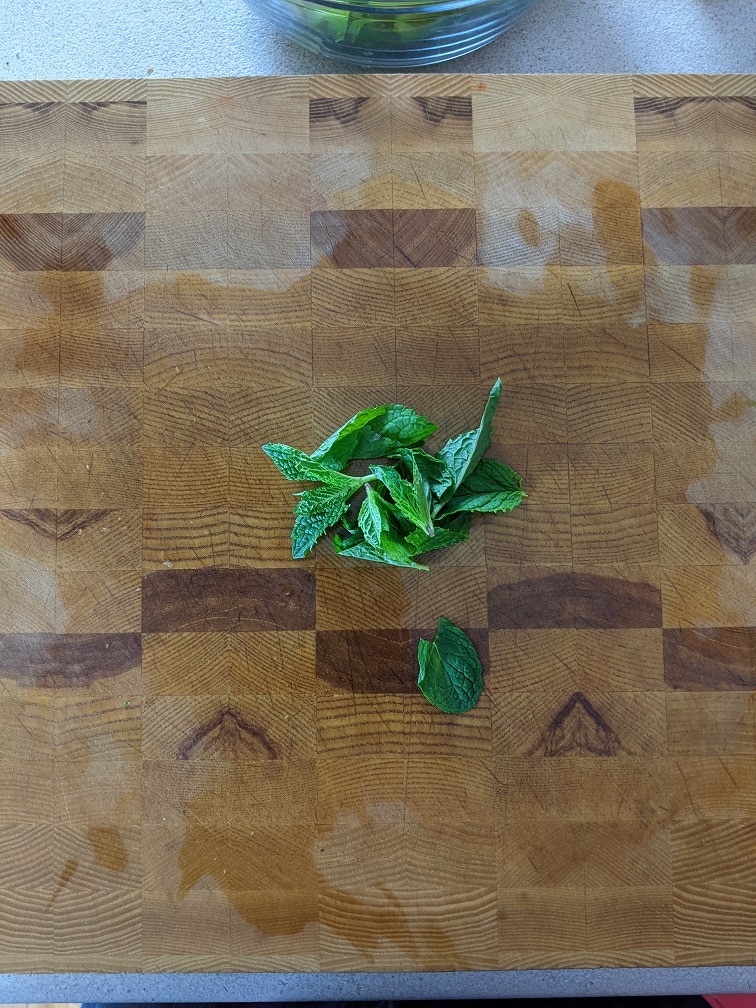
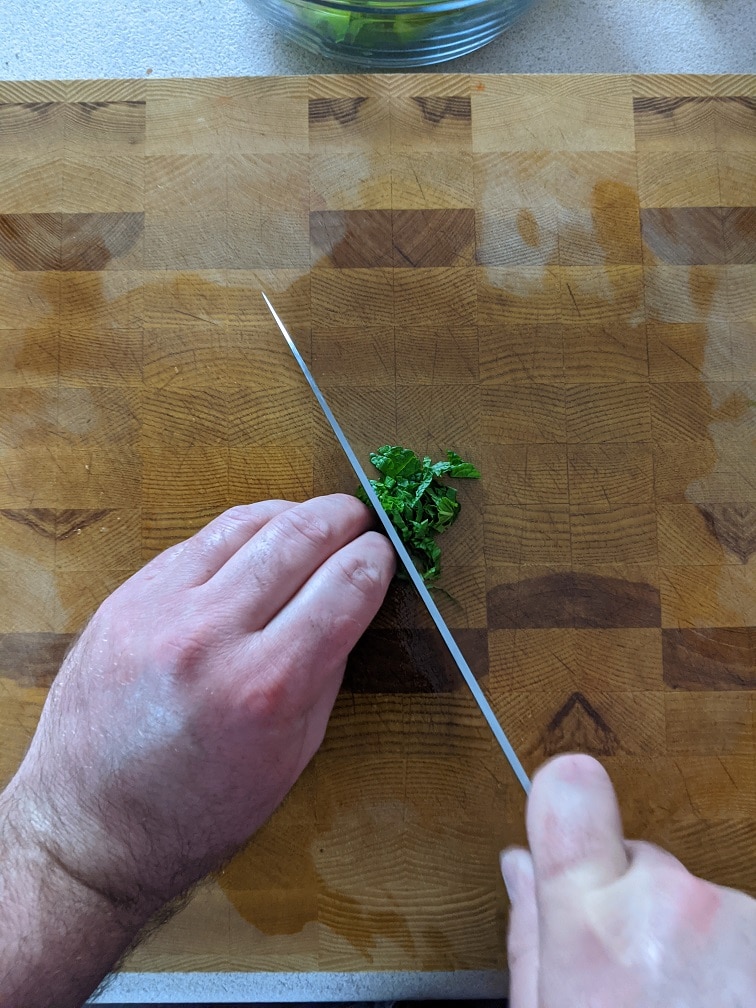
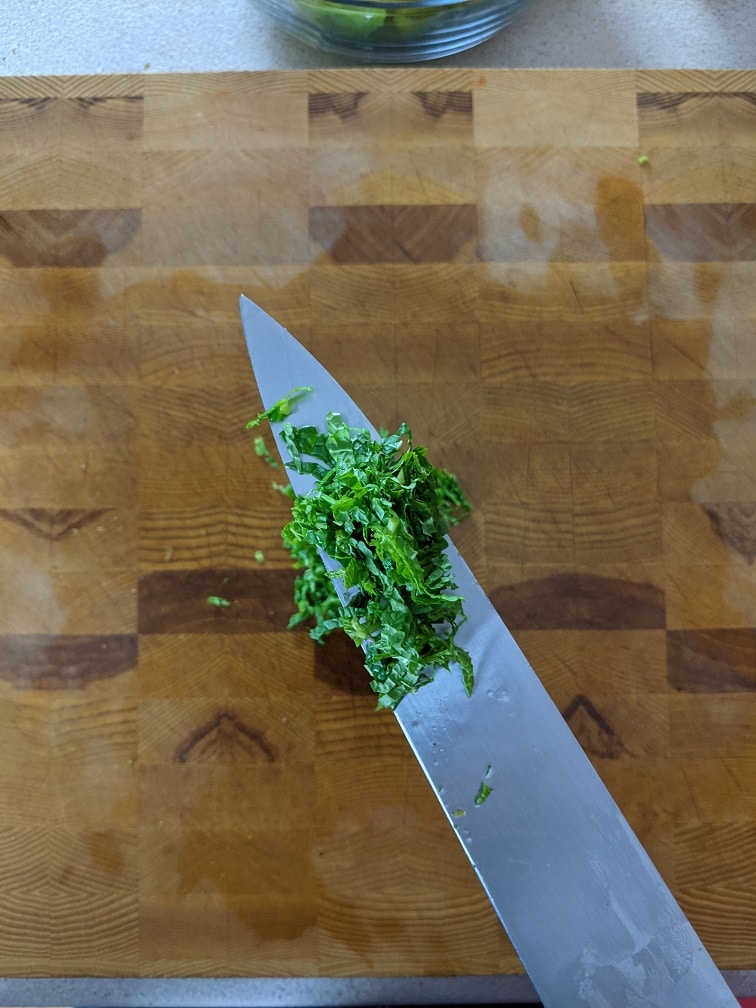
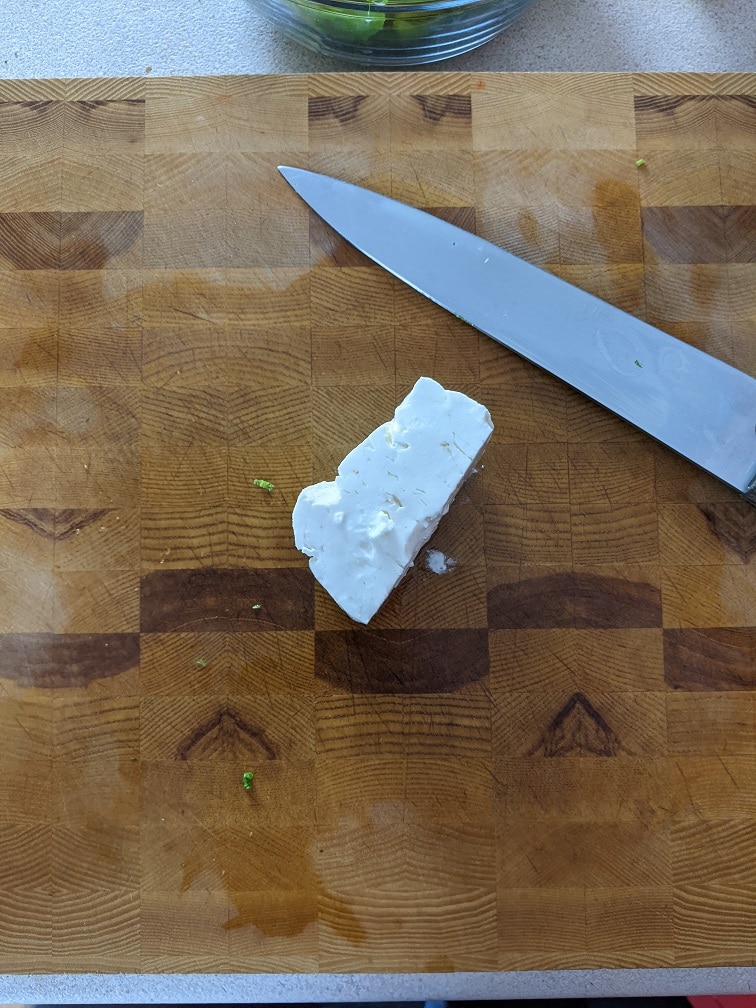
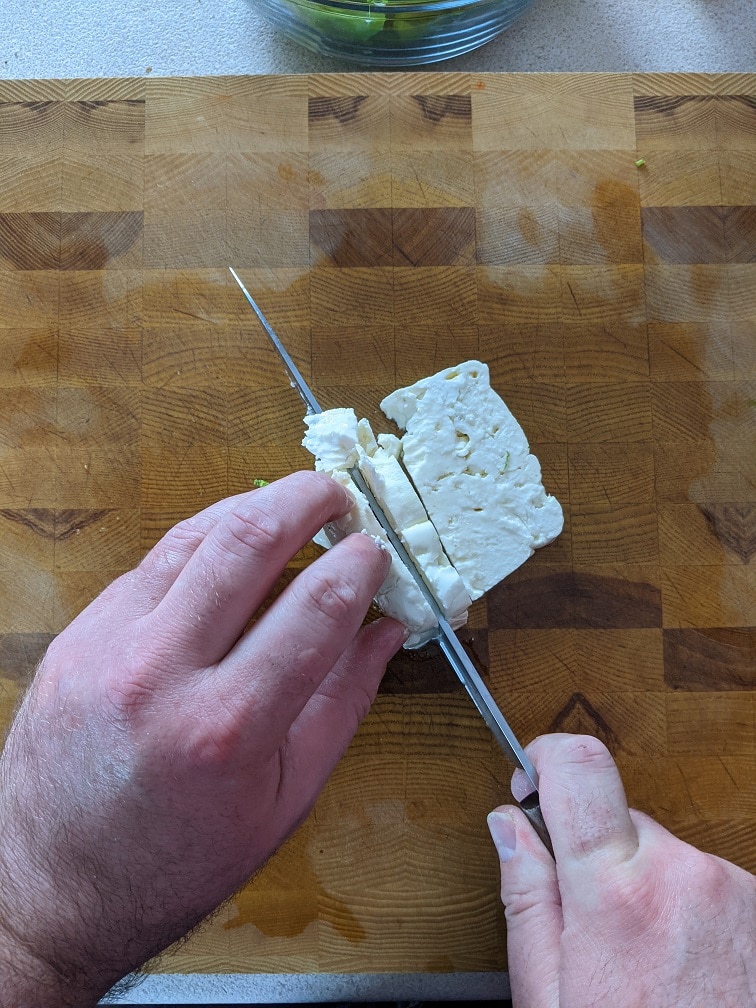
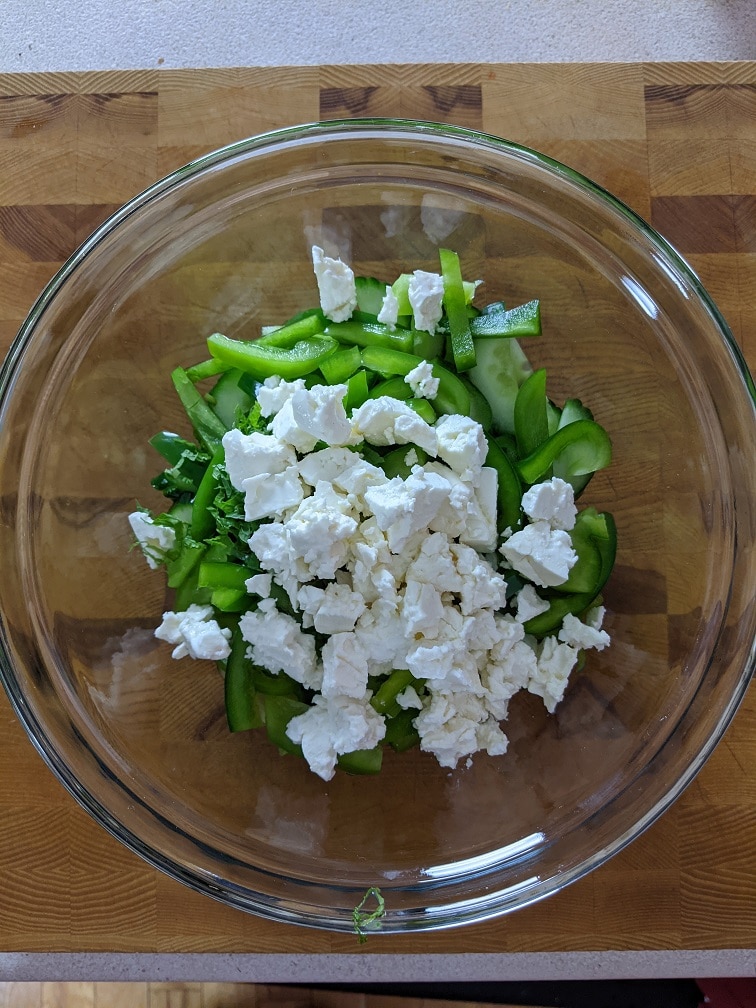
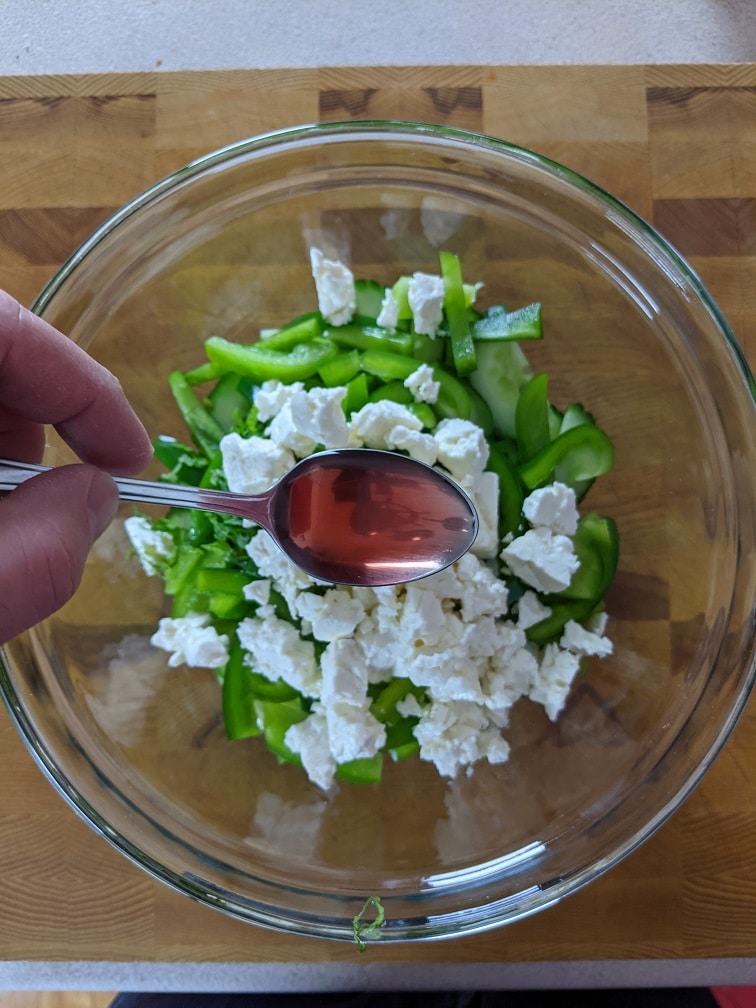
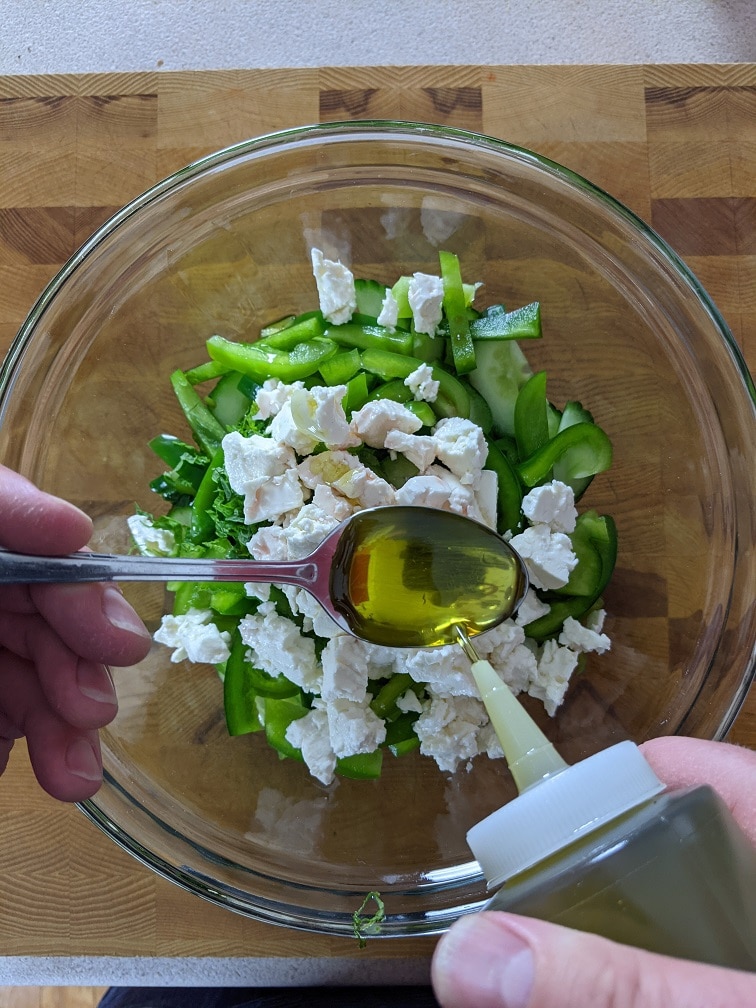
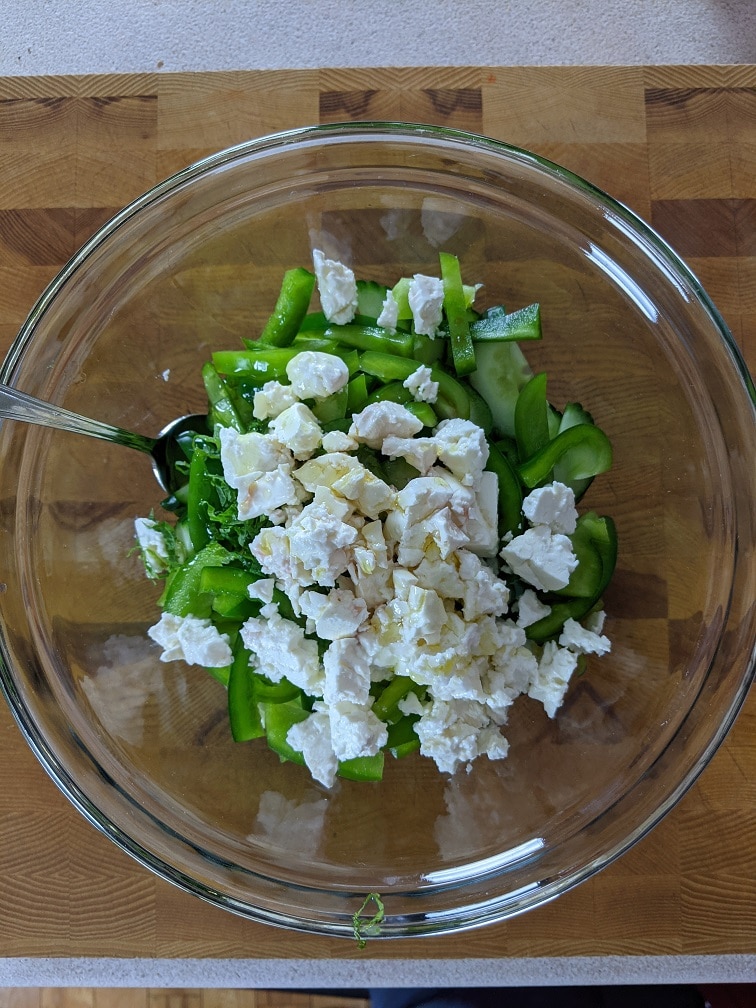
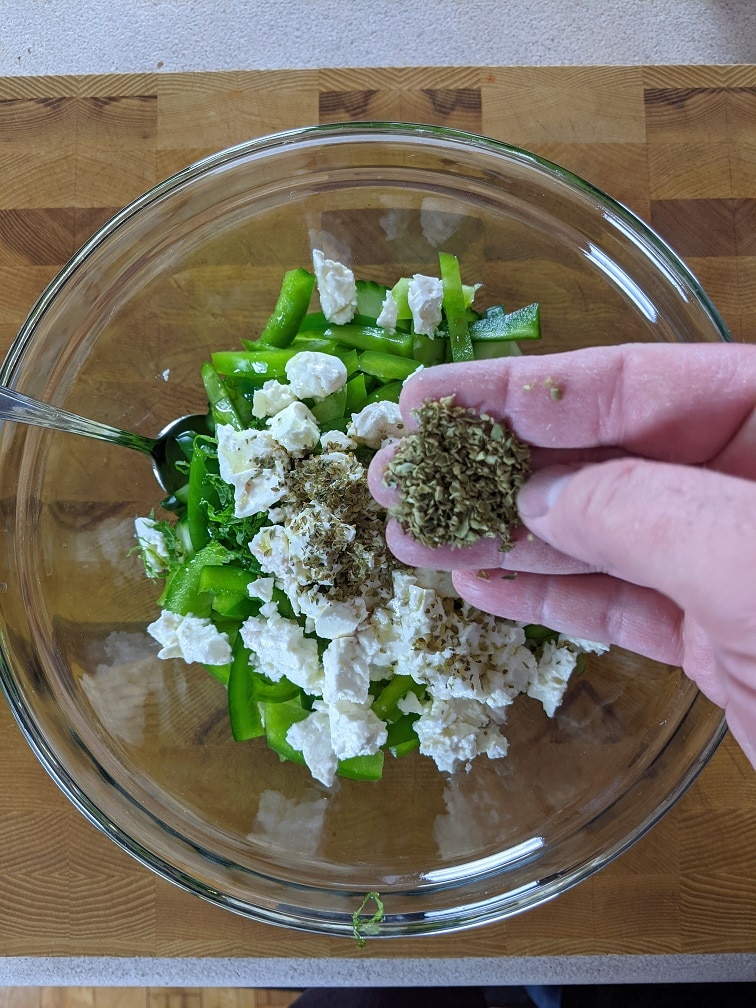
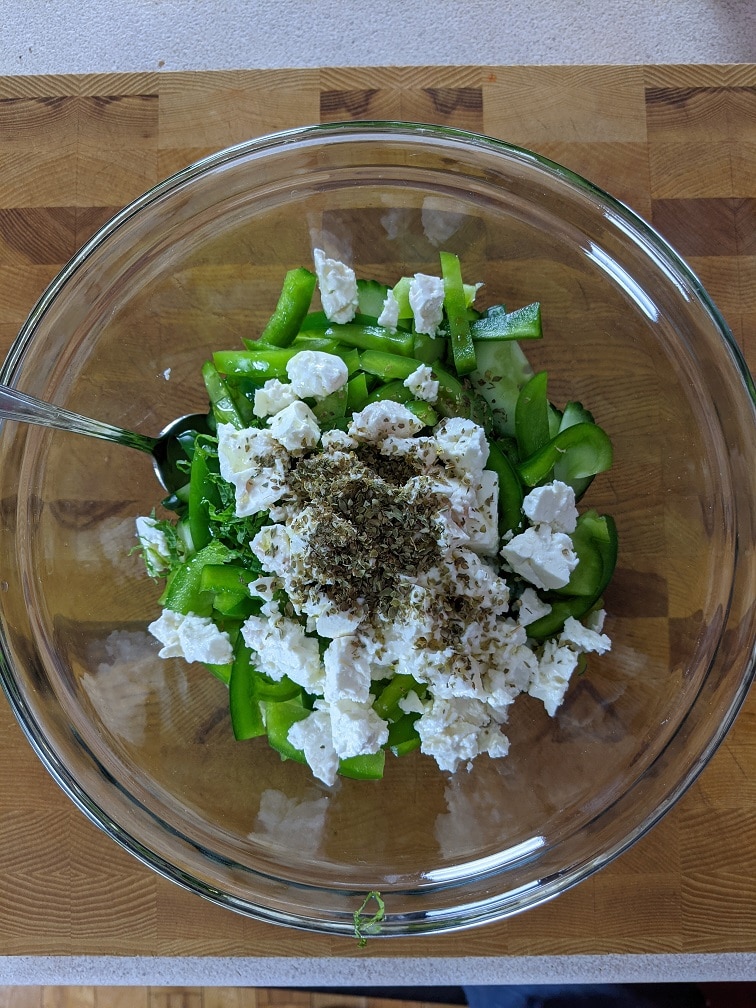
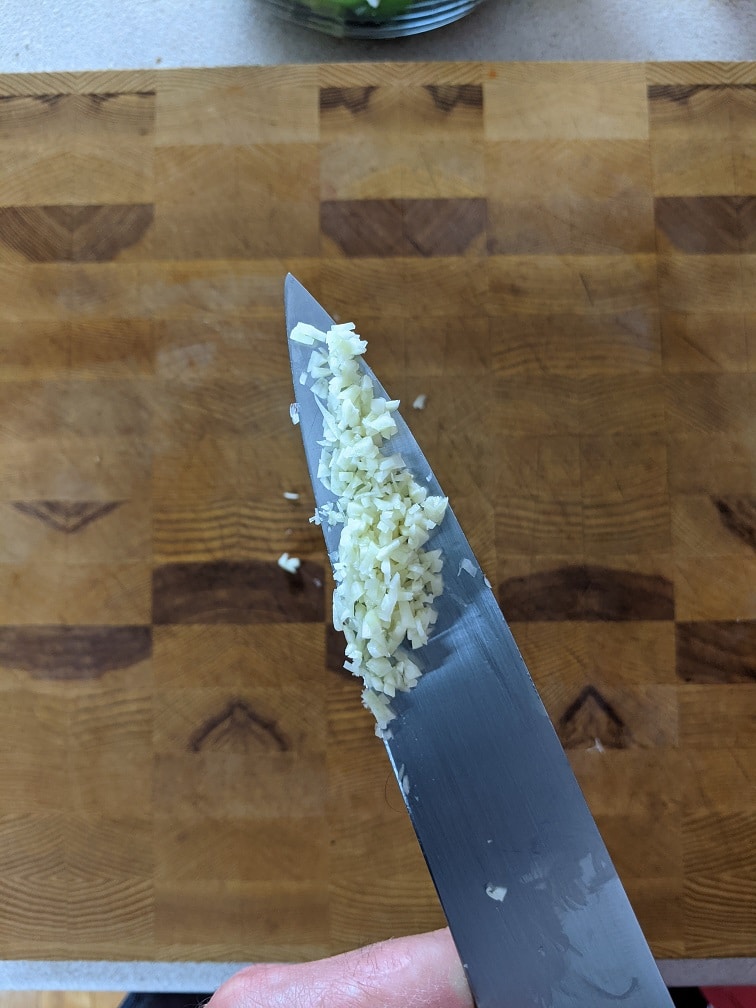
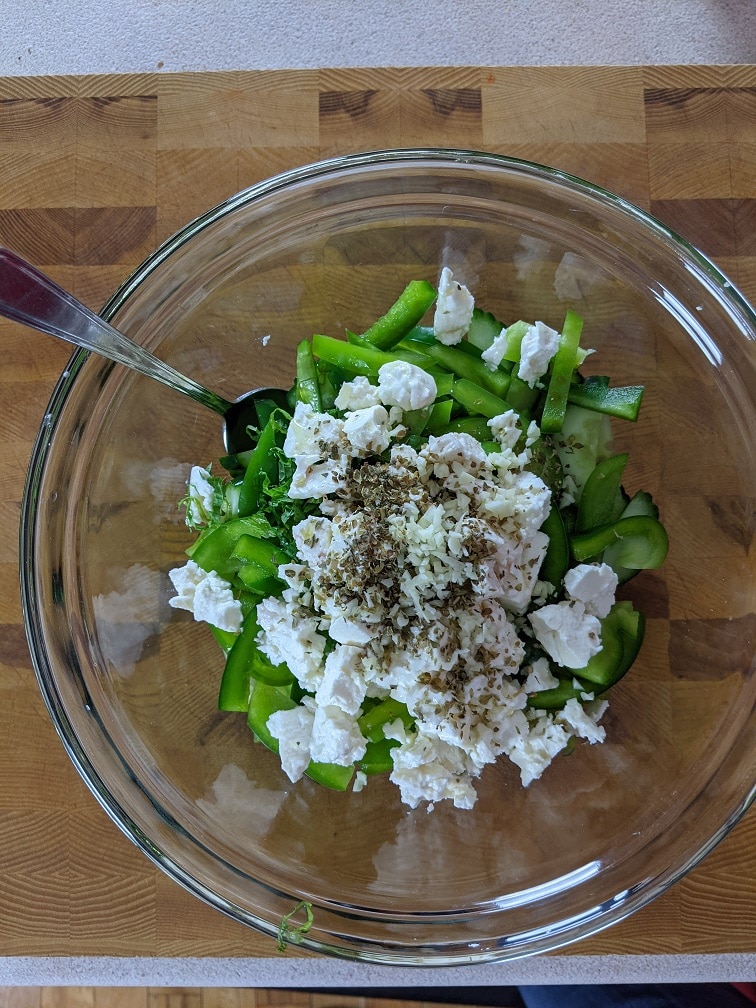
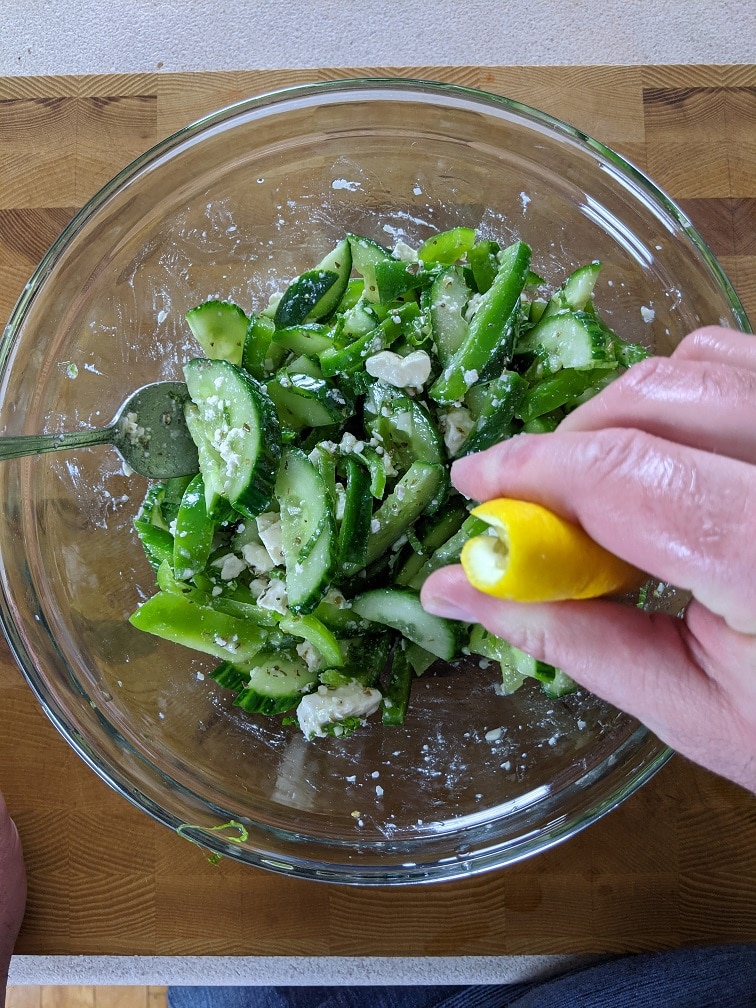
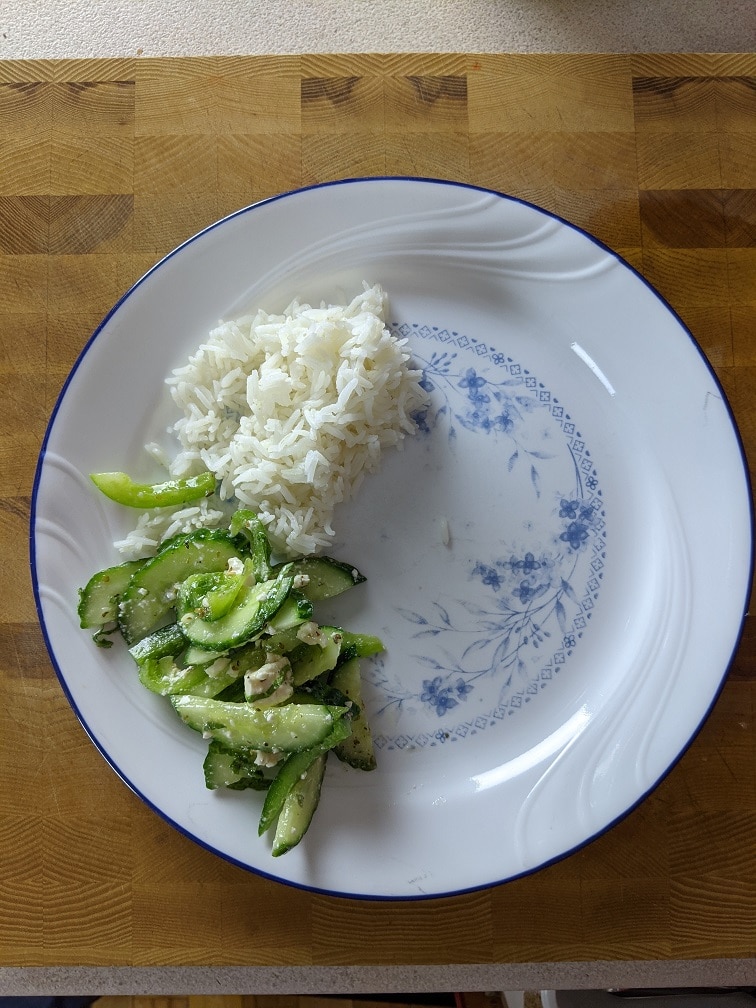
To make the Greek salad, thinly slice half an English cucumber, a whole green bell pepper with the seeds and stem removed, one tablespoon of fresh mint and about a half cup of feta. Put all of that in a bowl with one tablespoon red wine vinegar, two tablespoons olive oil, one teaspoon dried oregano, one teaspoon minced garlic, and the juice of half a lemon. Mix the salad and serve right away, or put in the fridge for an hour to develop the flavour.
Simple Greek Salad
A very simple and delicious Greek salad bursting with fresh flavours and ingredients.
Cut the cucumber in half lengthwise and remove the seeds. Thinly slice the cucumber and put it in a medium mixing bowl
Remove the seeds and stem from the green pepper. Thinly slice the pepper and add it to the bowl with the cucumber.
Add the remaining ingredients and stir. Serve right away or put in the fridge for up to an hour before serving.
Notes
For a more North American Greek salad add 1 cup of grape tomatoes, 1/4 cup kalamata olives, and 1 head of romaine lettuce that has been cut into bite-sized pieces.
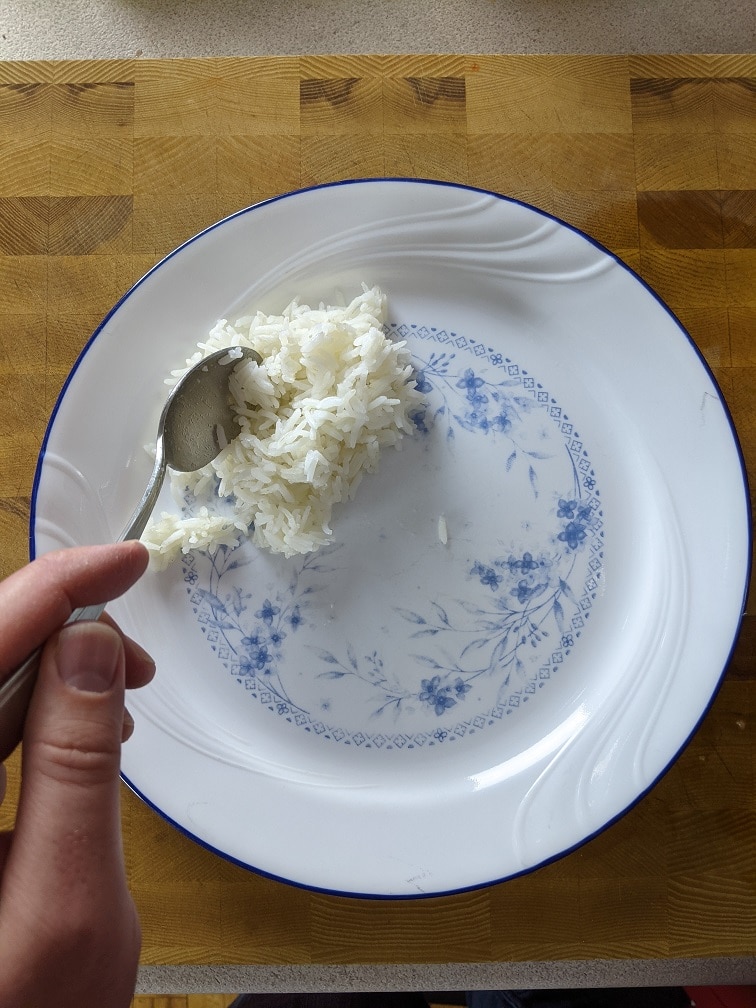
I served my Greek meal with basmati rice, which I’ve cooked on the blog a thousand times, so I didn’t see the need to share the process. Put the rice on the plate, the salad beside it, then the chicken, tzatziki and a lemon wedge. The meal tastes as fresh as it looks.
The Wrap Up
Greek food is one of my top 5 global cuisines. I love it, and I am so happy to share this meal with you. What is your favourite Greek food? Tell me in the comments below or on Facebook. Remember to share this post on Facebook or Pinterest if you enjoyed it. Thank you for reading, and have a great day!
Remember, there are new Chef’s Notes posts every Monday, Wednesday, and Friday, and you can subscribe below, so you never miss one. Have a great weekend
When my wife and I found out we were going to have a baby we knew straight away that we were going to make our own baby food. There was no question that our baby would never eat any store-bought baby snacks, jarred food, or any of that garbage. In all honesty, that was probably the easiest decision that either of us had to make. I mean, I’m a chef for godsakes. I don’t usually buy prepared foods for us, why would I do it for our baby. How would that look? We knew straight away that our sweet, innocent, little guy would never eat anything that we didn’t make ourselves. Period. Then we had the baby, and like a soiled diaper to the face, reality hit us and all that posturing and confidence that my wife and I had when we used to sleep went right out the window.
I get asked a lot about what we feed our baby. I think that there is an expectation that I make all these fancy purées and baby snacks for him. Our reality is much different than that expectation. For example, we really expected that we would do those things, but then the reality of having a baby, and jobs, a house to clean, and laundry to do, really got in the way of all that. Today I am going to share what we feed our baby with the hope that this will help someone out there. Let’s get to it.
A good eater
I think it is safe to say that my baby is what most people would call a good eater (when he wants to be). It’s not really a struggle to get him to eat or to try new things for the most part. Of course, like most babies, and like my wife and me, he can be stubborn at times. But generally, he eats pretty well. Really, the only thing he doesn’t seem at all interested in and never has are jars of puréed baby food. But we did try. Before we get into what we feed him now at thirteen months, let’s take a look back at the progression of how we got to where we are.
Introducing foods
My wife had read about baby-led weaning before we started feeding our son solids, and so we actually very loosely subscribed to that school of thought. If you are unfamiliar with baby-led weaning, the basic idea is that you skip purées and mashed baby foods altogether and go straight to foods that your baby can pick up, chew and swallow on its own. Essentially, you give your baby options, let it choose what it wants to eat, then he or she has to troubleshoot and solve the issues that arise like gagging. Now, I have to tell you, being a new parent, and watching a six-month-old pick up a piece of banana and shove it in his mouth, and then gag is pretty terrifying. That’s why we didn’t go full in on baby-led weaning. It was just a little too scary for us. But I think it did give my son a sense of choice, which has made him a better eater and more independent than he may have otherwise been.
My son’s been breastfed from day one, and up until he was six months old, he didn’t have anything but breast milk. Then at six months, we started introducing baby cereal, bits of banana, and things like that. Essentially, we kept it very simple for the first month or so. Interestingly enough, he used to love banana and would eat it like crazy a but will hardly even look at it now.
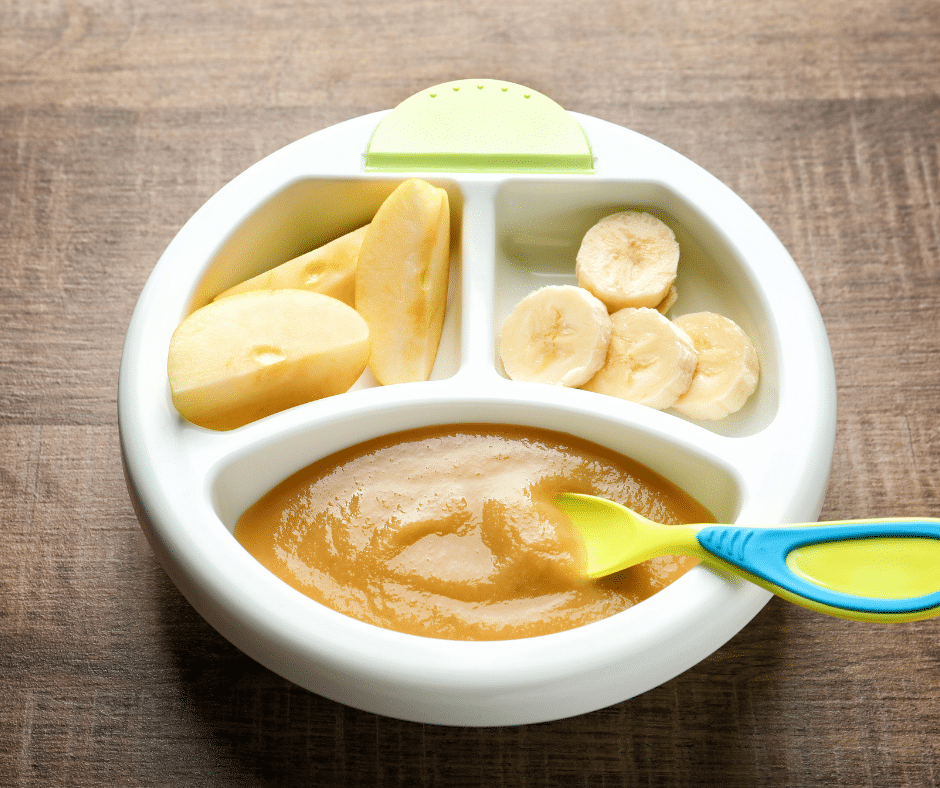
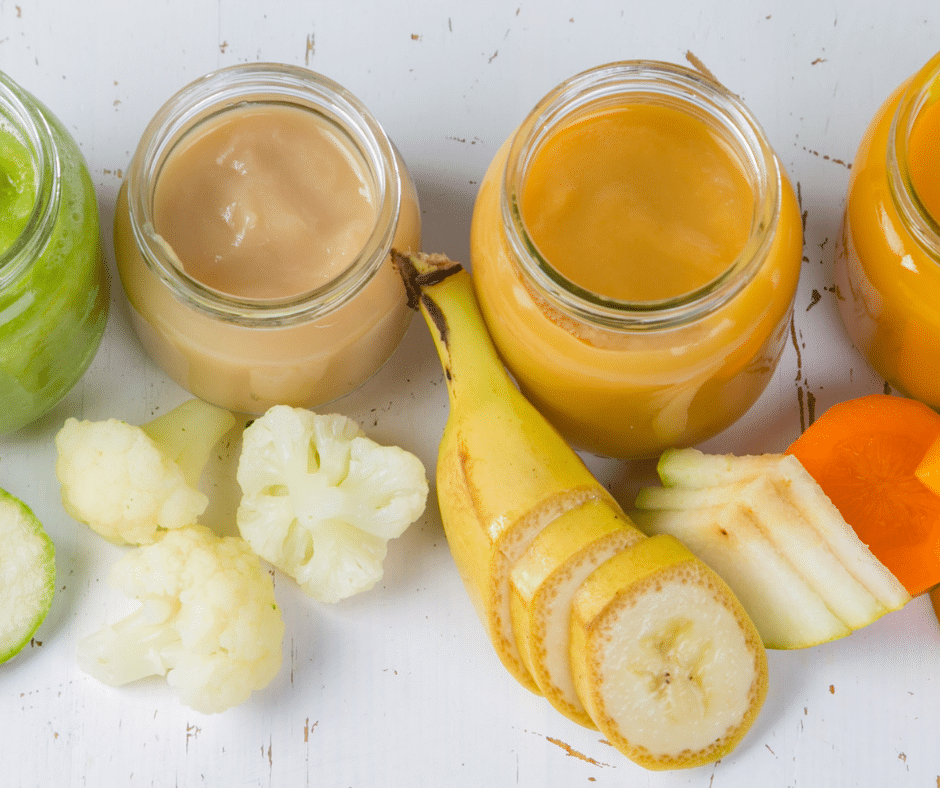
Trying Purées
It’s a bit blurry when we introduced what to my son. For the most part, my wife took the lead on this, so I’m a little foggy on the details. But, when he was around seven months, my wife started making vegetable purées and meat and vegetable purées for him. He didn’t really take to them at all. So, I think it was around that point that we started trying to introduce store-bought baby foods. He didn’t take to those either.
I should say at this point that my son is pretty small. Height-wise, he is fine, but weight-wise he is in the bottom tenth percentile. Part of that is genetics. I was a very skinny baby, as where my sisters and their kids, and my wife and her brother. Another part of that is that he was severely tongue-tied when he was born, and we didn’t know right away. So, for the first few months, he was only getting enough milk to sustain him. But, at five months, we got his tongue clipped so he could move it more freely and eat better, which helped a lot. He is still pretty skinny, though. So, we were understandably concerned and just trying to find anything that he would eat and hopefully put on some weight.
What worked and What Didn’t
What became obvious to us pretty quickly is that our son was never going to eat purées. He won’t even eat mashed potatoes. So, those were off the table. He will eat fruit purées now, but they are not his favourite by any stretch of the imagination. He did eat baby rice cereal and baby oatmeal for a while, for breakfast or dinner. Often those would have fruit in them. We also started giving him quick-dissolving baby crackers and stuff like that. Eventually, we even started giving him baby cheese puffs because he would eat them. We fed those kinds of snacky things to him for about a month before deciding that we didn’t want him to eat junk food, even if it was designed for a baby. So, we cut out all that stuff and started giving him a cup of Cheerios that he carries around and snacks on. He also loves frozen peas as a snack, or as part of a meal, and anything blueberry, especially frozen blueberries he goes crazy for.
What really worked for us for meals, even early on, was feeding him what we were eating. He is very much a social eater, wants us to eat with him, and really wants to eat what we have. This has led to some interesting experiences. For example, a few months ago, we had some Thai Curry, which he really wanted to try, and to our surprise, absolutely loved. We did a big mussel boil a few weeks ago, and he probably ate a pound of mussels by himself. Really, feeding him what we want to eat has been the most successful thing that we’ve tried.
Signs
One thing that we did that has been very helpful is that we taught our son a few rudimentary sings when he was first learning to eat. He has a sign for hungry, a sign for more, a sign for milk, a sign for a drink, and a sign for all done. The sign for milk is mostly just pointing at my wife’s chest and doing his sign for more. The drink sign never really took, but the other ones have been unbelievably useful in learning what he likes and doesn’t. And even just for knowing when he is hungry or when he wants more of something.
A few weeks ago, I made a spicy Indian curry, and my son kept signing that he wanted to eat it. I didn’t want to feed it to him becasue it was pretty hot, but he started having a bit of a tantrum becasue I wouldn’t let him have it. So, I put just a little bit of the broth from curry on my finger and let him try it. His eyes got super wide, and he started shaking his head back and forth and buried his face in my chest. Then about a minute later, after the spice had calmed down, he signed for more and just kept signing for more over and over until I gave it to him. He actually ate quite a bit of it and loved it. Without the signs, I probably would have just assumed that he hated it, and it was too hot, or I wouldn’t have given it to him at all. But he loved it, and now I know that he will eat stuff like that.
The Big Take-away
Let’s be very clear; I am no expert in feeding babies. I’m not even an expert in feeding my own baby. And, every baby is different. But what I’ve learned about my son and his eating habits is that he wants to choose what he eats, he wants us to eat with him, and he mostly just wants to eat what we are eating. Any time we have tried to insist that he eat something or tried to get him to eat something that he didn’t want to, it has been a disaster. But, letting him choose what he wants to eat (obviously within reason) and giving him a way to communicate with us what he likes and doesn’t and when he’s hungry and isn’t has made feeding much easier. Of course, there are still days when it is harder than others to get him to eat. But, for the most part, and compared to a lot of other babies, it’s a breeze.
One other thing that I just thought of that I think has been very helpful is having him in the kitchen with me when I’m cooking. Obviously, I make sure he is away from the stove and safe. I put him in his highchair in the kitchen and let him watch me cook. He even gets to smell all the herbs and spices and taste some of the ingredients. I give him spatulas and wooden spoons to play with and all that. For whatever reason, I think this has also helped him become a better eater than he may have otherwise been.
Meal Break Down
Really quickly, for those you that are interested here is a breakdown of somethings that my son may eat during the course of a day.
Breakfast
eggs (scrambled or boiled)
cheese
grated apple or pear
yogurt
banana oatmeal pancakes with peanut butter on them.
Lunch
slices of roasted vegetables (beets, sweet potatoes, etc.)
frozen peas
roasted chicken or meat
rice, pasta or quinoa if there is any cooked
some fruit for dessert.
Dinner
Whatever we are having for dinner which can vary from curry to pasta, stir-fries, meat and potatoes, fish, barbecued pork chops, and vegetables of some kind. On tub nights, he has blueberries for dessert; otherwise, it will usually be another type of fruit.
Snacks
For snacks, he has a cup of Cheerios, maybe some peas, fruit or cheese. Occasionally he will have some puréed fruit but not very often.
Every meal is served with either a cup of water or a cup of milk and he pretty much gets as much breast milk as he wants.
Conclusion
When it comes to feeding our baby, I’ve learned three things. Number one, whatever you plan before you have the baby, doesn’t mean anything. That goes beyond feeding. Number two, trying to dictate to him what he has to eat, will only end in frustration and a big mess. Number three, giving him a way to communicate what he wants, has been a game-changer.
I’m going to say again that I am no expert and that every baby is different, but this is working for us for now. If I can give one bit of advice to other parents out there that may be struggling with feeding their baby, it’s to try not to get frustrated as hard as that can be. Try some different things. You never know what your baby may like. It might even be spicy curry.
Thank you for reading the post. If you liked it, remember to share it on Facebook, Pinterest, or Twitter by clicking the icon to the left of the page. Did you know that Chefsnotes.com has almost 400 posts just like this one? Don’t ever miss a post again. Become a Chef’s Notes member right here. You will be notified of every new post. And if you would like to know more about me, click the link below to read my story.
Last week in the Chef’s Notes Gourmet Sandwich Series, I showed you how to make the Ultimate Grilled Cheese. This week we are going to make another kind of grilled cheese, the French kind. We will make a Croque Madame, which, if you don’t know, is just a Croque Monsieur with an egg on the top. Does that clarify things for you? No? Oh, okay, well, let me explain in a little more detail then.
Croque Madame vs. Croque Monsieur
Like I said in the intro, a Croque Madame is a Croque Monsieur with an egg on it. But that begs the question, what is a Croque Monsieur? A Croque Monsieur is a French ham and cheese sandwich. Of course, the French always take things up a notch, so this is no everyday ham and cheese. The French take Brioche Bread, top it with bechamél, lots, and lots of Swiss cheese, ham, more bechamél, bread, even more bechamél, and more cheese. The sandwich is baked in the oven to warm it through then finished under a broiler to brown it. Yeah, that’s a god damn sandwich. To make the sandwich a Croque Madame, the already ridiculously decadent beast is topped with a sunny side up egg. Does that sound like something you can get behind? Good, then let’s make one.
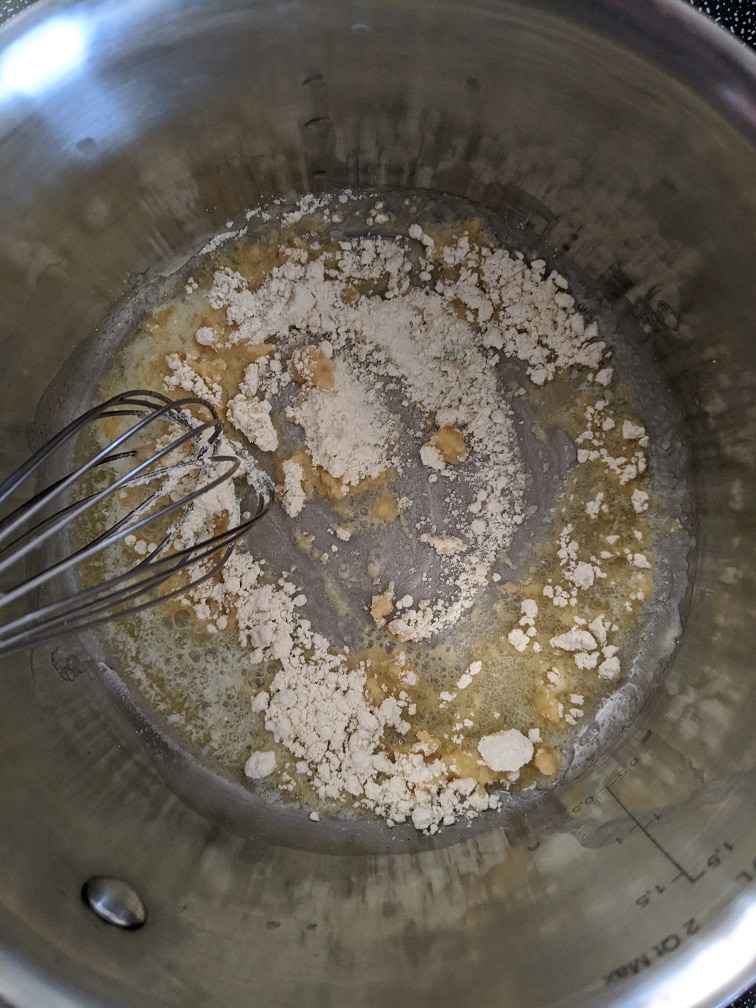
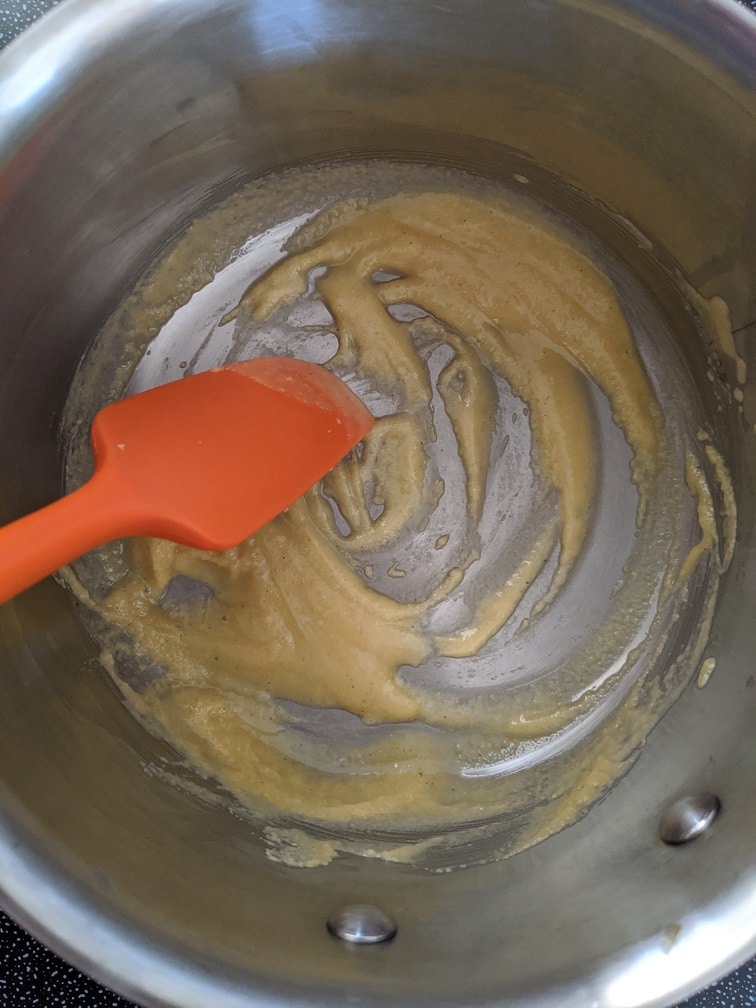
Make a Bechamél Sauce
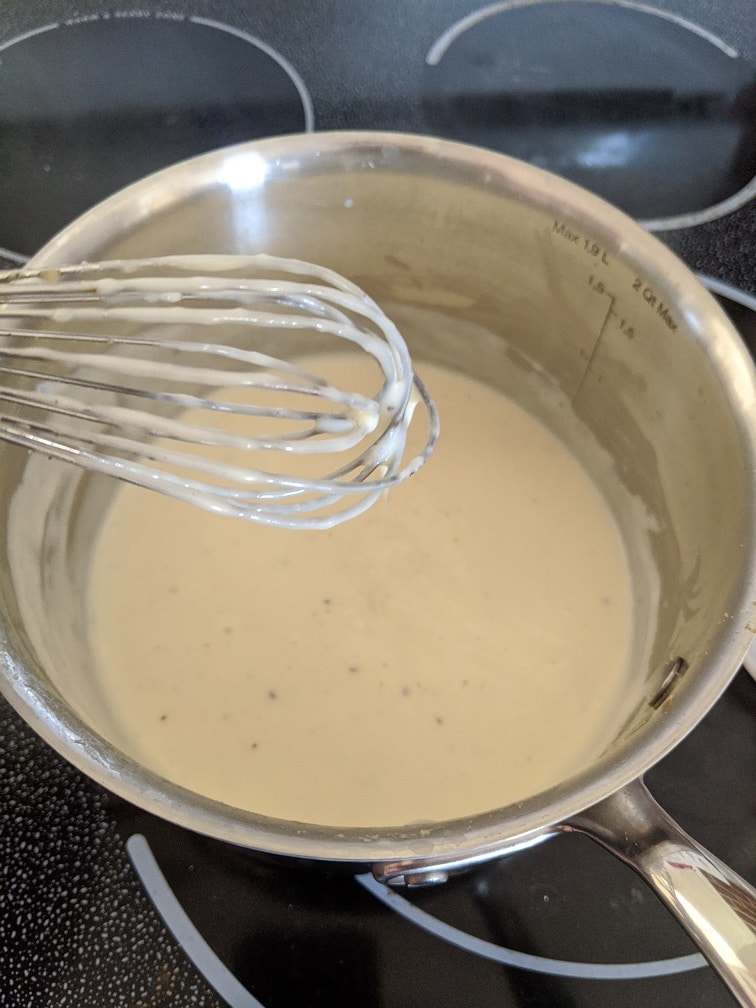
First up, we need to make a quick bechamél. To do that, melt 1 tbsp of butter, then stir in 1 tbsp of flour. I used Bob’ Red Mill All-Purpose Gluten-Free flour if you are wondering. Stir the melted butter and flour together for a minute or two, then add in 1 cup of whole milk. Stir on medium-low heat until the milk starts to thicken. Season the bechamel with a pinch of salt and pepper, a pinch of nutmeg, a pinch of onion powder, and a pinch of garlic powder. Continue to cook the bechamél until you can no longer taste raw flour. This should take about 10 minutes in total. Make sure to stir it almost non-stop throughout the cooking process so it doesn’t burn to the bottom of the pot.
Once the bechamél is made, you can set it aside and move on to the next steps in making this sandwich. The amount of bechamél in this simple recipe makes enough for two sandwiches. You can read more about bechamél and its derivative sauces here.
Simple Bechamél
A quick and simple bechamél sauce for a Croque Monsieur or a Croque Madame
Most commonly, the bread used for a Croque Madame is Brioche, which is an enriched bread. Meaning, it is loaded with milk and butter. You can use any bread you want for this, but the brioche adds a lot to the sandwich. I used Promise Gluten Free Brioche. But again, use whatever you have on hand. Lightly toast the bread before doing anything else. Toasting will help the bread withstand the bechamél and a load of melted cheese. This isn’t strictly traditional, but just like with the grilled cheese last week, I like to brush the bread with a little Dijon Mustard. The mustard adds a bit of tang to cut through the richness of the sandwich.
Once the bread is toasted and brushed with Dijon mustard, spread an even layer of bechamél on all four pieces of the bread.
Making the Sandwich
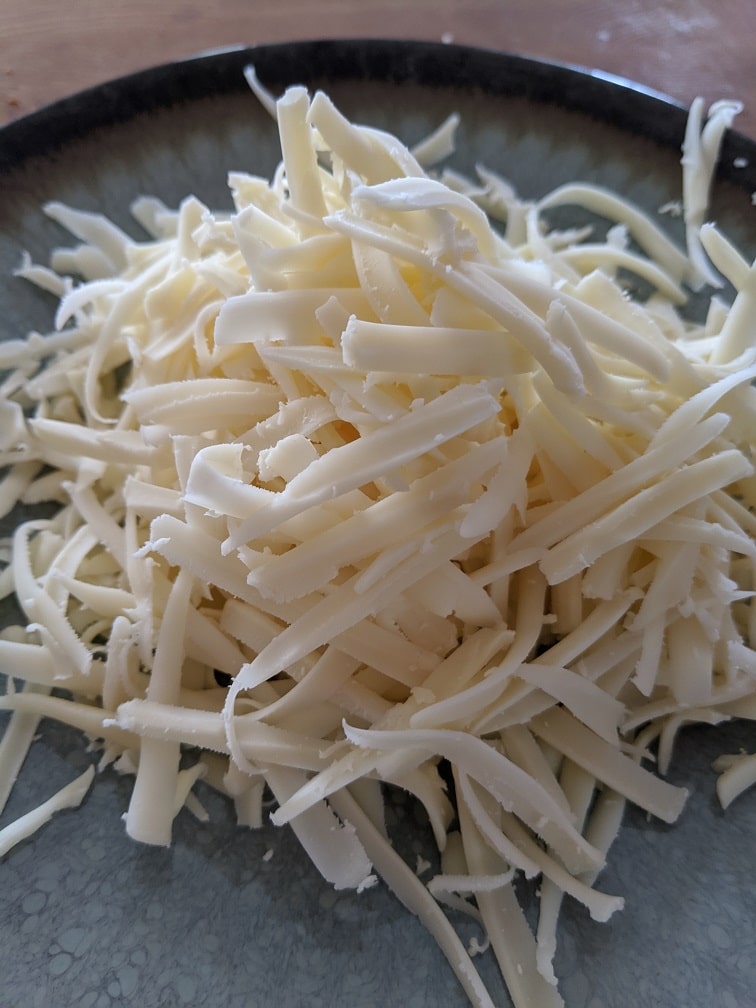
I used a generic Swiss Cheese to make my sandwich, and I paid for it a little bit. Because I cheaped out on the cheese, my sandwich ended up with a slightly bitter taste. It was still delicious, but it would have been better with better quality cheese. I recommend Jarlsberg Cheddar, Comté, or Gruyere. In total, for the two sandwiches, I used about one very full cup of grated cheese.
Divide the amount of cheese you have in thirds. Divide the first third of the cheese in two and put it on the two bottom pieces of bread. Lay five to six slices of ham on the bottom slices of bread. I used honey roasted ham because it was all I could get at my local grocery store. Use the best quality ham you can find/afford. The quality of the ham, just like with the cheese, will have a direct impact on the overall quality of the sandwich. Top the ham with the second third of the cheese. Then the second piece of bread. Finally, top the bread with more bechamél and the rest of the cheese.
Cooking the sandwich
Put the sandwich on a broiler pan and bake in the oven on 400°f for 10 minutes. Take it out of the oven, turn the broiler on, let it heat up for a minute or two, then put the sandwiches back in. Watch the sandwiches very carefully as they will go from not brown to brown, to burnt very quickly. As soon as the cheese browns, take them out of the oven. Browning should only take a minute or two.
You my friends have just made a Croque Monsieur. But, let’s make this Monsieur a Madame.
Dude looks like a lady
To make the Croque Monsieur a Croque Madame, we have to put an egg on it. I didn’t take any pictures of me cooking the sunny side up eggs, but I have a tip or two that I can share. When making sunny side up eggs, heat the pan over medium heat, then once the egg goes in, turn it down slightly. Also, use a bit more oil or butter than you usually would. Use that extra fat to baste (spoon the hot fat over) the whites. Basting will help cook the whites through so you don’t end up with those dreaded jiggly whites. Once the egg is cooked, slip it on top of the sandwich and enjoy.
Croque Madame
A Croque is a fancy French Ham and Cheese Sandwich (Croque Monsieur) with an egg on top.
1batchbechamel (about 1 cup)see bechamel recipe earlier in post
1 cupGrated Swiss Cheese
12slicesGood Quality Ham
2Eggs
2tbspCanola Oil
1tbspbutter
Instructions
Lightly toast the bread then spread each piece with the dijon and bechamél.
Divide the cheese into thirds. Divide the first thrid in to on to the bottom two pieces of bread.
Top the cheese with the ham slices followed by the second amount of cheese, and the second piece of bread.
Top the sandwich with more bechamél and the remaining cheese.
Bake the sandwiches in a 400°f oven for ten minutes, then under the broiler for 2 to 3 minutes or until the cheese is browned.
Heat a medium non-stick frying pan over medium heat. Add in the oil and butter. Once the butter is melted and starts to foam add in the two eggs. Cook the eggs sunny side up basting the whites to cook.
You will be hardpressed to find a sandwich that tastes better and is more satisfying than this one. Yes, you will need triple bypass surgery after eating it, especially if you have it around the same time as last week’s grilled cheese as I did. But, a life without this sandwich is no life at all. You can quote me on that.
Thank you for reading the post. If you liked it, remember to share it on Facebook, Pinterest, or Twitter by clicking the icon to the left of the right of the page. Did you know that Chefsnotes.com has almost 400 posts just like this one? Don’t ever miss a post again. Become a Chef’s Notes member right here. You will be notified of every new post. And if you would like to know more about me, click the link below to read my story.
Today is supposed to be about cooking and eating on a budget, but things didn’t go so well this week. The week started pretty good but then went off the rails because we had guests this weekend, and once again, our snack cravings got the best of us. Let’s take a look at my grocery budgeting successes and failures of the week.
Grocery Budgeting Successes
To start things off, let’s take a look at what I did right with my budget this week. At the beginning of the week, my wife and I sat down and planned our meals for the coming days. We made a comprehensive shopping list, did an inventory of our kitchen, looked over the flyers, and did one main shopping trip, which fell well within our budget. Our weekly budget is $149, and that initial shopping trip cost $114. That left a little wiggle room in case we needed to get milk, eggs, or bananas later in the week. As I said, the week started off on the right track. That was Monday, by Wednesday, things started to go downhill.
To make the meal plan, do the inventory, and create the shopping list, I used the templates which you can download for free in the member’s section here. There are three levels of membership, all with different benefits such as weekly updates, behind the scenes stories, and a free monthly cooking class. To get access to the templates, you only need to sign up for a free membership. There are new downloadables every week, so be sure to become a member here.
What went wrong?
On Wednesday evening, my wife went out to get an ice cream cone (or so I thought), she came back with two tubs of ice cream (one Ben and Jerry’s Tonight Dough, her favourite. And one gluten-free chocolate ice cream for me.), along with a few odds and ends. In total, she probably spent $30 to $40, which put us either right at or just over our budget. Not great, but not terrible either.
Things went downhill when we found out we had some friends coming over for the weekend. We were super excited to see them and spend some time with them as COVID-19, and having moved out of the city has kept us apart for months. But, we did end up buying more groceries, which put us way over our budget. In total, we spent another $90. That wasn’t entierly because we had guests, and they paid for half of the food (the $90 includes our half of the groceries). But, we still went over our budget by about $100 in total.
Will this week be better?
This week should go much better than last week. I’m going to be out of town for work on the weekend, so I won’t be eating at home, and my meals will be a work expense so they won’t count towards our budget. We also have some leftovers to use up, and we have a bunch of dried beans that I am going to break into to spread our budget a little further. As long as we can keep our mid-week snack cravings to a minimum, we should stay within our budget for the week. Wish me luck.
Thank you for reading the post. If you liked it, remember to share it on Facebook, Pinterest, or Twitter by clicking the icon to the left of the right of the page. Did you know that Chefsnotes.com has almost 400 posts just like this one? Don’t ever miss a post again. Subscribe to Chef’s Notes by putting your email address in the subscription box below or by becoming a Chef’s Notes member right here. You will be notified of every new post. And if you would like to know more about me, click the link below to read my story.
Twenty years ago, I sat down at a table in suburban Toronto and ate a meal that would forever change my perspective on Italian food. Up until that point, all I knew of Italian cuisine was the heavy meat sauce and garlic bread my mother would make once every couple of weeks, and, of course, pizza. I know now that my mom’s sauce was about as Italian as a Hawaiian Pizza. It was delicious (unlike Hawaiian Pizza), but it wasn’t Italian. I left that meal, all those years ago, stuffed beyond belief, and with an understanding of the rustic simplicity that is authentically Italian.
Looking back on that moment now, and reflecting on my career, I can see with absolute clarity that the shadow of that meal still affects how I cook and view food to this day. I’d like to share that meal with you. If it affects you in even the smallest way that it has affected me, it may just change your entire perspective on food and cooking. If that isn’t worth five minutes of your time, nothing is.
The Meal
It was August in Ontario. Hot, humid, unbearable. I had come to Ontario from rural Nova Scotia to spend the summer with my sister and brother-in-law. I was working my first job doing prep and cooking in a Chinese Restaurant and, I was having the time of my life. My sister and her husband had a friend who lived just outside Toronto and needed help moving. As an able bodied fifteen-year I was pulled in to help carry boxes and furniture. After the move, in return for my help, I was taken to a meal at the family home of the Maria, the person we were helping move.
There was food growing everywhere.
Maria’s family home was like nothing I’d ever seen. Their backyard was mostly garden. Shading their back deck were grapevines brought to Canada from Italy and used to make the family wine. There was food growing everywhere. In this small suburban backyard, the family grew a large percentage of their food. It was beautiful and a stark contrast to the manicured lawns and concrete beyond the backyard fence, an oasis in the middle of a desert of asphalt. As taken as I was with the garden, it was the preparation of the food that really caught my attention.
…the table was covered with more food than I had ever seen in one place.
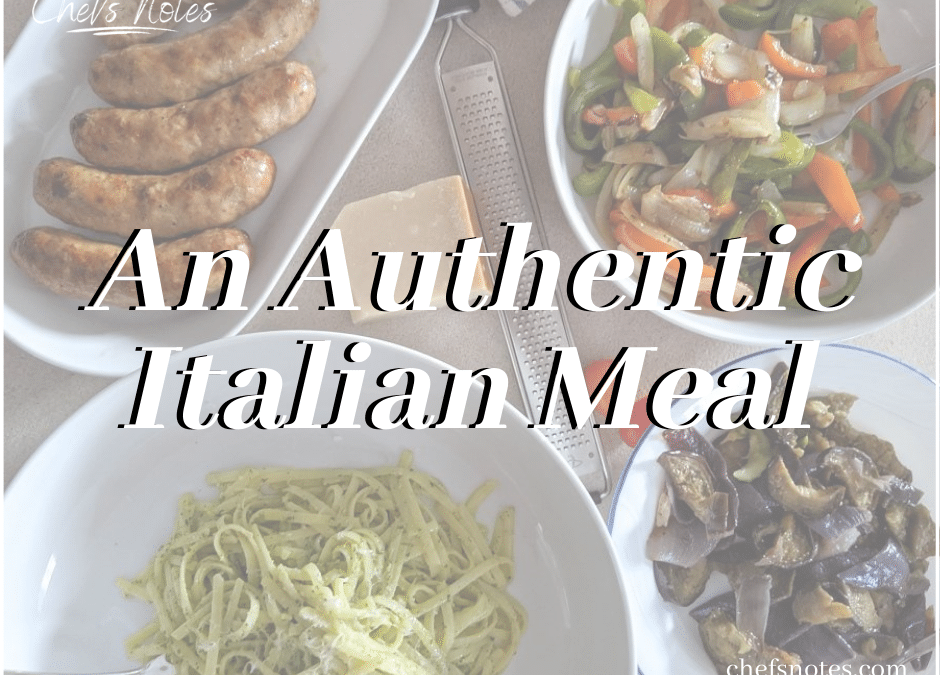
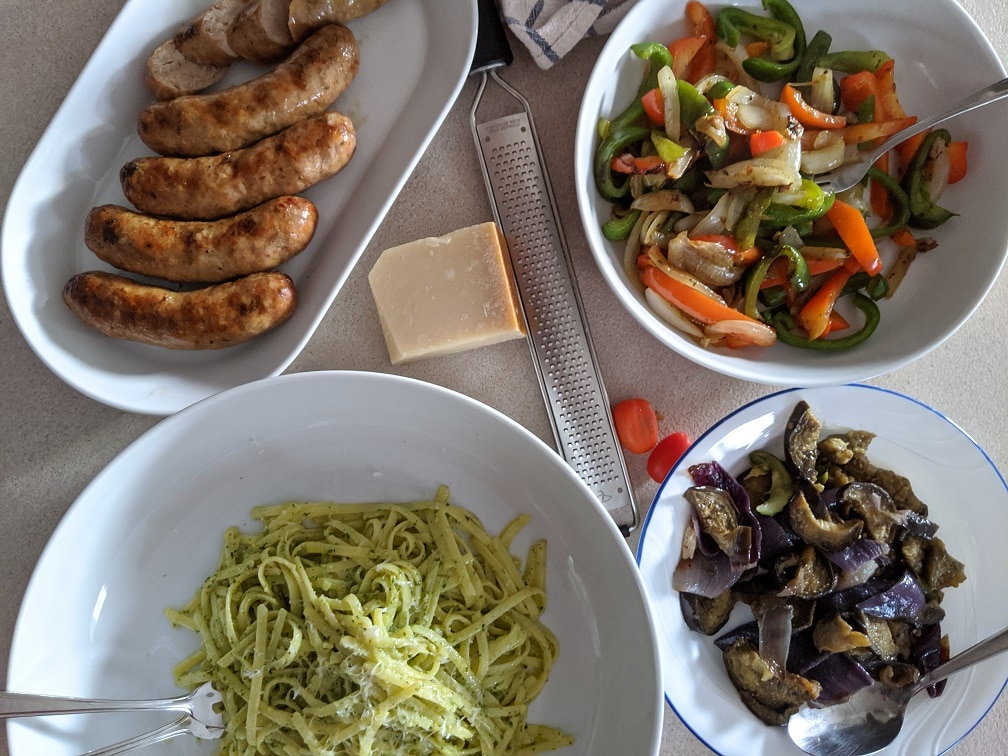
I stood back quietly and watched as the family worked together to prepare enough food for three times the number of people that would be at dinner. The brother, Dino, was grilling bell peppers and sausages from the local Italian butcher. The father picked fresh vegetables from the garden and took them into the kitchen where Maria and her mother were making pasta and salads. When the family finished cooking, they put the platters of tortellini, spaghetti in pesto, bell peppers, salads, and grilled sausages on their old wooden dining table that creaked under the weight of it all. It was more food than I had ever seen in one place. It was all fresh, light, and simply prepared. Colourful and vibrant. It was immediately apparent that what I knew of Italian food was wrong.
…a chorus of “Mangiare!” would encourage me to eat more…
I dug into my first authentic Italian meal with the hunger and ferocity that only a fifteen-year-old boy who has been lifting boxes and furniture all day can. I ate everything that was put in front of me. When I thought I was done, a chorus of “Mangiare!” would encourage me to eat more, and more. I ate until I couldn’t possibly fit another bite of food in my body, and then I ate some more. By the time I had actually finished eating, I thought I was going to die, but I was going to die happy.
…this was the first time I saw people eating for pleasure.
On the surface, it may seem like I ate a good meal, and that’s about it. It was a delicious meal, but it was more than that. I grew up eating, heavy, meat and potato dishes. We always ate well, and my mom took pride in her cooking, and she was good at it, but despite that, food was fuel. Its purpose was to keep us going until the next meal. We got it in us as quickly as we could then went about our day. This Italian meal was something much different. It went on for hours. It was as much about fueling the soul as it was the body. The family talked and joked, enjoyed each other’s company. Thinking about it now, I think what struck me most was that this was the first time I saw people eating for pleasure. These people loved food. Their whole way of life was dedicated to it. There was no rush to eat so that they could go do something else. Eating, laughing and drinking was what they wanted to be doing. That had such an impact on me that twenty years later, I think about that meal at least a few times a week.
An Authentic Italian Meal Twenty Years Later
The meal I am about to share with you is not the exact meal I ate all those years ago. I honestly can’t remember everything that was on that table. But, this is as an authentic Italian meal as you’re going to find just about anywhere. What you will notice is that there are very few ingredients in each dish. The flavours are fairly mild, and the meal is relatively light. There is nothing fancy about it, and there is no pretense. It is good food, prepared simply to create a fantastic meal. That’s it.
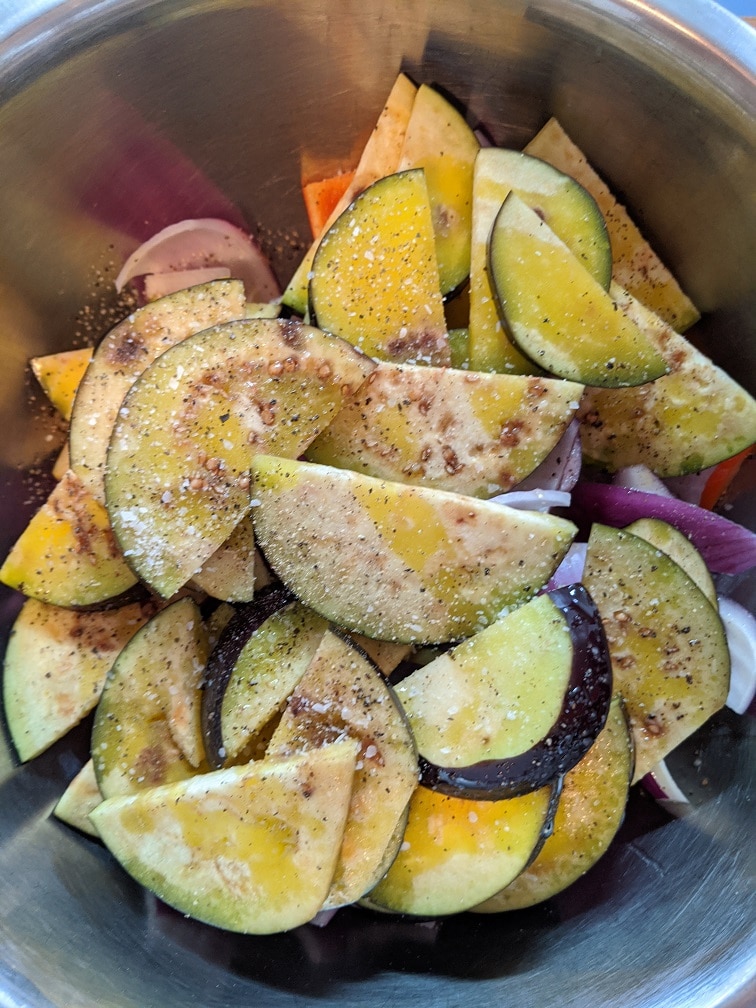
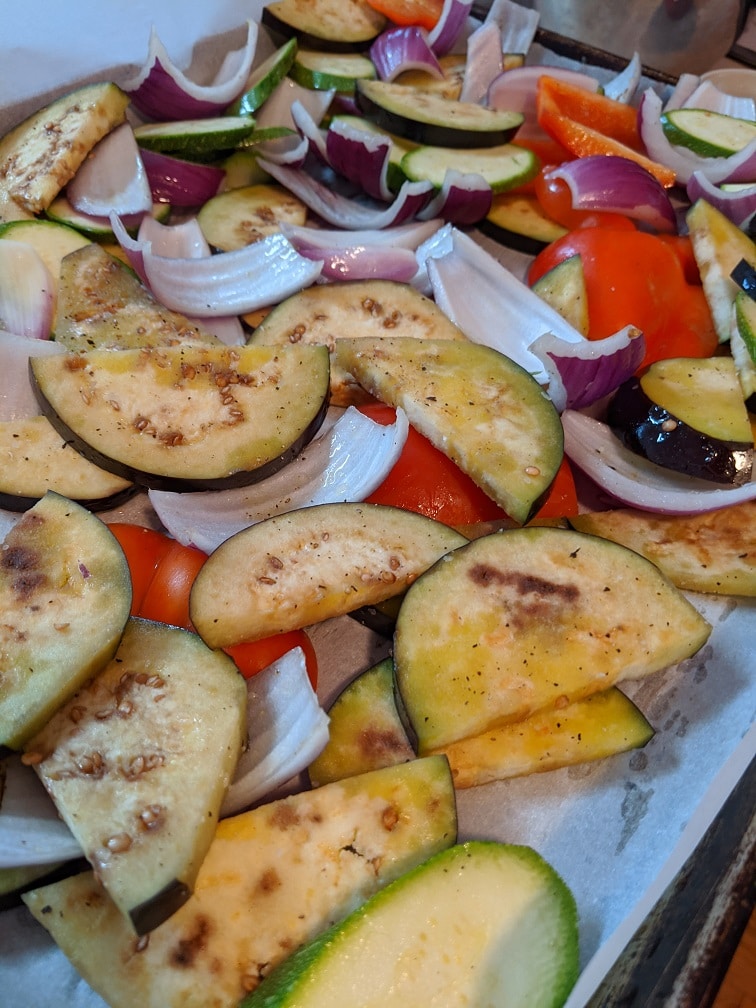
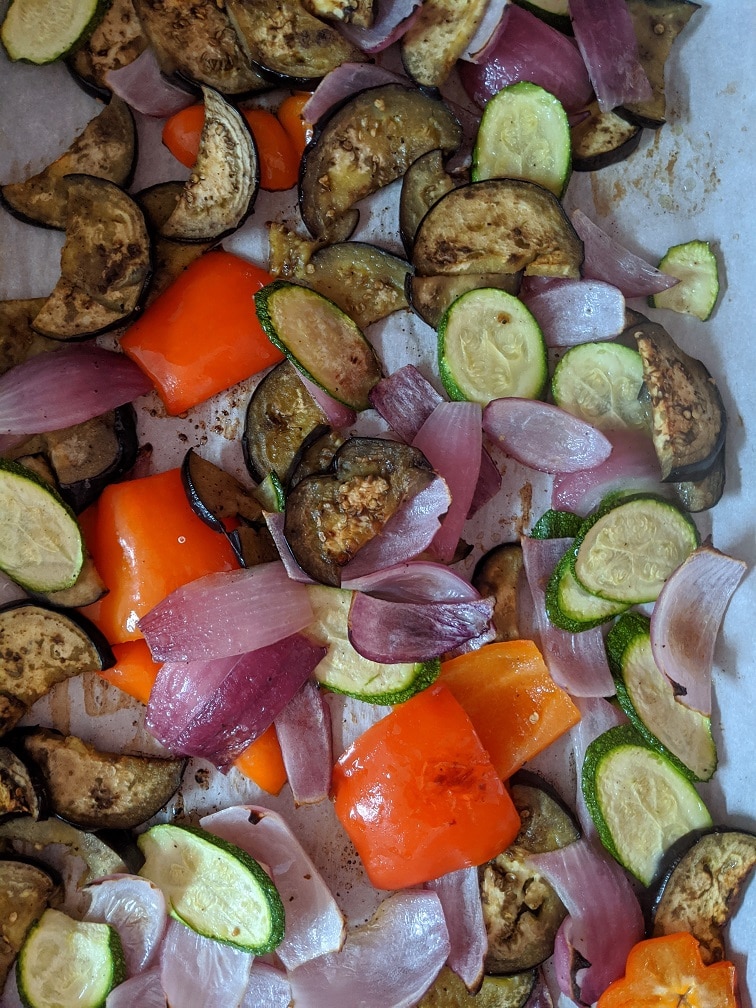
Peppers and Onions
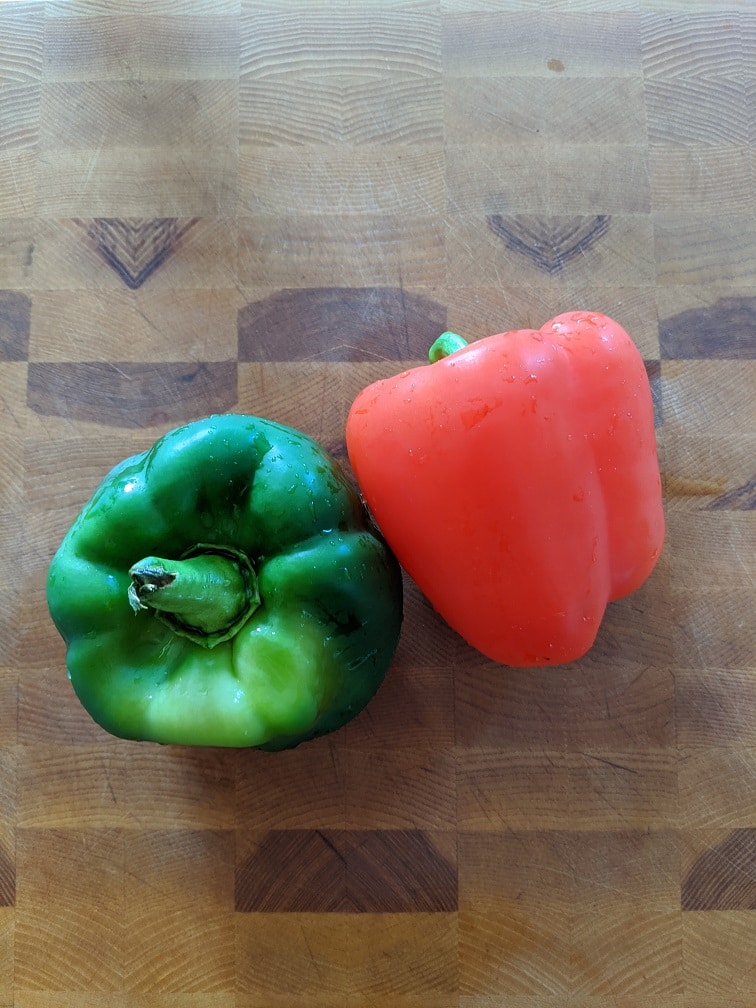
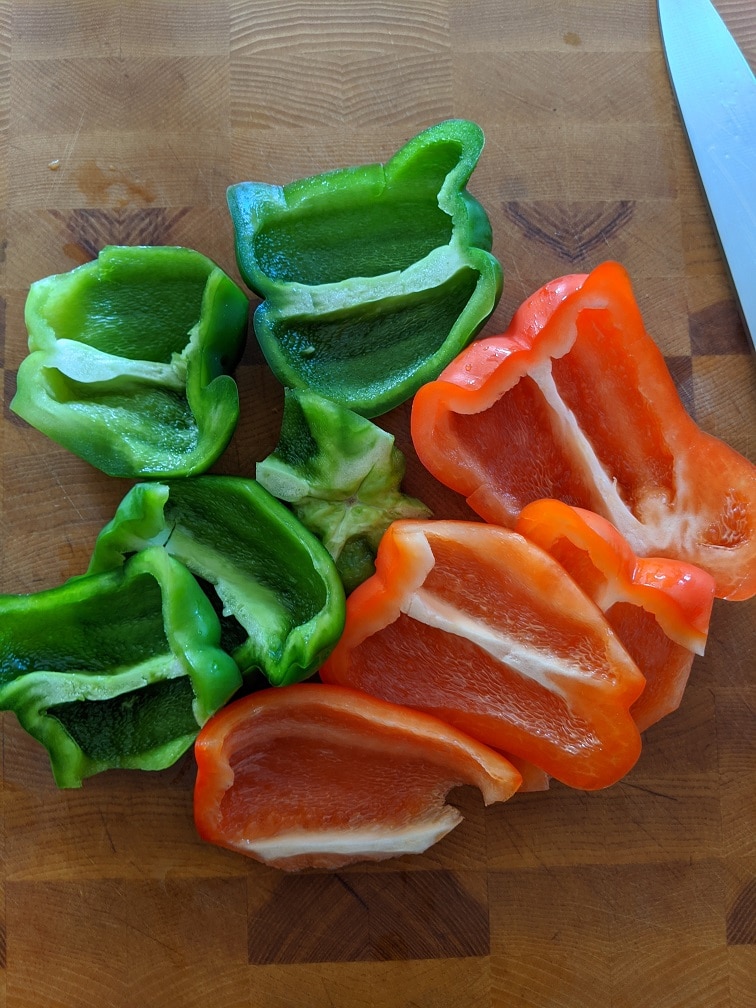
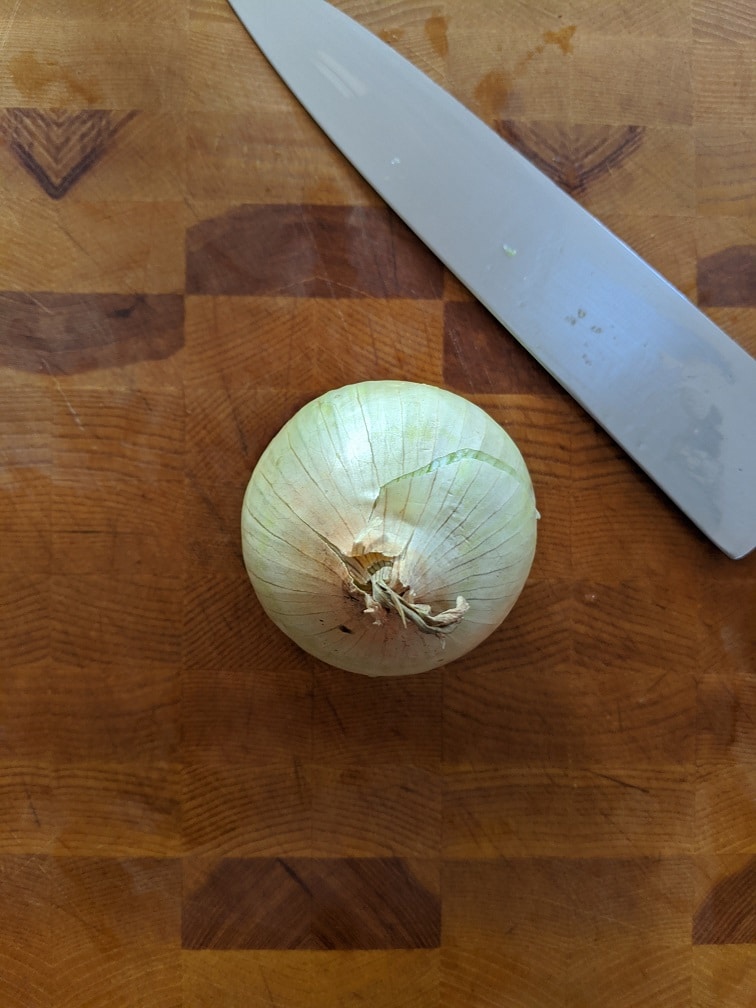
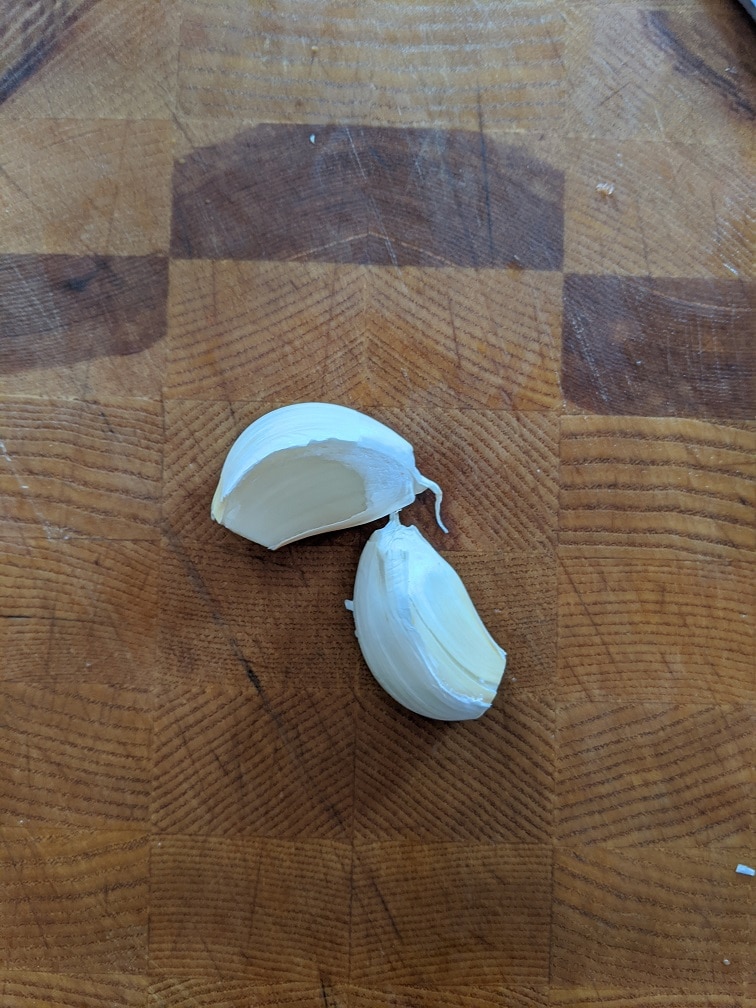
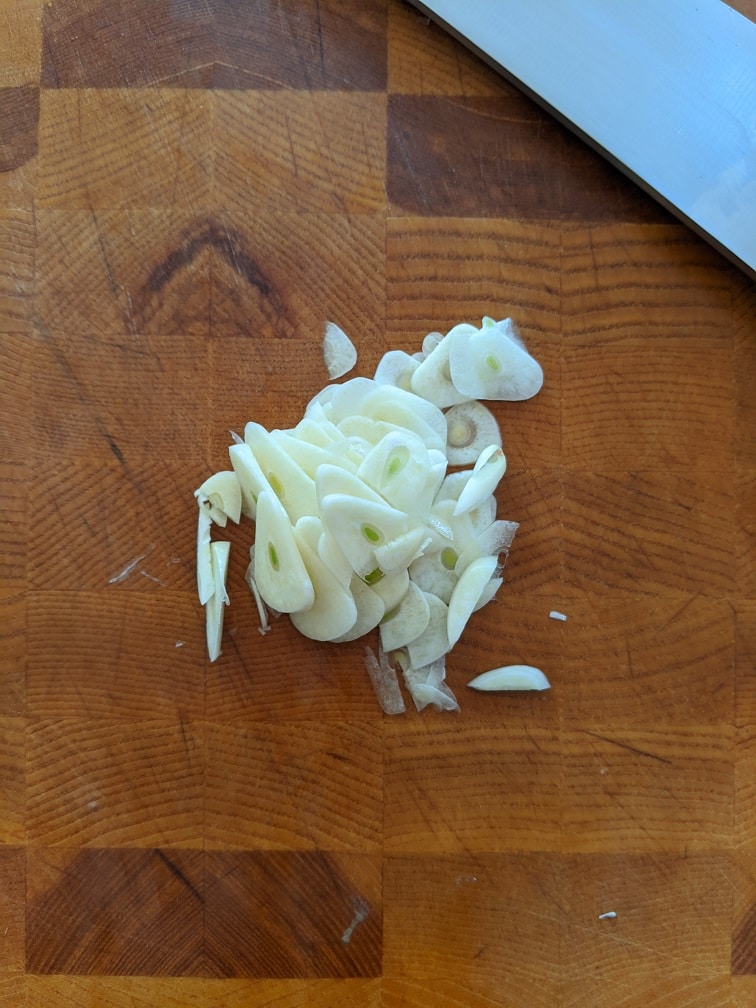
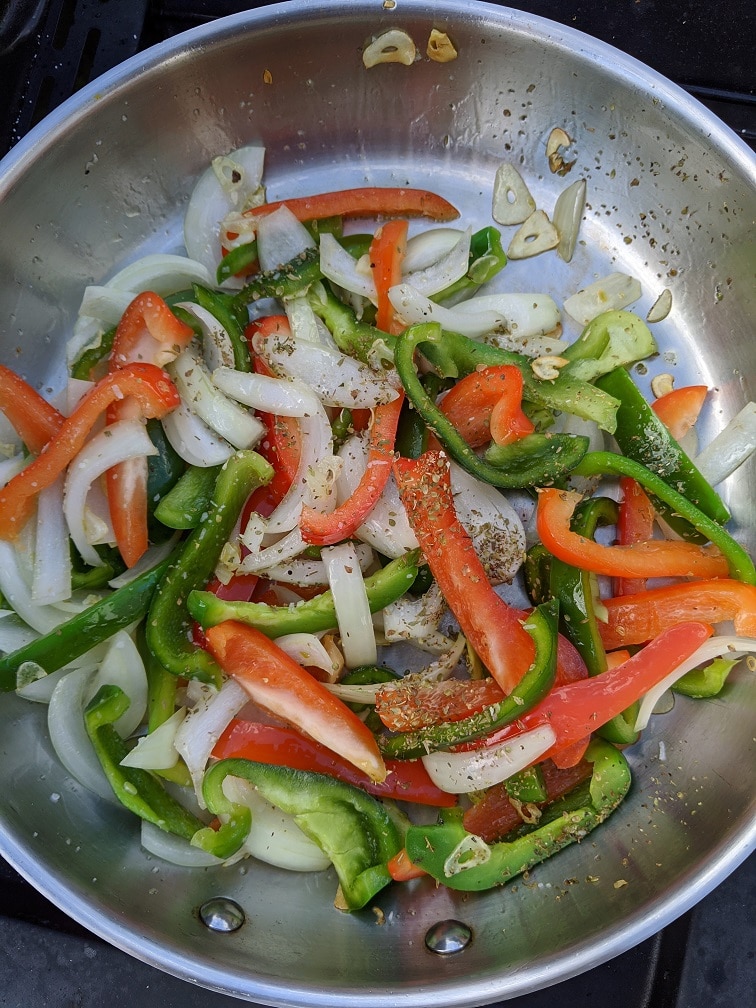
The first dish is peppers and onions. Remove the seeds and stems from two bell peppers (the colour doesn’t matter). Slice the peppers about 1 cm thick. Peel an onion (white, red, or yellow) and slice it the same width as the peppers. Slice two cloves of garlic as thin as you can.
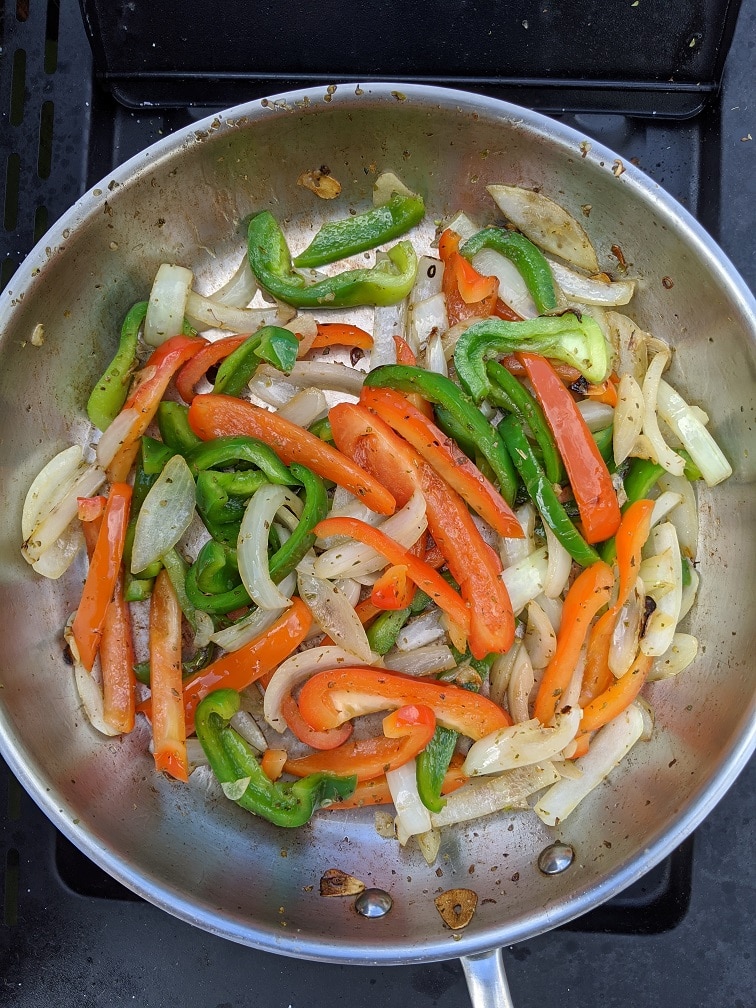
Heat a medium-sized pan over medium heat, add in 2 tbsp of good olive oil. Put the garlic in the pan and cook for about 45 seconds, then add in the peppers and onion. Season with a pinch of salt, pepper, and dried oregano. Cook the peppers, stirring every minute or so for 7 to 8 minutes or until the vegetables are tender. That’s it. That’s the whole dish.
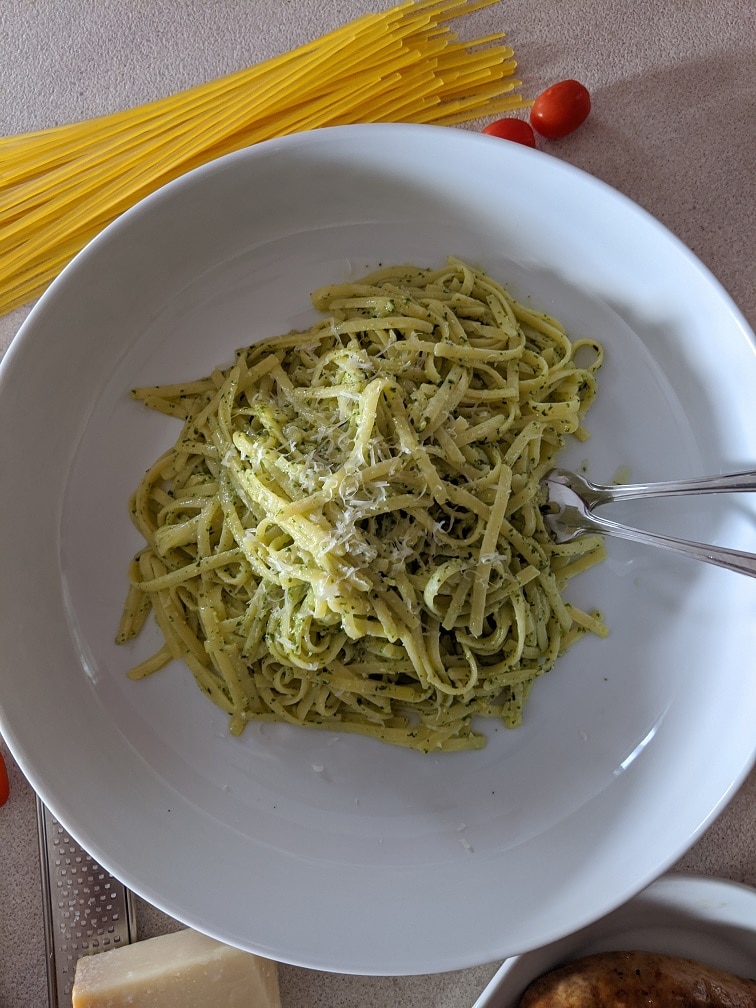
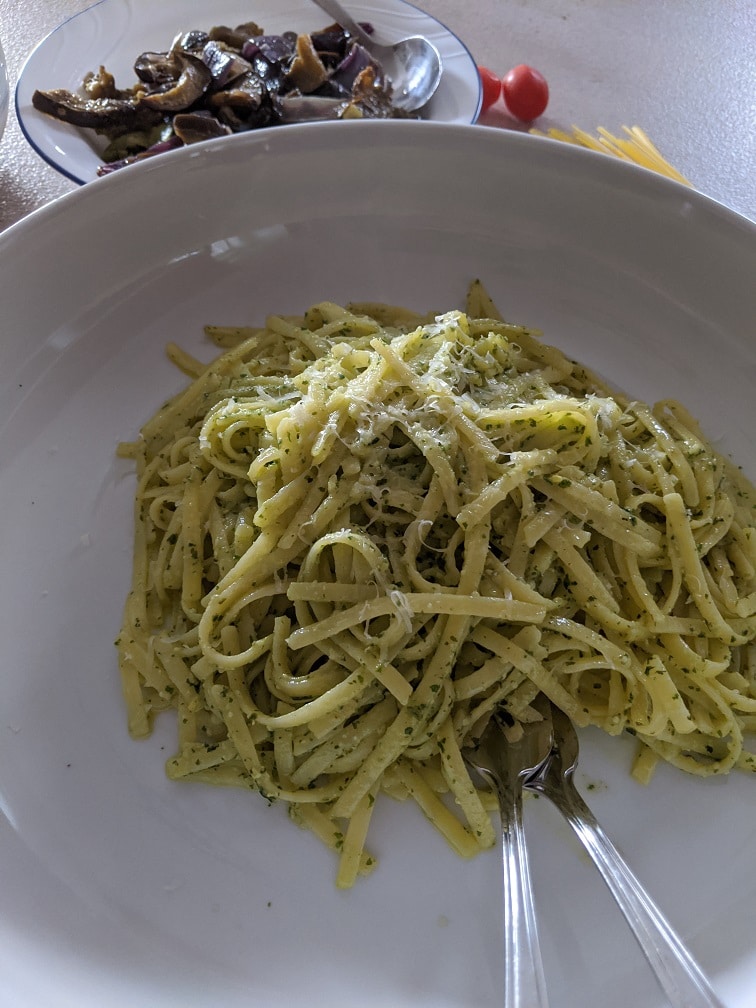
I also made a quick pasta dish of fettuccini noodles tossed with homemade pesto. To make this, cook the pasta, drain it, then toss it with a few tablespoons of pesto. Top it with a little salt, pepper, and freshly grated parmesan cheese. You can find the pesto recipe below.
The final piece of my authentic Italian meal is a few sausages. Where I live, there are no Italian butchers, and I didn’t have time to make the sausages myself so, I bought some mild Italian sausages from the grocery store. Cook them on the grill over medium-high heat if you can. If not, roast them in the oven on 400°f for 20 minutes or until they are fully cooked.
What I find works really well is to cook the sausages over direct heat for about 5 to 7 minutes, then turn the center burners of the grill to low, put the pan of peppers on the grill and put the sausages on the warming rack above the peppers. Put the lid down and let the sausages cook for another 7 to 8 minutes. Crank the heat back up and finish the sausages over high heat. You don’t have to go through this whole process but you’ll be happy you did.
Conclusion
My authentic Italian meal isn’t nearly as big as the meal I ate all those years ago. But, it definitely brought me back to that time. What’s really crazy is that this meal didn’t take long to make. If you already have the pesto made and the vegetables roasted, as I did, this meal will take you less than 30 minutes to put together. What’s more, is that you are going to feel like a king or queen eating it.
Is there one meal that stands out from your life? If so, I’d love to hear all about it. Tell me in the comments below or on Facebook.
Thank you for reading the post. If you liked it, remember to share it on Facebook, Pinterest, or Twitter by clicking the icon to the left of the right of the page. Did you know that Chefsnotes.com has almost 400 posts just like this one? Don’t ever miss a post again. Become a Chef’s Notes member right here. You will be notified of every new post. And if you would like to know more about me, click the link below to read my story.
Let’s face it; these are strange days. Millions of people are still not back to work full time, and those that are will be playing financial catchup for months or years. On top of that, grocery prices are climbing. Whether you lost your job due to the pandemic, you’re retired and living on a fixed income, or you are just trying to save some money. I want to help. For the next couple of weeks, Monday’s here at Chef’s Notes will be dedicated to cooking and eating on a budget. The idea is to cut back on grocery spending without giving up flavour or quality. It seems crazy, I know, but we can do it.
This series will mostly focus on recipes and dishes that you can make with budget ingredients, but today, we are going to look at grocery budgeting as a whole. What it is and how to do it. In all honesty, this series is as much for me as it is for you. I am not great at budgeting, so we will learn this together.
Introduction to Grocery Budgeting
Throughout this series, I am going to use my grocery spending as an example. I know how much I have been spending (I say “I” because since the pandemic hit, I do all the grocery shopping) and that I need to cut back. I think a real example is better than a hypothetical one, so every week of this series, I will break down my grocery spending and how I did with my budget.
What is my budget?
I did some research to find out what the average Canadian family spends on groceries. I found a Global News article from 2017 that says the average Canadian family of four spends about $220 a week on groceries. However, a lot has changed in the time since that article was written. Last December, Dalhousie University released a report saying that the average cost of food in Canada was going to go up by between 2% to 4%, that report was before COVID-19. I can’t find any studies or real information on how the pandemic has altered grocery prices,. Anecdotally, things seem more expensive.
If we take the 2017 numbers from Global and add the high range of increase that Dalhousie was predicting for 2020, plus add another 2% for the years in between, we get a weekly average budget of $233.37 for a family of four. The Global article breaks the budget down by family member which works out to be about 28% ($65.35)* of the budget for Dad, 24% ($56.01) of the budget for Mom, 32% ($74.68) for a teenage boy, and 16% ($37.34) for a young girl (4-8 years old). I don’t have a teenage boy or a 4 to 8-year-old girl. I do have a 10-month-old baby who I assume eats (or throws on the floor) about 12% of our grocery budget. So, for my family of three, our budget based on those numbers should be around $148.72 per week. That number will be my goal from here on out.
*percentages include the forcasted 4% incrase for 2020 plus an additional 2% increase total for the years between 2017 and 2020
What I currently spend on Groceries
From Sunday, August 9th, to Sunday, August 16th, I spent $406.18 at the grocery store. Now, that seems like a lot, and it is, but there are a few caveats in there. One, we bought diapers, which were $29.99, and I had to test a bunch of recipes for a project I’m working on that cost $107.80. So, what I actually spent on groceries last week was about $268.39, which puts me about $119.67 ($268.39 – $148.72 = $119.67) over what I should be spending. It looks like I have some work to do.
I should point out that included in my grocery budget are all the meals you see here on Chef’s Notes, on my Instagram, and when I appear on CTV. Those things can kind of skew my numbers a bit. I think it is valuable to stick to the budget, but I also believe that it is important to provide quality recipes and posts. That means that I sometimes have to go over the budget a little (or more than a little) for a blog post. I’m alright with that as long as it is within reason.
What is a Grocery Budget and How Do You Make One?
Before we move on to the 7 Tips For Eating On A Budget, let’s first clarify what a grocery budget is and how to make one. A grocery budget is a realistic weekly, monthly, and yearly spending limit you set for yourself to spend on groceries. Your budget can be set based on averages as I did with mine above, or you can look back at your grocery spending over the last six months, figure out what you can and cannot cut, and build your budget based on that. We will get into more detail in a minute.
Now that we are all on the same page, let’s finally move on to our 7 Tips For Eating On A Budget.
7. Keep an Inventory of Your Kitchen
Knowing what you do and don’t have in your kitchen is an essential key to understanding what you should and shouldn’t buy. You don’t have to be a tyrant about this, but you should, at the very least, go through your kitchen entirely before you go to the grocery store. It helps if you have some inventory sheets made up. I’ve made some for site members, which can be downloaded for free from the member’s downloads page. You can become a member for free here.
A useful inventory sheet breaks your kitchen into sections like “Fridge,” “Cupboard,” and so on. Ideally, you have on the sheet everyday things you have on hand like Milk, bread, salt, pepper, etc. With the sheet in hand, you take ten minutes and go through your kitchen, seeing what you have, what you are low on, and what you don’t have. You build your shopping list off of the inventory sheet and your meal plan, which we will cover in a minute.
Keeping an inventory of your kitchen does not have to take a lot of time, and it does not have to be complicated. The benefits of doing this greatly outweigh any annoyance and inconvenience.
6. Shop the Flyers
If you live in or near a town or city, there is a good chance that there are at least two grocery stores within a few minutes of each other. Most people will go to one store or the other, but I think it is better to go to both. Use the flyers to help make your meal plan, then go to one store for the things they have on sale that you want and go to the other store for the things that they have on sale. The more you do this, the more you will get a feel for the slight differences in the prices of everyday items between the stores. You would think that pasta would be the same price at two grocery stores that are within a few blocks of each other, but that isn’t always the case.
5. Meal Plan
Meal planning is the most critical thing you can do to eat on a budget. Use the flyers and your kitchen inventory to build a meal plan for your week. This will only take a few minutes. Then stick to it. Include all three meals of the day plus snacks. Be honest with yourself when planning your meals and your snacks. Write down what you are really going to eat, what you are going to snack on and work snacks into your budget. If you try and cheat, you will end up going to the corner store for some treats and blow your budget. There is a printable weekly meal planning template for members of the site. You can become a member for free here.
4. Plan your grocery store trips
Nowadays, a lot of grocery stores let you shop online. I prefer to pick out my fruits, vegetables, and meats, so I don’t use the shopping feature in the same way that most people do. I use it to plan out my trip to the grocery store and to help build my budget. The online shopping section of your local grocery store’s website will show you what things cost, so you can know what you are spending before you go. You can also use the online shopping section of the store’s website to help cost out and budget your meal plan.
3. Buy In Bulk When It Makes Sense
Buying in bulk is a great way to save money, sometimes. It is also a great way to spend a lot of money unnecessarily. For example, if you like white rice, it is great to buy it in bulk. It will last for a very long time. Brown rice, however, has a much shorter shelflife than white rice. So, unless you plan on eating brown rice for every meal for the next two months, it probably isn’t a great idea to buy it 20 kgs at a time.
Check Your Math
When buying in bulk is also important to make sure that the math makes sense. It doesn’t always. The easiest way to break the numbers down is to divide the unit size by the cost. If 20 kg of rice costs $50, then each kilo costs $2.50. The average suggested portion of dried rice is about 9g. There are 1000g in a kilo, so each gram equals $0.0025, meaning a single portion of rice is about $0.02. Compare that to a small (500g) bag of rice that costs $6.00. That same 9g portion now costs $0.10 or five times as much.
Think about chocolate for a second. I needed to buy chocolate the other day. The store had packages of semi-sweet baker’s chocolate squares on sale for $2.00 off per box, but I had to buy more than one to get the deal. It seemed like a good deal at a glance, but was it? Right beside the baker’s chocolate, there was a 1kg bag of semi-sweet chocolate chips, not on sale that cost $12. On the surface, the baker’s chocolate seemed like a better deal, but each package of baker’s chocolate was only 225g. The total price for two boxes (the minimum number I needed to buy to get the deal) would have been around $9. That is fantastic when compared to the regular price of the baker’s chocolate, but it is terrible when compared to the bag of chocolate chips. Even with the deal, 1 kg of baker’s chocolate would have cost $20. Did I need 1 kg of chocolate at that moment? No. Will I use it before it expires? Yes, I will. So, even though the baker’s chocolate was on sale, it made much more sense to buy the bulk bag of chocolate chips despite having to spend more money in the moment.
Divide bulk prices over multiple weeks
One vital thing to keep in mind when buying in bulk is that the price of the bulk item needs to be extrapolated over multiple grocery budget weeks. Looking back at the chocolate for a second, I did not need 1 kg of chocolate for what I was cooking. Even though the baker’s chocolate was more expensive per gram, it would have cost me less money to buy one package rather than the chocolate chips. But because I will be using chocolate again soon, it made more sense to buy the more expensive item. So, let’s say I used 250 g (or one-quarter) of the chocolate chips for what I was making. The price I would subtract from my grocery budget would be one-quarter of the total cost of the chocolate chips, not the total cost. That means that even though I spent $12 on the chocolate, only $3 came off of my grocery budget. But, that also means the next time I use the chocolate chips, whatever I use has to come off that week’s budget. In four weeks, if I use another quarter of the bag of chocolate chips, I have to make sure to subtract $3 from that week’s grocery budget to cover the cost of that chocolate. I know that this may seem complicated, but it is important, so if it is at all unclear, go back and reread this paragraph.
I find that with budgeting and buying in bulk, especially, it is best to think about the larger picture. Focus on the day to day, week to week, but keep the whole month or year in mind. A big bag of rice is going to cost you $50, but it will last you a few months. Don’t beat yourself up too much if you go over budget a little on weeks when you buy bulk items. It will work out over time as long as you are conscious of it.
2. Buy Off Brand
Store brands and off-brand products are often much cheaper than name brand products. But, if you hate off-brand ketchup and are never going to use it, it doesn’t make much sense to buy it. If there is a name brand that you just have to have, then go for it. But, if you can try and buy it when it is on sale. If it is an item with a long shelflife like ketchup, buy a few at once. As long as you don’t buy more than you can use before it spoils, it makes sense. Buy off-brand when it makes sense for you.
1. Only shop once a week
A lot of research, time, effort and money has gone into designing your grocery store experience. The goal of those efforts is to get you to spend as much money as you can. One thing I’ve noticed over the years is that the more time I spend in the grocery store, the more money I spend. That is not an accident. There is always something small that you see that you treat yourself, too or something you’d never thought you needed or wanted until you saw it. Those things all add up very quickly. It may only be $4 or $5 here and there, but when added up over a year, it becomes quite a bit of money.
To make sure that you stick to your budget, only go to the grocery store once a week. Plan it out, make a detailed list and stick to it. I also find that it helps to have your shopping list written in the order of how you go through the store. You know that you will be going through the fruits and vegetables first, then the bakery, then the meat. When you make your list, have all the fruits and vegetables at the top, then the bakery stuff, then the meat, and so on. Your goal should be to get everything you need in as little time as possible, the less backtracking through the store you have to do, the better.
Conclusion
I am excited about this eating on a budget series, I think I am going to learn a lot and I hope that you do too. It is going to be a challenge staying within a $148 budget, but I will do my best. If you want to challenge yourself to stick within a weekly grocery budget, I’d love to hear from you. You can leave a comment below or send me an e-mail on my contact page, and you and I can go through this together.
There is also now a members-only section of Chef’s Notes (I’ve mentioned a few times now I know). There are three levels, all with different benefits, but with the free membership, you get access to weekly downloadables. Right now, there are three downloadables in the member’s section. They are a meal planner, a grocery budget template, and a kitchen inventory template. You can sign up here for access to those things and more.
Thank you for reading the post. If you liked it, remember to share it on Facebook, Pinterest, or Twitter by clicking the icon to the left of the right of the page. Did you know that Chefsnotes.com has almost 400 posts just like this one? Imagine all the great tips, tricks, and recipes you’ve missed. Don’t miss any more! Subscribe to Chef’s Notes by putting your email address in the subscription box below or by becoming a Chef’s Notes member right here. You will be notified of every new post. And if you would like to know more about me, click the link below to read my story.
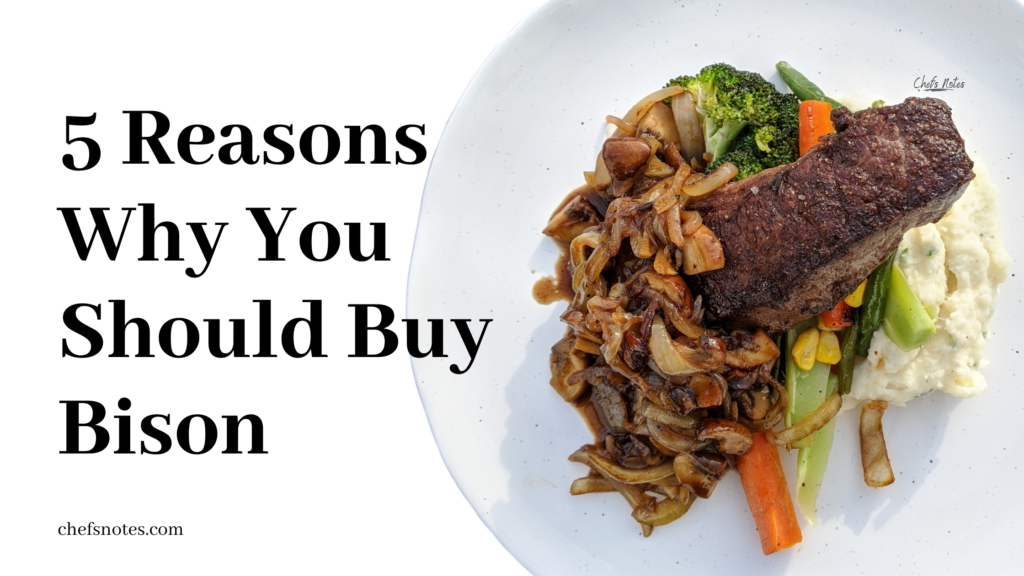
This post is sponsored by Noble Premium Bison. The opinions expressed in this post are strictly my own.
I first worked with Bison meat about twelve years ago at a small tapas-style restaurant in Halifax. We served it as a part of a trio of sliders, and I think I made Bison poutine as a special there too. At that time, I thought Bison was delicious but saw it as more of a novelty than a staple protein. Fast-forward four or five years, I am working in Montreal, and my chef has no interest in common ingredients. So, rather than serving beef, Bison became our go-to red meat. Not long after that, when I went to work in the Yukon, we served a Bison Short Rib that was to die for. What I realized from my experience with Bison in Montreal and the Yukon, was that it was not a novelty at all. Bison is a versatile, lean red meat, that just as easily fits on the dining table at home as it does on the menus of high-end restaurants.
The only problem I’ve had cooking Bison at home has been its availability. For a long time, it could only be bought through restaurant suppliers, or on occasion at specialty grocers. Luckily, it is now more widely available. You’ve probably seen it at your local Sobeys or Foodland. If you have seen at the store, you may have considered buying it, but you just weren’t sure. Well, today, I’m going to give you five reasons why you should buy it and why you will be happy that you did.
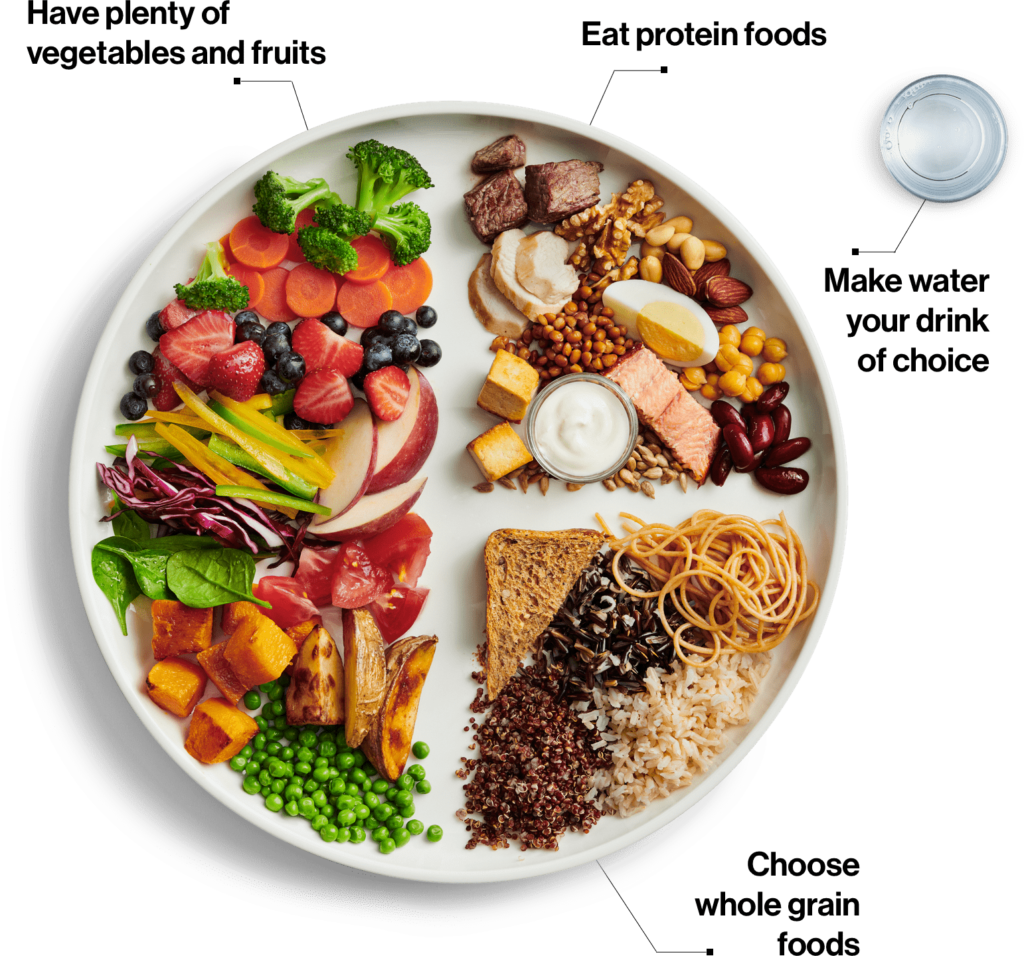
5. Lean Protein
The new Canadian Food Guide recommends Bison as a lean protein right up there with skinless chicken breast and wild game meats, and for a good reason. 100g of lean Bison has only 2.42g of fat compared to 8.09g of fat in the same amount of lean beef, and 9.66g of fat in the same amount of lean pork. In that same 100g of Bison, there is only 82mg of cholesterol compared to 86mg in the same amount of lean beef, pork and chicken. If keeping it lean and clean is your aim, Bison is one of the best choices that you can make.
On top of being lean and low in cholesterol, Bison is high in Iron (3.42mg per 100g lean meat compared to 2.99mg – beef, 1.1mg – pork, 0.6mg – chicken, and .34mg -salmon), vitamin B12, B6, Niacin, and Zinc. The high iron levels make Bison an excellent choice for both men and women suffering from anemia. In 2018 Thehealthy.com (Part of Reader’s Digest) listed Bison as one of the 13 Superfoods Every Healthy Woman Needs in Her Diet because women are more prone to anemia, and Bison offers a high iron, low-fat option to help combat this issue.
3. It’s Sustainable
Canadian Bison are sustainably produced and contribute to the growth and bio-diversity of the land rather than taking away from it. Because almost all of a Bison’s nutritional needs can be met by *grazing on wild perennial grasses that grow Naturally in Canada, there is no need to load up the soil with chemical fertilizers. These natural grasslands would otherwise be used for monoculture farming, such as grain or soybeans. Some monoculture farms have even been converted to more bio-diverse Bison grazing lands.
It takes **between four to sixteen hectares to raise a Bison cow and her baby, which is quite a bit of grazing land. However, the Bison lives on, eats, and fertilizes these vast tracts of grasslands. Compare that to other commercial farming practices that keep animals in small spaces and grow their feed on monoculture farms. These monoculture growing operations require large volumes of land and chemical fertilizers to sustain them. Of course, the feed must also be transported from the farm to the animals.
**One final point is that Bison are raised without growth stimulants or hormones and are not regularly fed antibiotics.
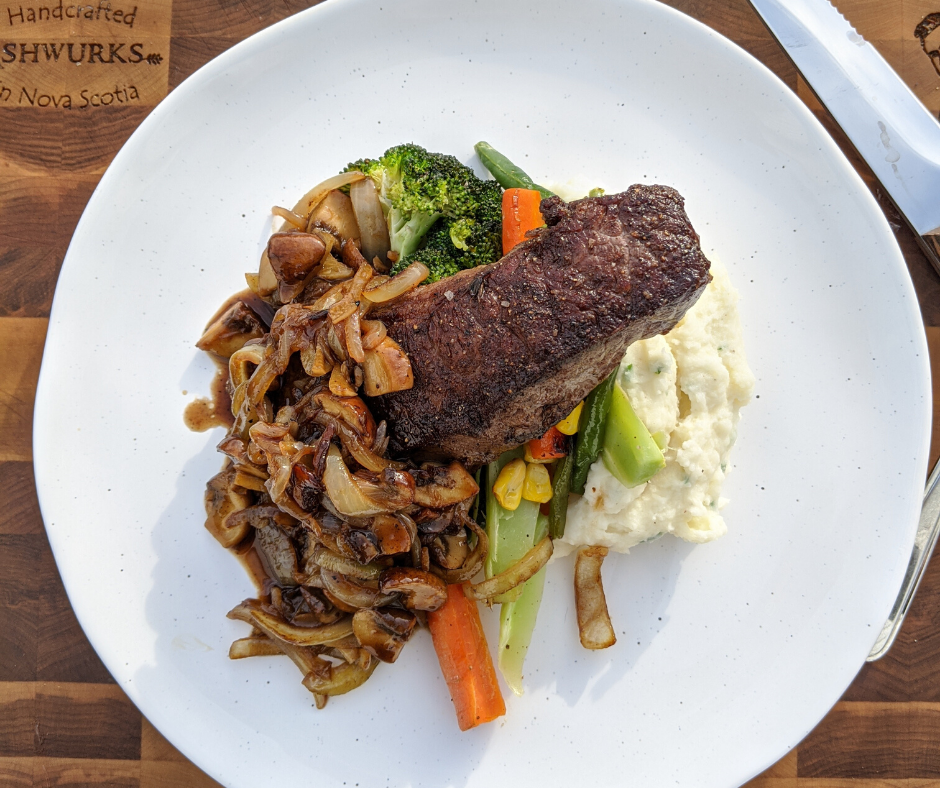
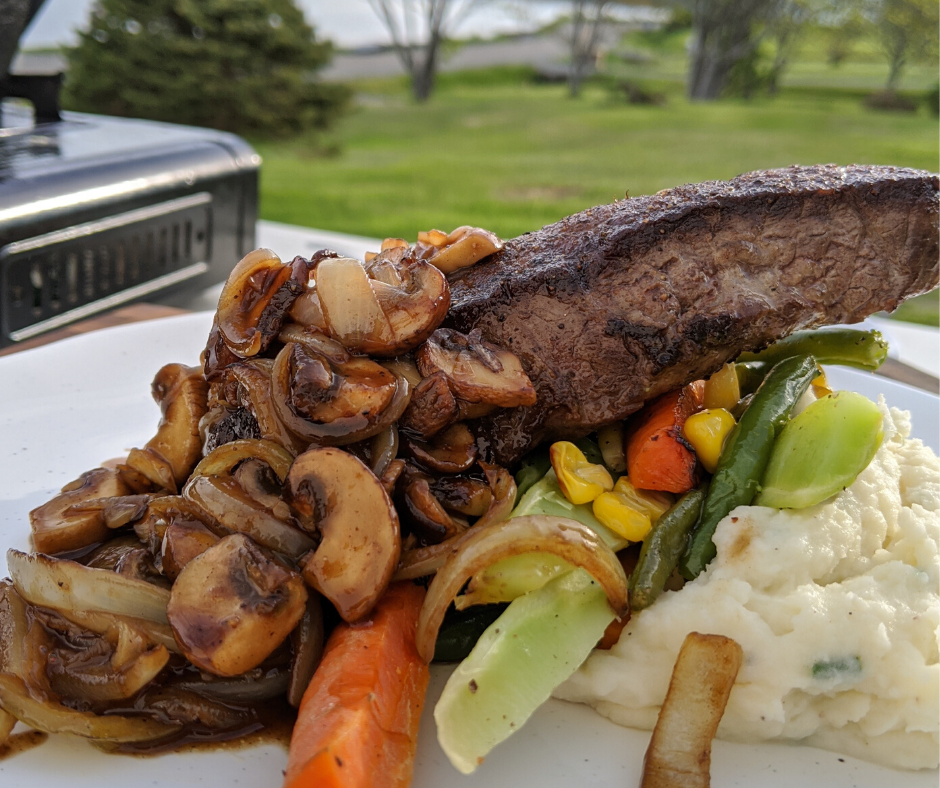
If you like meat, you will like Bison. People describe the flavour of Bison meat as similar to beef but richer and slightly sweet. However, because Bison is so lean, it is important not to overcook it. It’s best that Bison not be cooked any more than medium. Of course, if you are using ground Bison, this is not an issue.
Some people may be concerned that Bison will have a gamey flavour similar to venison, I’ve never found this to the case. In my experience, Bison tastes like the best quality beef I’ve ever had. I find that Bison meat is more dense, rich, flavorful, and filling than beef.
1. You Already Know What To Do With It
You may be thinking to yourself, “This all sounds great, but what do I do with it?”. That’s a good question. But here’s the thing, you already know what to do with it. Let me ask you something; Have you ever cooked beef? If you said yes, that is your answer. You can cook the same recipes you’ve always used; just use Bison as the protein. It’s that simple.
Conclusion – Bison, The Meat of The Future.
I’ve worked with Bison in restaurants for over a decade, I’ve served it at private dinners, I’ve cooked it at home, and I have always enjoyed it. One thing that has struck over all these years is that Bison should be more popular than it is, but I think it is about to be. I believe that in the coming years, as people search more and more for sustainable foods, and leaner proteins, Bison will continue to grow in popularity. There is a trend that is gaining momentum, and with good reason, to eat higher quality meat in smaller portions. Due to its caloric density, and undeniable quality, Bison, is the perfect meat for this future dietary norm.
If you have seen Bison at the grocery store, thought about it, but ultimately walked by it because you didn’t know what to do with it or how it would taste, I hope that I’ve given you a reason to take a second look. I hope that you try it because I am confident that when you do, you’ll be happy that you did.
Thank you as always for reading, and thank you to Noble Premium Bison for sponsoring this post. If you haven’t already, subscribe to the blog by entering your email address in the top right of the sidebar on this page, do it now so you never miss a post. And, remember to share this post because you will be helping me continue to grow the blog. Have a great day everyone!
Hotdogs, hamburgers, the odd skewer of meat and/or vegetables, maybe a steak or chicken breast and baked potatoes. When you think about having a summer barbecue some or all of the things I just listed probably popped into your mind. But what if I told you there was more…much more that you can do with your barbecue? What if I told you that you have been missing out? Well, there is and you have been.
Today we are going to look briefly at a few things I have cooked on my barbecue in the last few weeks. Things that maybe you have seen, maybe you haven’t. However, this post is not going to be definitive. It is simply the beginning of what I think will be the most exciting series that we have done on the blog thus far. Over the course of the summer, we are going to really focus on the barbecue and all the unique things that can be cooked on it. It’s my hope that by the end of the summer we will all be pitmasters.
What makes this so exciting for me is that for the last decade or so I have lived in apartments without any outdoor space, meaning no barbecue. Now, I have both and we are all going to take full advantage. What do I mean by that? Well, as I said we are going to focus on barbecue, but not just the old propane grill. We will look at cooking with charcoal, with smoke, and on an open fire as well. And I am going to be learning a lot of new things right along with you. Will you join me?
With that, let’s take a look at what I’ve been up to over the last few weeks. These items were just everyday meals that we had and were never really inteded to be focus points on the blog. It is my hope that in sharing them you you will get a quick glimps at what the blog will look like over the next few months. Just to be clear, not every post over the next few months will be about Barbecue, but a lot of them are going to be.
Alright, let’s take a look.
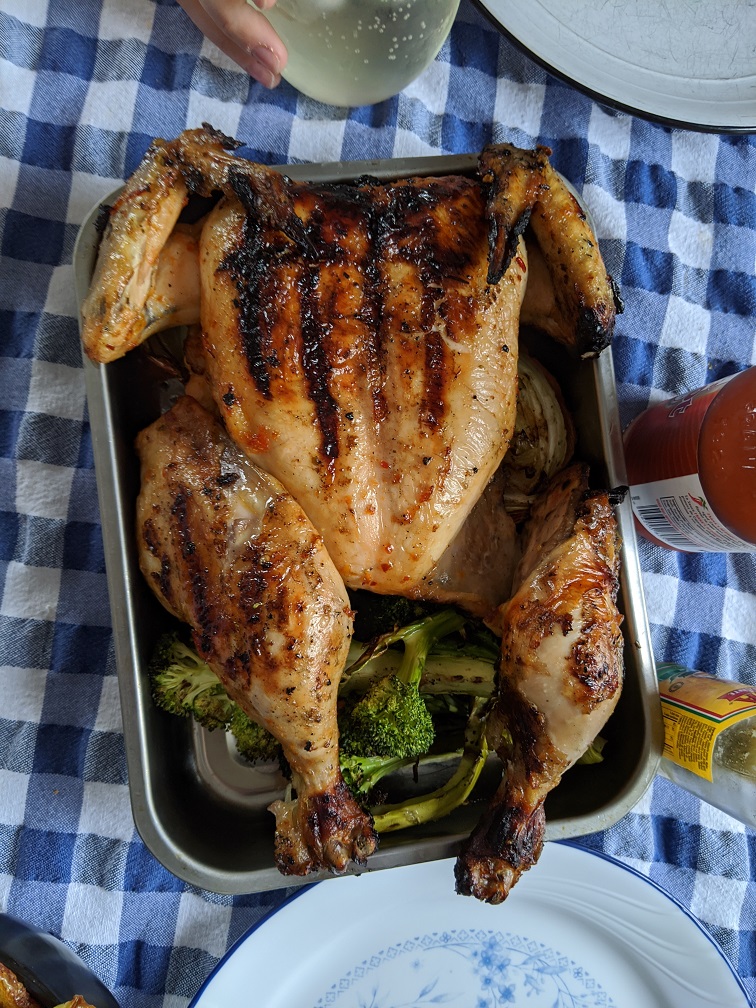
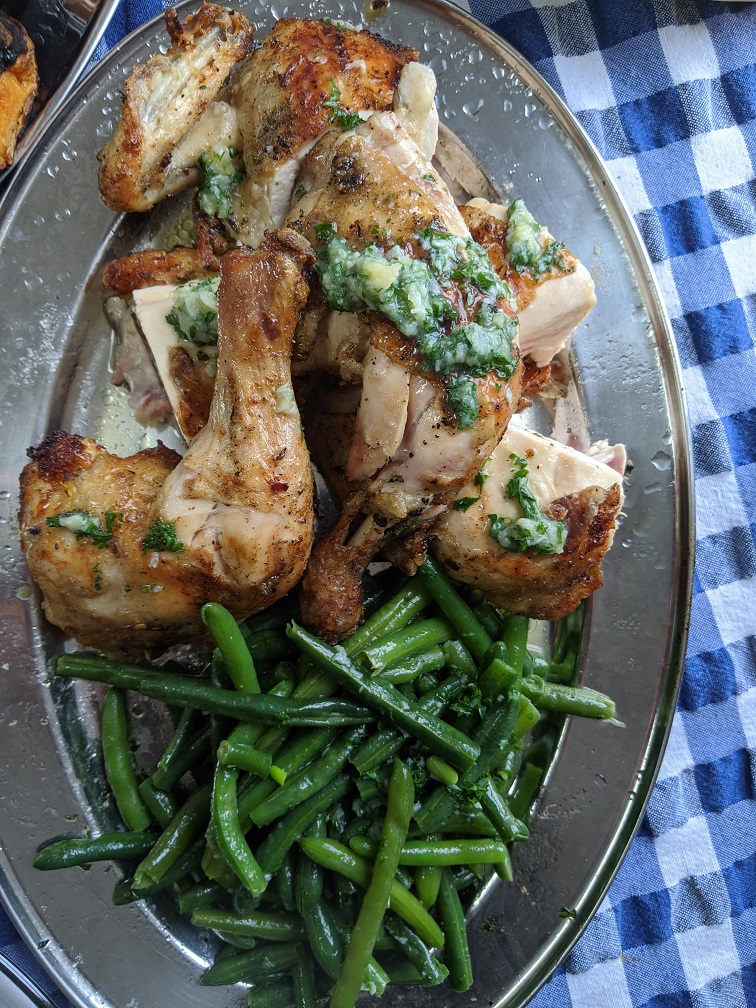
Chicken
One my my favourite things to cook on the grill at the moment is whole chickens. I take the back bone out and flatten them, this is called spatchcock. Doing this allows the chicken to cook quicker and much more evenly. The chicken in the picture above is actually Piri Piri chicken that Suzanne and I teamed up to make for dinner lastnight. I spatchcocked and cooked the chicken, she made the marinade. What’s great about this is that you can marinate the chicken however you’d like or not at all.
Part of the reason I love cooking the whole chicken on the grill rather than just legs or breasts is that the chicken stays much more moist. The fat from the skin and the moisture in the bones helps prevent the chicken from drying out. Another great side effect of this is that you get more flavour out of the chicken as well. It also looks cool. I call that a win, win, win. Or to put it another way, winner winner chicken dinner!
Pork Chops
Something truly magical happens to pork chops when they are cooked on a grill. The fat takes on this ridicouls flavour, along with this light crispness. The meat get’s a little caramelized, and the whole thing just becomes something truly special. As with the chicken it doesn’t really matter how you marinate the pork chops, or what sauce you put on them, as long as they arn’t over cooked that are going to be delicious. The only thing I will say is that if you are using a sweet BBQ sauce only apply it in the last half of cooking otherwise it may burn which no one wants.
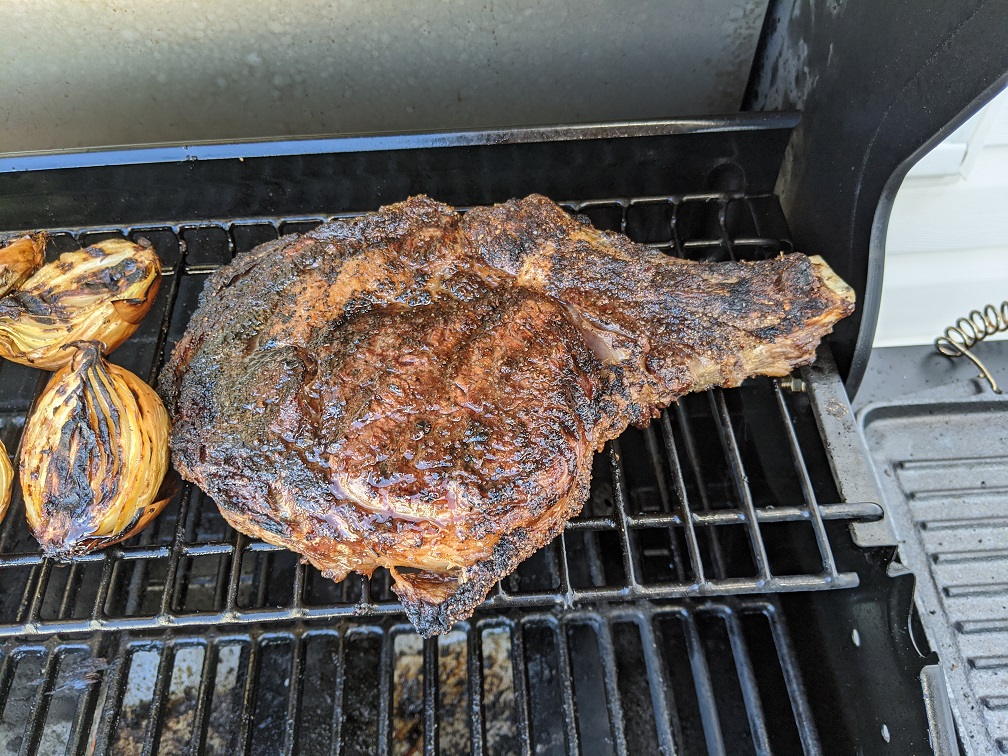
Roasts
Often when we think about cooking on the barbecue we think of fairly thin cuts of meat. However, there is no reason that you can’t cook a roast on the grill. I did just that a few weeks ago with a 3 lb beef rib roast. And yes if you are wondering, it tasted just as good as it looked.
The trick to cooking large pieces of meat on the grill is that same as the trick for cooking them in the over. Start them on high heat to get a nice sear, turn the heat down and cook them on low for the rest of the way. Also, while the roast is cooking all the sides can be prepared on the grill as well. Even though the roast in the picture above is beef there is no reason that you can’t do this with pork, lamb, or anything else you can think of.
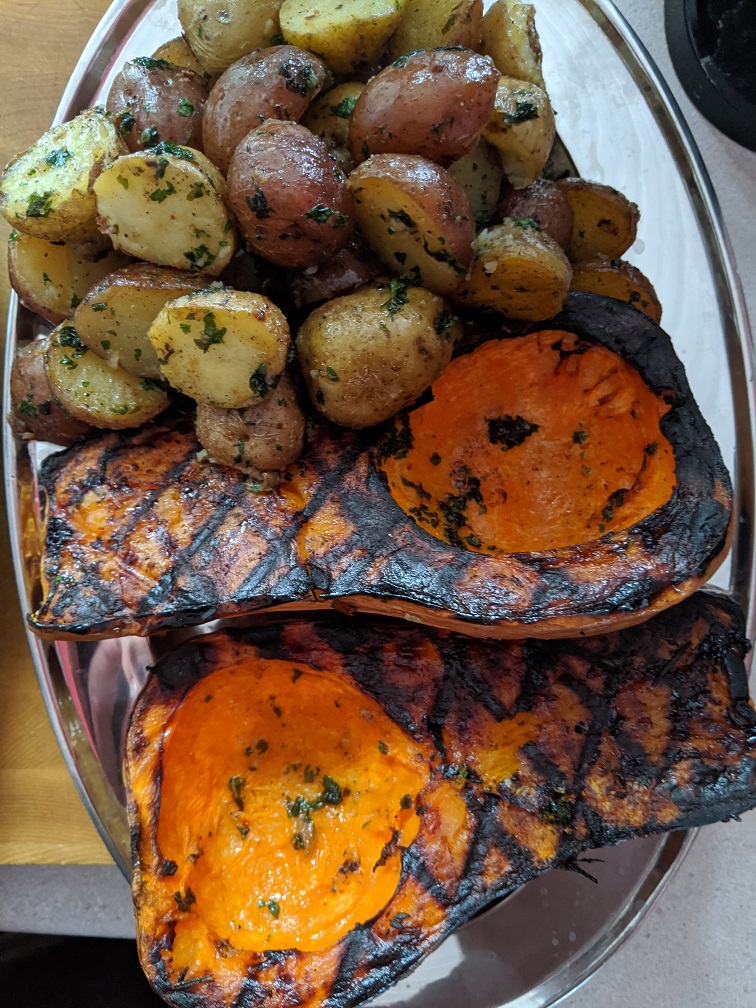
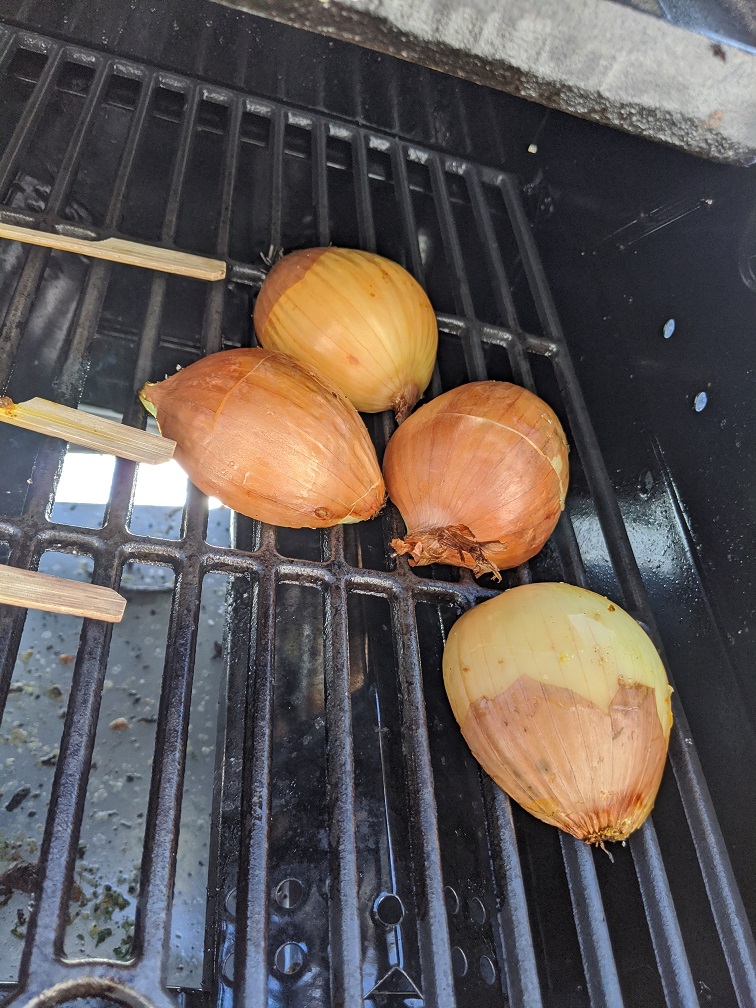
Sides
Anything that can be cooked can be booked on the barbecue. Here I cooked a whole butternut squash and some baby red potatoes. I did this without any fancy pans or tinfoil. Just straight on the grill.
I think that a lot of people get caught up trying to over complicate sides (and everything) when it comes to barbecue. The really beauty of cooking over a fire is that the fire adds so much of it’s own flavour that you really don’t need to do much else. A little olive oil, salt and pepper, and some fire will take you very, very far.
Of course, other vegetables like green beans, asparagus, onions, sweet potato, carrots, cabbage, all of it can be cooked on the grill. Don’t believe me? I’ll say it again, anything that can be cooked, can be cooked on the barbecue.
Conclusion
I hope that you are looking forward to this series as much as I am becasue I am very excited. If you have an idea for a barbecue post let me know and you may just see it right here. Also, what are you favourite things to grill? I’d love to hear about it in the comments.
Thank you everyone, have a great weekend and remember to subscribe to the blog so you never miss a post again.
Having to eat gluten-free can be annoying, to say the least. It means that you have had to give up a lot of foods that you love and often if there are gluten-free versions, they don’t come close to the original. Not to mention how much more expensive gluten-free food is in comparison to the regular stuff. Because of price, and the high probability of disappointment trying new gluten-free products can be a bit exasperating.
Being a chef that can’t eat gluten means that I get asked a lot about my opinion on gluten-free products. In an effort to help other people who can’t eat gluten I thought I would put together a list of my top 5 favourite gluten-free products. To keep the list as straightforward as possible I have omitted items that are naturally gluten-free like rice noodles, sesame snacks, and tomatoes. All of the items on this list are made to replace a gluten version and in some cases are actually better than the original.
Whether you are stuck eating gluten-free, know someone who is, or are just a regular person looking for the best frozen pizza you will ever eat, this post is for you. Okay, let’s take a look at…
My 5 Favourite Gluten-Free Products
I have listed prices beside each product. These prices are based on what I usually pay where I live. I find that the price fluctuates based on where I’m buying my groceries, so the prices listed may not be the exact price you pay.
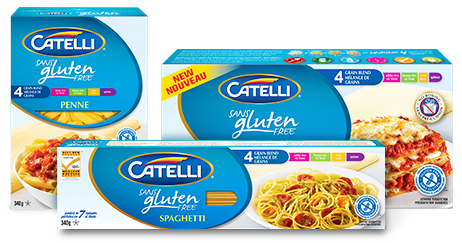
1. Catelli Gluten-Free Pasta
Price – $2.49
There are a few different gluten-free kinds of pasta out there but by far the best is the Catelli brand. Catelli is actually a Canadian pasta brand that dates back as far as Canadian confederation. Ever since 1867 when Carlo Onorato Catelli started selling handmade pasta from a pushcart in what is now Montreal’s Little Italy, Catelli pasta has been innovating and pushing the pasta industry forward. This innovation and forward-looking continues today as the company has become a leader of gluten-free pasta production in Canada.
Of all the brands of gluten-free pasta, I have tried, Catelli is by far the best and most consistent. There were some issues when I first started using it where the pasta would only hold it’s shape for 10 minutes or so after cooking. There was no opportunity for leftovers of any quality. But, now it seems as though that issue has mostly been resolved. I also find that for best results I generally undercook the pasta by about 1 minute compared to the directions of the box.
Catelli Gluten-Free Pasta is so good that you can’t even tell you’re eating gluten-free. And that’s kind of what we’re all hoping for, isn’t it?
You can find this at Sobeys or Superstore.
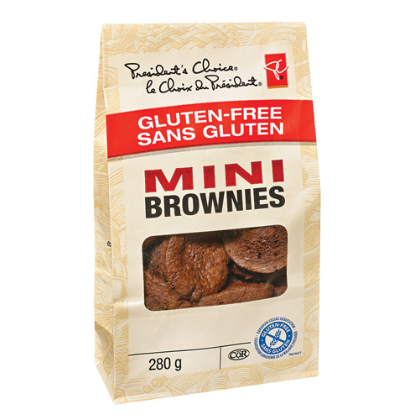
2. PC Gluten-Free Mini Brownies
Price – $5.99
I’m not the type of person that buys mini brownies very often. Truth be told, I’ve only had these once or twice. But the two times I have had them, I was thoroughly impressed. When compared to the regular version, these PC Gluten-Free Mini Brownies stack up perfectly. I obviously can’t do a side by side taste test, but I’m willing to bet that if you did, you wouldn’t be able to tell which ones were regular and which ones were gluten-free.
You can find these at Superstore.
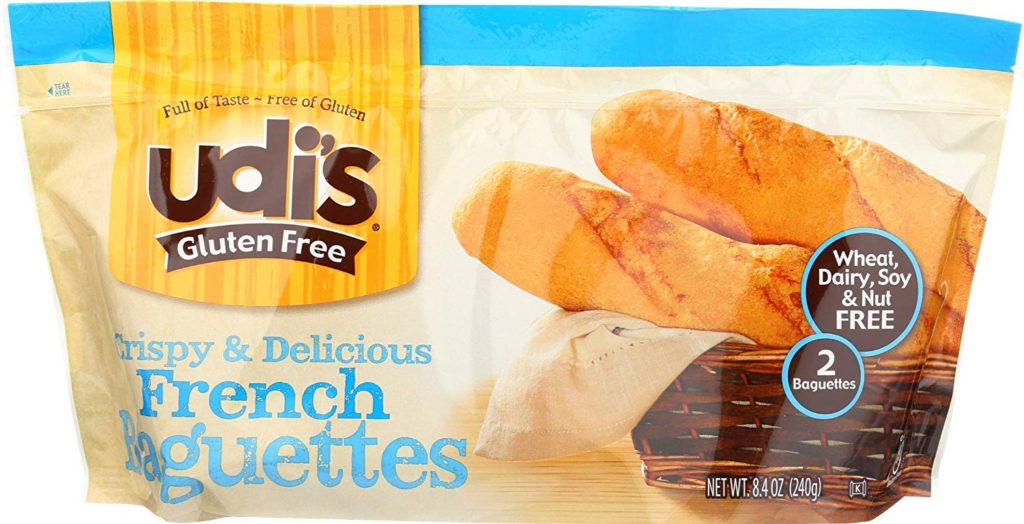
3. Udi’s Baguettes
Price – $5.99
I have always been a bread lover. Before I had to stop eating gluten, one of my favourite things to make was bread. Of all the bread in all the world, nothing compares to a really well made French Baguette with butter. Although these Udi’s baguettes are great for what they are, a French Baguette they are not.
Udi’s actually makes a lot of really great gluten-free products. I use their regular bread more than any other brand. However, the Udi’s product I use most is this one, their Gluten-Free Baguette. They come frozen, you put them in a 400°F oven for 10-14 minutes to defrost and toast them, then use them however you want. I use them mostly for things like Bahn Mi, Donair Sub, Steak Sandwiches, stuff like that. They also make a dinner roll version which is really good too. But again, keep in mind, that you should not buy these expecting a French Baguette. Just expect a really good gluten-free baguette.
You can find these at both Sobeys and Superstore.
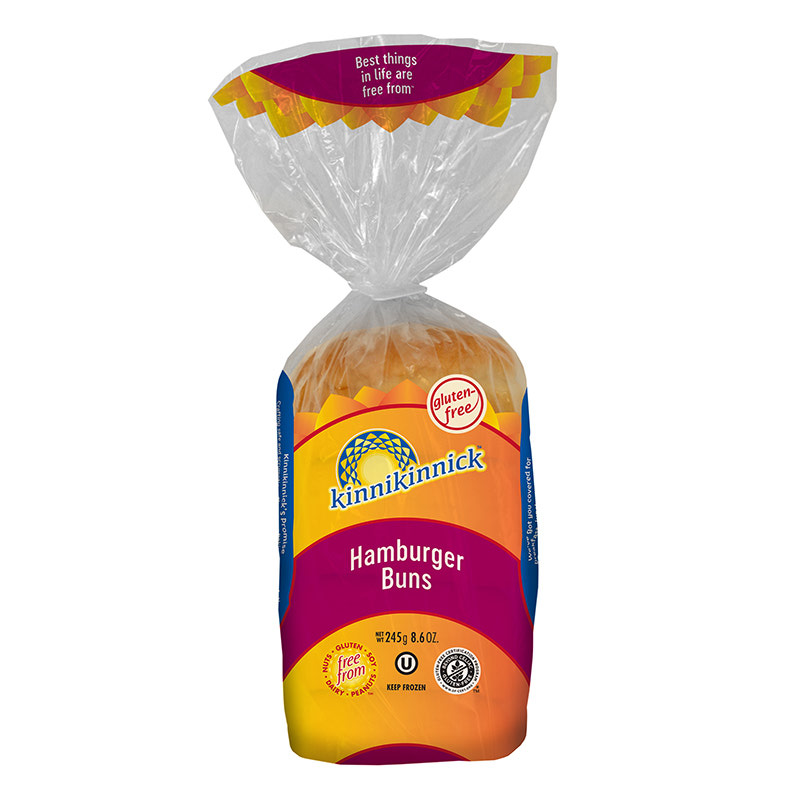
4. Kinnikinnick GF Hamburger Buns
Price – $6.49
Kinnikinnick is another really great gluten-free brand that makes a lot of different products. I use their bread pretty often but the product they make that stands out most is their hamburger buns. They are by far the best gluten-free hamburger bun I have had. They are pricey but really good. I don’t know if I would say that they are better than regular hamburger buns, they’re close enough that you won’t miss regular hamburger buns. Like most gluten-free bread, these come frozen. You just defrost them before use.
One kind of strange thing I will say is that the Kinnikinnick hamburger buns and their English muffins are the same things. If they aren’t the same thing they are close enough that you can’t tell the difference. Other than this one strange little thing they are a great gluten-free brand that is worth checking out.
You can find these at Sobeys.
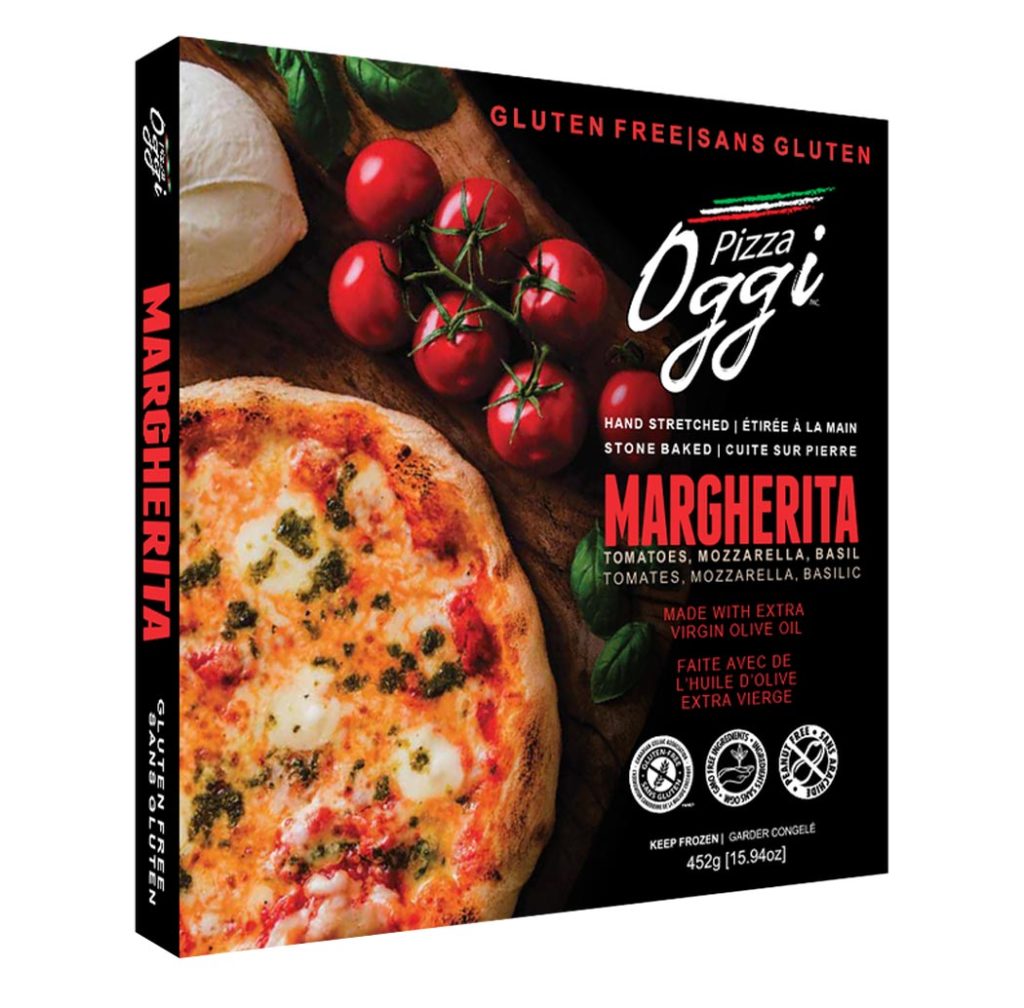
5. Oggi’s Pizza
Price – $9.49
Just like with the regular version there are a lot of terrible gluten-free pizzas out there. This is not one of them! Oggi’s Pizza is by far the best-frozen pizza I have ever had, and it is the best gluten-free pizza (frozen or otherwise) that I have ever had. The crust is light, airy, and chewy and topped with premium ingredients. Yes, it is more expensive than a regular frozen pizza, but it is worth the price. In all honesty, even if I could eat gluten, and normally would eat a frozen pizza, this is the one I would buy.
I have seen three different flavours of these pizzas; Margherita, four cheese, and roasted vegetables. On their website, they list a pepperoni, spinach alfredo, and a Caprese as well. I’m not sure how the Caprese differs from the Margherita.
Unlike some of the other brands I have mentioned on this list, Oggi does one thing and one thing only, they make badass gluten-free pizza and they do it really well. The next time you find yourself craving a pizza, do yourself a favour and pick one of these up, you will be happy you did.
You can find these at Superstore, Sobeys, and Costco. The Costco pizzas are bigger and come in a two-pack.
Conclusion
If like me, you can’t eat gluten, you should be thankful that you live in this day and age. Even just three or four years ago the available gluten-free products were not very good and way rarer. Today, we can find high-quality gluten-free products almost anywhere which is amazing.
Last week I wrote a post all about cooking shows and how in my opinion some are good and some are bad. I’ve been thinking about it a lot since then and there actually are a handful of cooking shows I watch regularly but they aren’t on tv. My favourite cooking shows are actually on Youtube. They are mostly, with one exception created by regular people doing something they love rather than big corporations just trying to make money.
All of the cooking shows listed below are very unique from anything you’ve probably seen before. I highly recommend actually taking a bit of time, maybe on the weekend and taking a look at some of the videos these channels have produced. You may learn something and you may find your new favourite cooking show.
Okay, let’s take a look at…
#5 Grandpa Kitchen
I love Indian food and one day while doing some research I stumbled across this youtube video of an older Indian man cooking butter chicken. I was completely enthralled. After watching I did my best to recreate his recipe and it was the best butter chicken I had ever made. Since then I have been a fan of this channel.
If you like Indian food and have always been interested in cooking it you will probably enjoy this channel. It is super simple and paried down and the food all looks amazing.
Binging with Babish is a very successful youtube channel built around the idea of recreating food from TV and movies. If you’ve ever wondered how to make that baked ziti from Good Fellas, or the food from Game of Thrones you should check this channel out.
#3 Gourmet Makes (Bon Appétit)
Bon Appétit has a lot of cool content but my favourite and the most successful of it all is a show called Gourmet Makes. Claire Saffitz is a pastry Chef with Bon Appétit and is tasked with recreating store-bought confections. In one episode she makes gourmet Oreos. In another she makes Doritos, and in yet another, she makes Starburst fruit chews. Claire pretty much always successfully completes her task but as you can imagine, there is some frustration and hilarity along with way.
Chef John creates really cool educational cooking videos. They are informative and easy to follow. But what makes Chef John stand out among the millions of other people that do similar videos? Chef John narrates all of his videos imparting his voice with a unique cadence that is soothing, calming, and somehow funny all at the same time.
I honestly just throw these videos on when I want to relax.
James Townsend owns a store in Pierceton Indiana that sells reproductions of tools, clothes, pots, and everything you could imagine form the 17th century. His youtube channel is all about cooking in the 17th century. He has a set that looks and works like a 17th-century kitchen, and he is always dressed in his 17th-century garb. Needles to say, this guy loves the 17th century.
James meticulously researches all of his recipes and recreates them as accurately as possible which is partially what makes this channel so interesting and number one on my list.
If you love both food and history as I do, you will love this channel.
So, Hot Ones isn’t actually a cooking show at all. Though it is produced by the Youtube channel First We Fest which has loads of food-related content. So, if it isn’t a cooking show why am I including it? Well, because it’s a talk show built around the idea of getting celebrities to eat progressively hotter chicken wings while answering thoughtful and interesting questions. How could I not include it?
I hope that you enjoyed this post and thank you for checking it out. Remember to subscribe to the blog so you never miss a post. Have a great weekend, I’ll see you on Monday!
We use cookies on our website to give you the most relevant experience by remembering your preferences and repeat visits. By clicking “Accept”, you consent to the use of ALL the cookies.
This website uses cookies to improve your experience while you navigate through the website. Out of these, the cookies that are categorized as necessary are stored on your browser as they are essential for the working of basic functionalities of the website. We also use third-party cookies that help us analyze and understand how you use this website. These cookies will be stored in your browser only with your consent. You also have the option to opt-out of these cookies. But opting out of some of these cookies may affect your browsing experience.
Necessary cookies are absolutely essential for the website to function properly. This category only includes cookies that ensures basic functionalities and security features of the website. These cookies do not store any personal information.
Any cookies that may not be particularly necessary for the website to function and is used specifically to collect user personal data via analytics, ads, other embedded contents are termed as non-necessary cookies. It is mandatory to procure user consent prior to running these cookies on your website.