
Do you dream of eating a delicious panini whenever you want but don’t own a panini press? Get ready to have your dreams come true. Today, I am going to show you how to make a homemade roasted vegetable panini without a panini press. How are we going to do it? You’ll have to keep reading to find out. Let’s take a look.
The Vegetables
The vegetables used for the roasted vegetable panini are eggplant, zucchini, red bell pepper, and red onion. If you’d like to, you could include portobello mushroom, tomato, other coloured peppers, spinach or anything else you’d like. We have to cook the vegetables before they go on the sandwich, but first, we have to salt the eggplant.
Salting the Eggplant
Why do we have to salt the eggplant?
Salting eggplant does two main things. The first is that it removes moisture from the eggplant, giving it a more firm texture when cooked. The second thing that salting the eggplant does is remove bitterness. Eggplant on its own can sometimes be bitter. As the salt pulls moisture out of the vegetable (eggplants are technically a berry), it also pulls out some of the flavour compounds that cause bitterness.
How to salt an eggplant
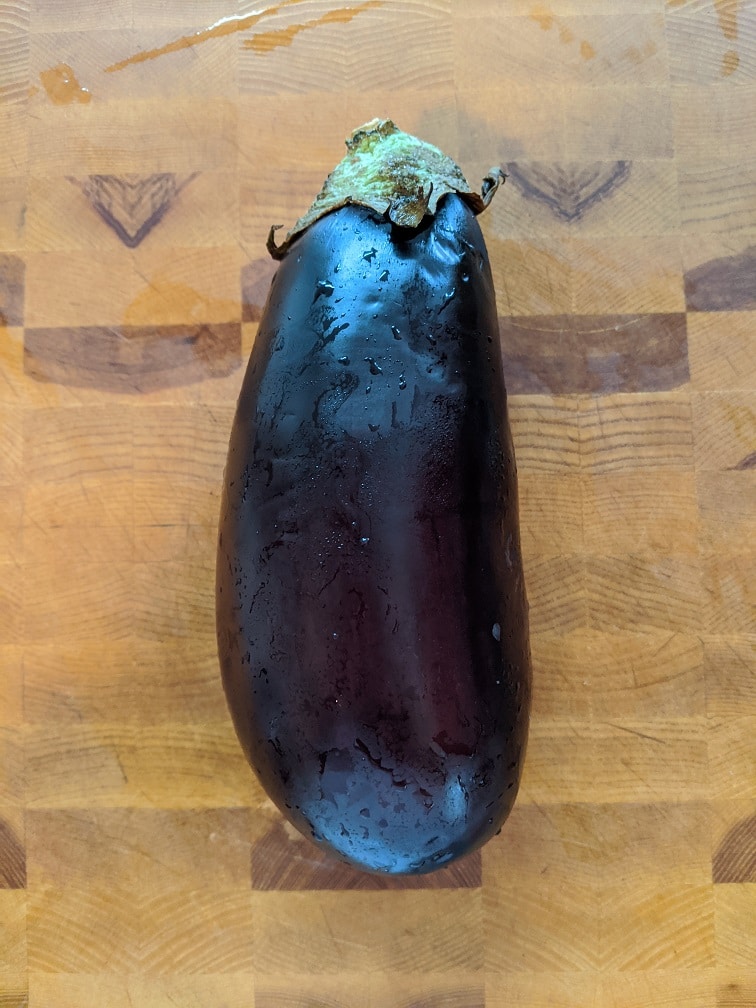
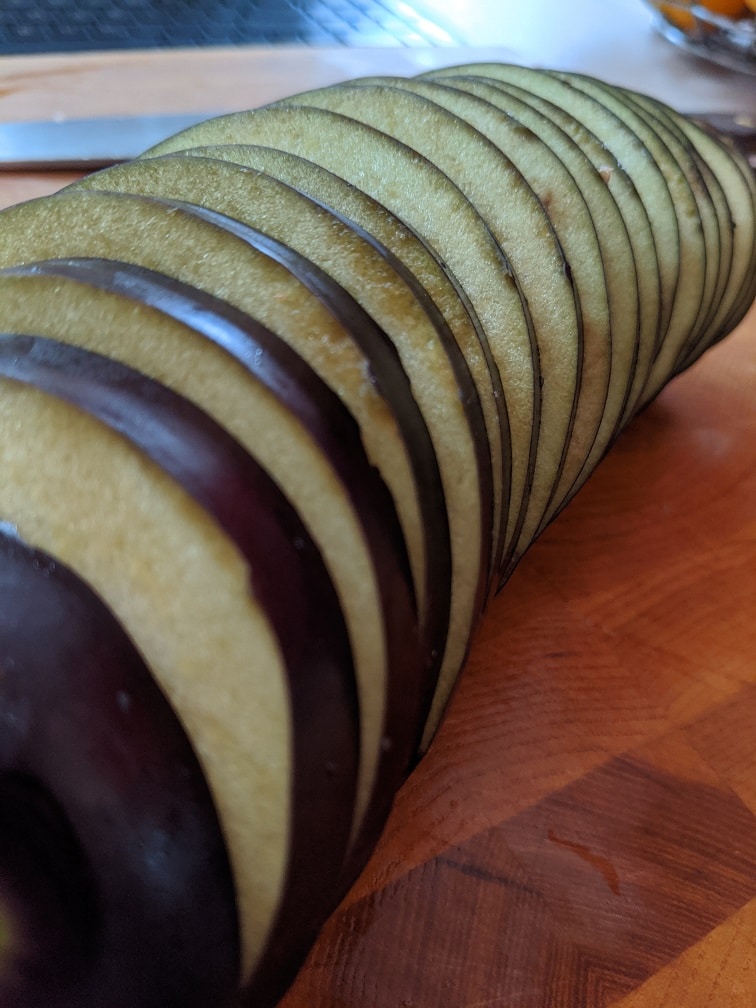
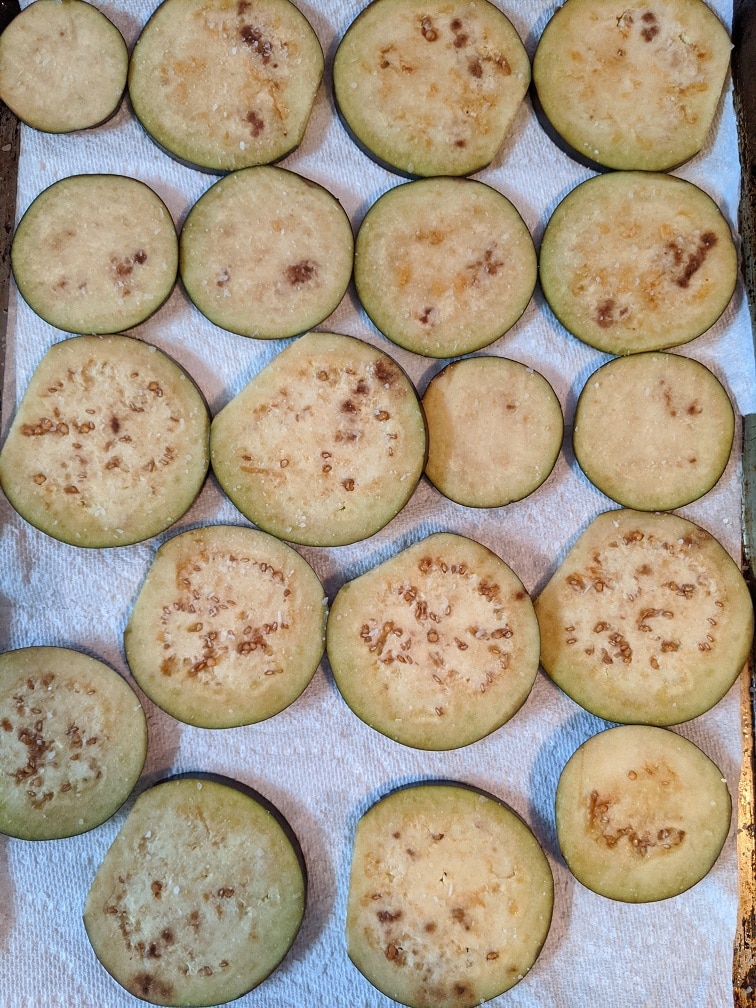
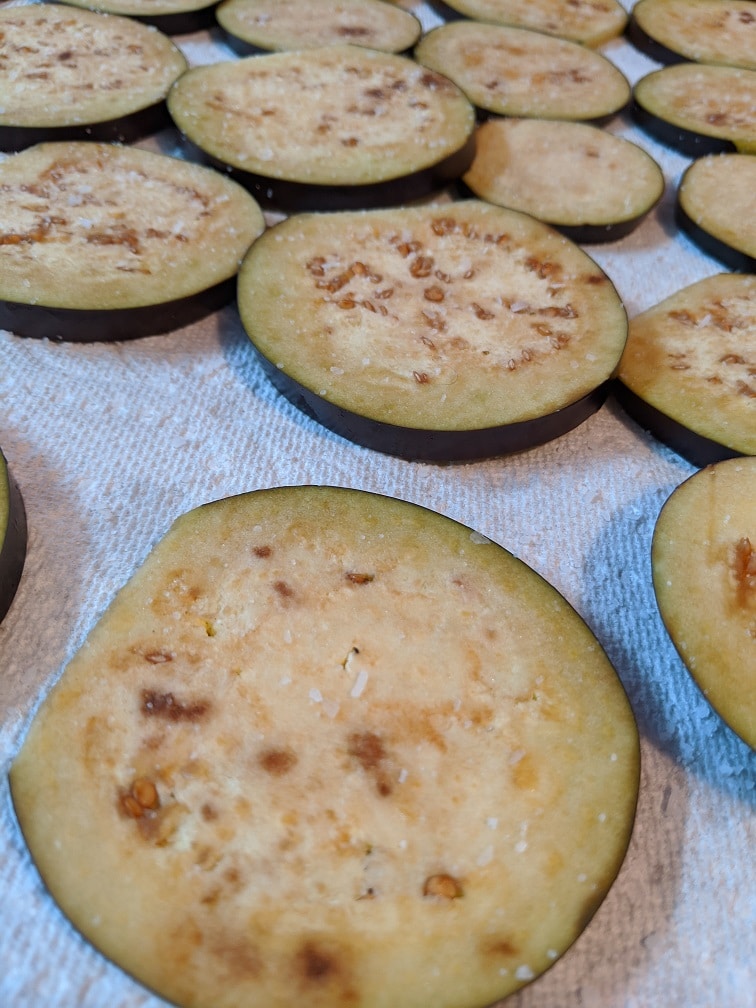
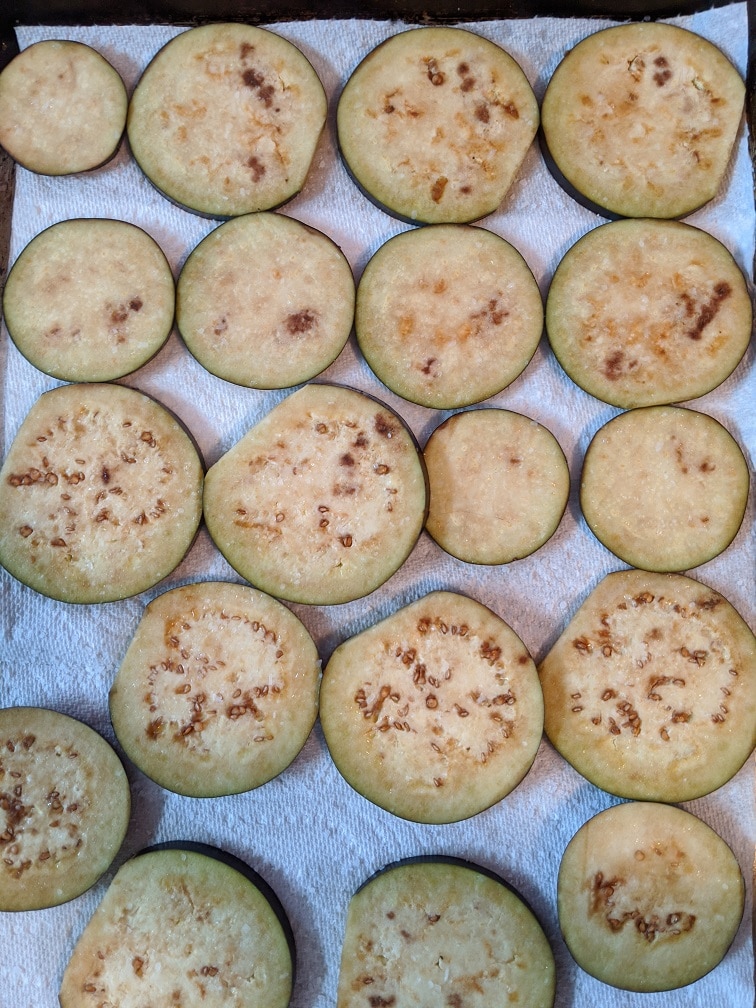
To salt, the eggplant (I bought the smallest eggplant I could find), wash it well, then slice it into 1-centimetre rounds. Lay a piece of paper towel or a clean dish towel down on a sheet pan and sprinkle it generously with salt. Lay the eggplant on the towel in one even layer, sprinkle more salt over the eggplant, then cover it with another towel. Let the eggplant sit for about half an hour, then rinse each piece well under cold water. Pat the eggplant dry and you are good to go.
I know that this may seem like a lot of work, but it is absolutely worth the effort. The flavour and textural difference between an eggplant that has been salted and one that hasn’t is night and day. This small thing can make the difference between a person loving eggplant and hating it.
Other Vegetables
While the eggplant is sitting with the salt, prep the rest of the vegetables. In total, I used one small eggplant, one red bell pepper, one zucchini, and one red onion. This amount of vegetables made enough for about six sandwiches. However, any leftover vegetables can be tossed in a salad, a pasta, or warmed and eaten as a side dish. So, don’t worry about having extra. It won’t go to waste.
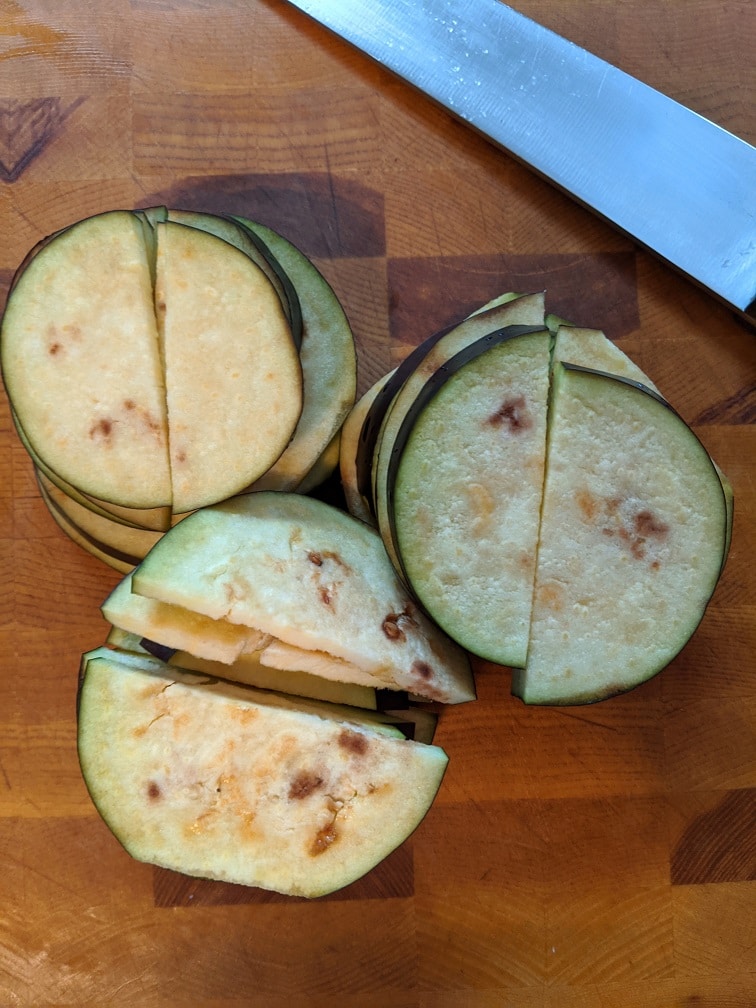
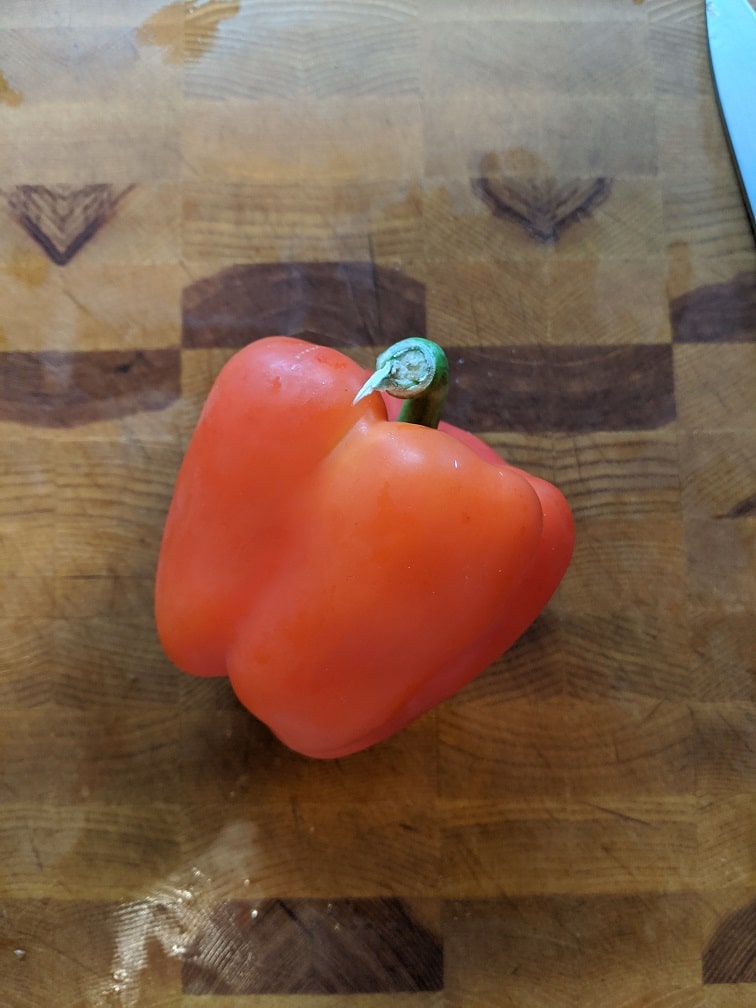
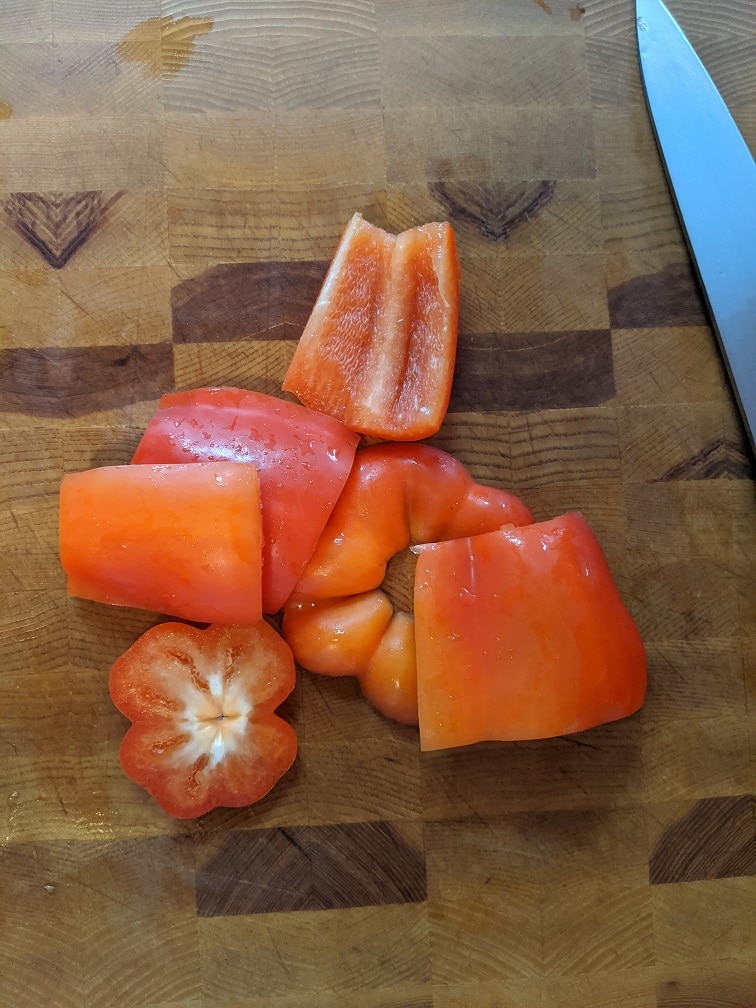
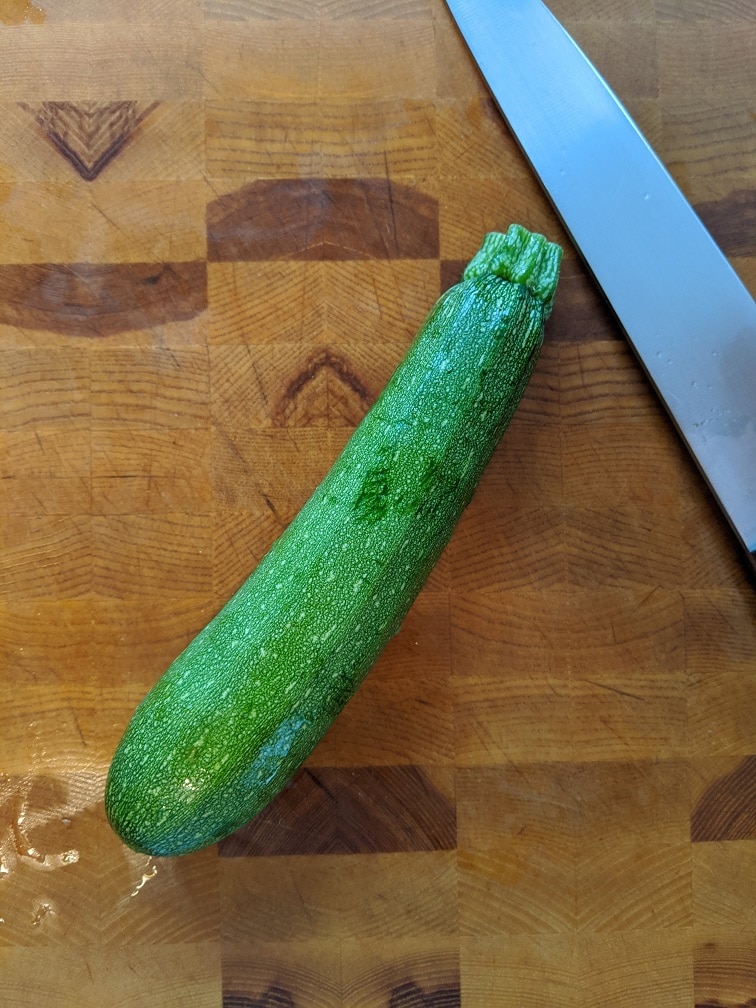
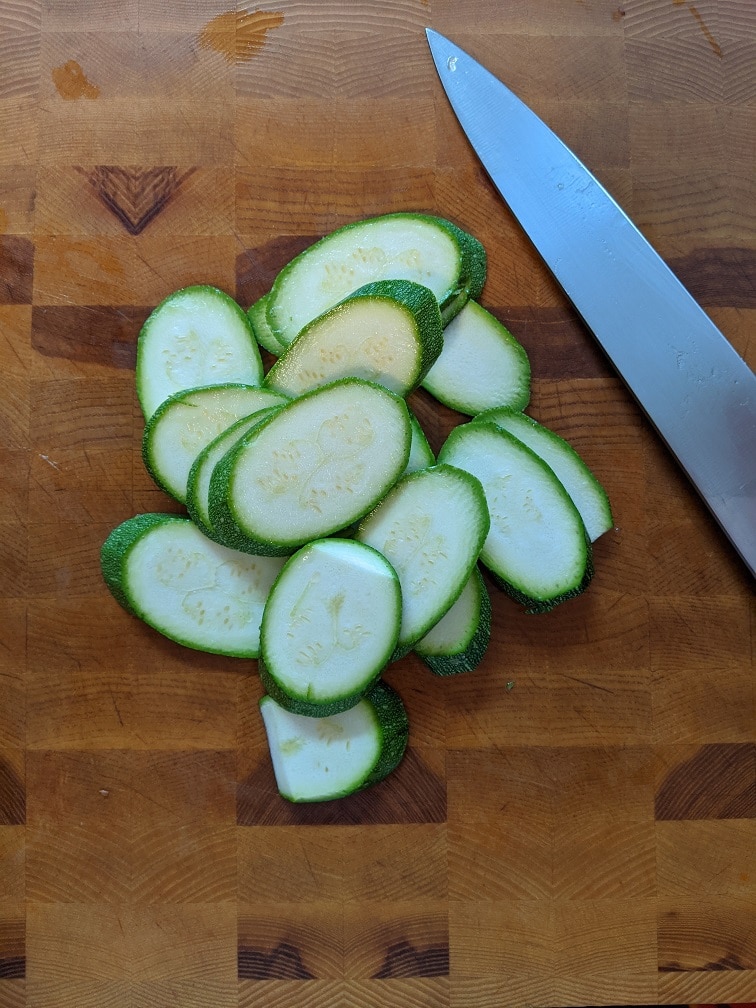
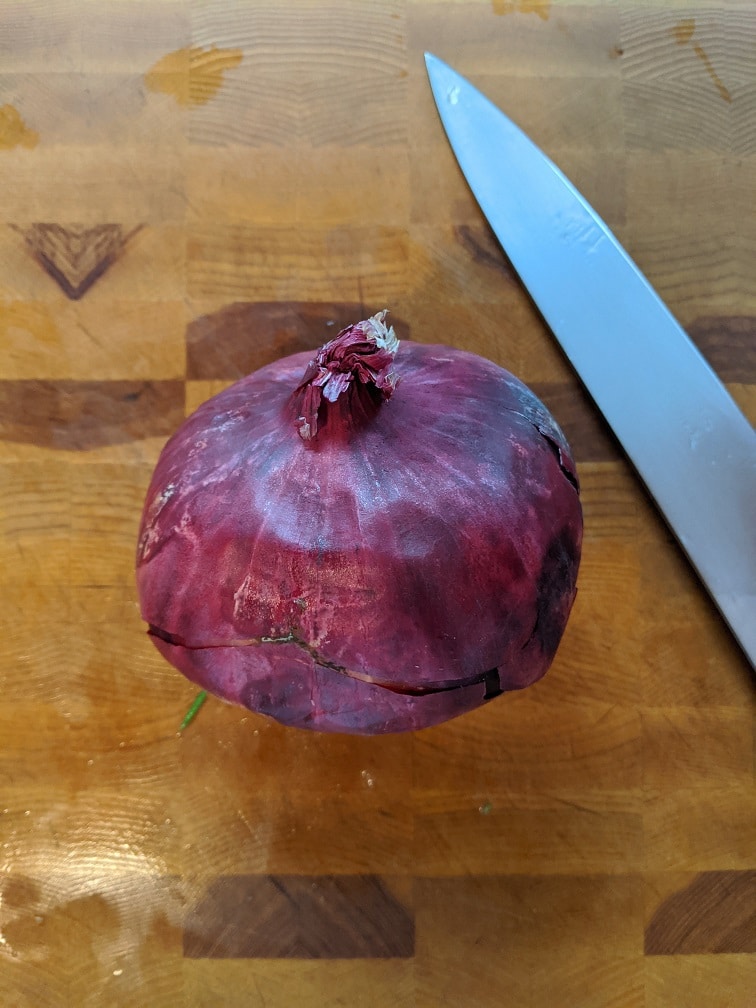
To prep, the vegetables, wash them all very well, then cut the sides, top and bottom off the pepper. Discard the seeds and stem and cut the peppers into 2 cm x 2 cm pieces (these don’t have to be exact). Cut the ends off the zucchini then cut it into 1 cm thick pieces on a sharp angle. Finally, peel the onion, and cut it into 2 cm x 2 cm pieces (again, these don’t have to be exact). Once the eggplant is ready and rinsed, cut the pieces in half and add to the other vegetables.

Roasting the Vegetbles
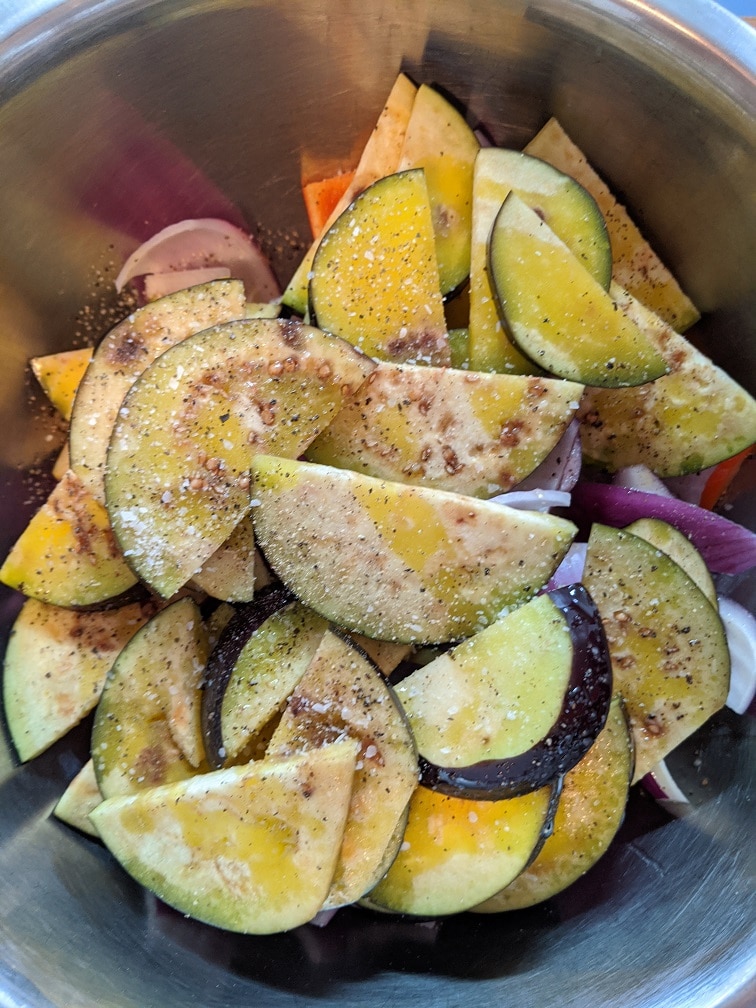
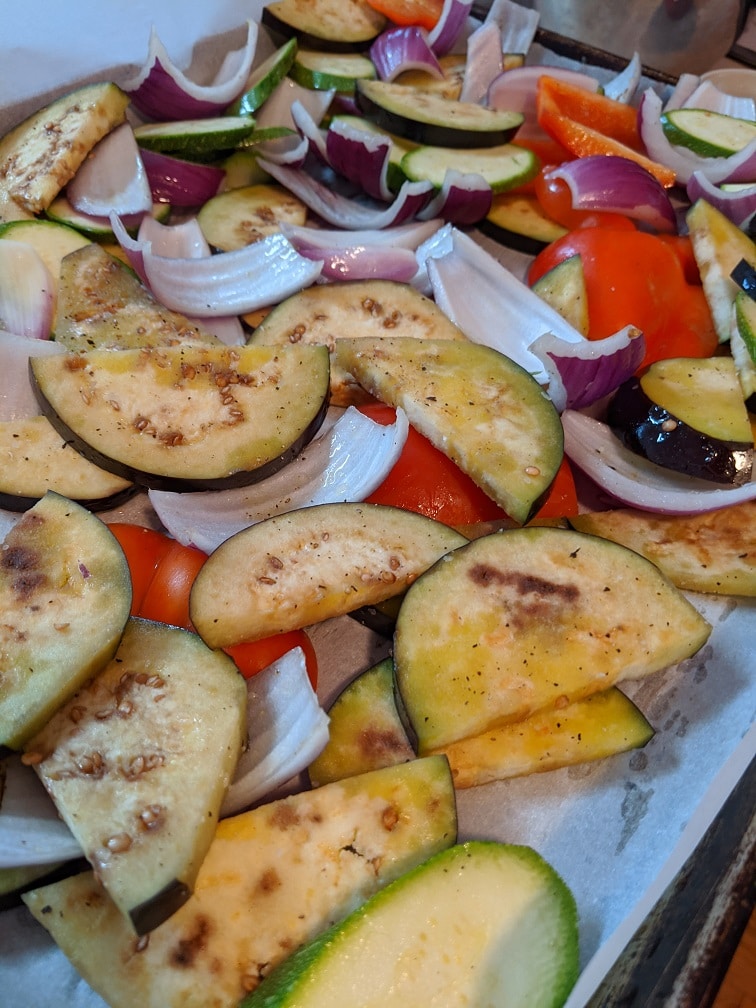
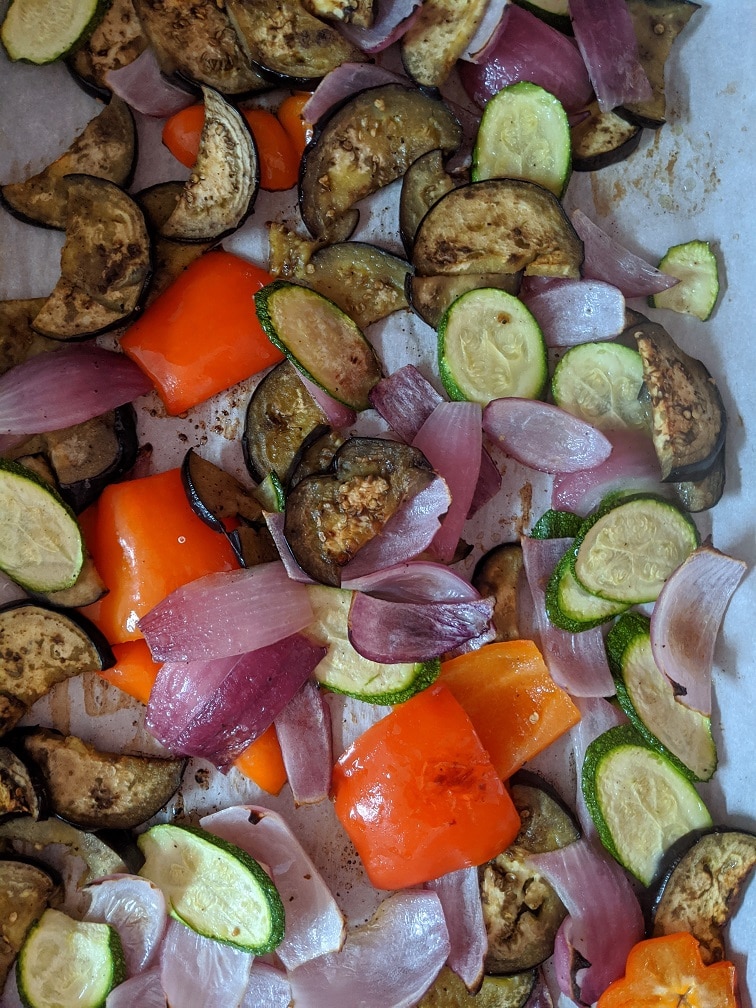
Put all the vegetables in a large mixing bowl with 2 tbsp of olive oil and a generous amount of salt and pepper. Toss all the vegetables together then spread out on a sheet pan lined with parchment paper. You may need to use two sheet pans depending on how big your vegetables are. Roast the vegetables in a 400°f oven for 30 to 35 minutes, flipping halfway through. The vegetables are done when they are tender and slightly browned. Take them out of the oven and let them cool slightly.
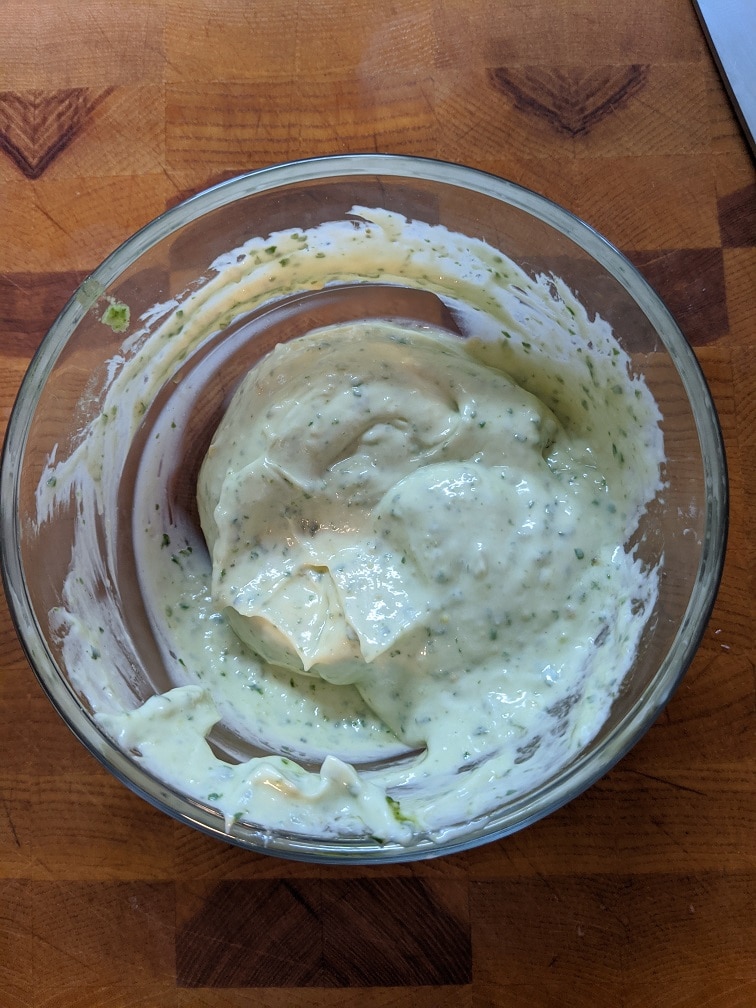
Pesto Mayo
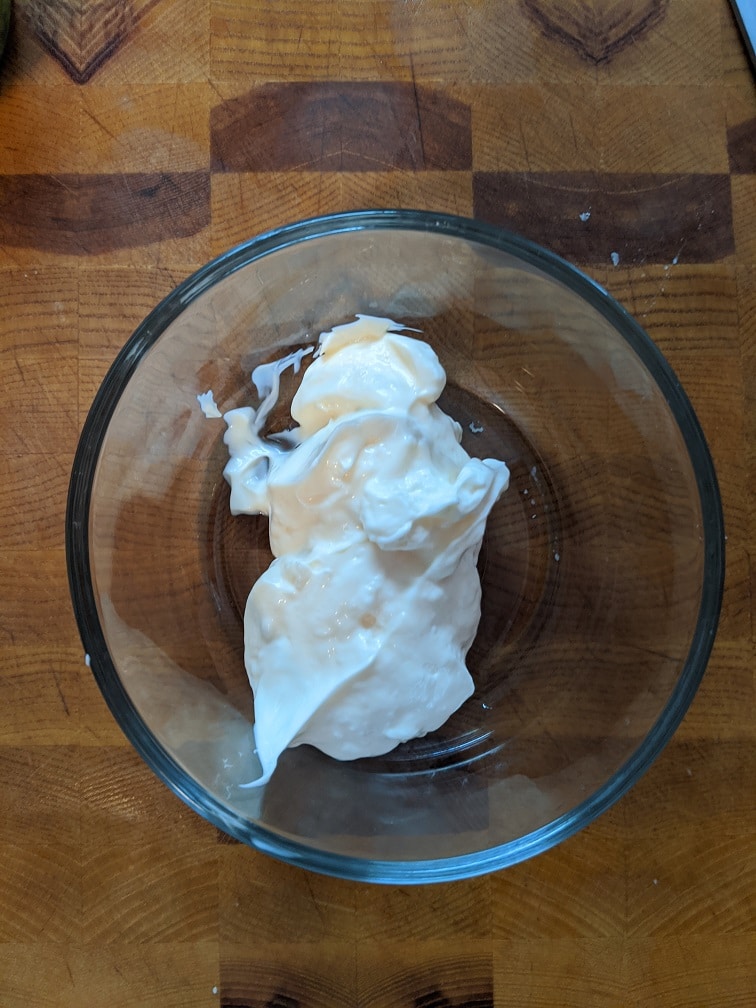
While the vegetables are roasting, take a minute to throw together some pesto mayo. Combine 3 tbsp of pesto (you can find the pesto recipe in last week’s sandwich post here) with 1/2 cup mayo. This amount will be enough for four sandwiches. If you make extra, you can store the mayo in the fridge for up to a week.

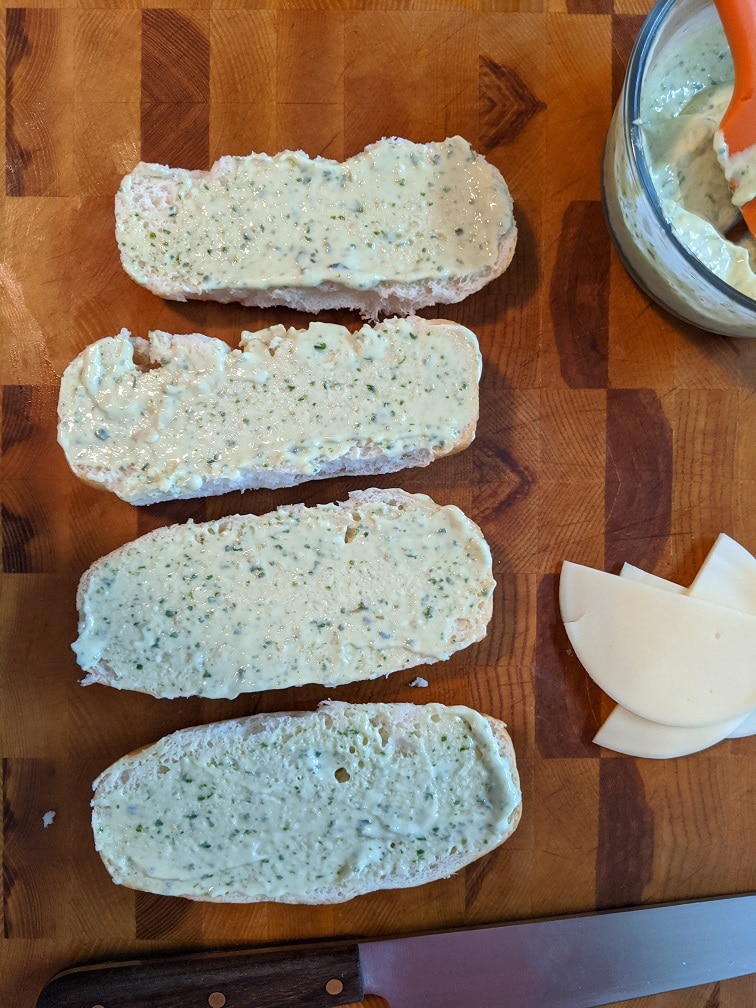
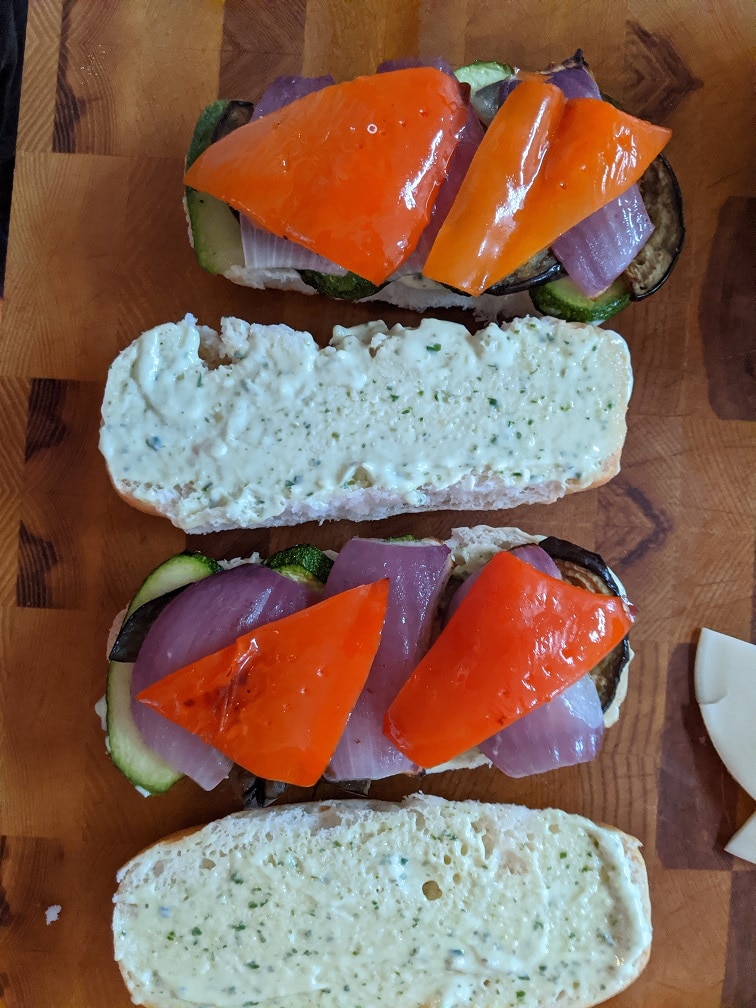
Putting the Sandwiches Together
The bread typically used for a panini is an Italian bun or sandwich roll. I am using Udi’s Gluten-Free Hotdog Buns. I would prefer Kinnikinnick Buns, but my local grocery store was out. The Udi’s ones, make a decent substitute. If you have to eat gluten-free as I do, hotdog buns make a fantastic sandwich bun.
To make the sandwiches cut the bun in half, spread the pesto mayo on, then top with the roasted vegetables. A sandwich like this needs some cheese to tie it all together. I used provolone, which added a sharp flavour to the sandwich. You can use mozzarella, swiss, or whatever else you would prefer. Put the cheese on, then put the sandwich on your super expensive and fancy panini press. Oh, you don’t have one of those…yeah, me either. Let’s see how to turn this vegetable sub into a vegetable panini without expensive equipment.
Pressing Paninis Without A Panini Press
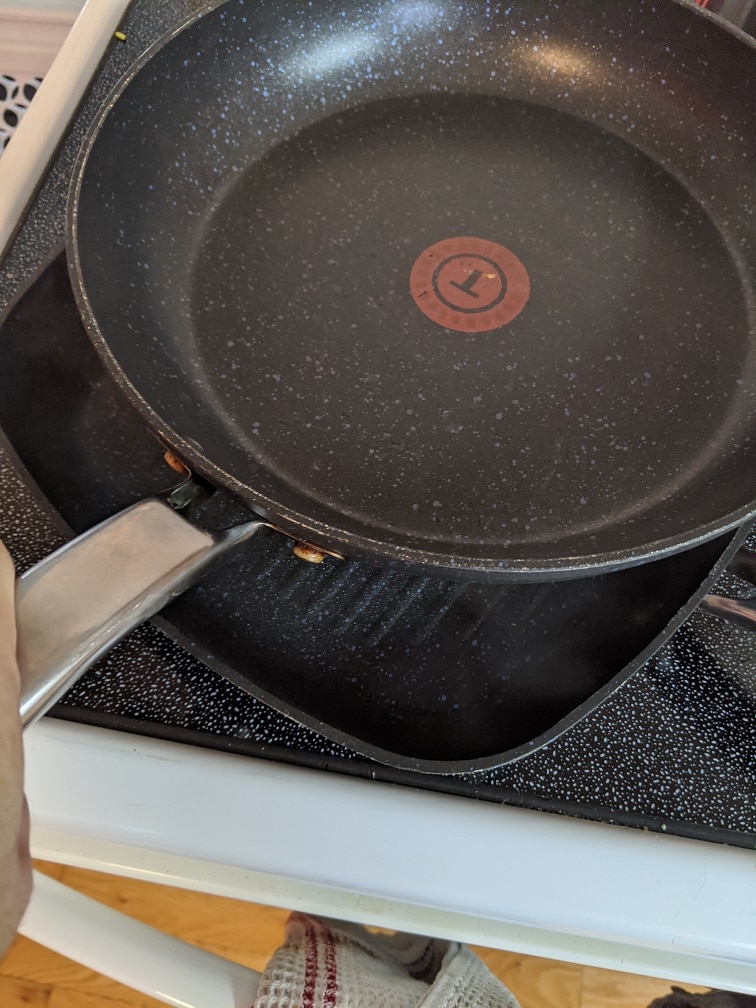
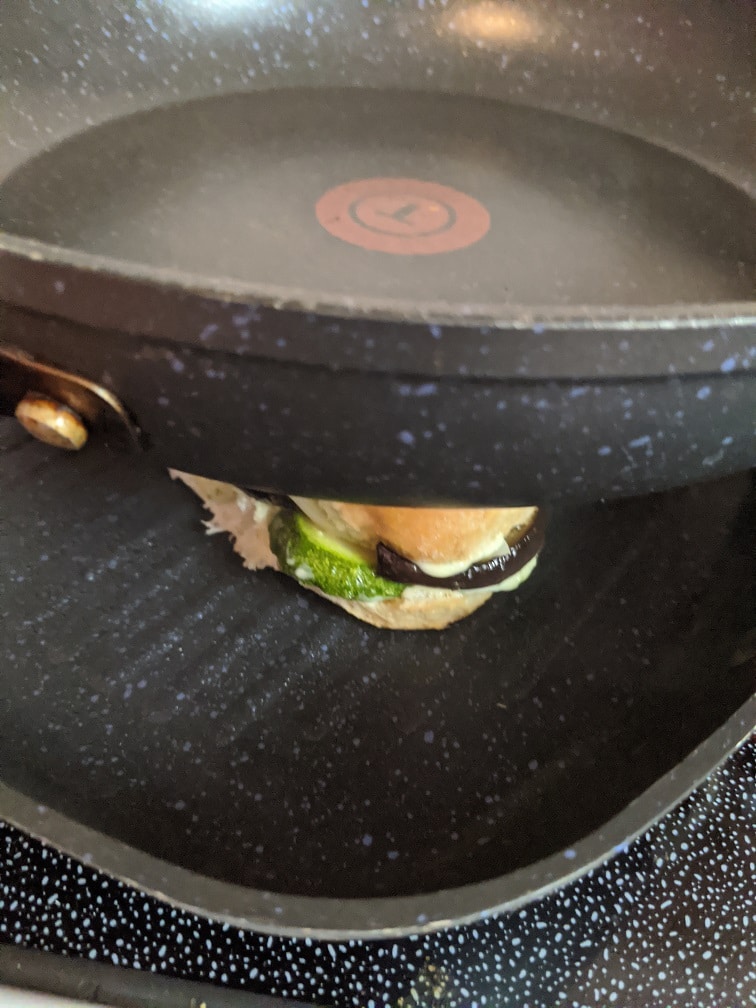
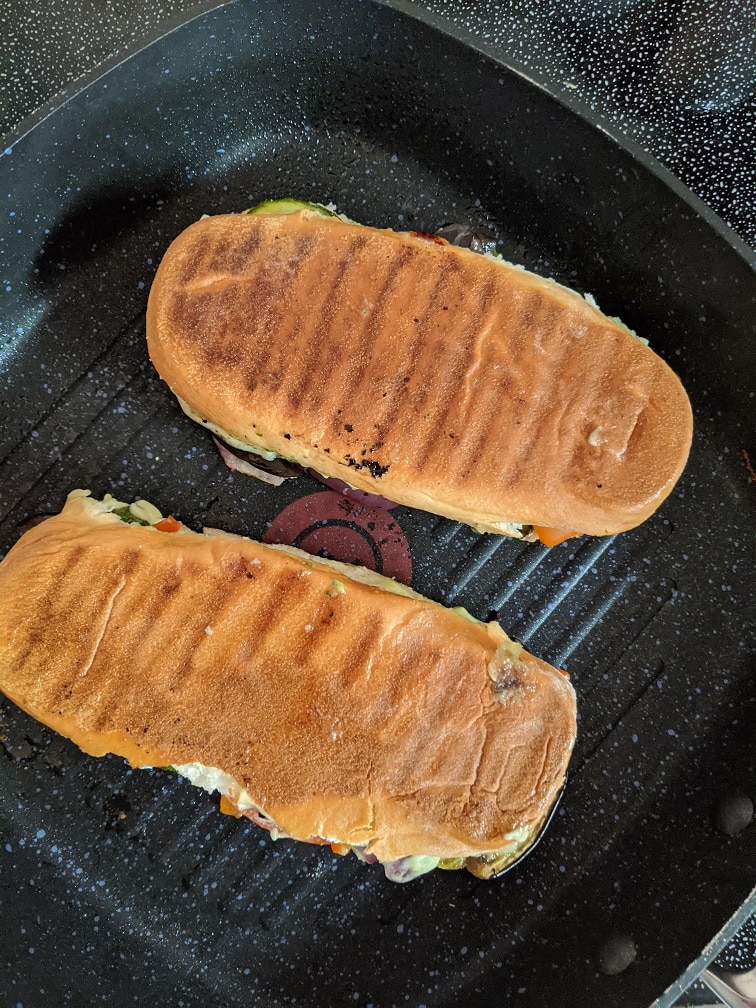
To toast and press a panini without a panini press, we are going to go as low tech as we can get. Heat two pans over medium-high heat. Brush the sandwiches, top and bottom with olive oil, then place in one of the pans. Put the other pan on top of the sandwiches and press straight down. Leave the sandwich alone for a minute or two, or until golden brown on the bottom. Flip the sandwich over and do the same thing. The panini is ready when the bread is toasted, and the cheese is melted. If you notice that the bread is getting a little too dark, but the cheese isn’t melting, you may want to put the sandwich in the oven on 350°f for a few minutes to heat it through.
I used a grill pan to make my panini, but you don’t have to. The only reason I used it is that I have it. The only reason I have it is because it was given to me by T-fal last year. Use what you have, that’s kind of the whole point.
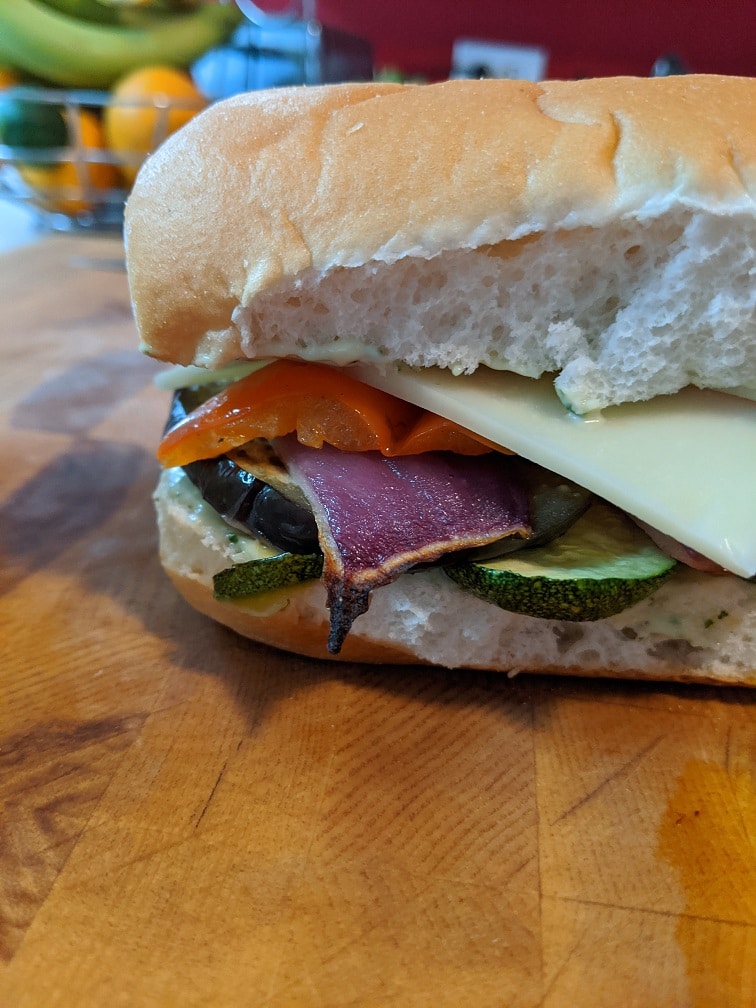
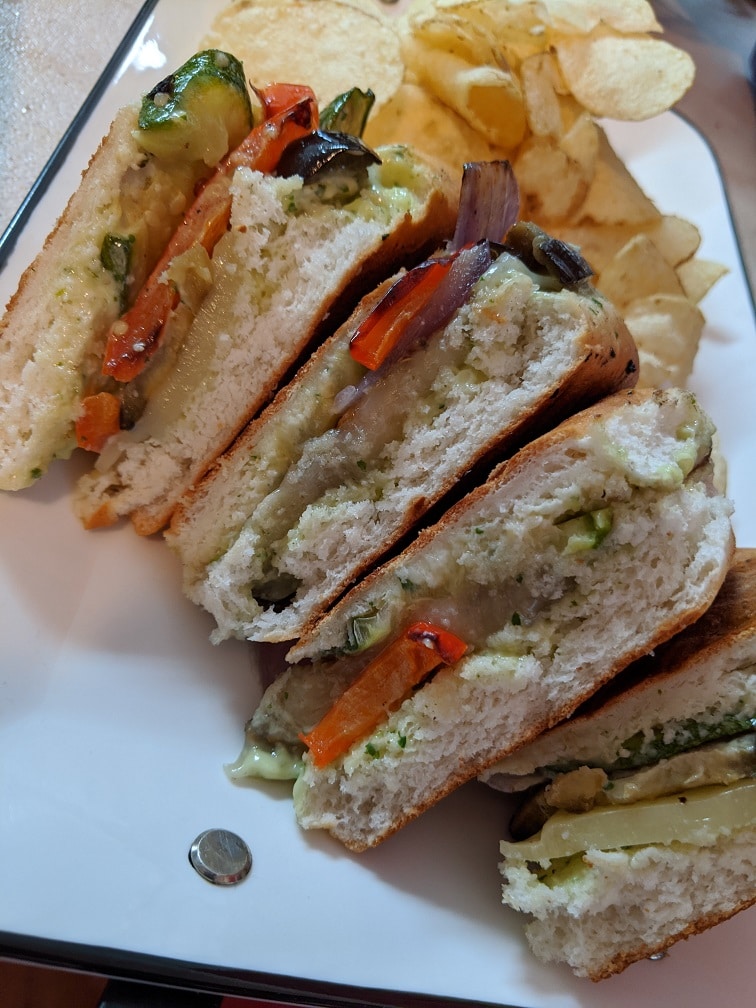
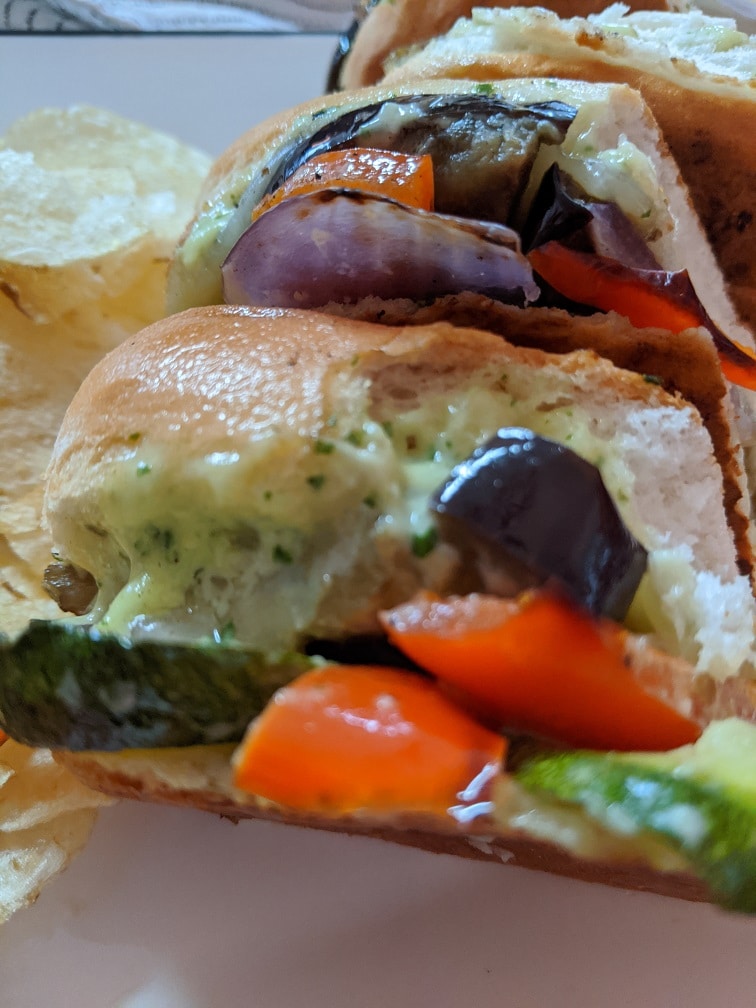
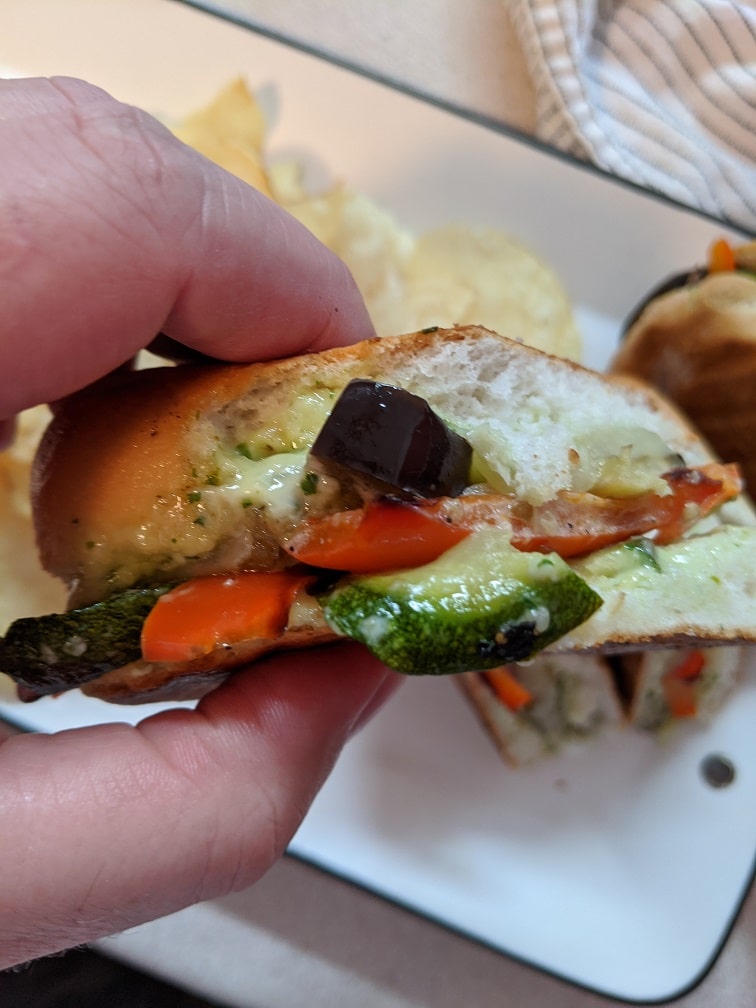
Roasted Vegetable Panini
After a few minutes of squishing a sandwich between two pans, we have a delicious roasted vegetable panini with pesto mayo and provolone cheese. If you would like the sandwich to have a little more acidity you can marinate the vegetables in balsamic vinegar, or drizzle the sandwich with a balsamic reduction after it is cooked. Either way, that acidity will make the flavour of the sandwich really pop.
Conclusion
Although this may seem like a lot of work for a sandwich, it isn’t that bad. The vegetables can be made a day or two ahead of time, and again, any extras can be used for a variety of other purposes. More than anything, I hope that you see how you can make delicious paninis at home without spending a bunch of money on a grill press. One word of caution, make sure the pans aren’t too hot when you put the sandwich in. I burnt my first batch. We still ate them, but they weren’t very pretty.
Thank you for reading the post. If you liked it, remember to share it on Facebook, Pinterest, or Twitter by clicking the icon to the left of the right of the page. Did you know that Chefsnotes.com has almost 400 posts just like this one? Don’t ever miss a post again. Subscribe to Chef’s Notes by putting your email address in the subscription box below or by becoming a Chef’s Notes member right here. You will be notified of every new post. And if you would like to know more about me, click the link below to read my story.

0 Comments
Trackbacks/Pingbacks