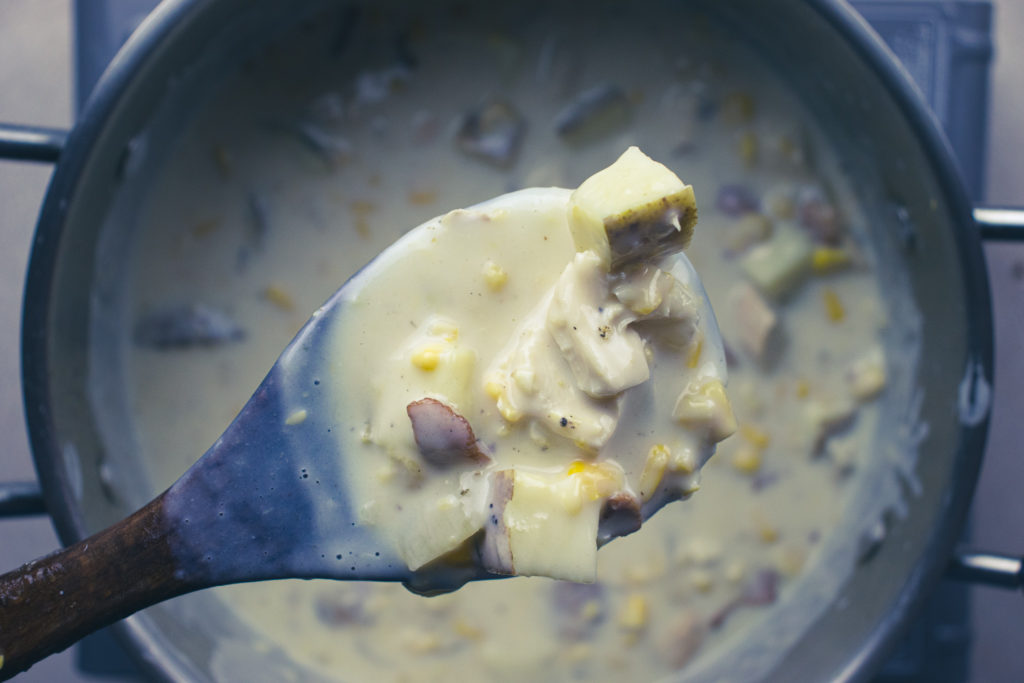
There is no single dish that means more to me than corn chowder. It is the first thing I learned to cook and was taught by my mom. It always has and will always have a special place in my heart. This Chicken and Corn Chowder is a little different from my mom’s. She never put the chicken in it, but it still has that same feeling as my mom’s recipe. When I eat it, I’m still reminded of my mom and of her teaching me to cook. She taught me that one of the secrets to good corn chowder is using leftover baked potatoes. I’ve taken that a step further and used leftover roasted chicken, making this dish comforting, delicious, and frugal. I hope you enjoy the recipe and the chowder. Let’s get to it.
Chicken and Corn Chowder Ingredients
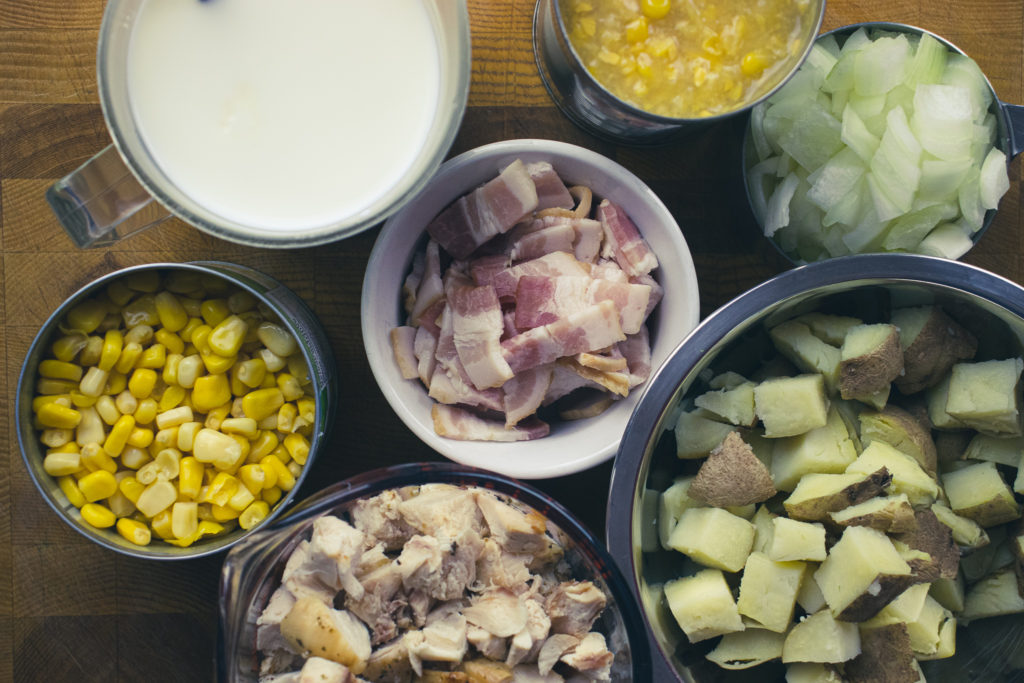
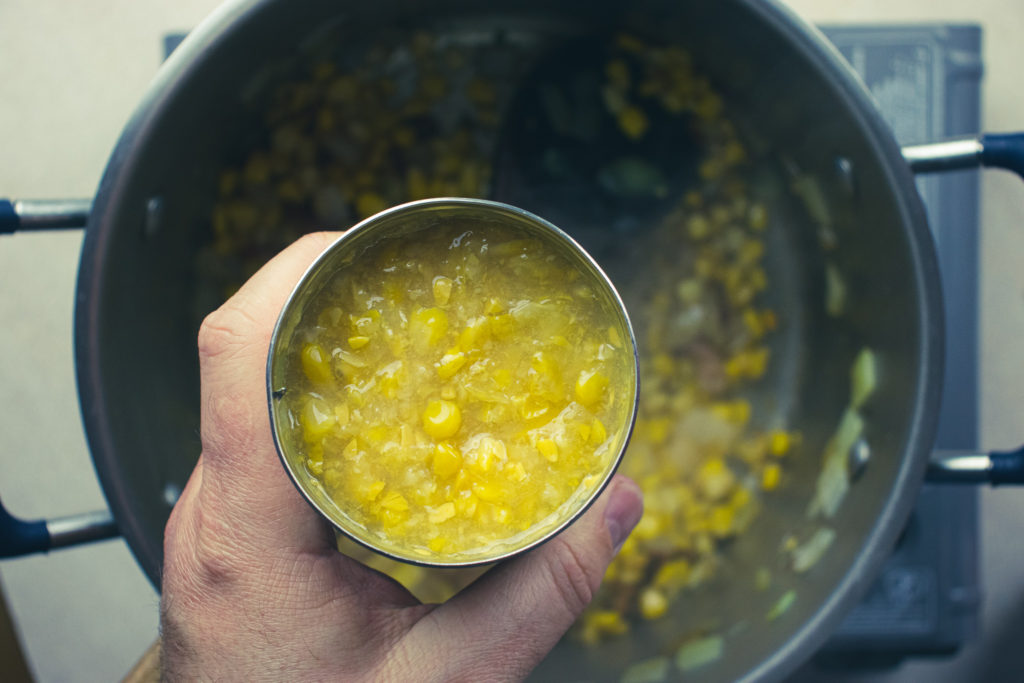
As I said in the introduction to this post, Chicken and Corn Chowder is a fantastic way to use up leftover roast chicken and baked potatoes. That’s exactly what I’ve done with this recipe. The first two ingredients are leftover chicken and baked potatoes. Of course, you can cook the chicken and potatoes fresh if you’d like. The other ingredients are creamed corn, corn niblets, onion, bacon, milk, cornstarch, salt, pepper, and a little sugar.
I used to work at a restaurant where we served corn chowder. Their recipe, which made four litres (a gallon) of chowder, had an entire kilogram (2.2 lbs) of sugar in it. It was way too sweet. I didn’t like it all, but lots of people loved it. So, if you want to add a little more sugar than I did, you can. I’ll leave that up to you. But I don’t recommend adding as much as that restaurant did.
How To Make Chicken and Corn Chowder
Bacon
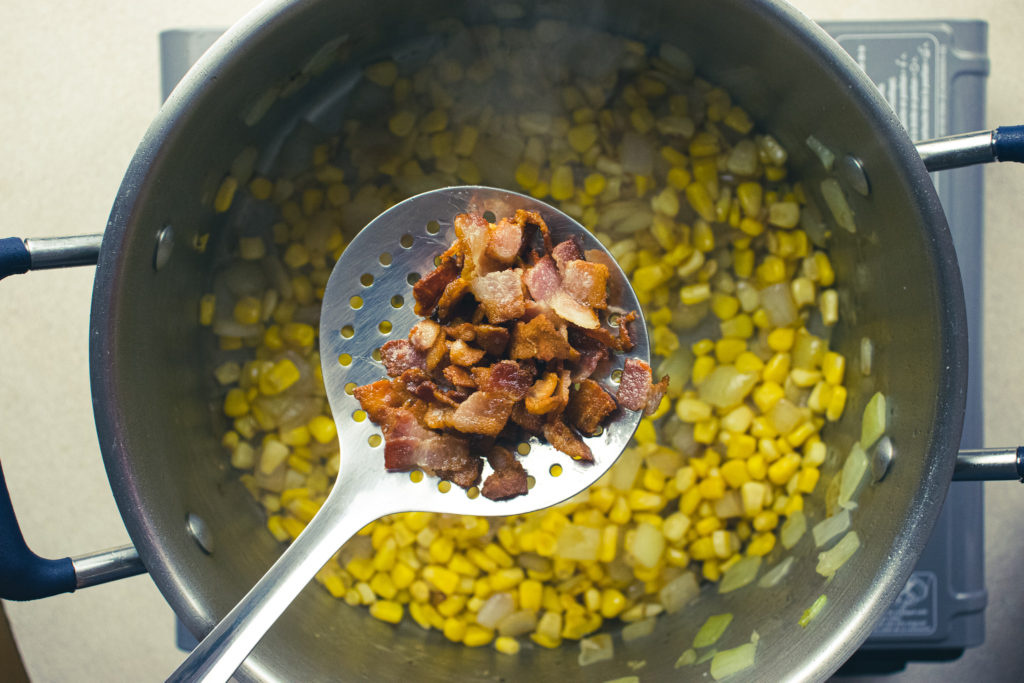
If you have leftover cooked bacon, you can use that, but I cooked my bacon fresh. I like really crispy bacon in my chowder, so I made what’s called lardons. That’s a French term for really crispy pieces of bacon. To make the bacon super crispy, put it in a pan, put the pan on medium heat and let it cook. The fat will render out of the bacon, and it will get crispy in about 10 minutes. Once the bacon is cooked, drain the fat off and set it aside until you’re ready to add it to the chowder. Alternatively, you can microwave the bacon for a few minutes.
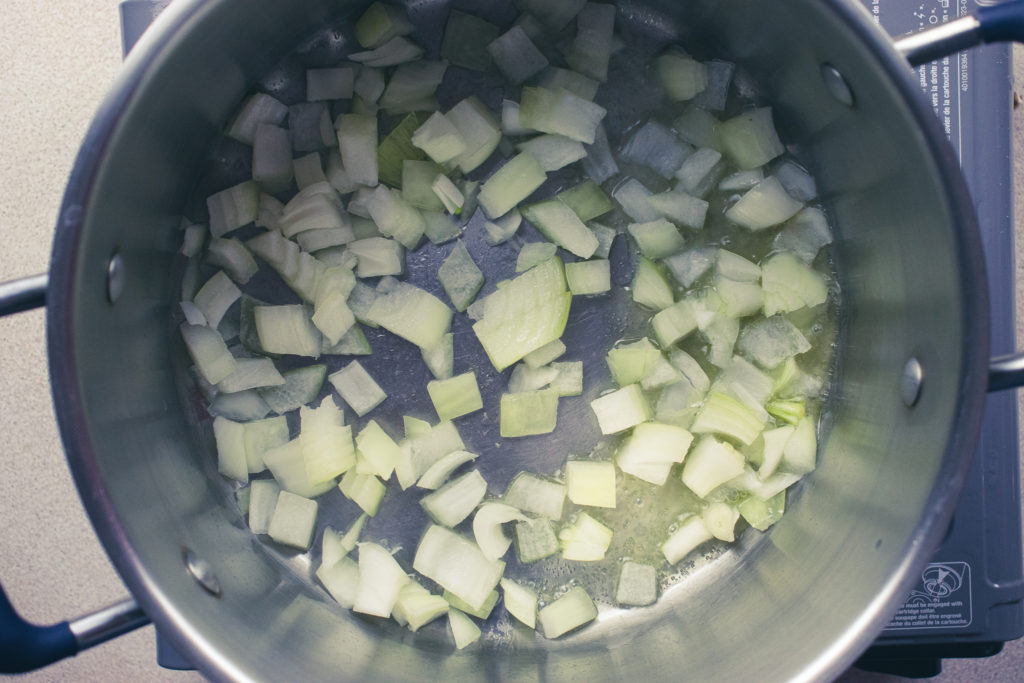
Sauté The Onion
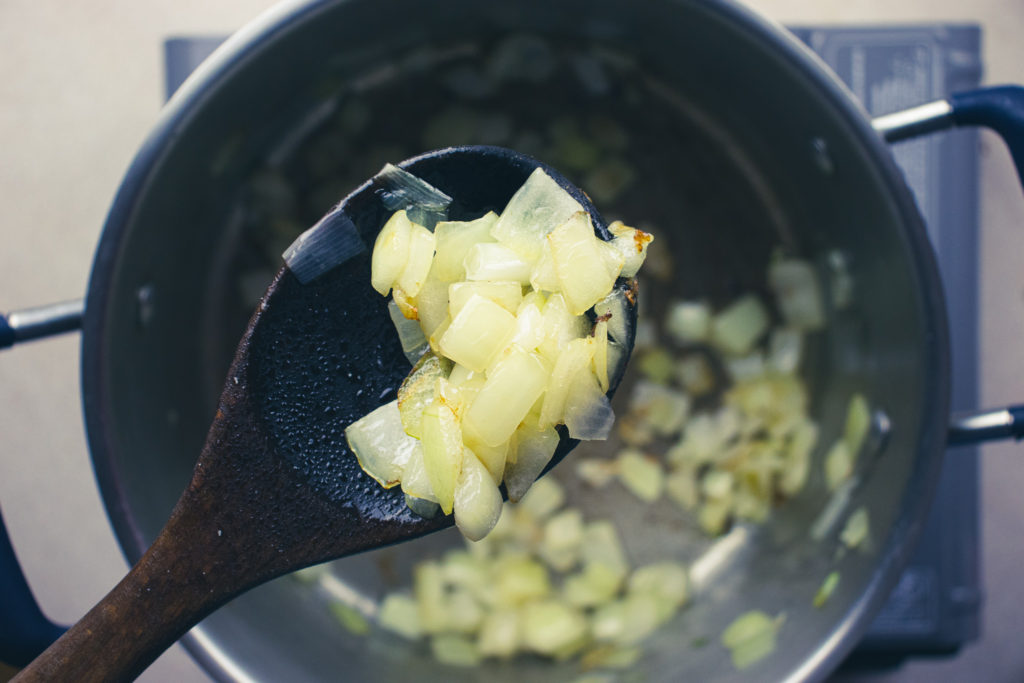
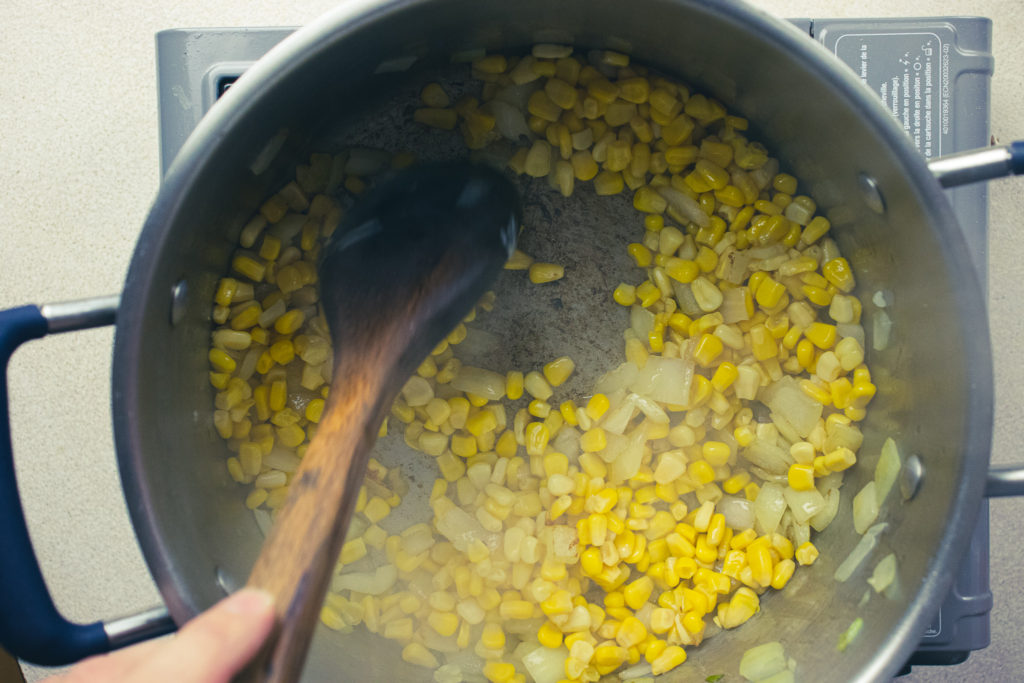
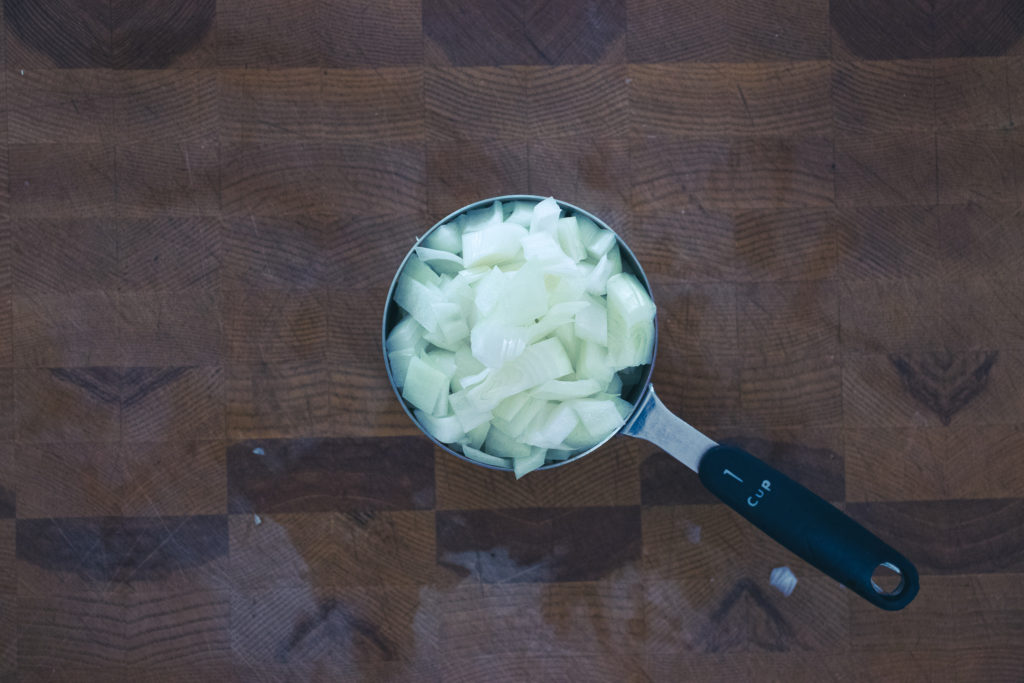
The chowder starts with a base of sautéed onion. Heat a large pot over medium heat and add a bit of cooking oil. Add the onions and a pinch of salt. The salt will help break down the onions a little and speed up the cooking process. Cook the onions for 5 to 7 minutes or until they are soft, translucent, and a little brown around the edges. Cooking the onions until they start to brown makes them a little sweet, lessening the need for sugar.
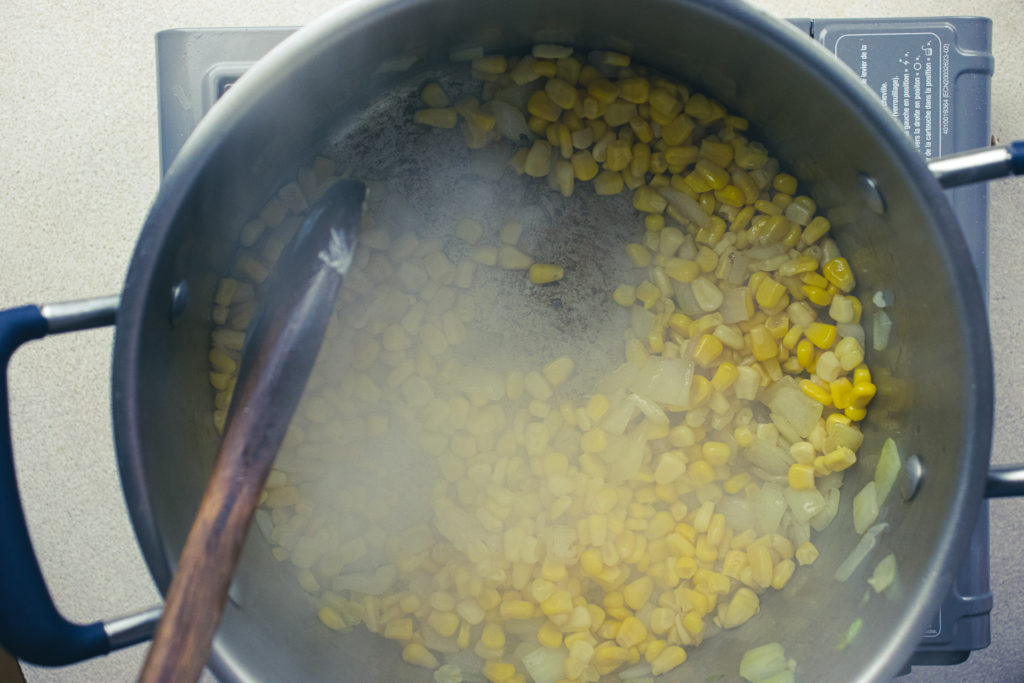
Next Step
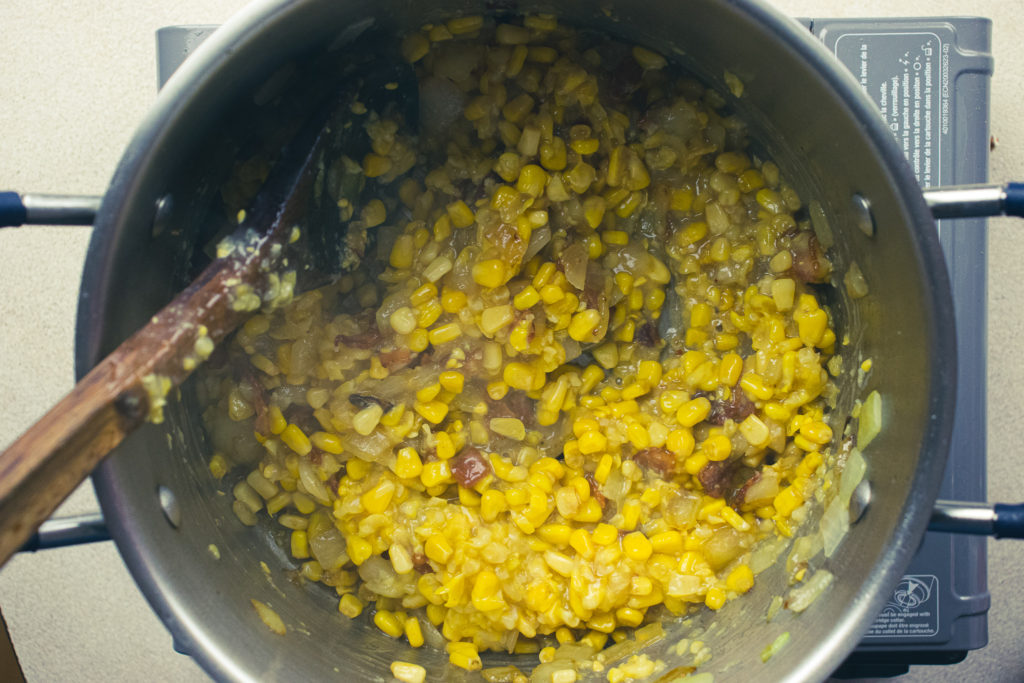
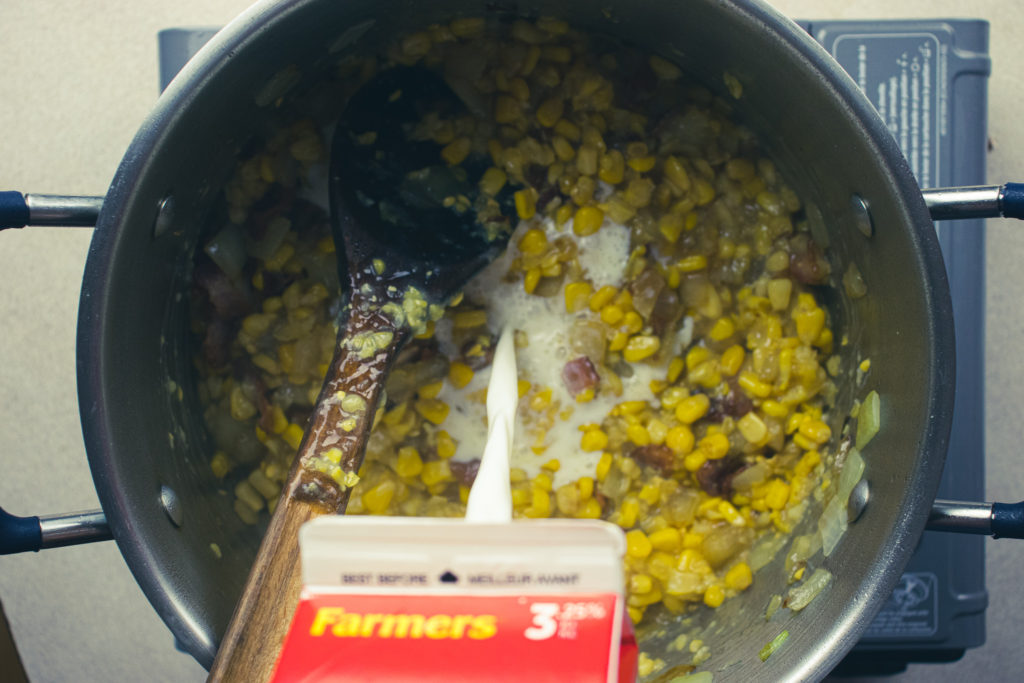
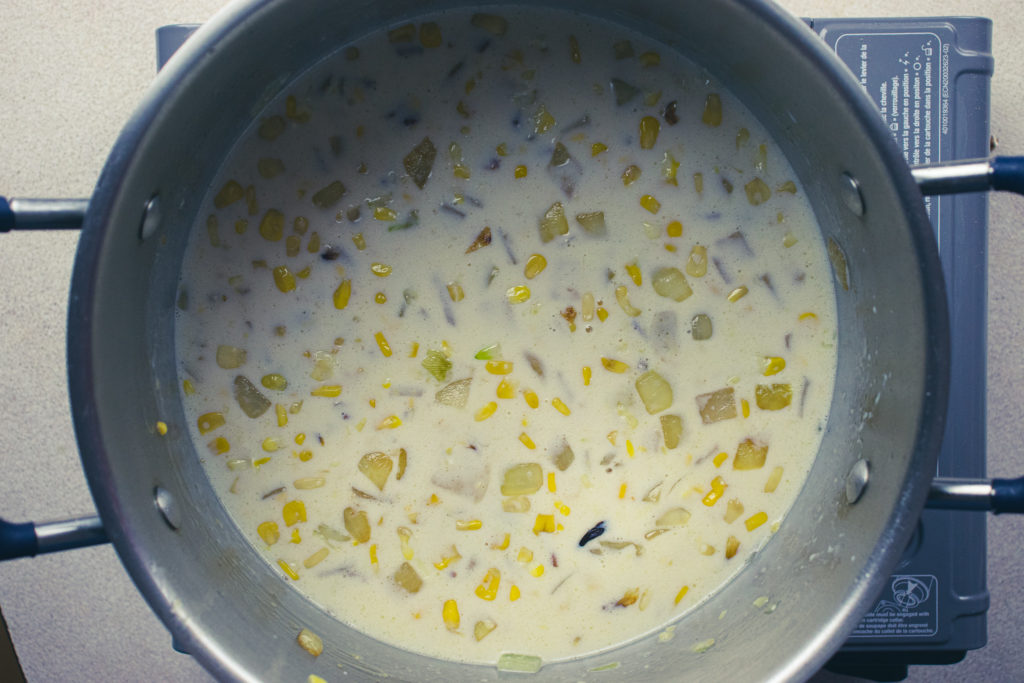
After the onions are cooked, add the corn niblets to the pot and cook for about two minutes. If the corn gets a bit of colour on it, all the better. Next up, add the bacon, creamed corn, and 4 of the 5 cups of milk. Stir the pot, making sure to scrape the bottom to lift off any bits of food that have stuck. Heat the chowder until the milk is hot and starts to steam. Heating the milk should take between 5 and 10 minutes, depending on your stove.
Thickening
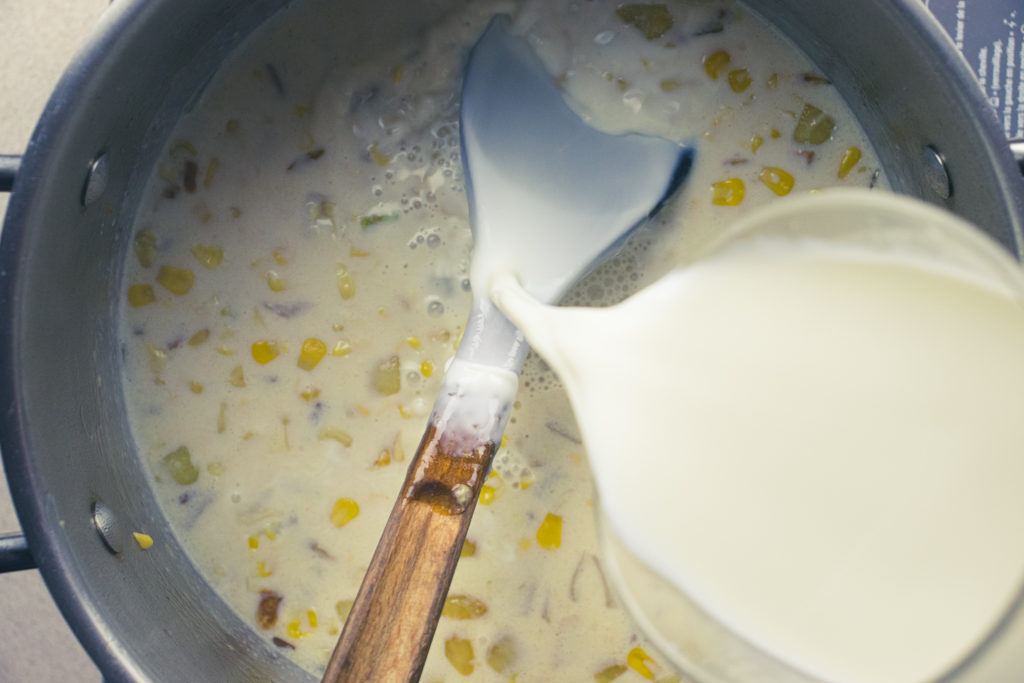
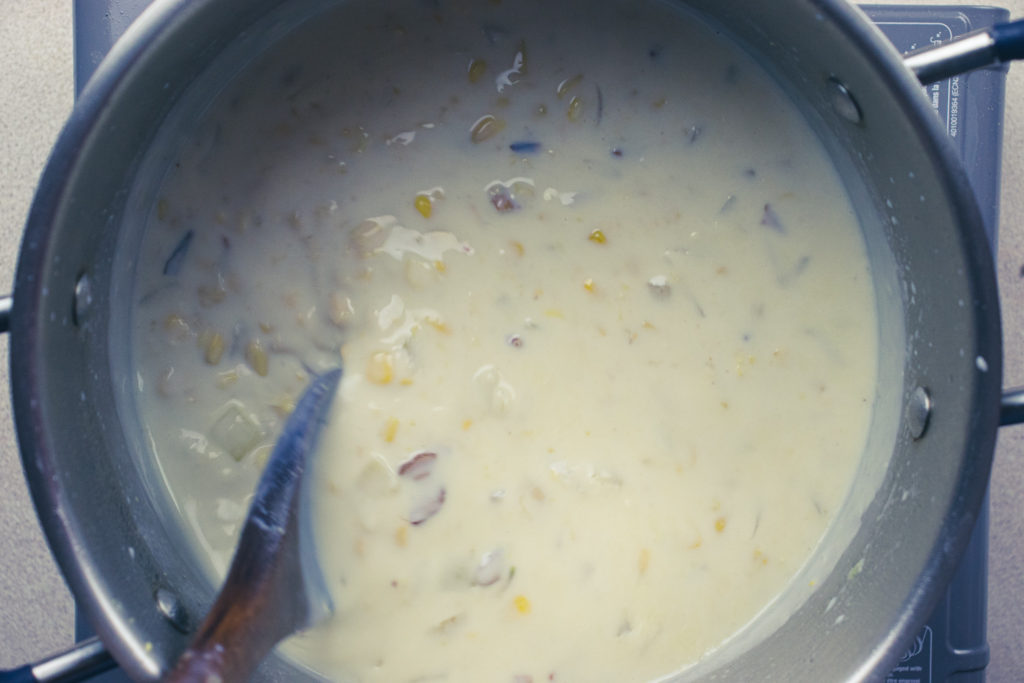
While the chowder is heating, take the remaining 1 cup of milk and mix it very well with the cornstarch. Pour that mixture into the chowder and stir until it thickens. About 5 minutes. Make sure to stir the milk and cornstarch mixture immediately before adding it to the chowder to ensure that it is thoroughly mixed.
Chicken and Potatoes
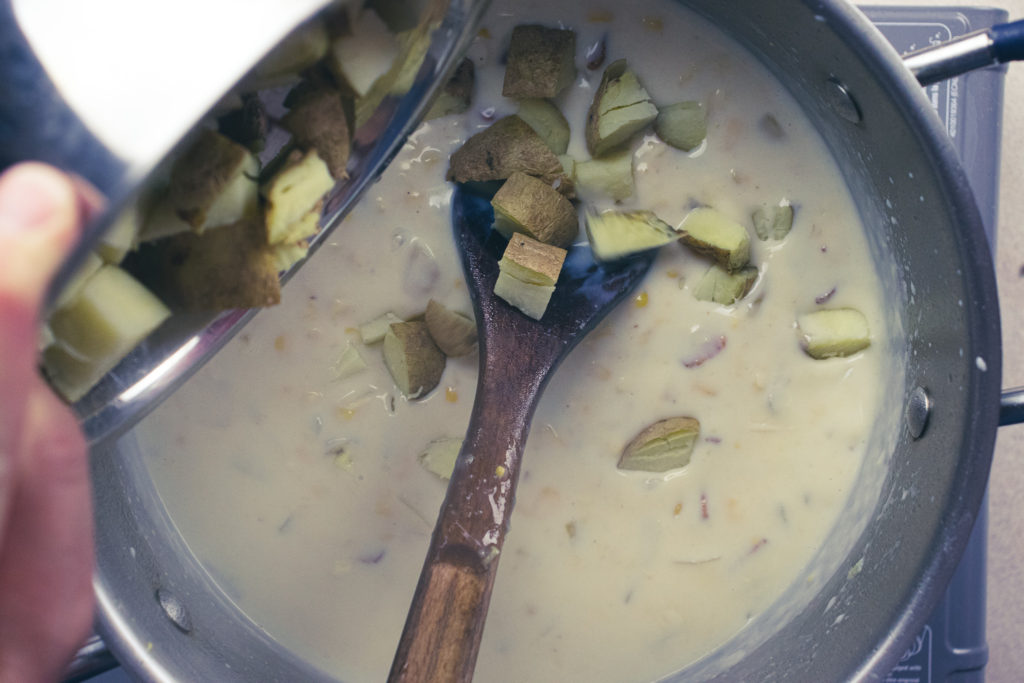
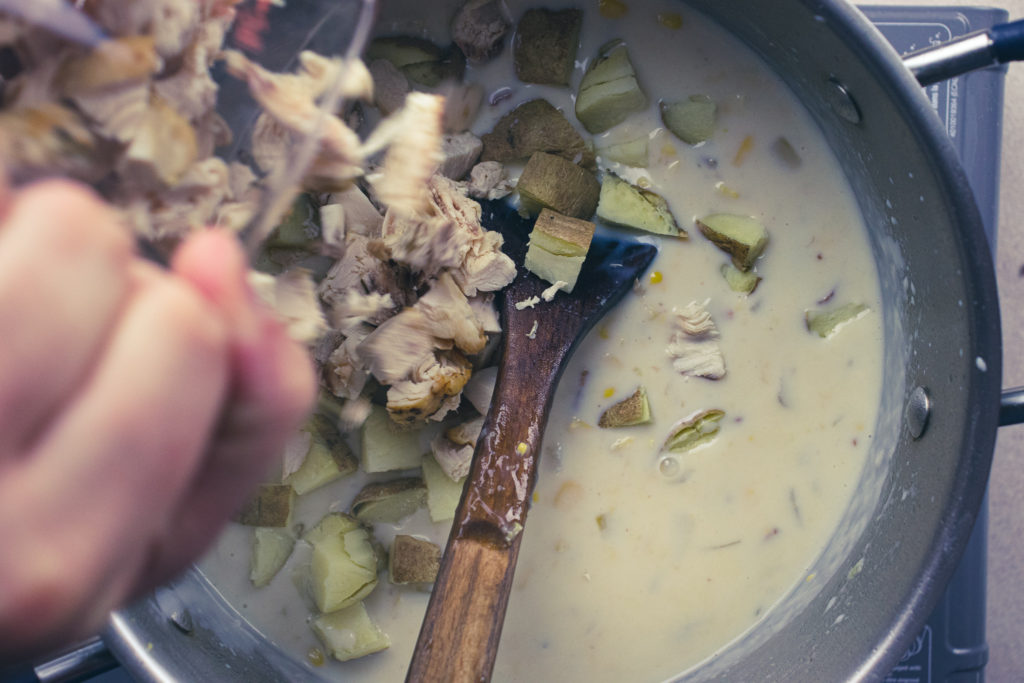
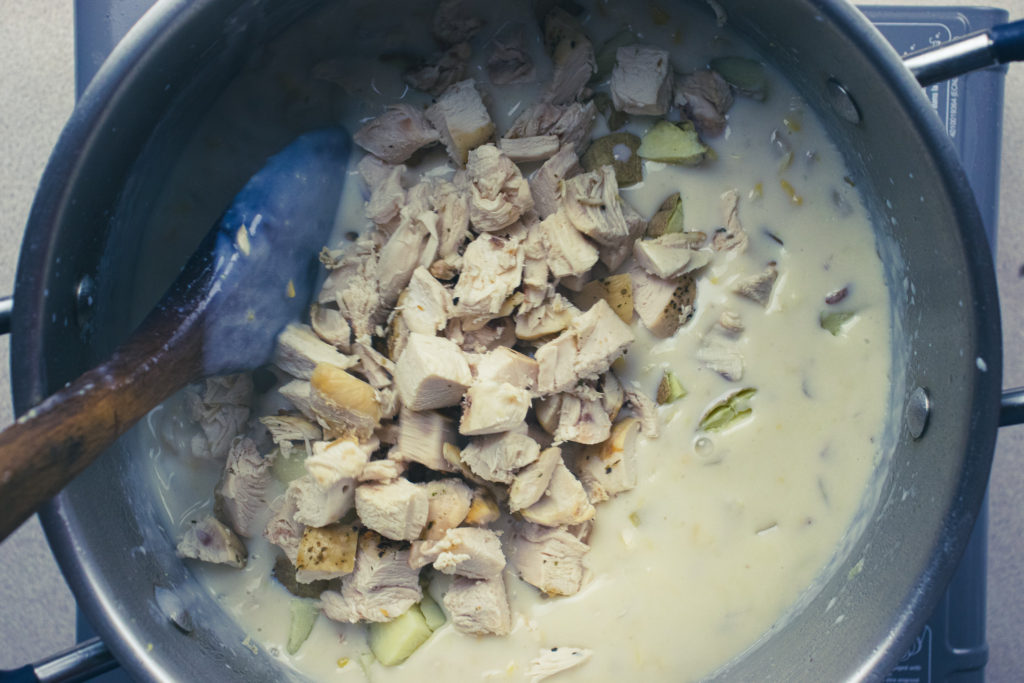
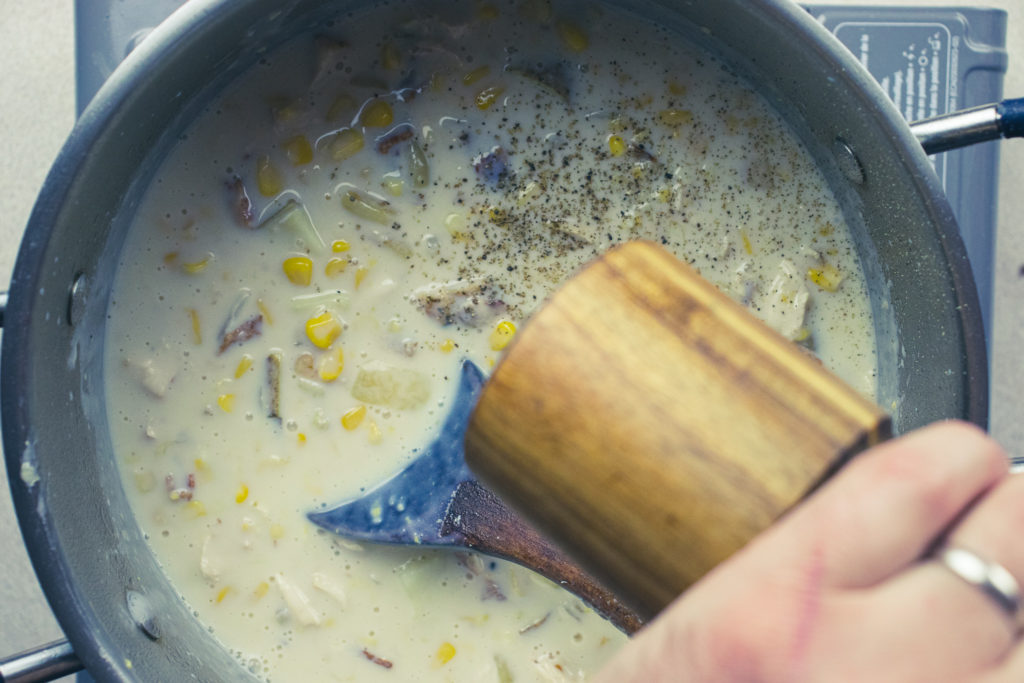
Once the chowder’s thick and chowder-like, add potatoes, chicken, salt, pepper, and sugar. Simmer for about five minutes or until the potatoes and chicken are heated. Taste and adjust seasoning as needed with salt and pepper, then serve.
The Wrap-Up
I can’t tell you how happy I was doing this post. Specifically, when I was done cooking and got to eat the chowder. It doesn’t matter what kind of mood I’m in or what’s going on in my life. A big bowl of corn chowder, chicken or otherwise, will always put a smile on my face. Hopefully, it puts a smile on your face too. Enjoy!
That does it for today. Thanks for reading. I hope you’ve enjoyed the post. Remember to share this on Facebook or Pinterest and leave a comment below. I love to hear from you. Finally, remember to sign up for my mailing list so you don’t miss out on exclusive recipes and cooking tips. Members of the mailing list also get a sneak peek at all the upcoming posts. Sign up below. Have a great day! I’ll see you back here next Thursday.
Chicken and Corn Chowder
Chicken and Corn Chowder is a hearty and frugal meal using leftover chicken and baked potatoes. It is creamy and delicious. Great for any meal.
Put the bacon in a medium skillet and put it on medium heat. Cook, stirring every few minutes, until the bacon is crisp, about 8 to 10 minutes. Remove the bacon from the pan and drain it on a paper towel. Set aside.
Heat a large pot over medium heat. Add the cooking oil, onion, and a pinch of salt. Cook the onion for 4 to 5 minutes or until the onions soften, turn translucent, and start to brown around the edges.
Add the corn niblets to the pot and cook, stirring for 2 minutes. Add the creamed corn, crisp bacon, and 4 cups of milk. Stir to loosen any bits of food from the bottom of the pot. Cook until the milk starts to steam.
In a small bowl or measuring cup, combine 1 cup of cold milk with the cornstarch. Mix well, then pour into the steaming milk. Cook, stirring, until the chowder thickens, about 5 to 10 minutes.
Add the chicken, potato, salt, pepper, and sugar. Simmer for 5 minutes, gently stirring now and again. Taste the chowder, adjust the seasoning as needed with salt and pepper, then serve.
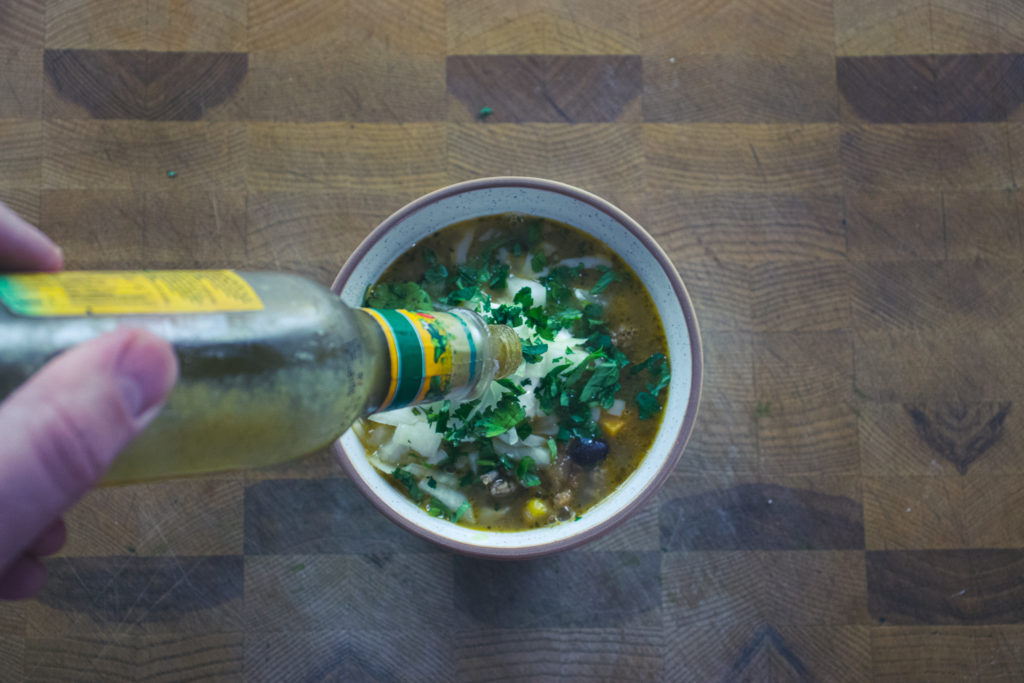
It’s not very often that something I do on this blog surprises me, but this Turkey Taco Soup did. Months ago, when I was planning my blog posts for this year, I randomly wrote down Turkey Taco Soup. I had no idea what I was going to make, how I would make it, or how it would turn out. A few months later, the next post on the roster is, of course, Turkey Taco Soup. So, I sat down, thought it through, and decided on a plan of action. While cooking the soup, I constantly questioned myself but stuck to the plan. When the soup was finished, it tasted okay. Good, but not as good as I’d hoped. I decided that I would have to make it again to perfect it, but I wouldn’t let the soup I’d made go to waste. So, I filled up a bowl, garnished it with some classic taco toppings, and dug in. Wow! Those garnishes brought the soup to life. What was good became great. I couldn’t believe how much the soup tasted exactly like a taco. Even better is that I didn’t need to go back and make it again. To say that I’m excited to share this recipe with you is an understatement. I, as an almost thirty-seven-year-old man, am giddy with excitement. So, without further delay, let’s get to it!
How To Make Turkey Taco Soup
Turkey Taco Soup Ingredients
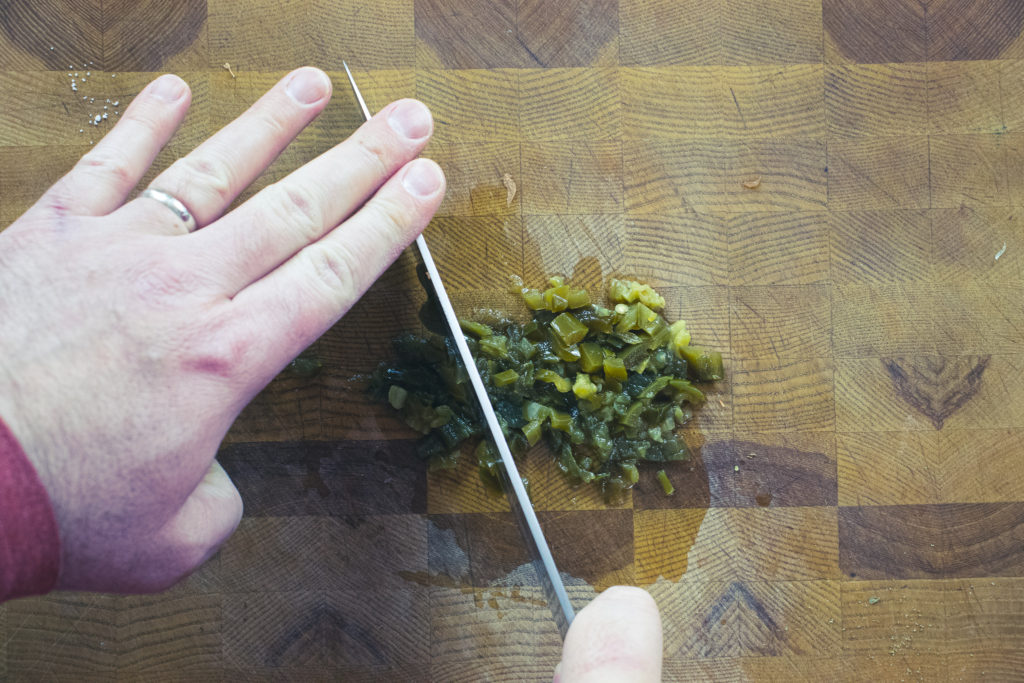
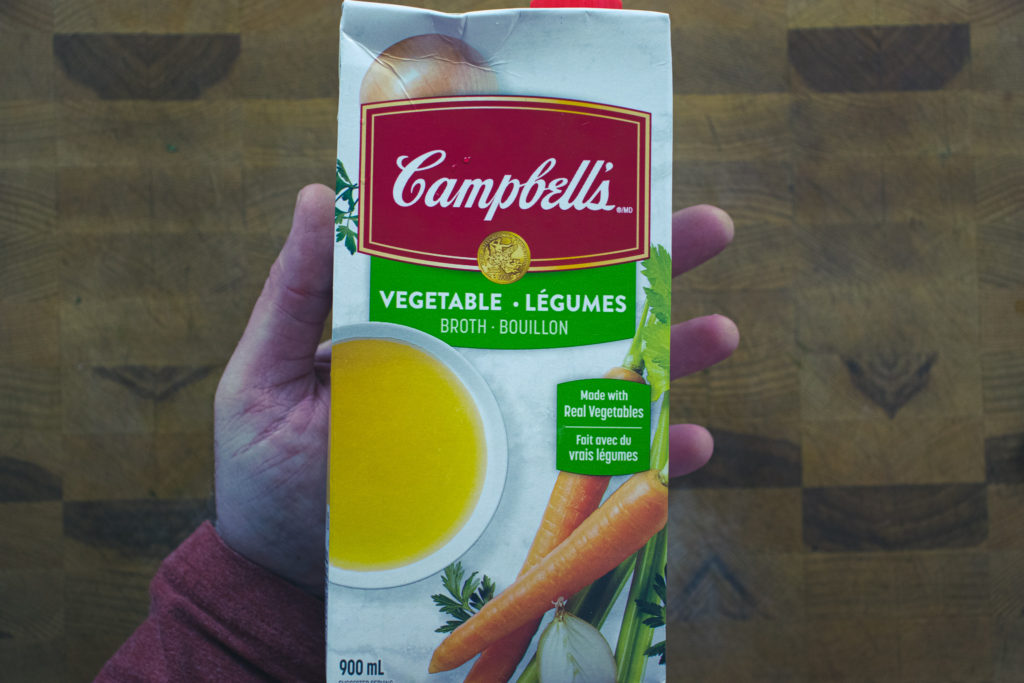
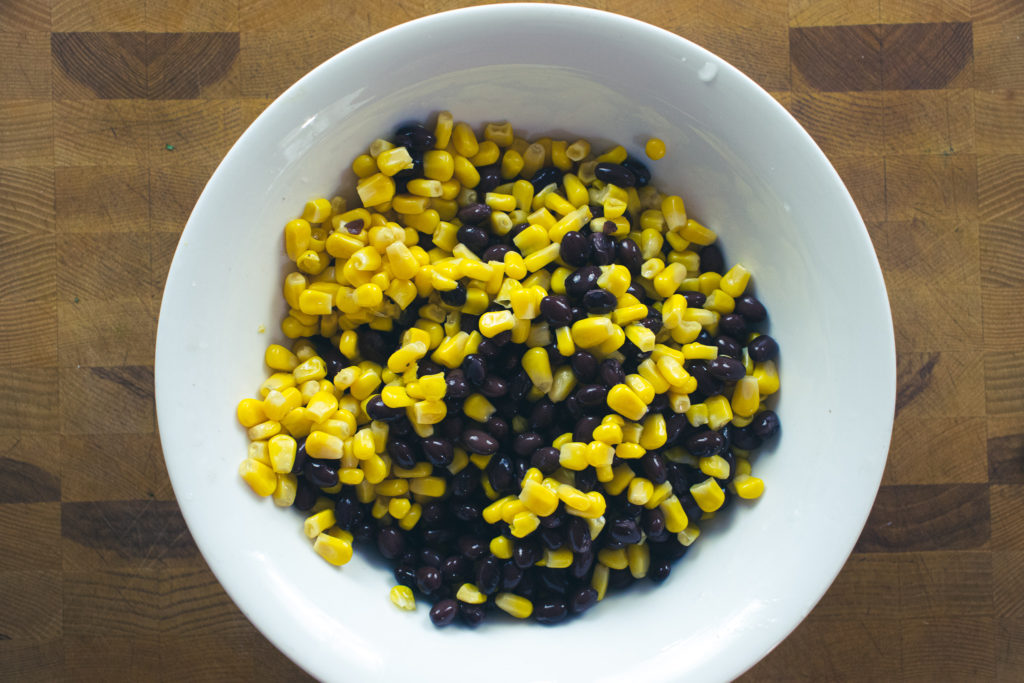
The ingredients for my Turkey Taco Soup are turkey, onion, garlic, tomato, sweet potato, spices, pickled jalapeno, orange and lime zest and juice, chicken or vegetable stock, black beans, and corn. Then for garnish, pepper jack cheese, sour cream, raw onion, cilantro, Mexican Hot Sauce, and tortilla chips. The jalapenos don’t add much spice, but they do add a bit of acidity and flavour. So please don’t leave them out because you think they will make the soup too spicy. If you decide not to use them, add a teaspoon or two of cider vinegar or wine vinegar to balance the acidity. I chose turkey for this recipe because it is lean and a traditional Mexican protein. Turkey was first domesticated in Mexico over 2000 years ago.
Making The Soup
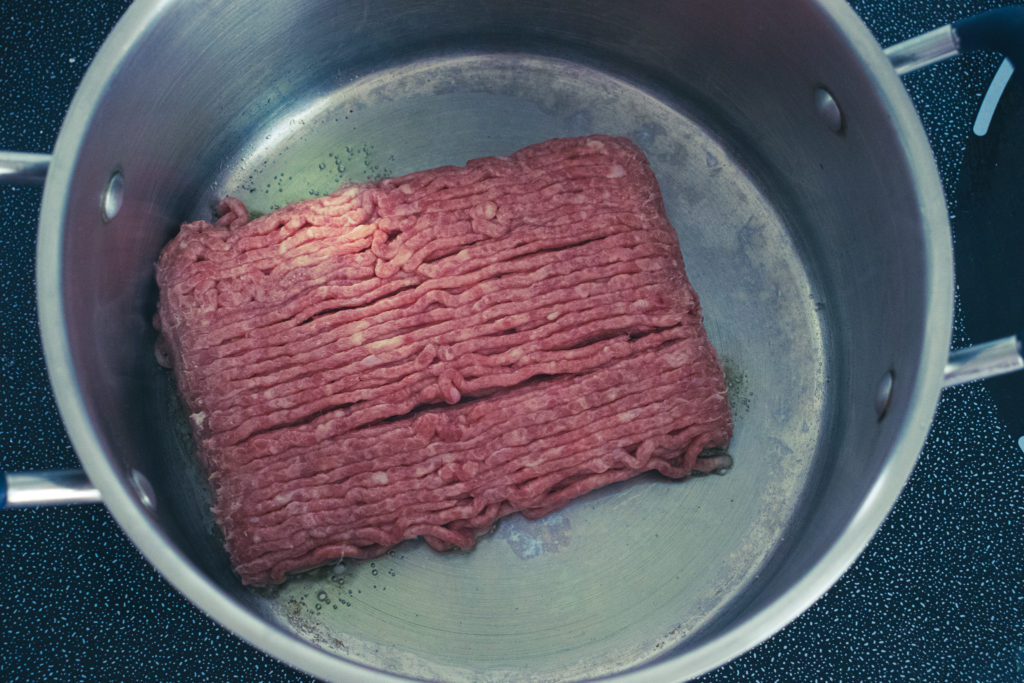
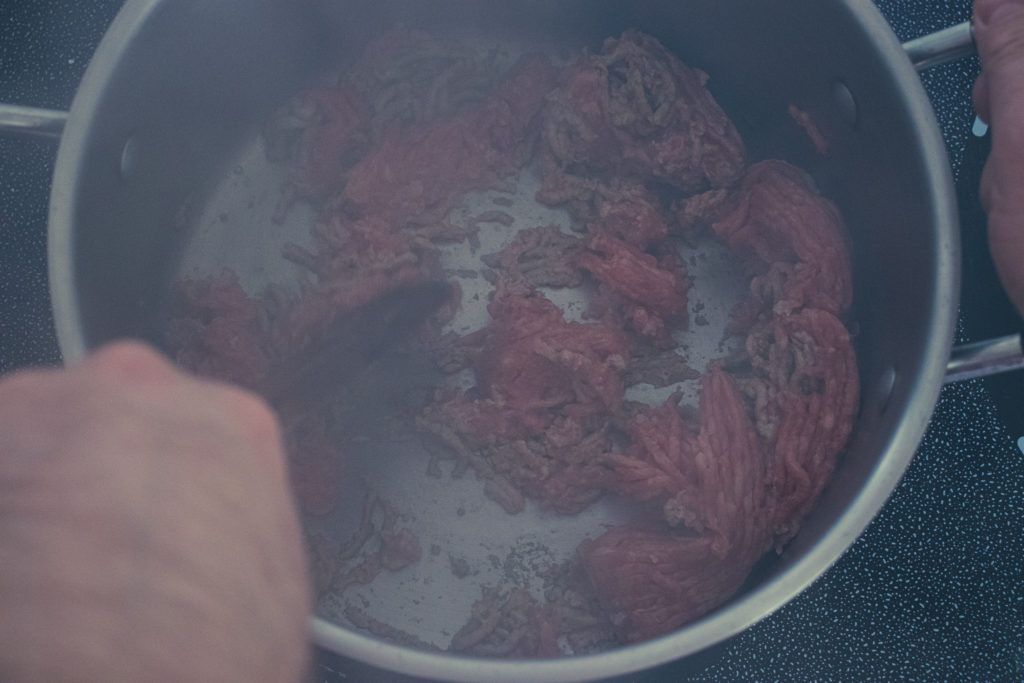
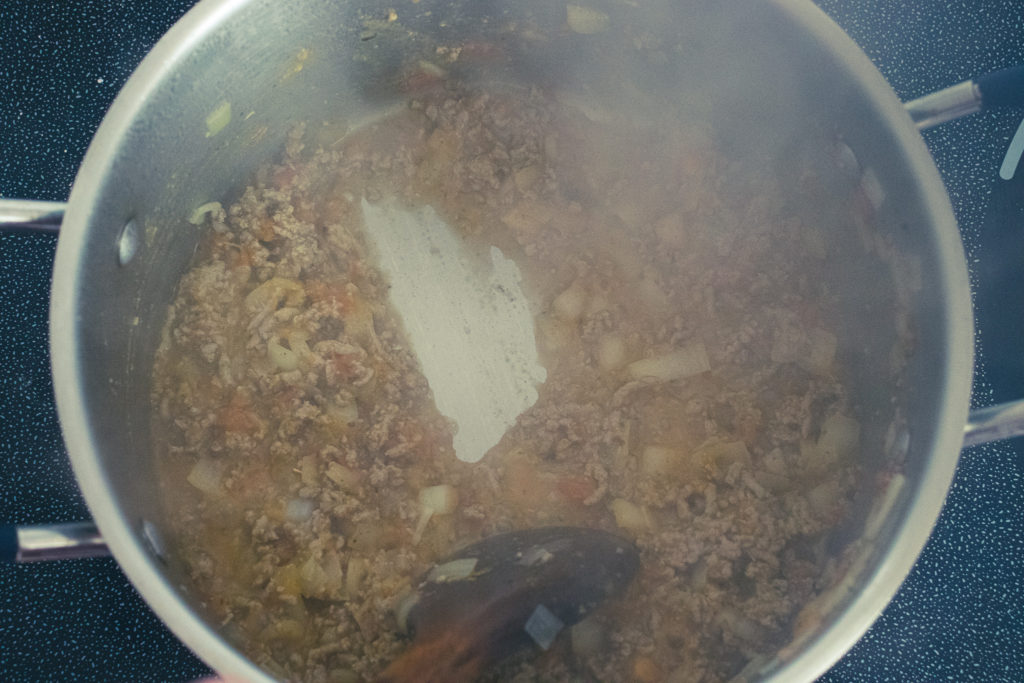
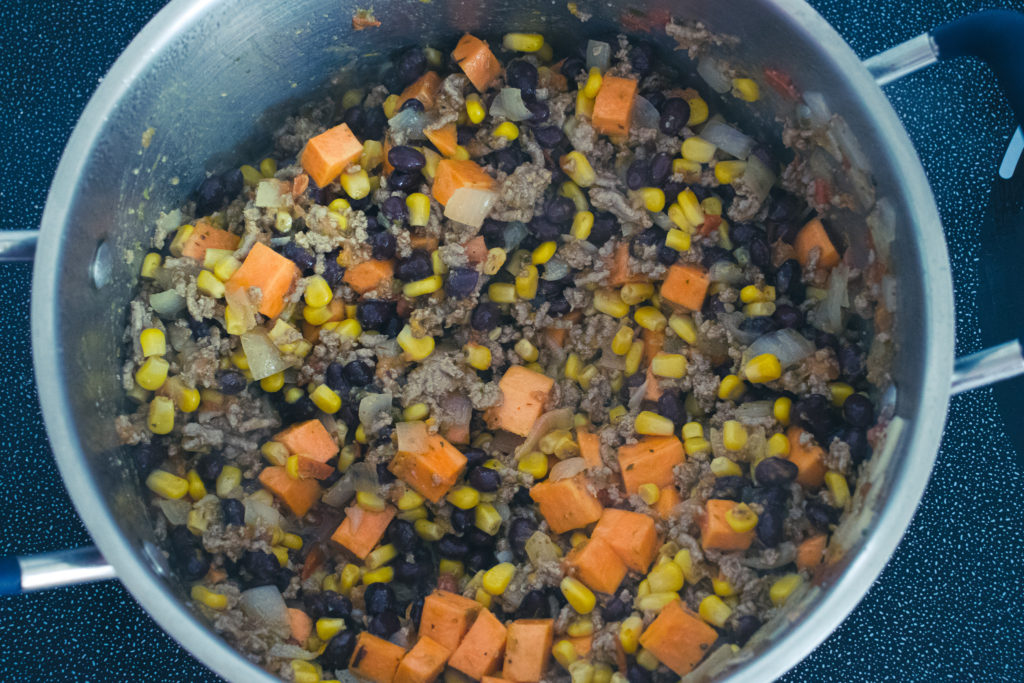
Brown the turkey.
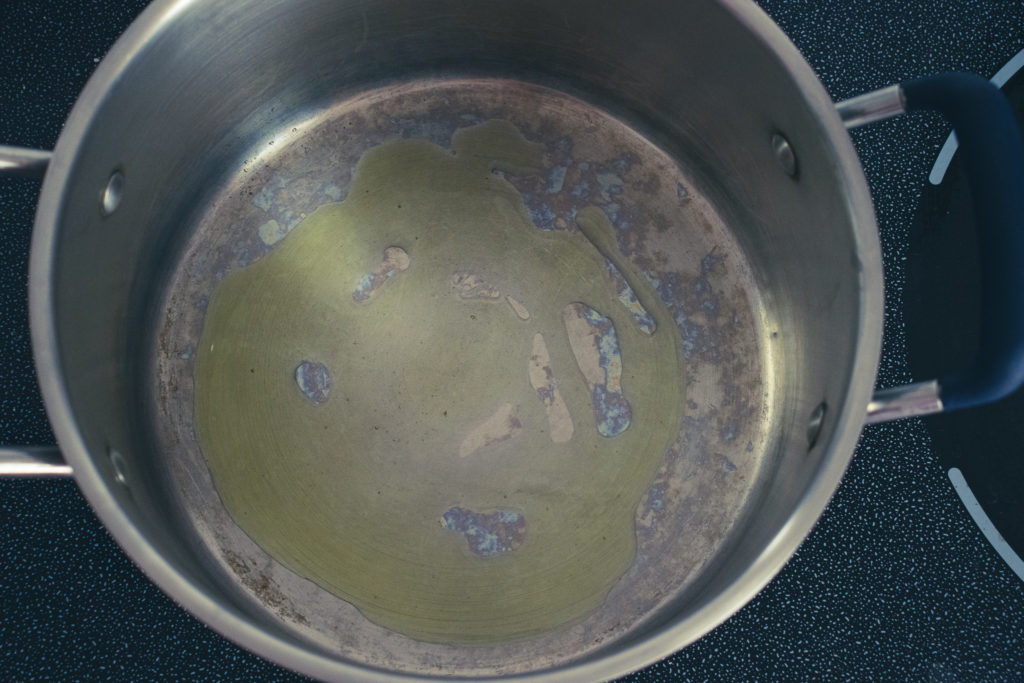
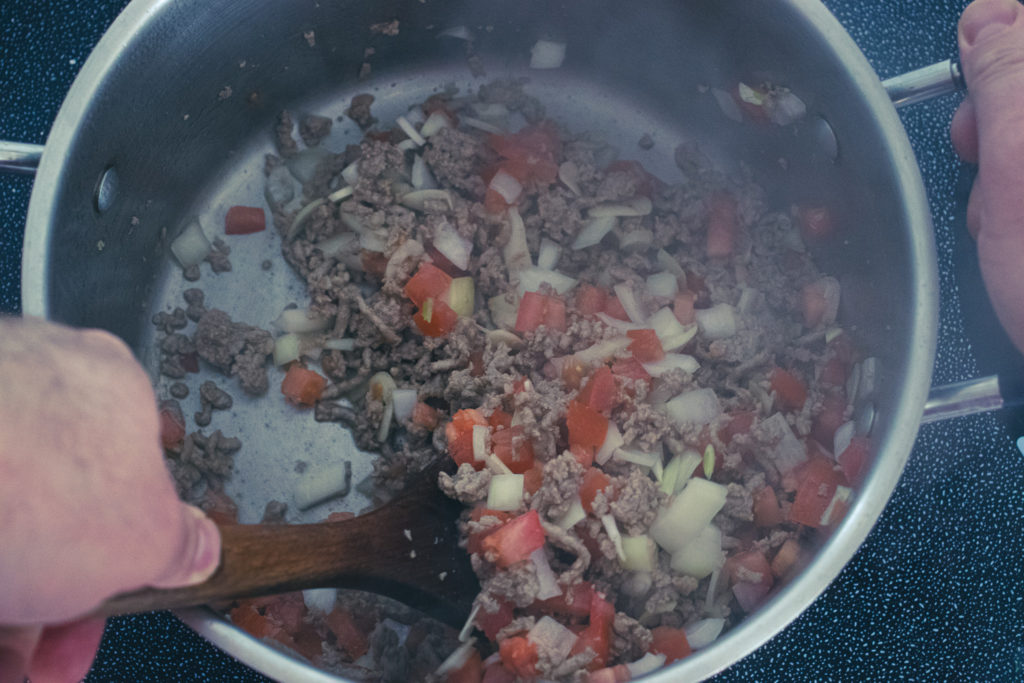
Browning the turkey is step one to making this soup. Heat a large pot over medium-high heat. Add a tablespoon or two of olive oil, add the turkey and cook until it’s browned. It’s best to put the turkey in the pot, then leave it alone for a few minutes. Then, stir it, and leave it alone for another few minutes. The turkey will never actually brown if you stand there and mix it constantly.
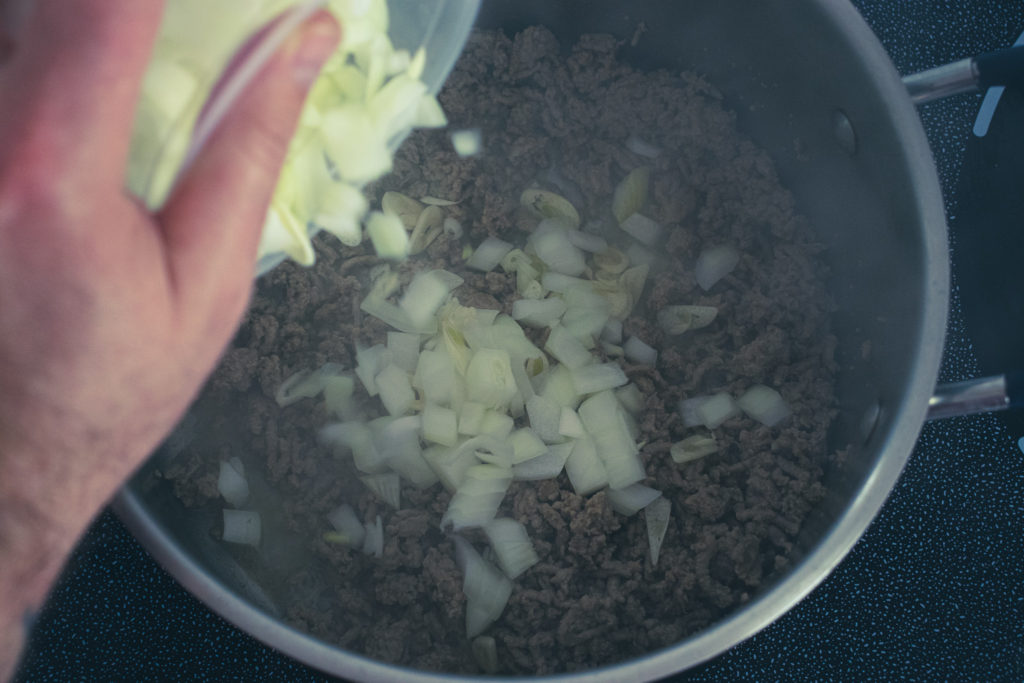
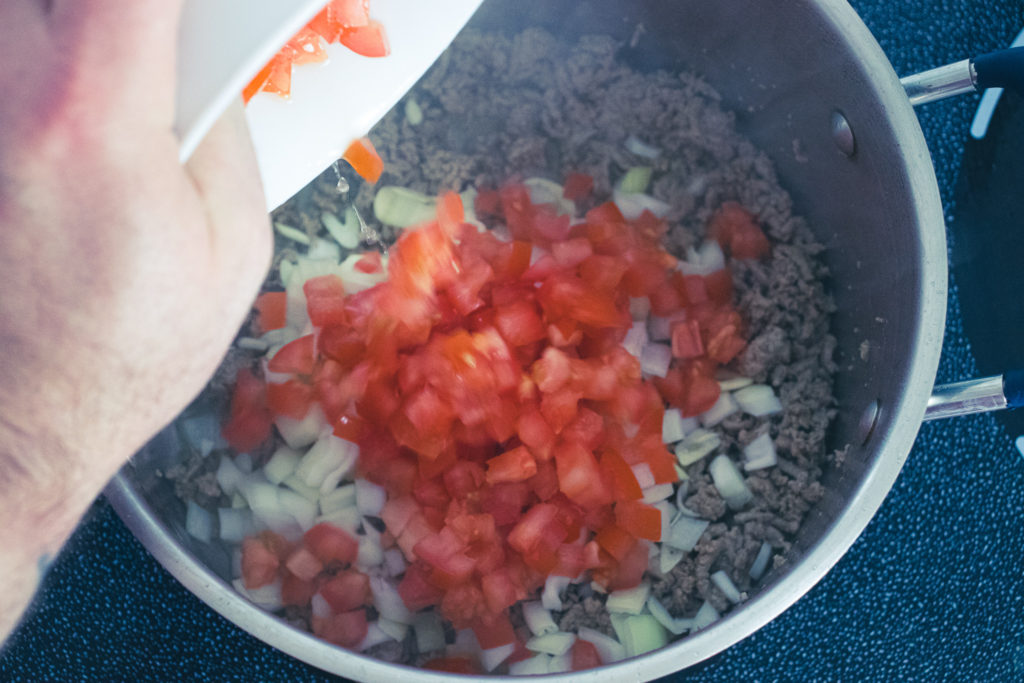
Tomatoes and Onions
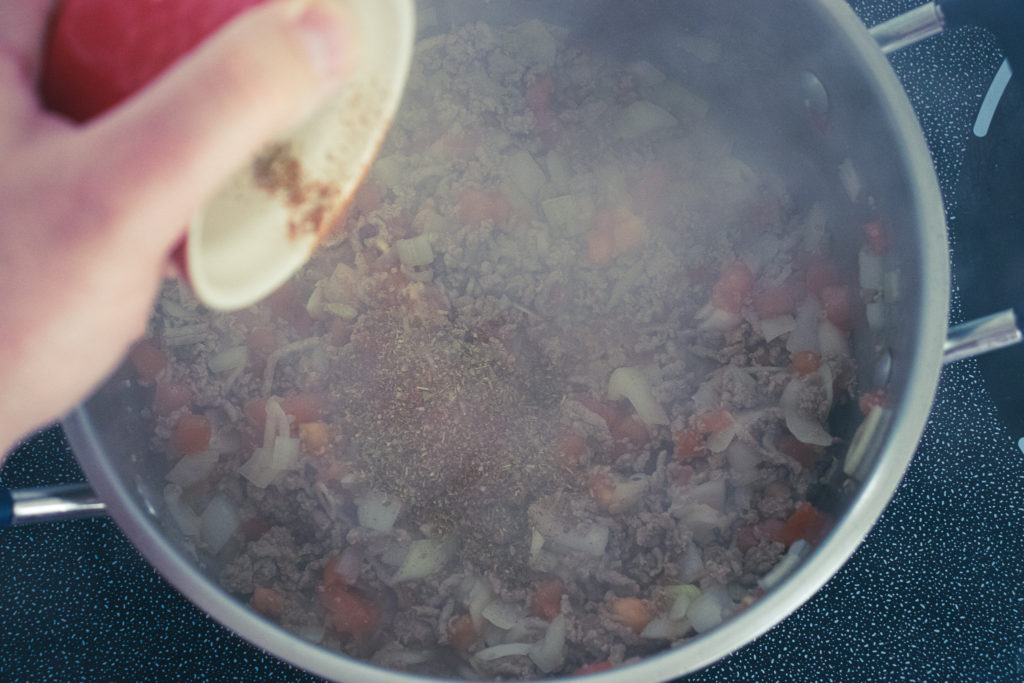
Once the turkey is cooked, add the tomatoes and onions. Continue to cook for another three to four minutes or until the onions soften, and the tomatoes start to break down. You can tell the onions are softening because they will begin to turn from opaque to translucent. Next, add the oregano, cumin, salt, paprika, and pickled jalapenos. Cook for another minute or two or until you start to smell the spices.
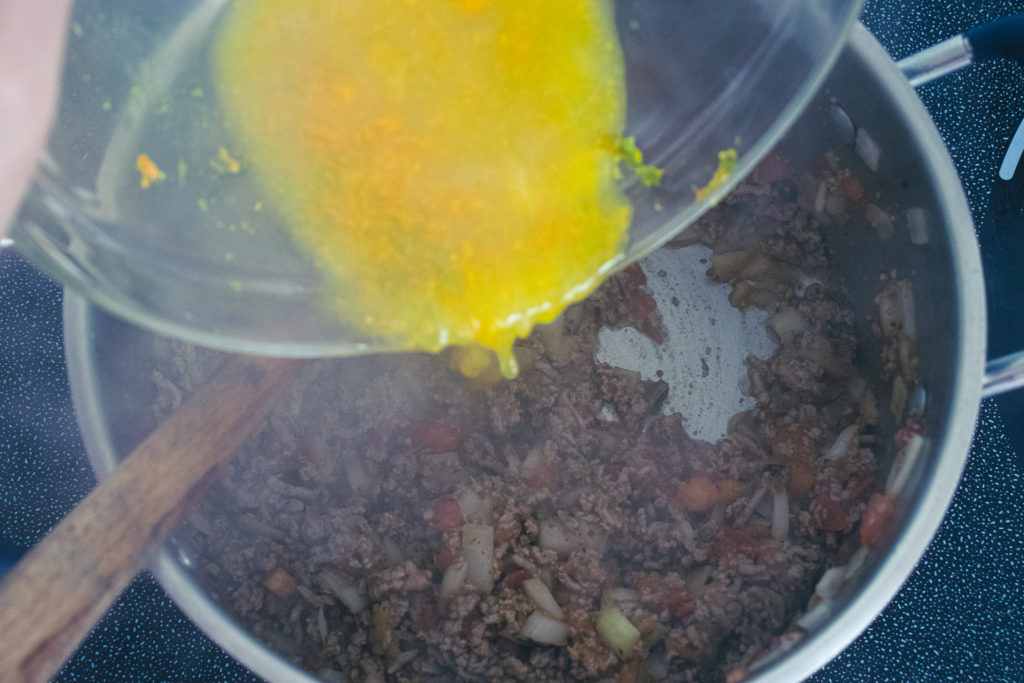
Citrus
In goes the citrus zest and juice. The citrus does three things. First, it adds flavour, then acidity, and finally sweetness. It is essential. Once you add the citrus, cook it until it has mostly all been cooked away. The easiest way to tell when it’s time to move on to the next step is to drag your spoon along the bottom of the pot. If a line forms and stays for at least one second, the citrus has cooked down enough, and you can move on.
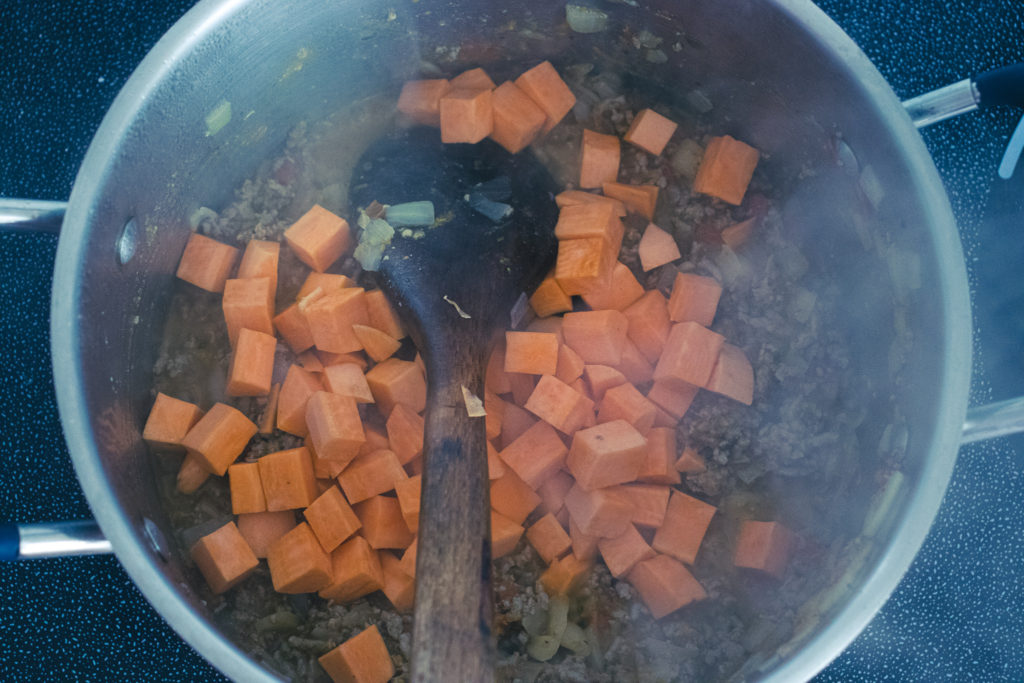
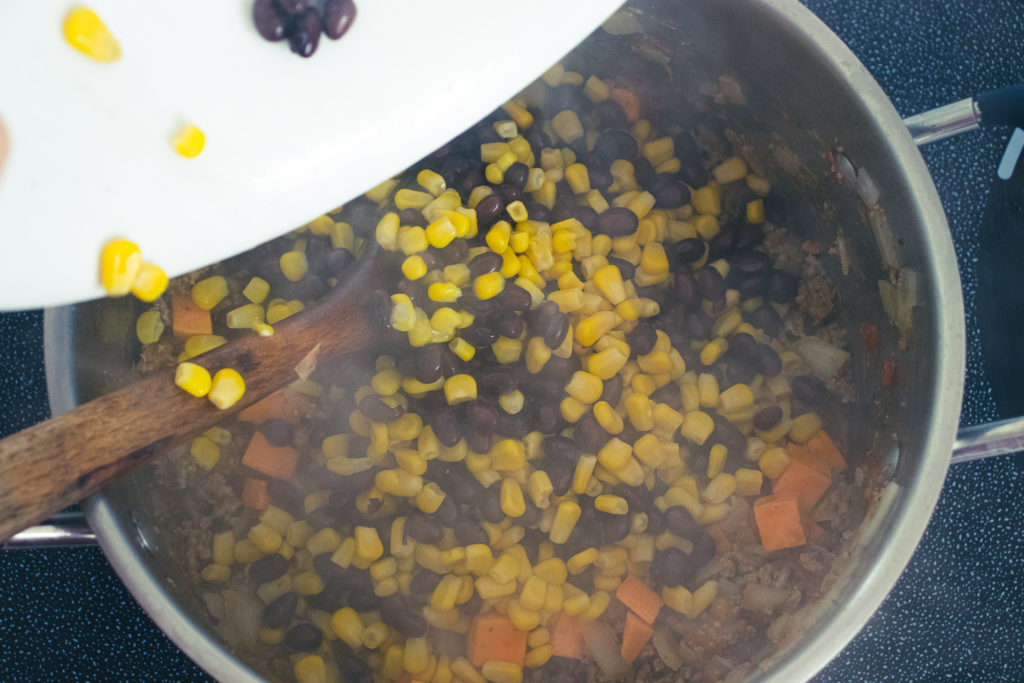
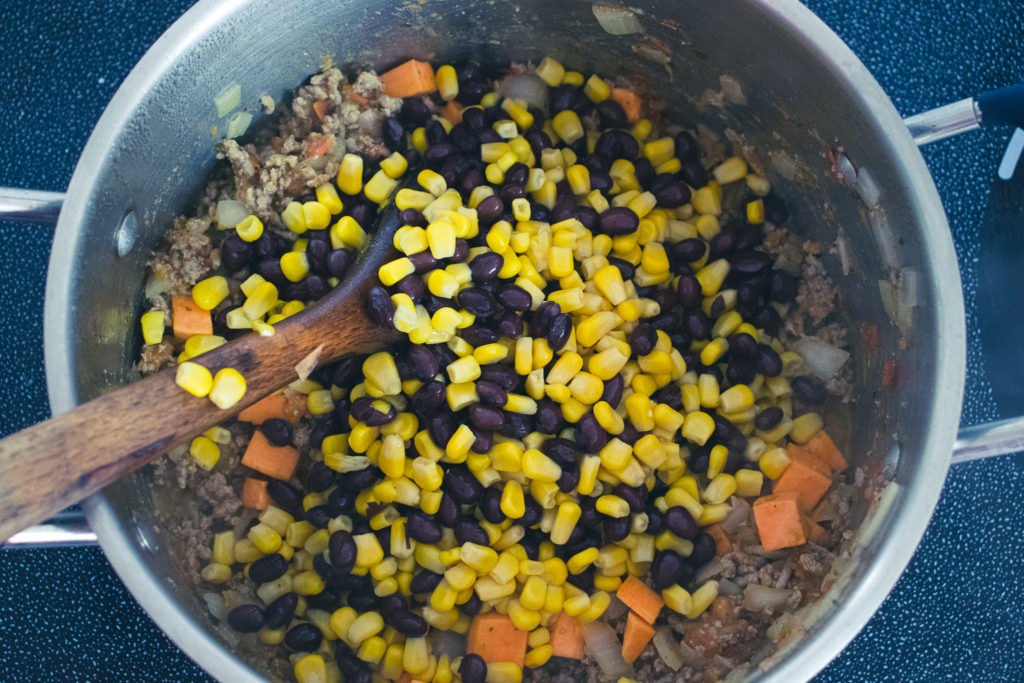
Make it a soup.
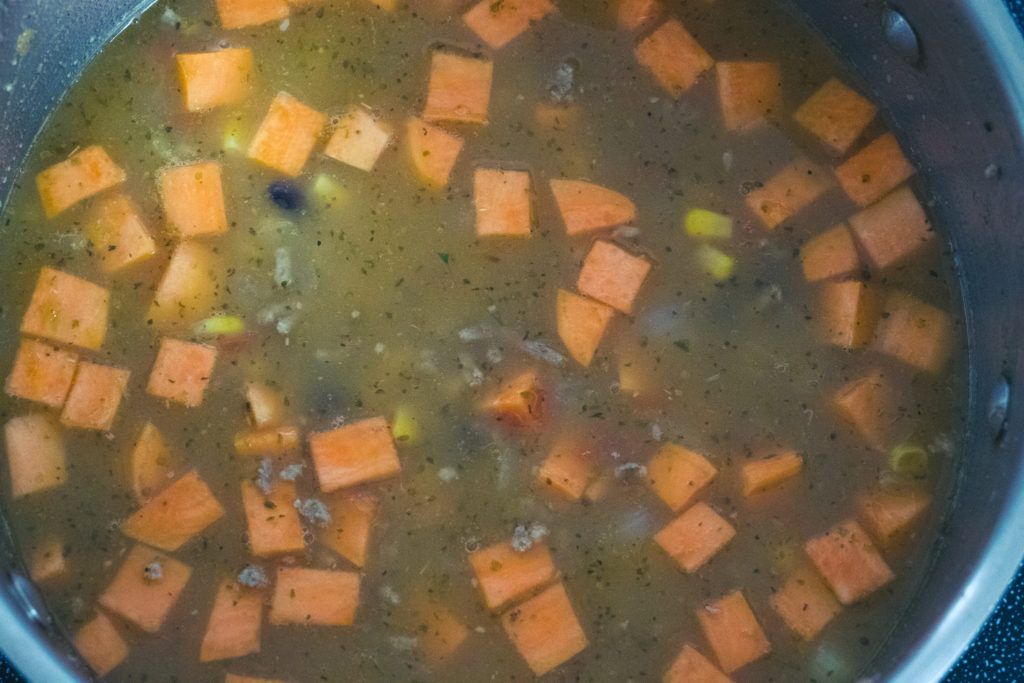
The final few steps in the cooking process are to add the sweet potato, corn, black beans, and stock. Then, bring the soup to a boil, turn the heat down to medium-low and simmer for twenty minutes or until the sweet potato is tender. After twenty minutes, or once the sweet potato is ready, taste the soup and season as needed with salt and pepper.
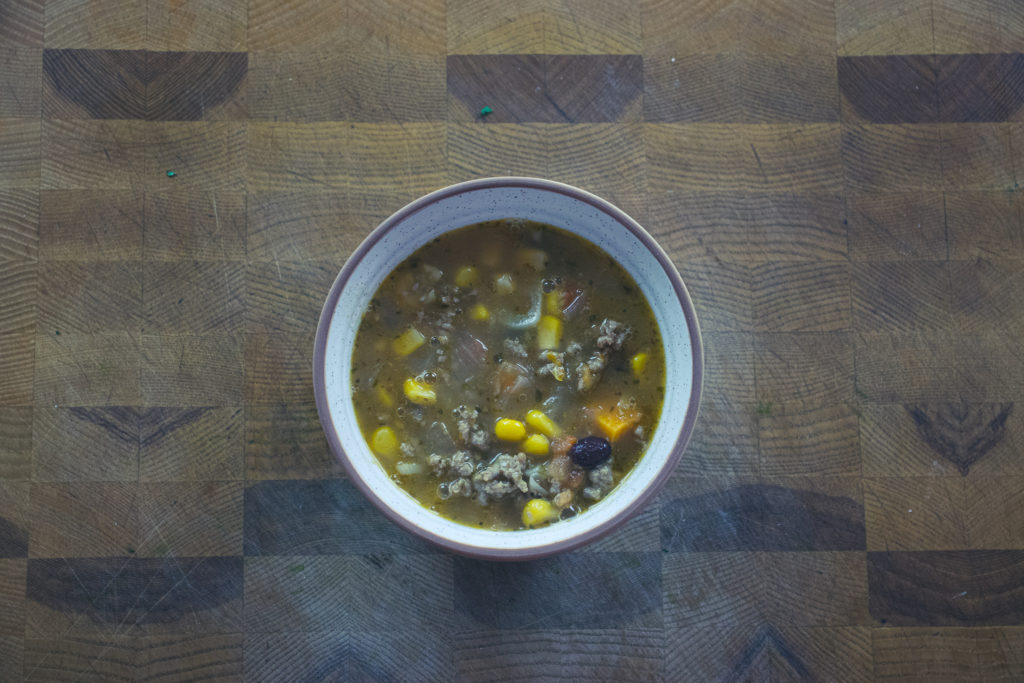
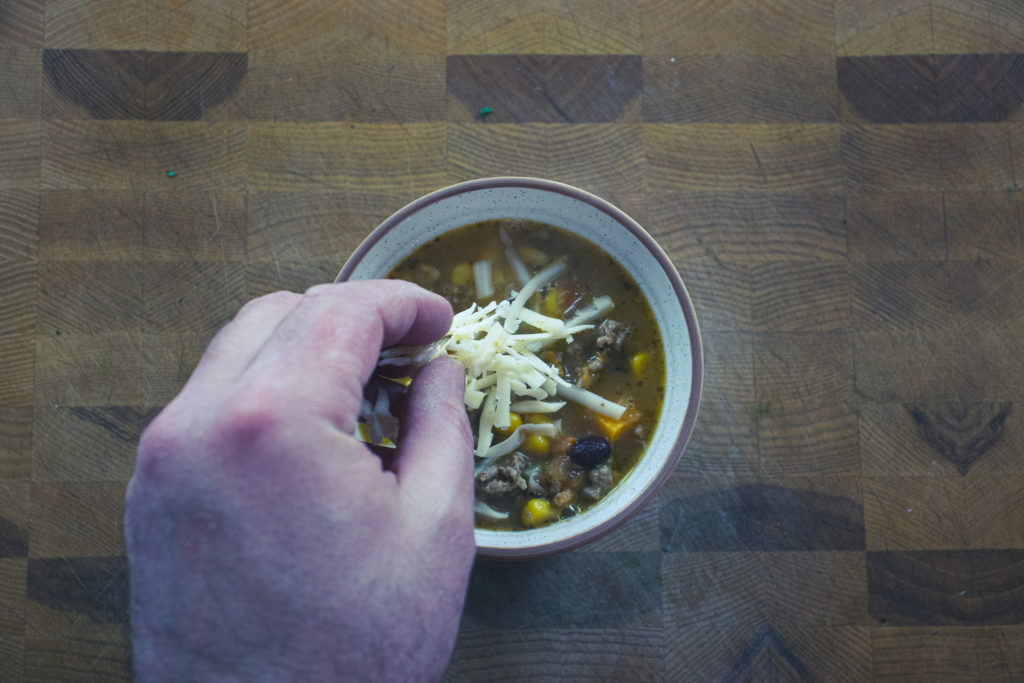
Finishing and Serving The Turkey Taco Soup
The soup is ready, and it’s good, but as I said initially, what makes this soup are the finishing touches. So, put the soup in bowls, and garnish each bowl with pepper jack cheese (cheddar or mozza will work too), sour cream, minced raw onion, chopped cilantro, a few drops of hot sauce, and tortilla chips on the side. When eating the soup, I like to crush the chips up as you would with soda crackers in a chicken noodle or tomato soup bowl. But, the chips are also great to just dip in the soup. I’ll leave that part up to you.
The Wrap-Up
Please, for your own good, go in your kitchen and make this soup as soon you as possibly can. You will be so unbelievably happy that you did. For once, take my word for it. You need to make this. It is worth your time and effort. If you have any questions or comments please leave them in the comments section below. Thanks for reading. I hope you enjoyed this post. Remember, sharing is caring so share this with your friends. Have a great day! I’ll see you back here next Thursday. Oh, and if you love this soup you may also love this turkey taco recipe.
Have you signed up for the Chef’s Notes Monthly Newsletter? No? Why Not? Don’t miss exclusive recipes, cooking tips, and behind-the-scenes pictures and stories. Sign up below.
Turkey Taco Soup
All the flavours of a top-quality taco but in a soup. It's a taco in every spoonful.
1/2tsp Mexican Hot Sauce or your favourite hot sauce
1smallbowl tortilla chips
Instructions
Heat a large pot over medium-high heat. Add the olive oil and turkey. Cook until the turkey is browned.
Add the onion, tomato, and garlic to the turkey and cook for 4 minutes, stirring now and then.
Mix in the oregano, cumin, salt, and jalapenos. Cook for 2 more minutes.
Stir in the citrus juice and zest and cook until a spoon scraped on the bottom of the pot leaves a clear line for at least 1 second.
Stir in the corn, black beans, and sweet potato, then pour in the stock and bring to a boil.
Turn the heat to low, simmer for 20 minutes.
Serve the soup garnished with 1 tbsp sour cream, 1 tsp minced onion, 1 tsp chopped cilantro, 1 tbsp pepper jack cheese, a few drops of hot sauce and tortilla chips.
Spring is officially nine days away. What better way to say goodbye to winter than with nine spring recipes. These are a collection of recipes from the Chef’s Notes archives that I think you will love and that are perfect for ushering in spring. If I can promise you anything, it’s that when you have finished reading this post, spring will be closer than it is right now. It’s true. Let’s get to it.
1. Cajun Salmon and Citrus Salad
Nothing says goodbye to cold weather, hello sunshine like throwing a piece of fish on the grill. In the case of this Cajun Salmon and Citrus Salad, the fish (salmon) is flavoured with olive oil and cajun seasoning, grilled and put on a salad of arugula, orange, and lime. This dish has the flavour of spring and summer in every bite.
Cajun Grilled Salmon and Citrus Salad
Cajun Grilled Salmon, On Top Of Arugula With Citrus Vinaigrette.
Keyword: Barbecue, Best Pasta Salad, Citrus, Salmon, Summer Barbecue, Summer food
Servings: 2Servings
Author: Chef Ben Kelly
Ingredients
Cajun Salmon
2filletsSalmon
2tbspOlive Oil
1tbspCajun Seasoning
Citrus Salad
1lgOrange, Cut into Segments
1Lime, Zested and Cut into Segments
1tspHoney
1tspMustard
4cupsArugula
1/4cupOlive Oil
Salt and Pepper to taste
Instructions
Salmon
Combine the olive oil and Cajun seasoning in a medium bowl.
Roll the salmon in the Cajun Seasoning Mixture to coat it. Cover the bowl with plastic wrap and put it in the fridge to marinate for 2 hours.
Preheat your grill to 400°f for about 15 minutes.
Depending on how thick your salmon is, cook it 3-6 minutes per side over medium heat with the lid down.
Once the salmon has reached your desired level of doneness remove it from the grill and place it on the salad.
Citrus and Arugula Salad
Peel a large orange and using a small sharp knife cut between the membrane of each segment so that each segment comes away freely leaving the fibrous membrane behind. Once all of the orange segments have been cut free, squeeze the juice out of the remaining bit of orange into a bowl with the segments.
Using a microplane, grate the zest of the lime into the bowl with the orange. Once zested, peel the lime and segment it as you did with the orange, then squeeze any juice out of the bit that is left behind.
To the bowl with the orange and lime segments and juice add the honey, and mustard then gently whisk to combine.
Slowly whisk in the olive oil, then season to taste with salt and pepper.
Toss the arugula with the dressing divide it among two bowls and top with the Cajun Grilled Salmon. Finish the salad by spooning the citrus segments and dressing over the salmon.
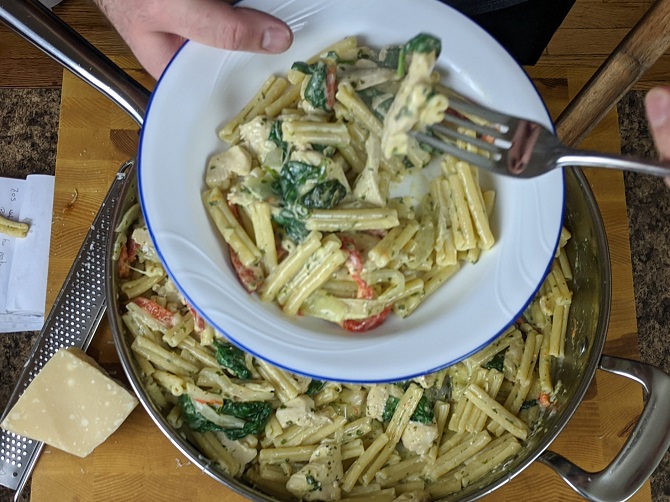
When we think of spring recipes we don’t often think of cream sauces. They seem like more of a fall/winter dish. But when the cream sauce in question is flavoured with homemade pesto and tossed with chicken, red pepper, and spinach, it’s a bit of spring in a bowl.
Creamy Chicken Pesto Pasta
What more is there to say? It's creamy, it's chicken, and it's pesto. Delicious!
Lettuce wraps are a great light meal, and this spring recipe for Sweet and Spicy Chicken Lettuce Wraps is going to put a spring in your step. Bad puns aside, this recipe is a little sweet, a little spicy, and a lot delicious.
Sweet and Spicy Chicken Lettuce Wraps
A new year a new you! What better way to kick off that new years diet than with some deliciously sweet and spicy chicken lettuce wraps?
Keyword: 30 minute meals, 30 Minutes or less, Asian Food, Butter Chicken, Chicken, chicken recipes
Servings: 4servings
Author: Chef Ben Kelly
Ingredients
1lbGround Chicken
1/2lg White Onion, Minced
3clovesGarlic, Minced
1/2Red Bell Pepper, Minced
4eaGreen Onionswhites and greens separate and diced
1tbspGrated Ginger
2tspChinese 5 Spice
1/2 tspRed Chilli Flakes
2tbspSesame Oil
3tbspSoy Sauceor GF Tamari
2tspRice Vinegaror white vinegar
2tbsphoney
1headBibb Lettuceaka Boston Bibb Lettuce
Salt to taste
1tbspSesame Seeds
Instructions
Heat a wok over medium-high heat.
Add the sesame oil along with the chicken and cook until the chicken is browned, stirring occasionally.
Once the chicken is browned and cooked through add in the onion, green onion (whites), and the garlic. Cook for 1-2 minutes or until the onions start to soften.
Next up add in the red bell pepper and red chilli flakes, cook for 1 minute then add in the Chinese 5 spice.
cook the spices for 1-2 minutes before adding in 1/4 cup of water along with the honey, soy sauce, and vinegar.
Turn the heat down and simmer for 4-5 minutes.
Add in the sesame seeds and the tops (greens) of the green onions.
Season to taste with salt.
Wash and pat dry the lettuce and serve with sticky rice.
It may seem odd to include a sandwich on this list (that isn’t a BLT), but this Cuban Sandwich has a surprisingly fresh flavour that really invokes spring. It’s roasted pork that has been marinated in orange juice, thyme and some other stuff. The pork is sliced thin and put on a Cuban roll (I’m using a gluten-free burger bun) with yellow mustard, dill pickle, cheese, and ham. The sandwich is grilled and is perfect in every way.
Cuban Sandwich
A delicious and flavourful sandwich made with roasted pork, ham, cheese, mustard, and pickles.
Brush the inside of the rolls with mustard then tops with pickles, ham, Swiss cheese, and the pork.
Heat a large frying pan on medium heat. Brush the outside of the rolls with butter and put them in the pan. Toast on one side for 2-3 minutes then flip. Press the sandwiches with a spatula to flatten slightly. Cook the sandwiches until the cheese starts to melt then serve.
This spring recipe is Roasted Cherry Tomato Soup. It’s a little twist on the classic tomato soup becasue the tomatoes are roasted, and the recipe uses cherry tomatoes instead of roma tomatoes or something like that. Whenever you pair tomato and basil, it’s going to taste like sunshine, and this soup is no exception. Like all tomato soups, it is best served with a grilled cheese sandwich.
The Ultimate Roasted Cherry Tomato Soup
A delicious homemade tomato soup using up all the extra cherry tomatoes from the garden.
Toss the tomatoes, onion and garlic with the olive oil and a pinch of salt and pepper.
Roast the tomatoes, onion and garlic on a parchment-lined sheet pan for 40-50 minutes on 400°f or until the tomatoes start to shrivel and the onions and garlic are slightly browned.
Put the roasted vegetables in a medium pot over medium heat and add in the milk.
Cook the soup only until the milk is hot then add in the basil and purée.
Taste the soup and season with salt, pepper, and sugar as needed.
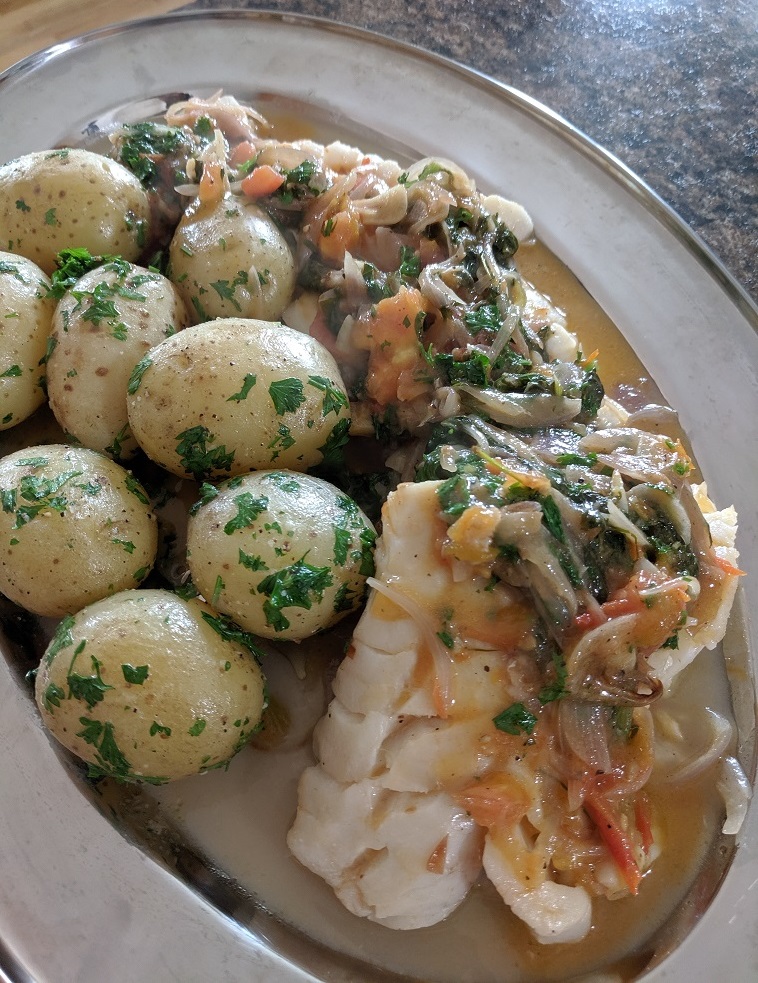
White wine poached cod with parsleyed potatoes to me is kind of the ultimate spring recipe. It has tomato and basil in it, lots of fresh flavours, and a light flakey fish. What more good you want on a warm spring day? As a side note, the potatoes are boiled new potatoes tossed in butter, salt, pepper, and fresh parsley, and they are one of my all-time favourite potato dishes. Seriously, they are so simple and so delicious. They are a definite must make.
White Wine Poached Cod with Parsleyed Potatoes
A quick and delicious cod dish that will knock the socks off any one you serve it to.
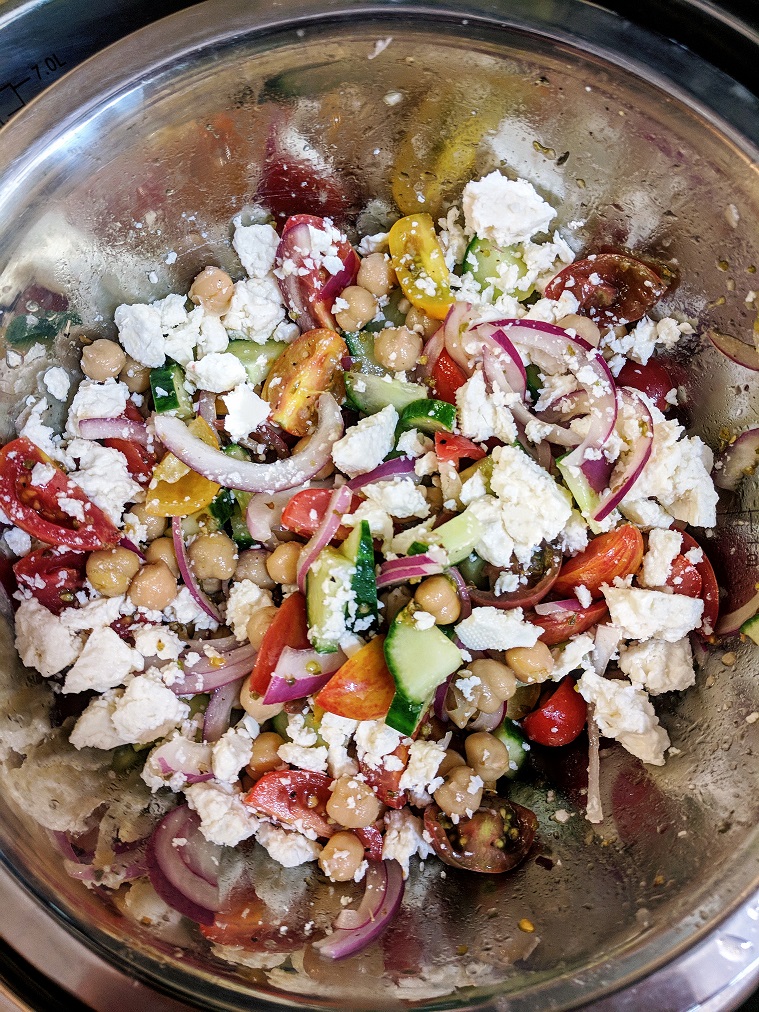
Greek Salad, by its nature, screams spring and summer. The balance of sweetness from the vegetables, saltiness from the cheese, and acidity from the dressing is everything you could want in a salad. When you replace the lettuce with chickpeas, you a more substantial meal with the same great taste.
Mediterranean chickpea salad
A quick, delicious and healthy salad that works just as well as a side dish as it does a lunch.
Salad bowls are a great spring food. That’s why I’m doing a whole series of them every Friday. This chicken quinoa Greek salad is great for all the reasons the chickpea greek salad is great. Plus, it has chicken for protein and quinoa, which is really good for you. So, you’ve got lots of fresh flavours, and it’s good for you. Sound like a great spring recipe to me.
Chicken Quinoa Greek Salad
A delicious and filling salad. The perfect meal for a hot summer day.
1/2cup Good Quality Olive Oilhalf for dressing half for the chicken
2 tbspDried oreganohalf for dressing half for the chicken
1tbspRed Wine vinegar
2clovesMinced Garlic
1lemonJuiced
1/4cupChopped Parsley
1tspDried Dill
Salt & Pepper
2tbspPlain Greek Yogurt
Instructions
Quinoa
Combine the quinoa with two cups of water and a pinch of salt in a medium pot and bring to a boil over high heat.
Once the pot begins to boil, cover it with a tight fitting lid and reduce the heat to low.
Let the quinoa simmer for 15 minutes.
Remove from the heat and let rest, covered for an additional 5 minutes.
Fluff with a fork and serve.
Chicken
Cut the two chicken breasts in half horizontally.
Lay flat on the cutting board and drizzle with olive oil, salt, pepper, and dried oregano on both sides.
Heat a large skillet on medium heat.
Sear the chicken on one side. Flip the chicken and cover. Reduce the heat slightly and cooked covered, flipping once or twice until the chicken is cooked through.
Let the chicken rest, then slice and serve.
Salad
Cut, wash, and spin dry the lettuce.
Combine all the vegetables in a large mixing bowl, except the lettuce.
Add the olive oil, red wine vinegar, lemon juice, oregano, dill, garlic, parsley, and salt and pepper into the bowl. Taste and adjust seasoning as needed.
Mix the warm quinoa into the vegetables along with 1/4 cup of crumbled feta cheese. Mix well.
Add the lettuce and mix.
Serve the salad in a large bowl, top with sliced chicken, the remaining feta, and a spoon full of yogurt.
The last spring recipe on the list is my Nicoise Pasta Salad. It is everything you love about a Nicoise Salad but with pasta in it. The salad starts with a basic red wine vinaigrette to which tuna, olives, blanched green beans, tomatoes and pasta are added. The salad is finished with slices of hard-boiled egg. It is even better than it sounds.
Nicoise Pasta Salad
Nicoise salad is often considered by Chefs to be one of the best salads ever created. Now, you can have it in pasta salad form.
If these nine spring recipes can’t get you through the last few days of winter, nothing will. They are all packed with loads of fresh ingredients and flavours and are simple enough that anyone can make them. What are some of your favourite spring recipes? Tell me in the comments below or on Facebook.
Did you know that I wrote a cookbook? It’s called the 5-Ingredient Cookbook for men (of course, it is for everyone). The kindle version is officially on sale now and the physical version goes on sale March 16th, but you can preorder it now from Amazon in Canada here, and Amazon in the US here.
Thank you for reading this post. Please share it on Facebook, Pinterest, or Twitter to help Chef’s Notes grow. Subscribe to Chef’s Notes below, and you will never miss a post again.
Today marks the end of the Chef’s Notes Hearty Soup Series, and I really wanted to go out with a bit of a bang. So, I created this recipe for Butter Chicken Soup and boy am I glad I did. Imagine everything you love about butter chicken but in a soup. It’s creamy, it’s a little spicy, and it is loaded with flavour. It is the exact thing that we all need to get us through this last little push of winter. So, won’t you join me as I walk you through how to make what is sure to be your new favourite soup? Let’s get to it.
Butter Chicken Soup Ingredients
The ingredients list for this Butter Chicken Soup may seem intimidating at first. I’m not going to lie to you; it’s kind of long. But other than one or two of the spices, there is nothing in this soup that should be unfamiliar to you. The soup starts with an onion, a few cloves of garlic, a Thai red chilli, and a piece of ginger. You can leave the red chilli out, but it does contribute to the flavour of the soup. The next ingredients are two potatoes, one cup of tomato purée, a pound of diced boneless skinless chicken thighs, and half a cup of frozen peas. Coming in at the end is one cup of whipping cream, a quarter cup of chopped cilantro, two tablespoons chopped mint and 1 tablespoon fenugreek leaves (aka Kasoori Methi) which are optional. There is also a teaspoon of lemon juice and three cups of water.
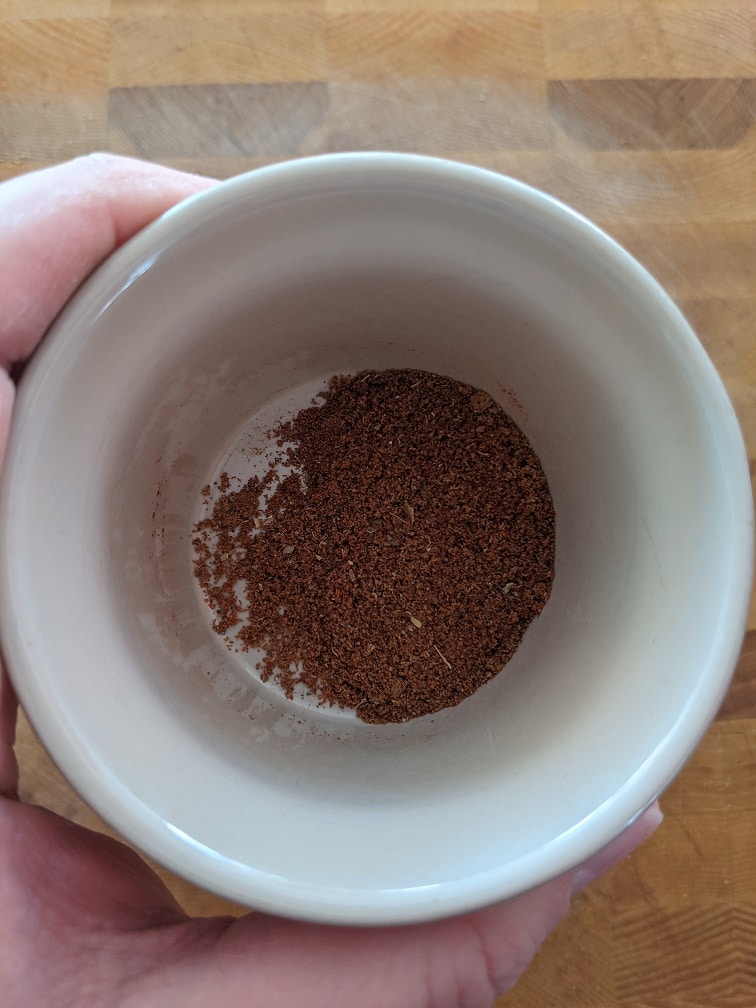
Spices
The Butter Chicken Soup spices are one tablespoon garam masala. You can buy garam masala or make it. There is half a teaspoon Kashmiri chilli powder which is an Indian chilli pepper that is ground. You can substitute it for half as much cayenne. There is a quarter of a teaspoon each of cumin, coriander, ground cardamom and black pepper, one teaspoon kosher salt. And finally, one tablespoon of sugar. I’m sure some of these are unfamiliar to you, but you can find most if not all at your local grocery store or specialty Indian market. If you don’t want to buy all the spices, I get it. It can get expensive. Most grocery stores now sell butter chicken spice blends. You can buy that and use it instead. I’m not sure what the measurements would be, though. I would say start with a tablespoon, and if you need to add more, you can.
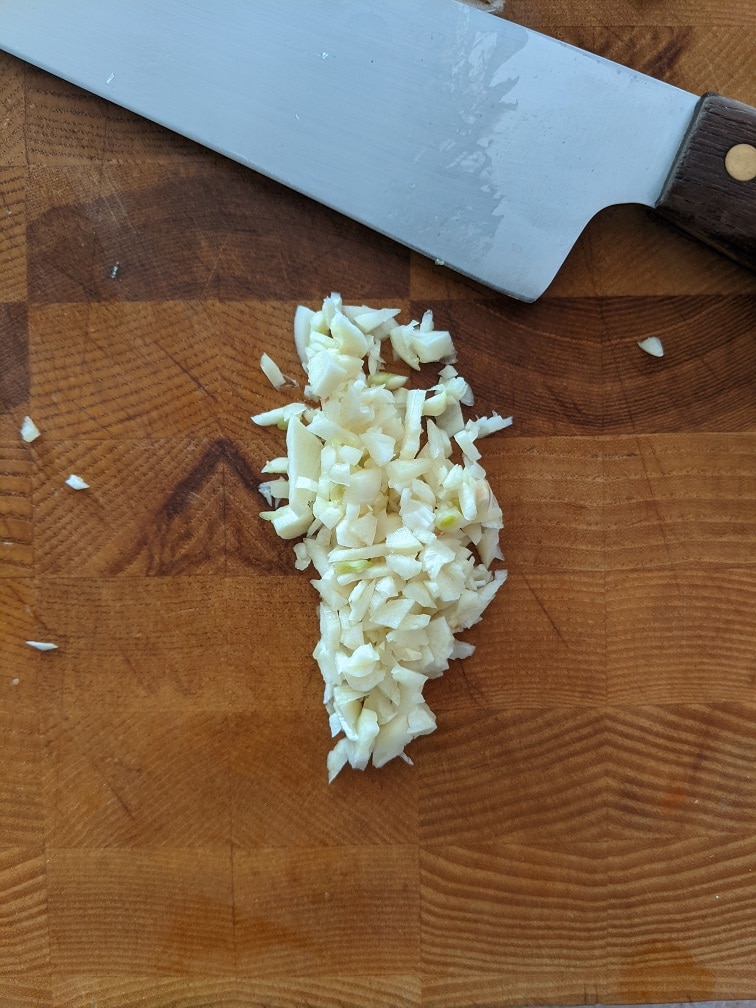
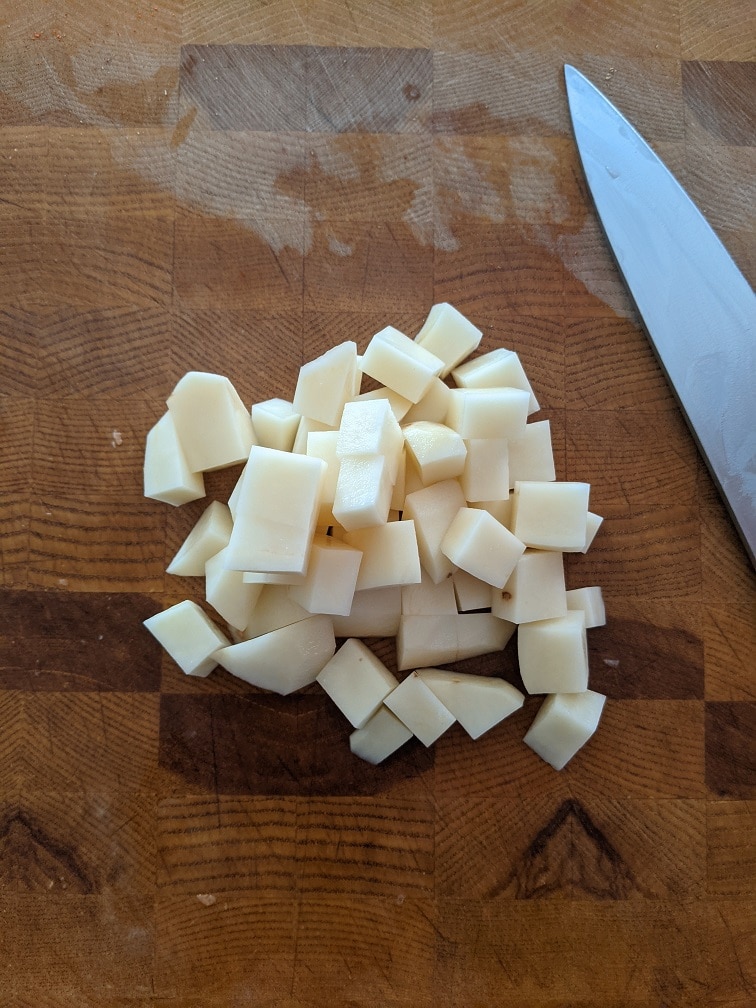
Prepping The Ingredients
To prepare the ingredients to start by dicing the onion. Next, mince the garlic and ginger. Slice the chilli as thin as you can. And dice the potatoes, then rinse them in cold water until the water runs clear.
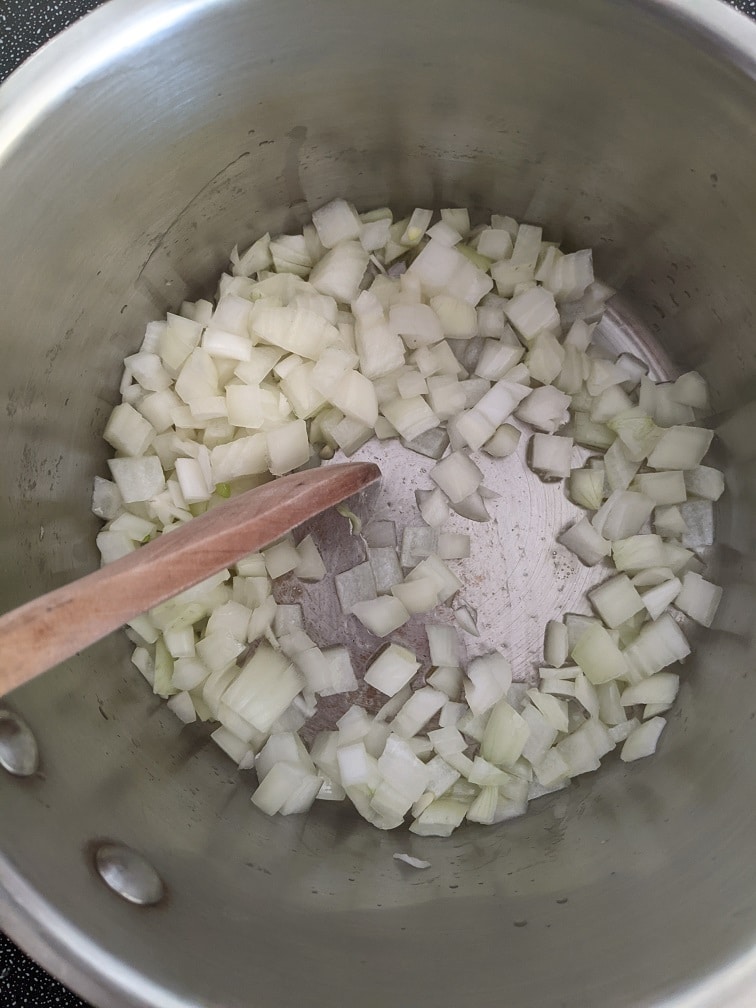
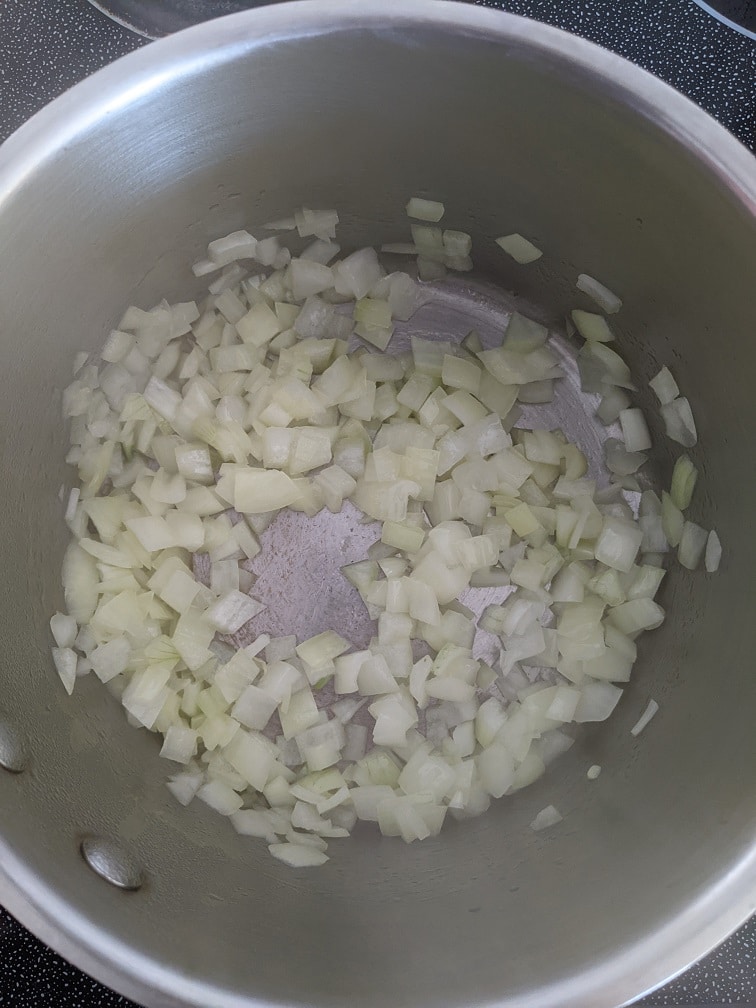
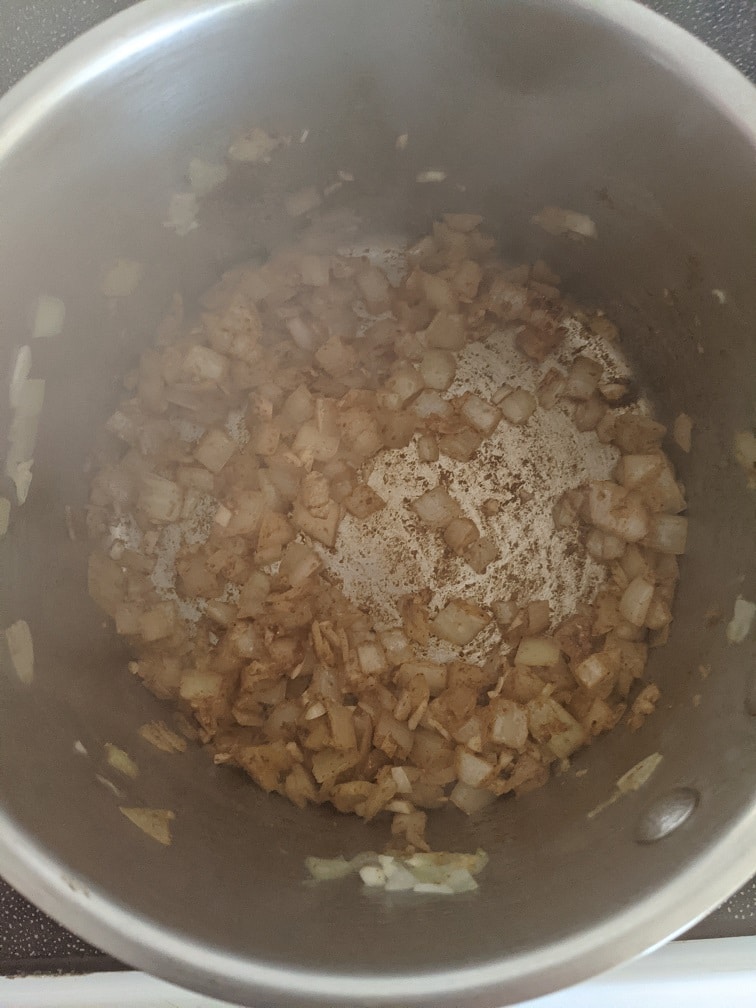
Cooking The Butter Chicken Soup
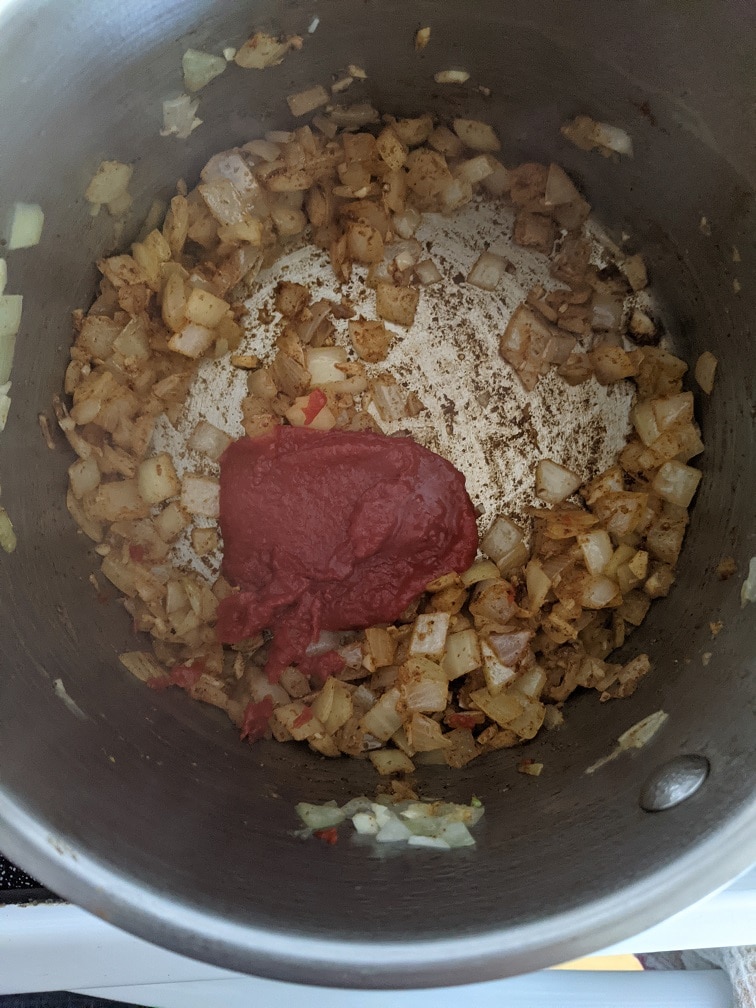
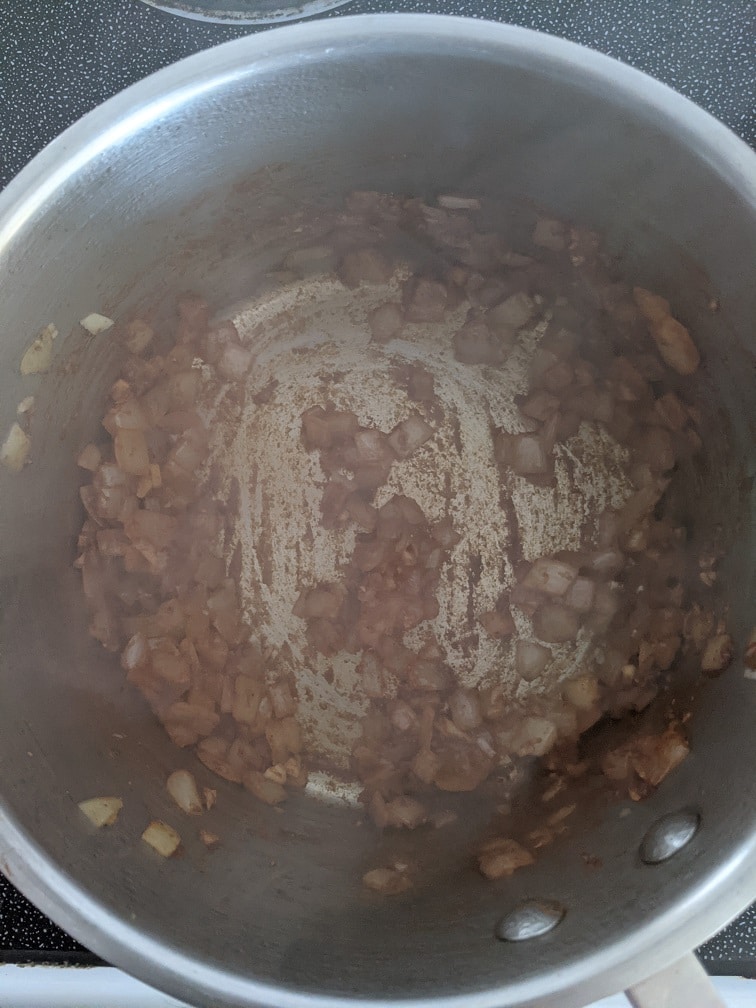
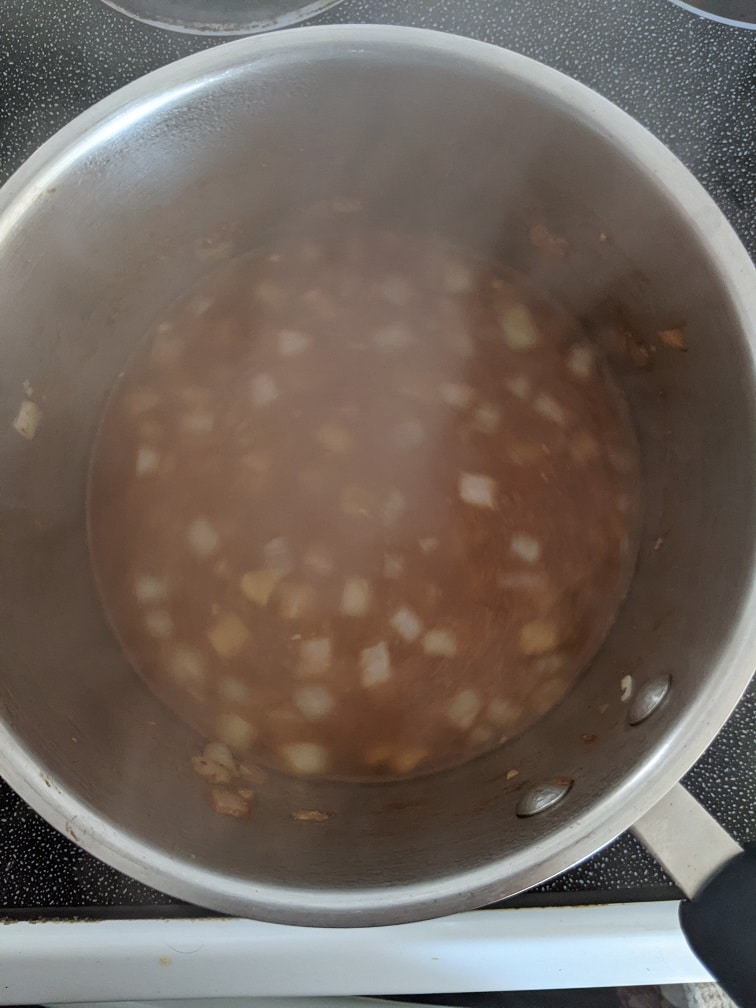
Heat a large pot over medium-high heat. Add two tablespoons of olive oil to the pot, then the chicken. Cook until the chicken starts to brown, then add in the onions and cook for about three minutes or until they start to soften. Next in goes the garlic, ginger, and chilli. Cook those for a minute before adding a tablespoon of butter and the spices. Cook the spices for about a minute, then add the tomato purée, water and potatoes. Bring the pot to a boil, put a lid on it, turn the heat to medium-low and cook for ten minutes. Add the peas into the pot, put the lid back on and cook for another five minutes or until the potatoes are tender.
Subscribe to Chef’s Notes and Never Miss a Recipe or Post Again.
Finishing The Soup
To finish the Butter Chicken Soup, add the cream and cook for two minutes. Take the pot off the heat and stir in the cilantro, mint, fenugreek leaves and lemon juice. Taste the soup and adjust the seasoning with salt and pepper as needed.
Butter Chicken Soup
Everything you love about butter chicken but in a soup. What more needs to be said?
What a way to end the series! Truth be told, I’ve been thinking about this soup for weeks now, and I am so glad to have finally been able to make it and share it with you. I hope you enjoyed this post and this Hearty Soup Series. Next Wednesday, we start a brand new series all about Casseroles which I’m very much looking forward to, and of course, there is the ongoing Friday bowl series. Lot’s happening. That’s it for me for now. Thank you so much for reading, and remember to share this post with your friends if you think they’d like it. Have a great day. I’ll talk to you soon.
Thank you for reading this post. Please share it on Facebook, Pinterest, or Twitter to help Chef’s Notes grow. Subscribe to Chef’s Notes below, and you will never miss a post again.
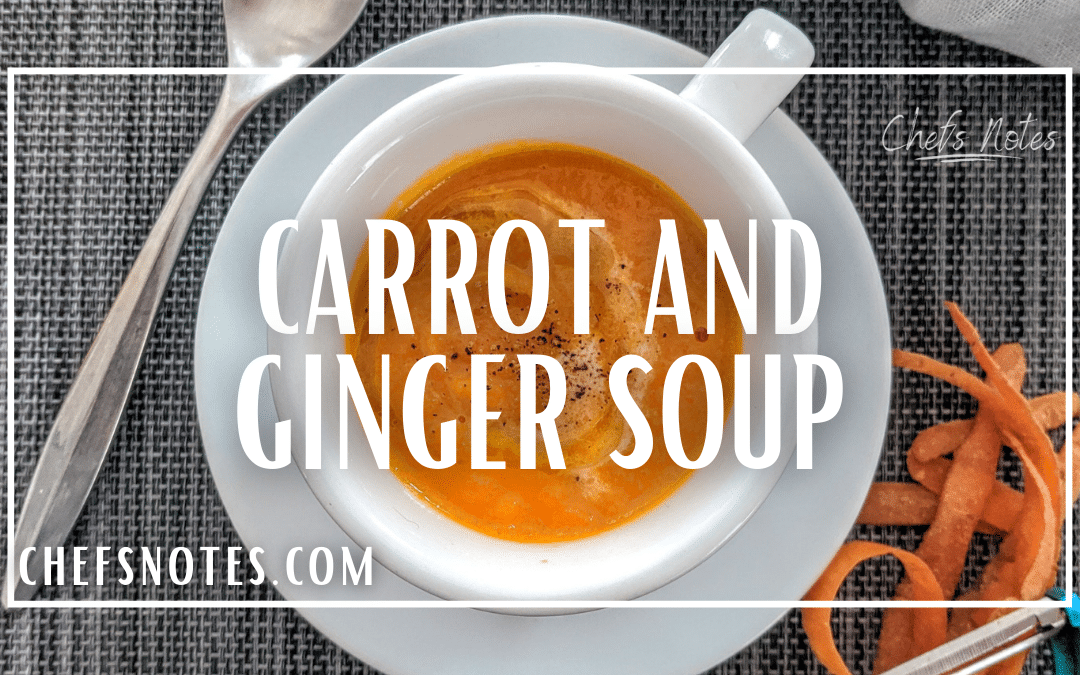
If you are a fan of Carrot and Ginger Soup, I think you will love this recipe. It packs a big ginger punch with a mild sweetness from the carrots. This is the second last recipe in the Chef’s Notes Hearty Soup Series, and I’m very excited to share it with you. Let’s get right to it.
Carrots
Start with four fairly large carrots. To start, cut the top and bottom off the carrots, then peel them and slice them. The size and width you cut the carrots don’t really matter that much becasue you will purée them. But the bigger you cut them, the longer they will take to cook. In total, you need about four cups of cut carrot.
Other ingredients
The other soup ingredients are one cup of sliced onion, one tablespoon sliced garlic, one tablespoon chopped ginger, one cup of orange juice and four cups of hot water. When I made the soup, I used about two to three tablespoons of ginger which was a bit overpowering. So I lowered the amount in the recipe to one tablespoon. If you like a strong ginger flavour, go with the full two tablespoons. Otherwise, leave it one.
Making The Soup
Warm a medium pot over medium-high heat. Add in a teaspoon or two of oil along with the onion, garlic, and ginger. Cook for three to four minutes or until the onions soften.
Adding the carrots
Add the carrots into the pot along with half a teaspoon of Kosher salt and a quarter teaspoon of black pepper. Cook the carrots for three minutes, then add the orange juice and cook for another three minutes before adding the water. Bring to a boil, turn the heat down to medium-low and cook until the carrots are very tender. This should take fifteen to twenty minutes, depending on how big you cut your carrots.
Purée The Soup
Once the carrots soften, allow the soup to cool slightly for about ten minutes, then pour it into a blender to purée. You can also use an immersion blender to purée if you prefer. When you purée the soup in your blender, be very careful and make sure to vent the lid. If the lid to your blender has a removable piece in the center, take it out and cover the hole with a towel. This will prevent pressure build-up inside your blender, which can cause the lid to fly off and hot soup to go all over you and your kitchen. Purée the soup until it is smooth. You may need to add a little more water to it to get the consistency you want. After the soup is puréed, taste it and adjust the seasoning with salt and pepper, then serve.
Carrot and Ginger Soup
A simple and delicious carrot and ginger soup recipe that you will love.
As I said in the intro to this post, if you love carrot and ginger soup, I think you are really going to like this recipe. But, don’t take my word for it. Make it for yourself and let me know what you think.
I can finally announce that I have written a cookbook. It’s called the 5-Ingredient Cookbook for men (of course, it is for everyone). It officially goes on sale on March 16th, but you can preorder it now from Amazon in Canada here, and Amazon in the US here.
Thank you for reading this post. Please share it on Facebook, Pinterest, or Twitter to help Chef’s Notes grow. Subscribe to Chef’s Notes below, and you will never miss a post again.
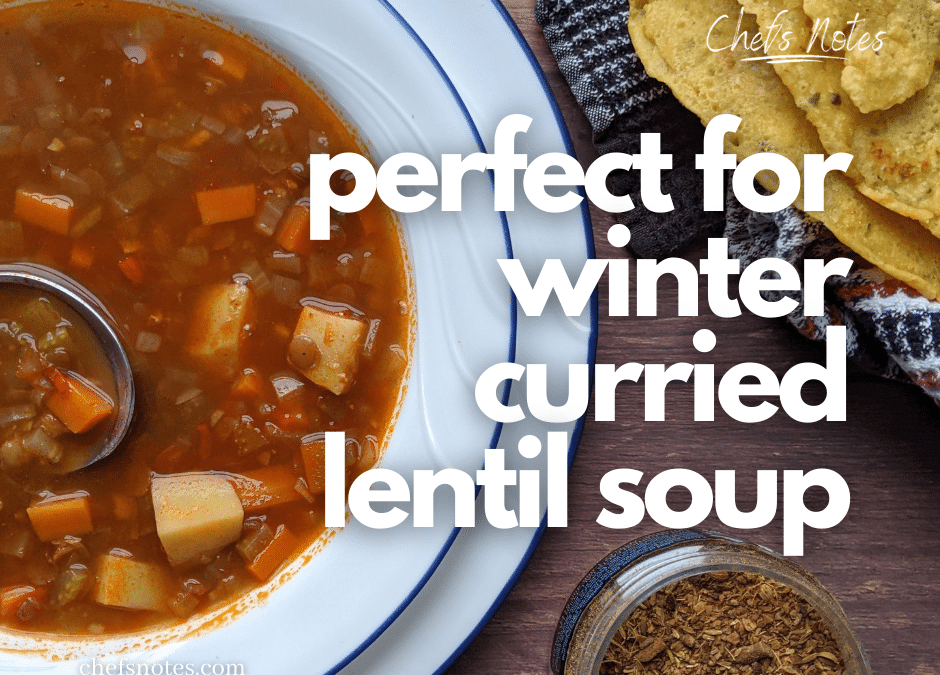
If you’re looking for a soup that will fill you up, delight your senses, and cure your winter blues, look no further. This Curried Lentil Soup has everything you need. It’s hearty. It’s a little spicy. And, it’s a lot delicious. You probably even have most, if not all, of the ingredients on hand to make right now. That begs the question; What are you waiting for? Let’s get to it.
Ingredients
This Curried Lentil Soup has minimal ingredients. Again, you probably have most on hand already. You can find the recipe measurements at the end of the post, so for now, I’ll just run through the ingredients list. To start, you’ll need an onion, a carrot and a celery stalk. You’ll also need two cloves of garlic, a small piece of ginger, red chilli with the seeds removed, a bit of tomato paste, and two small potatoes. For spices, you need cumin, coriander, and garam masala. You can buy garam masala in most grocery stores or, you can make your own, which I’ll share a recipe for at the end of the post. Finally, you’ll need water and some salt and pepper.
An optional ingredient that I didn’t think about until now is a quarter cup of frozen peas. Those would make a great addition to the soup. Also, the lentils should be soaked in water for half an hour before you start cooking. Soaking will soften the lentils and shorten the overall cooking time.
Making The Curried Lentil Soup
Getting Started
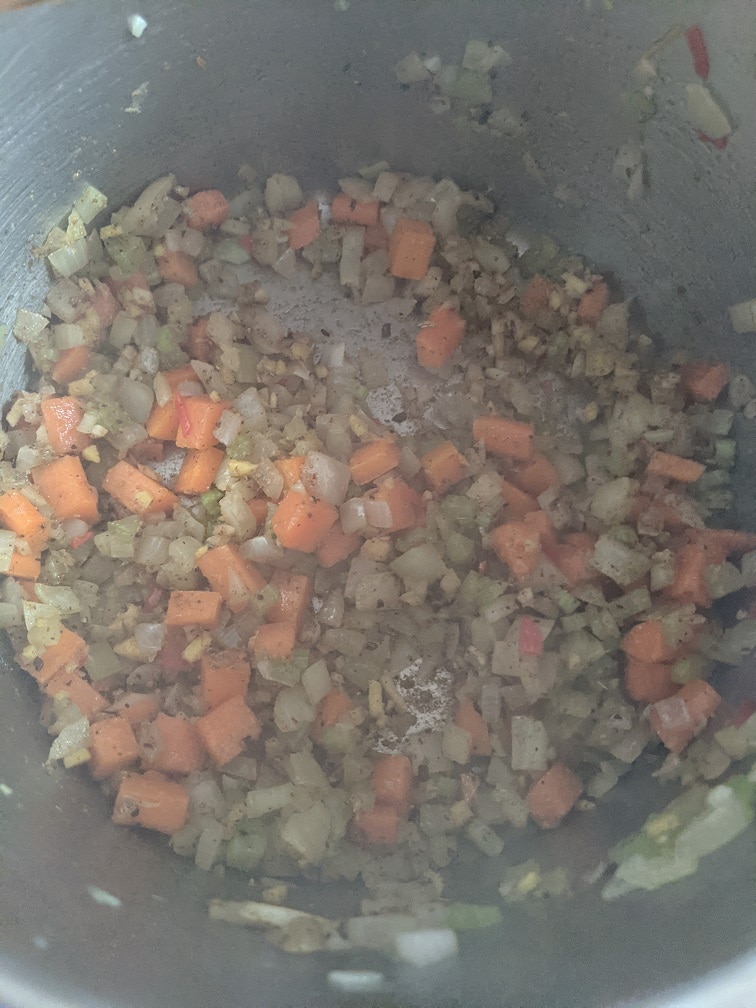
To start the soup, heat a medium-sized (2 qt) pot over medium-high heat. Add in two tablespoons of olive oil along with the onion, carrot, and celery. Cook for five minutes or until the onions soften. Stir occasionally.
Flavouring the Soup
The next step is to start building the flavour of the soup. Add the ginger, garlic, and chilli and cook for one minute then add in the spices and cook for thirty more seconds. It’s important that you stir while cooking these ingredients otherwise they may burn. Finally, add in the tomato pasta and cook for two minutes. Again, stir the whole time and make sure to scrape the bottom of the pot.
You should follow the timing I’ve laid out becasue that will open up the ingredients and pull out their flavours. For example, cooking the tomato paste for two minutes will take away the harshness of the paste and even make it a little sweet. Cooking the spices for thirty seconds will cause them to start releasing their oils, giving the soup more flavour than it otherwise would have.
Make the soup a soup
After the tomato paste has had time to cook, add in the water, potatoes, salt, and pepper. Bring the pot to a boil and let it cook for five minutes. Do this to ensure that the potatoes are cooked at the same time as the lentils, which will be added next.
Adding The Lentils and Finishing The Soup
Once the potatoes have boiled for five minutes, drain the lentils and add them into the pot. Bring the pot back to a boil, turn the heat down to medium-low and simmer the soup for twenty minutes or until the lentils and vegetables are tender. Taste the soup and adjust the seasoning with salt and pepper as needed. If you were going to add peas to this, you should add them when you add the lentils.
Serving the Curried Lentil Soup
This curried lentil soup was delicious on its own, but I really wanted something to dip in it. So, I made roti or Indian flatbread using chickpea flour. You can find more about the bread from the Instagram post below or check out the book I got the bread recipe from; The Indian Cooking Course Cookbook.
1tspminced chilli, seeds and ribs removed.Use 1/2 tsp if you don't like heat.
1cupdiced onion
1/2cupdiced carrot
1/2cupdiced celery
1cupdiced potatoes
2tspgaram masala
1tspcumin
1/2tspcoriander
2tbspolive oil
2tbsptomato paste
6cupswater
1tspKosher salt
1/4tspblack pepper
Instructions
Soak the lentils in 2 cups of cold water for 30 minutes.
While the lentils are soaking, prepare all of your other ingredients.
Heat a 2 qt pot over medium-high heat.
Add in the olive oil, onion, celery and carrots and cook, stirring now and again, for about 5 minutes or until the onions start to soften.
Add in the ginger, garlic, and chilli, cook for one more minute, then add in the spices and cook, stirring, for 30 seconds.
Put the tomato paste in the pot and cook for 2 minutes. Make sure to stir the tomato paste and scrape the pot's bottom to prevent it from burning.
Add the water, salt, pepper and potatoes. Turn the heat up to high and bring the pot to a boil—Cook for 5 minutes.
Drain the lentils and add them to the pot. Bring it back to a boil, turn the heat down to medium-low and simmer the soup for 20 minutes until the lentils and vegetables are tender.
It’s been cold and stormy here the last few days, and it looks like that weather is going to keep up for a while. This curried lentil soup is the exact thing you need to beat the bad weather blues. It will warm you up. It will fill you up. And, it will make everything feel okay, at least for a little while. Give it a shot! If you do, please remember to rate the recipe.
Thank you for reading this post. Please share it on Facebook, Pinterest, or Twitter to help Chef’s Notes grow. Subscribe to Chef’s Notes below, and you will never miss a post again.
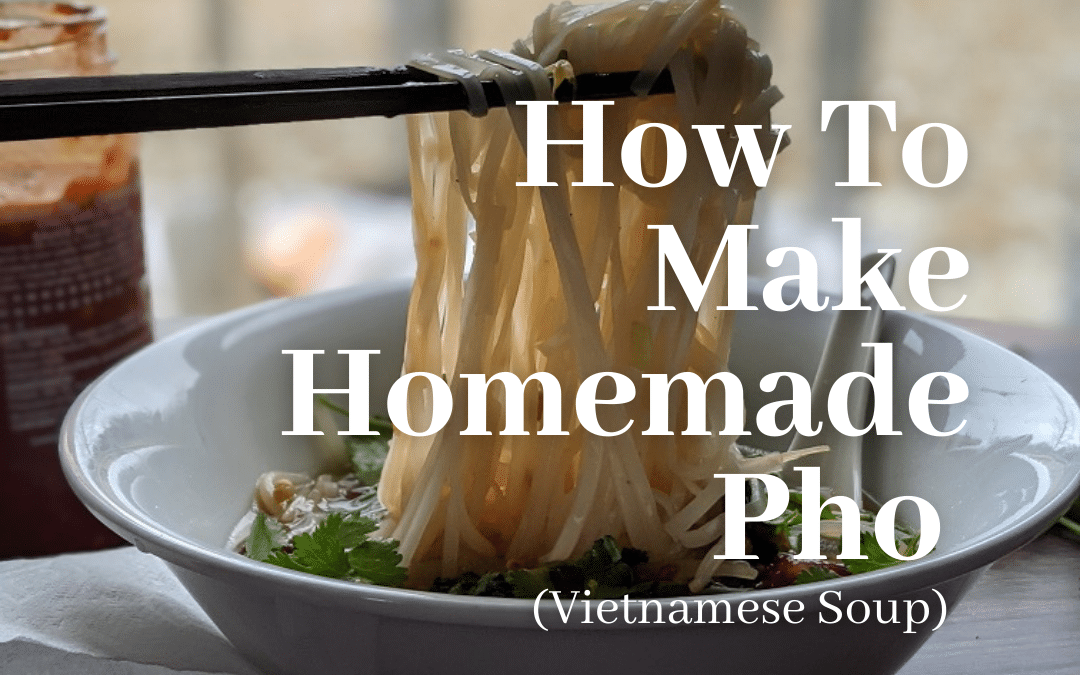
Pho is a Vietnamese noodle soup usually based around beef, pork or chicken. The version that we will make today is beef-based. Our Pho starts with a flavourful beef broth seasoned with onion, garlic, ginger, cinnamon, clove, chilli, and more. The soup is garnished with lots of fresh herbs and vegetables, then finished with a squeeze of lime and a bit of sambal and hoisin for sweet, spice, and acid. For my money, there is no better soup in the world than a well-executed bowl of Pho. Today, I will show you how to make delicious Beef Pho at home. Let’s get to it.
Authenticity
The purpose of this recipe is to be accessible to anyone and everyone. My goal is not to make the most authentic Beef Pho but rather make a version that isn’t overly complicated and that anyone will feel like they can make. Having said that, this beef Pho is excellent and tastes just like what you’ll find at most Pho restaurants. So, if you are looking for strict authenticity, you will have to look somewhere else. However, if you are looking for a Pho recipe that is easy enough to make at home and tastes amazing, keep reading.
Making Broth
Store-bought versus homemade broth.
I made my broth from scratch, and I will walk you through how to do that. But, you can skip this step and use storebought beef broth if you’d prefer. I had actually intended to do that, but my local grocery store was out of beef broth, so I had to make my own. I lightly oiled a roasting pan then placed one pound of Korean-style beef short ribs on it. (Korean-style short ribs are the ones that are sliced thin.) I also put one whole onion, peeled and cut in half on the roasting pan along with a two to a three-inch piece of ginger, one stalk of celery, and four cloves of peeled garlic. This went in the oven at 400°f for thirty minutes. If you use store-bought stock, you can skip this step altogether.
Beef Pho Broth
Once the meat and vegetables have been roasted, put them in a large pot with Chinese five-spice, brown sugar, soy sauce, fish sauce, salt, water, and green onion. You can find all the measurements in the recipe below. Bring the broth to a boil, turn the heat down to low and simmer for one hour. Strain the broth, save the meat, and discard the vegetables. I’ll explain in a moment what to do with store-bought broth.
Pho Noodles
While the broth is cooking, you can make your noodles. Pho noodles are rice noodles. You can buy thick or thin ones, that’s up to you. These are the only ones I can buy here, and they worked pretty well. Every rice noodle is going to cook differently, so follow the instructions on the package. Rice noodles have a nice chewy texture and the added benefit of being naturally gluten-free. Cook the noodles, rinse them well in cold water, drain them, then cover them and put them in the fridge until you are ready to use them. They will last in the fridge for up to three days. If they are all stuck together when you want to use them, rinse them in cold water, and they will come right apart.
Soup Ingredients
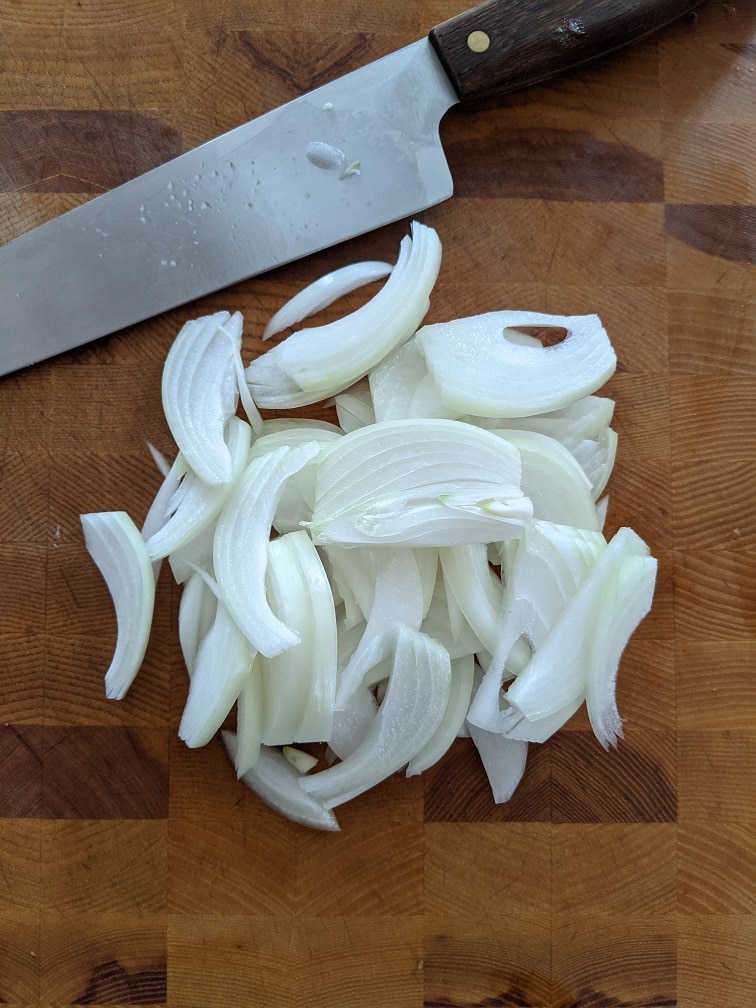
The soup ingredients are the meat from the short ribs, cut into small cubes, a sliced onion, a thinly sliced clove of garlic, a bag of bean sprouts, some bok choy or cabbage, and a serrano or jalapeno pepper. You can add julienne carrots, celery, daikon, or just about anything else you want to to this soup. That’s part of the beauty of it.
Making The Soup
To make the soup, put the broth back in the pot and add the onions and garlic. Boil for about ten minutes before adding in the meat, bean sprouts and serrano pepper. Cook for another three to five minutes, then add in the bok choy and finish with the juice of half a lime. Taste the soup and season with salt and pepper as needed.
Making the soup with store-bought broth.
If you start your soup with store-bought broth, this is where you are going to start. But, things are going to go a little differently. Start by heating your pot over medium-high heat with a few teaspoons of canola oil. Add in one cup of thinly sliced onion and cook for three to four minutes or until the onion starts to soften. Add two tablespoons of thinly sliced garlic and a tablespoon of grated ginger. Cook for another minute, then add in two litres of beef broth. Bring to a boil, add the same amount of Chinese five-spice, soy sauce, fish sauce, brown sugar and salt as you would in the regular recipe. Boil for five minutes. Turn the heat down to medium-low and add one cup of thinly sliced steak, two sliced green onions, the bean sprouts and the serrano pepper. Cook for five minutes, then add the bok choy, lime and salt to taste.
Finishing and Serving The Beef Pho
Put a handful of the cooked rice noodles in the bottom of a large bowl. Add a ladle full or two of the soup. Top the soup with a few fresh basil leaves (preferably Thai basil if you can find it, but regular basil will do) and a few fresh cilantro leaves. Serve the soup with a lime wedge and some Sambal and Hoisin on the side so each person can sweeten and spice their soup how they’d like.
Note: I use VH Hoisin becasue it is gluten-free. It is not the best Hoisin you’re going to find. For that, try the Lee Kum Kee brand. You can find that in most grocery stores in the international foods section.
Beef Pho
Pho is a Vietnamese Noodle Soup. This version is made with beef and lots of vegetables. It is a hearty, straightforward soup that is going to leave you feeling full and satisfied.
200grice noodlescooked according to the package instructions
fresh basil and cilantro, and sambal and hoisin for garnish.
Instructions
Pho Broth
Place the short ribs, celery, onion, ginger and garlic on a lightly oiled sheet pan. Roast in a 400°f oven for 30 minutes. Remove the pan from the oven and put the roasted food in a large pot.
To the pot, add the water, 5 spice, brown sugar, soy sauce, fish sauce, salt, and green onions. Bring the contents of the pot to a boil over high heat, then turn the heat to low and simmer for one hour.
Strain the broth through a fine-mesh sieve. Separate the meat from the vegetables. Discard the vegetables. Remove the bone from the meat and cut the meat into one-centimetre pieces.
Making the Soup
Clean the pot and return the broth to it.
Add the sliced onion and garlic to the broth and bring to a boil. Cook for 10 minutes.
Add the meat back into the pot along with the bean sprouts and boil for another three minutes before adding in the bok choy and serrano pepper. Cook for two more minutes, then take the pot off the heat, taste the soup and season with salt as needed. Finish the soup with the juice of half a lime.
Place a handful of the cooked noodles in a large bowl. Top with a ladle or two of the soup, then garnish with a few fresh basil leaves, some cilantro, and some Sambal and Hoisin sauce.
Whether making it from scratch or starting with a store-bought broth, this Beef Pho will cure what ails you and make you feel all warm and fuzzy inside. It is so hearty that you’ll forget you’re eating soup. And, it is exactly what you need on a cold winter day, or even a hot summer night with a nice cold beer or cider.
I wanted to quickly say that you should always feel comfortable contacting me with food-related questions, whether it’s about one of my recipes or not. I am here to help you in any way I can. You can contact me on Facebook, Instagram, by e-mail, or by commenting in the comments section at the end of every post. I sincerely want to help you with all your food-related problems so please don’t hesitate to contact me. I’ll always get back to you as quickly as I can.
Thank you for reading this post. Share it on Facebook, Pinterest, or Twitter to help Chef’s Notes grow. Subscribe to Chef’s Notes below, and you will never miss a post again.
We’ve all had them. Baked potatoes loaded with sour cream, cheddar cheese, bacon bits, and chives. They’re delicious. If you are anything like me, you probably thought to yourself, “Man, this is good, but I really wish I could drink it.” Well, wish no more. Because now that loaded baked potato you love so much comes as a soup. Okay, obviously, you’ve never wished to have a liquid baked potato. That sounds gross. And, I did not invent the idea of a loaded potato soup. But, this is my recipe, and it is delicious, and it does have all the elements of a loaded baked potato. If you like all of those things, you’re going to like this. If you’ve never had loaded potato soup, you’re in for a treat. What’s more, is that it is super easy to make. Let’s get to it.
Loaded Potato Soup Ingredients
The ingredients for my loaded potato soup, as you can imagine, are the same as you find on a loaded baked potato. We start with potato, water, salt, bacon, white pepper, sour cream, cheddar cheese, and chives. That is literally all there is to it.
Potatoes
I used yellow potatoes to make my soup becasue they provide better flavour and texture than russets or something like that. In total, I used about two and a half to three cups of diced potato. To the potatoes, add three cups of water and one teaspoon of salt. Cook the potatoes until they are very soft, purée them in a blender, or use an immersion blender. (this is the immersion blender that I have, and I love it.)
Cooking The Bacon
While the potatoes are cooking, dice four good-quality bacon strips and put them in a cold pan. Put the pan on the stove over medium heat and cook the bacon until it is crispy. That should take about twelve minutes. Maybe a little more or less depending on the bacon and your stove. Once the bacon is crisp, drain the fat, and put the bacon on some paper towel.
Finishing The Loaded Potato Soup
Once the potatoes are puréed, add in a quarter teaspoon of white pepper, a quarter cup of full-fat sour cream (you may want to start with less, then add more to taste), a quarter cup of grated cheddar cheese, a quarter cup of the crispy bacon, and one tablespoon of chopped chives. Stir it all together.
Serving The Soup
Serve the soup garnished with more bacon, cheddar and chives. This loaded potato soup does not need crackers or toast or anything like that. It is a meal unto itself. You can store leftovers covered in the fridge for three to four days.
Loaded Potato Soup
Everything you would put on a loaded baked potato, but in a soup. What more do you need to know?
Bring to a boil and cook until the potatoes are very tender, 10 to 12 minutes.
While the potatoes are cooking, put the bacon in a medium frying pan and put it on the medium heat stove. Cook for about 10 minutes or until the bacon is crisp. Drain the bacon and pat it dry on a paper towel.
Purée the soup using an immersion blender.
Add the sour cream, a 1/4 cup of crispy bacon, cheddar cheese, chives, and white pepper to the potatoes and mix.
Taste the soup and adjust the seasoning as needed.
Serve the soup garnished with a little more cheese, bacon and chives.
Believe it or not, I’ve never made this soup before, and I’ve only eaten it once. It was never really something I was interested in. However, as part of my new year’s goal is to step out of my comfort zone a little more, this fits right in with that. I think you will really enjoy this recipe, and I’m looking forward to your feedback on it. Check out the other soups in this series here.
Thank you for reading this post. Share it on Facebook, Pinterest, or Twitter to help Chef’s Notes grow. Subscribe to Chef’s Notes below, and you will never miss a post again.
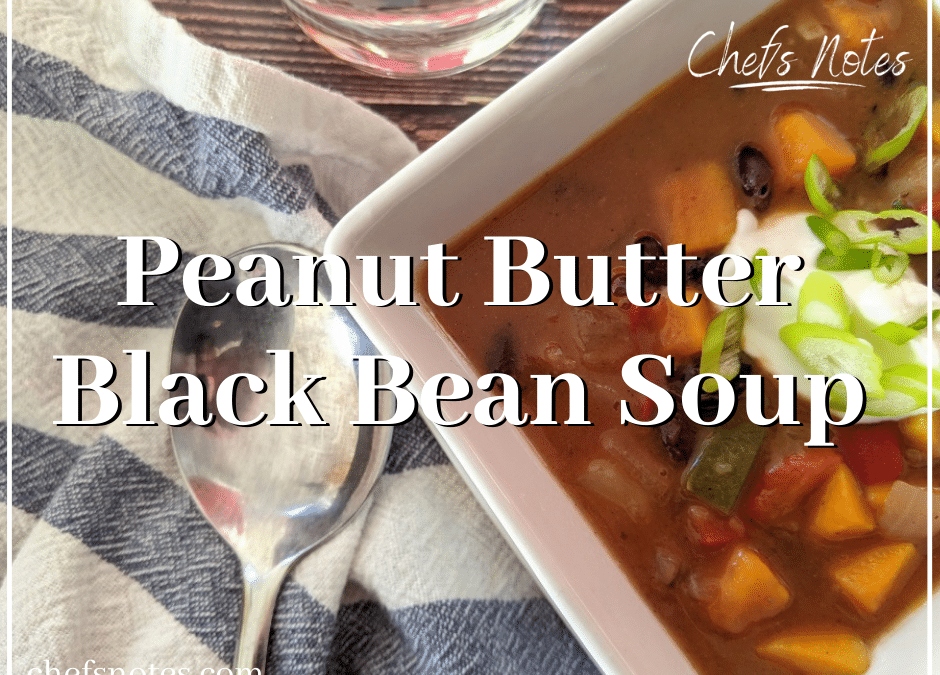
Looking for a hearty and flavorful soup that’s a little out of the ordinary? Look no further than this Peanut Butter Black Bean Soup recipe. While black bean soup is a staple of Southwestern US and Mexican cuisine, this recipe takes inspiration from various African cuisines to create a unique and satisfying dish. The combination of savoury black beans and rich, nutty peanut butter results in a flavour that’s both familiar and unexpected. In this post, we’ll show you step-by-step how to make this delicious and easy-to-prepare soup so that you can enjoy it in the comfort of your own home. Let’s get started!
Black Bean Soup Ingredients
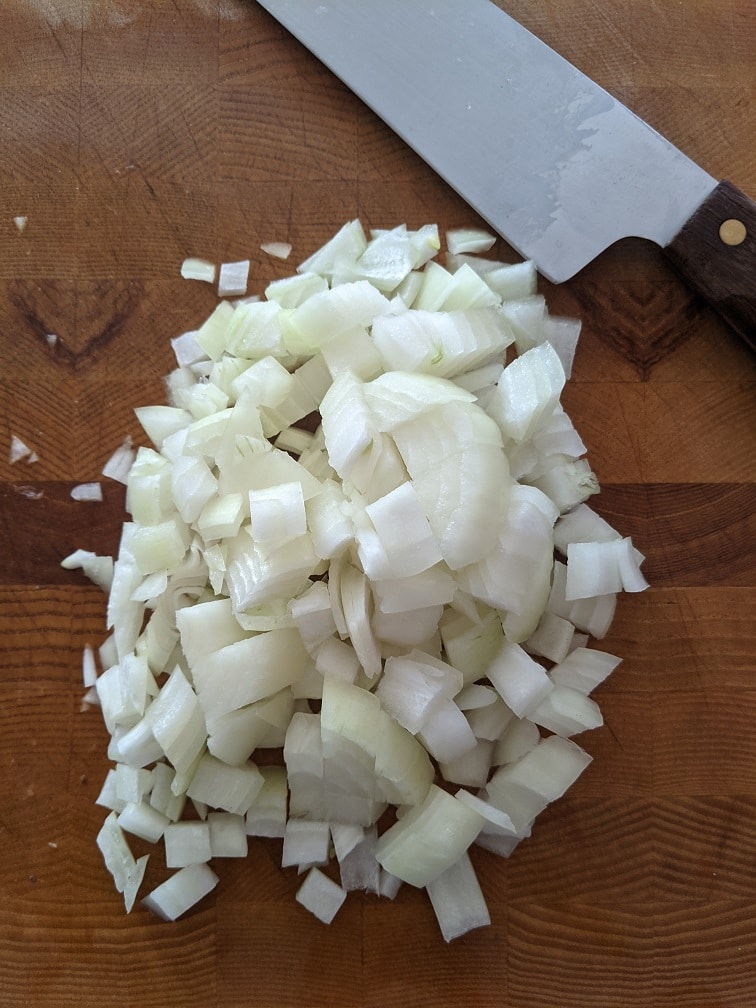
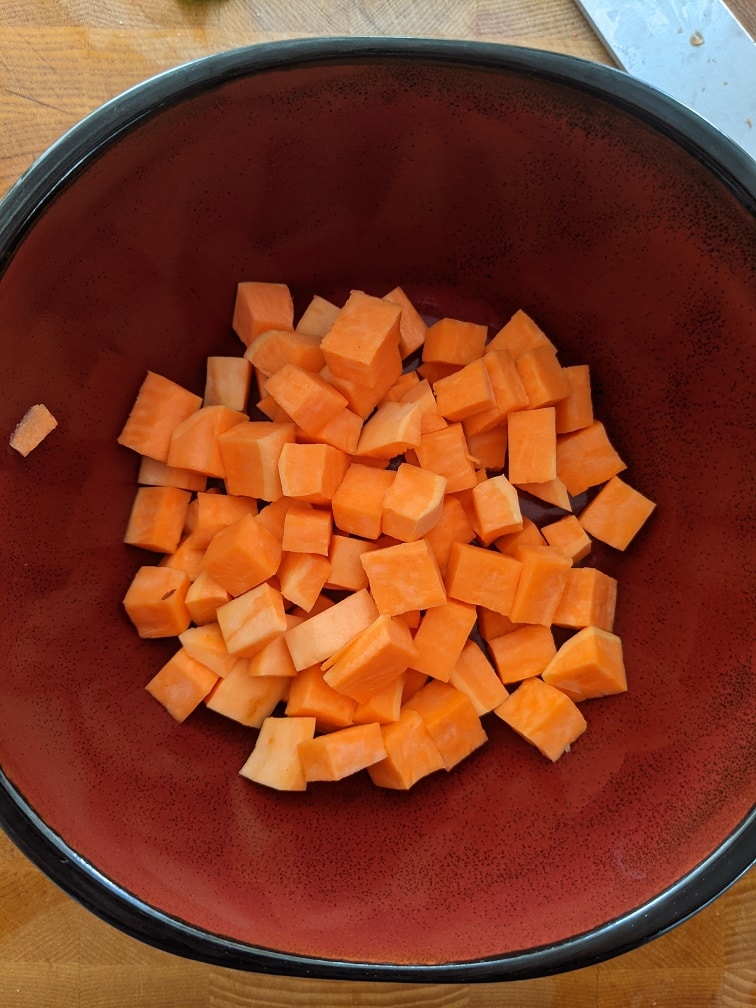
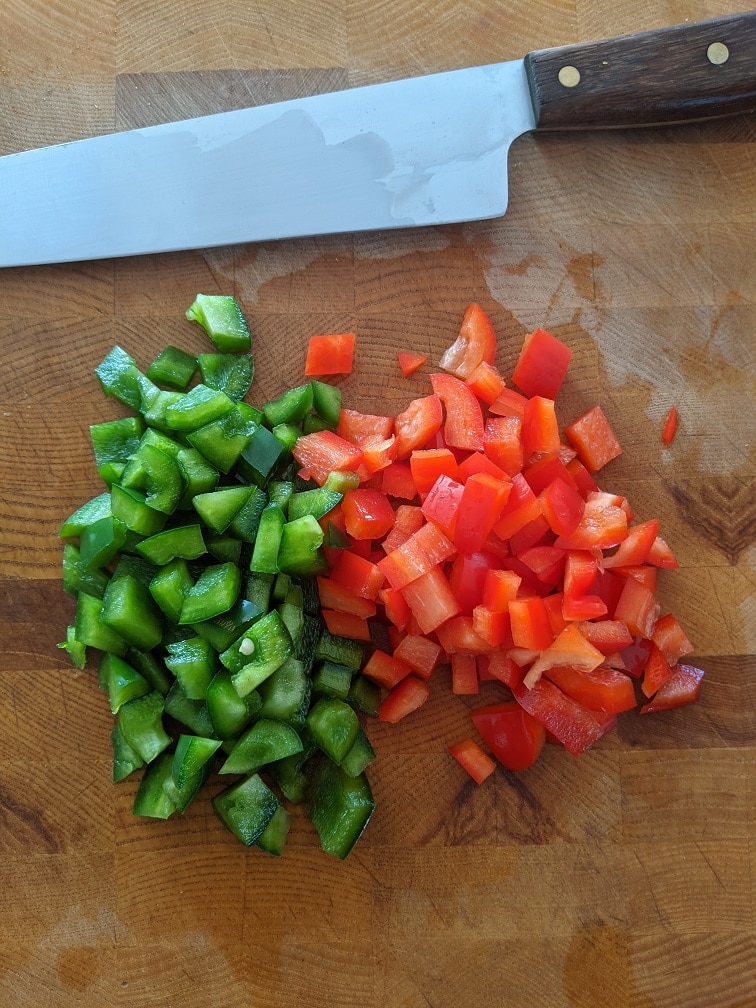
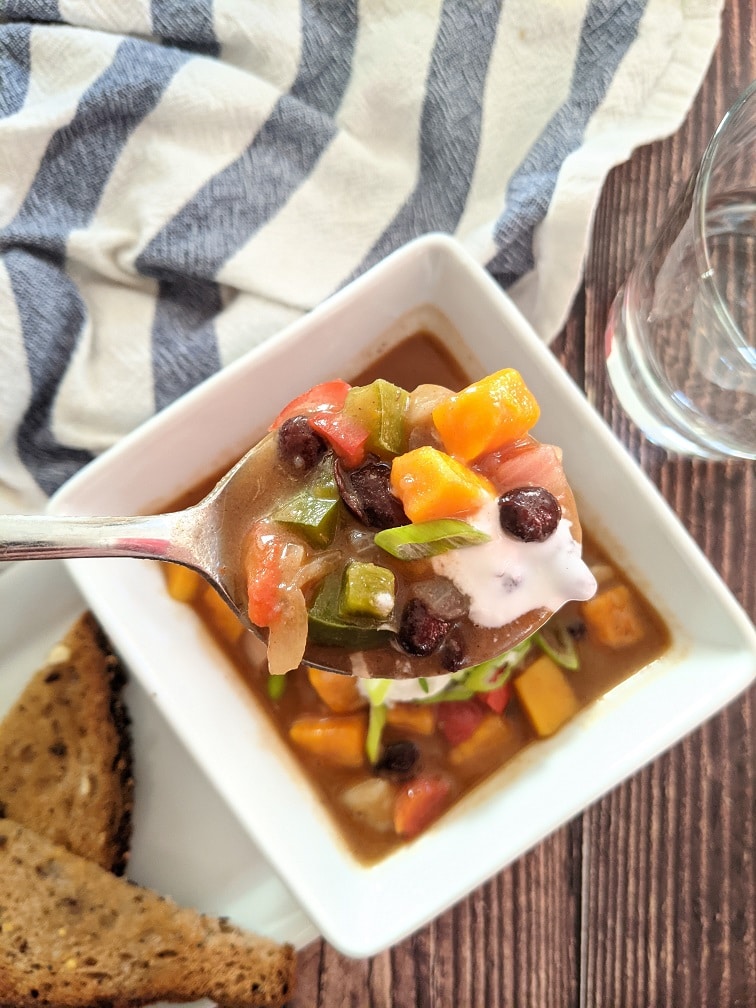
If you’re looking for a flavorful and satisfying soup, the ingredients in this Peanut Butter Black Bean Soup are sure to hit the spot. The soup starts with a base of diced onion, minced garlic, grated ginger, and tomato paste, which create the foundational flavours and aromas that make this soup so delicious. The addition of diced potato and sweet potato adds substance to the soup while also providing a touch of natural sweetness that balances out the savoury ingredients. Diced red and green bell peppers also play a key role in providing flavour and texture to the soup.
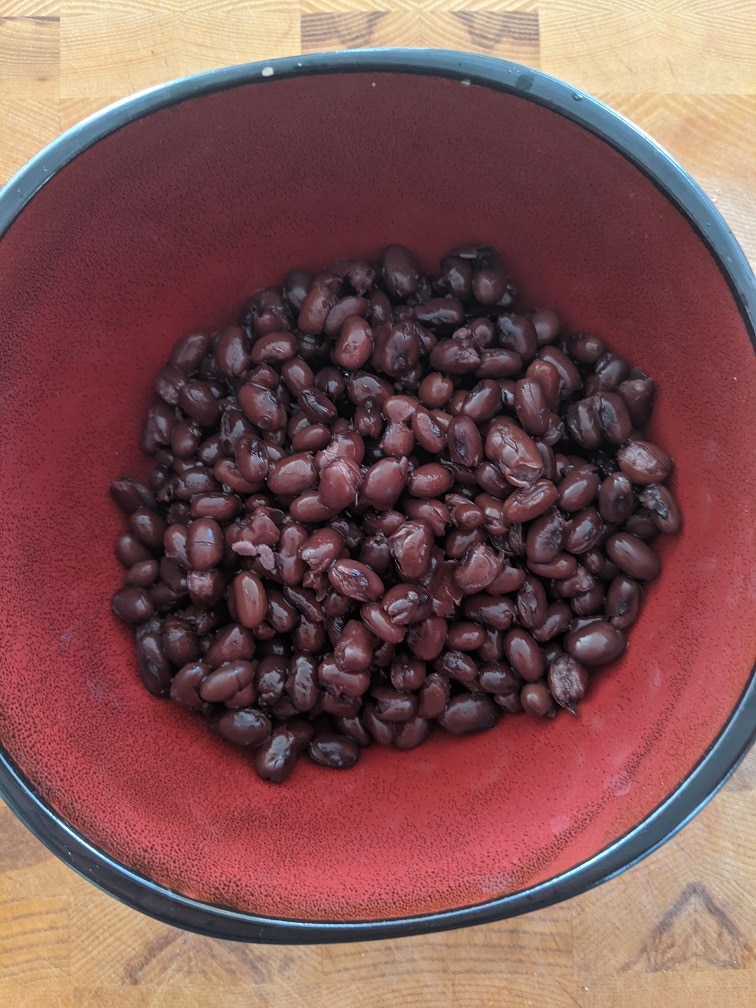
Of course, the star ingredient of this recipe is the black beans. Not only do they add protein and essential nutrients, but they also provide a meaty texture that helps make this soup more filling and satisfying. For the broth, you can use chicken stock or water – both work well, and the choice is up to you. Finally, a bit of brown sugar and peanut butter add the perfect finishing touch to the soup, creating a rich and complex flavour that’s sure to delight your taste buds.
Spices
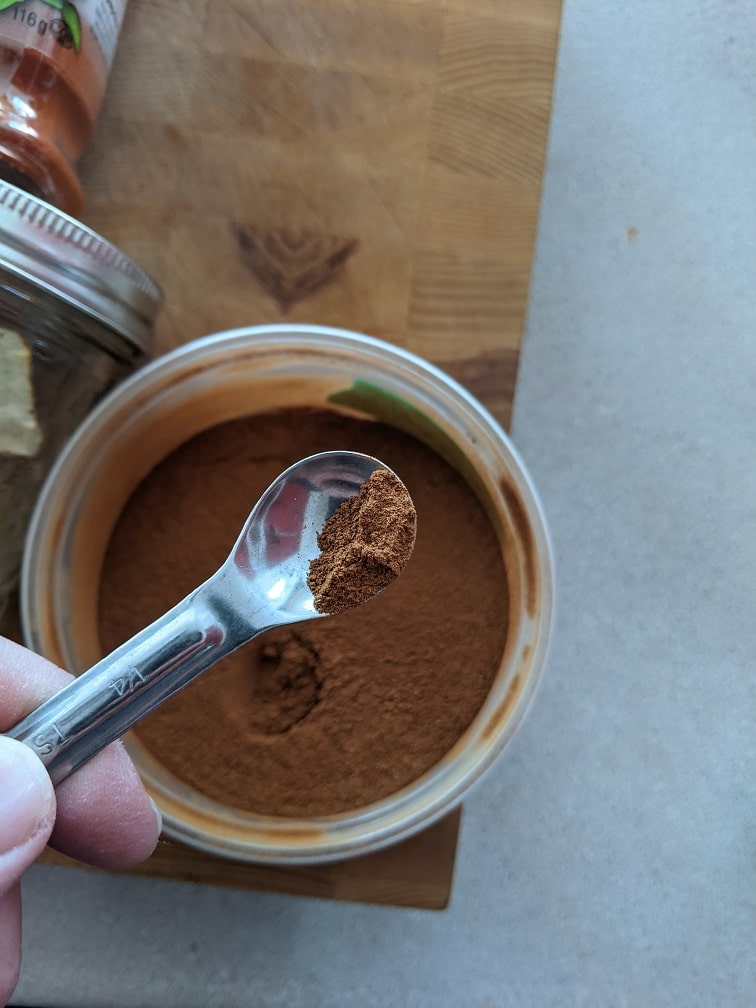
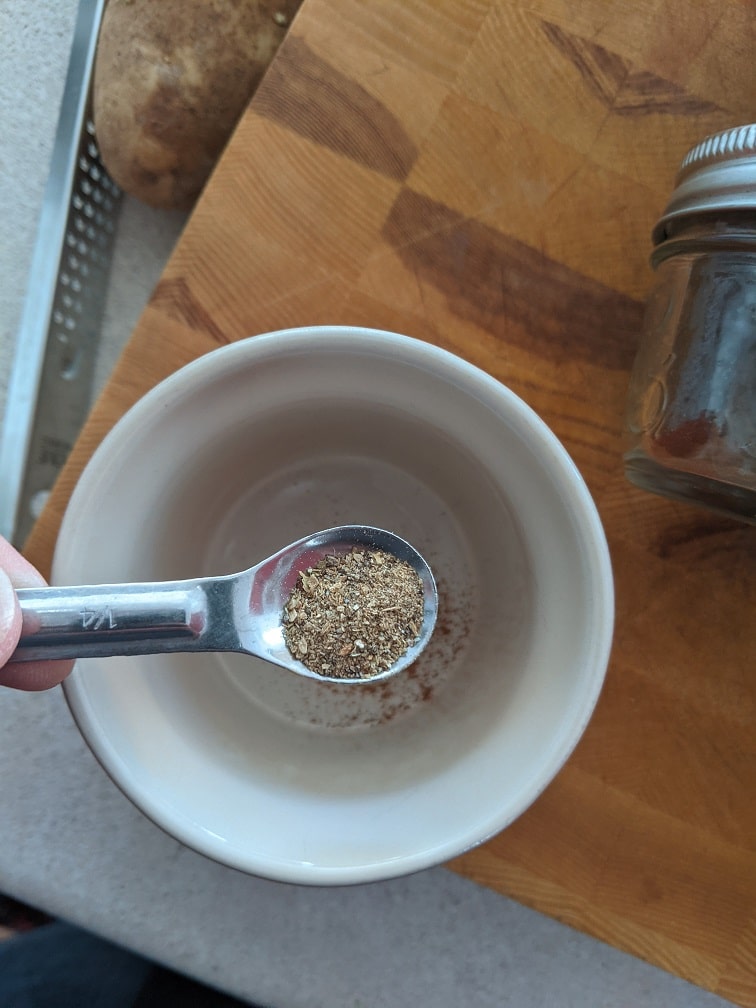
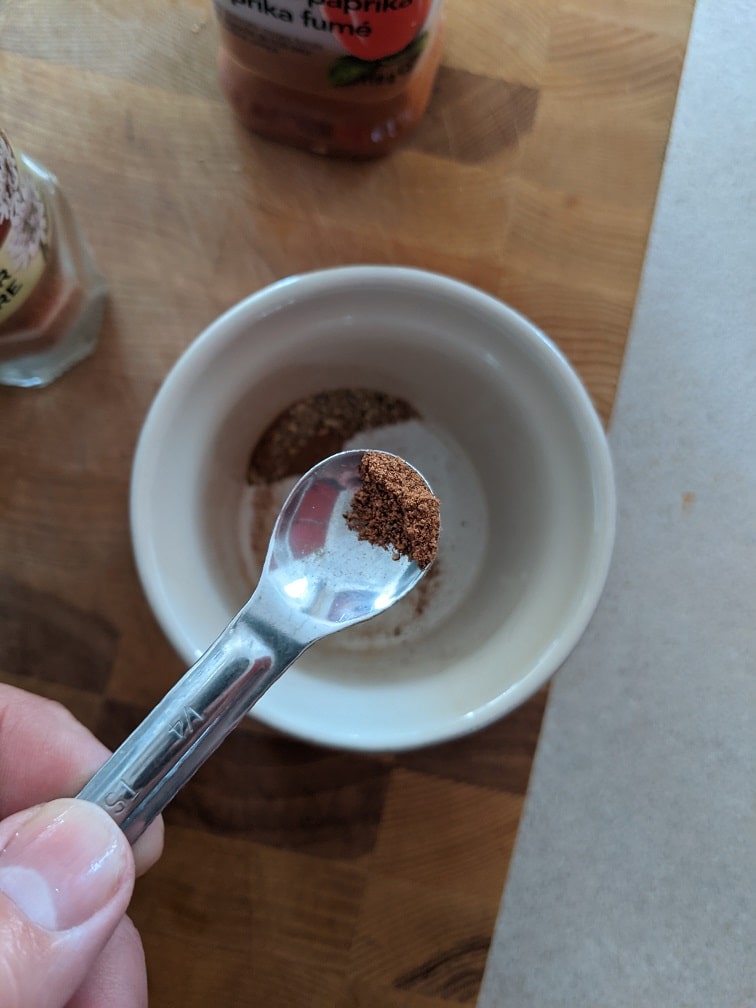
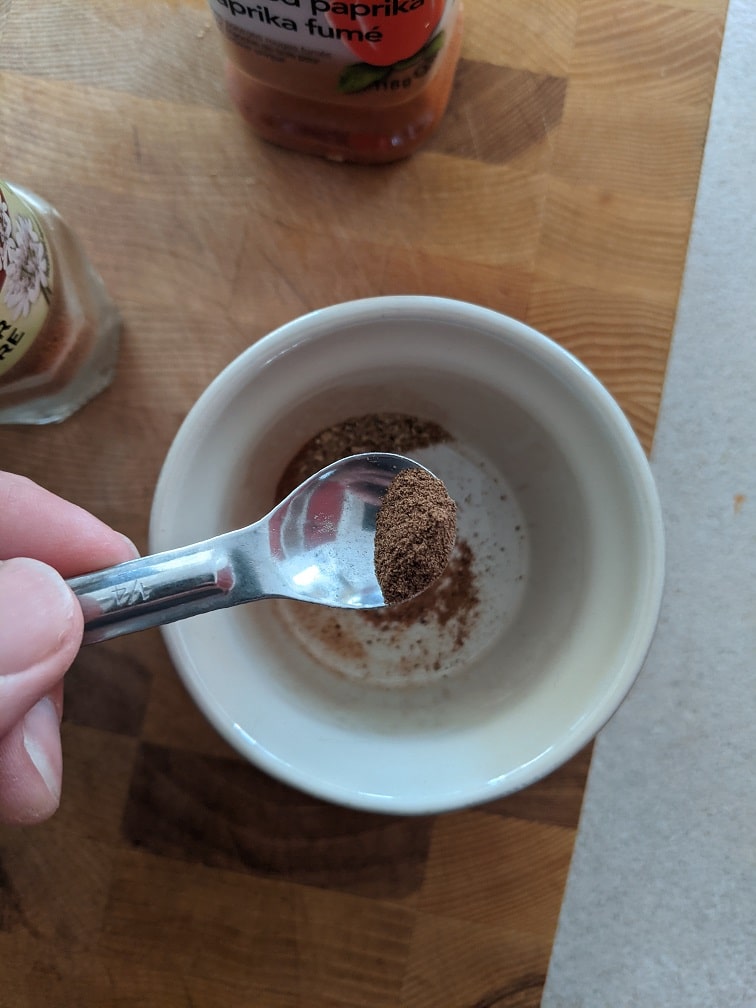
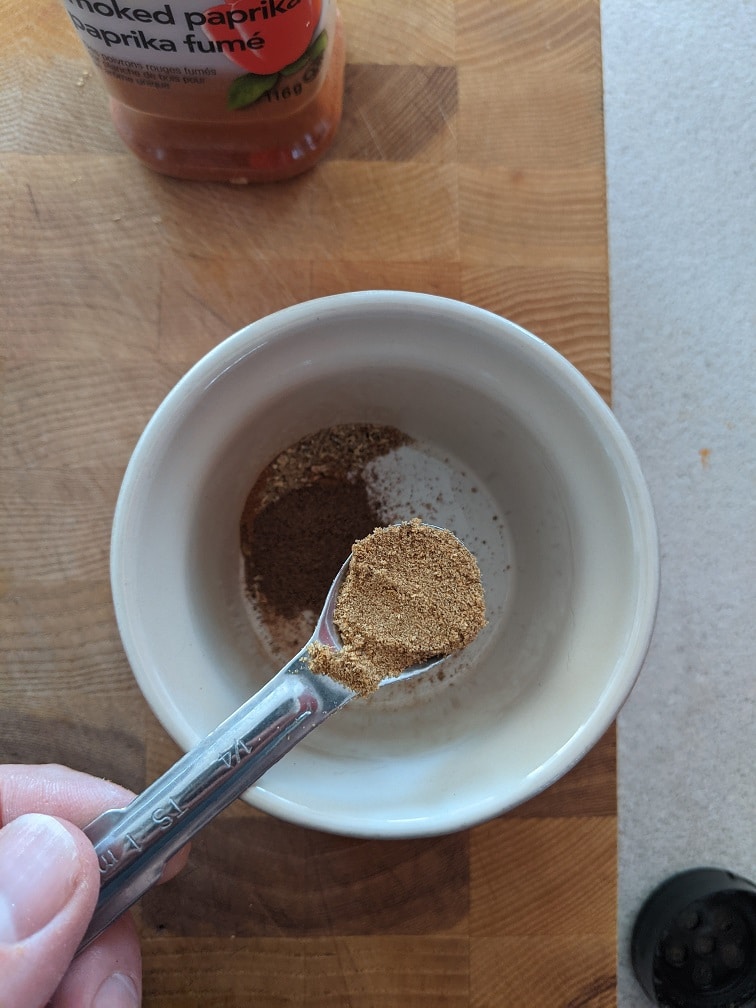
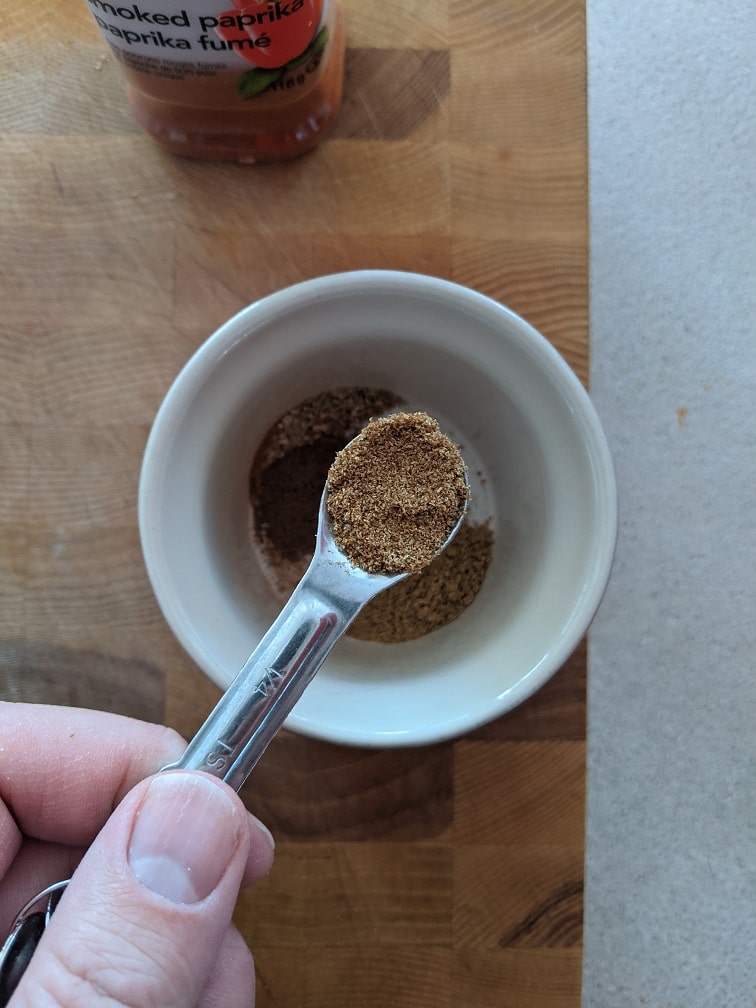
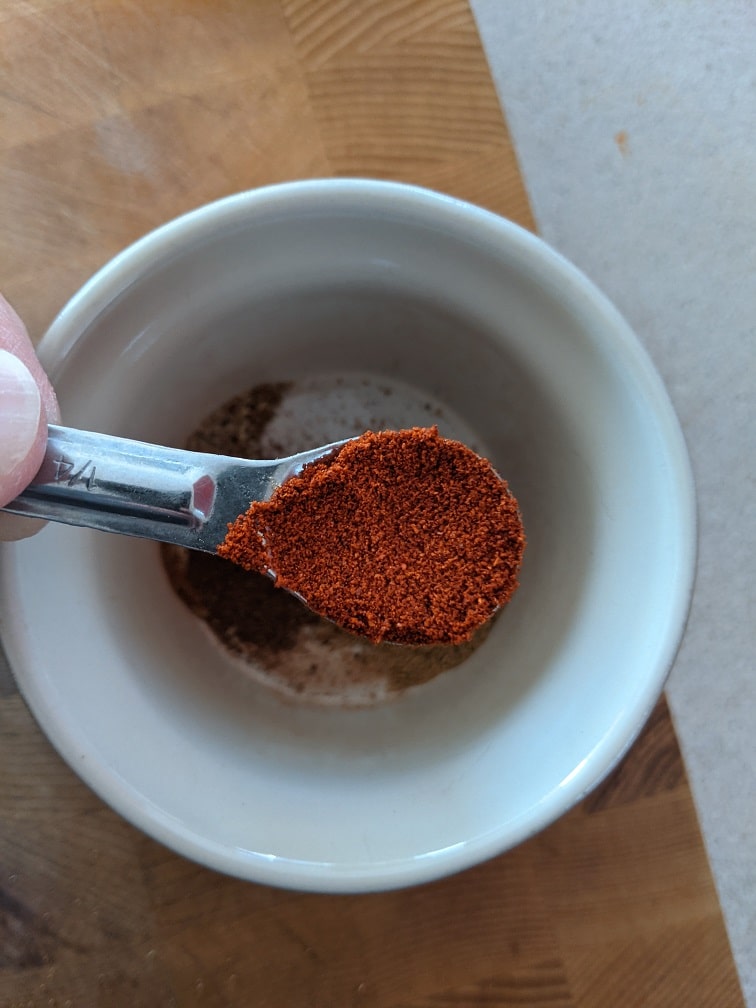
To create the rich and complex flavours in this Peanut Butter Black Bean Soup, a variety of spices are used. Cinnamon, cardamom, allspice, nutmeg, cayenne, coriander, cumin, smoked paprika, black pepper, and salt all play a role in creating the final flavour profile. It may seem like a lot of spices, but each one brings a unique flavour and aroma to the soup that’s worth the effort.
If you’re missing some of the spices in your pantry, don’t worry – you can easily substitute them with other spice blends. For example, you can use one tablespoon of either Madras Curry Powder (yellow curry), Garam Masala, or Berbere Spice to replace all of the spices except for the salt and pepper. These spice blends will bring a similar level of complexity and flavour to the soup, so you won’t be missing out on anything.
If you’re interested in making your own spice blends, we’ve included recipes for Madras Curry Powder and Garam Masala at the end of this post. You can also find these spice blends at your local grocery store, or you can order them online if they’re not readily available in your area. Whatever spice blend you choose, we’re sure that the final flavour of the Peanut Butter Black Bean Soup will be absolutely delicious.
Making Black Bean Soup
Building The Flavour
The key to making this Peanut Butter Black Bean Soup truly delicious is to build layers of flavour that complement each other. To start, add one tablespoon of olive oil to a 3-quart pot over medium-high heat. Once the oil is heated, add the diced onions and cook for about three minutes or until they begin to soften. This will help release the natural sweetness of the onions and create a strong foundation of flavour for the soup.
Next, add the minced garlic to the pot and cook for another minute. Garlic is a key ingredient in many soup recipes, adding an intense and slightly sweet flavour that pairs well with the other ingredients in the soup. By adding it after the onions have cooked for a few minutes, you’ll allow the garlic to cook just enough to release its aroma and flavour without burning it.
As the onions and garlic cook, be sure to stir them frequently to prevent burning and to ensure that they cook evenly. This will help to build a base layer of flavour that will continue to develop as you add in the other ingredients. With the right blend of spices and seasonings, you can create a complex and satisfying soup that’s sure to be a hit with family and friends.
For the full recipe and all the measurements, please refer to the printable recipe below. With a little bit of patience and careful attention to detail, you’ll be able to create a soup that’s both comforting and flavorful.
Adding Depth
To further enhance the depth of flavour in the Peanut Butter Black Bean Soup, incorporate the grated ginger and blend of spices into the pot. Add them to the pot with the onions and garlic, and cook, constantly stirring, for about thirty seconds. This will help to release the aromatic flavours of the spices and ginger.
Next, add the tomato paste to the pot and cook for two more minutes. This will help to deepen the flavour and colour of the soup while also adding a subtle sweetness that balances out the other spices. As you cook the tomato paste and spices, be sure to keep stirring and scraping the bottom of the pot. This will help to prevent burning and ensure that the flavours are evenly distributed throughout the soup.
By adding these ingredients and taking the time to cook them properly, you can create a rich and complex flavour profile that will satisfy your taste buds. Don’t be afraid to experiment with the blend of spices to find a combination that’s perfect for you. The beauty of soup is that it’s easy to adjust and customize based on your personal preferences. With a little bit of patience and careful attention to detail, you’ll be able to create a soup that’s both comforting and flavorful.
Finishing The Peanut Butter Black Bean Soup
Now that the spices and seasonings have had a chance to develop, it’s time to finish the Peanut Butter Black Bean Soup. Add the water or stock to the pot, and stir to lift any stuck bits of food off the bottom of the pot. Turn the heat up to high and bring the liquid to a boil.
Next, add in the diced potatoes and sweet potatoes and cook for about five minutes. This will allow the potatoes to cook while also absorbing the flavours of the soup.
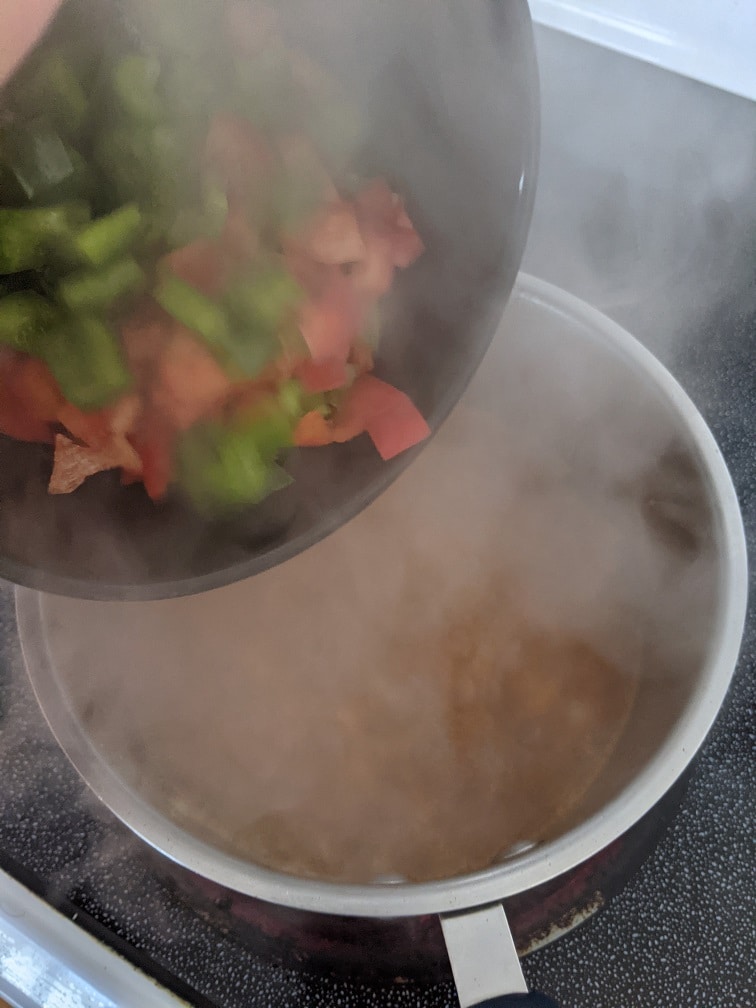
Once the potatoes have cooked for five minutes, add in the black beans and diced peppers. Turn the heat back down to medium-high, and season the soup with salt and pepper to taste. Cook the soup for five more minutes, allowing the black beans and peppers to soften and the flavours to meld together.
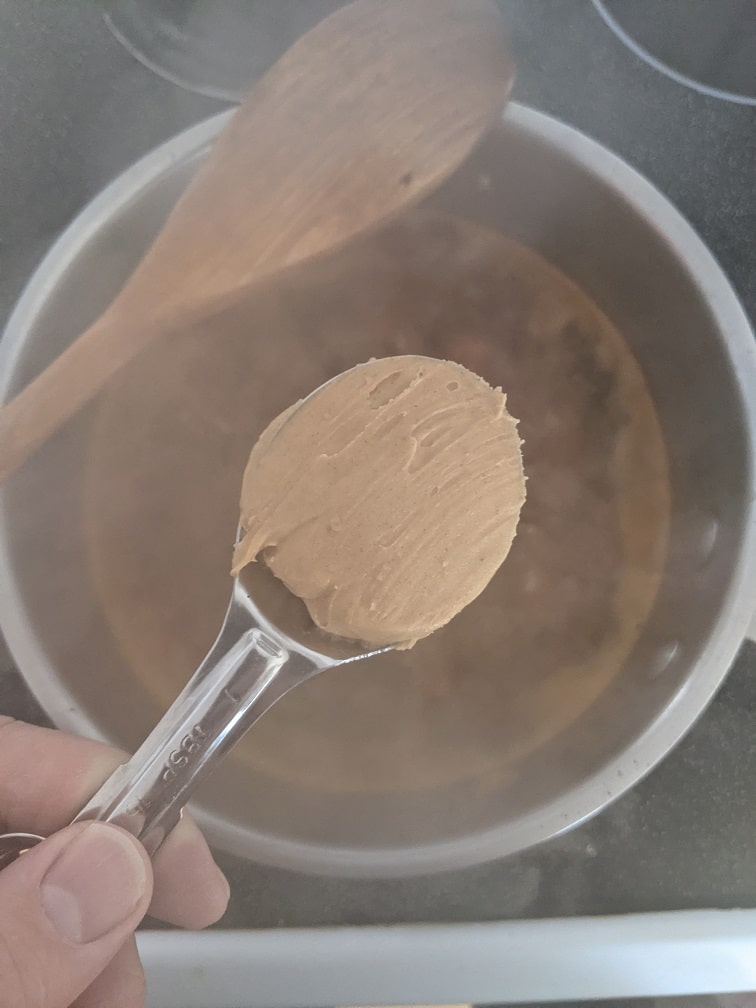
Stir in the peanut butter and brown sugar, which will add a rich and nutty flavour to the soup. Turn the heat down to low and let the soup simmer for about ten minutes, allowing the flavours to meld together even further. Be sure to taste the soup and adjust the seasoning with salt and pepper as needed.
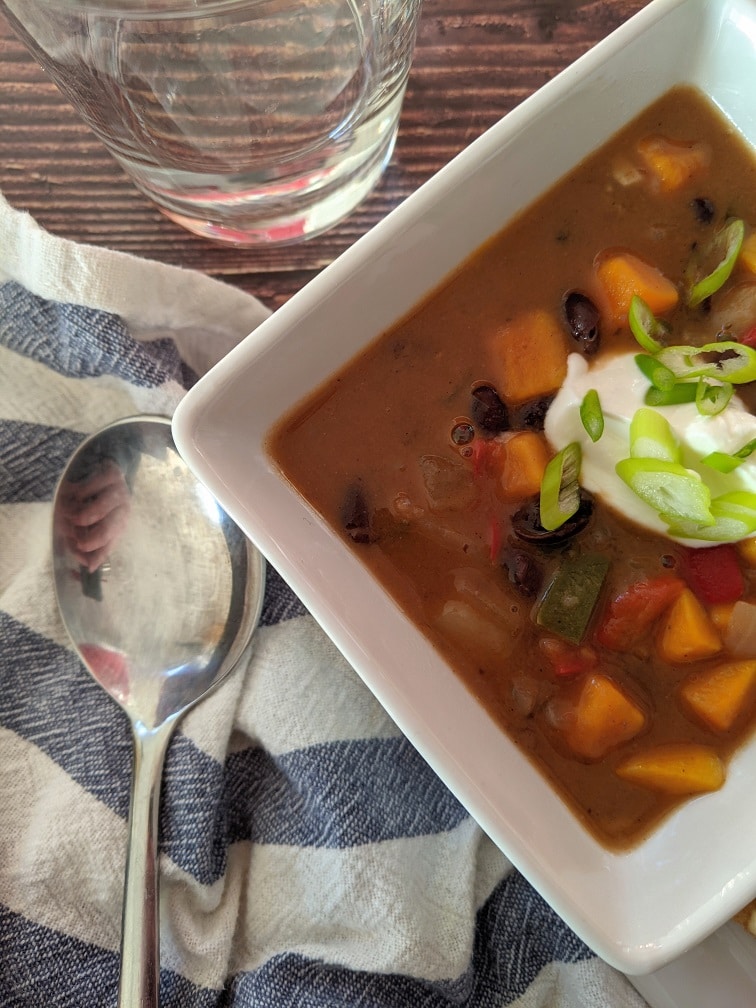
Once the soup has simmered for ten minutes, it’s ready to serve. Ladle the soup into bowls and garnish with your favourite toppings, such as sour cream, chopped cilantro, or avocado. The finished soup should be thick, hearty, and full of rich and complex flavours that will satisfy your taste buds.
Serving The Peanut Butter Black Bean Soup
Once the Peanut Butter Black Bean Soup is ready, it’s time to serve it up and enjoy. Ladle the soup into four bowls, and top each one with a small dollop of plain yogurt or sour cream. This will help balance the flavours and add a touch of tanginess to the dish.
Next, garnish the soup with thinly sliced green onions, which will add a pop of freshness and colour to the dish. You can also add additional toppings if you like, such as chopped cilantro, diced avocado, or a sprinkle of grated cheese. These toppings can help to add even more flavour and texture to the soup.
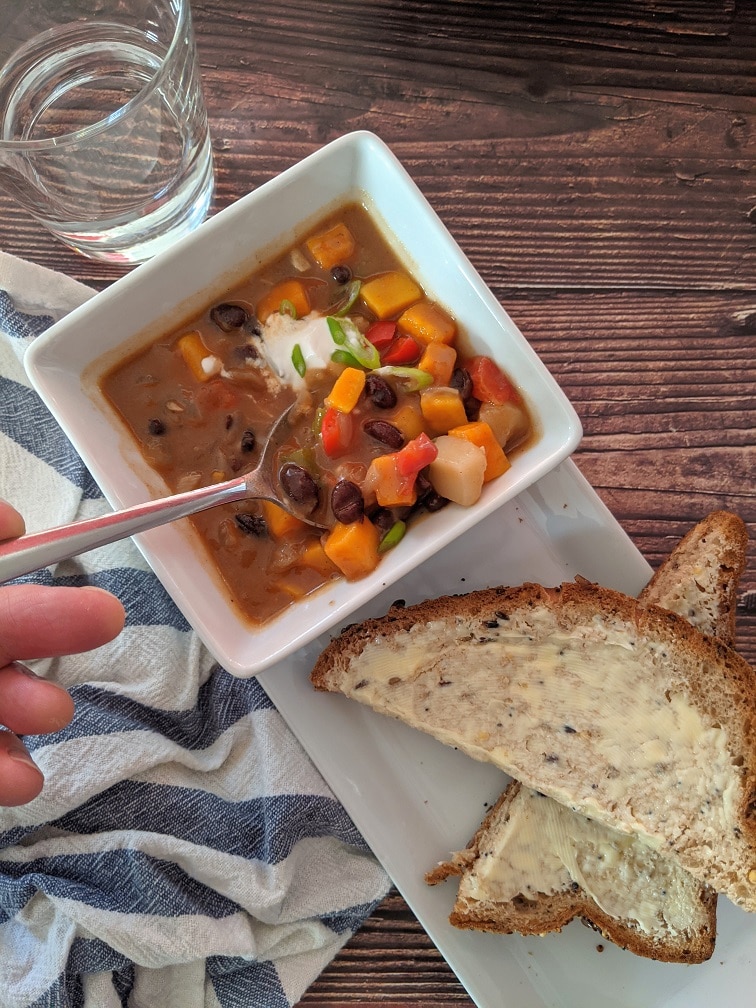
Finally, the soup is best served with some crusty bread or buttered bread on the side. This will allow you to soak up the flavorful broth and enjoy every last bit of the soup. You can also serve the soup with tortilla chips or crackers for an added crunch.
With its rich and complex flavour profile and hearty texture, this Peanut Butter Black Bean Soup will surely be a hit with family and friends. So go ahead and enjoy this delicious and nutritious soup, and don’t forget to experiment with your own custom toppings to make it your own.
Peanut Butter Black Bean Soup
Change up your favorite black bean soup with our Peanut Butter Black Bean Soup recipe. This unique soup uses African-inspired flavors, including peanut butter and spices, to create a rich and satisfying dish. Say goodbye to the same old Southwest or Mexican-inspired black bean soups and try something new today!
Put the olive oil and onions in a 3-qt pot preheated on medium-high. Cook for three minutes or until the onions start to soften.
Add in the garlic and cook for another minute, then add in the ginger and spices. Cook the ginger and spices, stirring for thirty seconds, then add the tomato paste and cook for two minutes stirring the whole time.
Add the water or stock, turn the heat up to high and bring to a boil, then add in the potatoes and sweet potato.
Boil the potatoes for five minutes.
Add the black beans and peppers, turn the heat back down to medium-high, season with the salt and pepper, and cook for another five minutes.
Stir the peanut butter and sugar into the soup, and cook for five more minutes.
Turn the heat down to low and simmer for 10 minutes.
Serve the soup garnished with a dollop of plain yogurt and sliced green onions.
When I first set out to make this Peanut Butter Black Bean Soup, I had a completely different vision in mind. But as I was cooking and experimenting with different flavours and ingredients, I made some adjustments and alterations to my original concept. The result? The rich and flavorful soup that you’ve seen here.
I have to say, I’m absolutely thrilled with how this recipe turned out. I know that some people may be skeptical about the idea of adding peanut butter to a soup, but trust me when I say that it makes all the difference. The peanut butter adds depth and richness to the soup that just wasn’t there before, elevating the dish to a whole new level of deliciousness.
I encourage you to give this recipe a try, especially on a chilly winter evening when you’re craving something warm and comforting. The unique blend of African-inspired flavours, including the richness of the peanut butter and a blend of aromatic spices, make this soup a standout dish that’s sure to please. So go ahead and give it a try, and let me know what you think. I’m confident that you’ll love it just as much as I do.
Thank you for reading this post. Share it on Facebook, Pinterest, or Twitter to help Chef’s Notes grow.
Subscribe to Chef’s Notes below, and you will never miss a post again.
Garam Masala
Garam Masala is what curry powder should be. It is a much more flavourful and authentic spice blend then the yellow curry powder we are all used to.
Nova Scotia Fish Chowder holds a special place in my heart because of a childhood memory that has stayed with me for nearly two decades. When I was younger, my father would take my sisters and I to his work Christmas party, and the one thing that stood out to me the most about those events was the giant pot of chowder that was served in little cardboard cups. Even though I haven’t had the chance to attend one of those parties in many years, the taste of that chowder is still fresh in my mind.
Inspired by that memorable experience, I decided to recreate the recipe and share it in this post. Nova Scotia seafood chowder is known for its hearty, filling qualities, and this recipe is no exception. It is creamy, thick, and packed with a variety of fish, just as a true Nova Scotia fish chowder should be. This is not a delicate or refined soup – it is a hearty, satisfying meal that will warm you from the inside out on a cold, blustery day. So if you’re looking for a comforting, satisfying chowder that will stick to your bones and chase away the chill, this recipe is for you.
Where’s the lobster?
One thing you might notice about this chowder recipe is that it does not contain lobster or shrimp. There are a few reasons for this. Firstly, while this chowder does include scallops, it is primarily a fish chowder and not a seafood chowder. Secondly, the chowder that I am recreating in this post did not originally contain lobster or shrimp, so I wanted to stay true to that recipe. Finally, and most importantly, I have a severe allergy to shrimp, lobster, and crab, so for my own safety and well-being, I have chosen to omit these ingredients from the recipe. That being said, if you do not have a lobster allergy and would like to add some lobster or shrimp to the chowder, you are welcome to do so. Simply omit the scallops and add in your preferred seafood to taste.
Potatoes
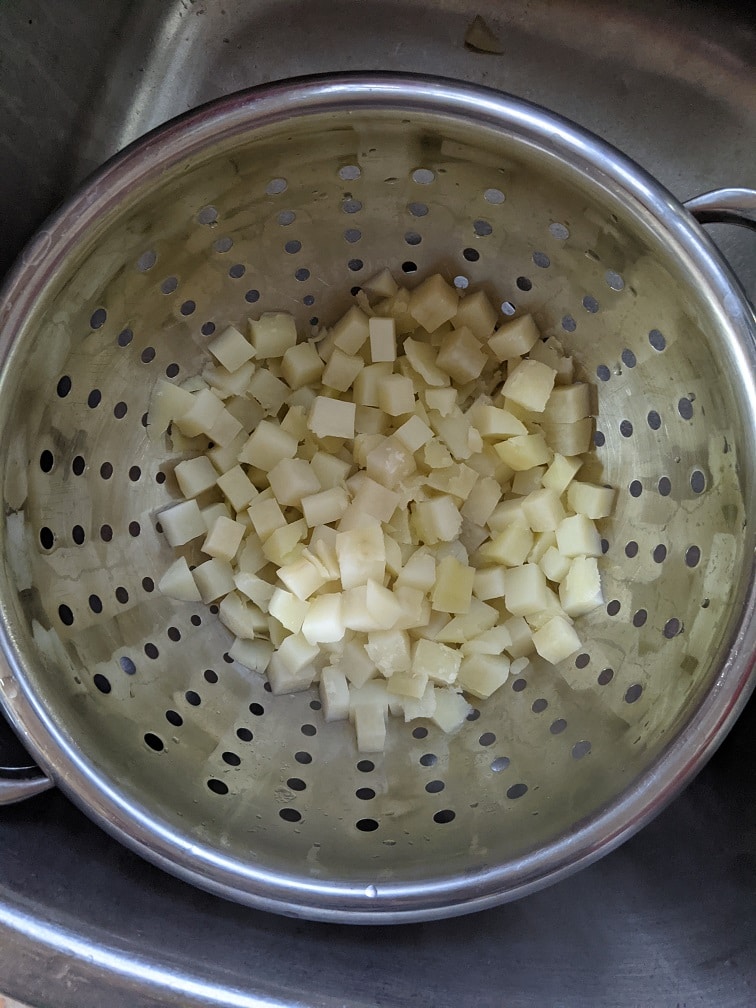
Potatoes are a key ingredient in any good chowder, and this recipe is no exception. I used russet potatoes, approximately two cups of peeled and diced (one to two-centimetre cubes) potato. While I typically prefer to use Yukon gold potatoes in soups and chowders because they hold their texture better, I happened to have a large bag of russets on hand, so that’s what I used. To prepare the potatoes, simply peel, wash, and dice them, then bring them to a boil in a pot of salted water. Cook the potatoes until they are tender, then drain them and set them aside. There is no need to rinse the potatoes in cold water to cool them down – they will be fine as they are.
Vegetables
This Nova Scotia Fish Chowder Recipe follows the traditional French technique of using onions, carrots, and celery as the base vegetables. I used a total of one cup of diced yellow onion, and half a cup each of diced carrot and celery. It is important to dice the vegetables into small, even pieces, ideally about one centimetre in size. This helps to ensure that the vegetables cook evenly and contribute to the overall texture of the chowder. By using a combination of these three classic vegetables, you can create a flavorful foundation for the chowder that complements the fish and other ingredients.
Fish
For this Nova Scotia Fish chowder, I used a variety of fish, including halibut, haddock, scallops, and smoked mackerel. I used approximately one pound of each of these fish, except for the smoked mackerel, which was about a half cup (possibly a little more) after it was deboned and torn into small pieces. To prepare the fish, cut it into small, two-centimetre cubes. If you are unable to find these specific types of fish in your area, there are several alternatives that you can use. For example, cod, pollock, or hake would all work well in this chowder. You could also use a combination of different types of fish to add more depth of flavour. If you are unable to find scallops, you could try using clams, mussels, or even crumbled seafood sausage. The key is to choose fresh, high-quality ingredients and cut them into small, evenly-sized pieces for the best results.
Making The Chowder
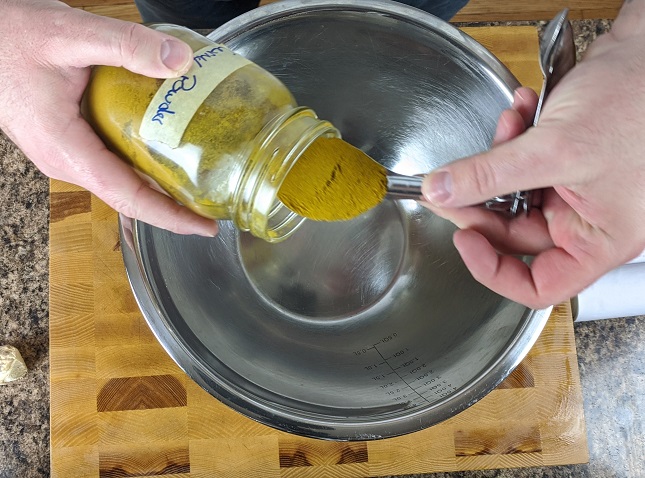
To begin making the chowder, start by heating a large pot over medium heat. Add one tablespoon of canola oil to the pot, followed by the diced vegetables and two tablespoons of butter. Cook the vegetables until they are tender and the onions are translucent, which should take about five minutes. Once the vegetables are cooked, add a half teaspoon of poultry seasoning blend, a half teaspoon of salt, an eighth teaspoon of black pepper, and two tablespoons of flour (I used gluten-free all-purpose flour, but you can use regular flour if desired). Stir the ingredients together and cook for an additional two minutes. This will help to create a flavorful base for the chowder and thicken the broth slightly.
Dairy
Nova Scotia fish chowder is typically made with a combination of cream and milk, which helps to create a rich, creamy texture. For this recipe, I used a total of five cups of whole milk and two cups of whipping cream. It’s important to add the cream to the pot first, followed by the milk. This is because the milk may curdle if it is added to the hot pot before the cream. Once both the cream and milk have been added to the pot, gently simmer the mixture, stirring occasionally to ensure that the roux does not stick to the bottom of the pot. Cook the dairy for about ten minutes, or until the raw flour flavor has been cooked out. This will help to create a smooth, velvety base for the chowder.
Building the Fish Chowder
Now that you have prepared the vegetables, roux, and dairy base for the chowder, it’s time to start building the rest of the dish. Begin by adding the cooked potatoes, smoked mackerel, and scallops back into the pot. Let the pot heat back up for four minutes, then add the halibut and haddock. Stir the ingredients together and simmer the chowder for ten minutes. This will give the fish and scallops time to cook through and absorb the flavors of the chowder. As the chowder simmers, the broth will thicken and the seafood will become tender, creating a rich, hearty meal.
Finishing The Chowder
Once the chowder has finished cooking and all of the ingredients are well combined, it’s time to taste and season the dish to your liking. Take a spoonful of the chowder and taste it, then adjust the seasoning as needed with additional salt and pepper. You may find that the chowder needs a little extra salt to bring out the flavours, or you may prefer a more heavily-peppered chowder. Experiment with different amounts of salt and pepper until you find the combination that tastes best to you.
When the chowder is seasoned to your liking, it’s time to serve it. Ladle the chowder into bowls and serve it with butter biscuits, crackers, or rolls on the side. You can also top the chowder with a sprinkle of fresh herbs or a drizzle of olive oil for added flavour and visual appeal. Enjoy your delicious, hearty Nova Scotia seafood chowder and savour the comforting, warming flavours of this classic dish.
Nova Scotia Fish Chowder
A classic Nova Scotia Fish Chowder is thick, creamy, and loaded with fish. If that is what you're looking for, this recipe will not disappoint.
Keyword: Chowder, Fish and Seafood, Nova Scotia, Seafood
Servings: 6servings
Author: Chef’s Notes
Ingredients
1tbspcanola oil
2cupsdiced potatoes
1cupdiced onion
1/2cupdiced celery
1/2cupdiced carrot
2tbspbutter
2tbspflourgluten-free all-purpose
2cupswhipping cream
5cupswhole milk
1lbscallops, cut into quarters
1/2cupsmoked mackerel, shreddedoptional
1lbhalibut, diced
1lbhaddock, diced
1/2tsppoultry seasoning spice blend
1/2 tspsalt
1/4tsppepper
Instructions
Boil the diced potatoes in salted water until they are tender. Drain and set aside.
Heat a large pot over medium heat. Add the canola oil carrots, onion, and celery and cook until the vegetables soften and the onions turn translucent.
Add the butter, poultry seasoning, salt and pepper into the pot. Wait for the butter to melt, then add in the flour and stir until the flour has been completely moistened by the butter. Cook for two minutes or until the roux (butter and flour mixture) turns from white to blond.
Add the whipping cream and whole milk into the pot, in that order. Heat the dairy, stirring to ensure the roux doesn't stick to the bottom. Let the dairy simmer for ten minutes.
Add the potatoes into the pot and slowly add the fish into the pot. If you add it all at once, it will change the dairy's temperature too quickly and may cause it to split. So, add smoked mackerel and scallops first. Let those cook for three to four minutes, then add in the halibut and haddock, simmer for about ten minutes or until the seafood is cooked.
Taste the chowder and adjust the seasoning with salt and pepper as needed. Serve with buttered biscuits, crackers, or rolls.
Notes
If you can’t find smoked mackerel you can use the same amount of smoked haddock or half a can of smoked kipper snacks.
Nova Scotia Fish Chowder is a hearty, comforting dish that represents the spirit of the people who call this region home. Hardworking, resilient, and always ready to lend a helping hand to their neighbours, Nova Scotians know how to weather life’s storms with stoic determination. And what better way to do that than with a big bowl of chowder? This recipe is my own interpretation of the classic Nova Scotia fish chowder, a creamy, thick, and filling soup that is perfect for chasing away the chill of a cold, blustery day. Whether you are from Nova Scotia or simply looking for a comforting meal to warm your bones, this chowder is sure to hit the spot. So why not give it a try and let your cares, worries, and problems melt away as you savour the flavours of this classic dish? Simply make a batch of chowder, grab a buttered roll, and sit back with a big bowl of it as you imagine the cold, salty air of the North Atlantic and the seagulls cawing in the distance. That’s what this chowder is all about – a moment of peace and comfort in a world that can sometimes be a little overwhelming.
We use cookies on our website to give you the most relevant experience by remembering your preferences and repeat visits. By clicking “Accept”, you consent to the use of ALL the cookies.
This website uses cookies to improve your experience while you navigate through the website. Out of these, the cookies that are categorized as necessary are stored on your browser as they are essential for the working of basic functionalities of the website. We also use third-party cookies that help us analyze and understand how you use this website. These cookies will be stored in your browser only with your consent. You also have the option to opt-out of these cookies. But opting out of some of these cookies may affect your browsing experience.
Necessary cookies are absolutely essential for the website to function properly. This category only includes cookies that ensures basic functionalities and security features of the website. These cookies do not store any personal information.
Any cookies that may not be particularly necessary for the website to function and is used specifically to collect user personal data via analytics, ads, other embedded contents are termed as non-necessary cookies. It is mandatory to procure user consent prior to running these cookies on your website.