")
The other day I challenged myself to make pho in under 30 minutes. Generally, the broth alone takes at least a few hours so this was no small feat. What I came up with is a close approximation to pho, but I wouldn’t call it pho exactly. For that reason, and in the interest of avoiding a torrent of hellfire from a pho loving internet is why I am calling this a pho style soup. Like pho, but not quite pho. One may say it is a pho-ny.
Pho is a noodle soup from Vietnam which came out of the 1920s and became common around the country in the mid-1950s. Traditionally, it is composed of rice noodles, flavourful stock, herbs, meat, and vegetables. It is most often served as street food in Vietnam.
My version has all the traditional markings of pho, but again it isn’t exactly pho. Mine ended up with a little less liquid than it normally would have but that is easily fixed. So, if you are craving a bowl of pho, but you don’t know where to go, here is how you can make…
Pho Style Soup In 30 Minutes Or Less
To speed up the process I used Campbell’s Beef Stock rather than homemade. This cut my time down by hours. I know that some of you are thinking, “Oh. My. God! How could you do that, Ben?” Well, it was simple, I bought it at the store, and put it in my soup and it worked really well. Get over it! Just joking guys. But really, I have no problem buying stock when you don’t have time to make it, or in the case of chicken stock when you just can’t keep up with production. I use way more than I can make.
Anyway, I started cooking at 5:50 pm and the first thing I had to do was start building up flavours to bolster the store-bought stock.
Here we go!
5:50 pm – Turn up the heat
The absolute first thing I did was put a large pot on the stove and turn it on over medium heat. I also filled a medium pot with hot water and put that on the stove on high. The big pot is for the soup. The medium pot of water is for the noodles.
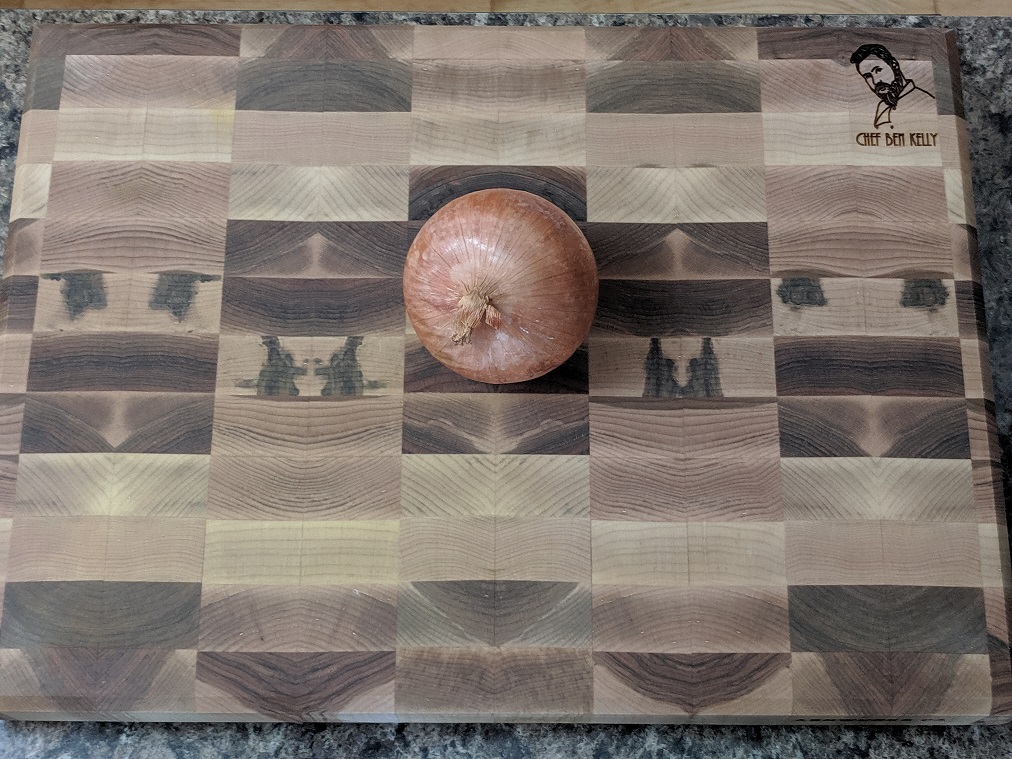
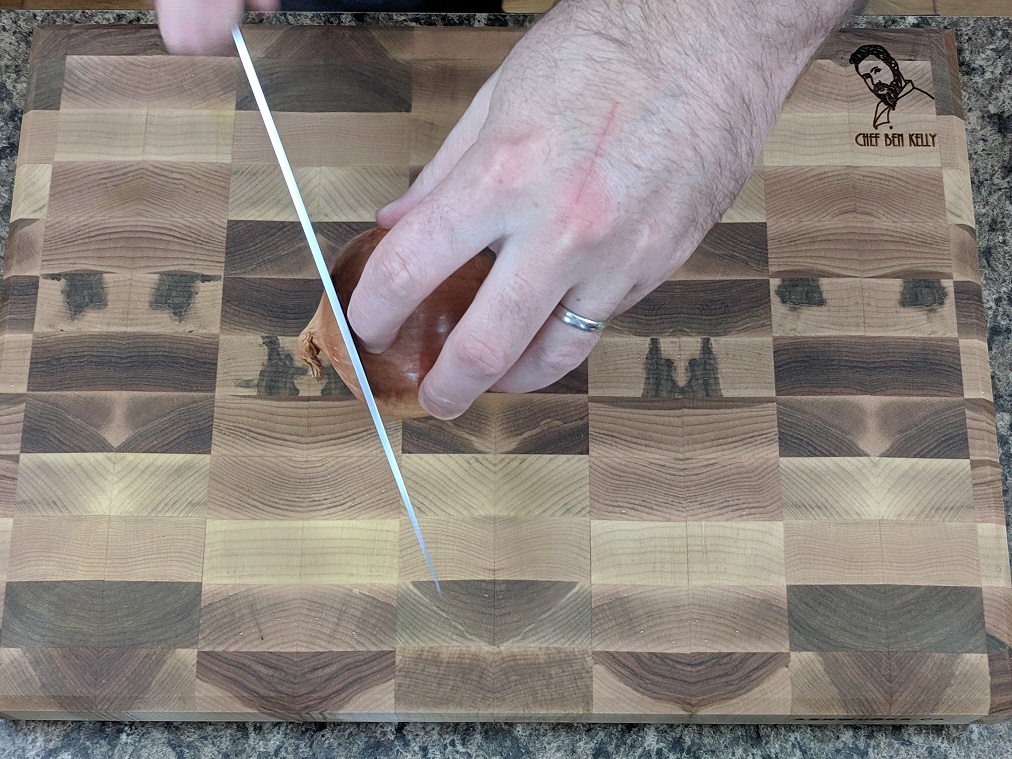
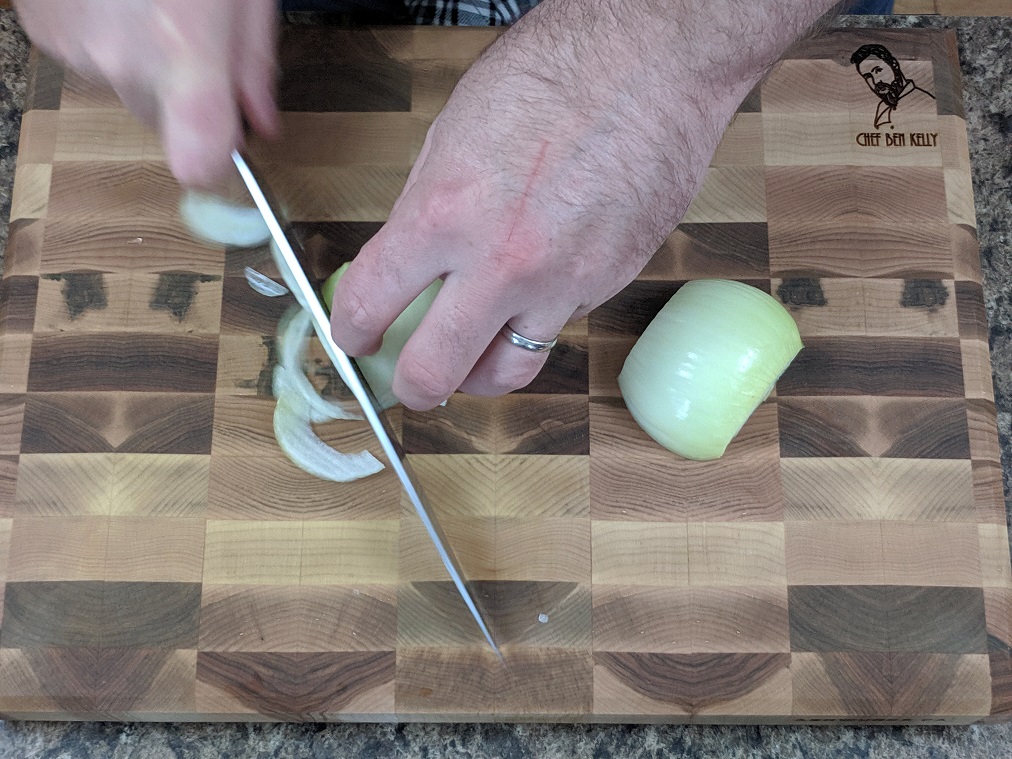
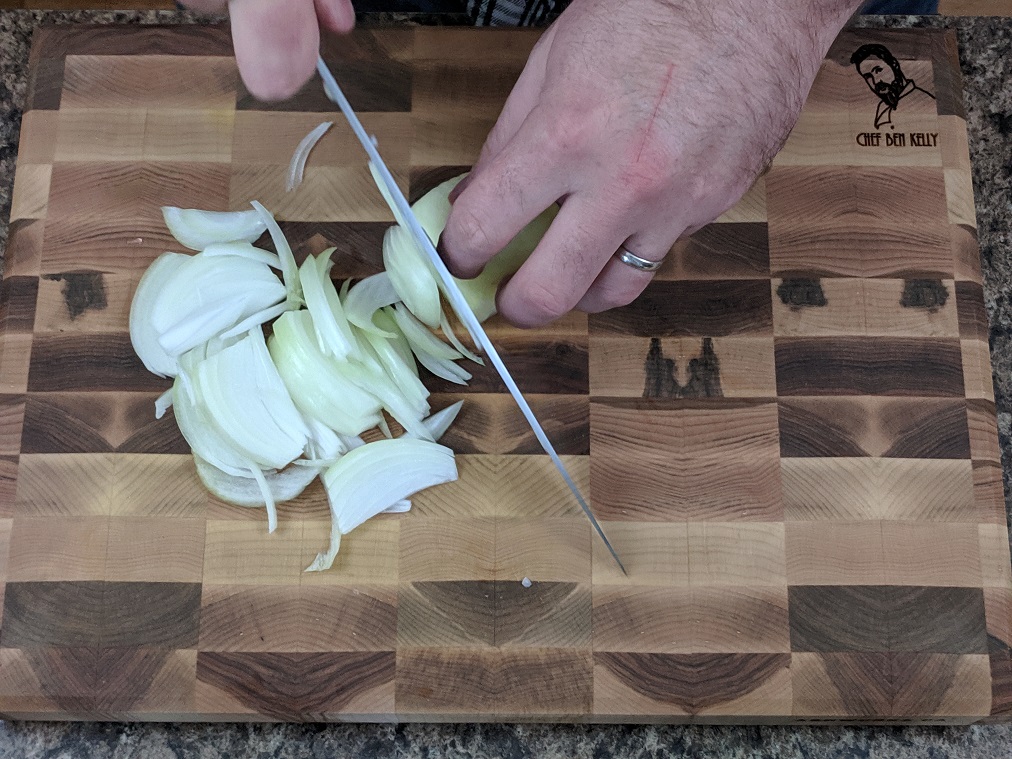
Getting the pots on only took about a minute. Once that was done, I jumped right into prep, starting with an onion.
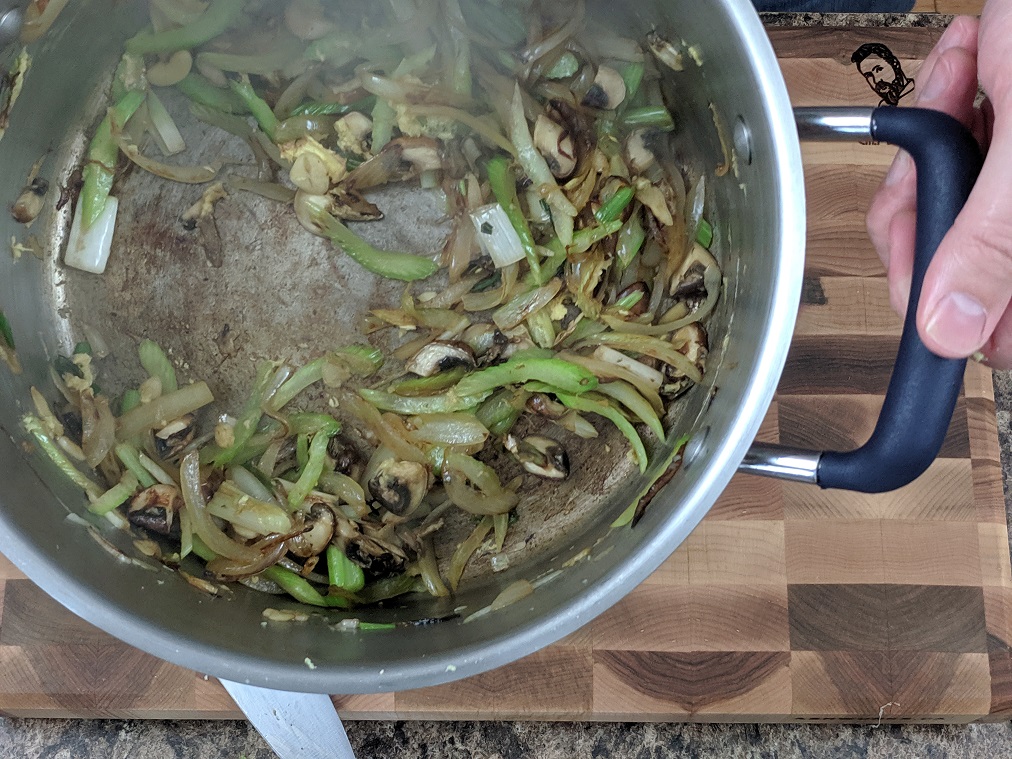
I first cut the ends off, cut it in half, peeled it, and then thinly sliced it. I add one tablespoon each of sesame oil and canola oil to the large pot and put the onions in to begin to cook.
I’m pretty quick with an onion so at this point only two minutes had gone by. This may take you a little longer, but as you will see later, there is time to spare.
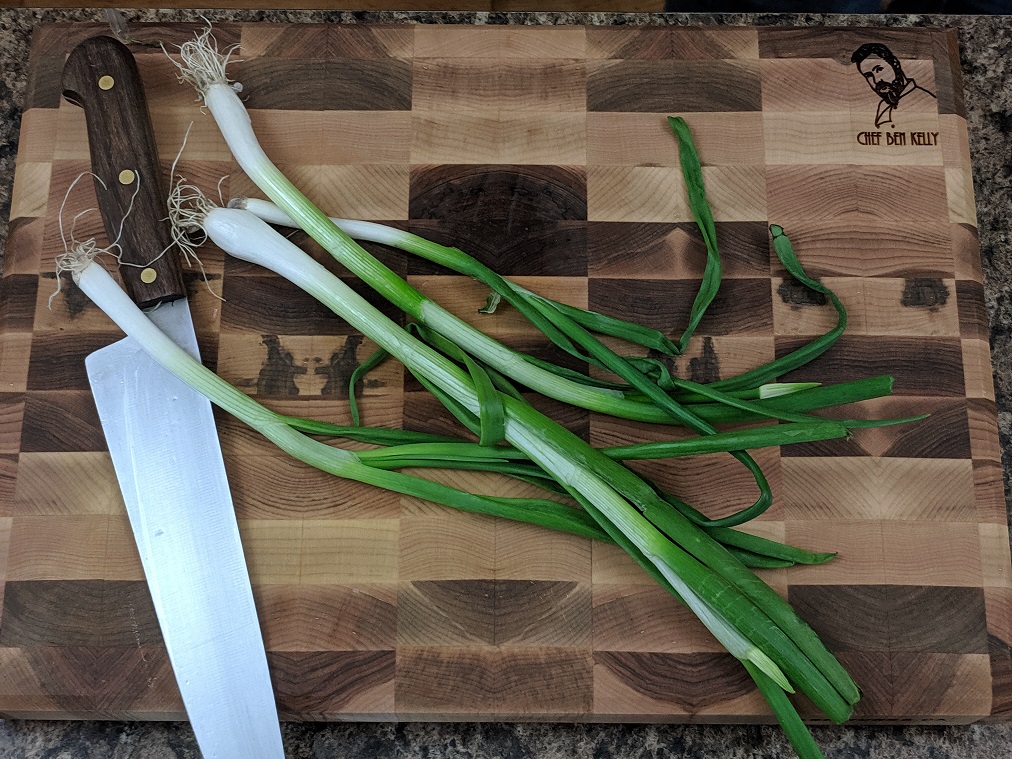
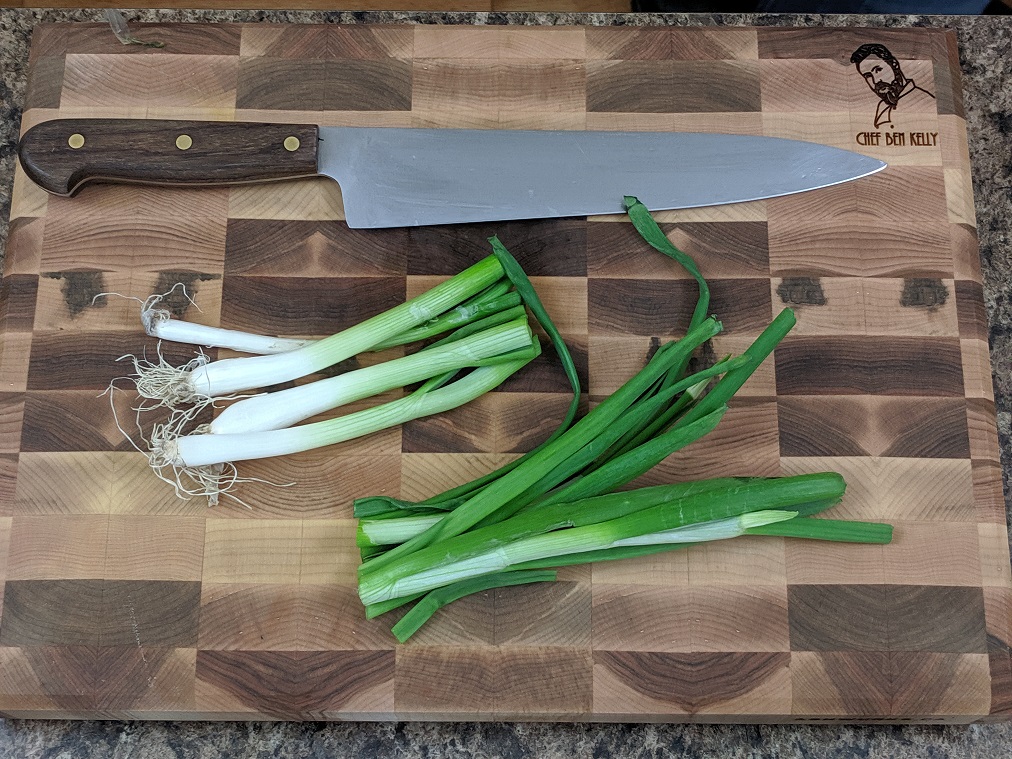
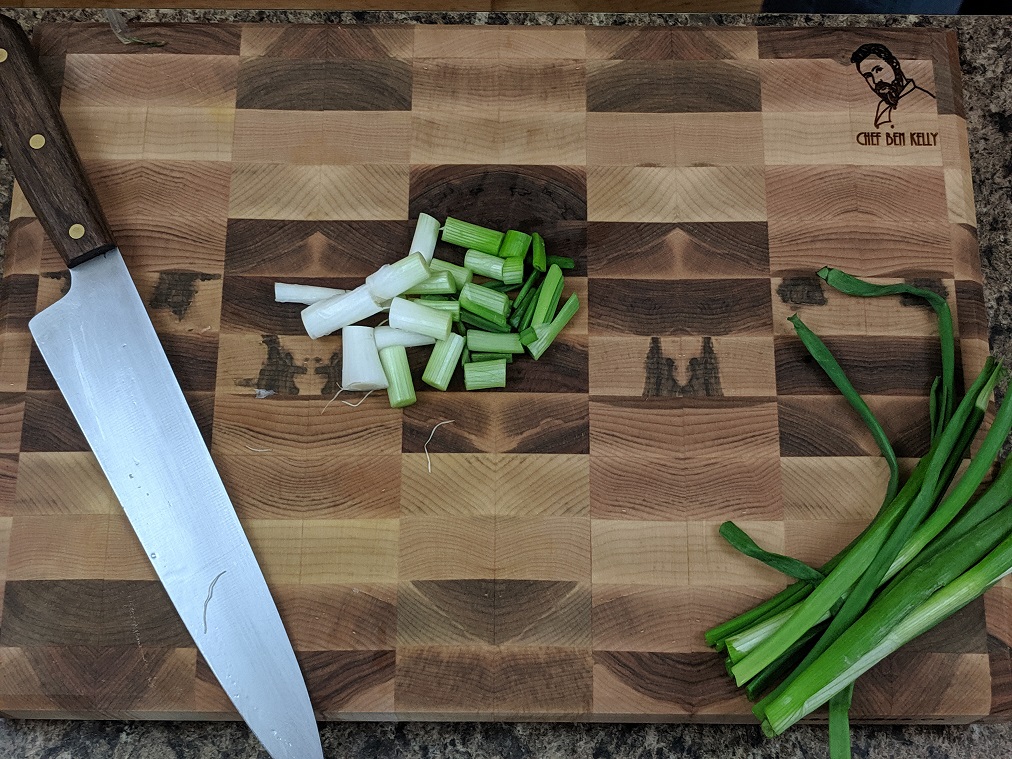
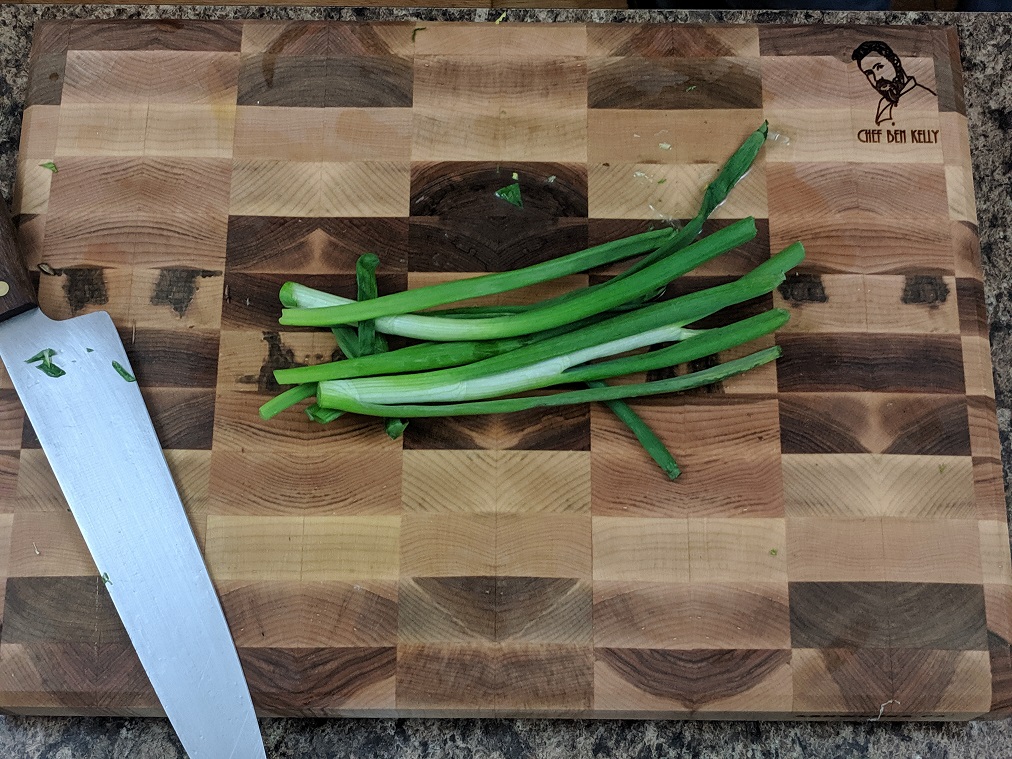
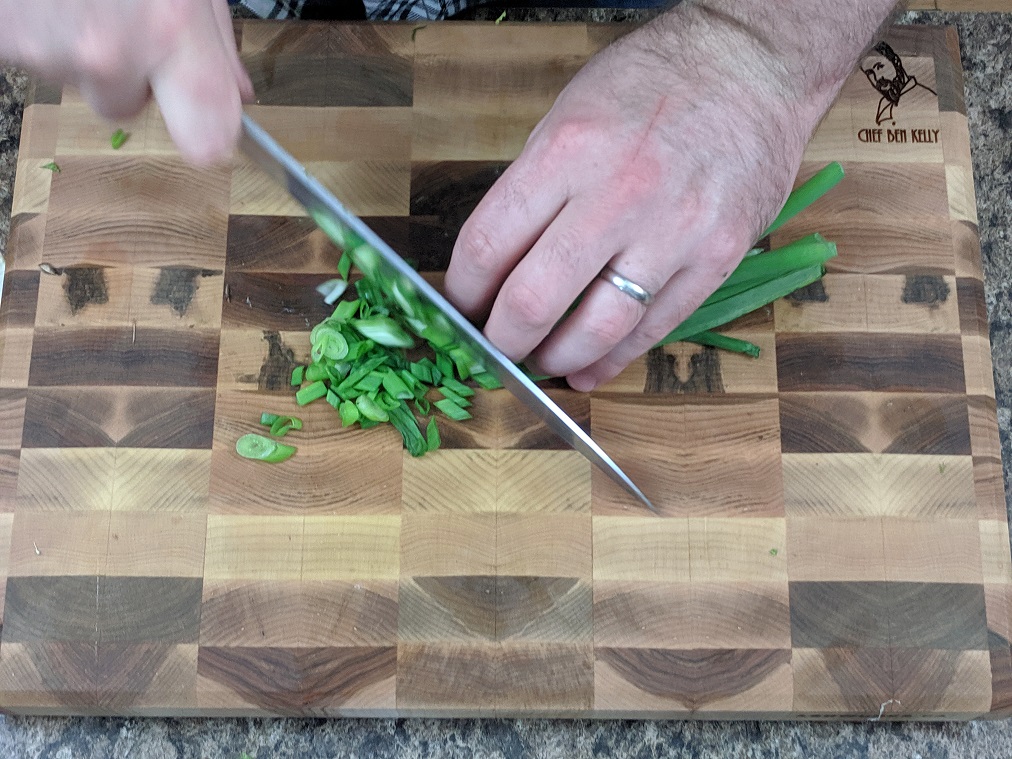
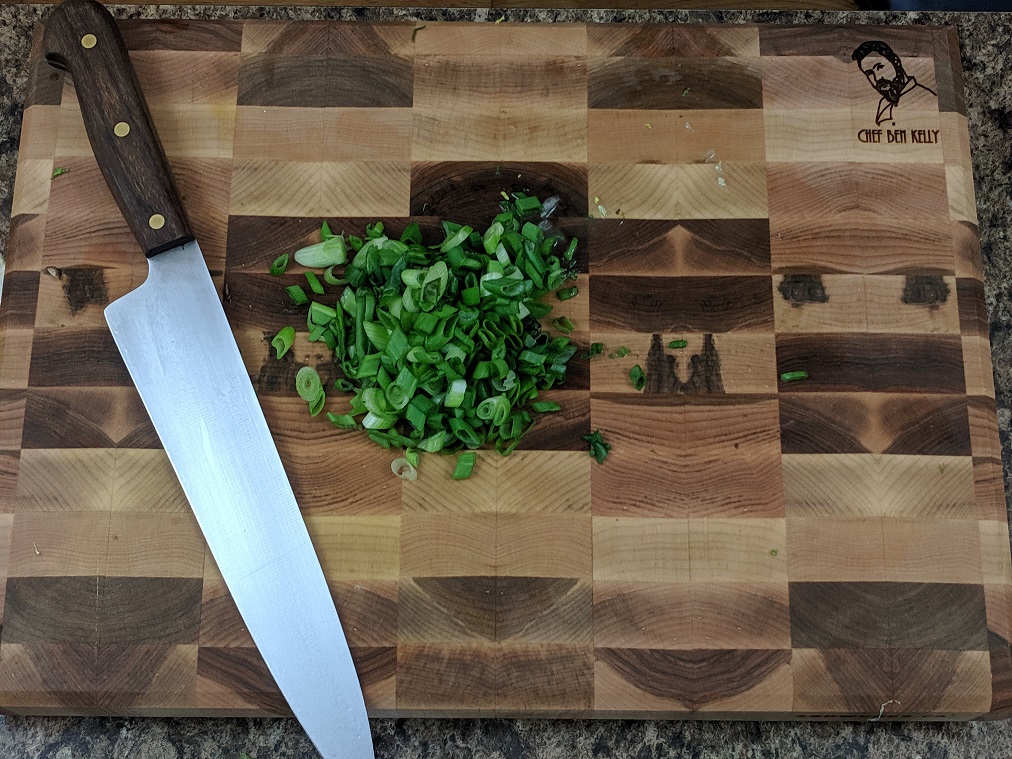
5:52 pm – Green onions
With the white onions cooking away in the pot I got down to business with some green onions. When cooking with green onions I usually separate them in two. The softer green tops are saved until later in the cooking process or for garnish as they take next to no time to cook. The firmer bottom white parts, are roughly diced and added to the white onions in the pot.
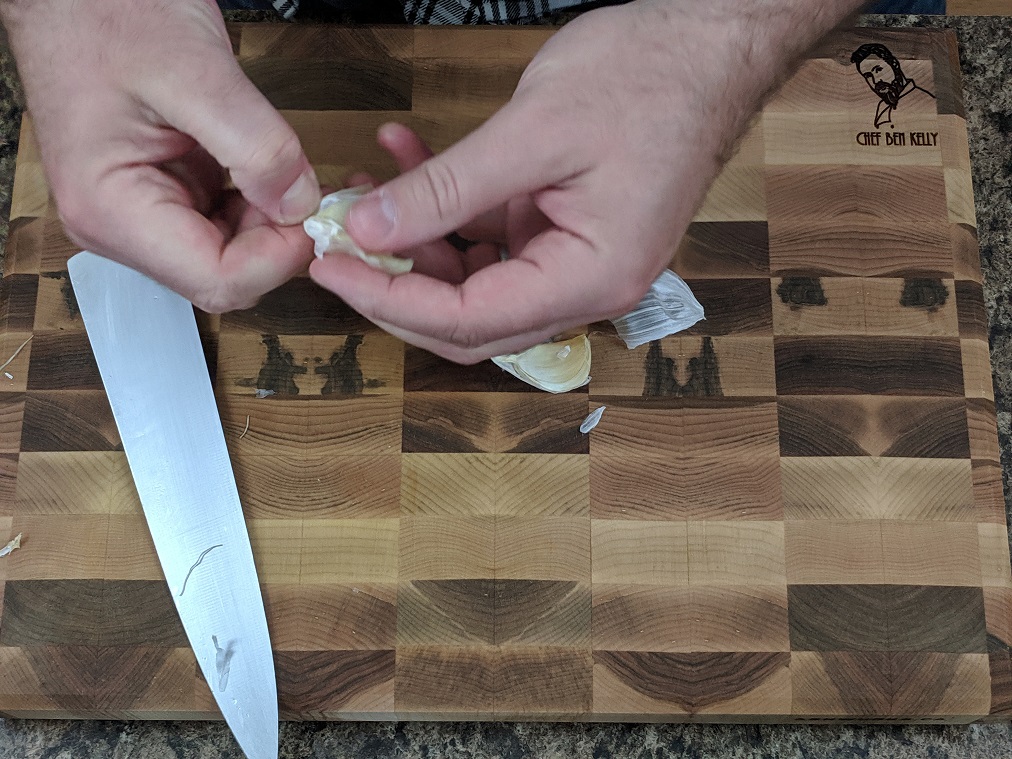
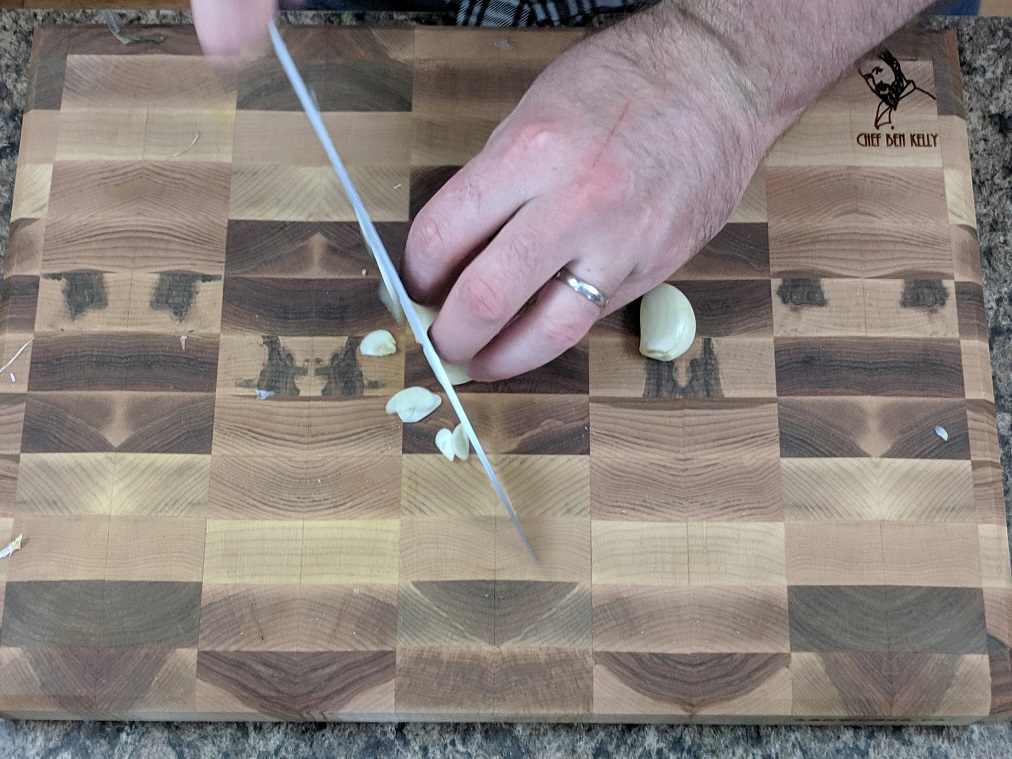
5:54 pm – Garlic
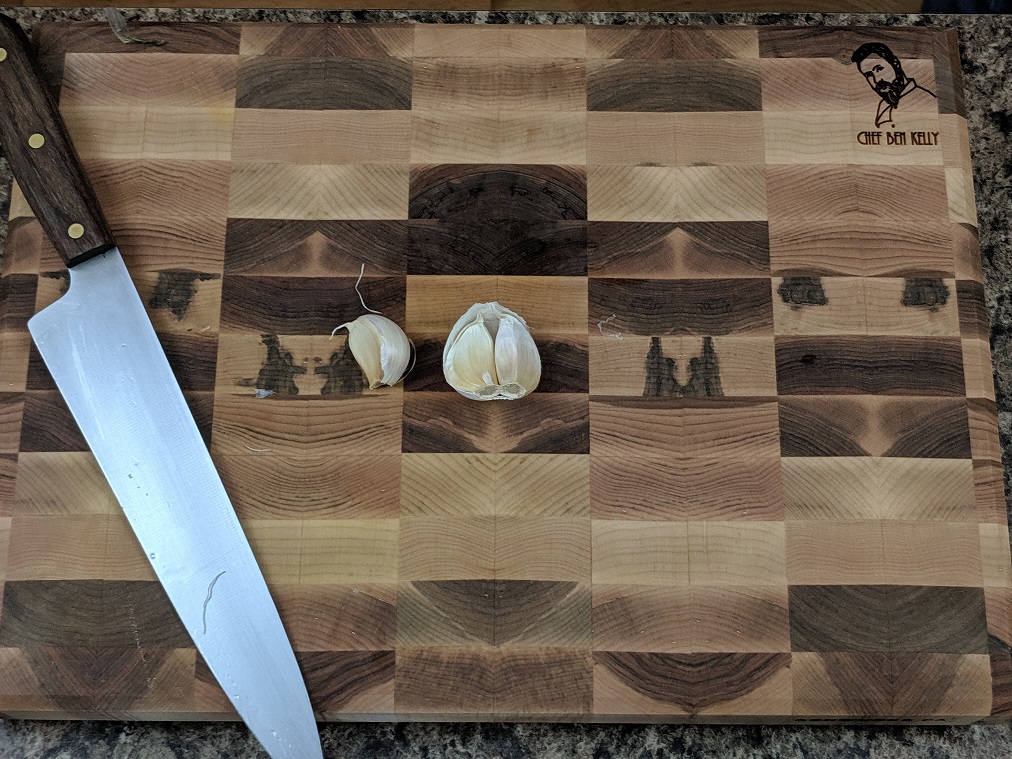
Stirred the onions a bit to make sure nothing was burning and then I got down with some garlic. I took three cloves, cut the ends off, crushed them to release the peels, and then thinly sliced them. And of course, I added the garlic to the pot as well.
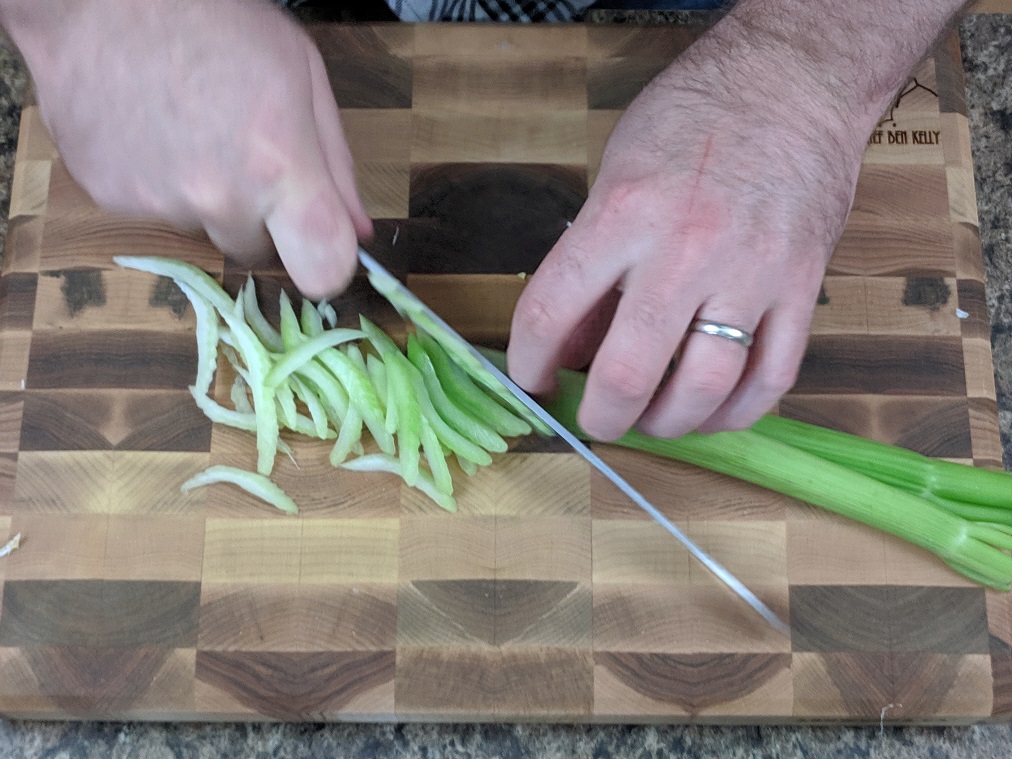
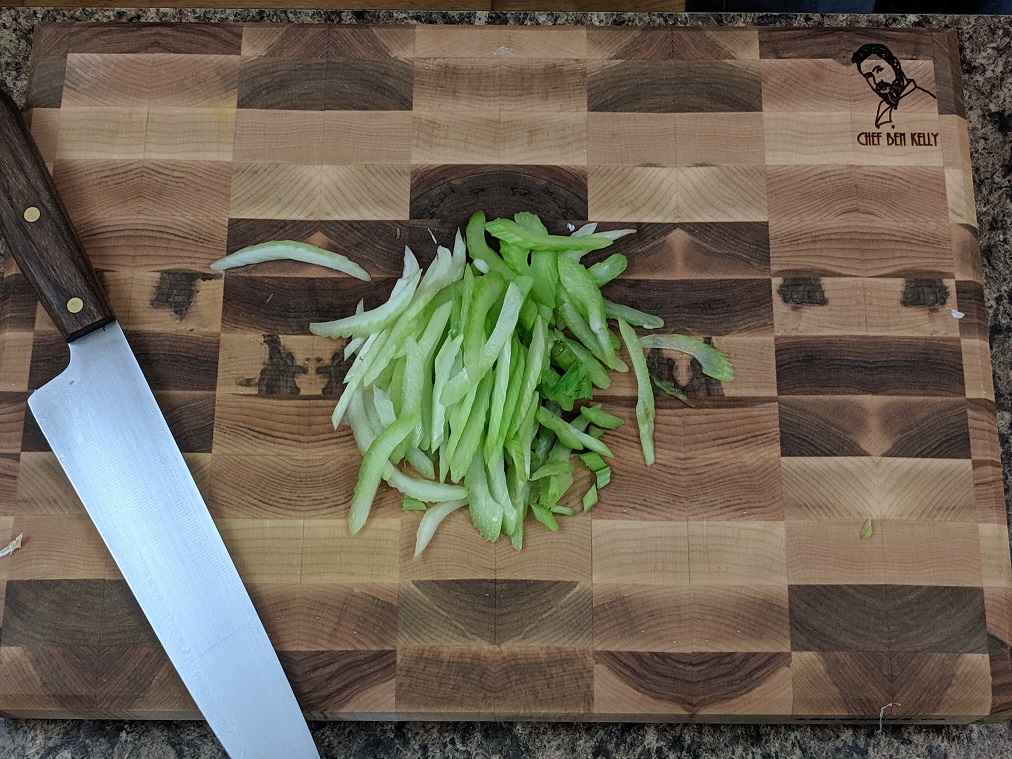
5:55 pm – Celery
Next up was some celery. I took one celery stalk and sliced it nice and thin on a bias. That’s just a fancy chef word for cutting things on an angle. Into the pot, it went.
I stirred everything a bit more, and reduced the heat on the pot slightly as well.

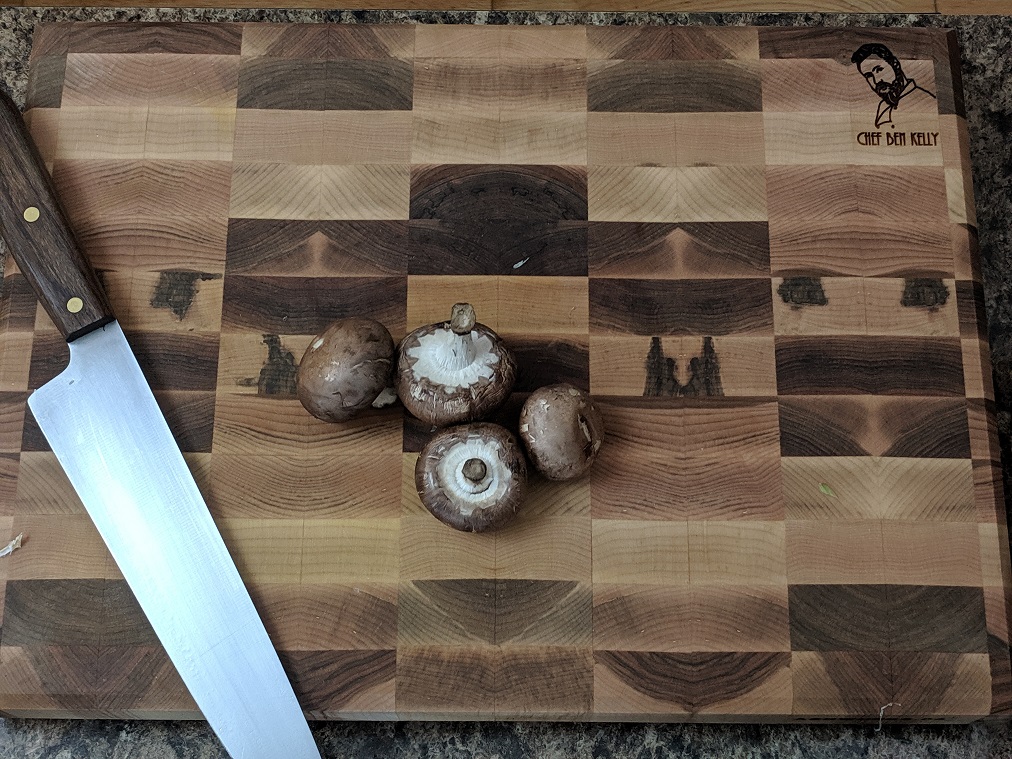
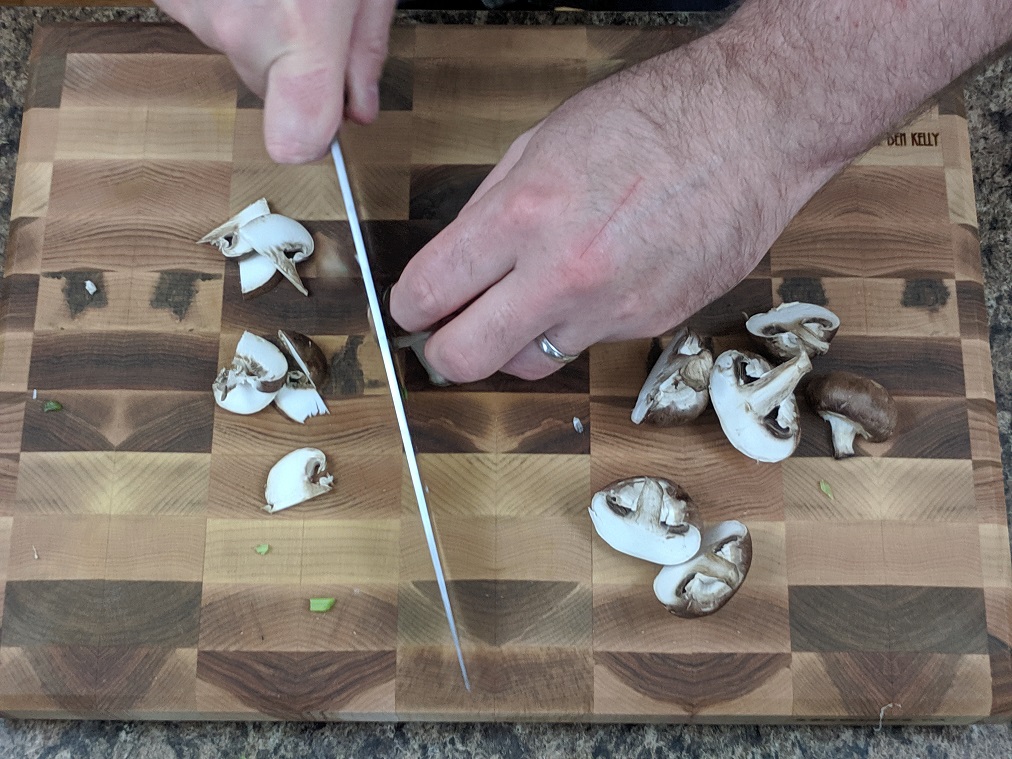
5:56 pm – Mushrooms
After the celery, I quartered four cremini mushrooms. These help to add body to the flavour of the soup which is especially important when using store-bought stock.
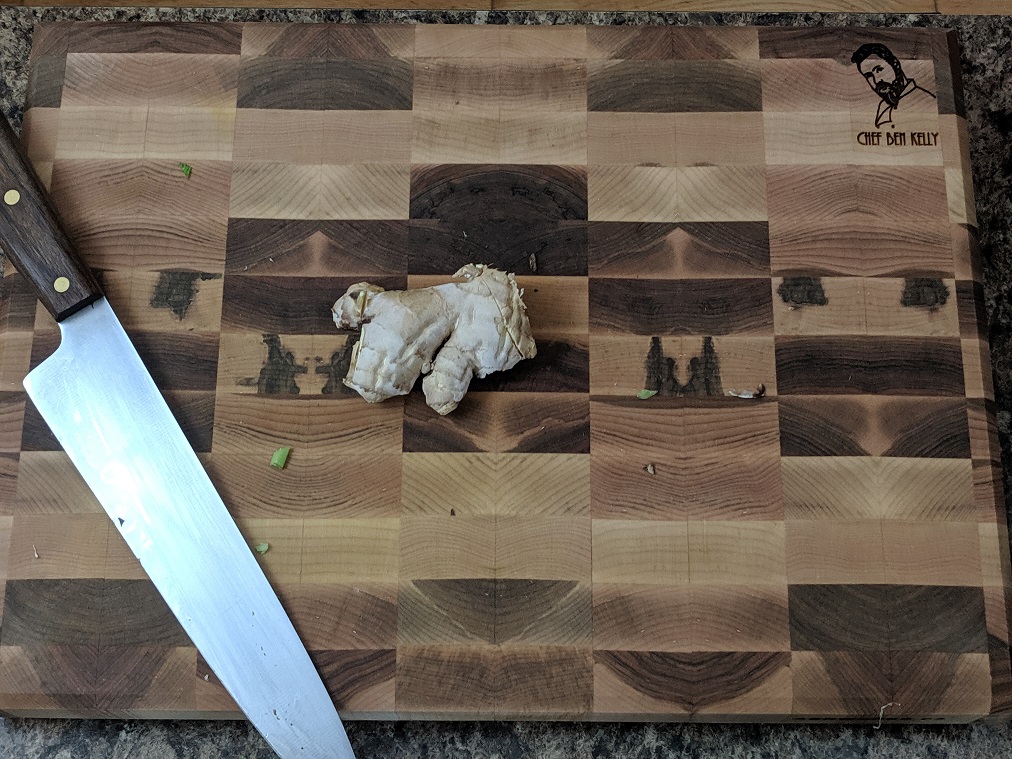
5:58 pm – Ginger
Normally if I had fresh ginger I would have cut it up and added it with the garlic. Because I freeze and grate my ginger, I added it now, right before the stock. I did this because it is grated so fine that it would otherwise burn very quickly. If you are using fresh chopped ginger, add it earlier.
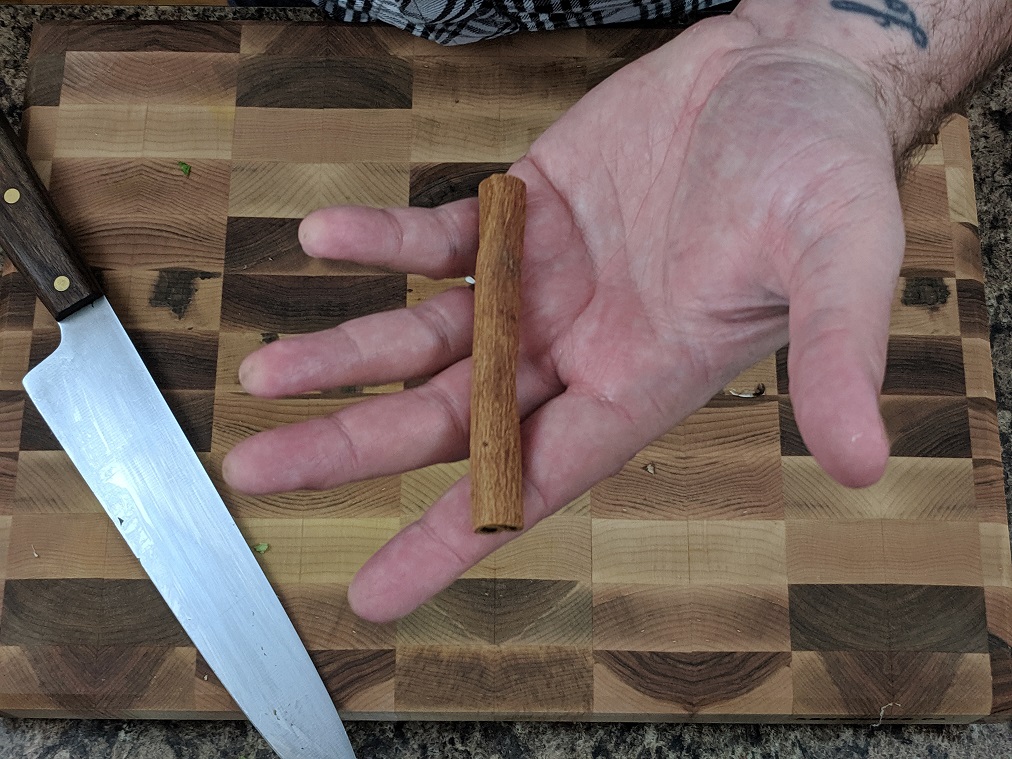
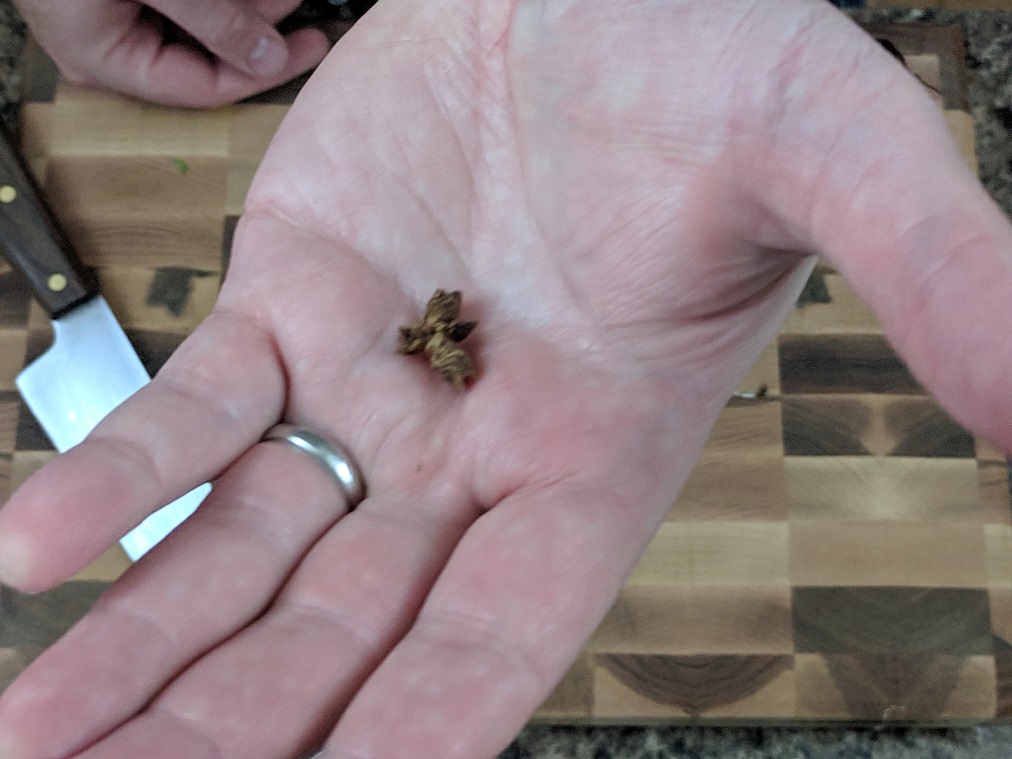
I grated the ginger into the pot, stirred it around for a few seconds, and then added the stock in and turned the heat up to high. I also added in one cinnamon stick and one mangled piece of star anise. That was the best piece I had. These won’t be in the soup long but will add a lot of flavour, and will make the plain beef stock taste a lot more like pho broth.
At this point my water was boiling for the noodles. I turned off the heat and put the rice noodles in the pot and stirred. The noodles only take about two minutes to soften. Once they were soft, I drained them and rinsed them under cold water and set them aside.

6:03 pm – Flavourings
Once the noodles were out of the way I added two tablespoons of soy sauce (gluten-free), one tablespoon of Sambal chili sauce, three to four drops of fish sauce, and one teaspoon of rice vinegar, along with salt and pepper to the soup pot. I tasted it and adjusted the seasoning.
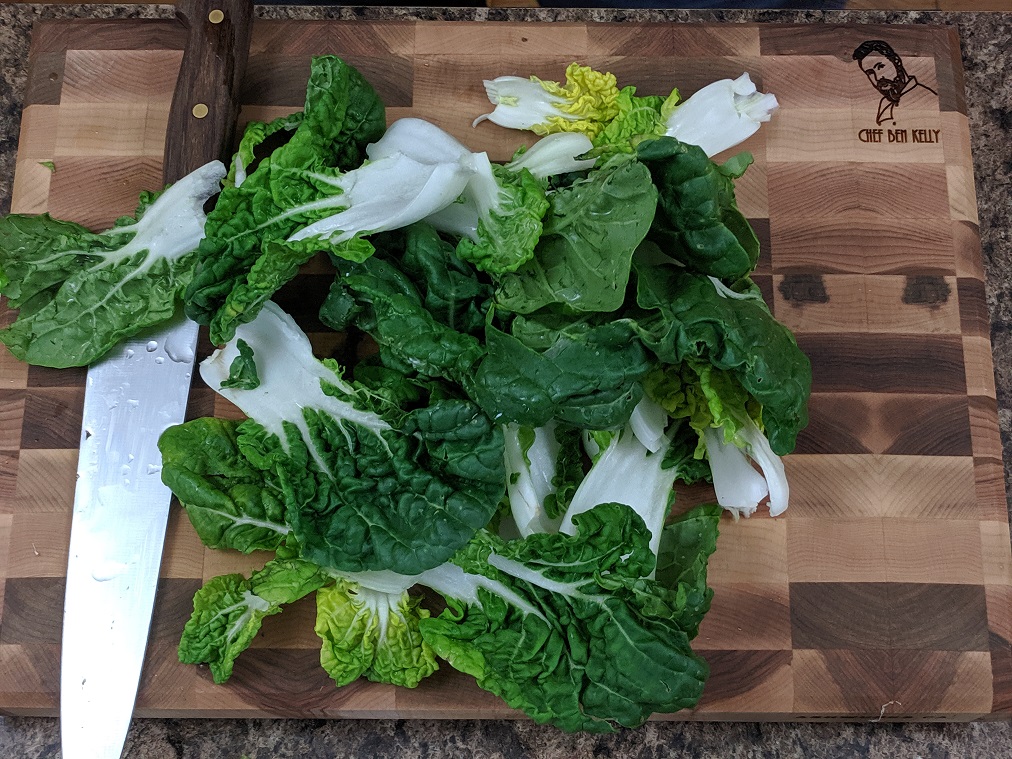
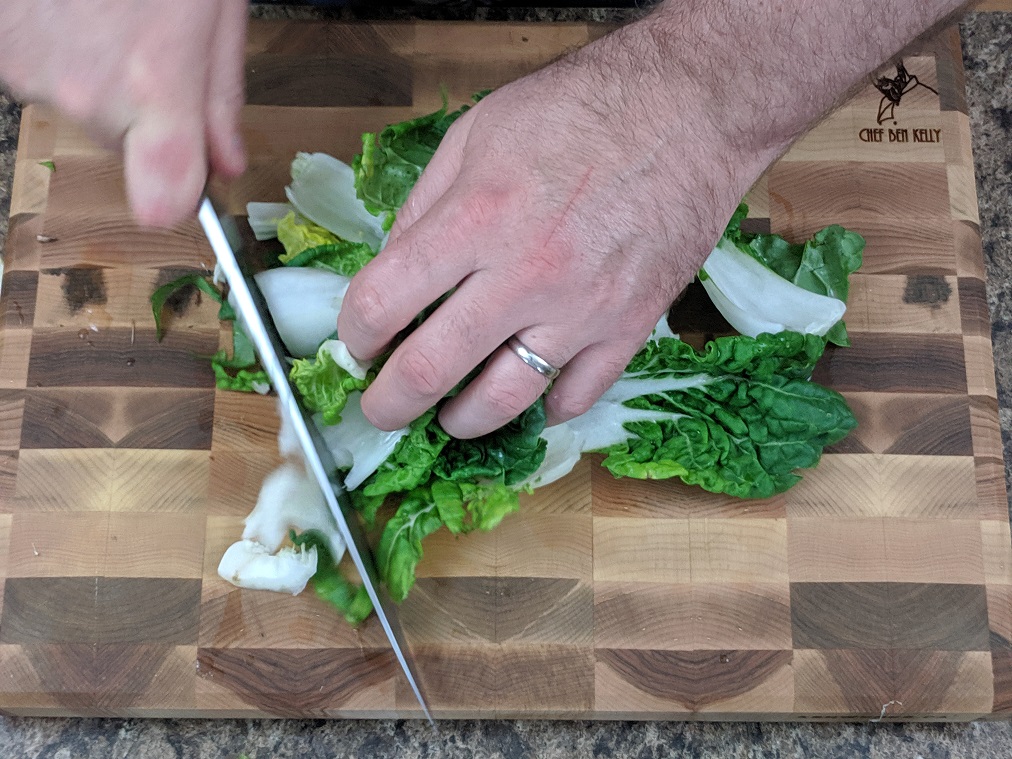
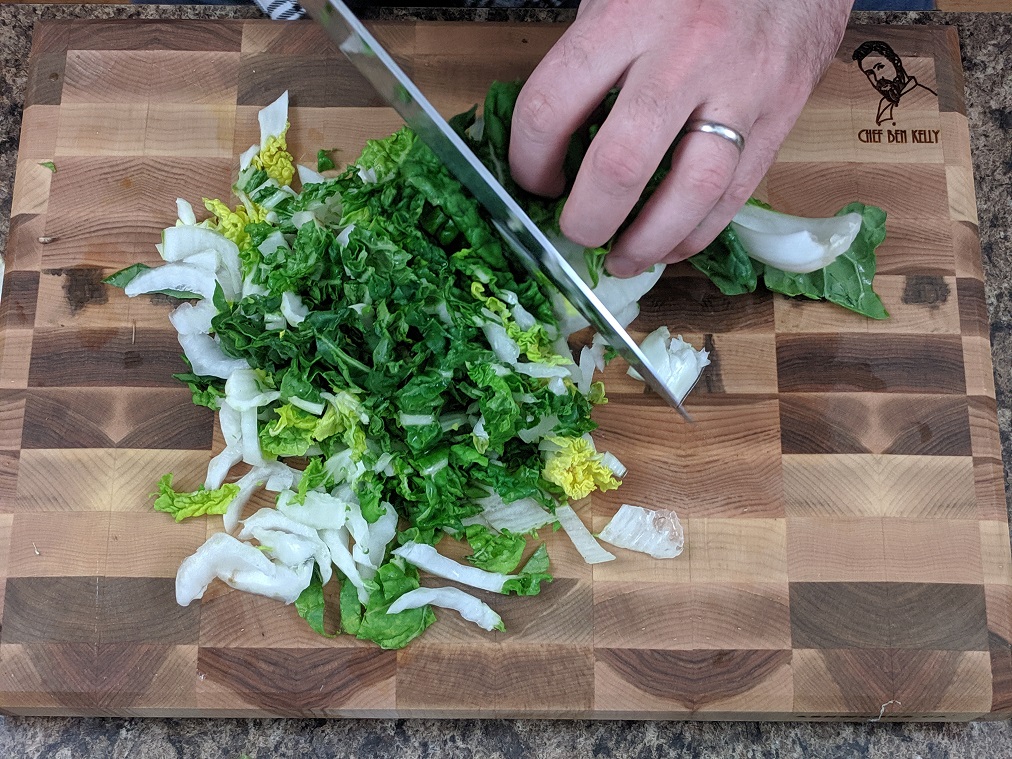
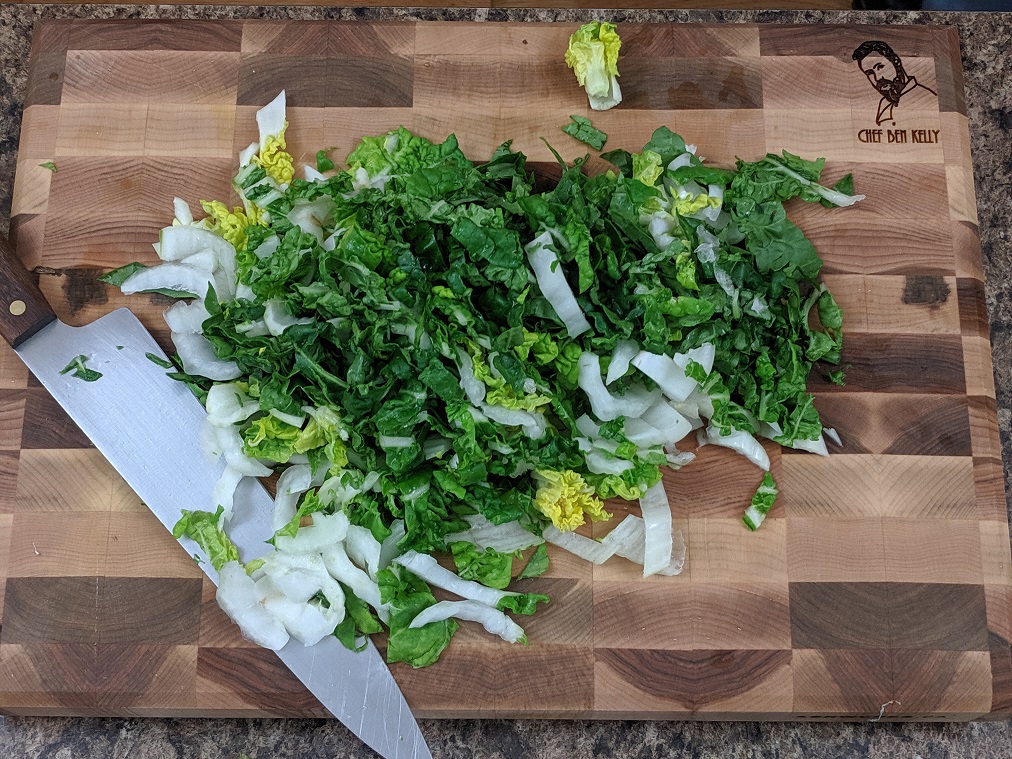
6:05 pm – Bok Choy
With the flavour of the soup where I wanted it, it was time to get the rest of the ingredients together. I took two heads of baby bok choy, pulled them apart and washed them. I then thinly sliced them and add them to the soup pot. Then I thinly sliced the green onion tops and into the pot, they went as well.
At this point, I also fished around for the cinnamon and star anise and took those out of the pot as they had added enough flavour. And, I turned the pot down to a simmer.
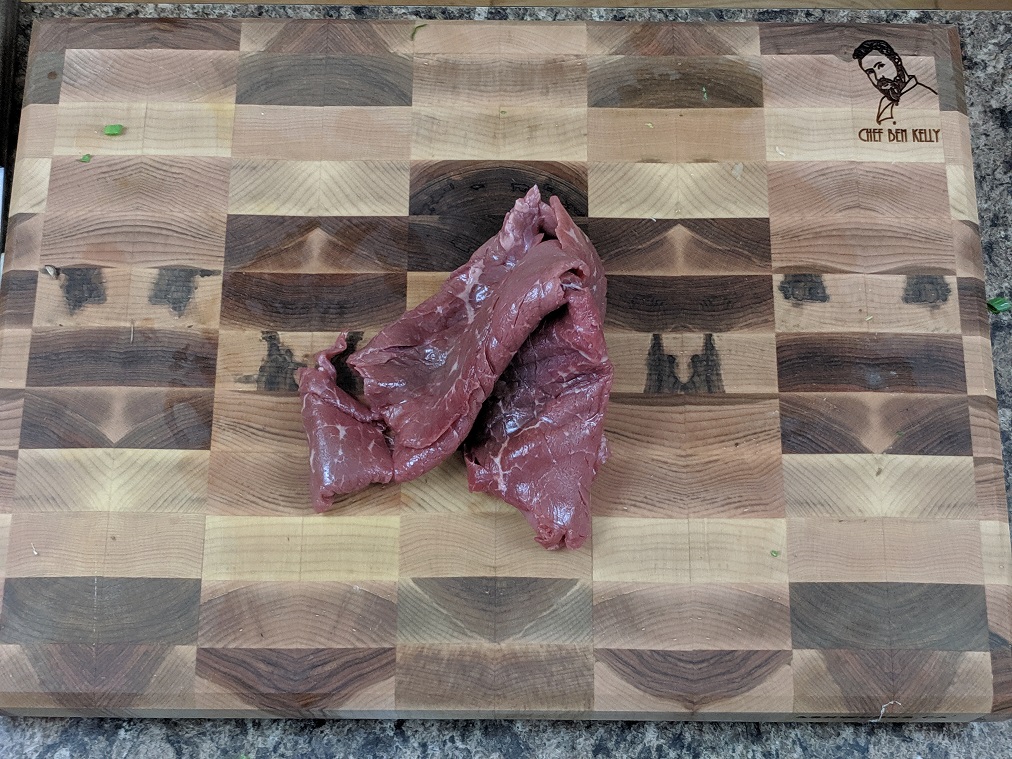
6:09 pm – Slice Beef
The beef I used for this soup is a special cut of sirloin called fondu beef. I bought it from my butcher but you can obviously just slice it yourself if you want. This fondu beef is sliced very thin so you can cook it quickly in fondu. Traditionally, the beef in a bowl of pho would be added in raw, then the hot broth would be poured over it to cook it rare. That is essentially what I tried to emulate here.
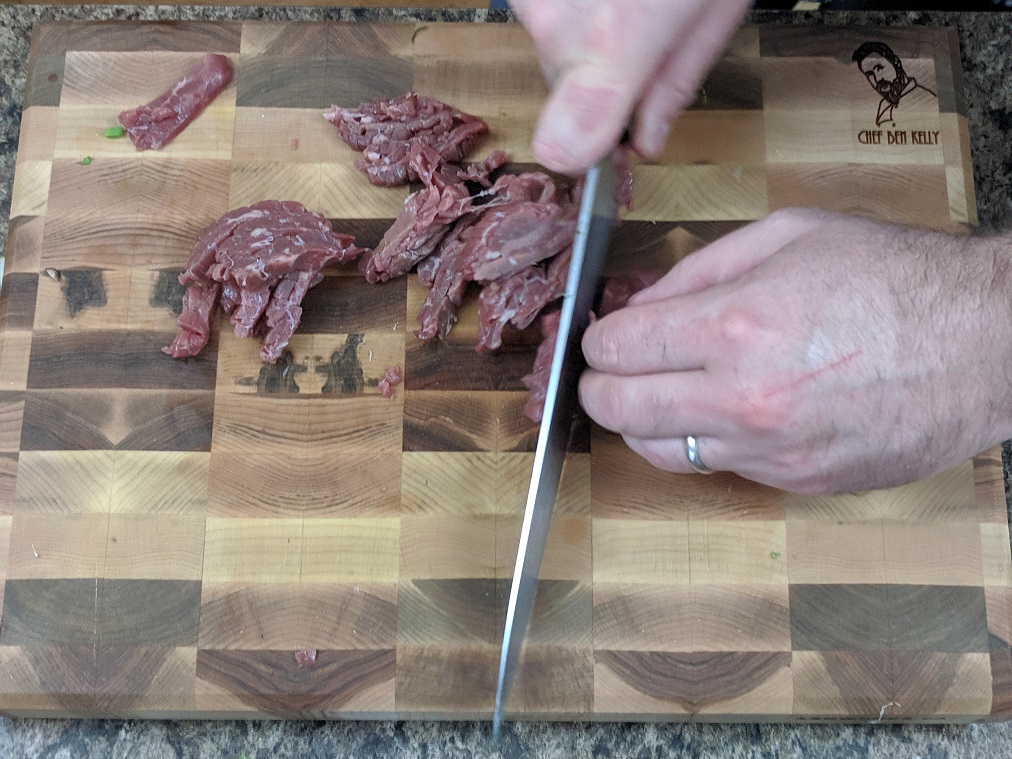
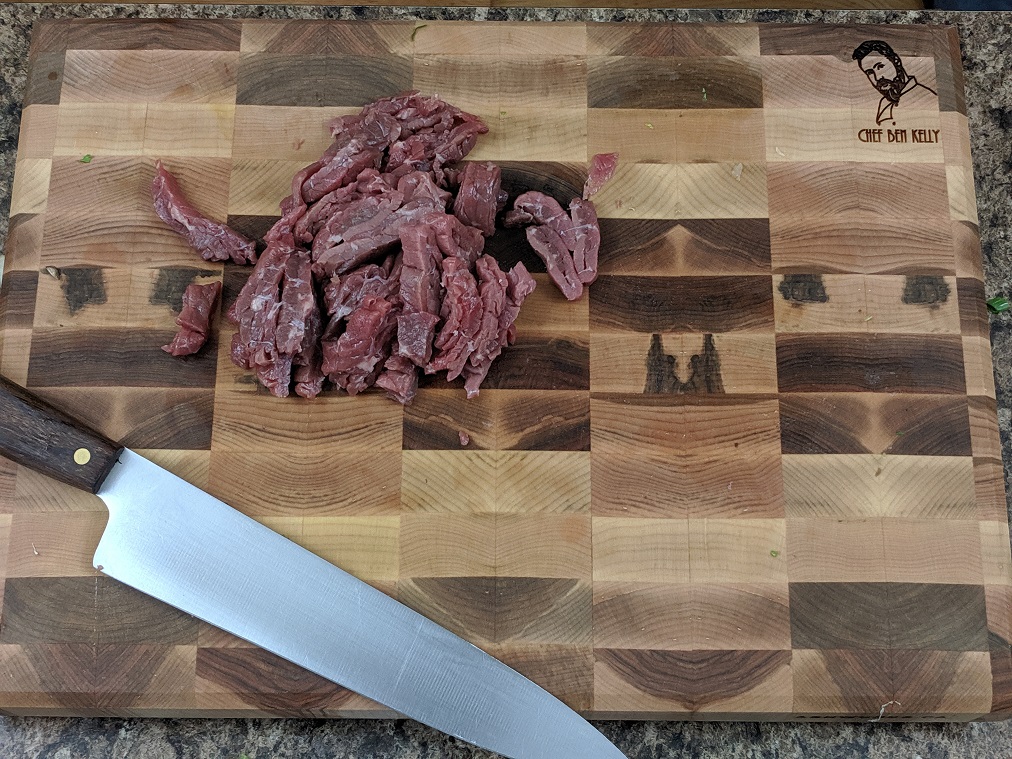
The beef was in large slices so I cut them into strips and then added them into the barley simmering soup.
6:11 pm – Noodles
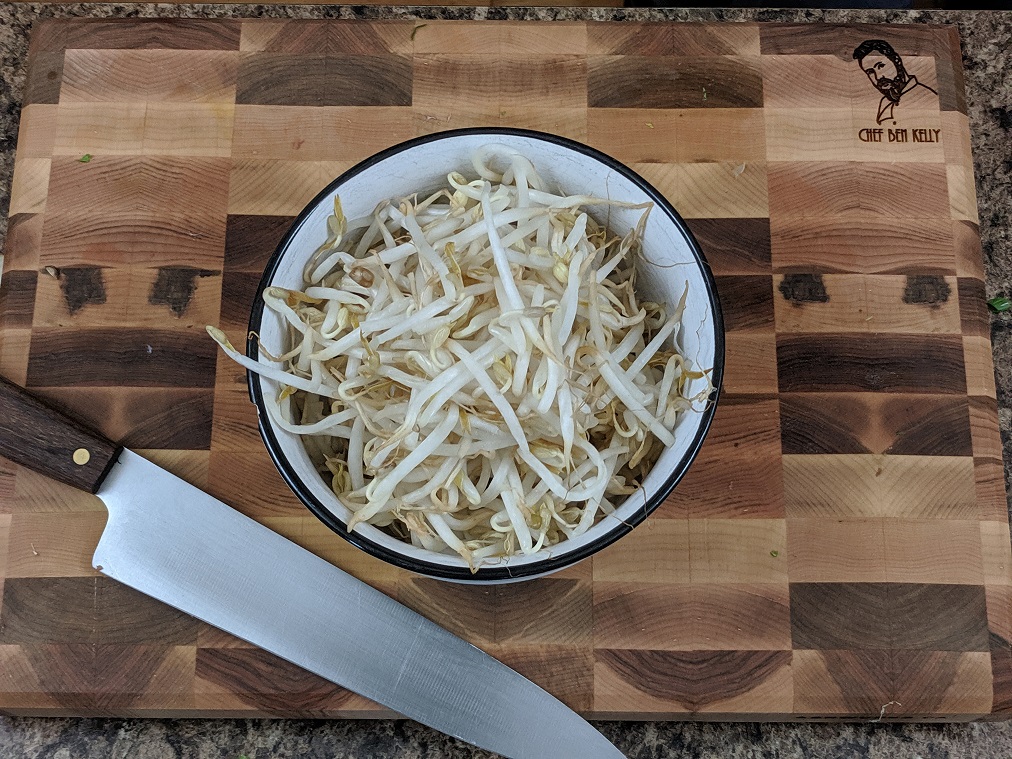
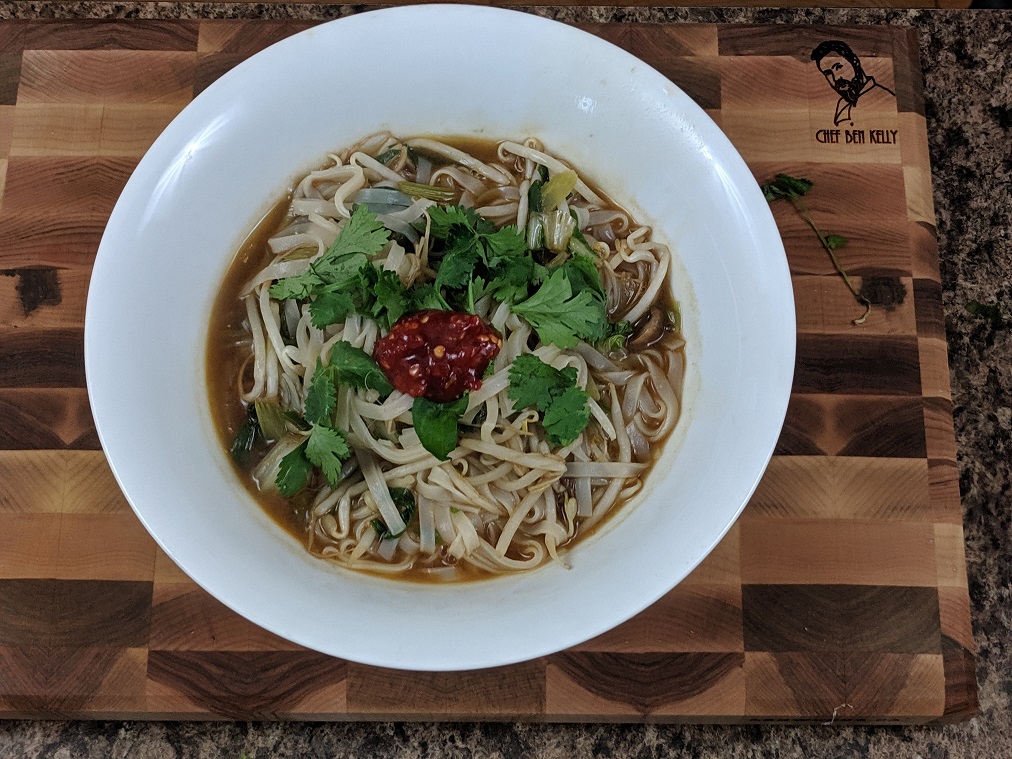
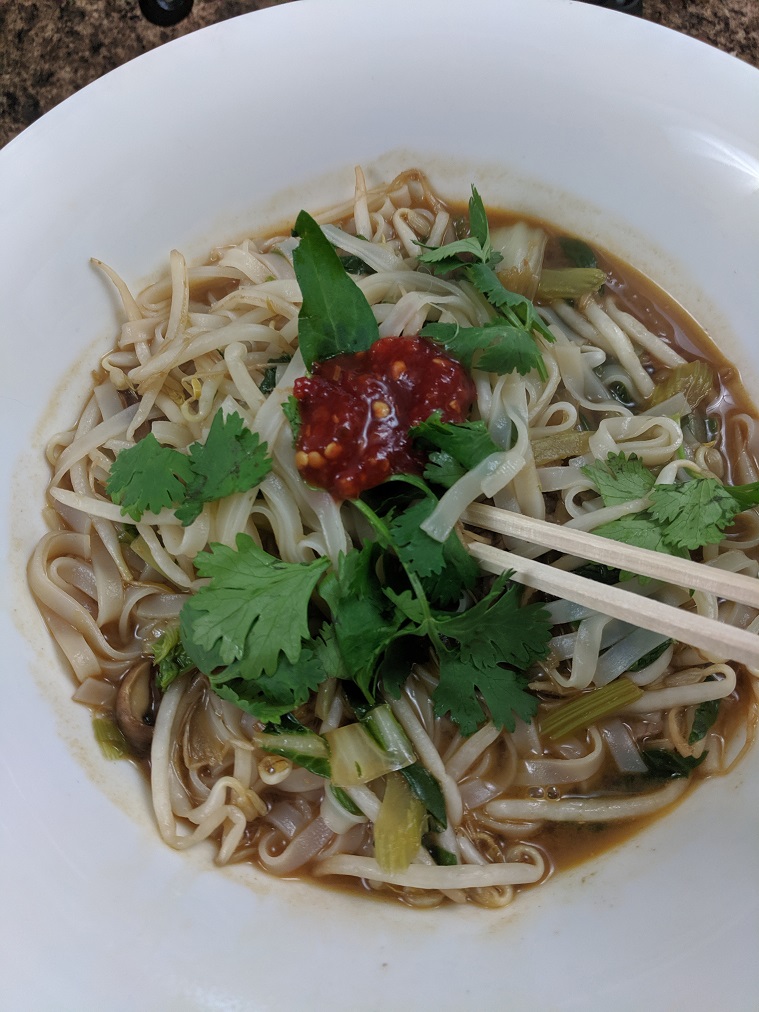
With the beef in, all that was left to finish my soup was noodles and bean sprouts. I added these in, and the soup was done.
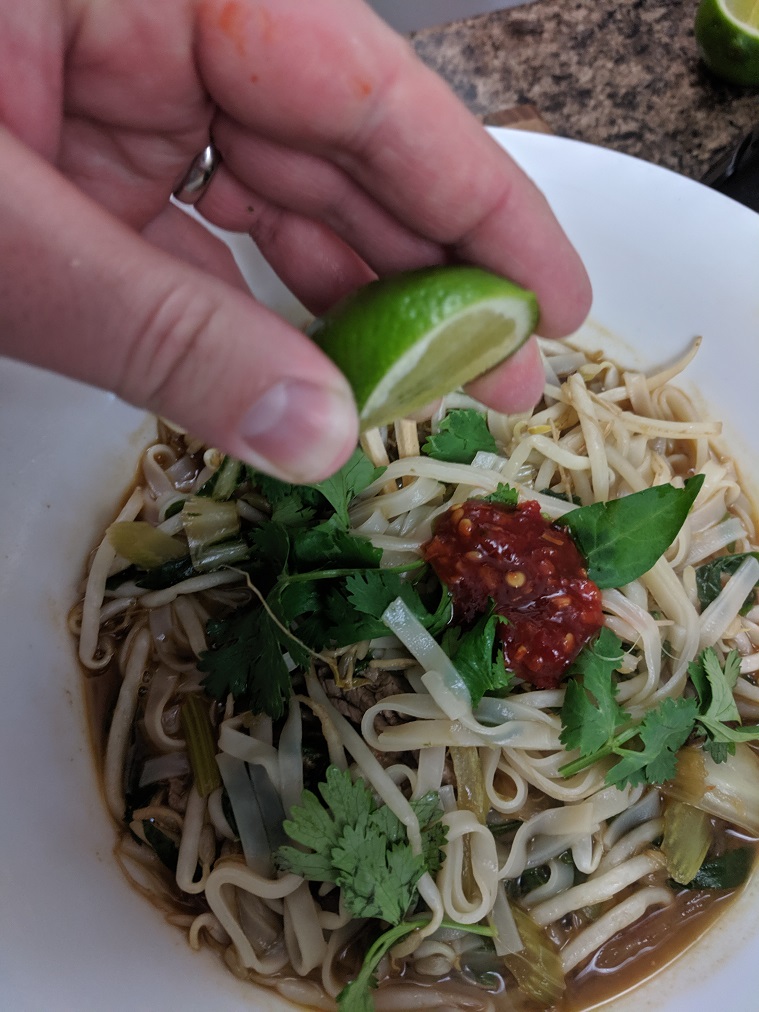
I served it up with a squeeze of lime and fresh cilantro and finished with nine minutes to spare. Not too shabby?

Conclusion
Who says you can’t make pho quickly? This was absolutely delicious! I’m not going to say that it was the best pho I ever had or even made, it wasn’t. But, it was better than 75-80% of the pho I have bought and eaten in my life.
If you make this, you will be happy that you did.
Equipment
- 1 large pot
- 1 medium pot
Ingredients
- 1 medium Onion. sliced
- 4 ea Green Onions, tops and bottoms separate, and sliced
- 3 cloves Garlic, thinly sliced
- 1 Stalk Celery, thinly sliced
- 4 ea Cremini Mushrooms, quartered
- 1 tbsp Grated Ginger
- 1 ea Cinnamon Stick
- 1 ea Star Anise
- 4 servings Rice Noodles according to the package.
- 2-3 tbsp Soy Sauce gluten-free
- 1-2 tsp Rice Vinegar
- 1-2 tbsp Sambal Oelek chili sauce
- 3-4 drops Fish Sauce
- 2 ea Baby Bok Choy, sliced
- 1 bag Bean Sprouts about a pound
- 8 oz Fondu Beef Thinly sliced sirloin
- 1-2 L Beef Stock
- Salt & Pepper to taste
- 1 tbsp Sesame Oil
- 1 tbsp Canola Oil
- 6-8 leaves Cilantro for garnish
- 1/4 lime Juice to finish
Instructions
- Heat a large pot over medium heat
- Add the canola and sesame oil along with the sliced white onion and green onion.
- Cook the onions for 2-3 minutes then add in the garlic and celery and cook for 2 more minutes.
- Add in the mushrooms and cook for 2 minutes.
- Add the ginger, cook for 30-45 seconds and add in the beef stock along with the cinnamon and star anise.
- Bring the soup to a boil.
- Boil a medium pot of water. Turn off the heat and add the noodles. Stir for two minutes and drain. Rinse under cold water and set aside.
- Add soy sauce, vinegar, sambal, fish sauce and seasoning to the soup. Taste and adjust as needed.
- Add the remaining ingredients and serve.
0 Comments