In professional kitchens, soup is used as a way to mitigate waste. Vegetables that are close to spoiling, are used to make soup. Leftover roast beef from yesterday’s prime rib is used to make soup. Extra leeks came in, make soup. It’s tomato season and you’ve got a pile of fresh tomatoes, make soup! The point is that knowing the absolute basics of how to make soup will allow you to cut waste in your own kitchen while still creating something delicious and nutritious that you and your family will want to eat.
Soup can be almost anything. Whatever you have lying around that needs to get used up can be thrown into a soup. You don’t need a recipe. You just need ingredients and a basic understanding of the fundamentals.
So what is soup?
What is soup? That seems like a stupid question, but is it? I mean think about it. How would you define soup? It can be so many different things. According to Wikipedia soup is a primarily liquid food usually served hot and made by combining ingredients such as meat and vegetables with stock, broth or water. Make sense?
So, if you put a pot of water on the stove, add a ham bone and some onions too it is that soup? Yes. In a very simple form that is soup. I think that is why this lesson is more important than ever. We are all isolated, trying to limit our exposer to the outside world by going to the grocery store less and less. And, money is really tight for a lot of us. Knowing how to take what seems like nothing and make it into something will be crucial for a lot of people trying to get through this crisis.
Okay, enough jibber-jabber, let’s get to it. This is…
UNDERSTANDING SOUPS – KITCHEN CLUELESS BASIC COOKING COURSE
Stock vs. Broth
What is the difference between a broth and a stock and why do you care? The only real difference is that stock is made from bones, and a broth is made from meat and bones. Other than that, they are made with pretty much the exact same process. Either the bones or the meat and bones will be simmered, not boiled, for a length of time in order to extract the maximum amount of flavour. Other ingredients such as carrots, onion, celery, and herbs are usually added for additional flavour.
A broth is generally the richer and more flavourful than stock and it can be eaten on its own. A stock, on the other hand, is used as an ingredient. This distinction is important because a soup made with stock as the base will need a lot more flavourings added in order to intensify the flavour. A broth should already have a fully developed flavour profile on its own. Vegetable stock and broth differ only really in the name.
Broth Based Soups

A perfect example of a broth-based soup is chicken noodle soup. Generally, a very flavorful broth is made by simmering a whole chicken in water with a bit of celery, onion, carrot, and maybe some herbs like thyme, parsley, and bay leaf. After an hour or two of simmering, the liquid is strained off add to a different pot at which point the soup ingredients are added and the soup is made.
The chicken that was used to make the broth can be used in the soup although depending on how long it was simmered it may be very, very soft. The vegetable and herbs that have been used to make the broth should be discarded. I know that to some of you this seems like a tremendous waste. However, the majority of the nutrients and flavour of these ingredients, the chicken included, is now in the liquid. So yes, you are throwing away a chunk of carrot but it is more like a carrot carcass than an actual piece of carrot that you would want to eat.
Other broth-based soups include french onion, split pea, vegetable, the list goes on and on. Below I have included two recipes for broth-based soups.
Ingredients
- 10 lbs Onions thinly sliced
- 1-2 tbsp Olive Oil
- 1/2 bottle Red Wine
- 1 1/2 L Beef Stock
- 2 tbsp Fresh Thyme Leaves
- Salt & Pepper To taste
- 2 cups Croutons
- 1 cup Gruyere Cheese, Grated
Instructions
- Heat a heavy-bottomed pot over medium-low heat.
- Add in the olive oil and half the onions.
- Cook until the onions soften and start to caramelize.
- Add in half of the onions that are left and cook until they soften and start to caramelize.
- Repeat this process with the remaining onions.
- Turn the heat down to low and cook the onions, stirring occasionally until they are a deep brown colour and smell sweet. This will take about 4 1/2 – 5 hours though you only have to stir once in a while.
- Turn the heat back up to medium and add in the red wine.
- Cook for about 10 minutes or until half the wine has evaporated.
- Add in the beef stock, thyme, and some salt and pepper and bring to a boil.
- Simmer for 10 minutes.
- Taste the soup and adjust seasoning.
- To serve the soup, scoop it into oven-safe bowls, garnish it with croutons topped with the gruyere cheese and cook under the broiler until the cheese melts.
Ingredients
- 1 baseball sized Onion. peeled and thinly sliced
- 1 link Dry Cured Chorizo Sausage, diced
- 2 cloves Garlic, peeled and sliced
- 1/2 ea Red bell pepper, sliced
- 20 ea Green beans, ends trimmed and cut into thirds
- 1 ea Tomato, diced
- 1 can White beans, drained
- 1 L Chicken Stock
- 1/2 tsp Chili Flakes
- 2 tbsp Olive Oil
- 4 ea Eggs, broken into a shallow bowl
Instructions
- Heat a large pot over medium heat.
- Add the olive oil and onions.
- Sauté the onions until slightly softened, about two minutes.
- Add the diced chorizo into the pot and cook for about four minutes.
- Add the garlic and chili into the pot and cook for three minutes.
- Add the diced tomatoes then the red pepper.
- Cook the tomato and pepper for two to three minutes and then add in the chicken stock.
- Put a lid on the pot, crank the heat, and bring to a boil.
- Once the soup starts to boil add in the green beans and white beans then boil for another four minutes.
- Turn the heat down to low, add in the eggs one at a time, put the lid back on the pot and simmer for three minutes.
- Season to taste with salt and garnish with parsley.
Puréed Soups
Puréed soups are generally made of one main vegetable, with a few accenting ingredients, and stock, water, milk or cream. Sometimes if the soup has a base of stock or water a little bit of cream will be added right before serving to add richness to the soup. Puréed soups can be made from everything from squash to mushrooms, to broccoli.
The easiest way to explain how to make a puréed soup is to simmer a vegetable in water until it is very tender. Put it in a blender and pulse it until smooth. In a nutshell, that’s pretty much all you need to know but of course, there is more to it. Let’s use butternut squash soup as an example.
Butternut Squash Soup
Butternut squash soup is usually made fairly simply. The squash is peeled, the seeds are removed, and it is cut into cubes. Some onions and perhaps garlic will be cooked a little, and then the squash will be added. This will be covered with water (just enough to cover it by one inch) and maybe some maple syrup, boiled until the squash is soft and then puréed. Finally, it will be seasoned with salt and pepper and that’s about it.
The soup I just described is the most basic version of a butternut squash soup. It’s not bad, in fact, most people would probably be happy with that. But with just a little more effort, that good soup can be made extraordinary. This is true of all puréed soups.
Roasting
Try Roasting the squash on 425°f for 35- 45 minutes prior to adding it to the soup. This will draw the natural sweetness out of the squash and intensify its flavour.
Prepare the squash by peeling, cutting it in half, discarding the seeds, and cutting it into cubes. Toss it with a few tablespoons of olive oil, and a bit of salt and pepper. Spread the squash out on a sheet pan lined with parchment paper and roast. You want to develop a little colour on the squash, a little caramelization. Once the squash is thoroughly roasted (it is soft), add it to the soup pot as you normally would.
While the squash is cooking take the time to caramelize the onions. This is done by cooking the onions in a little oil, on low heat for a long period of time. All you have to do is stir the onions every once in a while and scrape the bottom of the pot from time to time. Caramelizing onions, just like roasting the squash, draws out their natural sweetness and deepens their flavour. It makes the flavour of the finished soup richer and deeper.
Liquid
Use stock (chicken or vegetable) instead of water when making soup. The reason being that soup is usually made with only a few ingredients. Those ingredients have to provide as much flavour as possible. Otherwise, you may have to add other ingredients to compensate for the lack of flavour.
Puréeing the soup
Often at home, people will purée their soup in a blender and call it a day. A blender alone will never be able to give you that smooth, creamy texture that you get from soup in restaurants. That comes from passing the soup through a fine-mesh sieve once it has been puréed.
Passing the soup through a fine-mesh sieve is just what it sounds like. Pour the soup into the sieve, and using a spatula or the bowl of a ladle, push the soup through the tiny holes. You are trying to get as much of the solids through the sieve as possible. What comes out the other side is the smoothest, creamiest soup possible.
A note of safety
As a safety note, when puréeing how soup in a blender make sure to burb the lid or remove the centrepiece from the lid. If this is not done, pressure can build up very quickly in the blender. This pressure build-up can cause the lid to shoot off the blender and hot soup to get sprayed all over you and your kitchen.
Notes
The principles I just described for making butternut squash soup can also be applied to pretty much another puréed vegetable soup. Roast the main ingredient. Caramelize the onions. Use stock instead of water. Pass the final soup through a fine-mesh sieve. Done and done.
Below I have added two recipes for puréed soups.
Ingredients
- 1 Butternut Squash, Diced about 8 cups
- 5 sprigs Thyme
- 1-2 tbsp Olive Oil
- 2 medium Onions, Peeled and Sliced
- 2 cloves Garlic, Sliced
- 1/2 cup Maple Syrup
- 1 tsp Fresh Thyme Leaves
- 2 L Water
- Salt & Pepper To Taste
- 1 tbsp butter
Instructions
- Toss the squash with the thyme sprigs, 1/2 the olive oil, and a pinch of salt and pepper.
- Spread the squash out in an even layer on a parchment-lined baking sheet.
- Roast the squash on 400°F for 40 minutes, flipping the squash after 20 minutes.
- Heat a large pot over medium heat.
- Add in the remaining oil, and the butter along with the onion.
- Cook the onions for 6 minutes then add in the garlic, cooking for another 2 minutes.
- Add the maple syrup into the pot and cook for 1 minute.
- Remove the thyme sprigs from the roasted squash and discard.
- Add the squash into the pot along with enough water to cover it by 1 inch.
- Bring to a boil.
- Add in the thyme leaves, and season with salt and pepper.
- Simmer the soup for 10 minutes, taste and adjust seasoning as needed.
- Purée the soup using a stick blender.
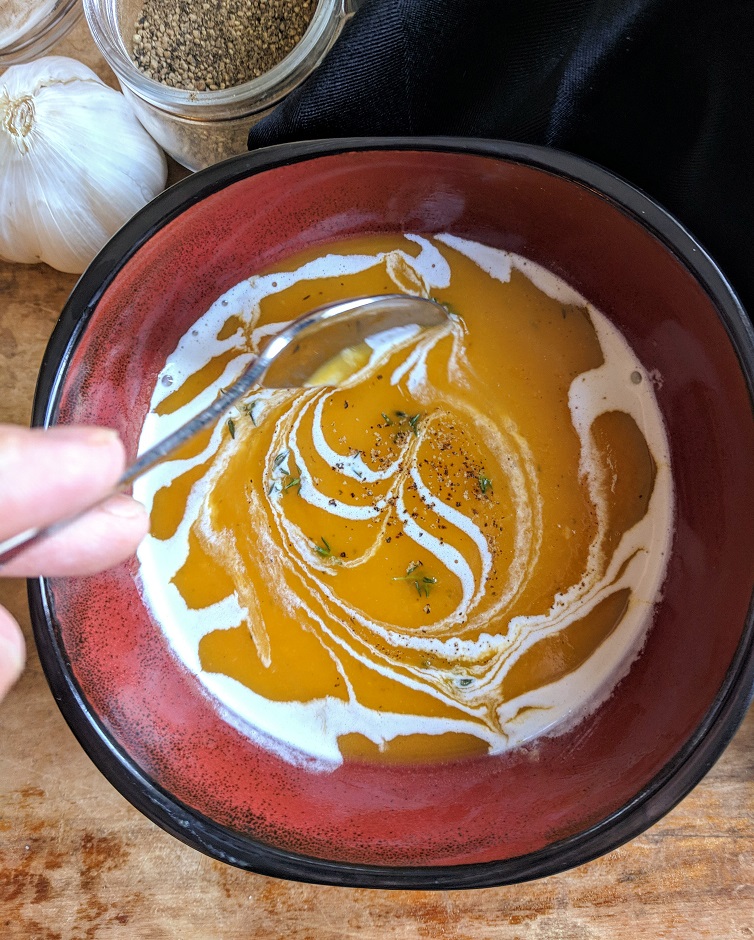
- Serve with a drizzle of cream, cracked pepper, and thyme leaves.
Ingredients
- 2 lbs Parsnip, peeled and roughly chopped
- 2 lbs Apples, peeled and roughly chopped
- 1 ea Medium Onion thinly sliced
- 2 ea Cloves of Garlic chopped
- 3-4 ea Sprigs of Thyme
- 4 L Water or Stock
- 1 pinch Cinnamon
- to taste Salt & Pepper
Instructions
- Sauté the onions over medium-high heat with the oil for 4 minutes.
- Add the garlic and sauté for another 2 minutes.
- Add the remaining ingredients, cover everything with at least 1 in with water.
- Bring to a boil and then reduce the heat to a simmer.
- Simmer until the apples, parsnips, and onions are cooked.
- Remove the pot from the heat.
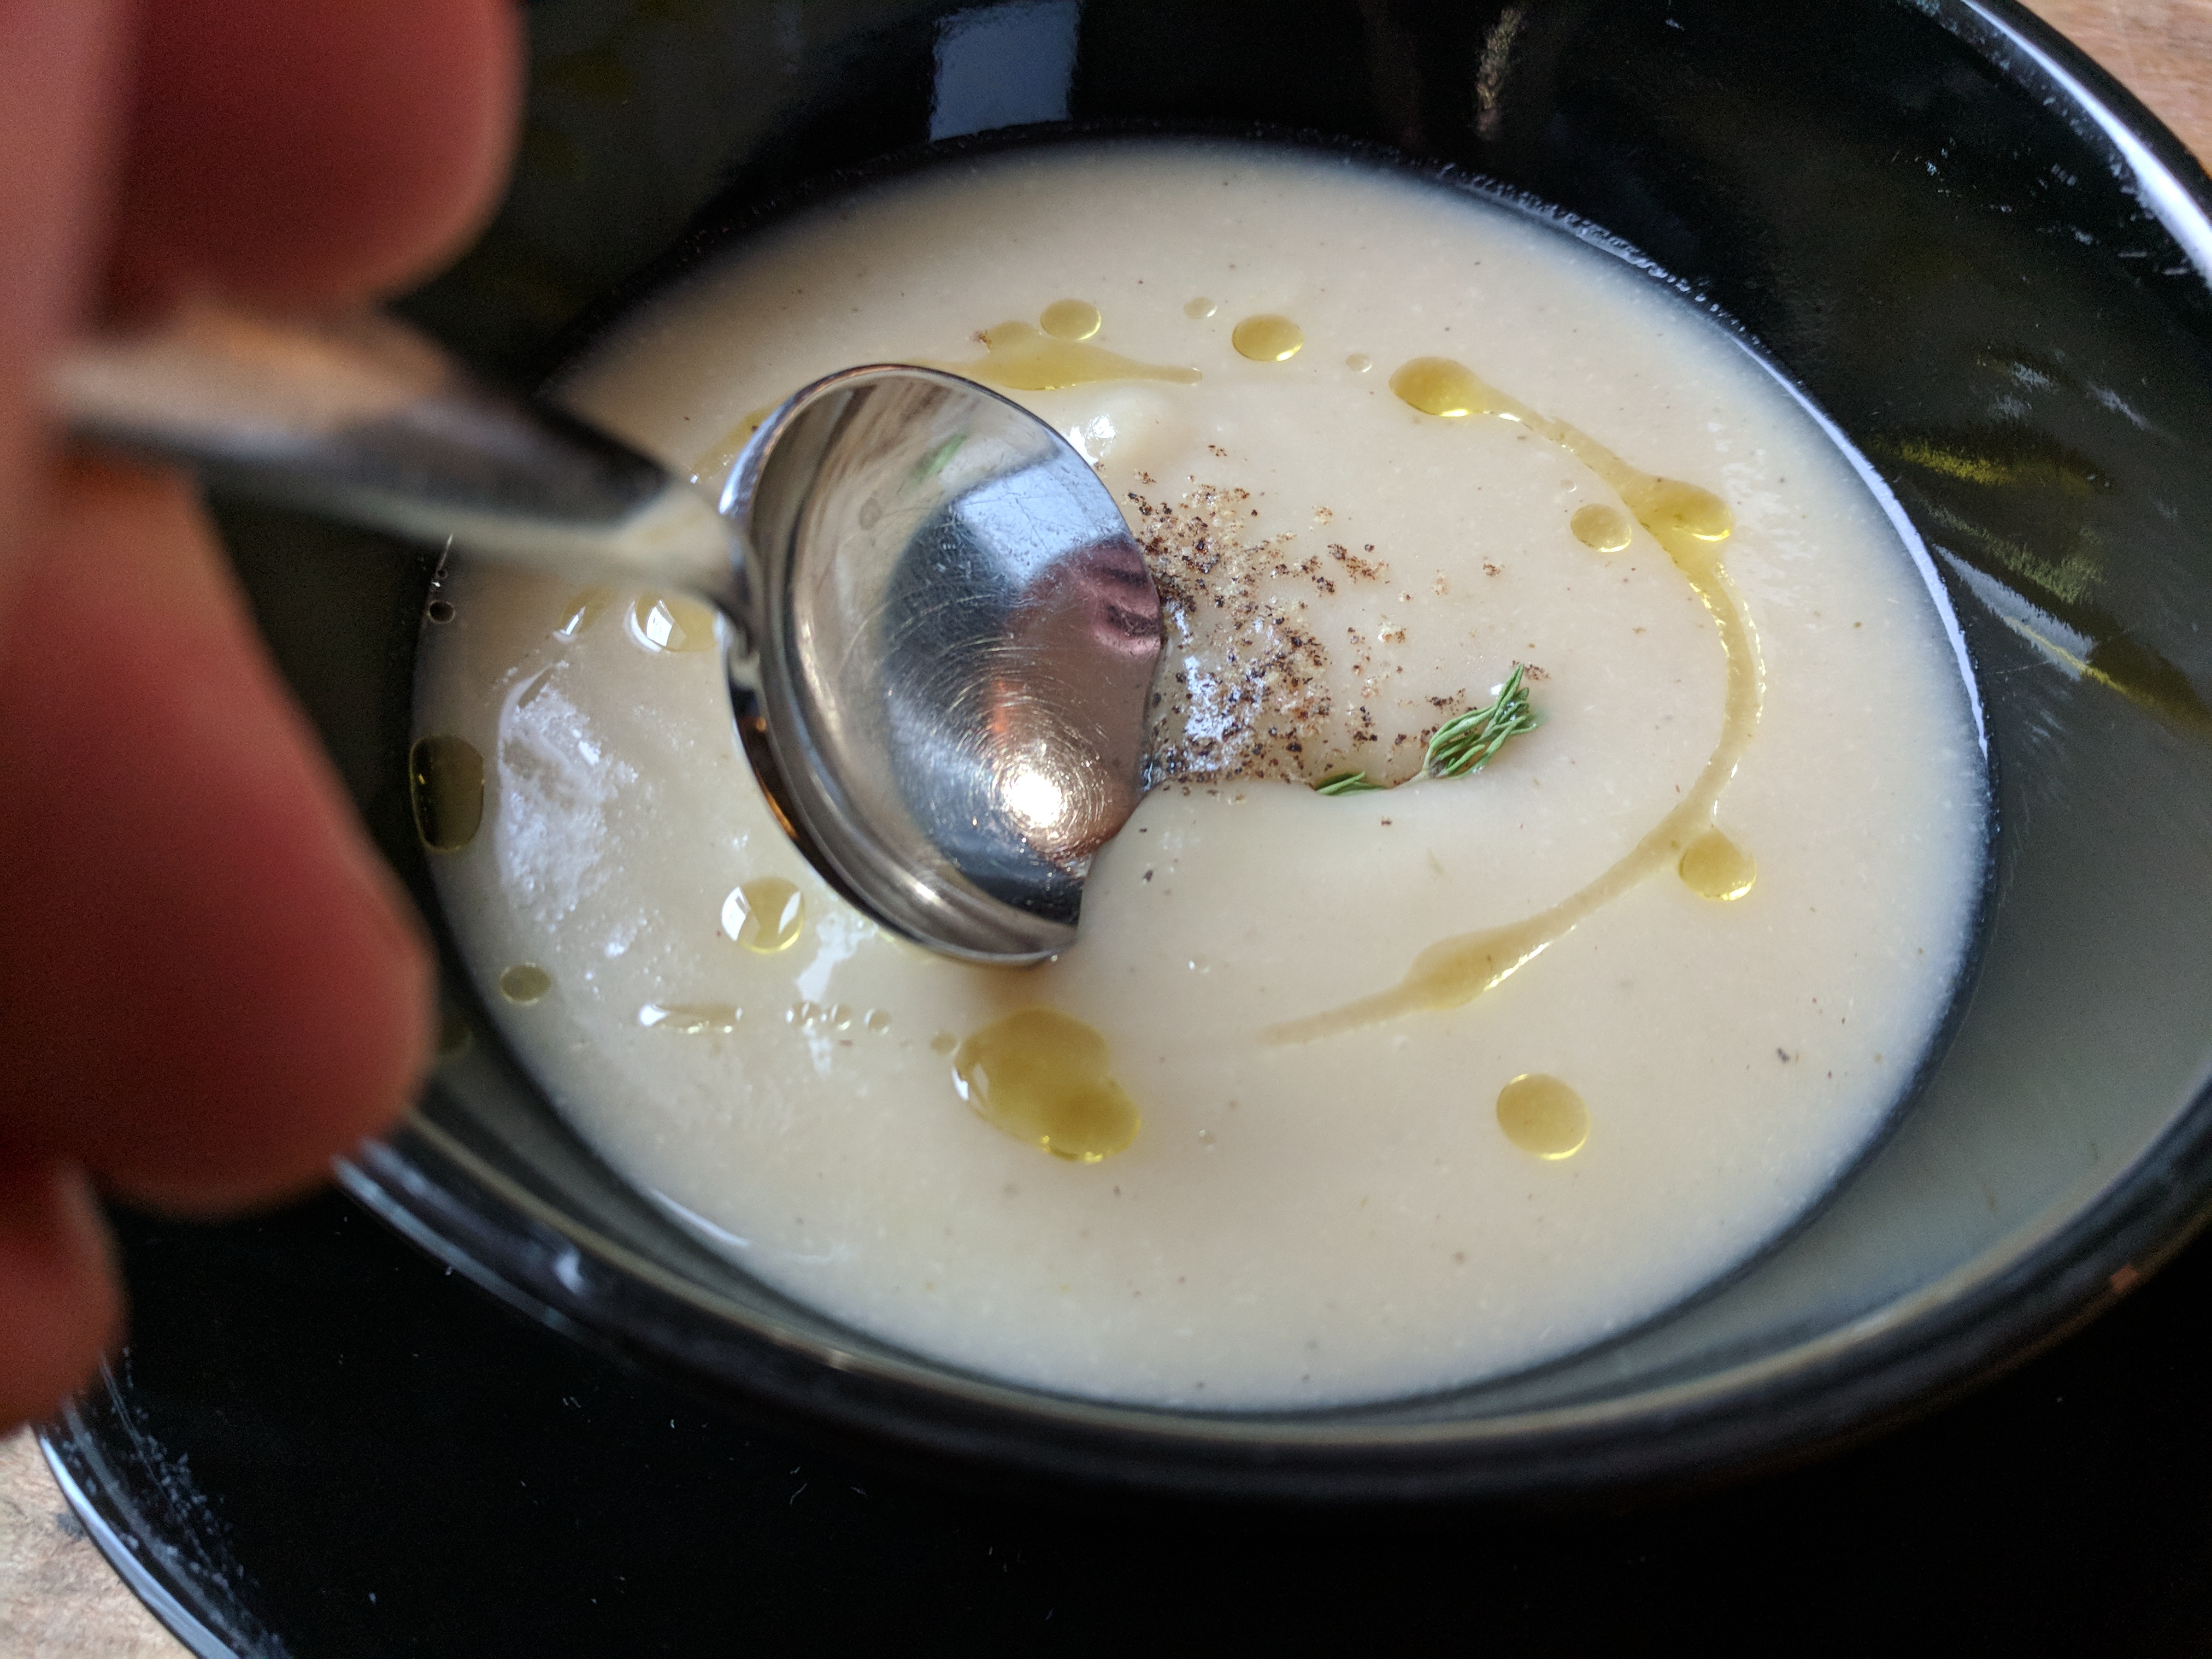
- Remove the thyme sprigs and pureé the soup in a blender or with an immersion blender.
- If you want a really smooth soup pass it through a fine sieve.
- Season to taste with salt and pepper.
Notes
You can also use chicken or vegetable stock instead of water.
For a richer soup finish it with 1 tbsp of butter and 1/4 of whipping cream.
Bacon or prosciutto can be sautéed with the onion to add another element of flavour.
This soup is very simple but tastes delicious. With a few minor changes you can make a good soup great. It really is that easy.
Cream Soups
Cream-based soups include chowders, and “cream of” soups like cream of broccoli, or cream of mushroom. The basic principles I have described for broth-based soups and puréed soups also apply to cream-based soups so I’m not going to get into that aspect of things too much. There is, however, one thing that is unique to cream-based soups and that is thickeners.
Cream soups are rarely made with cream as the exclusive liquid. This would be expensive and far too rich. Instead, a broth is often used as the base. This broth is then thickened (velouté) and a little cream is added at the end. Alternatively, thickened milk (bechamel) can be used as the base though this is less common.
Soup Thickeners
There are three common thickeners used to make soup. They are a roux (equal parts flour and butter cooked together), corn starch, or mashed potato though this is less common. The most common way to thicken a soup today is with a roux.
If you were to use a thickener to make a cream-based soup the process would go like this; Onions and other flavouring ingredients would be sautéed in butter and or oil. Once those ingredients were cooked the flour would be sprinkled over and cook for 3-4 minutes at which point the broth would be added along with the main ingredients (broccoli in the case of cream of broccoli). This would all be simmered until the ingredients were soft and cooked through at which point the soup would either be puréed (cream of broccoli) or finished with cream (scallop and bacon chowder). If the soup is puréed a little cream will be added once that has been done. This small portion of cream will add colour and richness to the soup while the cream texture actually comes from the roux.
I have included two recipes for cream-based soups below.
Ingredients
- 4-5 small potatoes
- 1 baseball sized onion
- 1 lg can creamed corn
- 1/4 lb good quality bacon
- 1 cup whipping cream
- 2 cups 2% or Whole milk
- to taste salt and pepper
Instructions
- Peel and dice the potatoes.
- Put them in a pot and rinse them under cold water until the water runs clear.
- Cover them with hot salted water and bring to a boil over high heat.
- Cook the potatoes for 4-5 minutes after they start boiling.
- Drain and let sit in the strainer until you are ready to add them to the chowder
- While the potatoes are cooking peel and dice the onion.
- Put a medium pot over medium heat and dice the bacon.
- Add the bacon to the pot and cook, stirring once or twice for 3-4 minutes and then add the onions.
- Cook the onions and bacon for about 10 minutes or until the bacon is cooked and the onions are soft.
- Drain off any excess fat and add the creamed corn, cream, and milk to the pot.
- Return to the heat and slowly cook until the dairy is hot.
- Add the potatoes and season the chowder with salt and pepper to taste.
Ingredients
- 8 Sea Scallops
- 3 Strips of Diced Bacon
- ½ cup Diced Celery
- ½ cup Diced Onion
- 1-2 tbsp Chopped Parsley
- 2 tbsp Butter
- 2 tbsp Flour
- 236 ml Bottle Clam Juice
- 2 Cups Water or Chicken or Fish stock
- 500 ml Whipping Cream
- 1 ½ cup Small Diced Potatoes
- Salt and Pepper to taste
- 1 tbsp Canola Oil
Instructions
- Heat a pot over medium-high heat, then add in the oil.
- Pat the scallops dry with a paper towel, remove the foot, season with salt and pepper, and sear on both sides in the hot oil.
- Remove the scallops from the pot and on to a plate.
- Drain any excess oil out of the pot and add in the bacon, cook until crisp.
- Once again drain off the oil, but this time leave about 2 tbsp in the pot. If there is not 2 tbsp of oil, add in the butter.
- Add the celery and onion into the pot along with the bacon and cook for about 3 minutes.
- Add 2 tbsp of butter into the pot along with the garlic. Cook for about 1 minute then sprinkle in the flour and stir to combine.
- Once the flour is fully incorporated, add in the clam juice. Cook until thick then add in the water and potatoes.
- Bring the pot to a boil and cook until the vegetables are cooked through about 10 minutes.
- Add the cream into the pot.
- Cut the scallops into quarters and add them into the pot along with the parsley.
- Taste the chowder, season to taste with salt and pepper, and serve with crackers or biscuits.
Techniques
Building Flavour
Building flavour into your soup is really a matter of how you handle your ingredients. For example, if you want a deeper more nuanced flavour in your soup you can roast the vegetables before adding them to the pot. If you would like a heavier onion flavour, which would be desirable with some beef soups, add a higher proportion of onions. Some of the onions may be roasted, and some may be raw. On top of this, herbs and other complementary flavourings can be added during either broth production, or during the actual production of the soup itself.
Getting the most flavour out of your ingredients is really a matter of time. If you don’t cook your ingredients long enough, you are throwing away flavour. If you cook them too long, you are destroying the flavour. You want to cook your ingredients only until they have released the maximum amount of flavour, any longer and you are actually cooking flavour out. Flavour is just volatile oils and chemicals interacting with receptors on your tongue. These oils and chemicals can be destroyed if cooked for too long, or on too high a heat.
Ingredients
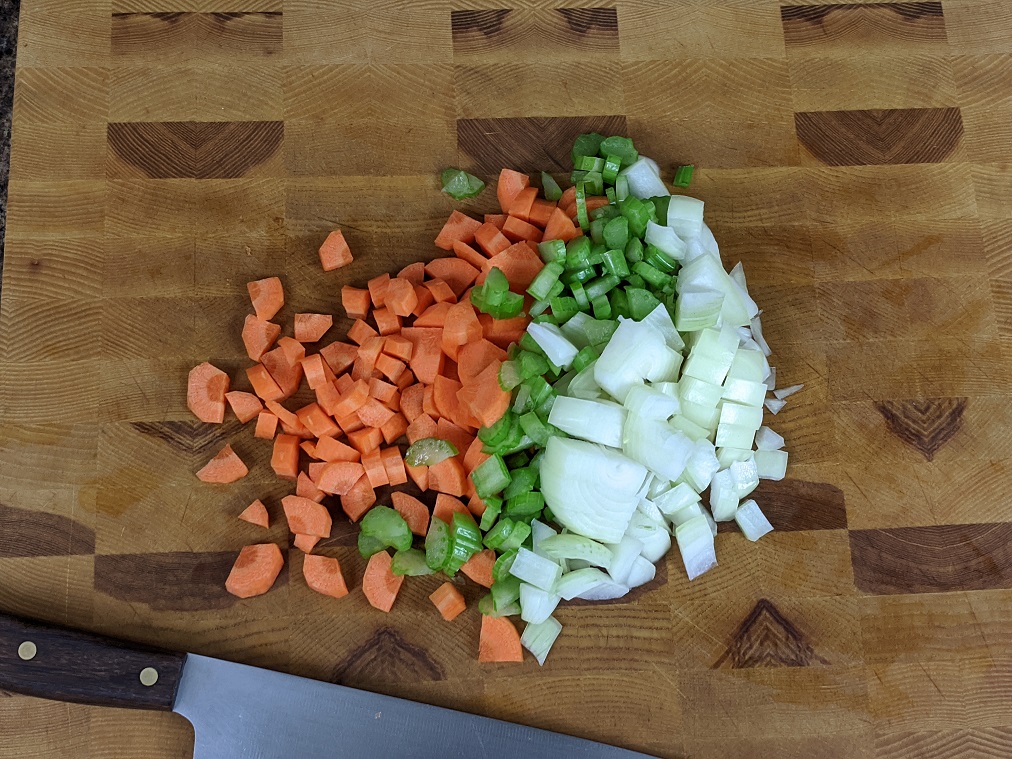
Choosing the right ingredients for your soup is very important. If you are hoping for a crystal clear broth you want to avoid adding carrots as they can cause cloudiness. But beyond that, meats with a high percentage of fat generally are best kept out of the soup pot unless you want very fatty soup.
Use waxy potatoes rather than mealy ones as they will hold their structure better when cooked. Avoid ingredients that have very strong flavours that could overpower the flavour of the broth and the other ingredients unless of course, you want that to be the forward flavour. Flavours like ginger and garlic should be subtle if used.
Use fresh ingredients whenever possible. Some people think of a soup pot as a garbage pot, which it absolutely is not. Making soup is a great way to use leftovers, and to use up excess produce you have around, but don’t use half-rotten vegetables as this will cause your soup to taste half rotten.
When to add ingredients
When to add your ingredients is just as, if not more important than what ingredients to add. Generally, any ingredient that will continue to absorb liquid after the cooking process should be cooked separately and added just before the soup is served. Ingredients like rice would fall into this category. Rice can be delicious in soup, but not if it has absorbed all of the broth and is now just a big mushy mess. Just like with adding flavour to the broth, you want to only cook the ingredients until they are done. So, ingredients that take longer to cook like onion and celery would be added nearer the beginning of the cooking process as opposed to peas or potatoes which will have a much shorter cooking time.
Fresh, green herbs, like parsley or cilantro, should be added at the very end of cooking, while heartier herbs like thyme and rosemary can be added about halfway through. Dried herbs, should always be added near the start of cooking.
Understanding Soup – A few last notes
There are a few last points that I want to make. First of all the quality of the pot you use matters. If you use a thin aluminum pot you risk burning heavier ingredients to the bottom. This happens because the heat from the burner is not evenly distributed causing hot spots on the surface of the pot. A heavy bottom pot will allow the heat to evenly distribute and will be much less likely to burn. Of course, no matter what type of pot you are using you want to make sure to stir your soup every once in a while to prevent sticking which will lead to burning. This is especially important when making a cream-based soup.
The only thing worse than an under-seasoned soup is an over-seasoned soup. Seasoning with salt and pepper throughout the cooking process, and tasting as you go, will help to prevent over or under seasoning. Generally, the soup should be seasoned at least three times. Once in the very beginning, once in the middle of cooking, and once just prior to it being served. This will allow the seasoning to evenly distribute throughout the soup and will give it a more uniform flavour. This will also allow the ingredients that are being cooked in the soup to absorb some of that seasoning and find an equilibrium.
Keep in mind that ingredients like potatoes will absorb a lot of salt. Because of this you may think that you have added enough seasoning, taste your soup a few minutes later and it now tastes slightly bland. Also, things bacon or corned beef will add to the salt content of the soup so be careful when using ingredients like these not to over season.
The simpler your soup is, the higher quality your ingredients need to be. If you are making a soup that has fifteen ingredients it is easy to use up some of the vegetables in your fridge that may not be the freshest. However, when making a soup that has two or three ingredients, those ingredients must be the best they can be. The reason for this should be obvious. Those few ingredients are all you are going to taste. If they taste even slightly off, your entire soup will taste off.
Conclusion
There are few things better when you are feeling down than a bowl of homemade soup. Be it puréed, cream-based, or broth-based, soup has a unique ability to lighten the spirit and lift your health. It can be quite simple like chicken noodle, or relatively complex like scallop and bacon chowder, or roasted butternut squash.
No matter how simple or complex the soup may be, the information is universal. This information will help guide you and improve the overall quality of your soup. As you saw these are fairly simple things that anyone can do. Hopefully, there is nothing here that is going to worry you or seem intimidating. I can guarantee that if you make these subtle yet important changes to your soup-making process your soup will be better than it is now.
Making soup is generally a pretty simple process. These guidelines are meant to maintain that simplicity while yielding the best quality soup possible. Follow them and you will make better soups. The improvements may be subtle but you will definitely notice them and so will the people that you choose to share your soup with.





Very useful content. Thank you.
I’m glad you found it useful. Thank you