
People love chicken breast. I don’t really know why. It is the fifth-best part of a chicken, and chickens don’t really have more than five parts. But, despite how I feel about them, you will probably be throwing them on your grill this year. Since you’ll be grilling them anyway, why not grill them as well as possible? What I’m about to share with you is a foolproof method for cooking chicken breast, or anything for that matter, perfectly on the grill. You don’t even need to read the whole post. I’ll tell you the secret right now. Are you ready? Okay, here it is. Don’t overcook it. I know. Mind blown. That really is basically what I’m about to tell you. Of course, there’s more to it, but that’s the short version. If you love chicken breast and are planning on grilling some, keep reading. Let’s get to it.
Why Chicken Breast Sucks
Chicken breast sucks and is easy to ruin for the same reason that so many people like it. It is extremely lean. In a 3 oz (85 g) portion of skinless chicken breast, there are 140 calories. Of those 140 calories, only 3 grams are fat. That’s a pretty good ratio if your only focus is eating lean. However, whether you like it or not, fat equals flavour and juiciness. Lean meat tends to be dry and flavourless. They are also much less forgiving when even slightly overcooked. So, the two big questions that we need to answer are; How do you keep your chicken breast juicy? And, how do you impart as much flavour as possible?
Prepping The Chicken
I’ve seen a lot of people standing in front of their grill with a package of boneless, skinless chicken breast. They take the chicken right from the package to the grill. No seasoning, no nothing. I’m here to tell you, if you don’t already know, don’t do that. First of all, where is the flavour? Secondly, there is a little prep that you should do to help your chicken breast cook evenly.
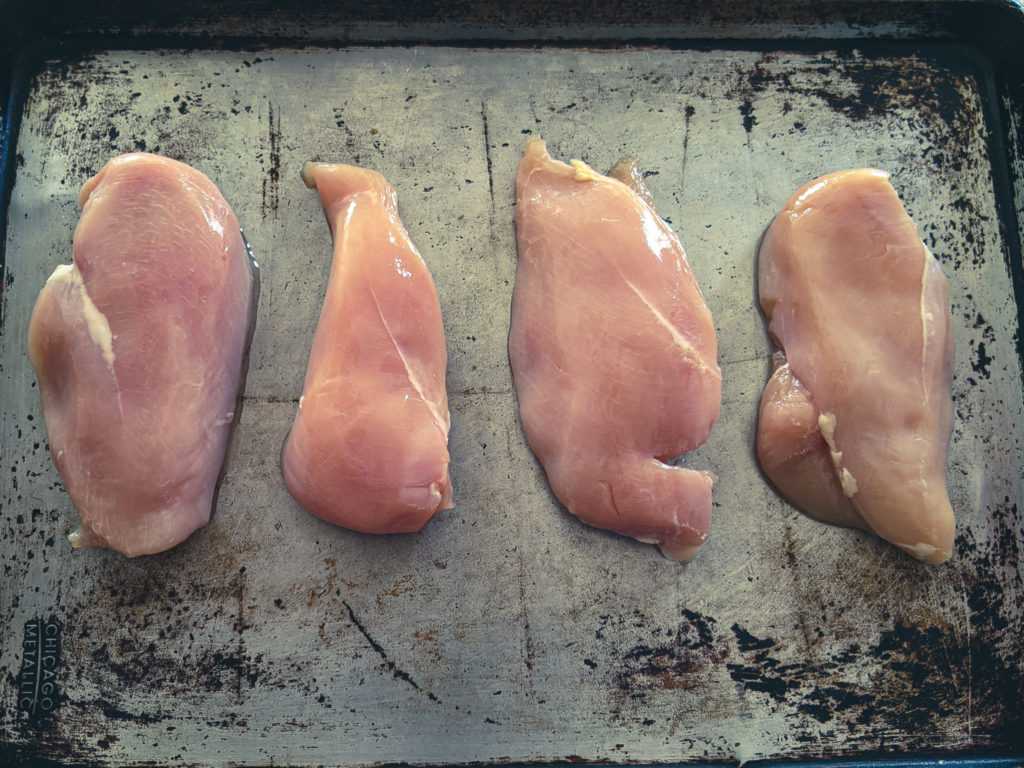

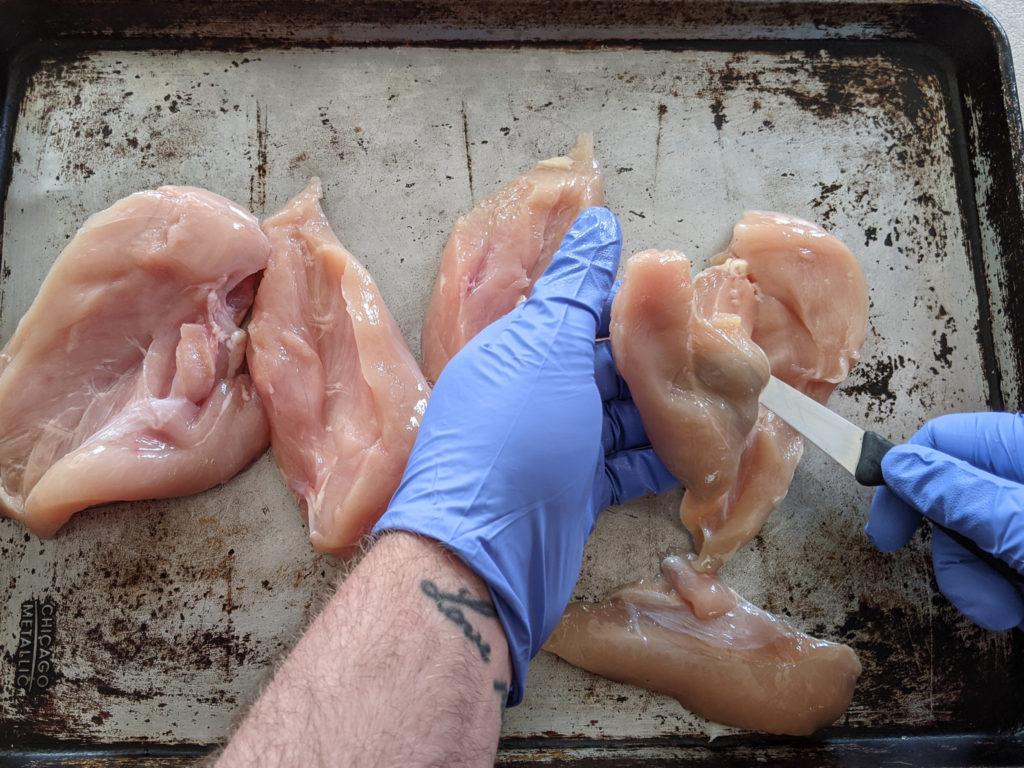
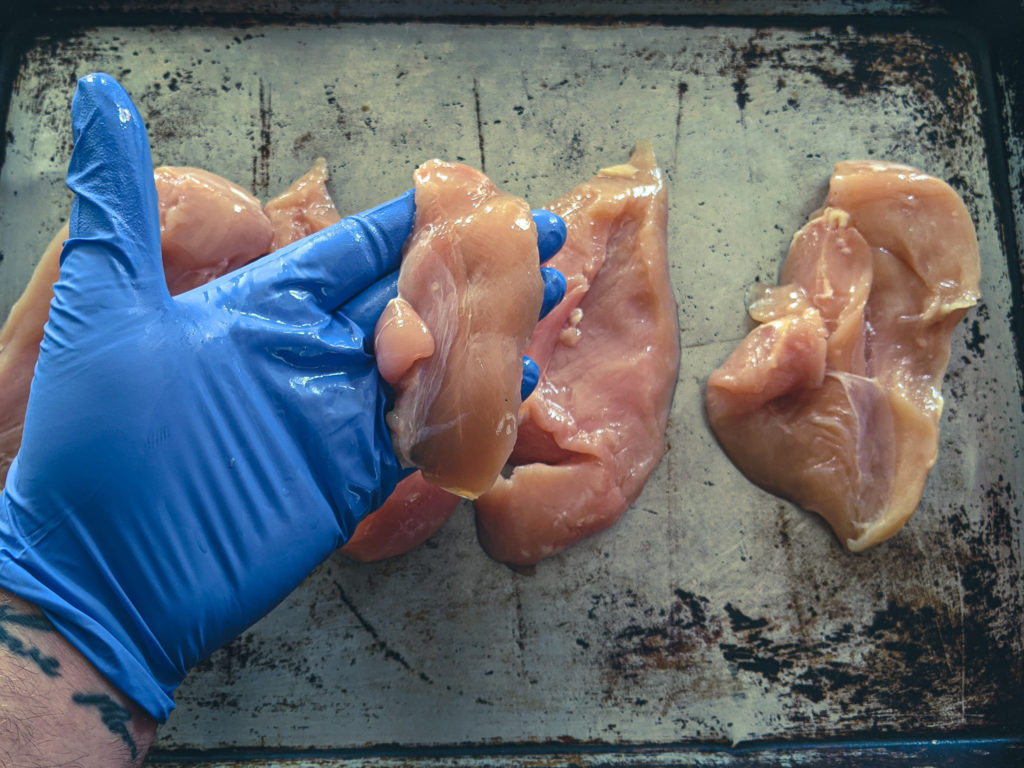
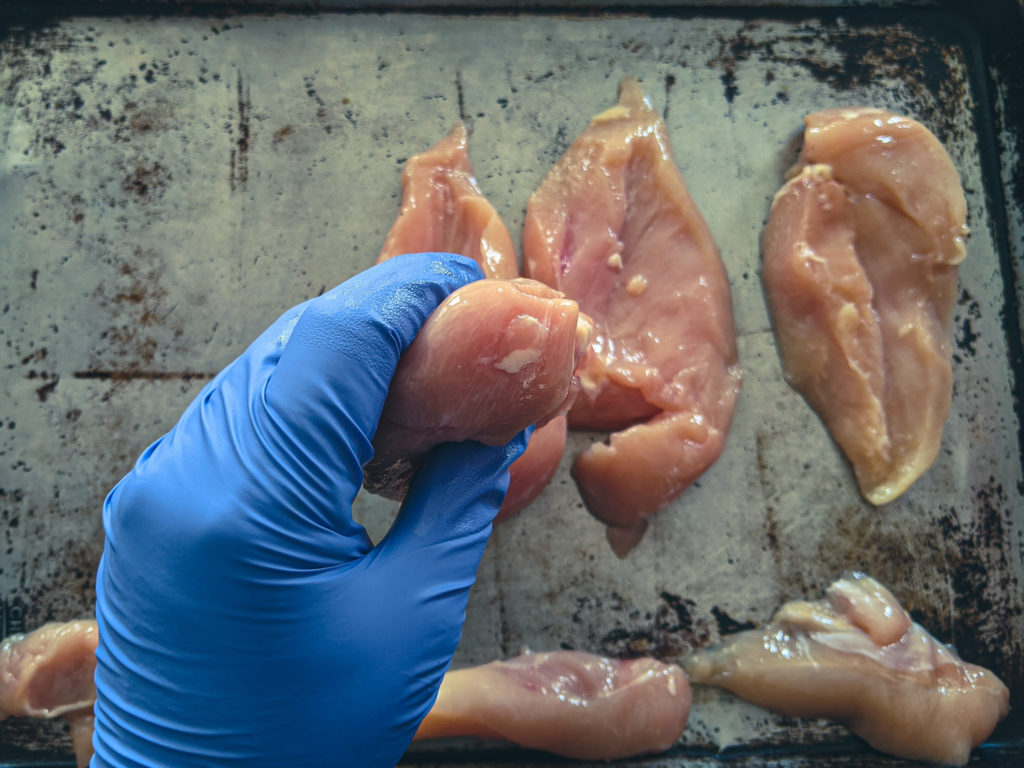
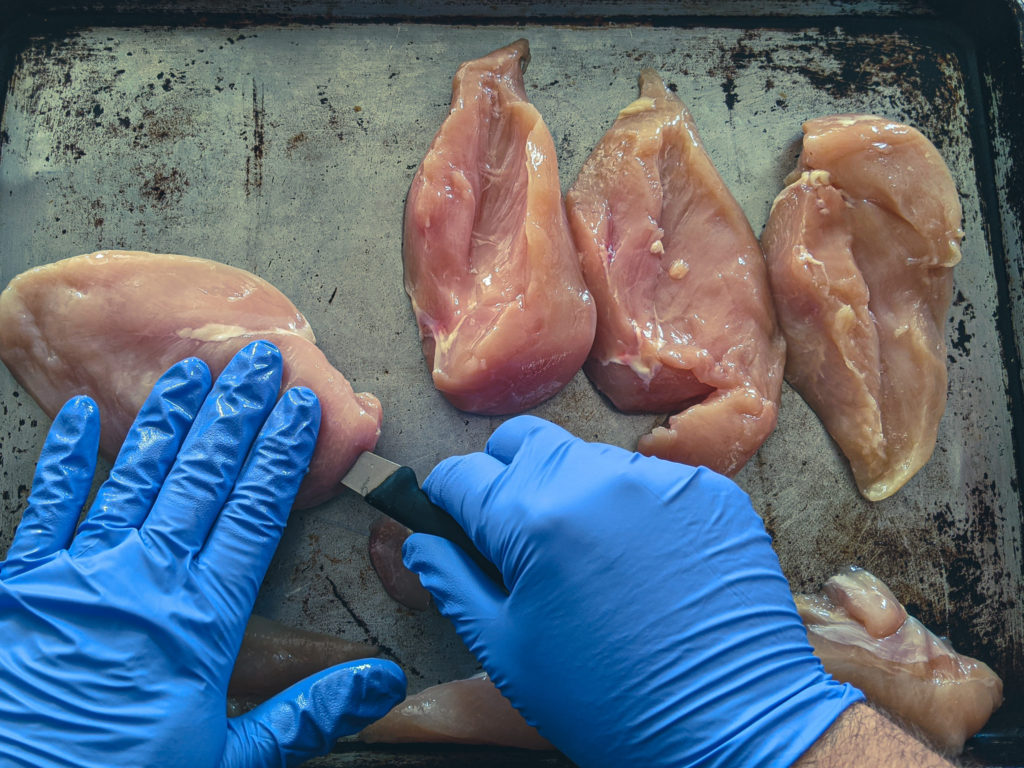
Removing the tender
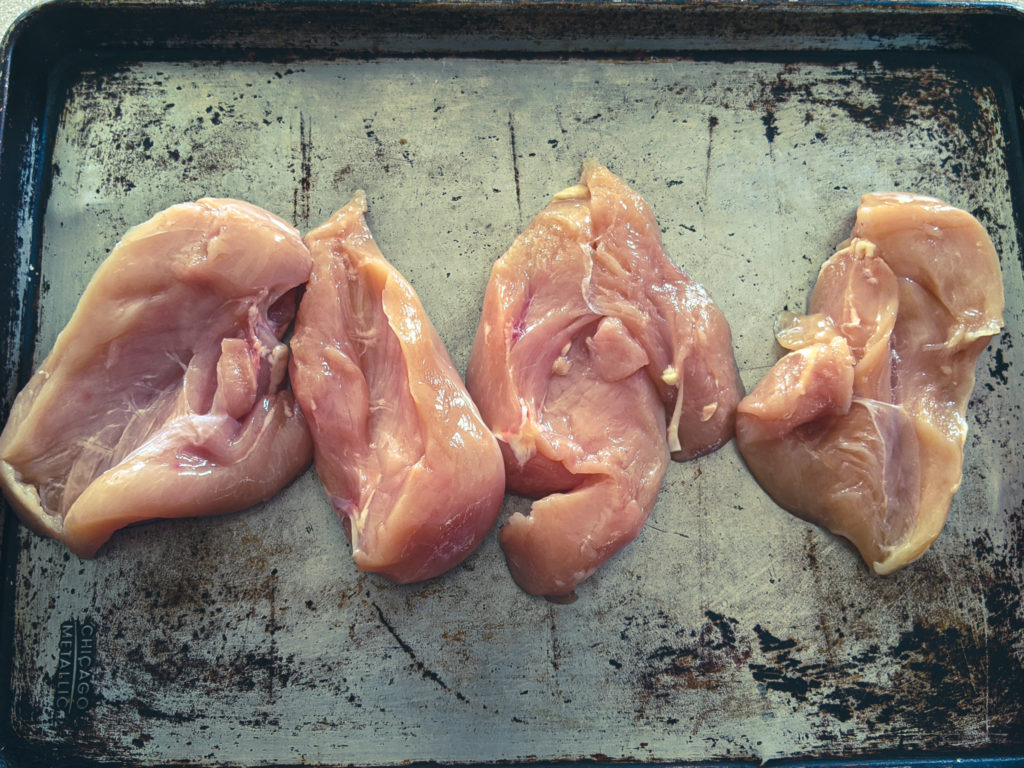
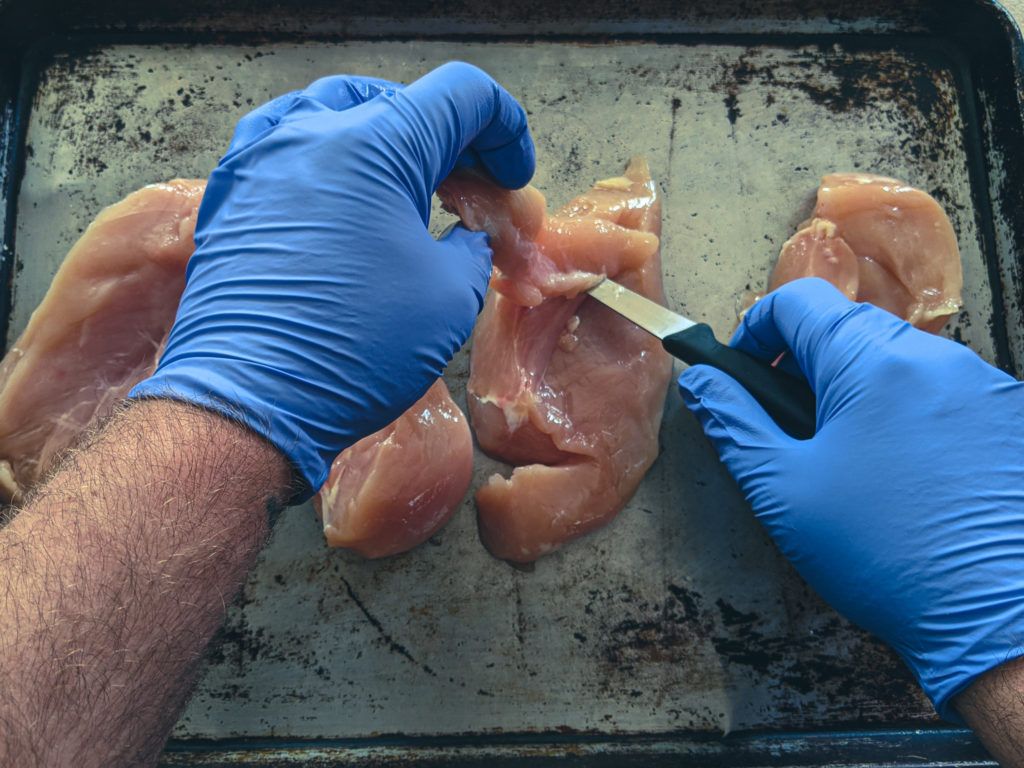
If you flip over a chicken breast, you will see what is known as the “tender.” The tender (yes, that’s what breaded chicken tenders are made of) is a little flap of meat that hangs off the bottom of the chicken breast. You don’t have to go hunting for it; it’ll be pretty obvious. Using a sharp knife, cut the tender off. Why? Because the tender will create a little pocket between itself and the rest of the breast that will take a long time to cook. By the time this pocket is cooked, the rest of the breast will be overcooked.
What do you do with the tender?
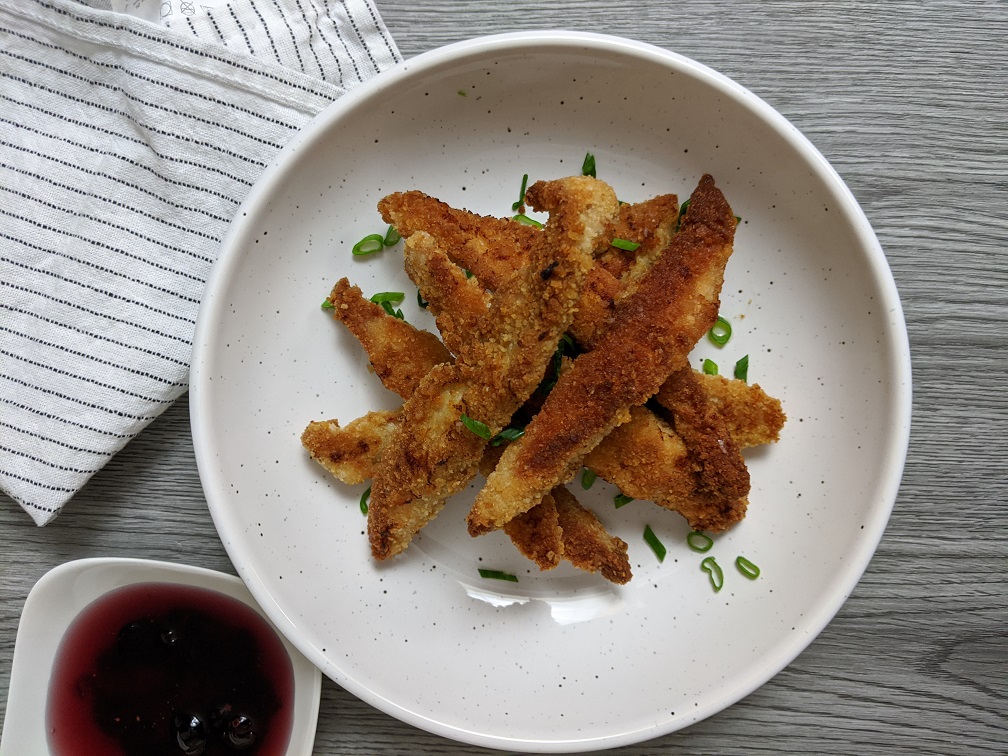
Don’t throw the tender away! If you want to, you can throw it on the grill and cook it alongside your breasts. They only take a few minutes to cook and make a great addition to salads. You can also freeze them. Once you get a stockpile in your freezer, thaw them and make a big batch of homemade chicken fingers. You can substitute the turkey in the Turkey Tender Recipe below with the chicken tenders. Chicken tenders also make a great ingredient for a stir-fry or soup.
Ingredients
Turkey Fingers
- 300 g Turkey Breast Fillets, cut into 12 strips
- 1 tsp Kosher Salt
- 1/2 tsp White Pepper
- 1 tsp Ground Sage
- 1/2 tsp Smoked Paprika
- 1/4 tsp Cayenne
- 1/2 cup Bread crumbs (or more as needed)
- 2 Eggs, beaten
- 1/2 cup Flour (or more as needed)
Cranberry Sweet and Sour Sauce
- 1/2 cup White Vinegar
- 1/2 cup Water
- 1/2 cup Sugar
- 1/2 cup Cranberry Juice
- 1/4 cup Dried Cranberries
- 2 tsp Cornstarch
- 2 tsp Water
Instructions
Turkey Fingers
- Add the spices to the flour and mix.
- Dip the turkey in the flour, then the beaten eggs, then the bread crumbs.
- Place the breaded turkey fingers on a greased cookie sheet.
- Bake the turkey fingers in the oven at 400°f for 15 minutes then flip and bake for 10 more minutes or until cooked through.
Cranberry Sweet and Sour Sauce
- Put the vinegar, water, sugar, cranberry juice, and dried cranberries in a medium pot and bring to a boil.
- While the vinegar mixture is boiling combine the cornstarch and water and mix well.
- Cook the sauce for 3-4 minutes, stir the cornstarch and water and add to the vinegar mixture.
- Turn the heat down to medium and cook for 3 more minutes.
- Serve with the turkey fingers.
Butterfly the breast
Taking the tender off will help the breast cook more evenly. But, if you have an especially thick chicken breast, you may want to butterfly it. Butterflying will give you a thinner chicken breast with a larger overall surface area. This means that the breast will cook much quicker than if it was left whole, and it will have more of that delicious grilled flavour and more room for seasoning.
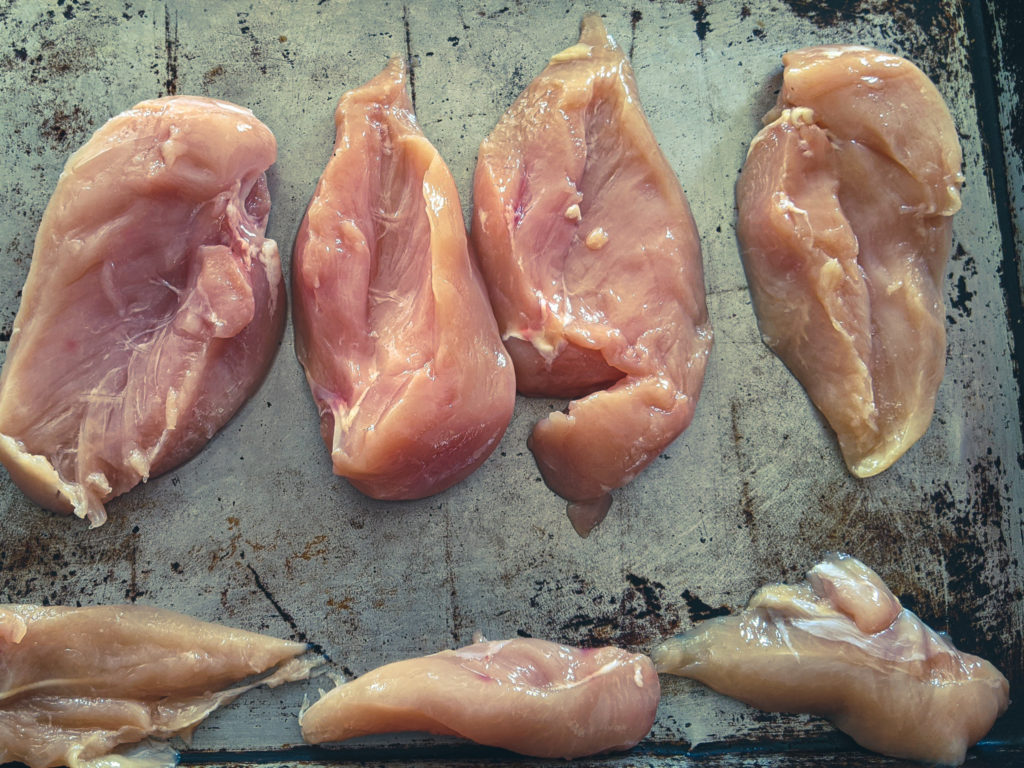
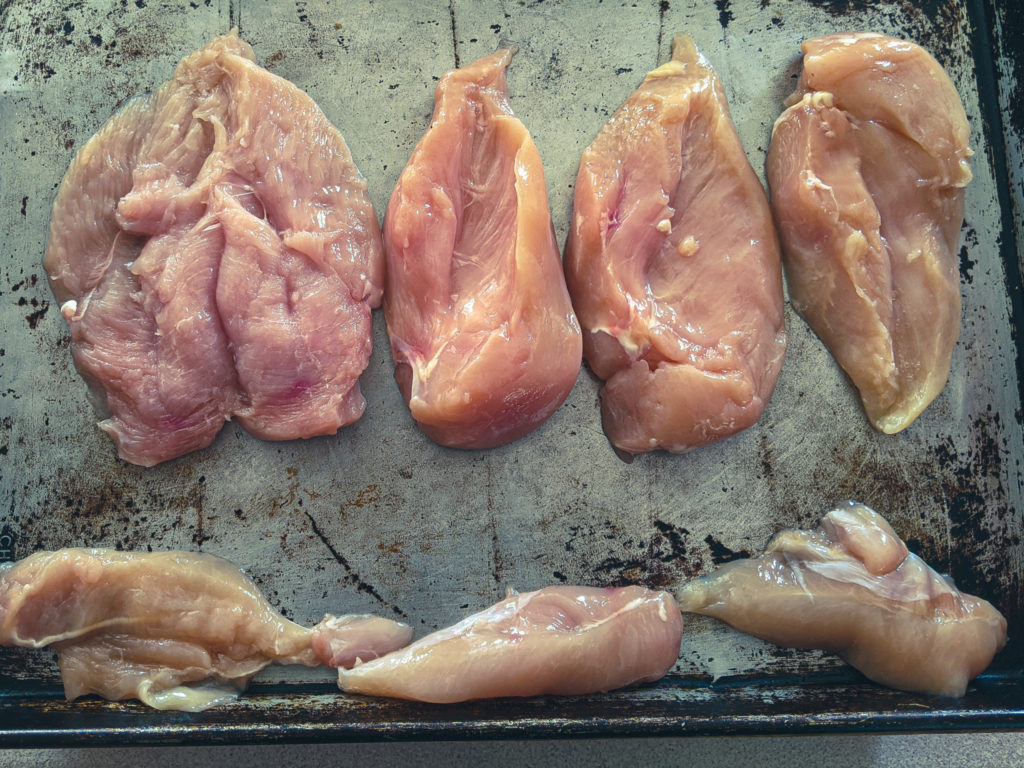
How to butterfly a chicken breast
To butterfly a chicken breast, remove the tender as described above, then place the chicken breast flat on your cutting board. Using a sharp knife, cut halfway up the height of the breast. Keep cutting in long even strokes until you’ve cut about 80% of the way through the chicken breast. You should no be able to open the the breast like a book. That’s all there is to it. Just try your best to keep your knife as even as possible otherwise, you may cut through the top or bottom of the breast. This won’t hurt it, but it won’t be as pretty.
Note: I did not do a very good job butterflying my breast. I was too preoccupied with taking pictures. I should have grabbed a better knife. But never fear; I make mistakes, so you don’t have to. Yeah, that’s why I do it.
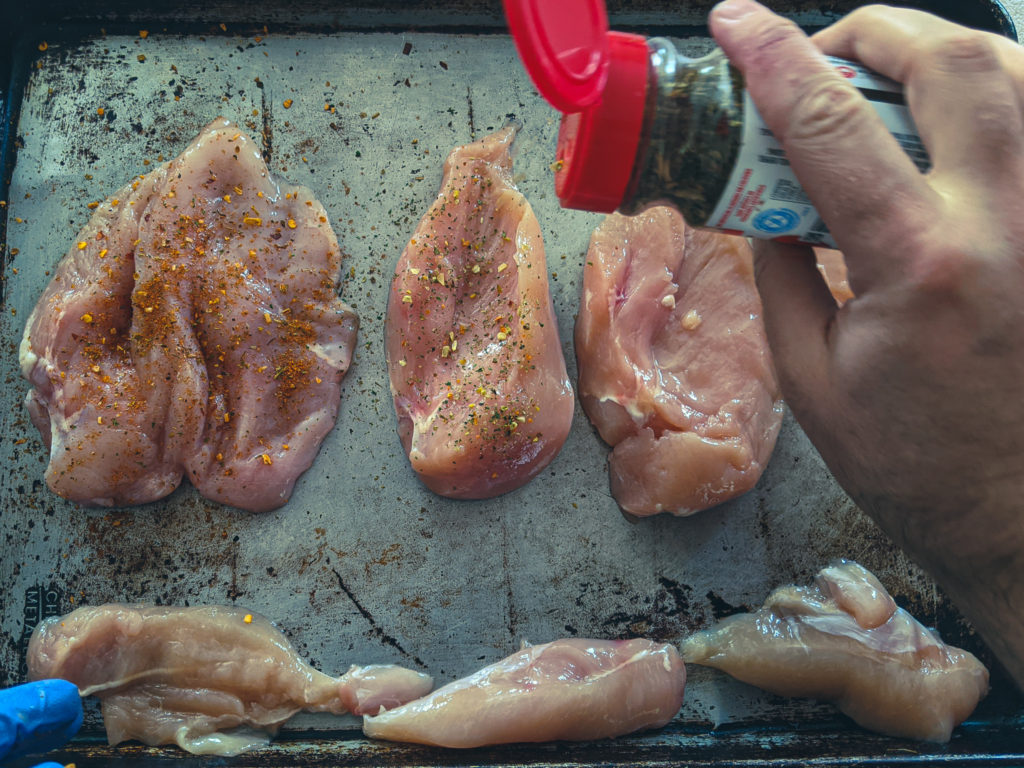
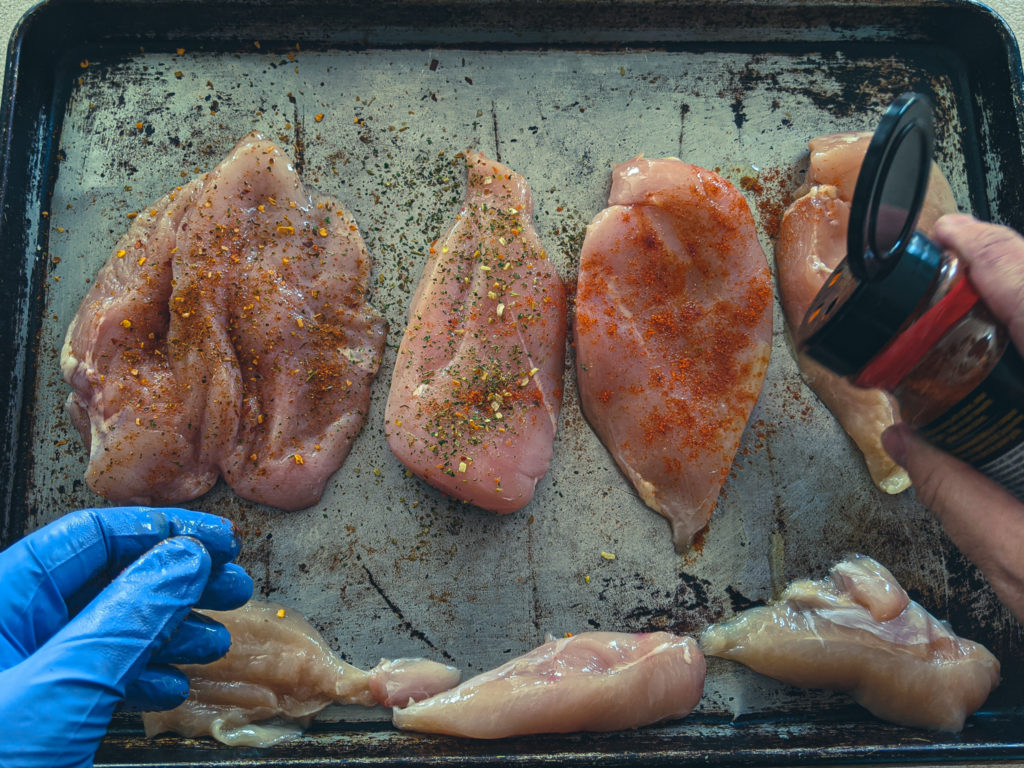
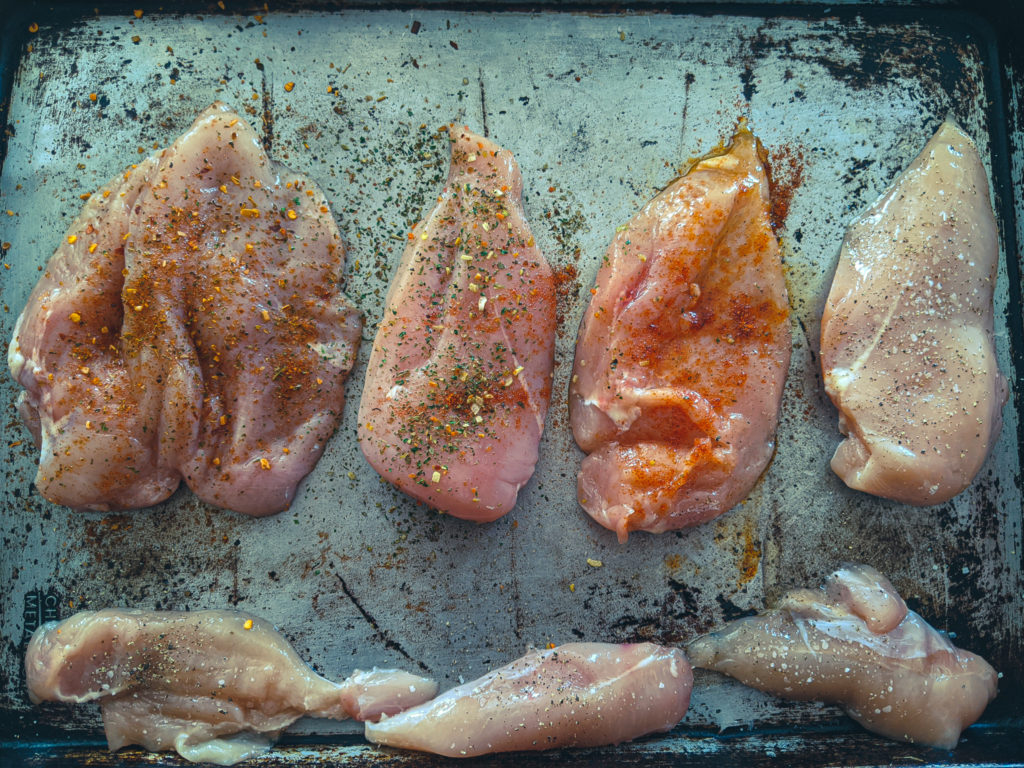
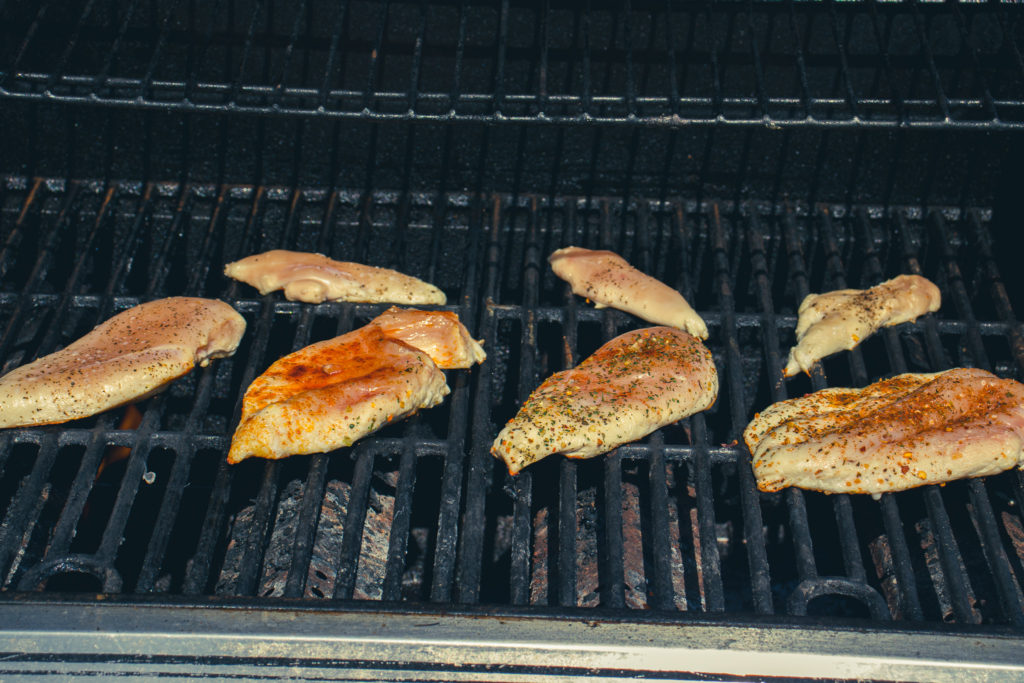
Seasoning the chicken breast
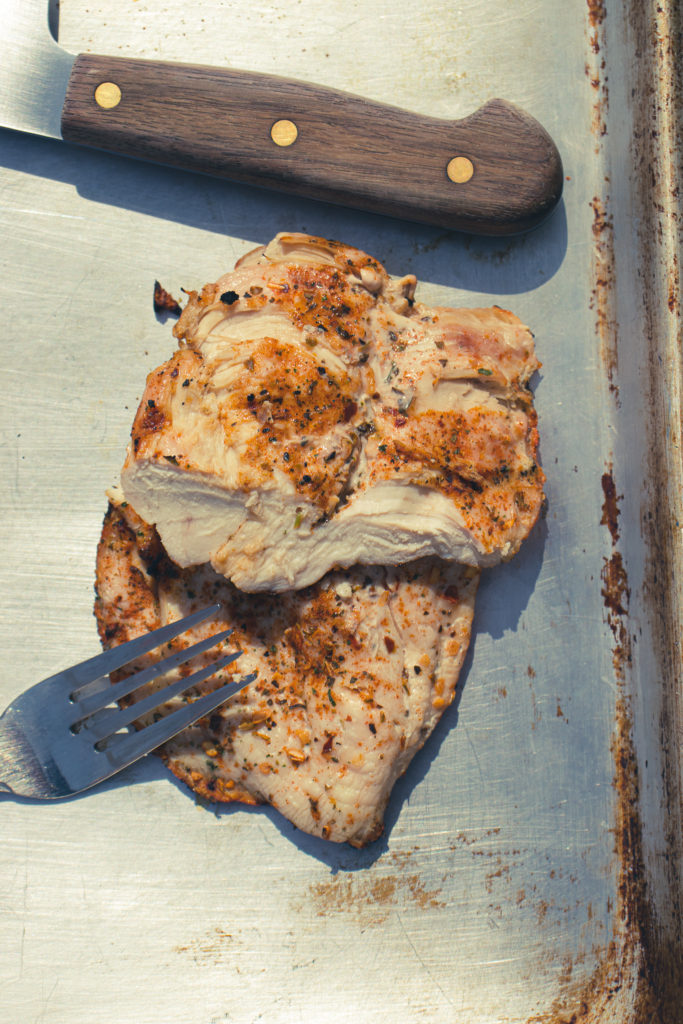
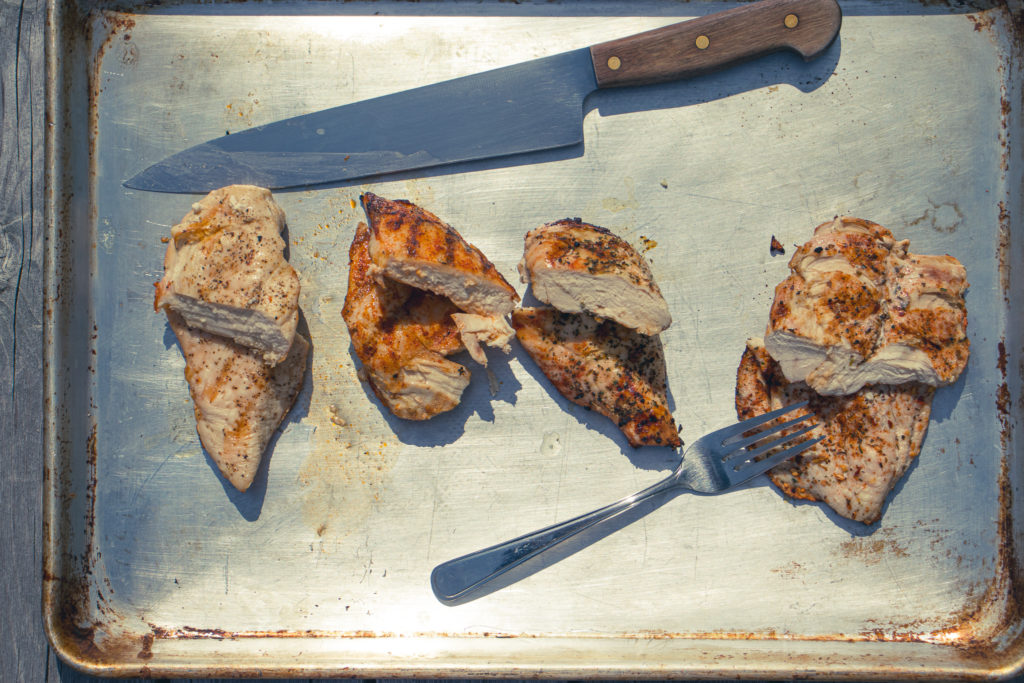
Okay, your chicken breast has had the tender removed, and the larger ones have been butterflied. It’s time to go to the grill, right? That was a test. If you said yes, you failed. It’s flavour time, not grill time. At this point, you can marinate your chicken breasts if you want, or you can season them with any number of seasonings. To make my point about seasoning, I flavoured all four of my chicken breasts differently. One is seasoned with a store-bought BBQ chicken seasoning. One has Italian seasoning. Another has Cajun seasoning. The final breast just has salt and pepper on it.
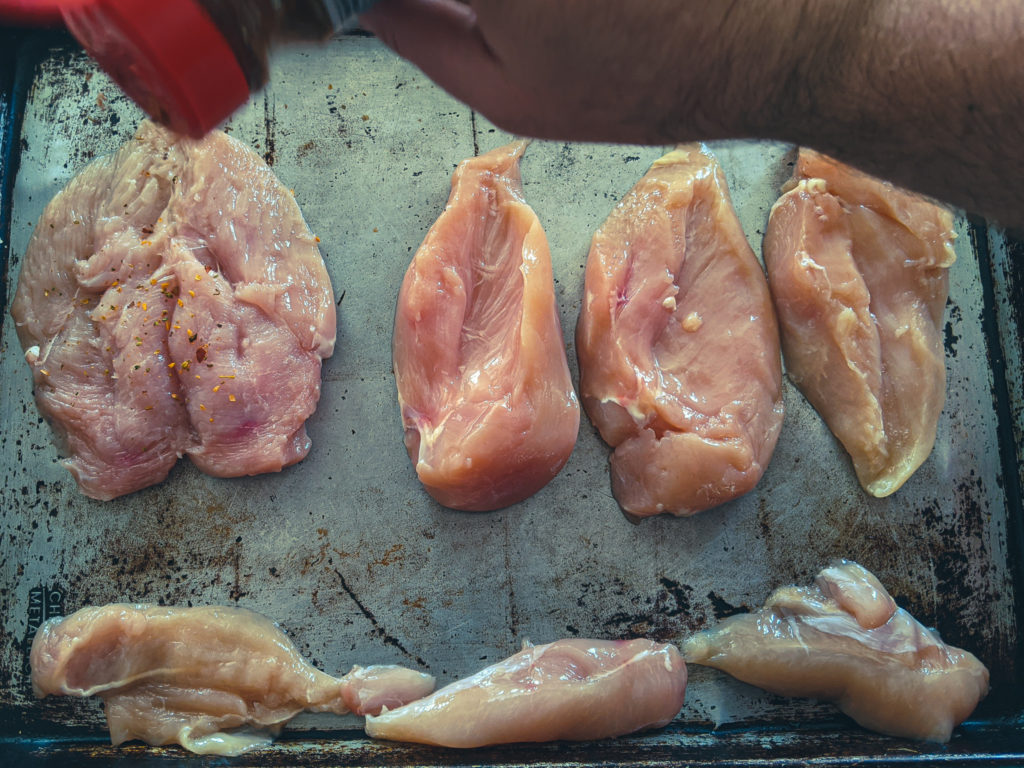
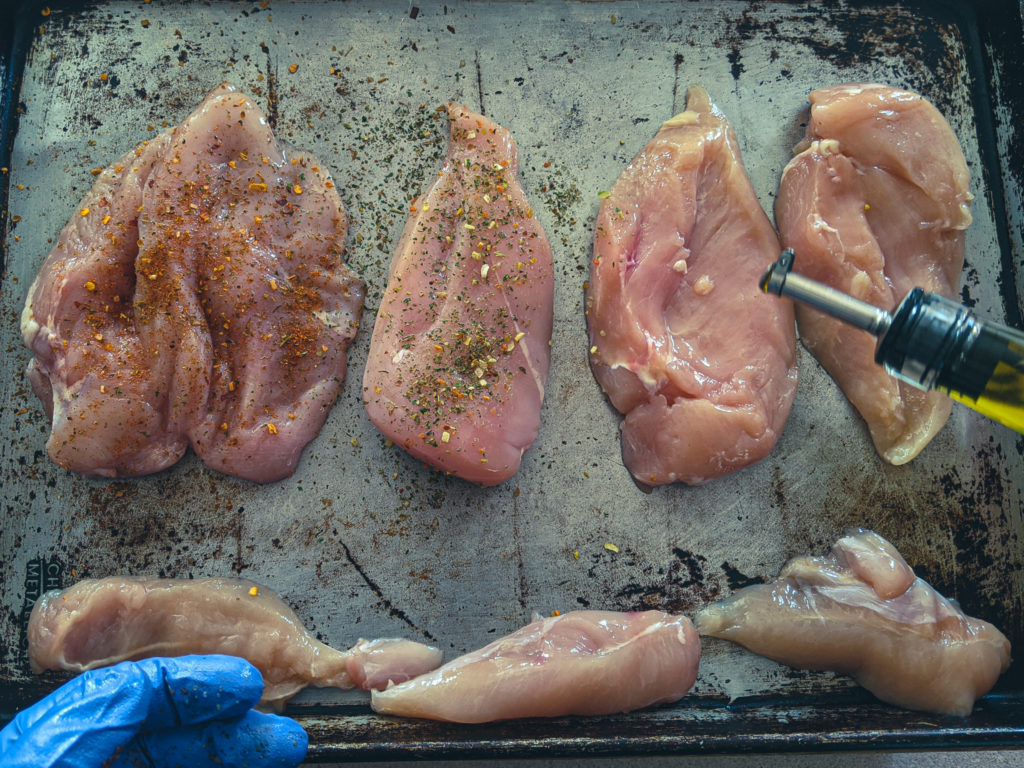
To oil or not to oil?
You may have noticed in the images above that I only oiled one breast. I know that many people, when grilling, tend to oil their food and their grill. If you are eating chicken breast becasue it is lean meat, adding a pile of oil to it kind of defeats the purpose. It is also unnecessary and is likely to cause flareups. Don’t believe me? It’s okay, you’ll see in a few minutes. If you want to add all that extra oil, go for it. I’m not going to tell you how to live your life, but again, it is not needed.
Prepping Your Grill
Do you want to know the big secret to grilling? Here it is. Turn your grill on high. Leave it alone with the lid down for 10 to 15 minutes. Next, clean your grill with a grill brush or whatever new fangled grill cleaning tool you have. Put the lid back down, and leave it alone for another 5 minutes. Then, and only then, grill your food.
The secret to a non-stick grill
No matter what your grill is made of, it has the capacity to be non-stick. But, it comes down to you. The hotter your grill is when you add food to it, the less likely it is that food will stick. Also, the more you use your grill, the more grease from your food will build up and bake onto it. This will “season” your grill, just like a castiron pan. Seasoning the grill will also help it be nonstick. So don’t wipe the grill down with soap and water. Just get it hot and brush it off with your grill cleaning tool of preference.
Why your food sticks
Maybe you’re saying to yourself, “But Ben, come on. I use my grill all the time. I let it heat up and I clean it with a grill brush. But everything still sticks.” Well, to that I have to say, it’s your fault. Harsh, I know, but hear me out. There are three main reasons your food, chicken breast or otherwise, is sticking to your grill.
- You didn’t let your grill get hot enough, or you keep opening the lid and cooling the grill down too much. Or, you let your grill heat up but then turned the heat way down before you put your food on. We’ll talk about this in a minute.
- You didn’t brush your grill off well enough, so the food you’re cooking is sticking to old bits of dried-on food.
- Or, the most common reason, you are trying to flip your food before it’s ready to be flipped.
The Maillard Reaction and Grilling
We’ve talked before about the Maillard reaction in other posts. I’m not going to get too deep into the science here, but you can check out this Wikipedia article about it if you are interested. The short version is that the Maillard reaction is the process that causes food to brown. Think about the cheese and crust of a pizza. The Maillard reaction causes the golden brown colour. It’s the same with a perfect brown crust on a nicely seared steak. Well, that browning, the Maillard reaction, is vitally important when cooking on a grill.
When to flip your food
When your food hits the grill, it is being cooked by the heat transfer from the flames, the heat in the air, and the heat stored in the grill’s metal. Metal is a better conductor of heat than air, but it takes a while to absorb enough heat to maintain its temperature. So, the metal will be much hotter than the air, ideally. That’s why you get grill marks on your food. Those grill marks are more than just pretty. They are the key to your food not sticking. As the Maillard reaction happens, the food touching the grill will brown. As the food browns, it will release from the grill. But, this takes time. So, if you are concerned about your chicken breast, or other foods, burning, turn down the flames a little bit, but don’t force the food to flip. Once it is ready to flip, it will release from the grill easily. That’s why it is so important to pre-heat your grill.
How to grill chicken breast
Okay, we’ve covered a lot. But I think it’s important to know all of this before we get to actually cooking. At this point, your breasts should have the tenders removed. The larger breasts should be butterflied. All the chicken should be seasoned on both sides, and your grill should be nice and hot. Now, put the chicken breast on the grill, close the lid, and leave it alone for about 5 to 6 minutes. Before the chicken goes on the grill, the gas should be on a high. Once the chicken goes on and the lid is closed, wait until the thermometer comes back to about 400°f then turn the gas to medium. If you leave the gas on high, you risk burning the chicken. If you turn the gas down before the chicken is on the grill or before the grill comes back to temperature, you risk the metal cooling down too much and the chicken sticking.
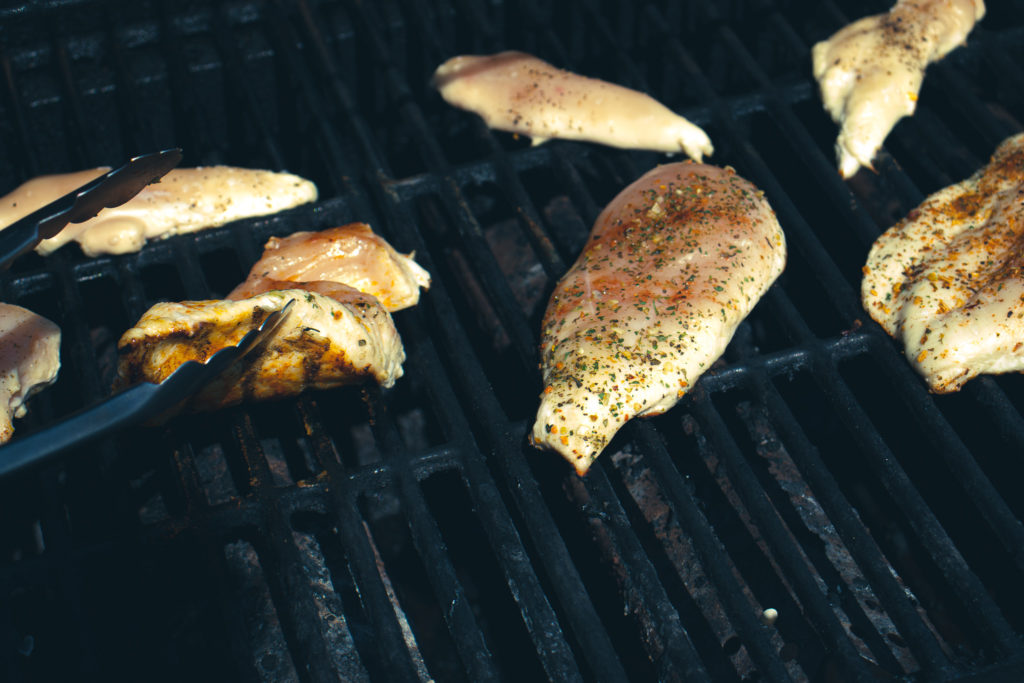
How do you know when to flip the chicken?
After 5 minutes, open the lid and gently lift the chicken breasts. If they are sticking, close the lid and leave them alone for another minute or two. Once the breasts easily pull away from the grill (notice I said pull away and not lift away), flip them, close the lid and leave them alone for another 4 to 5 minutes.
Even though the breasts shouldn’t stick to the grill, they likely aren’t going to lift off like they are being cooked in a non-stick pan, either. So you may need to pull them a little bit, but there should be no tearing, and there shouldn’t be any chicken left on the grill either.
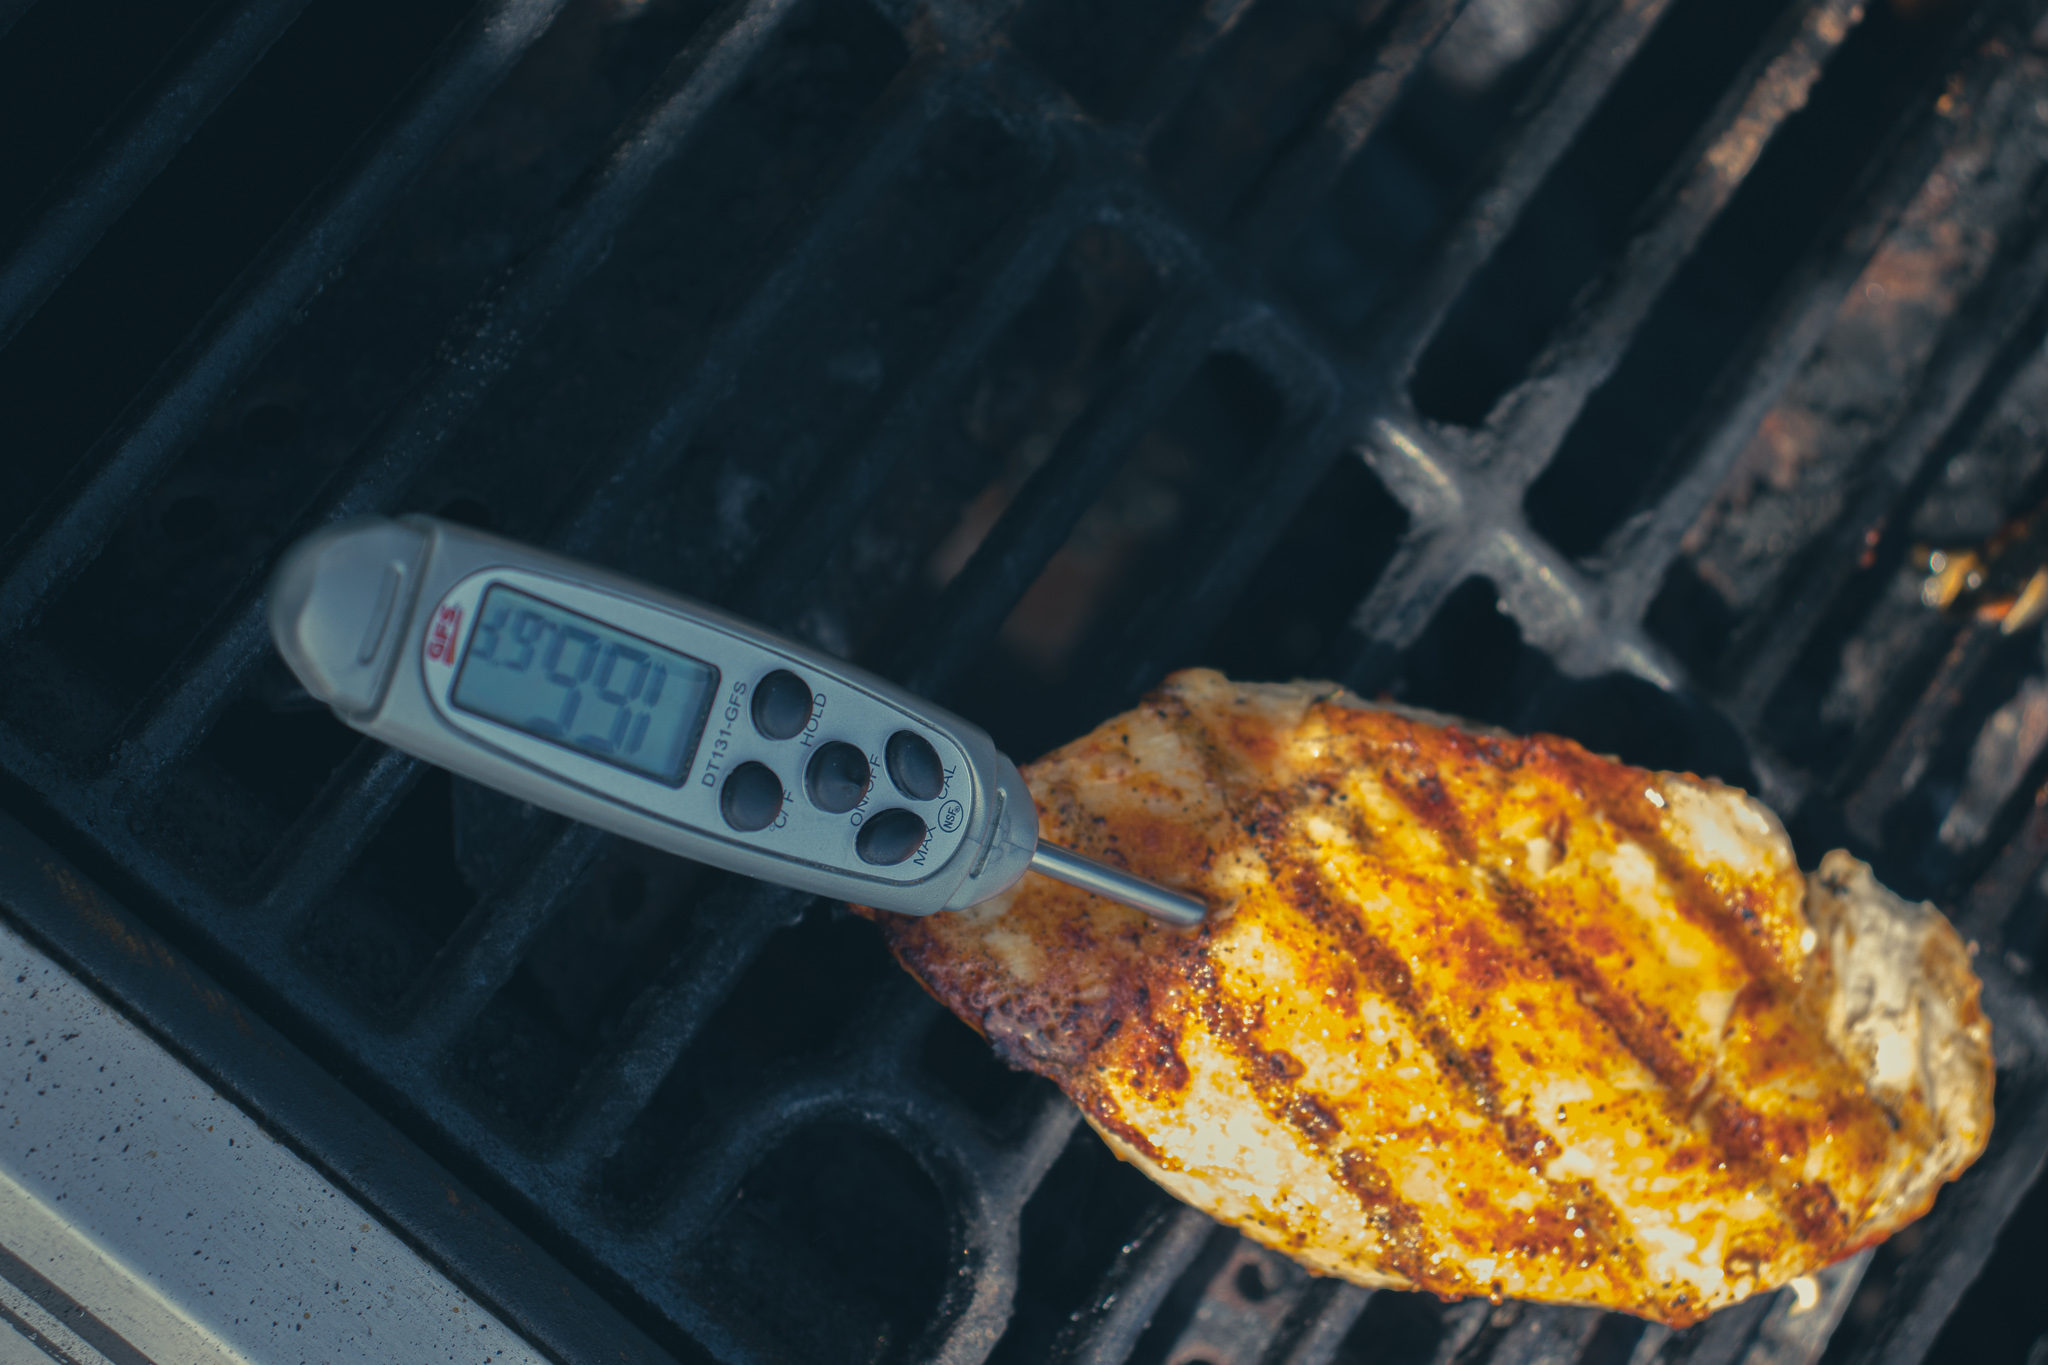
How to tell when the chicken is cooked?
There is only really one foolproof way to ensure that your chicken breast has reached a safe temperature but isn’t overcooked. That is to use an instant-read probe thermometer. These cost between $10 and $30 and are worth every penny. You can find them on amazon, at most grocery stores, and all kitchen supply stores. If you’re the type of person that cuts into your chicken breast to see if it is cooked, stop. Two things. Colour is not a reliable indicator of whether or not chicken has reached a safe temperature (165°f for breast 170°f for thighs and whole birds). Secondly, when you cut into a piece of meat straight after cooking or while cooking, all the juice runs out, leaving it dry and flavourless. So, stop cutting into your chicken to see if it’s cooked. Spen the $20 and get a thermometer.
How Long Should I Cook The Chicken Breast Per Side?
A minute ago, I said to cook your breast for 5 to 6 minutes, then flip and cook for another 4 to 5 minutes. This is a good rough guide, but many factors determine how long it will take to grill your chicken breasts. Things like how thick your chicken is, the temperature of the chicken when it goes on the grill. How far away from the flames your grill is, how much air circulation does your barbecue have, what the temperature outside is and if it is windy or not? So, don’t try to tell the chicken breast when it is ready to flip or when it’s cooked. Let it tell you.
To keep it juicy let it rest.
The final step in ensuring your chicken is juicy and tender is to let it rest for at least 5 minutes before cutting it or serving it. We all know that we have to let steaks rest, but most people don’t think about resting chicken or pork. All meat needs to rest after cooking to allow the internal juices time to redistribute throughout the meat after being superheated. I know it can be hard to wait—your hungry. You’ve been working hard for this meal, but don’t ruin it by rushing. Take 5 minutes, set the table, pour yourself a drink, give your partner a few shoulder squeezes. Whatever it takes, don’t touch that chicken for 5 minutes.
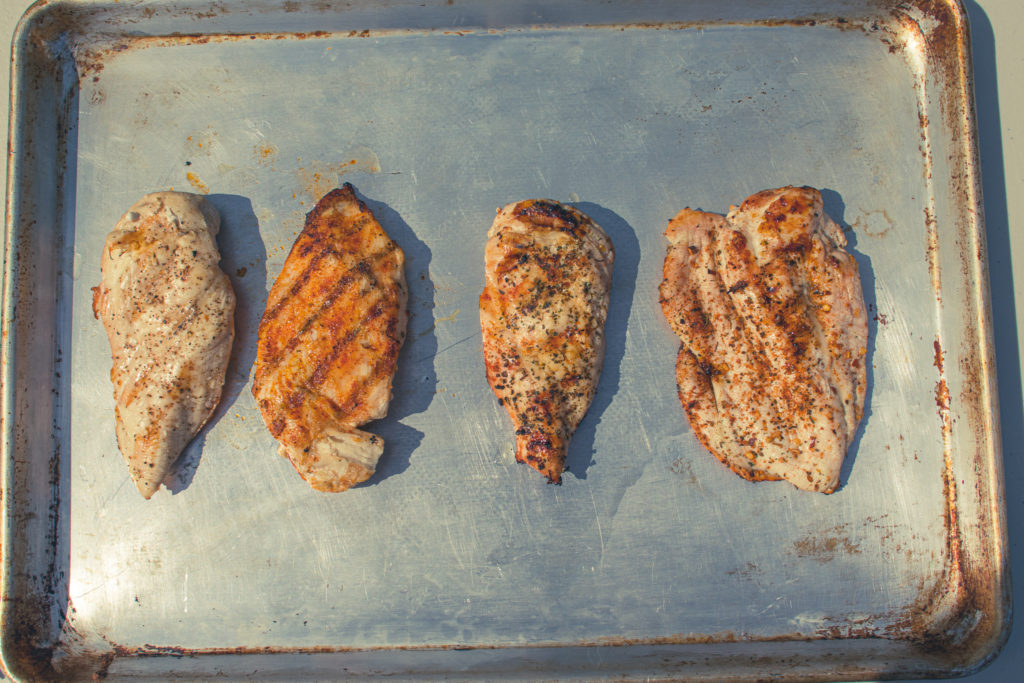
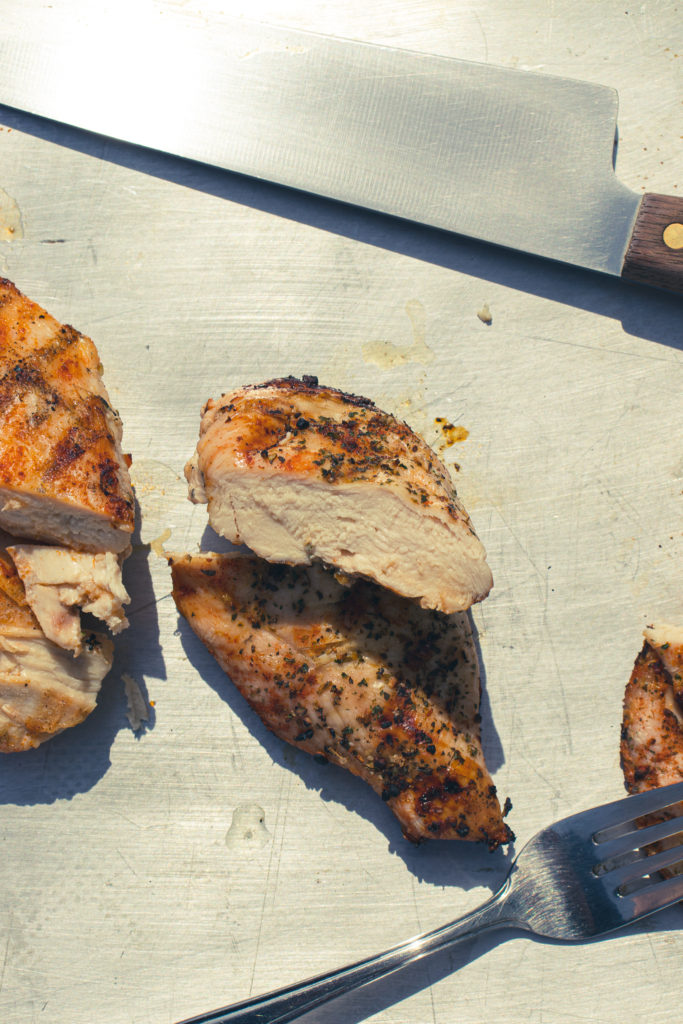
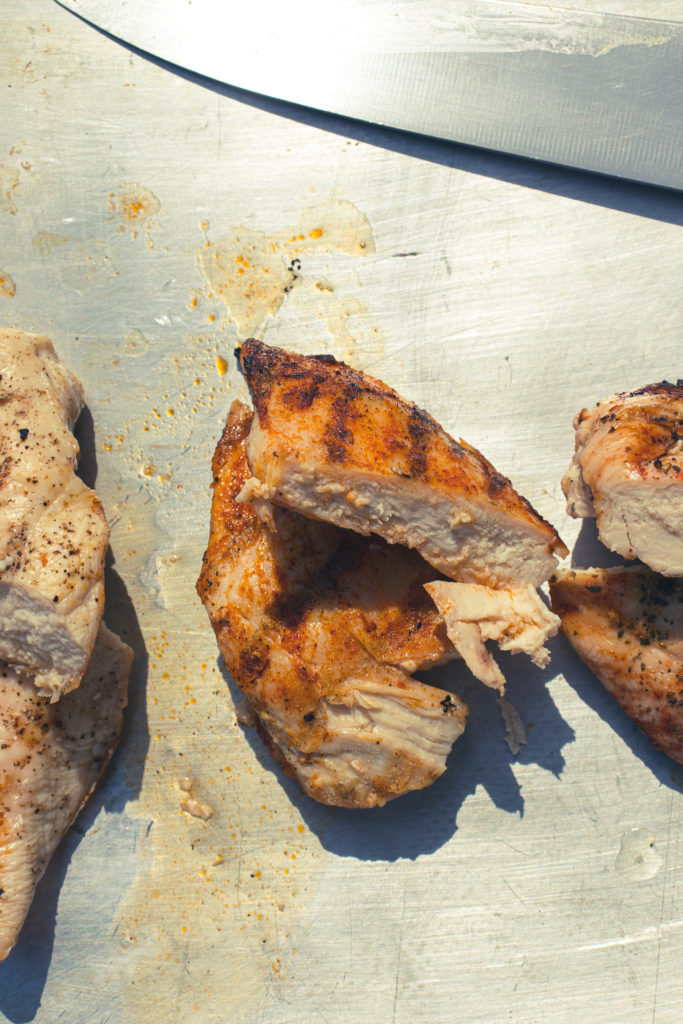
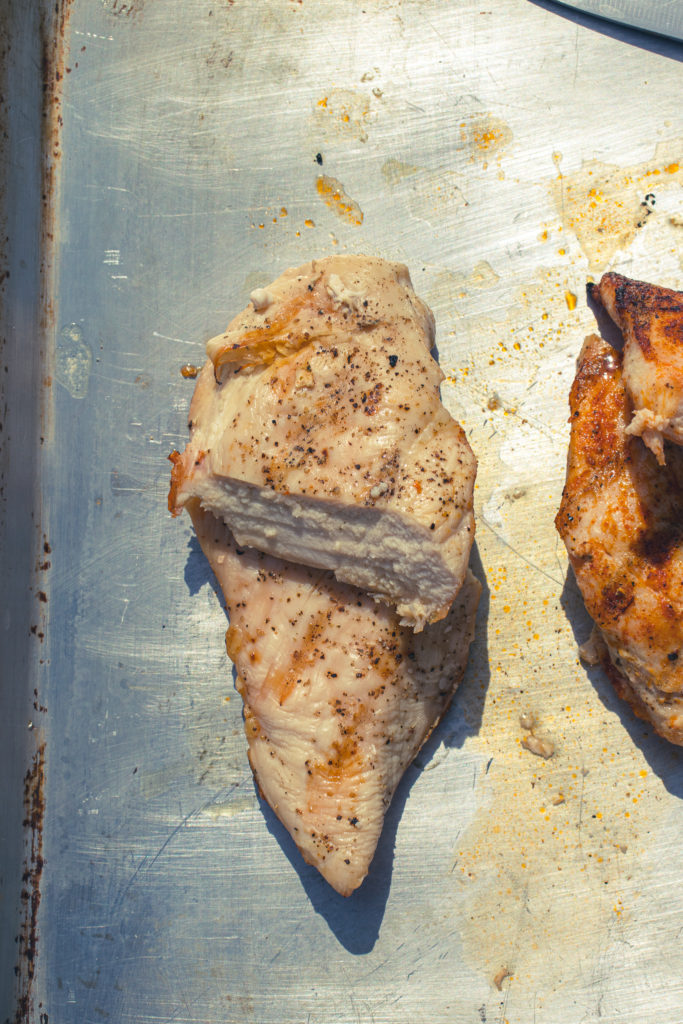
Grilled Chicken Breast
The finished chicken should have grill marks but not be burnt. When you cut into it (after waiting 5 minutes), you should be able to see how juicy it is. If you cut a piece and squeeze it, juice should run out, and it should feel tender. Congratulations! You just grilled the perfect chicken breast, and you didn’t even oil it. Oh, and I should mention, the breast I did oil, cooked just as well as the others and came off the grill just as well. There really wasn’t a difference. So, why add the oil at all?
The Wrap Up
Okay, I know that this was a lot of information. This post is quite a bit longer than I intended it to be, but I think it is important to understand the why just as much as the how. If you enjoyed this post, please share it on Facebook, Pinterest, or Twitter. Also, remember to subscribe to Chef’s Notes below, so you never miss a post. And, if you want to help support the site, hit the donate button at the bottom of the page.
Thank you everyone, have a great week! I’ll see you right back here next Wednesday.
0 Comments