If you have never eaten Pad Thai, you don’t know what you’re missing. If you have eaten it and have never made it, you will be blown away at how quickly it can be put together. It is rich, flavourful, and quick. What isn’t there to love? This will absolutely become one of your new favourites.
What is Pad Thai?
For those of you that are unfamiliar with Pad Thai it is essentially a noodle stir-fry with a peanut sauce. It often contains either shrimp or chicken and always rice noodles, bean sprouts, and en egg.
The main flavour of the dish comes from the sauce made of peanut butter, fish sauce, sugar, salt, vinegar, and chili paste. This is complimented by the addition of green onion, ginger, garlic, and chili in the stir-fry.
Making Pad Thai at home allows you to control the heat level by adding more or less chili sauce. One thing to keep in mind is that the fattiness from the peanut butter and the sweetness from the sauce will help to balance and even mellow out a lot of the heat, so don’t be shy with it.
Cooking
When it comes to cooking the Pad Thai, like any stir-fry you want to have all of the ingredients ready to go. You don’t want to be scrambling to find an ingredient, or prep an ingredient while also trying to not burn your Stir-Fry. Prepare everything and have it all at your finger tips before you start cooking. Once you do start cooking everything will come together very quickly.
Speaking of cooking…let’s get to it.
This is…
Pad Thai in 30 Minutes Or Less
7:40 pm
Okay, I started cooking pretty late last night. In all honesty, I was laid up on the couch most of the day yesterday with some pretty bad neck and shoulder pain. Cooking was the last thing I wanted to do so I kept putting it off. Luckily, with dishes like this, minimal effort produces something really delicious in a short amount of time.
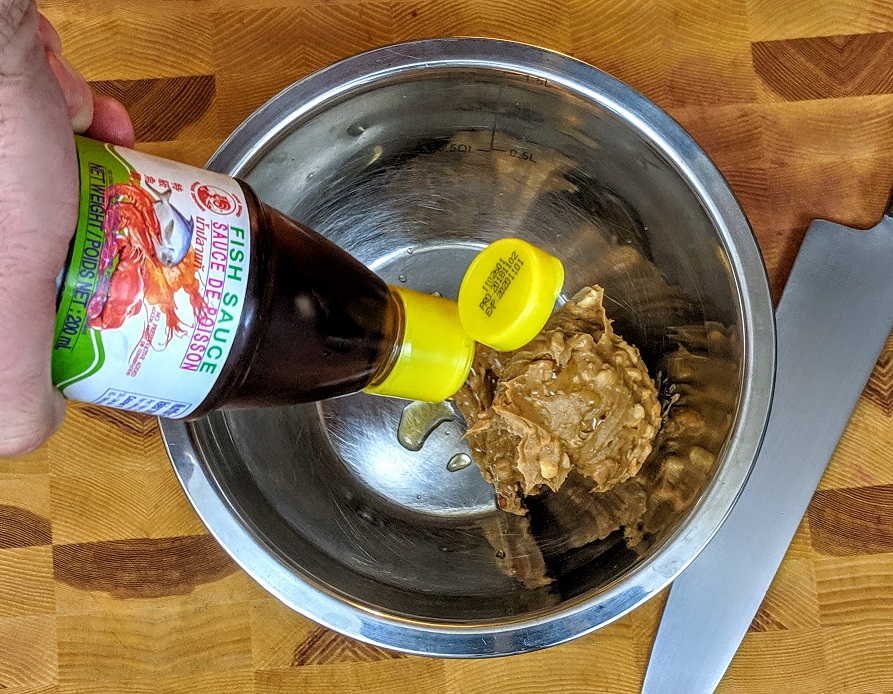
So, at 7:40 I filled the kettle with hot water and turned it on high. I also started putting the sauce together.
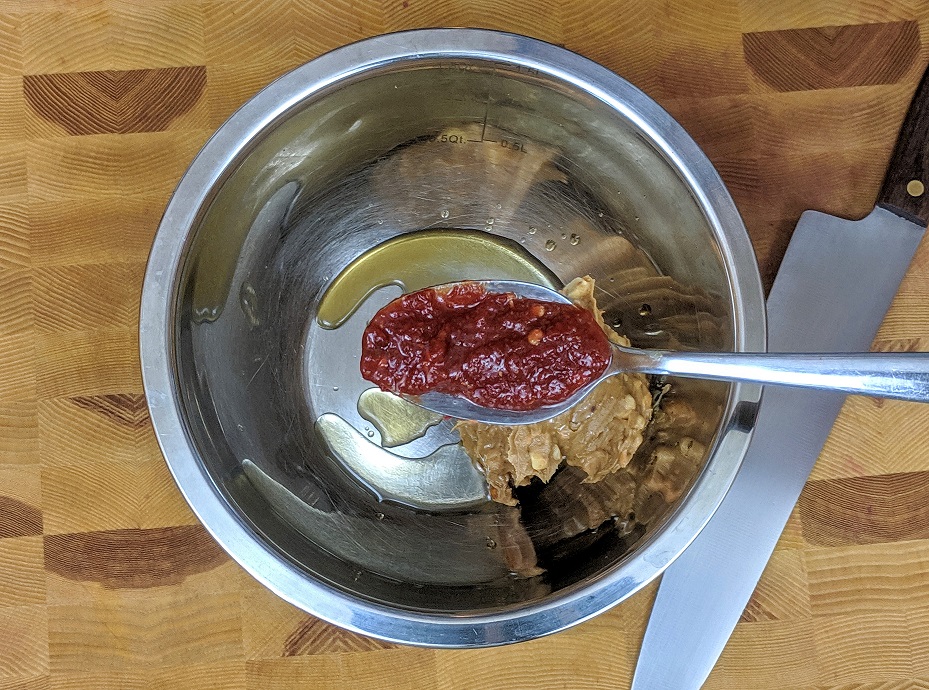
The sauce is about a 1/4 cup of peanut butter, 1 tsp vinegar or mirin, 1 tsp fish sauce, 1 tbsp brown sugar, 1 tbsp sambal chili sauce, and 2 tbsp warm water or more if needed to thin the sauce out. Mix this all together and set aside.
I used crunchy peanut butter, but you can use smooth if that’s what you have.
This took about 3 minutes.


7:43 pm
At 7:43 I grated about 2 tbsp of ginger (which was frozen) into a small bowl with 2 cloves of garlic. I also added 1 thinly sliced Red Thai Chili. I set this aside.


7:47 pm
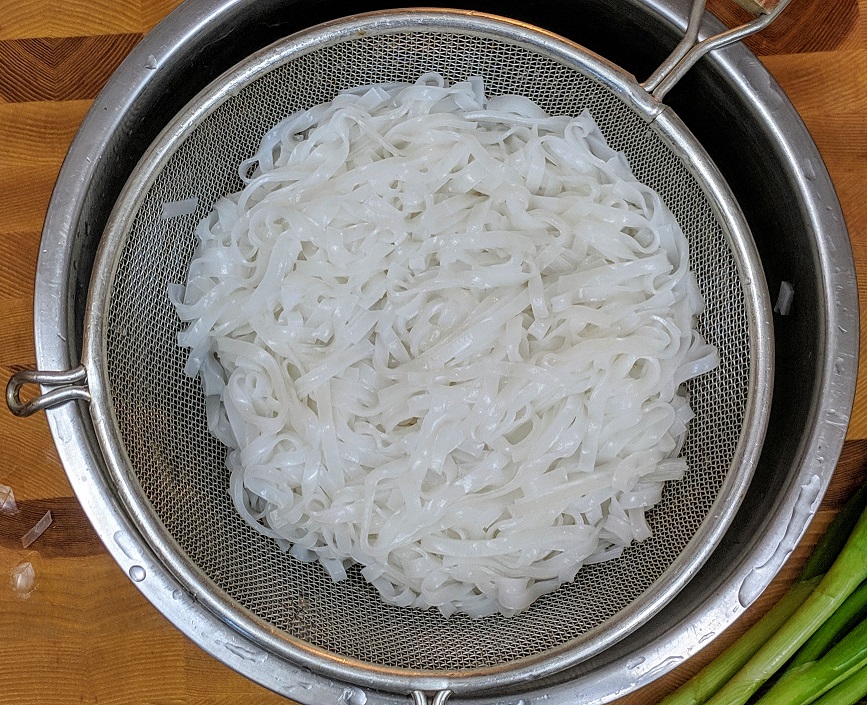
By this point the water in the kettle was boiling and was ready for the rice noodles. I took three portions of rice noodles, which along with everything else in the stir-fry should be more than enough to feed four people. Then I put the dry noodled in a heat-proof bowl and poured the boiling water over them. I gave them a stir to pull the noodles apart and let them sit for 3-4 minutes before draining and rinsing them with cold water.
It is really important that you don’t over cook the rice noodles. That’s why I cook them this way as opposed to putting them in a pot of boiling water and boiling them. They just cook too fast. You know they are ready when they are soft but still chewy.
It is important to rinse the noodles in cold water after they are cooked because they are going to sit for a few minutes and any residual heat will continue to cook them. Failure to thoroughly cool the noodles down may result in clump of overcooked noodles that will disintegrate as soon as they hit the wok.


7:52 pm
By 7:52, 12 minutes after I started, the sauce was ready, the ginger and garlic were ready, and the noodles were ready. There wasn’t much left to do but prepare the vegetables and the chicken.
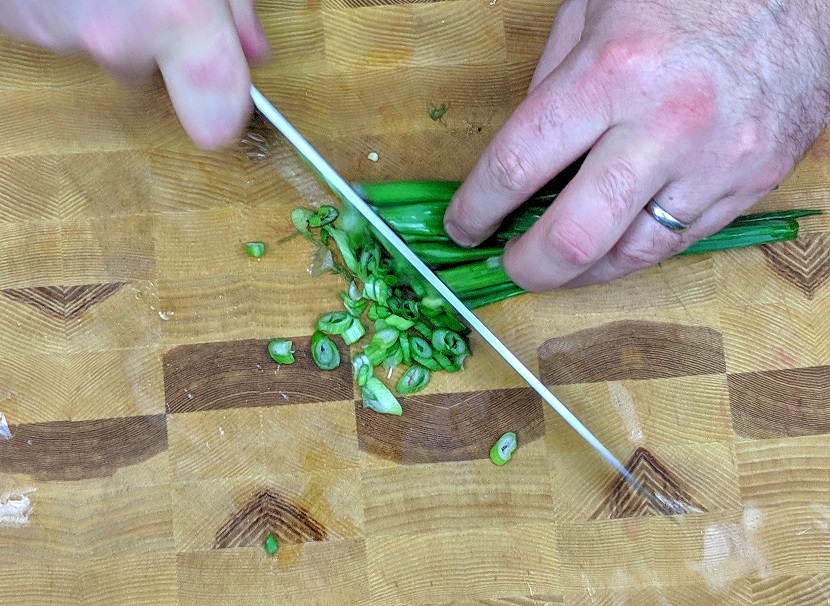
I started by first rinsing the green onions and then separating the bottom whiter half of the green onions from the top greener half. Then, I cut the ends off the bottom half and then chopped them into 1 cm sized pieces. I set these aside.
For the greens, I sliced them very thinly and set those aside.
The idea here is that the bottom, whiter part of the green onions can take more heat and can be treated more like an onion. Top greener part, is much softer and is treated more like a garnish. This is very common in Thai cooking.
You’ll see exactly what I mean once we start cooking.
I also rinsed and drained the bean sprouts very well at this point.


7:57 pm
At 7:57 everything was ready to go except the chicken. Just before I started cutting the chicken I turned my wok onto medium high to give it time to heat up. I then thinly sliced two chicken breasts.
By the time I was done with this and my hands were washed my wok was ready to go.


7:59 pm
At 7:59 I added 2 tbsp of canola oil to my wok along with with chicken. I let the chicken sit for a minute or two undisturbed while I cleaned up my cutting board. This allows the chicken to get really nice and browned, and allows the wok time to recover the heat it lost when the chicken went in.
Once the chicken was browned on the first side, I flipped it and browned the other side.
After a minute or two I add the bottom half of the green onions which were cut into 1 cm pieces. This was stir-fried with the chicken for about a minute before the ginger, garlic, and chili when into the pan. This stuff is grafted so small that it only needs seconds to cook. After about 30 seconds I added the bean sprouts and stir-fried them quickly to prevent the ginger mixture from sticking to the bottom of the work. (It stuck a little)
The next step was to add the noodles and toss to make sure that everything was evenly distributed. At this point, I added my sauce. I really should have added my egg first, but in all honesty I forgot about it and didn’t add it until the very end.
I would suggest at this point, before the sauce goes in, make a little well in the center of the wok and break an egg into it. Scramble the egg up a bit, and let it cook for a few seconds. Mix it into the rest of the stir-fry. Now, add the sauce.
Toss the sauce, with the stir-fry add the sliced green onion tops, and that’s it. Serve with some fresh lime and some thinly sliced red chili for garnish.


8:10 pm
By 8:10 the Pad Thai was plated, all the pictures were taken, the clean up was pretty much done and I had taken my first couple of bites. It was delicious.

Pad Thai Conclusion
This process is obviously pretty quick but of course it could be quicker. All of the prep for this can be done the morning before or even the night before you make it. Including cooking the rice noodles. Then, when you’re ready to eat you simple heat up the wok and stir-fry it all together. It will take ten minutes or less.
If you are going to prep this ahead of time you can marinate the chicken, or shrimp if you prefer, in a bit of soy sauce. Just a teaspoon or two will go a long way.
And yes, before you ask, you can substitute almond butter, and probably even WOW Butter for the peanut butter if you want or if you have allergies.
That’s it! That is how you make delicious Pad Thai at home in 30 Minutes or Less.
If you liked this post you may also like last week’s when we made Bangers and Mash in 30 Minutes Or Less
Thank you for reading. I’ll see you soon.

Ingredients
- 1/4 cup Crunchy Peanut Butter
- 1 tbsp Brown Sugar
- 1 tbsp Sambal Chili Sauce
- 1 tsp Mirin
- 1 tsp Fish Sauce
- 2 tbsp Hot Water or more to thin the sauce
- 1 pinch Kosher Salt
- 2 ea Thinly Sliced Chicken Breasts
- 1 bunch Green Onions
- 2 cloves garlic
- 2 tbsp grated ginger
- 1 ea Thai Red Chili
- 1 ea Egg
- 2 cups Bean Sprouts, rinsed
- 1/2 pkg Rice Noodles
- 2 tbsp Canola Oil
Instructions
- Combine the first seven ingredients and mix well.
- Slice the chili and combine with the grated ginger. Peel and grate the garlic with the ginger and chili.
- Cut the green onions in half separating the whites and greens.
- Cut the white parts of the green onion in 1 cm pieces.
- Thinly slice the green parts of the green onion.
- Heat a wok over high heat. Once the wok starts to smoke, add the oil and the chicken.
- Let the chicken cook for 1-2 minutes without moving it.
- Flip the chicken and let it cook for another 1-2 minutes.
- Add the whites of the green onions, stir-fry for another 1-2 minutes.
- Add the grated ginger, garlic, and chili and cook for 30 seconds.
- Add the bean sprouts and stir-fry for 1-2 minutes.
- Make a well in the center of the Pad Thai and break the egg into it. Let the egg cook for a seconds and then mix into the rest of the Pad Thai.
- Add the noodles, and toss to mix
- Add the sauce and toss to coat the noodles and heat the sauce.
- Toss in the sliced green onion.
- Serve with fresh lime, chopped peanuts, and sliced chili.
I am *so* craving Pad Thai.
I still feel like I *need* a wok.
Is there a wok you’d recommend? (I have a ceramic stove top.)
I recommend this one, https://amzn.to/2XJhCmb . Woks come in very handy