Sushi is something that is both incredibly complex yet, at its core, very simplistic. Think about it; most sushi is a bit of fish or vegetables wrapped in rice and dried seaweed. That’s it. When you lay it out like that, it seems pretty basic. But then, you can say it is hand-rolled line-caught tuna belly from the seas off the coast of Portugal. The tuna is dotted with fresh ground wasabi, rice grown in the Yamagata prefecture in Japan, wrapped in hand toasted nori, and topped with sea urchin roe and caviar. Very complex.
The point I’m trying to make here is that sushi can be very difficult to make. It takes years and years to master. Sushi apprentices usually aren’t even allowed to make rice for the first year or two. Once they do move up to rice, that is their primary focus for 2-7 years, depending on their master. Does this mean that you can’t make delicious, satisfying sushi at home? Of course not!
Today we are going to take a look at how you can make sushi at home. We are going to break it down into its individual parts so you can see that delicious homemade sushi doesn’t have to be really hard to make.
Homemade Sushi – Yes you can!
Sushi Rice
Sushi rice has this kind of mythical fog around it. We hear stories like the one I mentioned above about people taking years to master it. This can instill a sense of nervousness in the home cook, getting ready to roll their first roll. But don’t let that deter you. If you want to get a Michelin star in making sushi, then yes, take that time. Otherwise, I wouldn’t worry about it too much.
Before we talk about making sushi rice or sushi, in general, I think that it is important to understand the history of sushi a little. So, let’s take a look at that first.
The History Of Sushi
Though sushi, as we know it, is a relatively modern invention only dating back to about the 18th century, earlier versions date back as far as the 2nd century. The later versions and the ones we enjoy today are based on a concept developed out of necessity in South East Asia.
The original version of sushi isn’t something that we would recognize as sushi today. It was actually a way to preserve fish. The fish would be salted then packed in fermented rice. This would allow the fish to be kept for long periods of time without spoiling. When people were ready to eat the fish, they would actually discard the rice.
As this technique found its way to Japan around the 8th century, the rice began to be eaten. The Japanese culture at the time believed that rice was sacred, and throwing it away was unheard of. So, they began to eat the fermented rice that the salted fish was packed in, along with the fish. This developed into a dish known in Japan as namanari, which means semi-fermented. Namanari is half cooked or half salted fish wrapped in fermented rice and eaten. The big difference in this dish and the original version is that the fish isn’t fermented at all, and it can be made instantly if you have some fermented rice and lightly salted fish.
Somewhere between the 16th-18th century, someone realized that if they took freshly cooked rice and added rice vinegar with a bit of seasoning, they could recreate the fermented rice flavour in minutes. This soured rice was served with fish, vegetables, and dried ingredients pressed into cubes in a mould. This gave way to modern nigiri sushi, which is fish placed on top of a mound of rice.
One other piece of the sushi puzzle fell in place around 1750 with the invention of dried nori sheets. With that invention, someone had the brilliant idea of wrapping it around their soured rice, fish and vegetables. Just like that, maki rolls were born.
Why am I telling you all of this?
I find that understanding the history of any dish takes away some of the mysticism that surrounds it. To me, knowing that sushi was born out of a need to preserve fish and then as a way to recreate the flavours that came from that preservation makes it a lot easier to wrap my head around. When I think of sushi as soured rice wrapped around fish and vegetables in dried seaweed, it makes me feel like, “Oh, hey, I can do that.”. I hope it has done the same for you.
Making Sushi Rice

Sushi rice is made with a short-grain rice variety that has a fairly high starch content. Most grocery stores will sell it as sushi rice. Despite the fact that it will probably be sold to you as sushi rice, in Japan and many other cultures, it is the type of rice eaten with every meal. It only really becomes sushi rice when seasoned with vinegar.
To make sushi rice, follow the instructions on the rice package. At the same time, the rice is cooking combine 2 parts each rice vinegar and sugar then 1 part salt. For 2 cups of uncooked rice, use 2 tbsp vinegar and sugar, and 1 tbsp salt. Boil this mixture for 1 minute then gently fold it into the cooked rice. Loosely cover the cooked and seasoned rice and let it come to room temperature.
Rolling Sushi

Sticky rice is sticky. Duh! That means that it sticks to just about everything. When making sushi, keep a bowl of room temperature water close by to dip your hands into. The rice won’t stick to your hands if they’re wet. I also always wrap my sushi mat in plastic wrap to keep it clean and tidy. And, keep a damp cloth around to wipe the counter and the sushi mat after each roll.
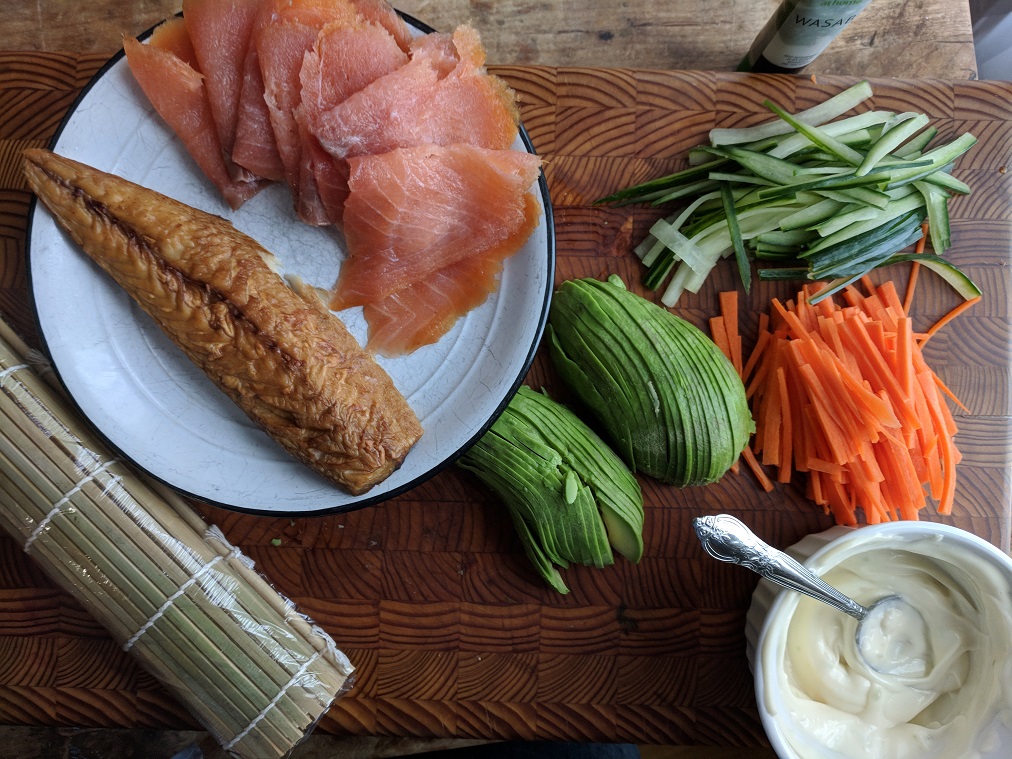
To roll the sushi, lay the mat flat on the counter and place a sheet of nori on it. For a full sheet of nori (large rolls), use about 1/2 a cup of cooked rice. For half sheets (small rolls), use about 1/4 cup. Using your hands spread the rice in an even layer across the nori. Make sure to leave a lip at the top of the nori sheet (the bottom is closest to you). Add whatever fillings you would like (fish, vegetables, etc.) If you don’t like raw fish, smoked fish makes a great alternative. Put the fillings in a narrow line on the back third of the sushi sheet. Now, using the mat, roll the back of the rice and nori up and over the filling gently but firmly pulling backward to tighten the roll. At this point, pull the bottom of the sushi mat over the top of the mat using one hand to pull and one hand to maintain even pressure on the sushi.
Just like with your hands, wet your knife before cutting the sushi. This will help keep the roll together.
Sushi Filling

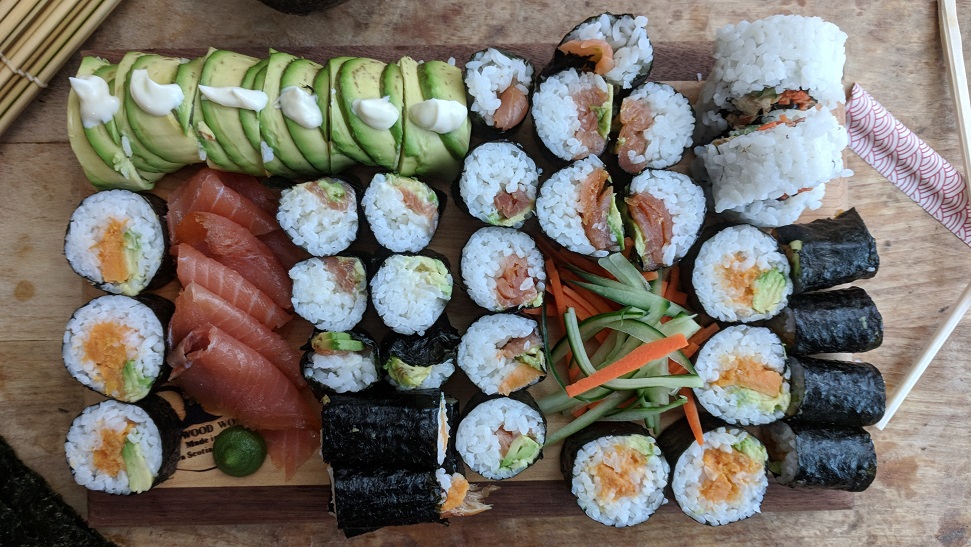
I find it challenging to find sushi-grade fish; because of this, I generally use smoked fish like cold smoked salmon or hot smoked mackerel. I will pair these with cucumbers and wasabi, just roll them on their own or top them with spicy mayo.
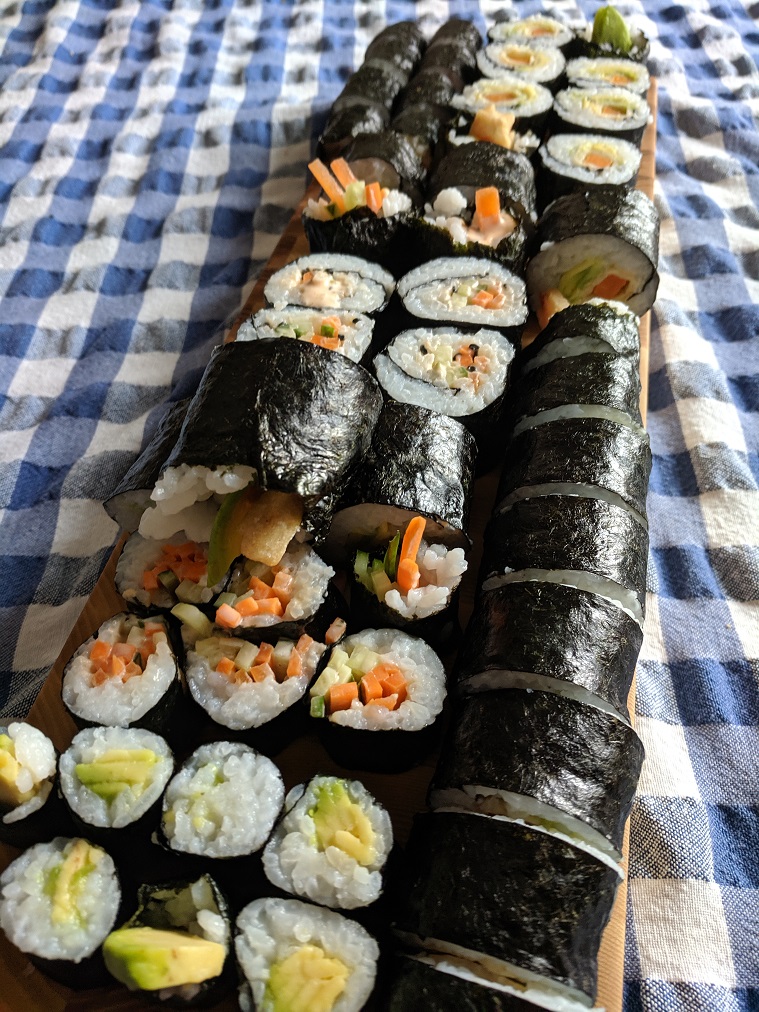
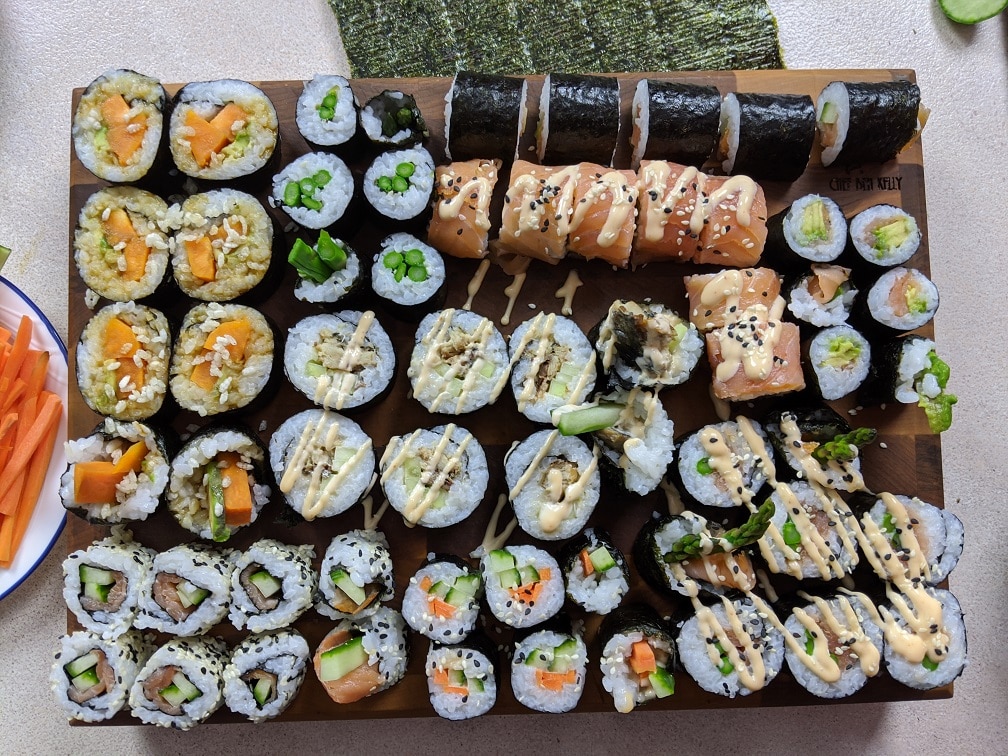
One of my favourite rolls is sweet potato and avocado. The sweet potato is best when tempura battered and fried but steamed, or roasted sweet potato works well. I also like rolls with carrots, cucumber, radish, and spicy mayo. The point here is that you roll whatever you want into your sushi. You can follow tradition or go crazy and make a really unique roll.

Conclusion
What I hope you take away from this is that you can make sushi. Yes, YOU can make sushi at home. I don’t care what your skill level, age, or whatever, you can do it. It may take you a few times to get the hang of how exactly to roll the sushi, but once you nail that down, you are set. If you like sushi but have never made it at home, you are seriously missing out. You can have all you can eat sushi for a fraction of the cost of buying it at a restaurant, and it’s a lot of fun to make.
Please, give it a shot. And if you are wondering where to buy the ingredients I put together a list of the base tools and ingredients on my amazon store which you can check out here.
Thank you for reading the post. If you liked it, remember to share it on Facebook, Pinterest, or Twitter by clicking the icon to the left of the right of the page. Did you know that Chefsnotes.com has almost 400 posts just like this one? Imagine all the great tips, tricks, and recipes you’ve missed. Don’t miss any more! Subscribe to Chef’s Notes by putting your email address in the subscription box at the top right of the sidebar. You will be notified of every new post. And if you would like to know more about me, click the link below to read my story.


0 Comments